Page 12 of 91
Page 1 text
MAY 2020
Page 2 text
Cake! m a g a z i n e PUBLISHER: Cake! Magazine is published by the Australian Cake Decorating Network Pty Ltd. ACN: 91 164 927 584. © All content copyright 2020 Australian Cake Decorating Network Pty Ltd. All rights reserved. Reproduction any part of the magazine without written permission is prohibited. All prices included in Cake! Magazine are approximate and are in AUD unless otherwise stated. Prices quoted are correct at the time of publishing and may vary or be subject to change. The Australian Cake Decorating Network Pty Ltd accepts no responsibility for damage or loss as a result of material submitted for, published in or as a result of this publication. The Australian Cake Decorating Network does not have an affiliation with any other magazine. The views and opinions expressed within this publication are not necessarily the views of the publisher or it's affiliates. While every effort has been made to ensure the accuracy of the informtion contained within Cake! Magazine the publisher and Cake! Magazine hold no responsibility for any errors, omissions, or consequences subsequent or otherwise, including loss or damage arising from reliance on information in this publication. Content is supplied for publication in Cake! Magazine by parties external to the Australian Cake Decorating Network and it is the external party's responsibility to ensure content and credits are accurate. To advertise in Cake! magazine, contact: [email protected] f www.acdn.me [email protected] click here to join our mailing list!
Page 3 text
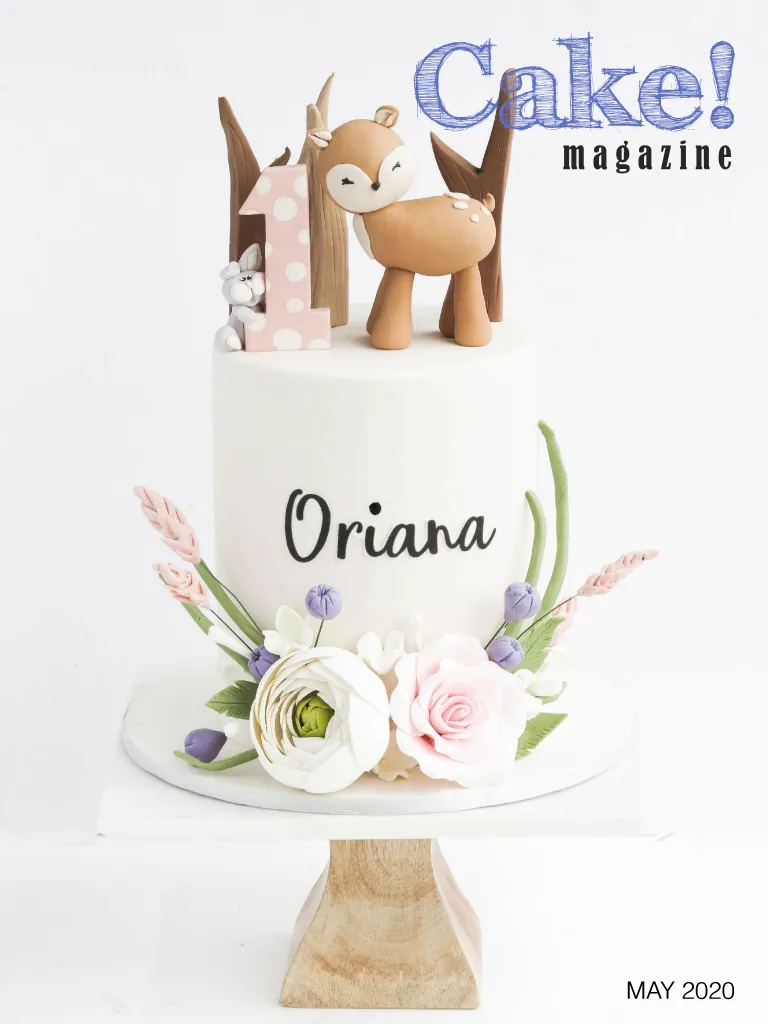
letter from the editor Hello and welcome to our second issue for 2020, Baby themed! While the past few months have been filled with a lot of uncertainty, we are pleased to be able to continue to bring to you issues of Cake! Magazine - the perfect creative and fun magazine to sit down and read with a cuppa! In this Baby themed issue we share lots of fun tutorials, from gender reveal cupcakes to a gorgeous set of cookies ready to welcome a new arrival to the world - or for their parents at least! In this issue we feature our regular Cake Chat column with Amber Comadira-Smith and interview our Foundation Masterclass teacher Lena McKechnie from Savvy Cakes Sydney. We hope you enjoy reading this issue of Cake! Magazine and we look forward to being able to meet up with our members again inperson soon! Stay safe and happy creating! Liz COVER IMAGE: Christina Blaby www.boutiquecakeart.com.au Liz Wright editor Liz is the editor of Cake! magazine and founder and owner of the Australian Cake Decorating Network. Liz grew up surrounded by cake, spending hours upon hours watching her mum create stunning wedding cakes (in the days of intricate piping and extension work!). Liz is excited to have the opportunity to use Cake! magazine as well as the Australian Cake Decorating Network to showcase the incredbile talent of cake decorators in Australia and worldwide. Kellie Rudland contribution manager Kellie discovered the world of cakes 8 years ago. Since then she has worked alongside pastry chefs as a head decorator for an established cake company. Kellie joined the ACDN team in 2013 and along with Contribution Manager for Cake! magazine, Kellie is also Social Media Manager for ACDN.
Page 4 text
contents contents 33 25 15 20 28 17 25 23 25
Page 5 text
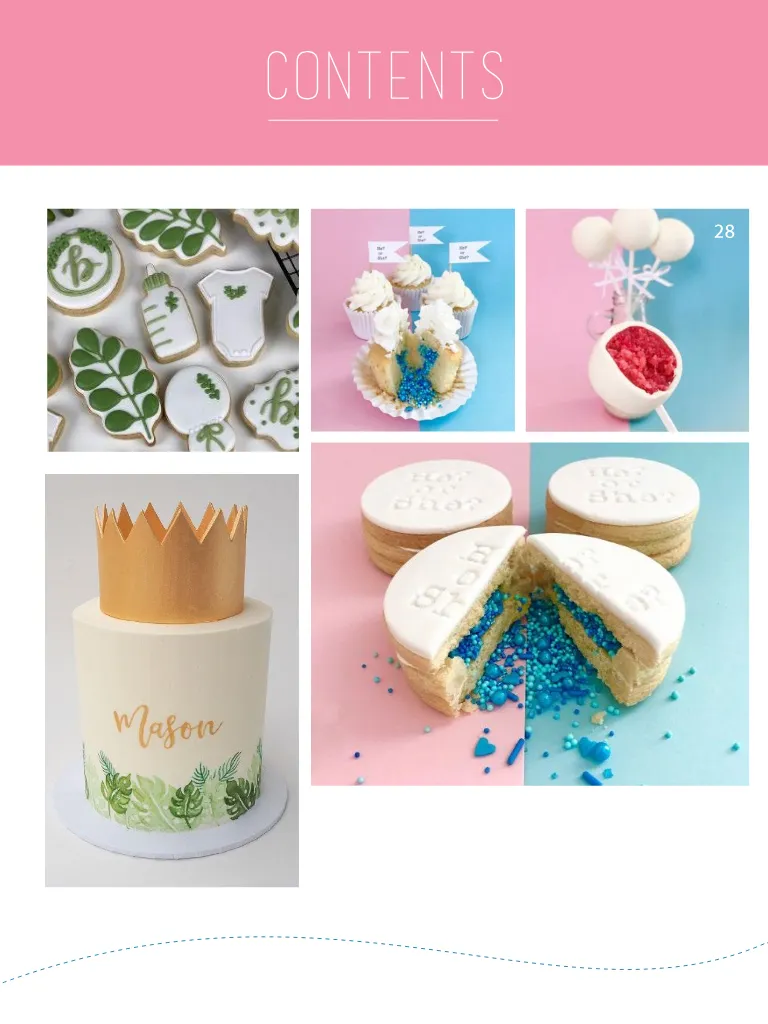
May 2020 84 Tutorials 9 16 21 25 29 Royal Icing Baby Shower Cookies Gender Reveal Cookies Gender Reveal Cake Pops Gender Reveal Cupcakes King of the Jungle Cake Interviews 43 50 Lena McKechnie Amber Comadira-Smith: Busines Basics Regulars 3 33 57 Letter from the editor Recipes ACDN Member Gallery
Page 6 text
SUBSCRIBE FOR FREE to have each issue of Cake! magazine sent straight to your inbox! f www.acdn.me [email protected] click here to join our mailing list! To advertise in Cake! magazine, contact [email protected]


Page 7 text
Hello Baby! A collection of tutorials to help you celebrate the arrival of a new bundle of joy!
Page 9 text
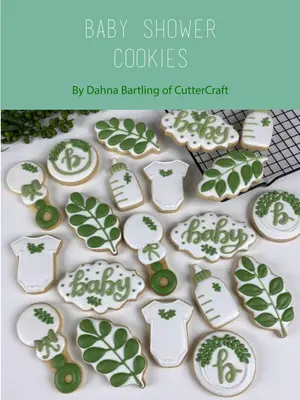
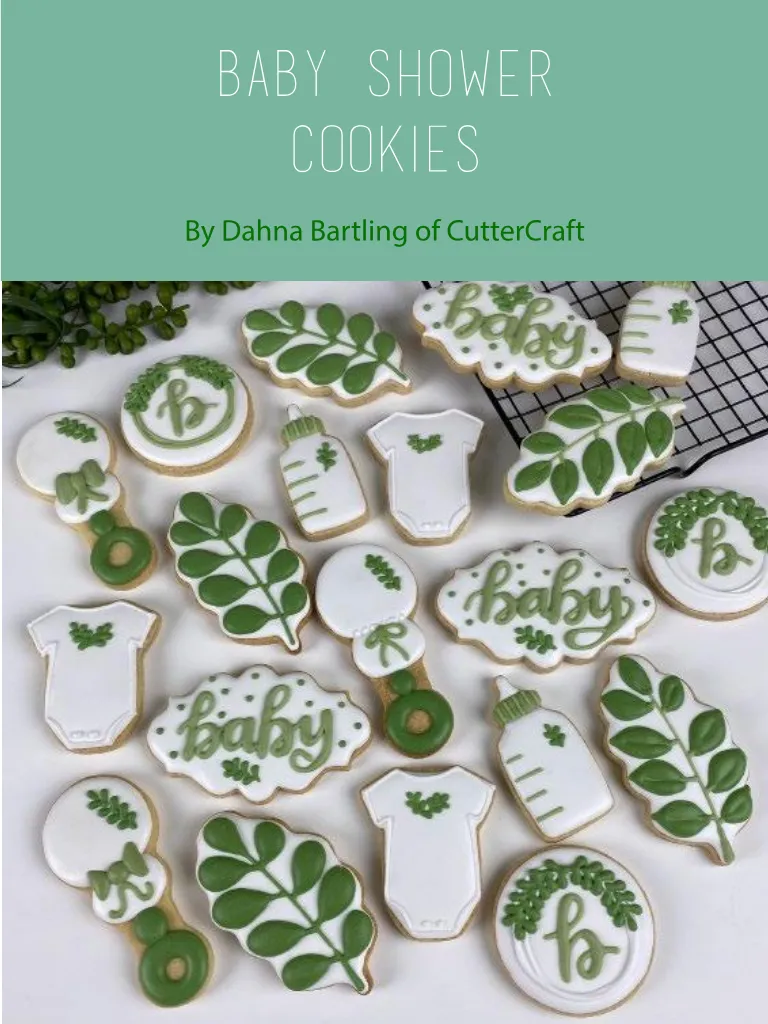
BABY SHOWER COOKIES By Dahna Bartling of CutterCraft
Page 10 text
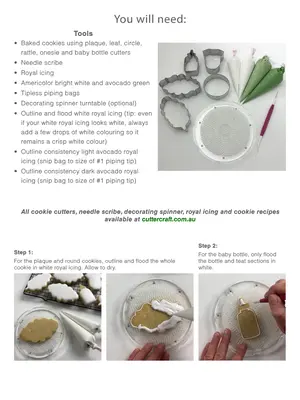
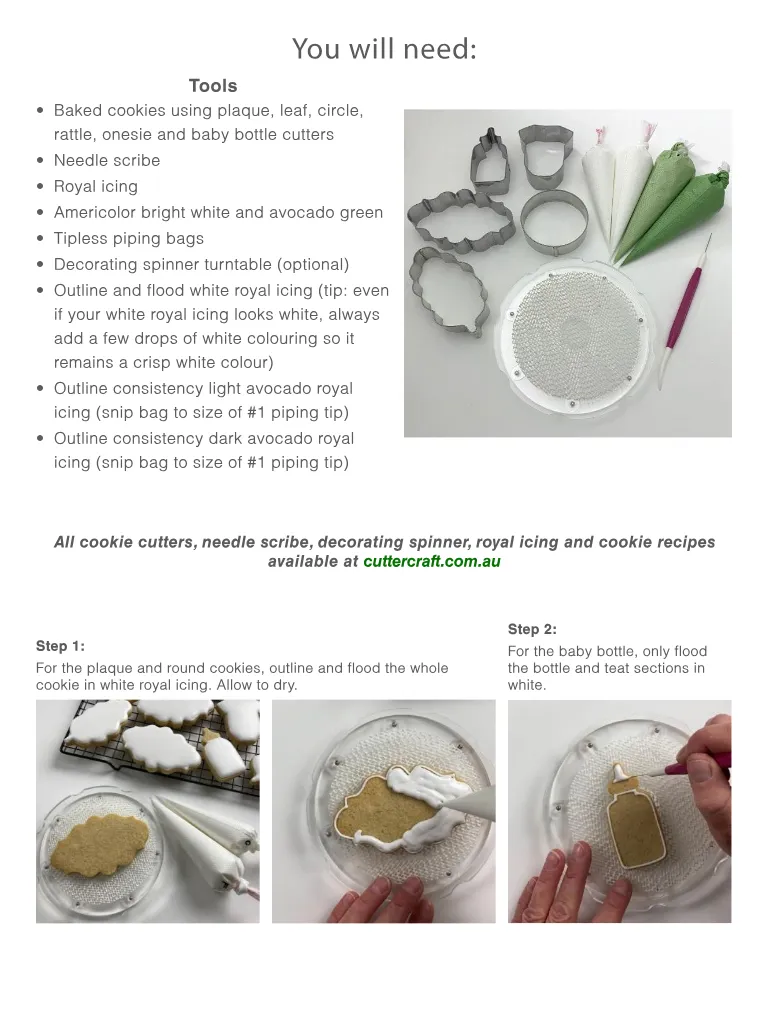
You will need: Tools • Baked cookies using plaque, leaf, circle, rattle, onesie and baby bottle cutters • Needle scribe • Royal icing • Americolor bright white and avocado green • Tipless piping bags • Decorating spinner turntable (optional) • Outline and flood white royal icing (tip: even if your white royal icing looks white, always add a few drops of white colouring so it remains a crisp white colour) • Outline consistency light avocado royal icing (snip bag to size of #1 piping tip) • Outline consistency dark avocado royal icing (snip bag to size of #1 piping tip) All cookie cutters, needle scribe, decorating spinner, royal icing and cookie recipes available at cuttercraft.com.au Step 1: For the plaque and round cookies, outline and flood the whole cookie in white royal icing. Allow to dry. Step 2: For the baby bottle, only flood the bottle and teat sections in white.
Page 11 text
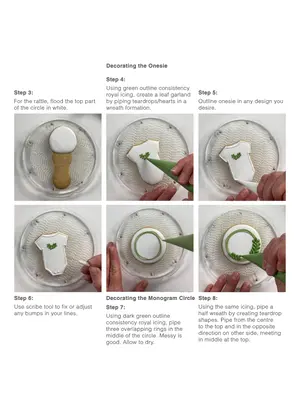
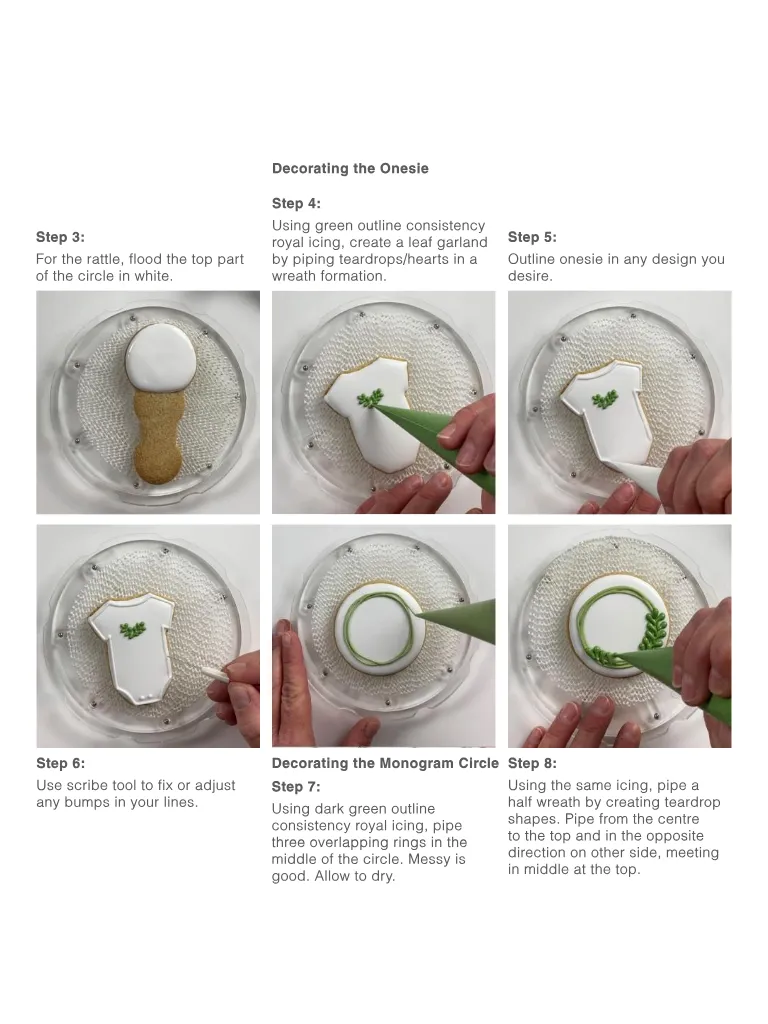
Step 3: For the rattle, flood the top part of the circle in white. Decorating the Onesie Step 4: Using green outline consistency royal icing, create a leaf garland by piping teardrops/hearts in a wreath formation. Step 5: Outline onesie in any design you desire. Step 6: Use scribe tool to fix or adjust any bumps in your lines. Decorating the Monogram Circle Step 7: Using dark green outline consistency royal icing, pipe three overlapping rings in the middle of the circle. Messy is good. Allow to dry. Step 8: Using the same icing, pipe a half wreath by creating teardrop shapes. Pipe from the centre to the top and in the opposite direction on other side, meeting in middle at the top.
Page 12 text
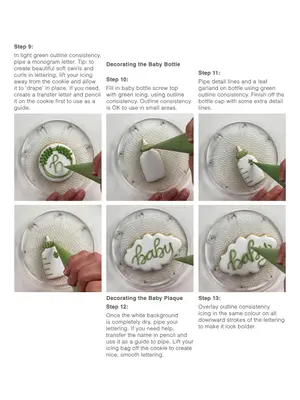
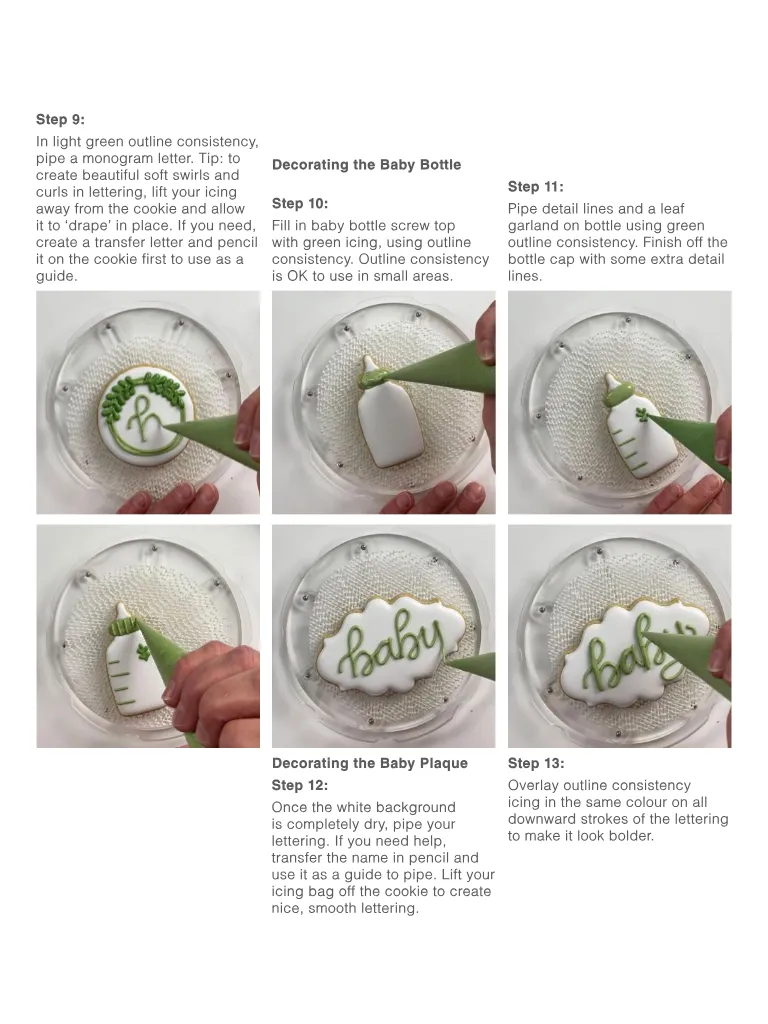
Step 9: In light green outline consistency, pipe a monogram letter. Tip: to create beautiful soft swirls and curls in lettering, lift your icing away from the cookie and allow it to ‘drape’ in place. If you need, create a transfer letter and pencil it on the cookie first to use as a guide. Decorating the Baby Bottle Step 10: Fill in baby bottle screw top with green icing, using outline consistency. Outline consistency is OK to use in small areas. Step 11: Pipe detail lines and a leaf garland on bottle using green outline consistency. Finish off the bottle cap with some extra detail lines. Decorating the Baby Plaque Step 12: Once the white background is completely dry, pipe your lettering. If you need help, transfer the name in pencil and use it as a guide to pipe. Lift your icing bag off the cookie to create nice, smooth lettering. Step 13: Overlay outline consistency icing in the same colour on all downward strokes of the lettering to make it look bolder.
Page 13 text
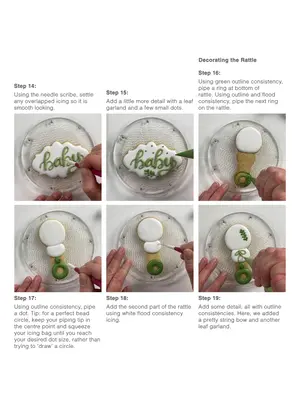
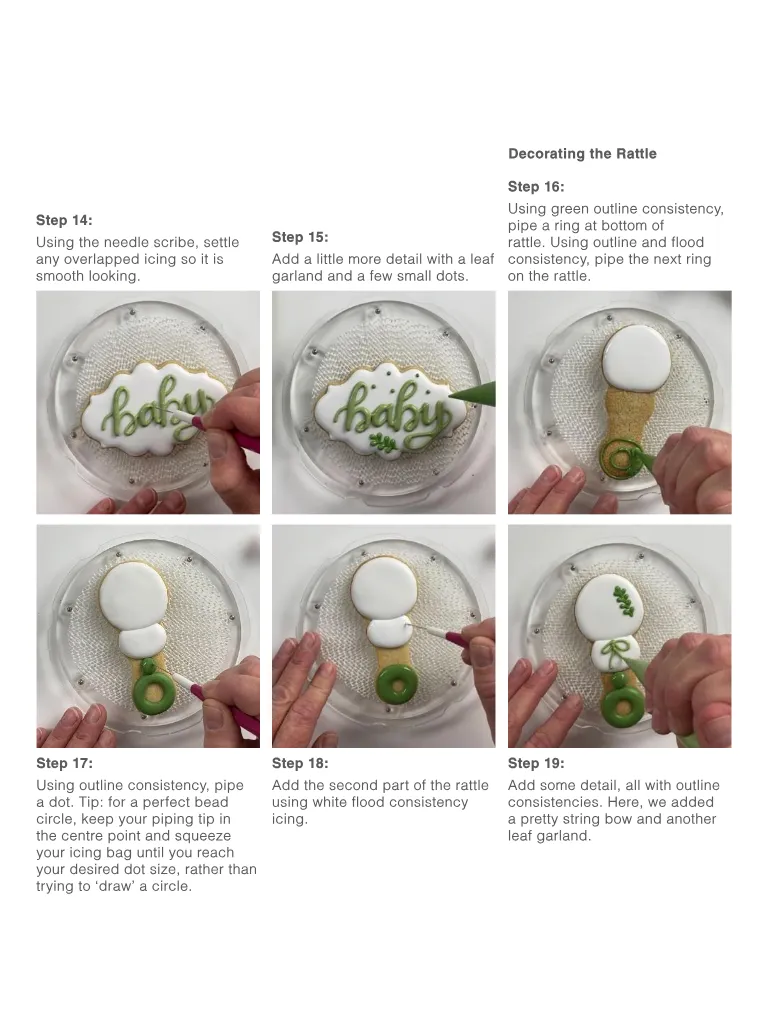
Step 14: Using the needle scribe, settle any overlapped icing so it is smooth looking. Step 15: Add a little more detail with a leaf garland and a few small dots. Decorating the Rattle Step 16: Using green outline consistency, pipe a ring at bottom of rattle. Using outline and flood consistency, pipe the next ring on the rattle. Step 17: Step 18: Step 19: Using outline consistency, pipe a dot. Tip: for a perfect bead circle, keep your piping tip in the centre point and squeeze your icing bag until you reach your desired dot size, rather than trying to ‘draw’ a circle. Add the second part of the rattle using white flood consistency icing. Add some detail, all with outline consistencies. Here, we added a pretty string bow and another leaf garland.
Page 14 text
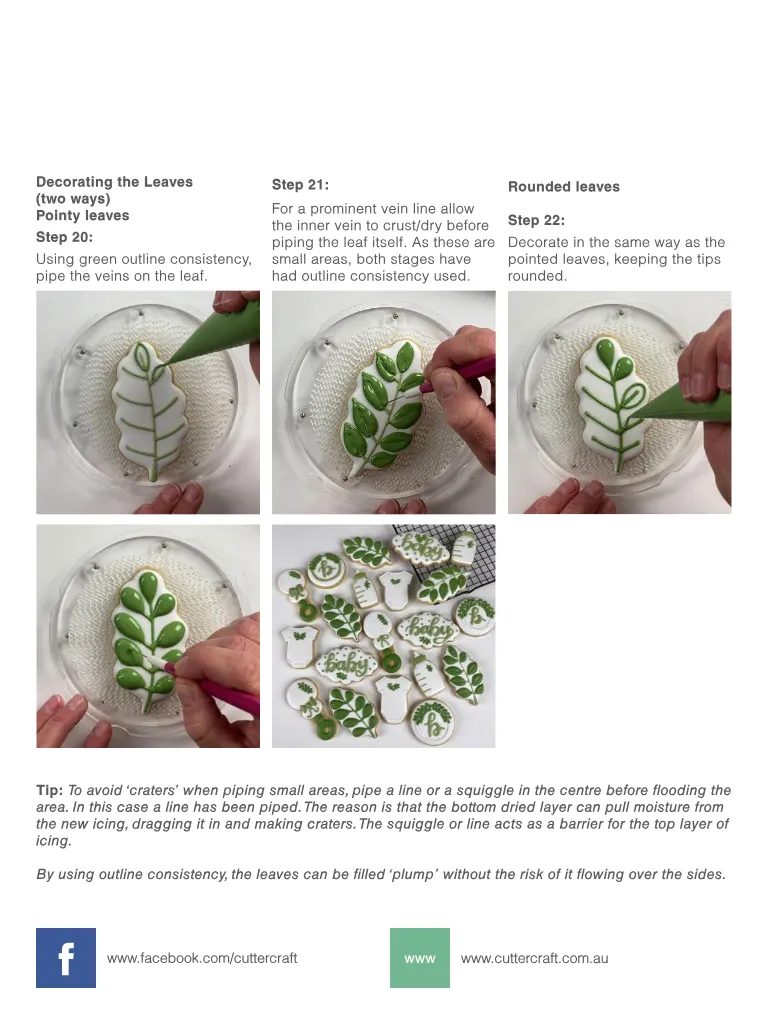
Decorating the Leaves (two ways) Pointy leaves Step 20: Using green outline consistency, pipe the veins on the leaf. Step 21: For a prominent vein line allow the inner vein to crust/dry before piping the leaf itself. As these are small areas, both stages have had outline consistency used. Rounded leaves Step 22: Decorate in the same way as the pointed leaves, keeping the tips rounded. Tip: To avoid ‘craters’ when piping small areas, pipe a line or a squiggle in the centre before flooding the area. In this case a line has been piped. The reason is that the bottom dried layer can pull moisture from the new icing, dragging it in and making craters. The squiggle or line acts as a barrier for the top layer of icing. By using outline consistency, the leaves can be filled ‘plump’ without the risk of it flowing over the sides. f www.facebook.com/cuttercraft www www.cuttercraft.com.au
Page 15 text
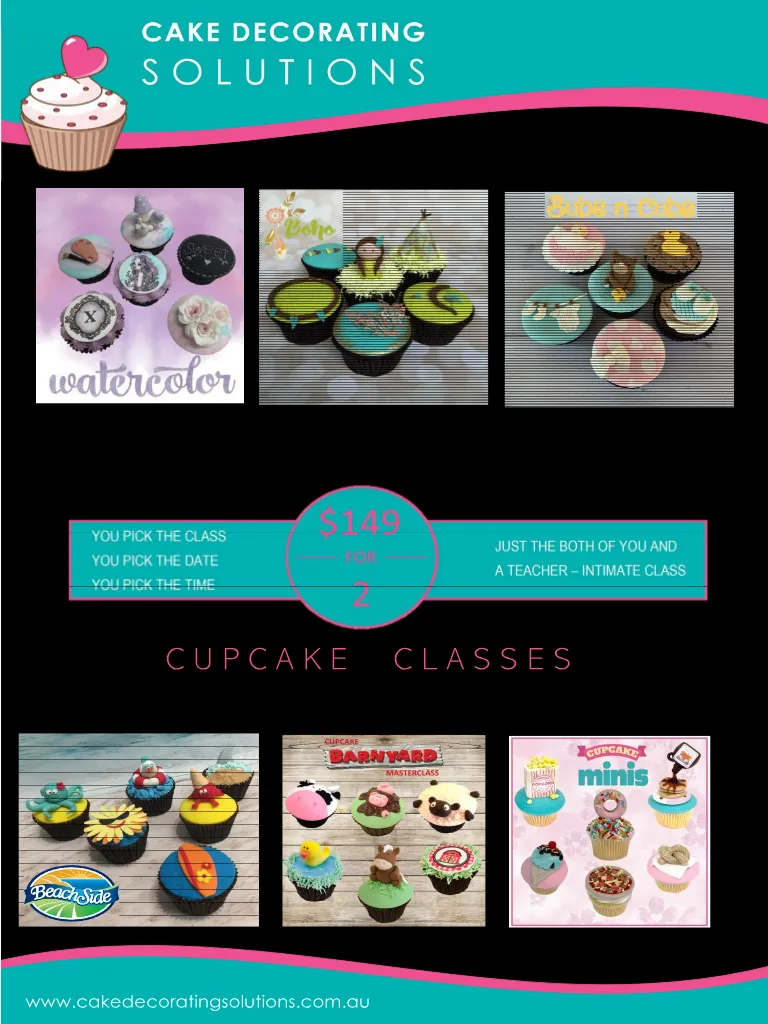
C U P C A K E C L A S S E S www.cakedecoratingsolutions.com.au
Page 16 text
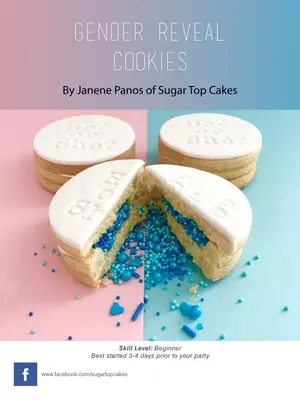
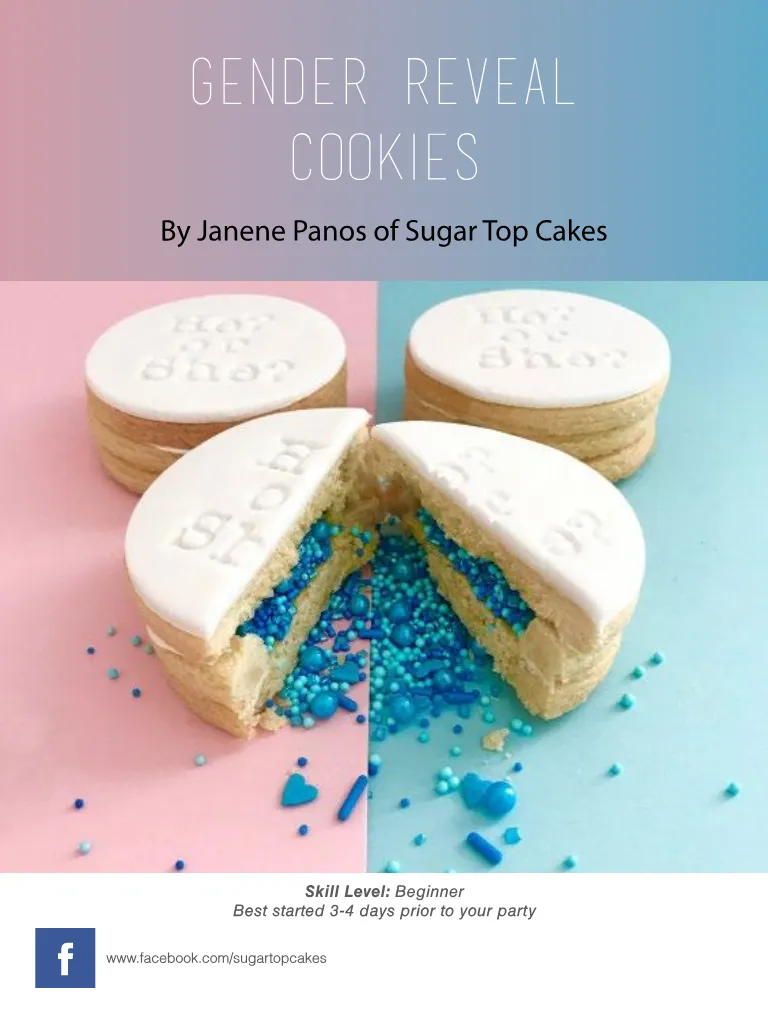
GENDER REVEAL COOKIES By Janene Panos of Sugar Top Cakes Skill Level: Beginner Best started 3-4 days prior to your party f www.facebook.com/sugartopcakes
Page 17 text
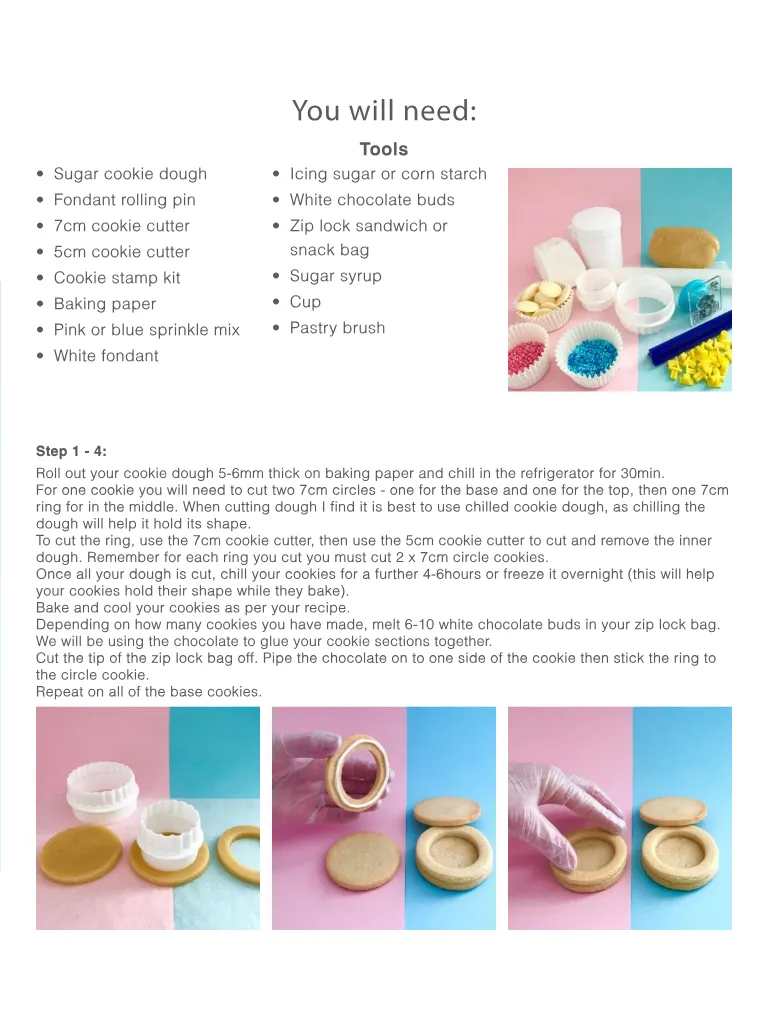
You will need: • Sugar cookie dough • Fondant rolling pin • 7cm cookie cutter • 5cm cookie cutter • Cookie stamp kit • Baking paper • Pink or blue sprinkle mix • White fondant Tools • Icing sugar or corn starch • White chocolate buds • Zip lock sandwich or snack bag • Sugar syrup • Cup • Pastry brush Step 1 - 4: Roll out your cookie dough 5-6mm thick on baking paper and chill in the refrigerator for 30min. For one cookie you will need to cut two 7cm circles - one for the base and one for the top, then one 7cm ring for in the middle. When cutting dough I find it is best to use chilled cookie dough, as chilling the dough will help it hold its shape. To cut the ring, use the 7cm cookie cutter, then use the 5cm cookie cutter to cut and remove the inner dough. Remember for each ring you cut you must cut 2 x 7cm circle cookies. Once all your dough is cut, chill your cookies for a further 4-6hours or freeze it overnight (this will help your cookies hold their shape while they bake). Bake and cool your cookies as per your recipe. Depending on how many cookies you have made, melt 6-10 white chocolate buds in your zip lock bag. We will be using the chocolate to glue your cookie sections together. Cut the tip of the zip lock bag off. Pipe the chocolate on to one side of the cookie then stick the ring to the circle cookie. Repeat on all of the base cookies.
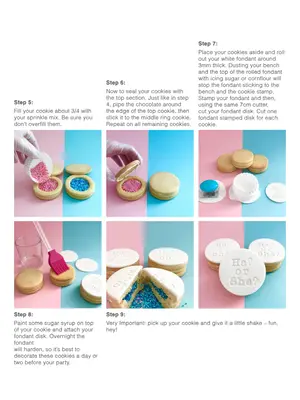
Page 18 text
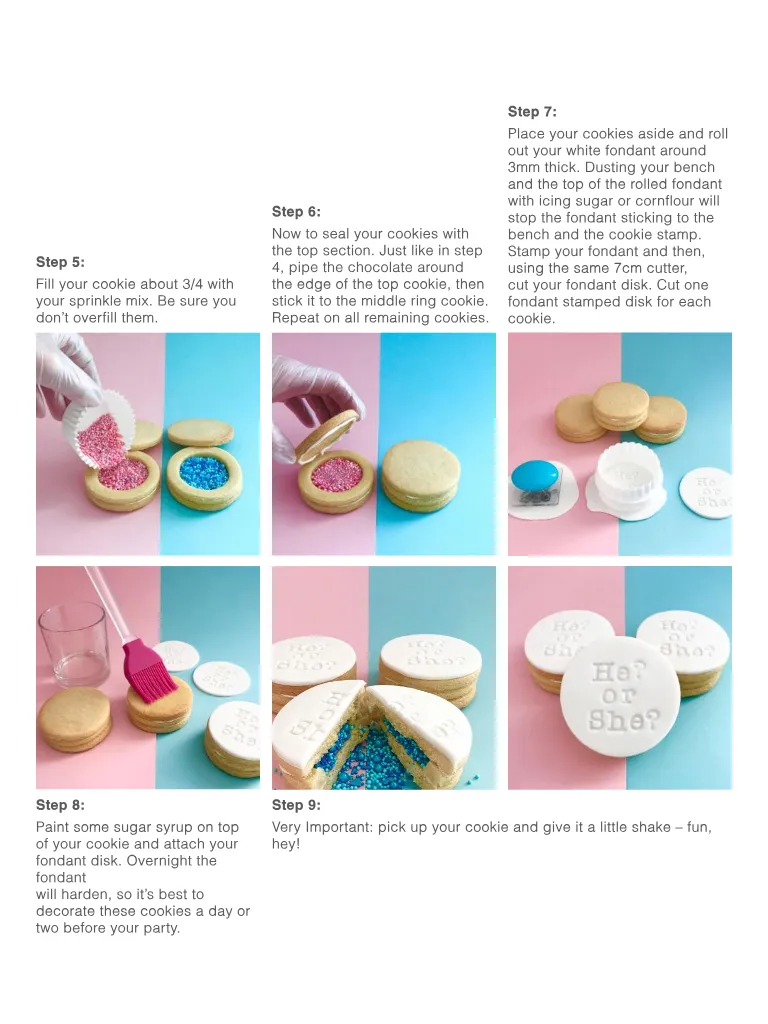
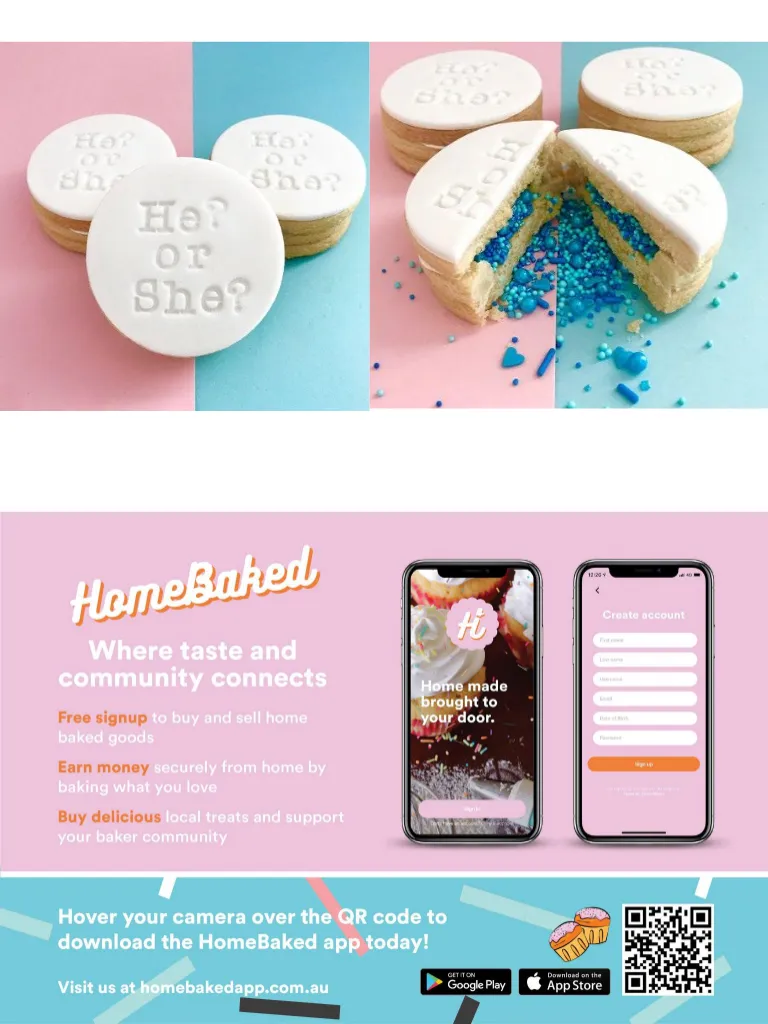
Step 5: Fill your cookie about 3/4 with your sprinkle mix. Be sure you don’t overfill them. Step 6: Now to seal your cookies with the top section. Just like in step 4, pipe the chocolate around the edge of the top cookie, then stick it to the middle ring cookie. Repeat on all remaining cookies. Step 7: Place your cookies aside and roll out your white fondant around 3mm thick. Dusting your bench and the top of the rolled fondant with icing sugar or cornflour will stop the fondant sticking to the bench and the cookie stamp. Stamp your fondant and then, using the same 7cm cutter, cut your fondant disk. Cut one fondant stamped disk for each cookie. Step 8: Step 9: Paint some sugar syrup on top of your cookie and attach your fondant disk. Overnight the fondant will harden, so it’s best to decorate these cookies a day or two before your party. Very Important: pick up your cookie and give it a little shake – fun, hey!
Page 20 text
www.cakedecoratingsolutions.com.au pf What’s Your Flavour… NEW FLAVOURS AVAILABLE IN STORE AND ONLINE

Page 21 text
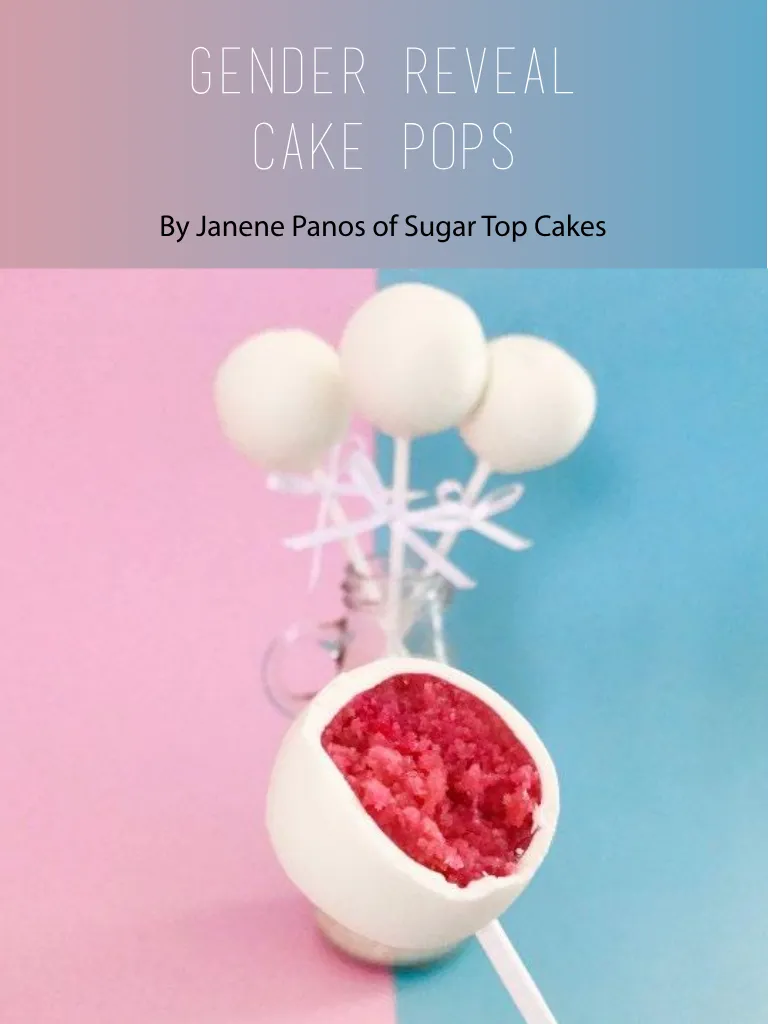
GENDER REVEAL CAKE POPS By Janene Panos of Sugar Top Cakes
Page 22 text
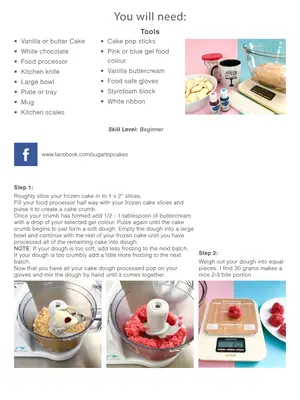
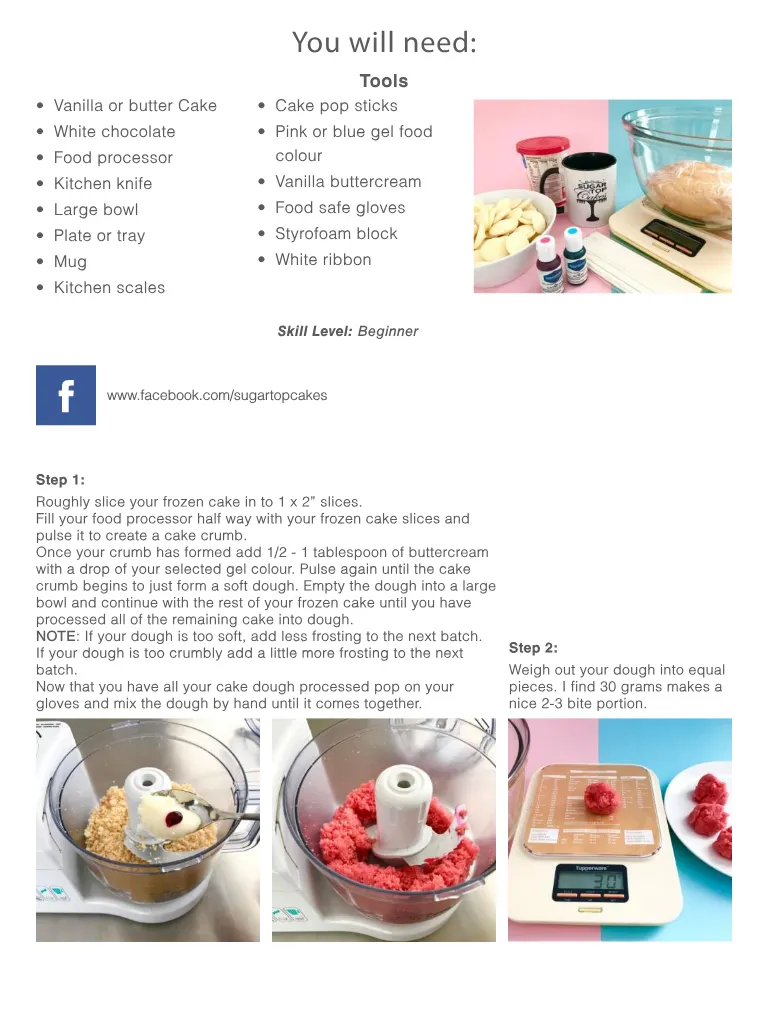
You will need: • Vanilla or butter Cake • White chocolate • Food processor • Kitchen knife • Large bowl • Plate or tray • Mug • Kitchen scales Tools • Cake pop sticks • Pink or blue gel food colour • Vanilla buttercream • Food safe gloves • Styrofoam block • White ribbon Skill Level: Beginner f www.facebook.com/sugartopcakes Step 1: Roughly slice your frozen cake in to 1 x 2” slices. Fill your food processor half way with your frozen cake slices and pulse it to create a cake crumb. Once your crumb has formed add 1/2 - 1 tablespoon of buttercream with a drop of your selected gel colour. Pulse again until the cake crumb begins to just form a soft dough. Empty the dough into a large bowl and continue with the rest of your frozen cake until you have processed all of the remaining cake into dough. NOTE: If your dough is too soft, add less frosting to the next batch. If your dough is too crumbly add a little more frosting to the next batch. Now that you have all your cake dough processed pop on your gloves and mix the dough by hand until it comes together. Step 2: Weigh out your dough into equal pieces. I find 30 grams makes a nice 2-3 bite portion.
Page 23 text
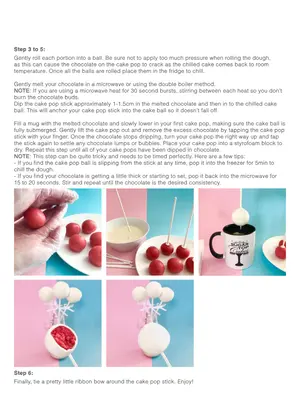
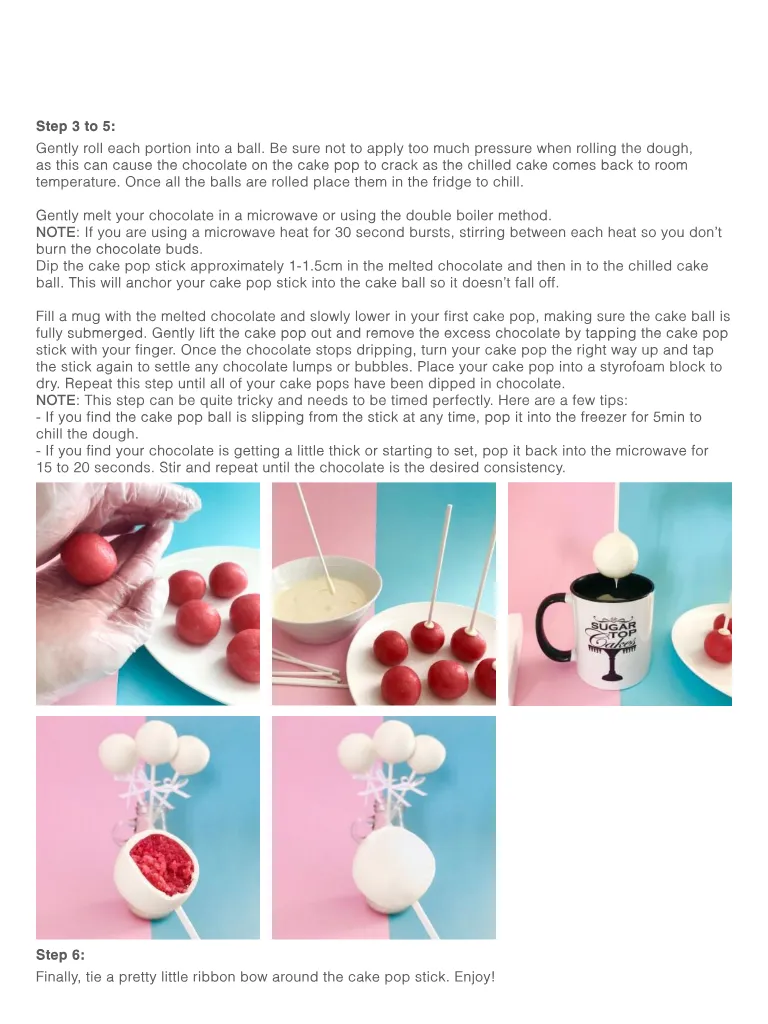
Step 3 to 5: Gently roll each portion into a ball. Be sure not to apply too much pressure when rolling the dough, as this can cause the chocolate on the cake pop to crack as the chilled cake comes back to room temperature. Once all the balls are rolled place them in the fridge to chill. Gently melt your chocolate in a microwave or using the double boiler method. NOTE: If you are using a microwave heat for 30 second bursts, stirring between each heat so you don’t burn the chocolate buds. Dip the cake pop stick approximately 1-1.5cm in the melted chocolate and then in to the chilled cake ball. This will anchor your cake pop stick into the cake ball so it doesn’t fall off. Fill a mug with the melted chocolate and slowly lower in your first cake pop, making sure the cake ball is fully submerged. Gently lift the cake pop out and remove the excess chocolate by tapping the cake pop stick with your finger. Once the chocolate stops dripping, turn your cake pop the right way up and tap the stick again to settle any chocolate lumps or bubbles. Place your cake pop into a styrofoam block to dry. Repeat this step until all of your cake pops have been dipped in chocolate. NOTE: This step can be quite tricky and needs to be timed perfectly. Here are a few tips: - If you find the cake pop ball is slipping from the stick at any time, pop it into the freezer for 5min to chill the dough. - If you find your chocolate is getting a little thick or starting to set, pop it back into the microwave for 15 to 20 seconds. Stir and repeat until the chocolate is the desired consistency. Step 6: Finally, tie a pretty little ribbon bow around the cake pop stick. Enjoy!
Page 24 text
Rescheduled! February 2021 www.cakedecoratingcentral.com.au

Page 25 text
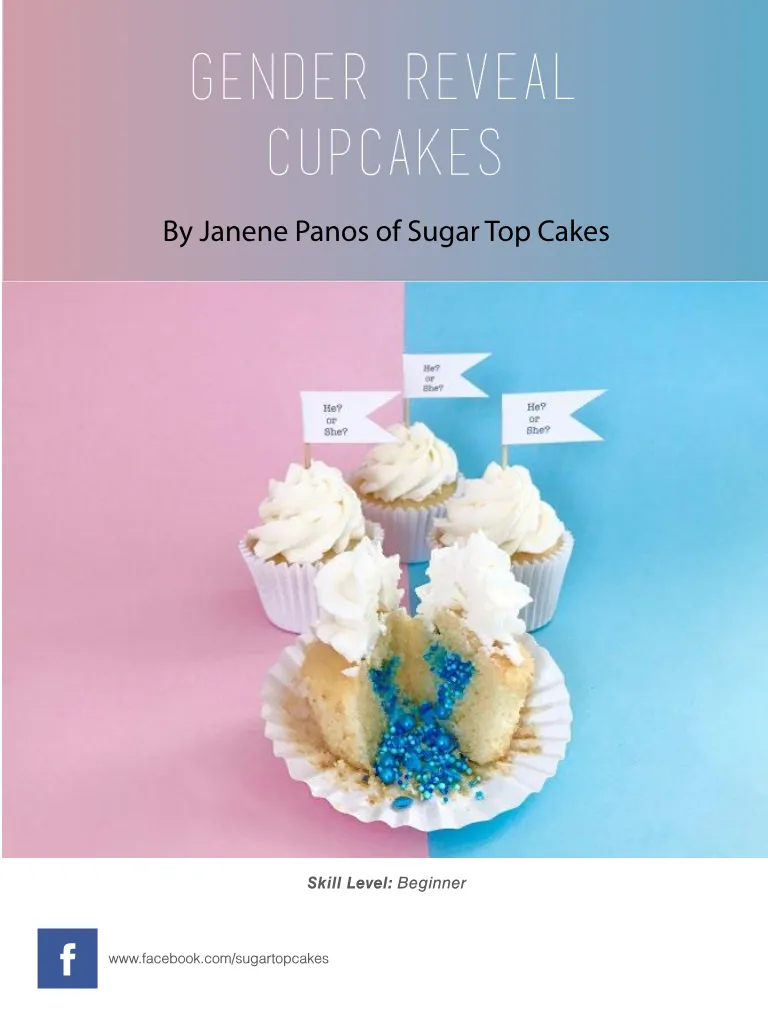
GENDER REVEAL CUPCAKES By Janene Panos of Sugar Top Cakes Skill Level: Beginner f www.facebook.com/sugartopcakes
Page 26 text
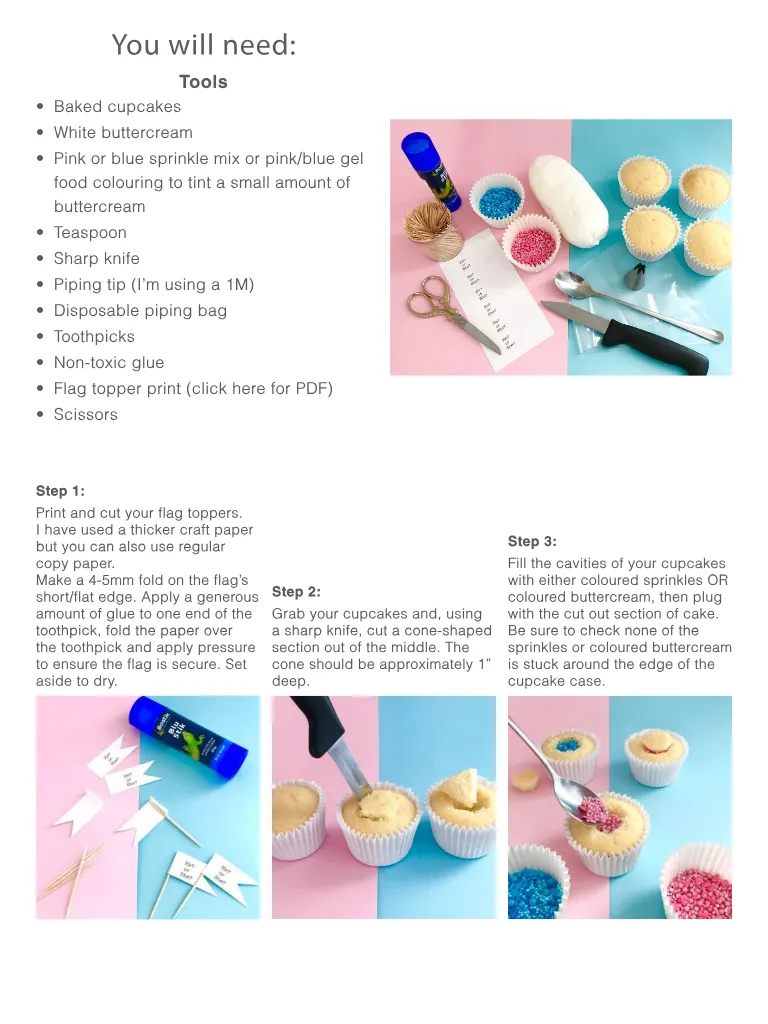
You will need: Tools • Baked cupcakes • White buttercream • Pink or blue sprinkle mix or pink/blue gel food colouring to tint a small amount of buttercream • Teaspoon • Sharp knife • Piping tip (I’m using a 1M) • Disposable piping bag • Toothpicks • Non-toxic glue • Flag topper print (click here for PDF) • Scissors Step 1: Print and cut your flag toppers. I have used a thicker craft paper but you can also use regular copy paper. Make a 4-5mm fold on the flag’s short/flat edge. Apply a generous amount of glue to one end of the toothpick, fold the paper over the toothpick and apply pressure to ensure the flag is secure. Set aside to dry. Step 2: Grab your cupcakes and, using a sharp knife, cut a cone-shaped section out of the middle. The cone should be approximately 1” deep. Step 3: Fill the cavities of your cupcakes with either coloured sprinkles OR coloured buttercream, then plug with the cut out section of cake. Be sure to check none of the sprinkles or coloured buttercream is stuck around the edge of the cupcake case.
Page 27 text
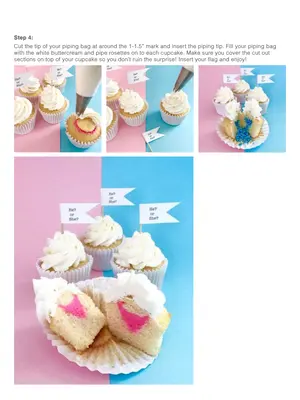
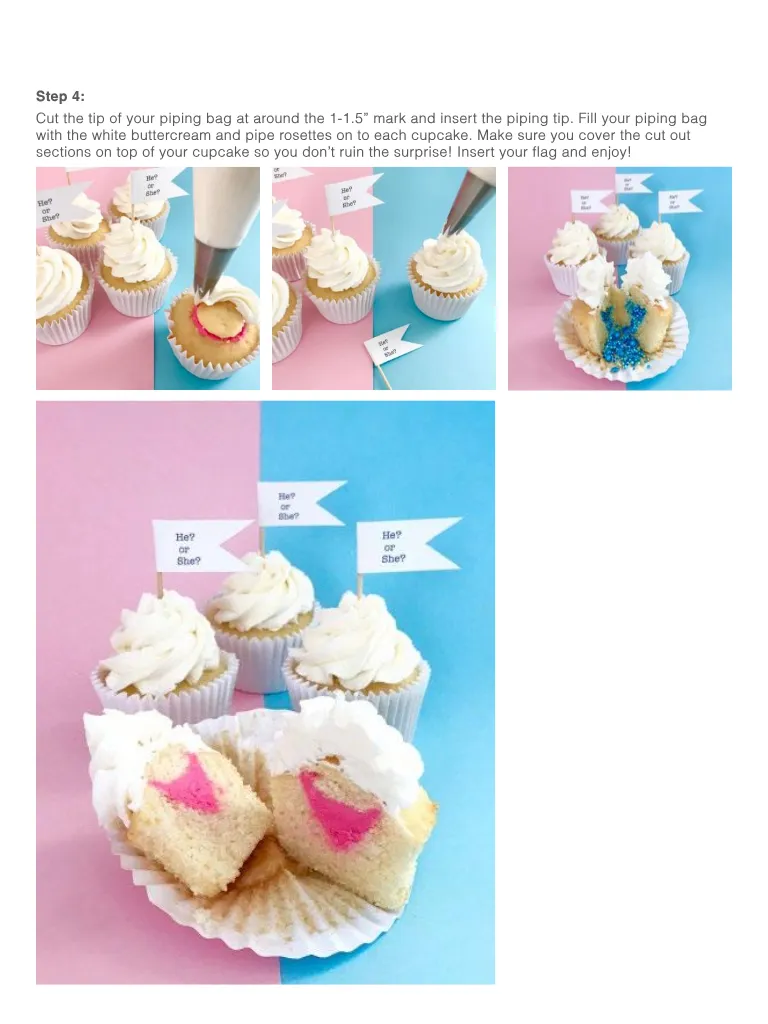
Step 4: Cut the tip of your piping bag at around the 1-1.5” mark and insert the piping tip. Fill your piping bag with the white buttercream and pipe rosettes on to each cupcake. Make sure you cover the cut out sections on top of your cupcake so you don’t ruin the surprise! Insert your flag and enjoy!
Page 28 text
N E W A R R I V A L M A S T E R C R A F T B A K E W A R E FREE EXPRESS SHIPPING B A K E W I T H C O N F I D E N C E - A L L M A S T E R C R A F T B A K E W A R E C O M E S B A C K E D W I T H A 2 0 Y E A R G U A R A N T E E & A 5 Y E A R W A R R A N T Y O N T H E D O U B L E L A Y E R Q U A N T U M 2 N O N - S T I C K C O A T I N G . N E W R A N G E A V A I L A B L E A T C A K E R S W A R E H O U S E . C O M . A U
Page 29 text
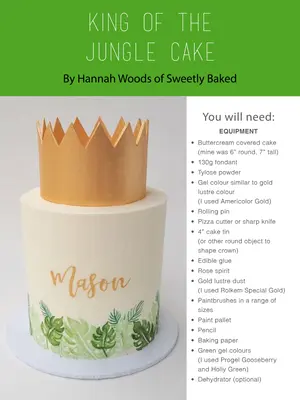
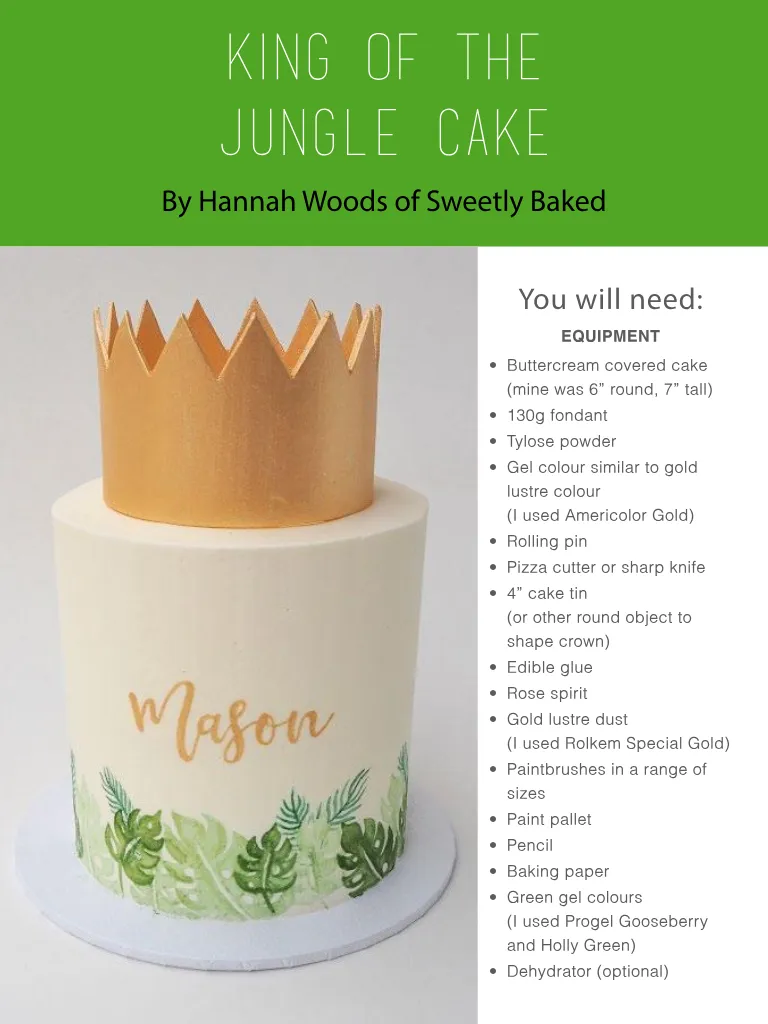
KING OF THE JUNGLE CAKE By Hannah Woods of Sweetly Baked You will need: EQUIPMENT • Buttercream covered cake (mine was 6” round, 7” tall) • 130g fondant • Tylose powder • Gel colour similar to gold lustre colour (I used Americolor Gold) • Rolling pin • Pizza cutter or sharp knife • 4” cake tin (or other round object to shape crown) • Edible glue • Rose spirit • Gold lustre dust (I used Rolkem Special Gold) • Paintbrushes in a range of sizes • Paint pallet • Pencil • Baking paper • Green gel colours (I used Progel Gooseberry and Holly Green) • Dehydrator (optional)
Page 30 text
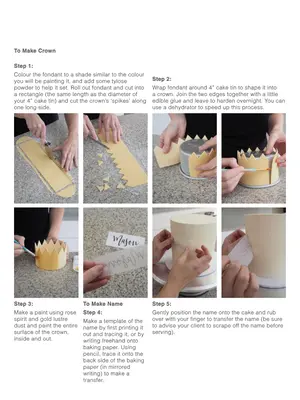
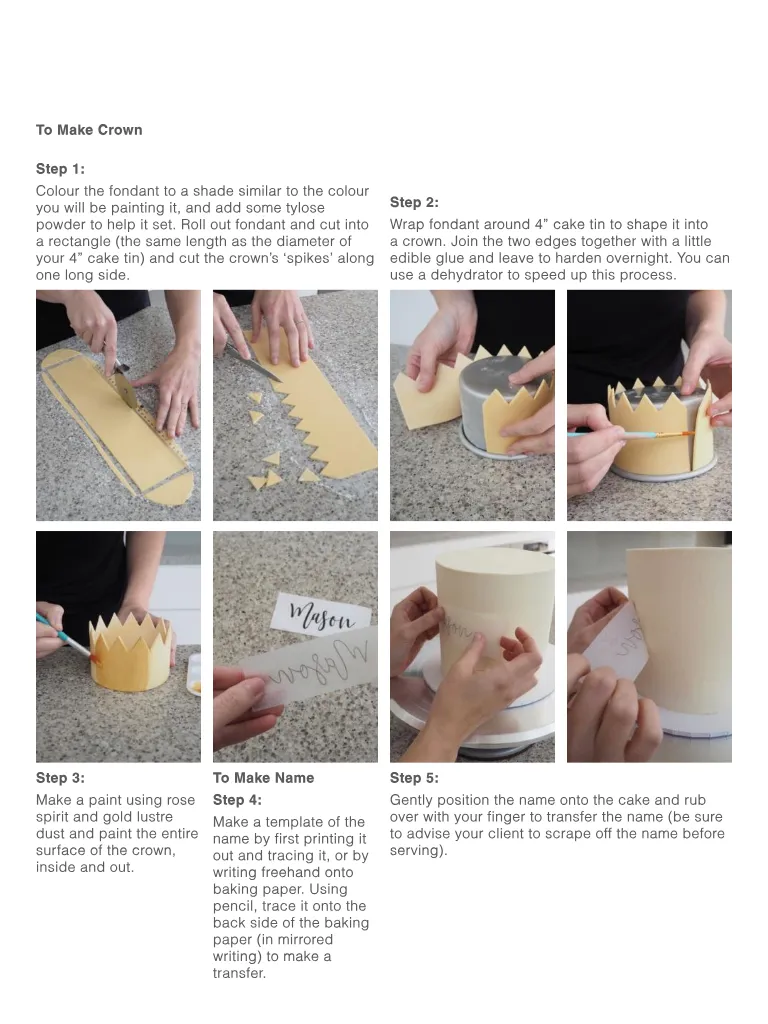
To Make Crown Step 1: Colour the fondant to a shade similar to the colour you will be painting it, and add some tylose powder to help it set. Roll out fondant and cut into a rectangle (the same length as the diameter of your 4” cake tin) and cut the crown’s ‘spikes’ along one long side. Step 2: Wrap fondant around 4” cake tin to shape it into a crown. Join the two edges together with a little edible glue and leave to harden overnight. You can use a dehydrator to speed up this process. Step 3: Make a paint using rose spirit and gold lustre dust and paint the entire surface of the crown, inside and out. To Make Name Step 4: Make a template of the name by first printing it out and tracing it, or by writing freehand onto baking paper. Using pencil, trace it onto the back side of the baking paper (in mirrored writing) to make a transfer. Step 5: Gently position the name onto the cake and rub over with your finger to transfer the name (be sure to advise your client to scrape off the name before serving).
Page 31 text
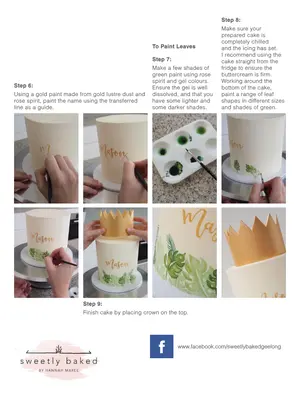
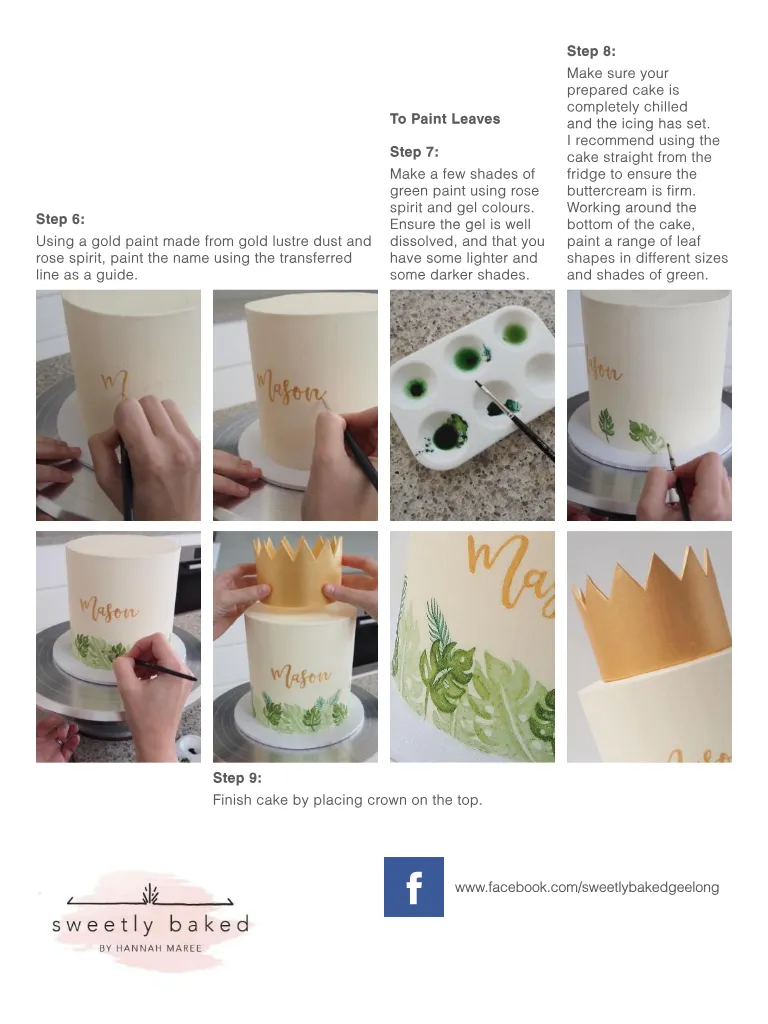
Step 6: Using a gold paint made from gold lustre dust and rose spirit, paint the name using the transferred line as a guide. To Paint Leaves Step 7: Make a few shades of green paint using rose spirit and gel colours. Ensure the gel is well dissolved, and that you have some lighter and some darker shades. Step 8: Make sure your prepared cake is completely chilled and the icing has set. I recommend using the cake straight from the fridge to ensure the buttercream is firm. Working around the bottom of the cake, paint a range of leaf shapes in different sizes and shades of green. Step 9: Finish cake by placing crown on the top. f www.facebook.com/sweetlybakedgeelong
Page 32 text
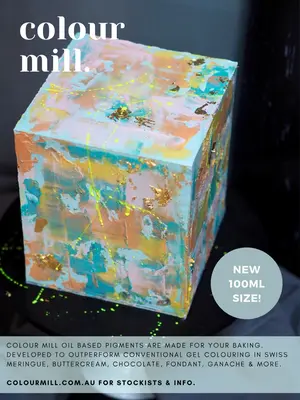
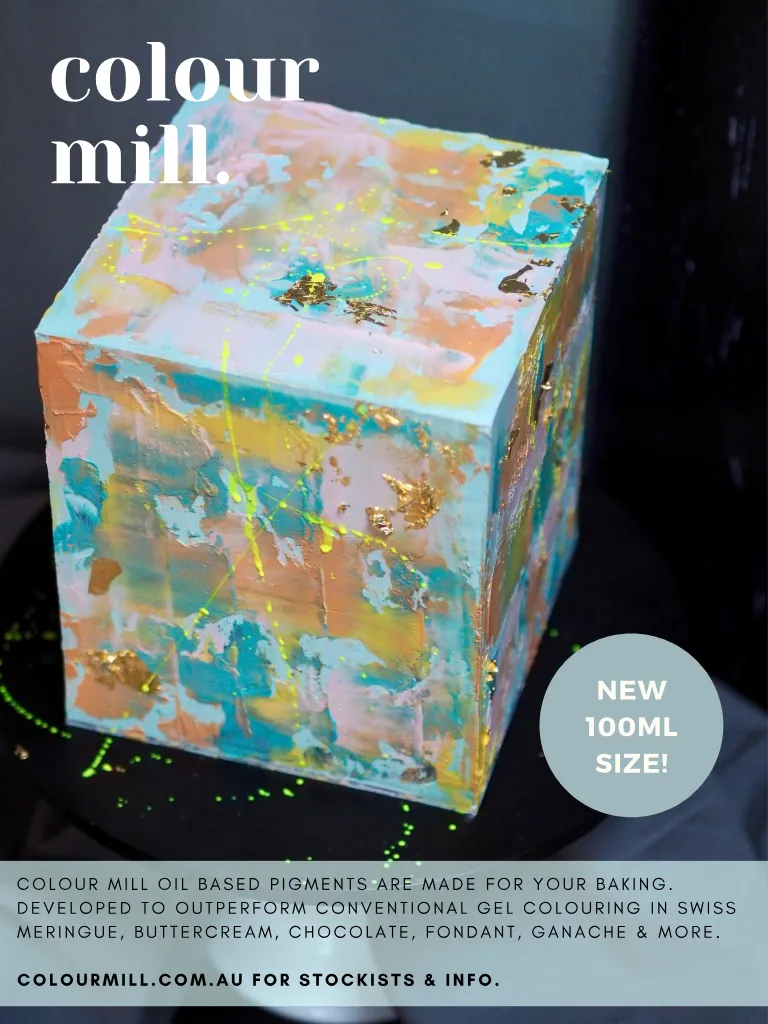
colour mill. NEW 100ML SIZE! C O L O U R M I L L O I L B A S E D P I G M E N T S A R E M A D E F O R Y O U R B A K I N G . D E V E L O P E D T O O U T P E R F O R M C O N V E N T I O N A L G E L C O L O U R I N G I N S W I S S M E R I N G U E , B U T T E R C R E A M , C H O C O L A T E , F O N D A N T , G A N A C H E & M O R E . C O L O U R M I L L . C O M . A U F O R S T O C K I S T S & I N F O .
Page 33 text
Recipes A collection of delicious recipes for you to bake for your next BABY celebration!
Page 34 text
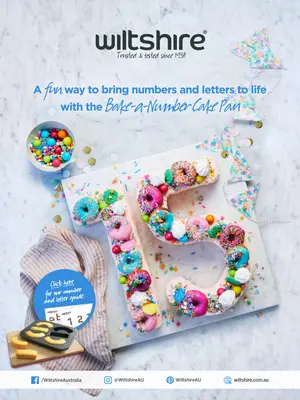
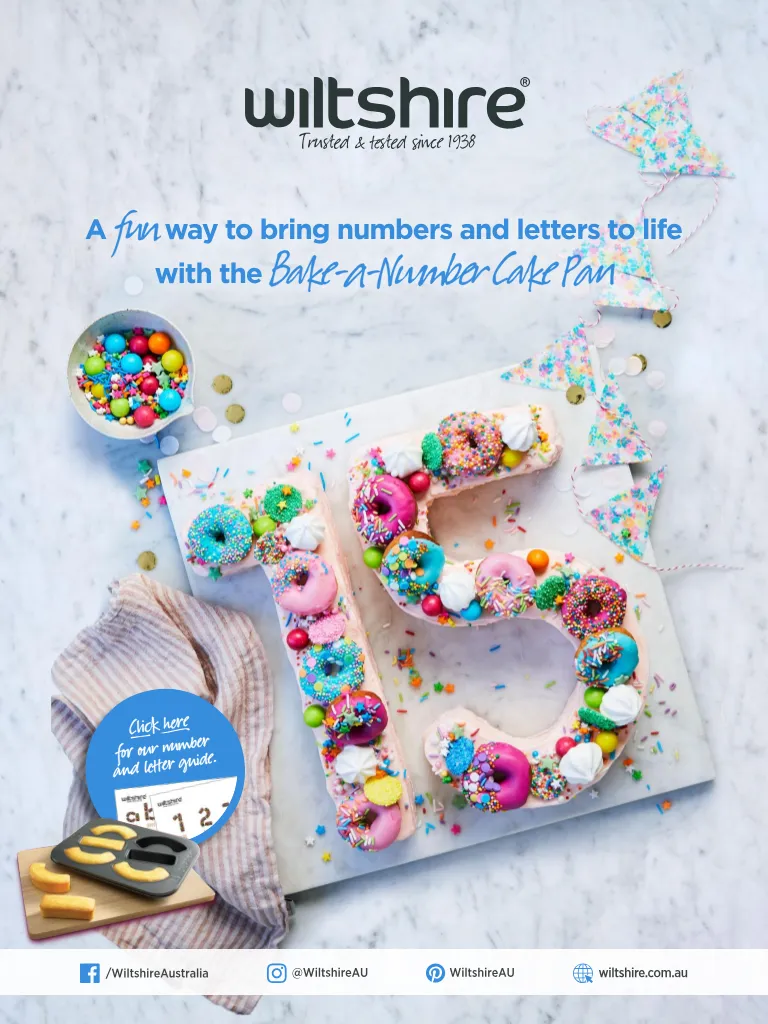
fun way to bring numbers and letters to life fun A Bake-a-Number Cake Pan with the Click here for our number and letter guide.
Page 35 text
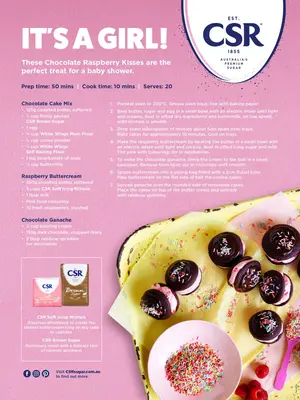
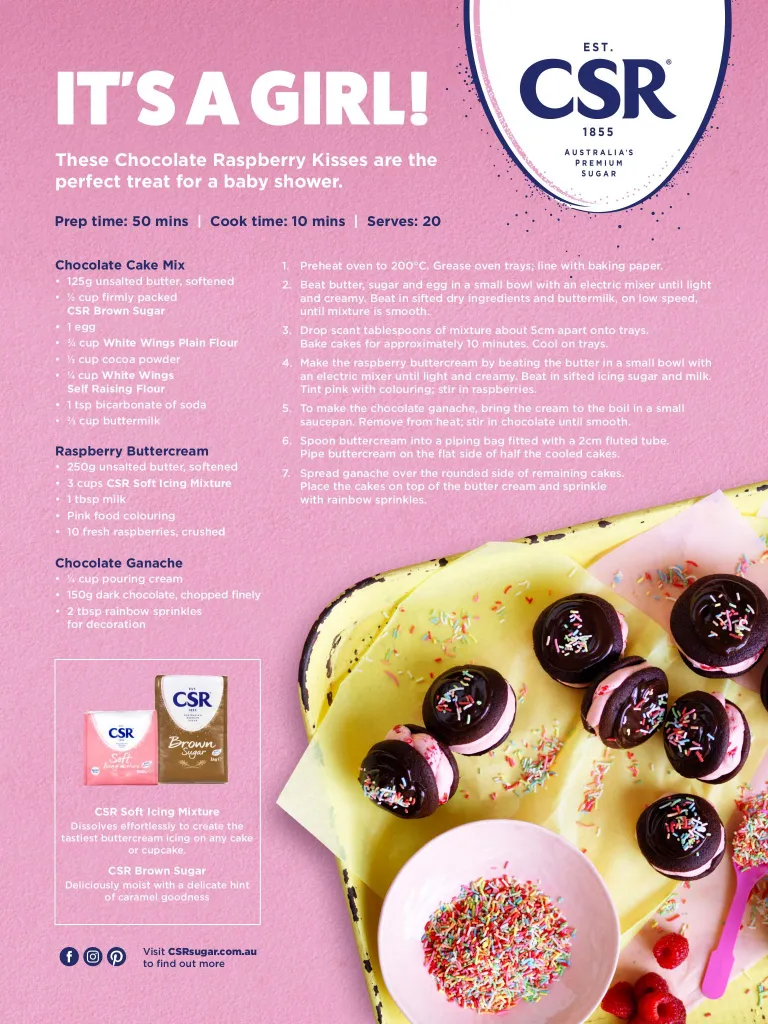
IT'S A GIRL! These Chocolate Raspberry Kisses are the perfect treat for a baby shower. Prep time: 50 mins | Cook time: 10 mins | Serves: 20 Chocolate Cake Mix • 125g unsalted butter, softened • ½ cup firmly packed CSR Brown Sugar • 1 egg • ¾ cup White Wings Plain Flour • ⅓ cup cocoa powder • ¼ cup White Wings Self Raising Flour • 1 tsp bicarbonate of soda • ⅔ cup buttermilk Raspberry Buttercream • 250g unsalted butter, softened • 3 cups CSR Soft Icing Mixture • 1 tbsp milk • Pink food colouring • 10 fresh raspberries, crushed 1. Preheat oven to 200°C. Grease oven trays; line with baking paper. 2. Beat butter, sugar and egg in a small bowl with an electric mixer until light and creamy. Beat in sifted dry ingredients and buttermilk, on low speed, until mixture is smooth. 3. Drop scant tablespoons of mixture about 5cm apart onto trays. Bake cakes for approximately 10 minutes. Cool on trays. 4. Make the raspberry buttercream by beating the butter in a small bowl with an electric mixer until light and creamy. Beat in sifted icing sugar and milk. Tint pink with colouring; stir in raspberries. 5. To make the chocolate ganache, bring the cream to the boil in a small saucepan. Remove from heat; stir in chocolate until smooth. 6. Spoon buttercream into a piping bag fitted with a 2cm fluted tube. Pipe buttercream on the flat side of half the cooled cakes. 7. Spread ganache over the rounded side of remaining cakes. Place the cakes on top of the butter cream and sprinkle with rainbow sprinkles. Chocolate Ganache • ¼ cup pouring cream • 150g dark chocolate, chopped finely • 2 tbsp rainbow sprinkles for decoration CSR Soft Icing Mixture Dissolves effortlessly to create the tastiest buttercream icing on any cake or cupcake. CSR Brown Sugar Deliciously moist with a delicate hint of caramel goodness Visit CSRsugar.com.au to find out more
Page 36 text
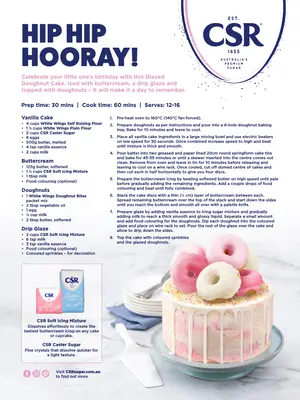
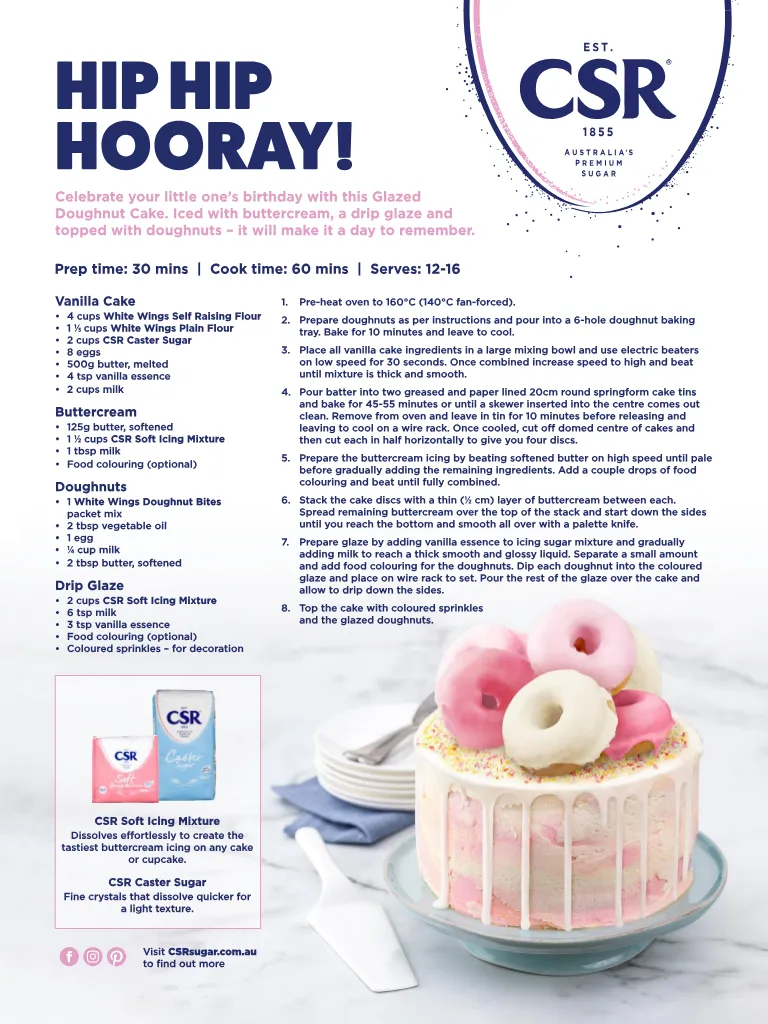
HIP HIP HOORAY! Celebrate your little one’s birthday with this Glazed Doughnut Cake. Iced with buttercream, a drip glaze and topped with doughnuts – it will make it a day to remember. Prep time: 30 mins | Cook time: 60 mins | Serves: 12-16 Vanilla Cake • 4 cups White Wings Self Raising Flour • 1 ⅓ cups White Wings Plain Flour • 2 cups CSR Caster Sugar • 8 eggs • 500g butter, melted • 4 tsp vanilla essence • 2 cups milk Buttercream • 125g butter, softened • 1 ½ cups CSR Soft Icing Mixture • 1 tbsp milk • Food colouring (optional) Doughnuts • 1 White Wings Doughnut Bites packet mix • 2 tbsp vegetable oil • 1 egg • ¼ cup milk • 2 tbsp butter, softened Drip Glaze • 2 cups CSR Soft Icing Mixture • 6 tsp milk • 3 tsp vanilla essence • Food colouring (optional) • Coloured sprinkles – for decoration 1. Pre-heat oven to 160°C (140°C fan-forced). 2. Prepare doughnuts as per instructions and pour into a 6-hole doughnut baking tray. Bake for 10 minutes and leave to cool. 3. Place all vanilla cake ingredients in a large mixing bowl and use electric beaters on low speed for 30 seconds. Once combined increase speed to high and beat until mixture is thick and smooth. 4. Pour batter into two greased and paper lined 20cm round springform cake tins and bake for 45-55 minutes or until a skewer inserted into the centre comes out clean. Remove from oven and leave in tin for 10 minutes before releasing and leaving to cool on a wire rack. Once cooled, cut off domed centre of cakes and then cut each in half horizontally to give you four discs. 5. Prepare the buttercream icing by beating softened butter on high speed until pale before gradually adding the remaining ingredients. Add a couple drops of food colouring and beat until fully combined. 6. Stack the cake discs with a thin (½ cm) layer of buttercream between each. Spread remaining buttercream over the top of the stack and start down the sides until you reach the bottom and smooth all over with a palette knife. 7. Prepare glaze by adding vanilla essence to icing sugar mixture and gradually adding milk to reach a thick smooth and glossy liquid. Separate a small amount and add food colouring for the doughnuts. Dip each doughnut into the coloured glaze and place on wire rack to set. Pour the rest of the glaze over the cake and allow to drip down the sides. 8. Top the cake with coloured sprinkles and the glazed doughnuts. CSR Soft Icing Mixture Dissolves effortlessly to create the tastiest buttercream icing on any cake or cupcake. CSR Caster Sugar Fine crystals that dissolve quicker for a light texture. Visit CSRsugar.com.au to find out more
Page 37 text
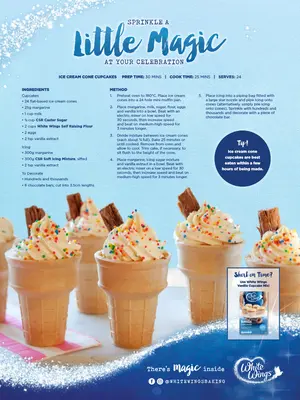
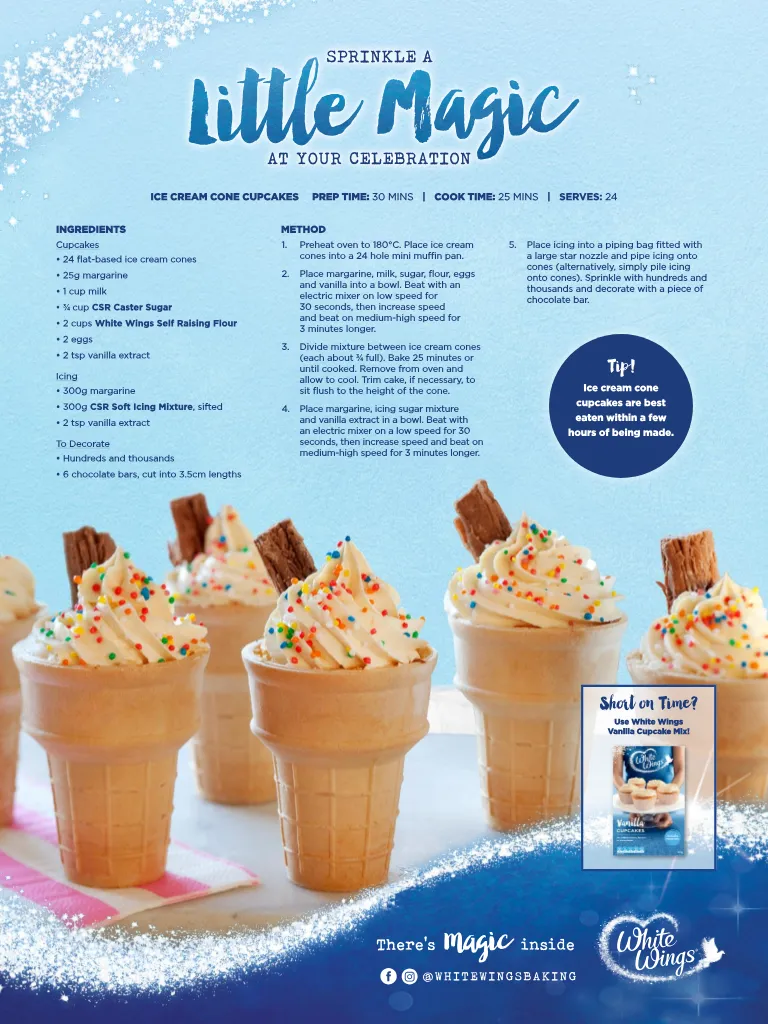
ICE CREAM CONE CUPCAKES PREP TIME: 30 MINS | COOK TIME: 25 MINS | SERVES: 24 INGREDIENTS Cupcakes • 24 flat-based ice cream cones • 25g margarine • 1 cup milk • ¾ cup CSR Caster Sugar • 2 cups White Wings Self Raising Flour • 2 eggs • 2 tsp vanilla extract Icing • 300g margarine • 300g CSR Soft Icing Mixture, sifted • 2 tsp vanilla extract To Decorate • Hundreds and thousands • 6 chocolate bars, cut into 3.5cm lengths METHOD 1. Preheat oven to 180°C. Place ice cream cones into a 24 hole mini muffin pan. 2. Place margarine, milk, sugar, flour, eggs and vanilla into a bowl. Beat with an electric mixer on low speed for 30 seconds, then increase speed and beat on medium-high speed for 3 minutes longer. 3. Divide mixture between ice cream cones (each about ¾ full). Bake 25 minutes or until cooked. Remove from oven and allow to cool. Trim cake, if necessary, to sit flush to the height of the cone. 4. Place margarine, icing sugar mixture and vanilla extract in a bowl. Beat with an electric mixer on a low speed for 30 seconds, then increase speed and beat on medium-high speed for 3 minutes longer. 5. Place icing into a piping bag fitted with a large star nozzle and pipe icing onto cones (alternatively, simply pile icing onto cones). Sprinkle with hundreds and thousands and decorate with a piece of chocolate bar. Tip ! Ice cream cone cupcakes are best eaten within a few hours of being made. Short on Time? Use White Wings Vanilla Cupcake Mix! There’s inside @WHITEWINGSBAKING
Page 38 text
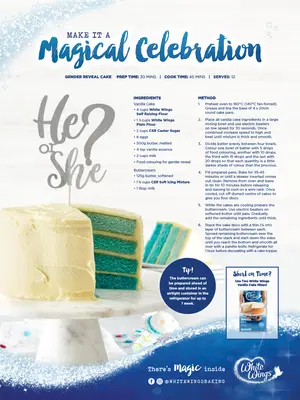
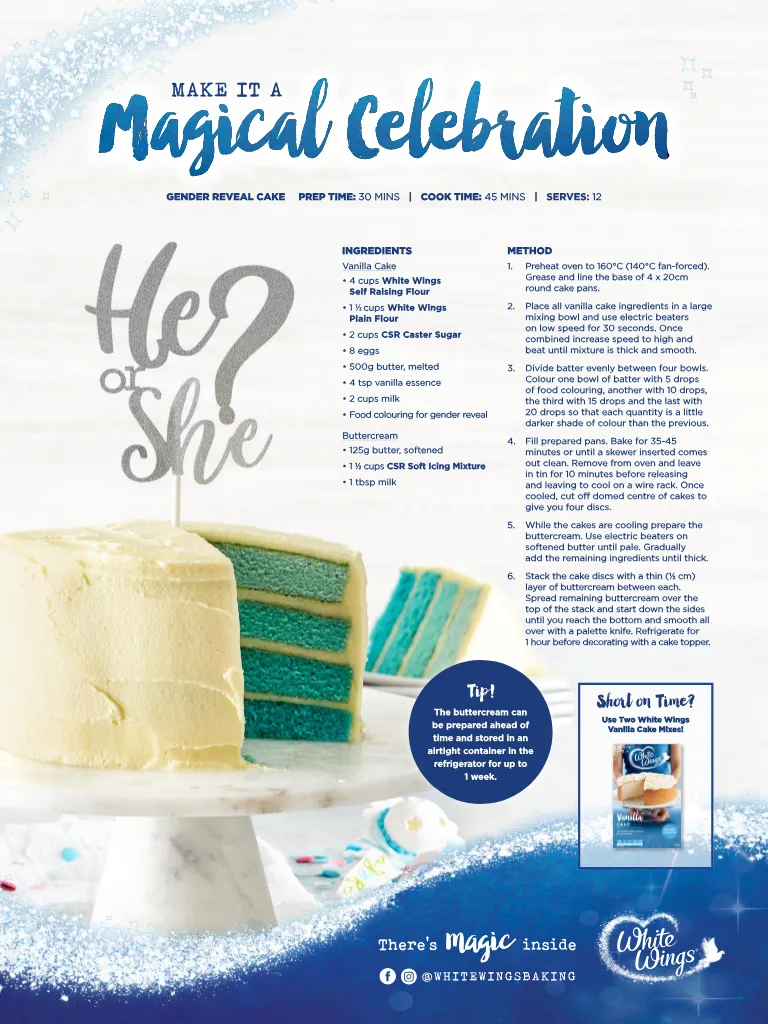
GENDER REVEAL CAKE PREP TIME: 30 MINS | COOK TIME: 45 MINS | SERVES: 12 INGREDIENTS Vanilla Cake • 4 cups White Wings Self Raising Flour • 1 ⅓ cups White Wings Plain Flour • 2 cups CSR Caster Sugar • 8 eggs • 500g butter, melted • 4 tsp vanilla essence • 2 cups milk • Food colouring for gender reveal Buttercream • 125g butter, softened • 1 ½ cups CSR Soft Icing Mixture • 1 tbsp milk METHOD 1. Preheat oven to 160°C (140°C fan-forced). Grease and line the base of 4 x 20cm round cake pans. 2. Place all vanilla cake ingredients in a large mixing bowl and use electric beaters on low speed for 30 seconds. Once combined increase speed to high and beat until mixture is thick and smooth. 3. Divide batter evenly between four bowls. Colour one bowl of batter with 5 drops of food colouring, another with 10 drops, the third with 15 drops and the last with 20 drops so that each quantity is a little darker shade of colour than the previous. 4. Fill prepared pans. Bake for 35-45 minutes or until a skewer inserted comes out clean. Remove from oven and leave in tin for 10 minutes before releasing and leaving to cool on a wire rack. Once cooled, cut off domed centre of cakes to give you four discs. 5. While the cakes are cooling prepare the buttercream. Use electric beaters on softened butter until pale. Gradually add the remaining ingredients until thick. 6. Stack the cake discs with a thin (½ cm) layer of buttercream between each. Spread remaining buttercream over the top of the stack and start down the sides until you reach the bottom and smooth all over with a palette knife. Refrigerate for 1 hour before decorating with a cake topper. Tip ! The buttercream can be prepared ahead of time and stored in an airtight container in the refrigerator for up to 1 week. Short on Time? Use Two White Wings Vanilla Cake Mixes! There’s inside @WHITEWINGSBAKING
Page 40 text
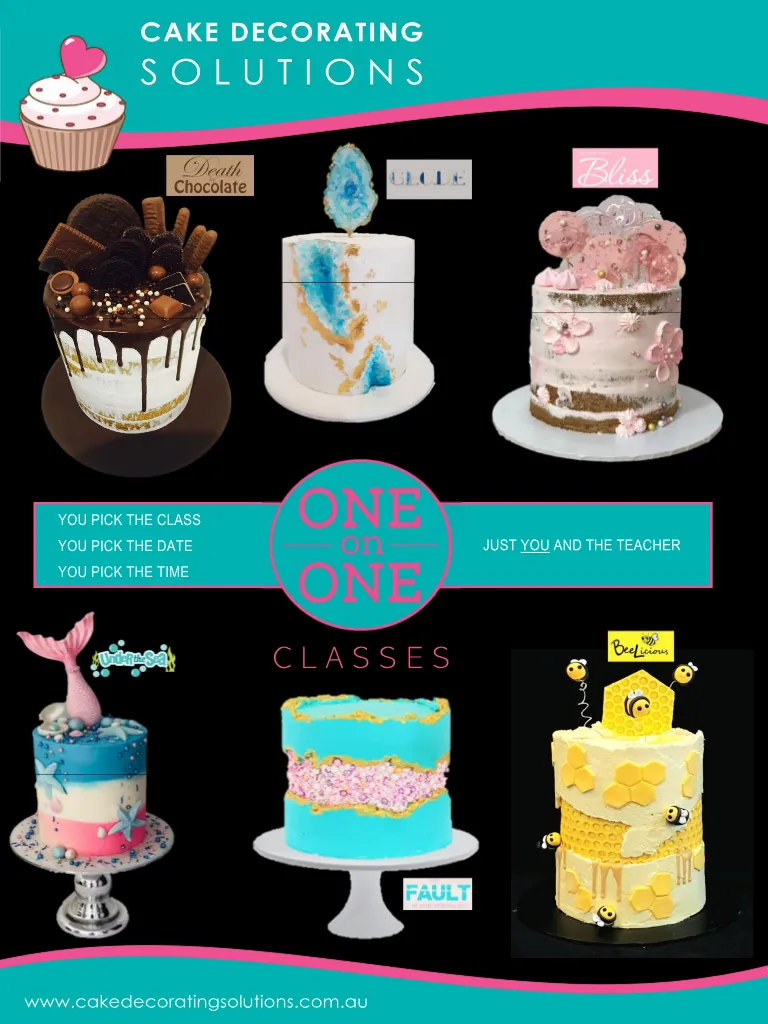
YOU PICK THE CLASS YOU PICK THE DATE YOU PICK THE TIME JUST YOU AND THE TEACHER C L A S S E S www.cakedecoratingsolutions.com.au
Page 41 text
Interviews In this issue we interview Lena McKechnie and Amber Comadira-Smith

Page 42 text
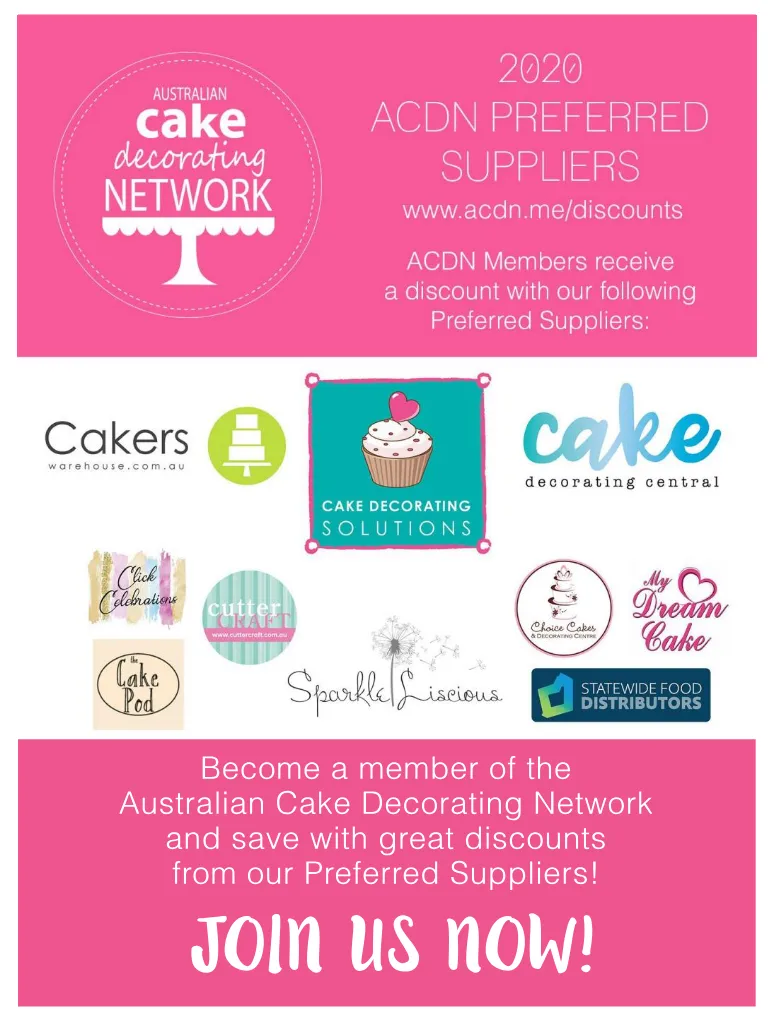
Become a member of the Australian Cake Decorating Network and save with great discounts from our Preferred Suppliers! JOIN US NOW!
Page 43 text
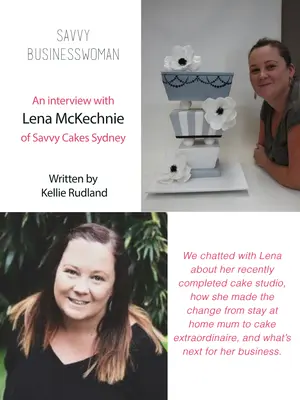
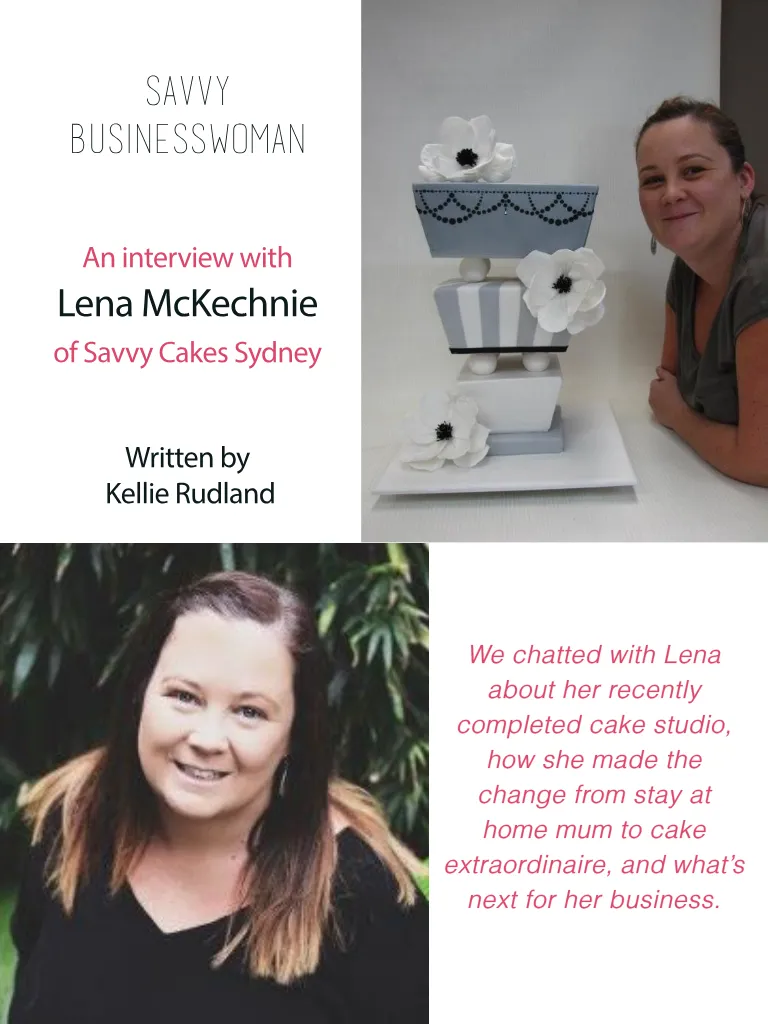
Savvy Businesswoman An interview with Lena McKechnie of Savvy Cakes Sydney Written by Kellie Rudland We chatted with Lena about her recently completed cake studio, how she made the change from stay at home mum to cake extraordinaire, and what’s next for her business.
Page 44 text
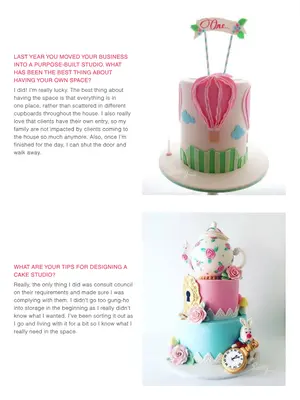
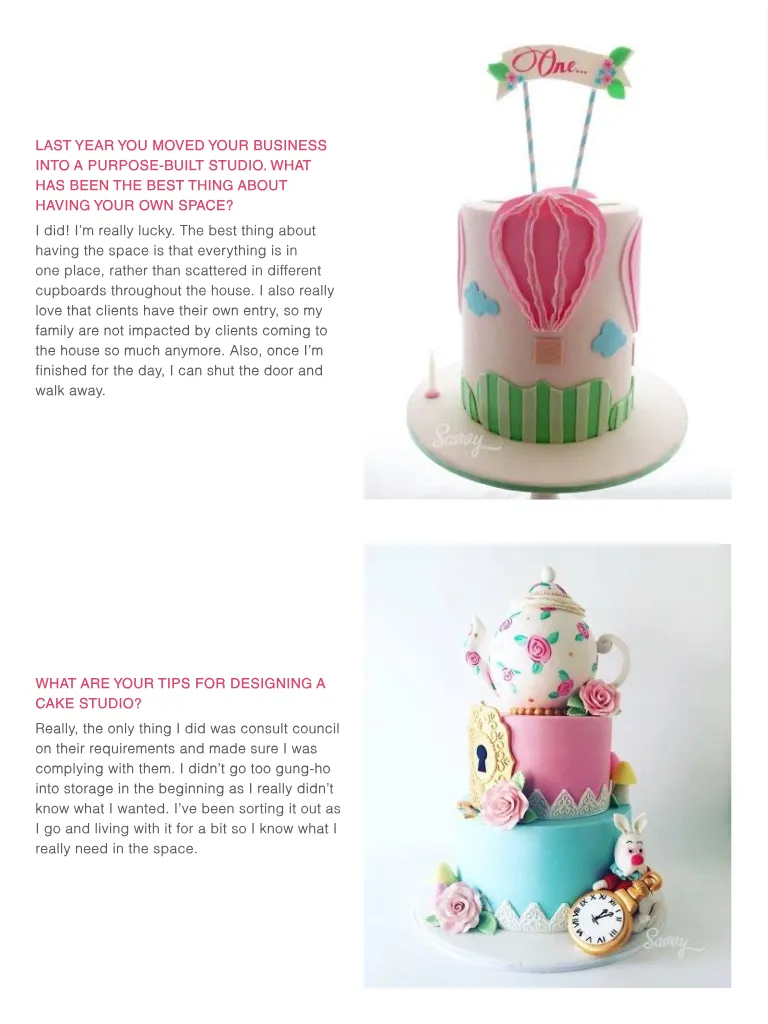
LAST YEAR YOU MOVED YOUR BUSINESS INTO A PURPOSE-BUILT STUDIO. WHAT HAS BEEN THE BEST THING ABOUT HAVING YOUR OWN SPACE? I did! I’m really lucky. The best thing about having the space is that everything is in one place, rather than scattered in different cupboards throughout the house. I also really love that clients have their own entry, so my family are not impacted by clients coming to the house so much anymore. Also, once I’m finished for the day, I can shut the door and walk away. WHAT ARE YOUR TIPS FOR DESIGNING A CAKE STUDIO? Really, the only thing I did was consult council on their requirements and made sure I was complying with them. I didn’t go too gung-ho into storage in the beginning as I really didn’t know what I wanted. I’ve been sorting it out as I go and living with it for a bit so I know what I really need in the space.
Page 45 text
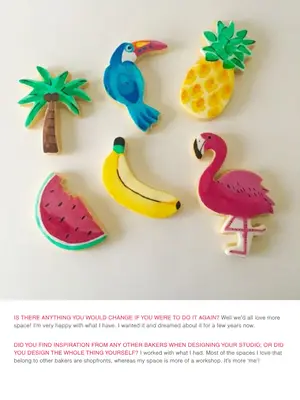
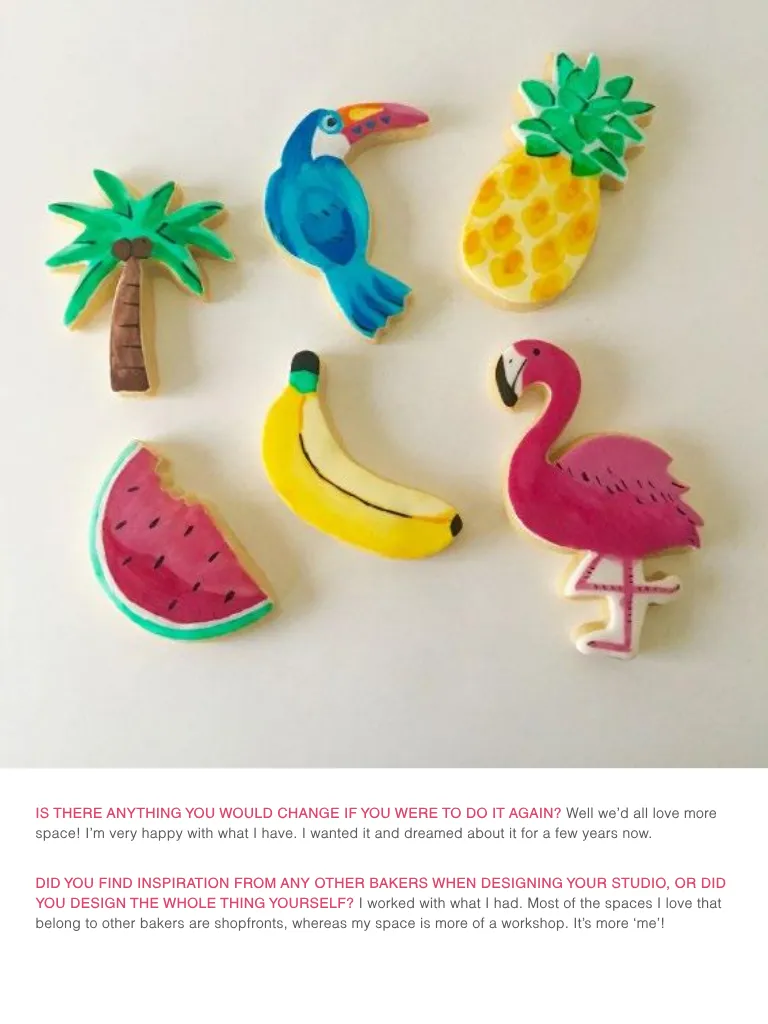
IS THERE ANYTHING YOU WOULD CHANGE IF YOU WERE TO DO IT AGAIN? Well we’d all love more space! I’m very happy with what I have. I wanted it and dreamed about it for a few years now. DID YOU FIND INSPIRATION FROM ANY OTHER BAKERS WHEN DESIGNING YOUR STUDIO, OR DID YOU DESIGN THE WHOLE THING YOURSELF? I worked with what I had. Most of the spaces I love that belong to other bakers are shopfronts, whereas my space is more of a workshop. It’s more ‘me’!
Page 46 text
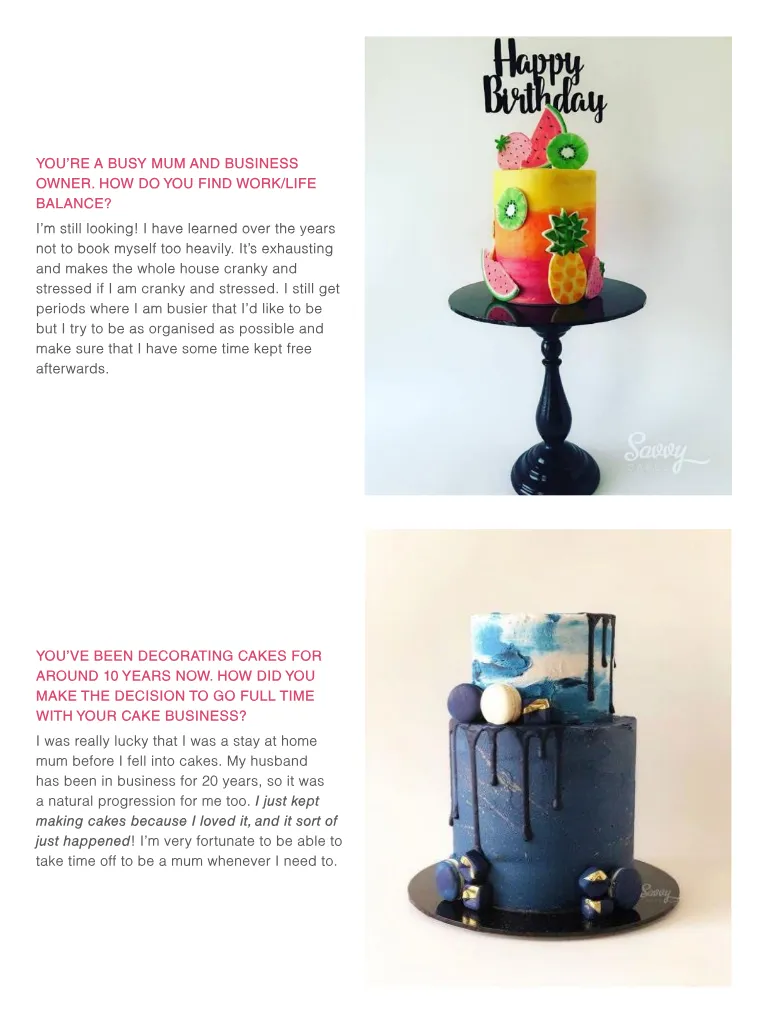
YOU’RE A BUSY MUM AND BUSINESS OWNER. HOW DO YOU FIND WORK/LIFE BALANCE? I’m still looking! I have learned over the years not to book myself too heavily. It’s exhausting and makes the whole house cranky and stressed if I am cranky and stressed. I still get periods where I am busier that I’d like to be but I try to be as organised as possible and make sure that I have some time kept free afterwards. YOU’VE BEEN DECORATING CAKES FOR AROUND 10 YEARS NOW. HOW DID YOU MAKE THE DECISION TO GO FULL TIME WITH YOUR CAKE BUSINESS? I was really lucky that I was a stay at home mum before I fell into cakes. My husband has been in business for 20 years, so it was a natural progression for me too. I just kept making cakes because I loved it, and it sort of just happened! I’m very fortunate to be able to take time off to be a mum whenever I need to.
Page 47 text
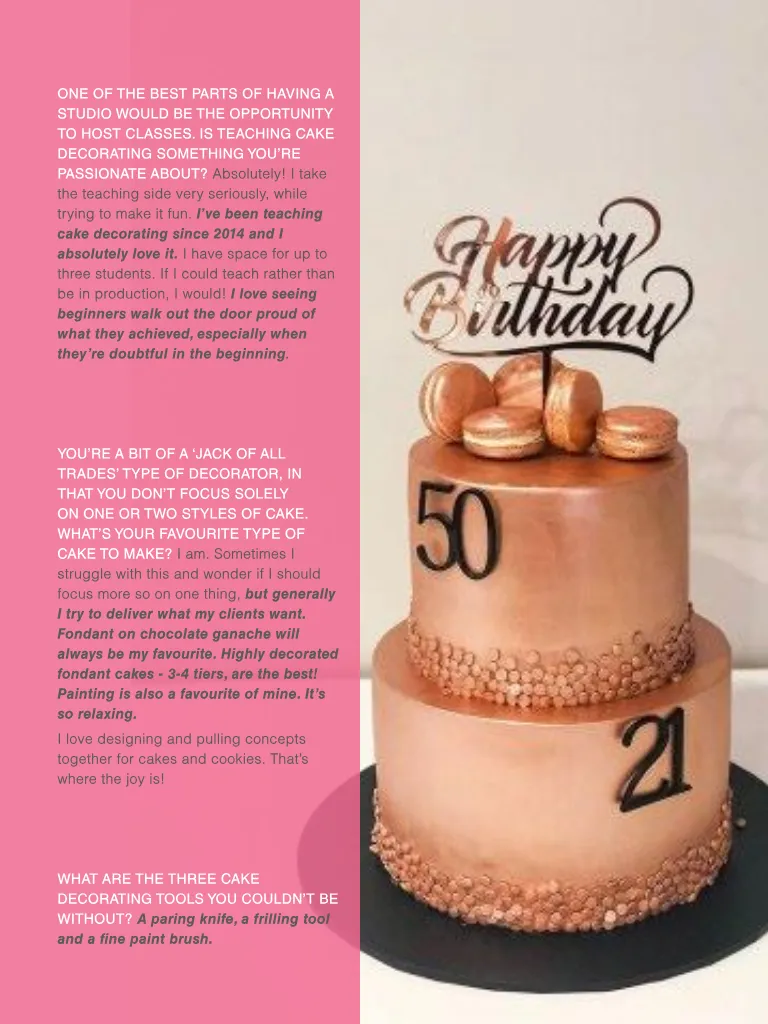
ONE OF THE BEST PARTS OF HAVING A STUDIO WOULD BE THE OPPORTUNITY TO HOST CLASSES. IS TEACHING CAKE DECORATING SOMETHING YOU’RE PASSIONATE ABOUT? Absolutely! I take the teaching side very seriously, while trying to make it fun. I’ve been teaching cake decorating since 2014 and I absolutely love it. I have space for up to three students. If I could teach rather than be in production, I would! I love seeing beginners walk out the door proud of what they achieved, especially when they’re doubtful in the beginning. YOU’RE A BIT OF A ‘JACK OF ALL TRADES’ TYPE OF DECORATOR, IN THAT YOU DON’T FOCUS SOLELY ON ONE OR TWO STYLES OF CAKE. WHAT’S YOUR FAVOURITE TYPE OF CAKE TO MAKE? I am. Sometimes I struggle with this and wonder if I should focus more so on one thing, but generally I try to deliver what my clients want. Fondant on chocolate ganache will always be my favourite. Highly decorated fondant cakes - 3-4 tiers, are the best! Painting is also a favourite of mine. It’s so relaxing. I love designing and pulling concepts together for cakes and cookies. That’s where the joy is! WHAT ARE THE THREE CAKE DECORATING TOOLS YOU COULDN’T BE WITHOUT? A paring knife, a frilling tool and a fine paint brush.
Page 48 text
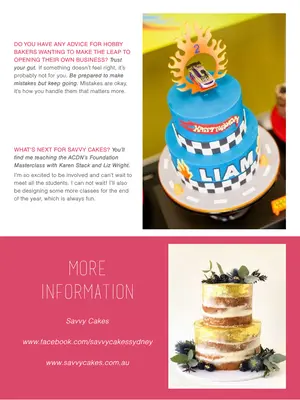
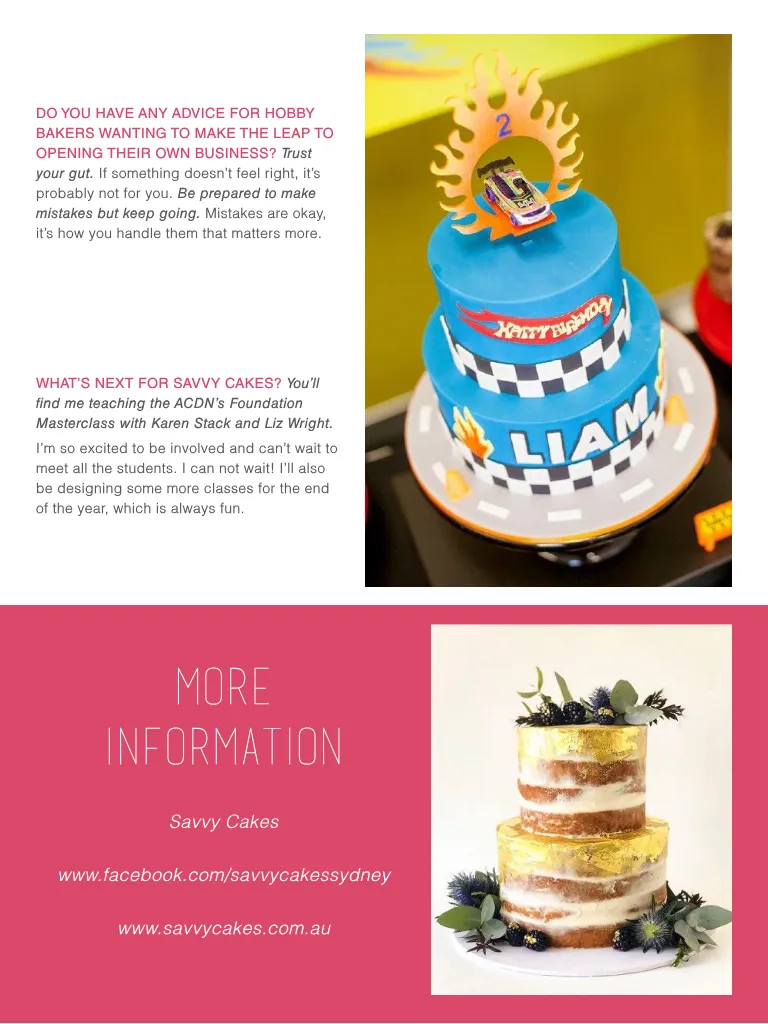
DO YOU HAVE ANY ADVICE FOR HOBBY BAKERS WANTING TO MAKE THE LEAP TO OPENING THEIR OWN BUSINESS? Trust your gut. If something doesn’t feel right, it’s probably not for you. Be prepared to make mistakes but keep going. Mistakes are okay, it’s how you handle them that matters more. WHAT’S NEXT FOR SAVVY CAKES? You’ll find me teaching the ACDN’s Foundation Masterclass with Karen Stack and Liz Wright. I’m so excited to be involved and can’t wait to meet all the students. I can not wait! I’ll also be designing some more classes for the end of the year, which is always fun. MORE INFORMATION Savvy Cakes www.facebook.com/savvycakessydney www.savvycakes.com.au


Page 49 text
SUBCSRIBE HERE FOR FREE! to have each issue of Cake! magazine sent straight to your inbox! To advertise in Cake! magazine, contact [email protected]
Page 50 text
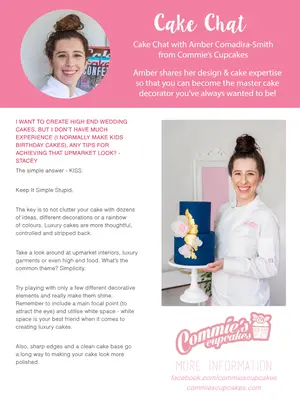
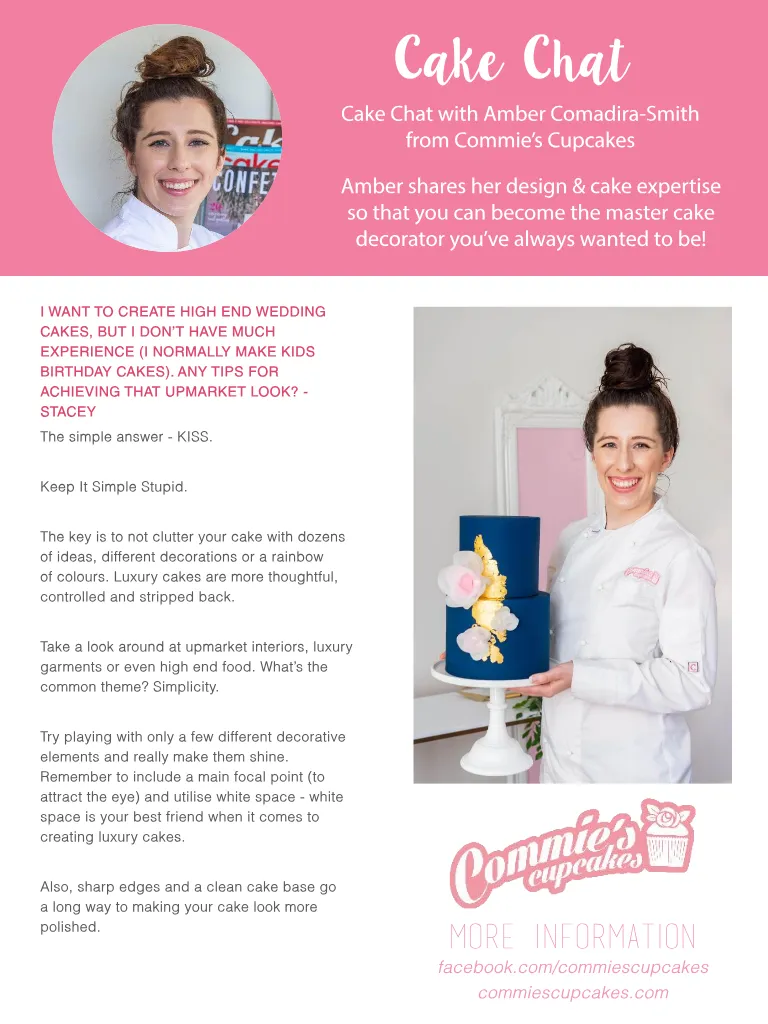
Cake Chat Cake Chat with Amber Comadira-Smith from Commie’s Cupcakes Amber shares her design & cake expertise so that you can become the master cake decorator you’ve always wanted to be! I WANT TO CREATE HIGH END WEDDING CAKES, BUT I DON’T HAVE MUCH EXPERIENCE (I NORMALLY MAKE KIDS BIRTHDAY CAKES). ANY TIPS FOR ACHIEVING THAT UPMARKET LOOK? - STACEY The simple answer - KISS. Keep It Simple Stupid. The key is to not clutter your cake with dozens of ideas, different decorations or a rainbow of colours. Luxury cakes are more thoughtful, controlled and stripped back. Take a look around at upmarket interiors, luxury garments or even high end food. What’s the common theme? Simplicity. Try playing with only a few different decorative elements and really make them shine. Remember to include a main focal point (to attract the eye) and utilise white space - white space is your best friend when it comes to creating luxury cakes. Also, sharp edges and a clean cake base go a long way to making your cake look more polished. MORE INFORMATION facebook.com/commiescupcakes commiescupcakes.com
Page 51 text
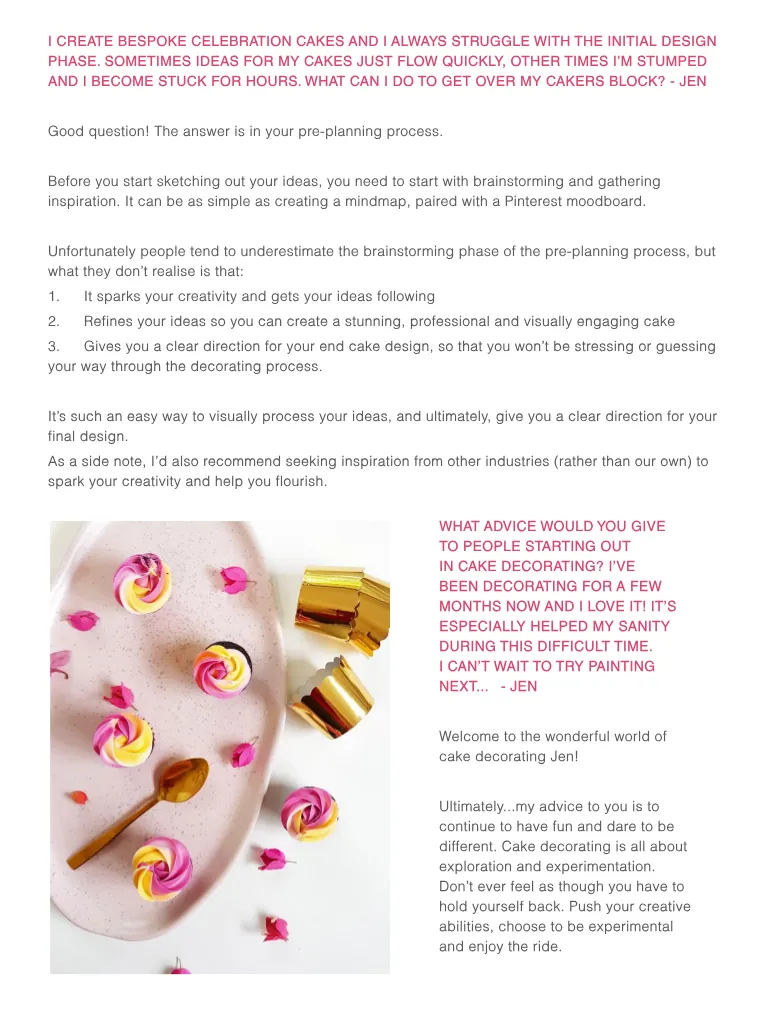
I CREATE BESPOKE CELEBRATION CAKES AND I ALWAYS STRUGGLE WITH THE INITIAL DESIGN PHASE. SOMETIMES IDEAS FOR MY CAKES JUST FLOW QUICKLY, OTHER TIMES I’M STUMPED AND I BECOME STUCK FOR HOURS. WHAT CAN I DO TO GET OVER MY CAKERS BLOCK? - JEN Good question! The answer is in your pre-planning process. Before you start sketching out your ideas, you need to start with brainstorming and gathering inspiration. It can be as simple as creating a mindmap, paired with a Pinterest moodboard. Unfortunately people tend to underestimate the brainstorming phase of the pre-planning process, but what they don’t realise is that: 1. It sparks your creativity and gets your ideas following 2. Refines your ideas so you can create a stunning, professional and visually engaging cake 3. Gives you a clear direction for your end cake design, so that you won’t be stressing or guessing your way through the decorating process. It’s such an easy way to visually process your ideas, and ultimately, give you a clear direction for your final design. As a side note, I’d also recommend seeking inspiration from other industries (rather than our own) to spark your creativity and help you flourish. WHAT ADVICE WOULD YOU GIVE TO PEOPLE STARTING OUT IN CAKE DECORATING? I’VE BEEN DECORATING FOR A FEW MONTHS NOW AND I LOVE IT! IT’S ESPECIALLY HELPED MY SANITY DURING THIS DIFFICULT TIME. I CAN’T WAIT TO TRY PAINTING NEXT... - JEN Welcome to the wonderful world of cake decorating Jen! Ultimately...my advice to you is to continue to have fun and dare to be different. Cake decorating is all about exploration and experimentation. Don’t ever feel as though you have to hold yourself back. Push your creative abilities, choose to be experimental and enjoy the ride.


Page 52 text
Save the date... MELBOURNE 2020


Page 55 text
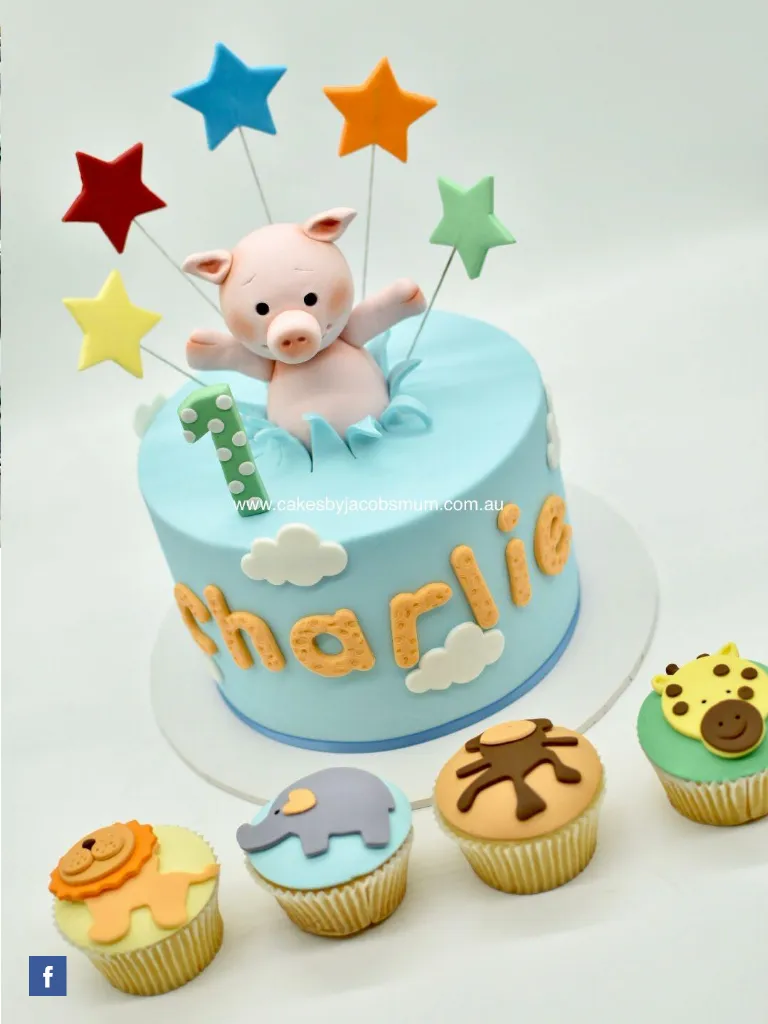
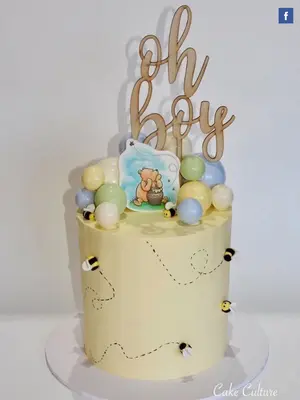
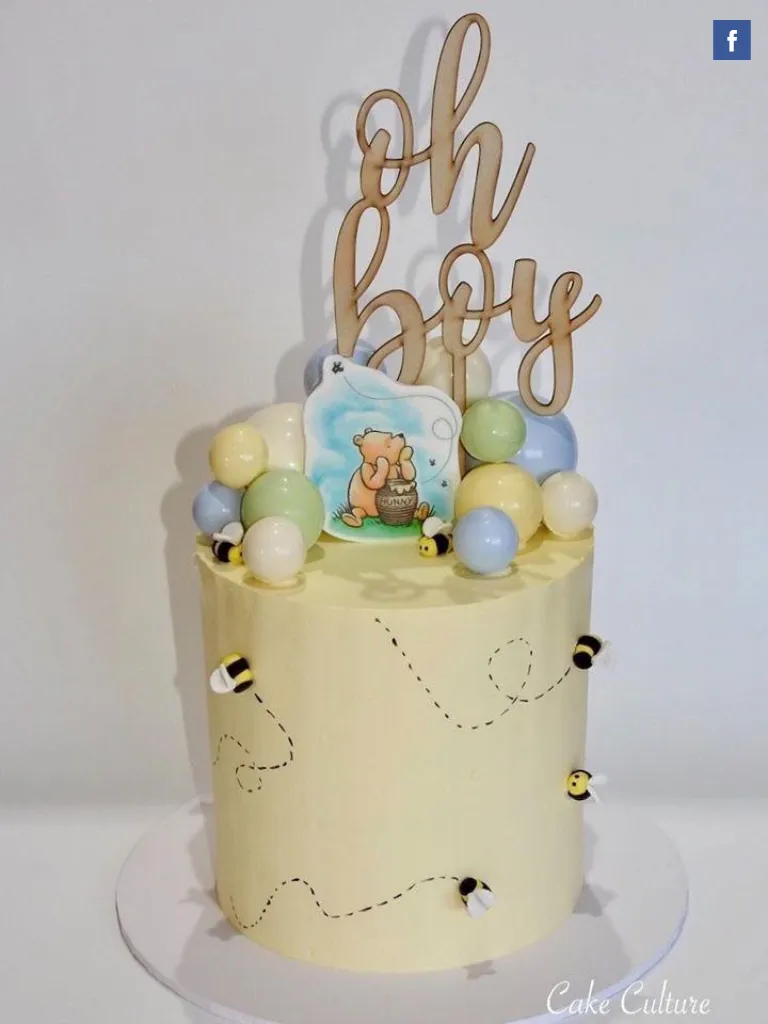
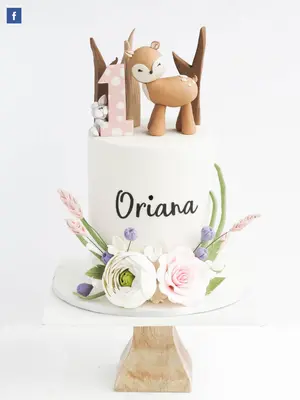
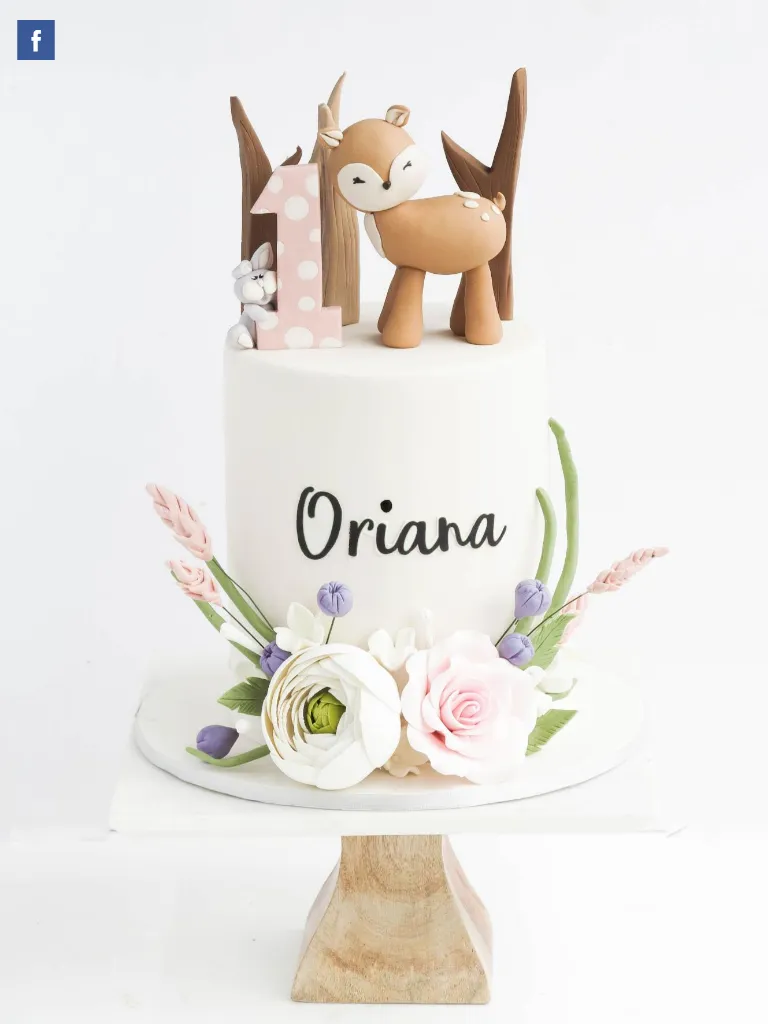
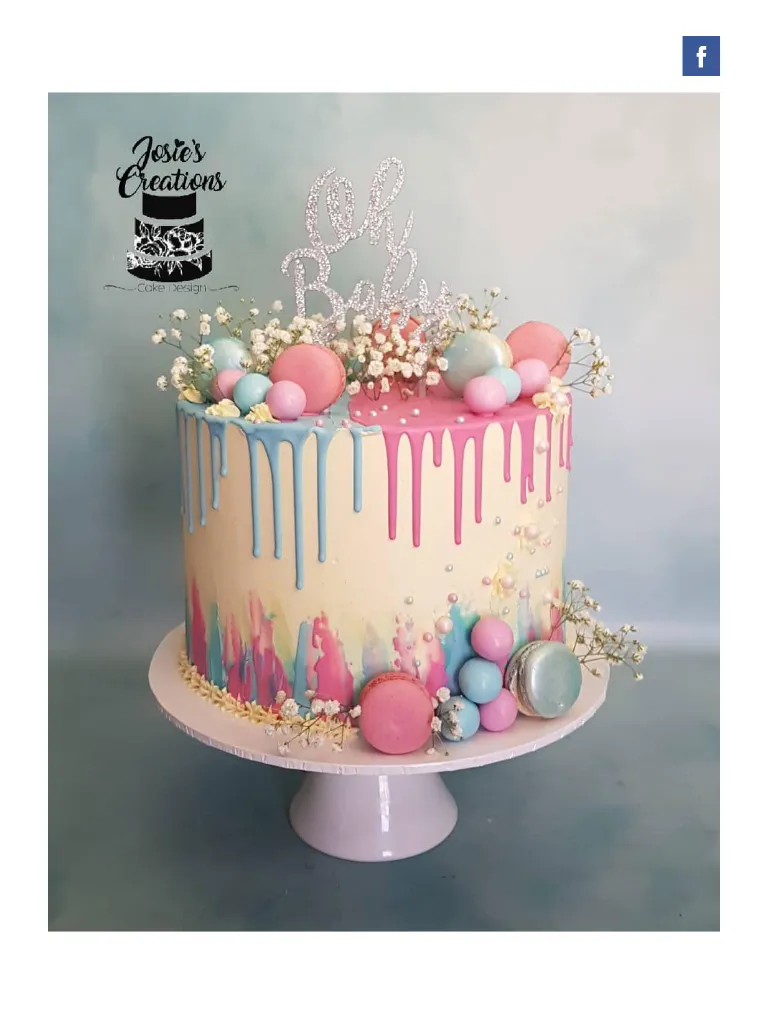
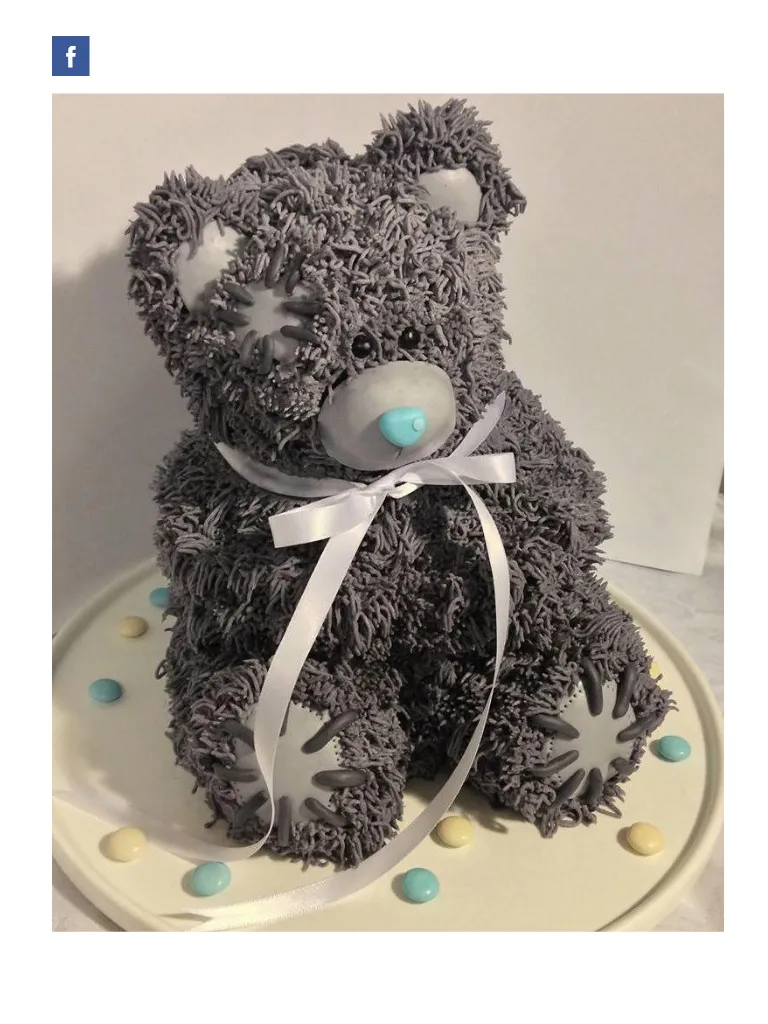
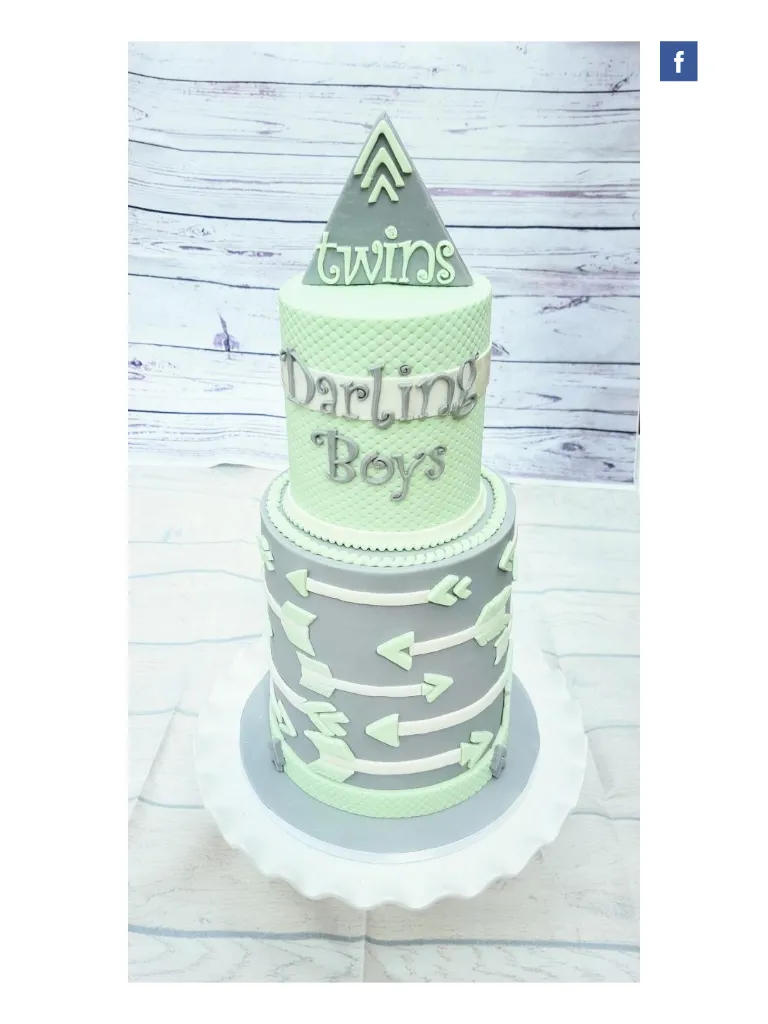
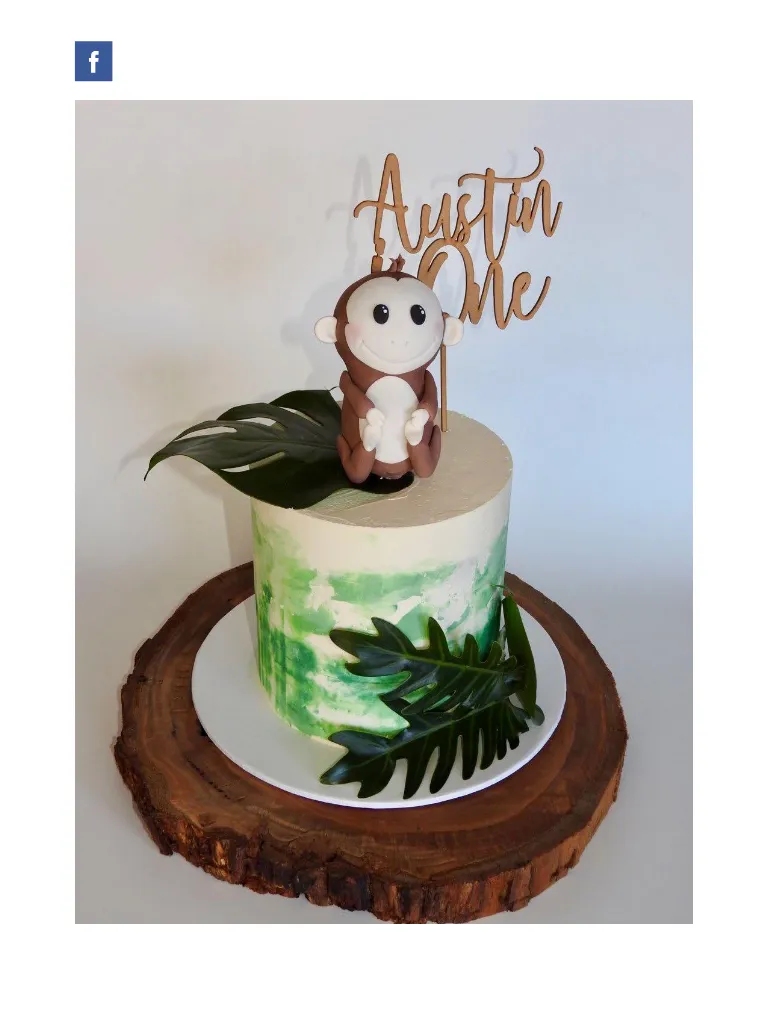
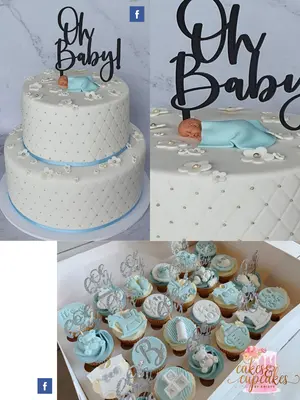
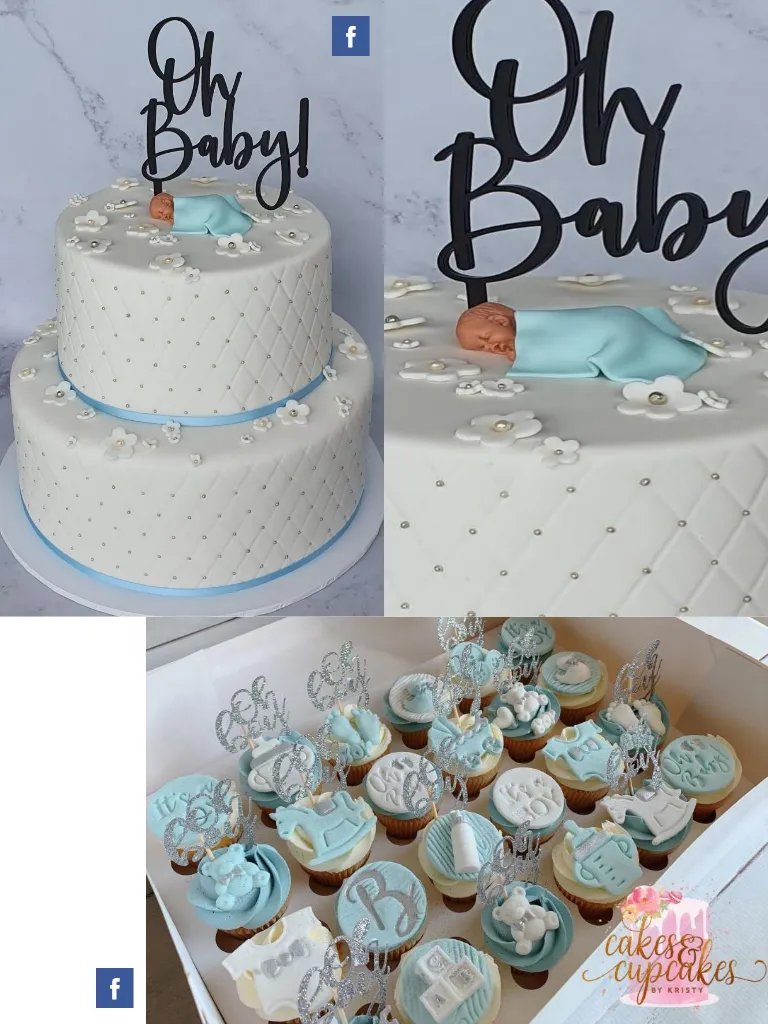
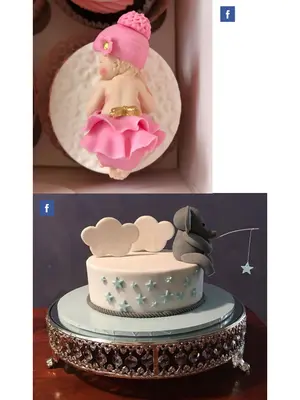
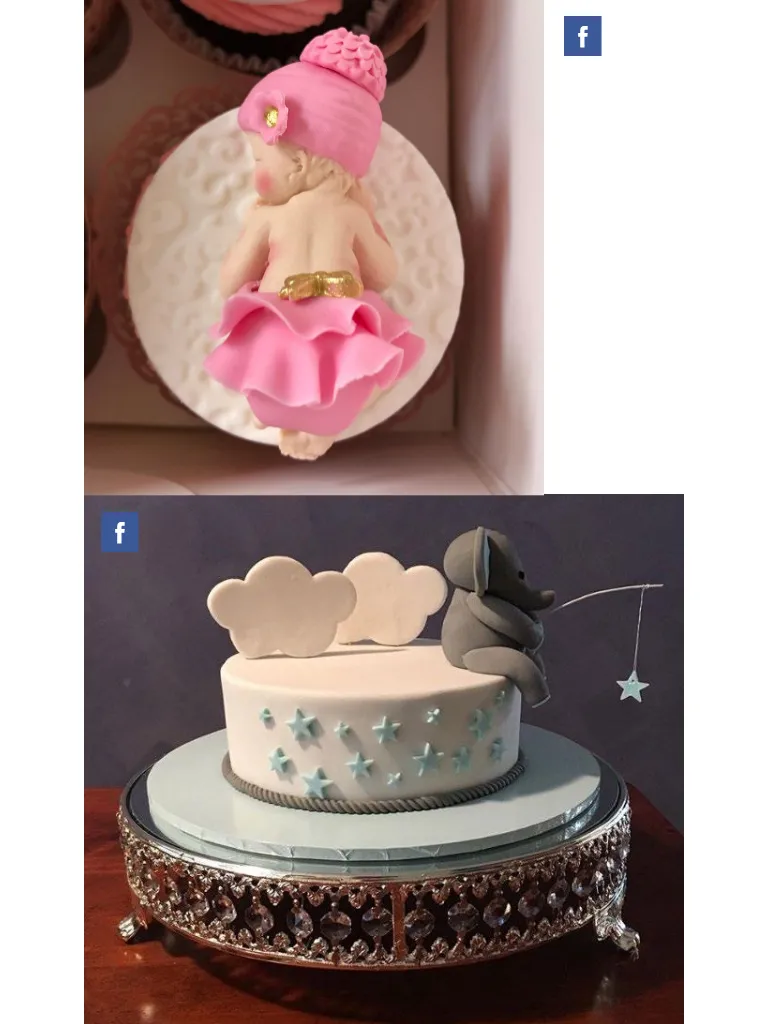
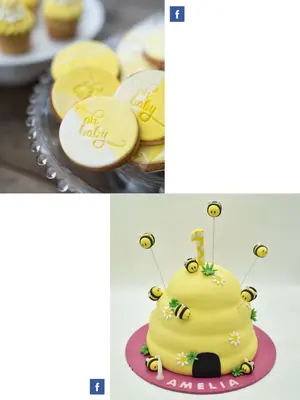
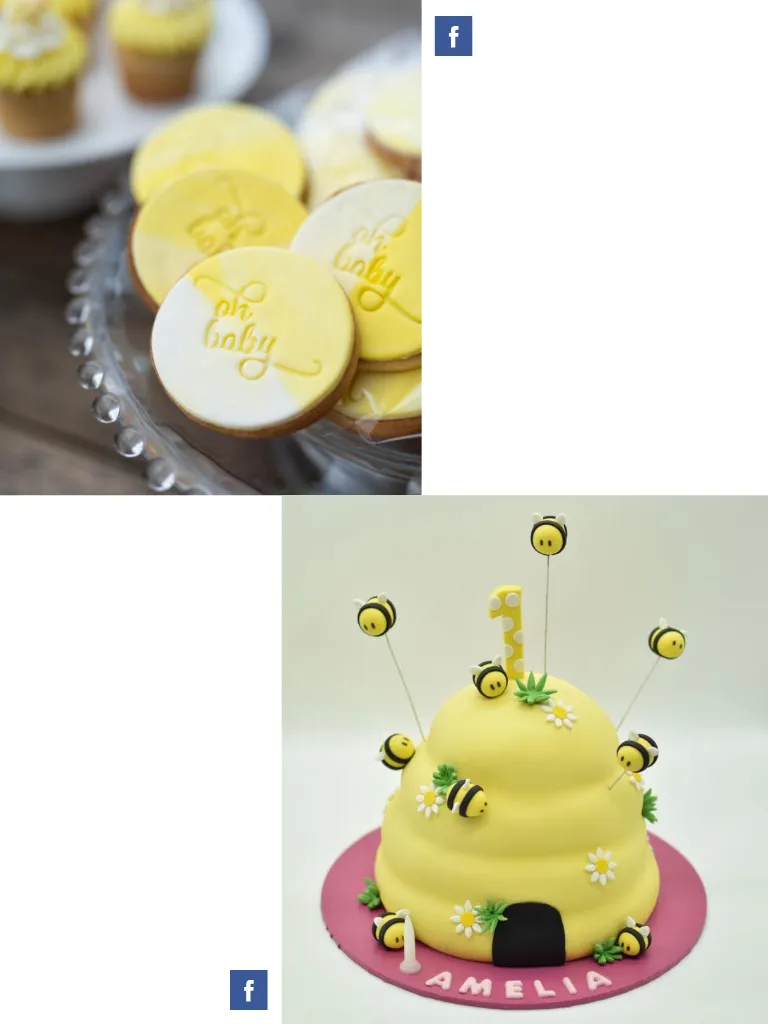
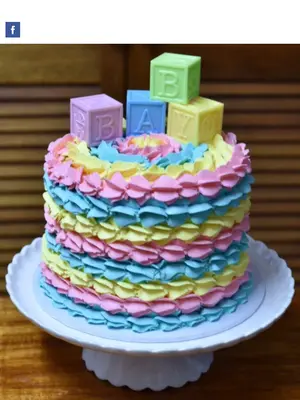
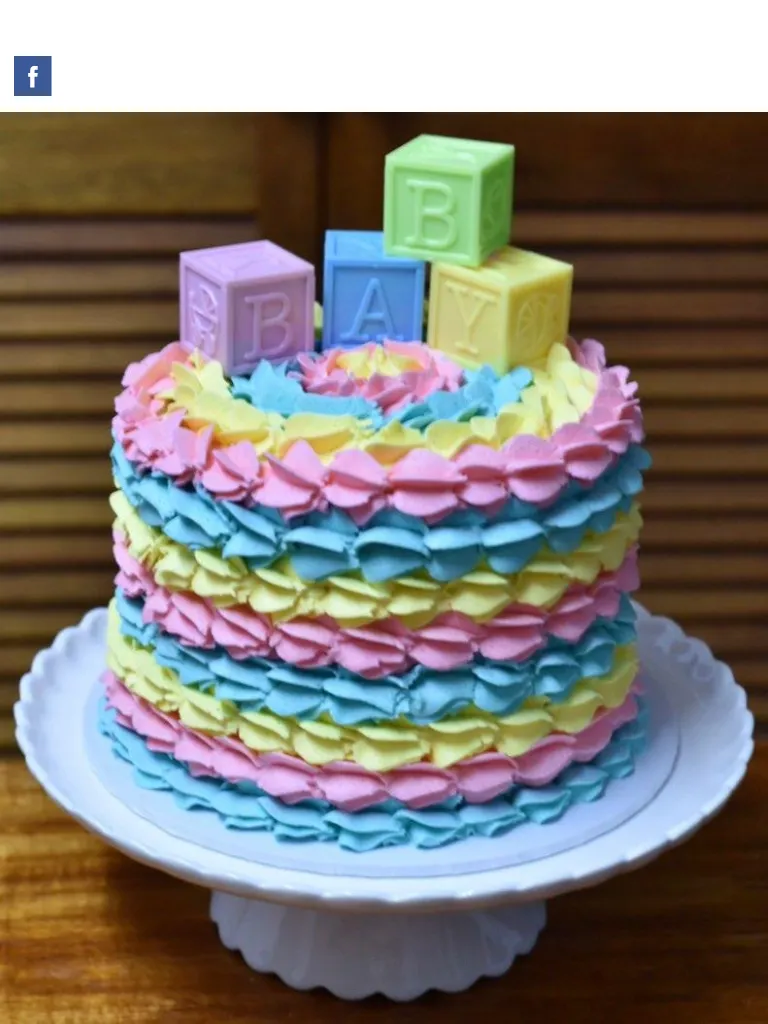
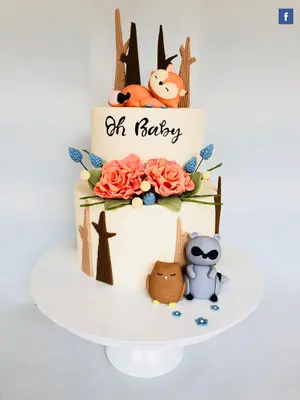
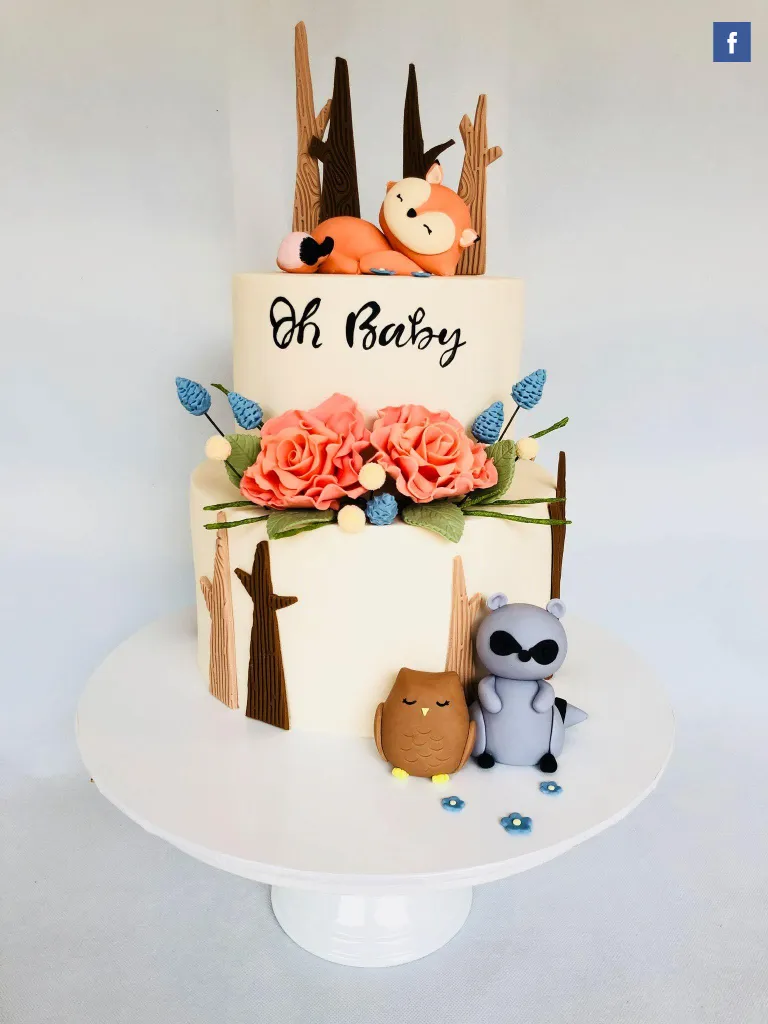
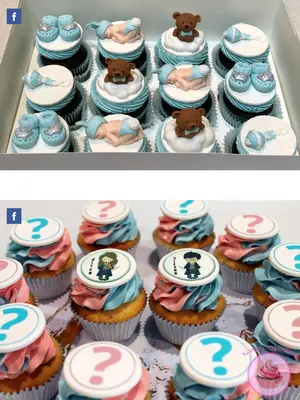
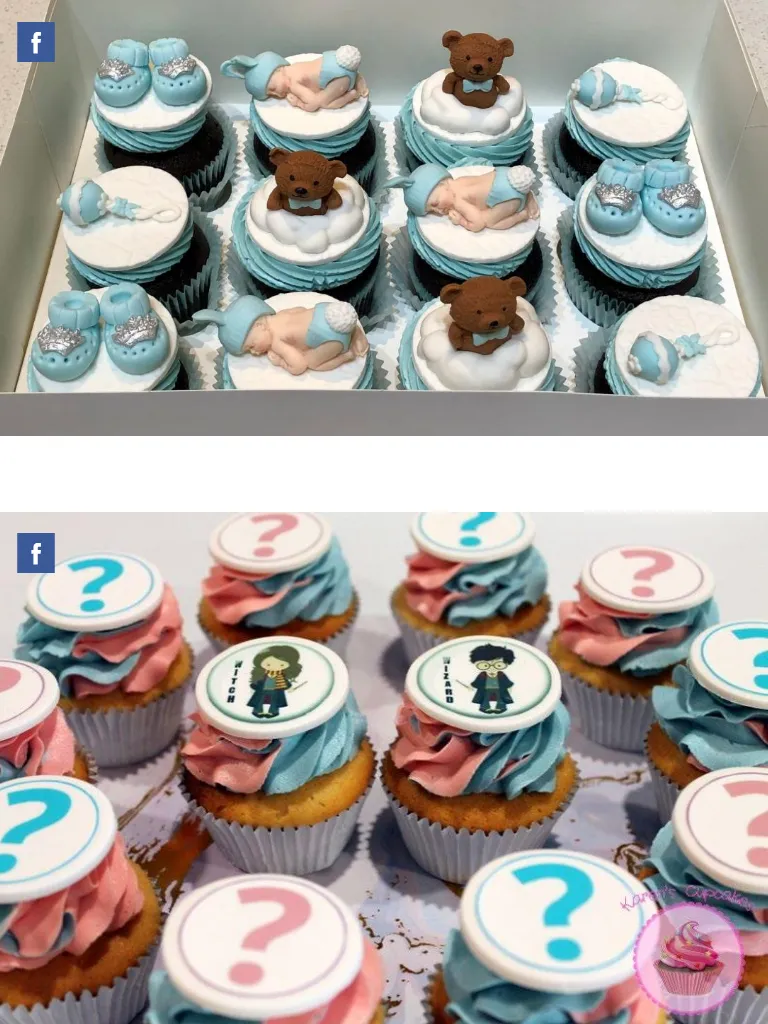
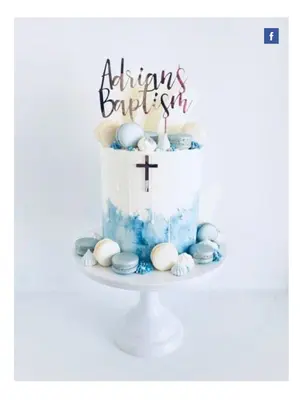
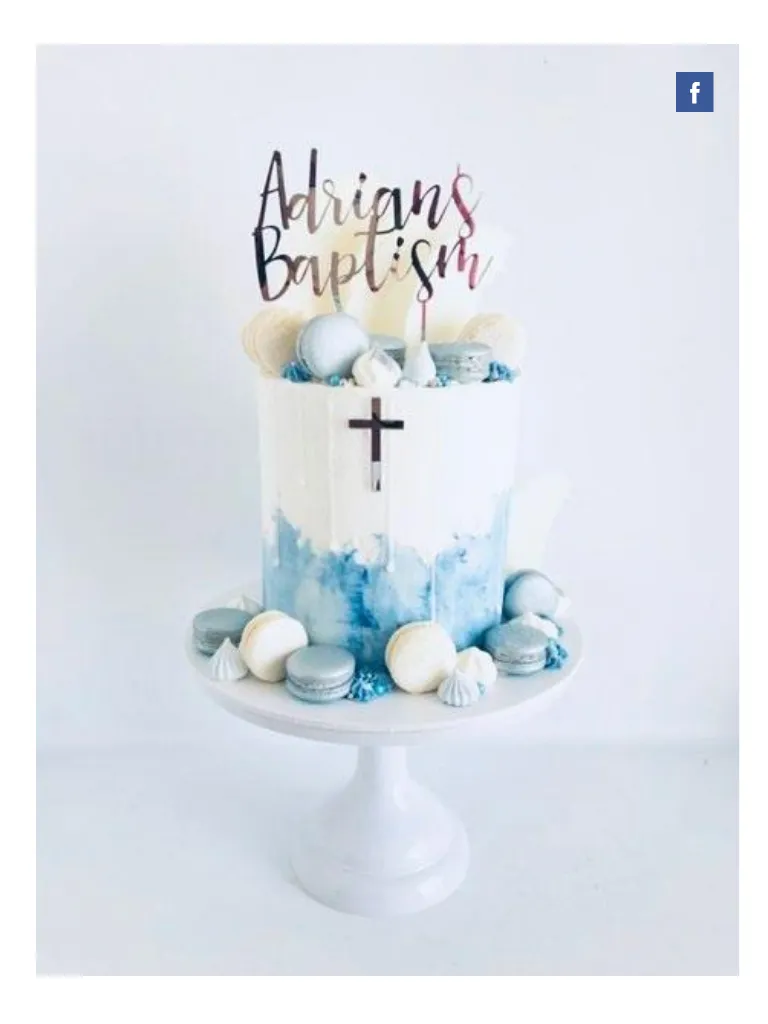
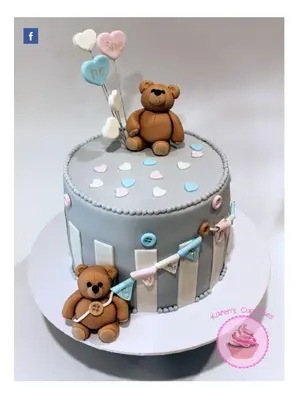
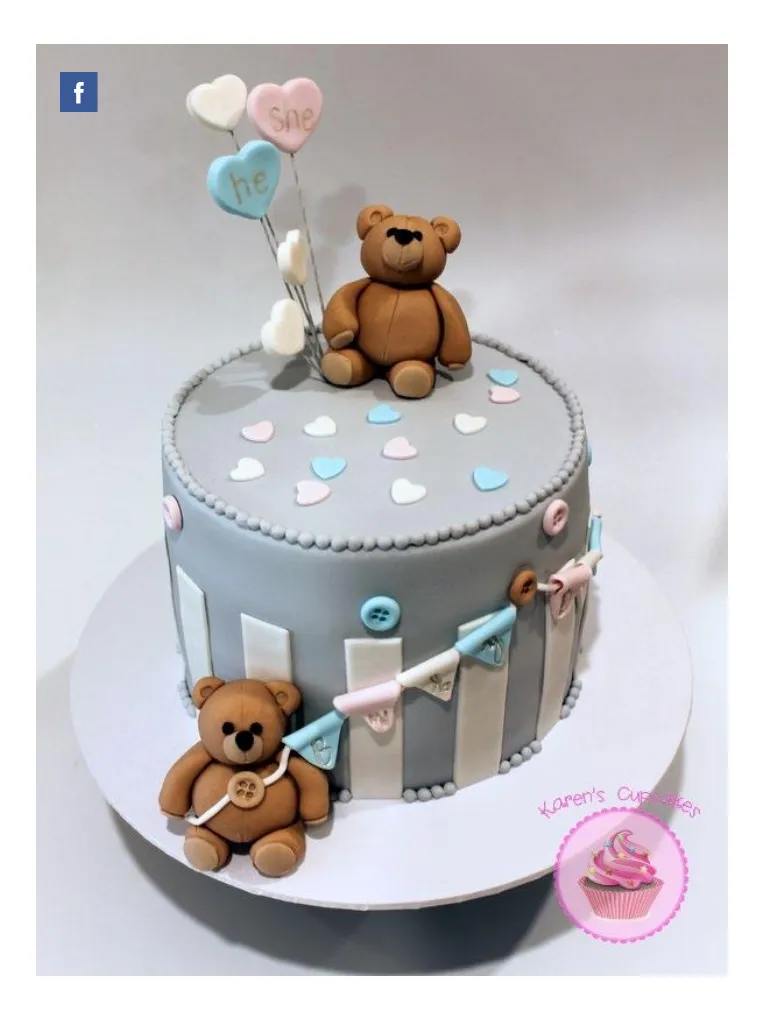
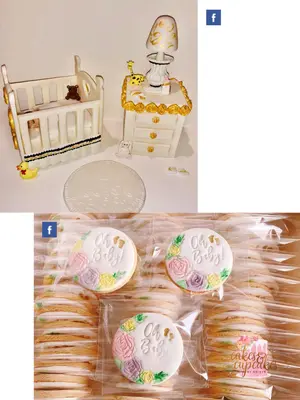
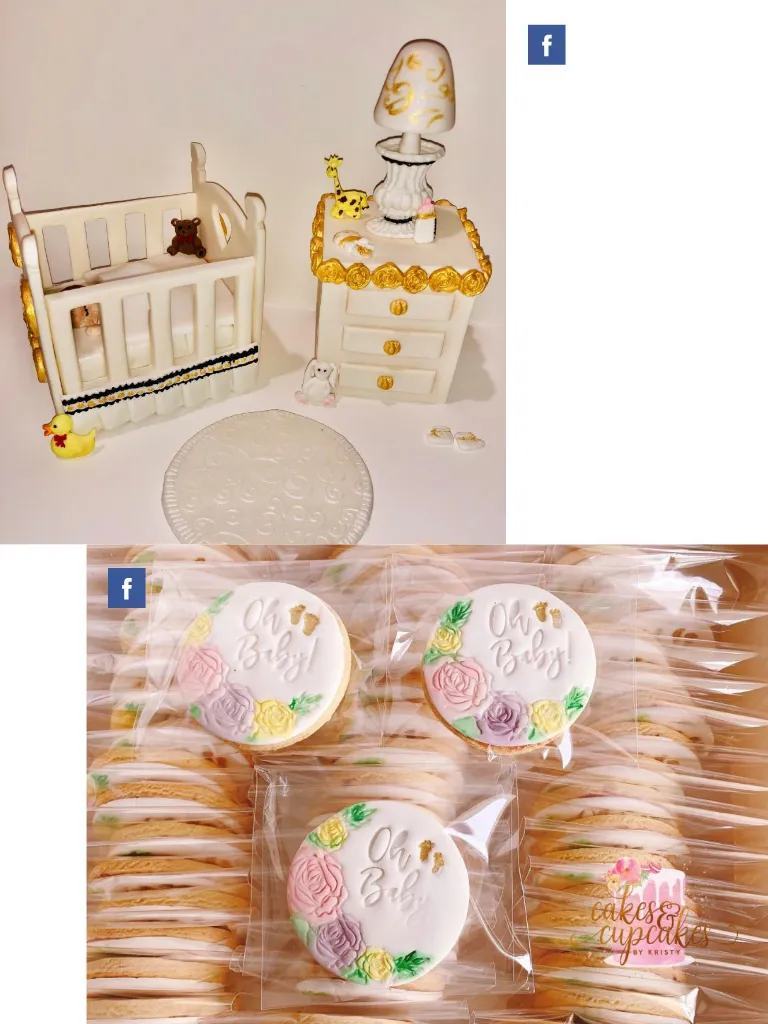
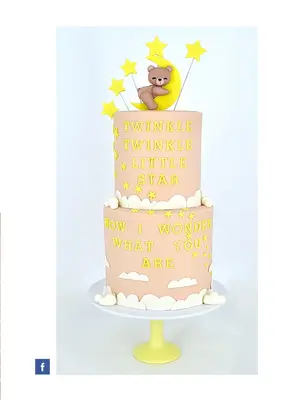
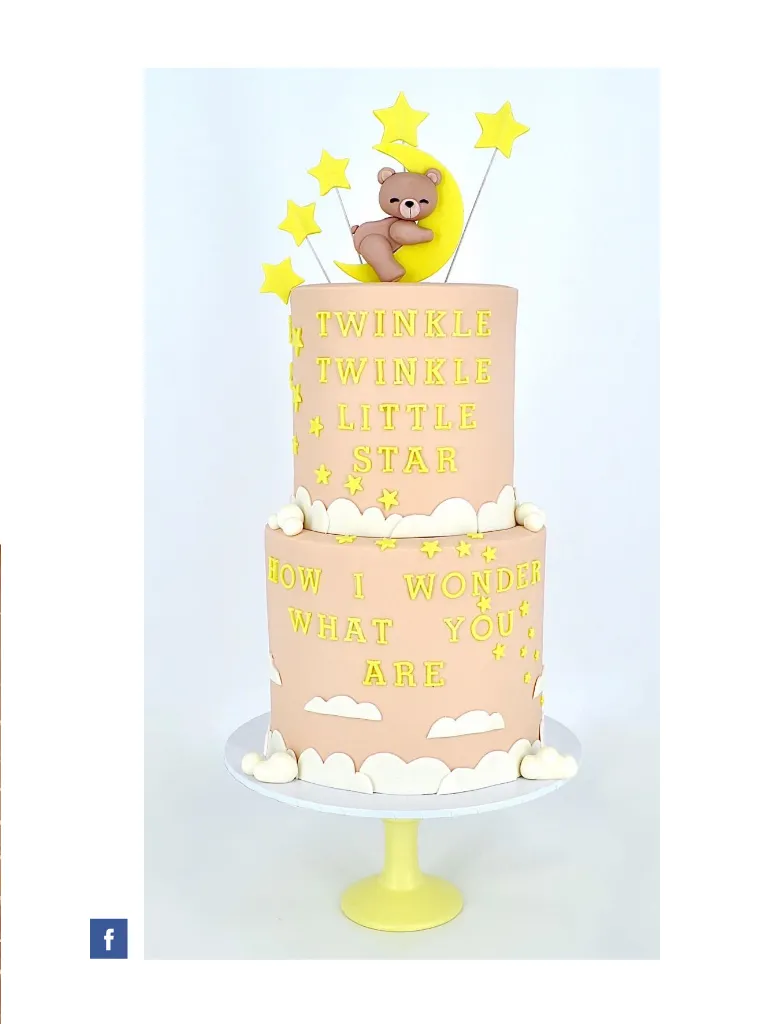
ACDN Member gallery We invited our members to submit to our member gallery - take a look at what they've been creating! Want to submit to our member gallery? Join us HERE!
Page 56 text
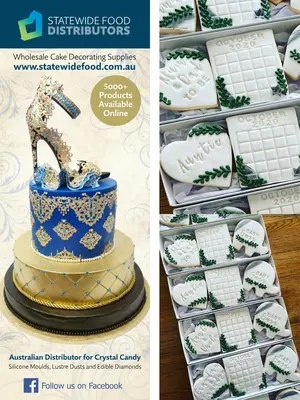
f Wholesale Cake Decorating Supplies www.statewidefood.com.au 5000+ Products Available Online Australian Distributor for Crystal Candy Silicone Moulds, Lustre Dusts and Edible Diamonds Follow us on Facebook


Page 58 text
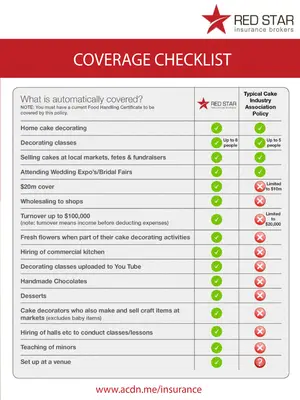
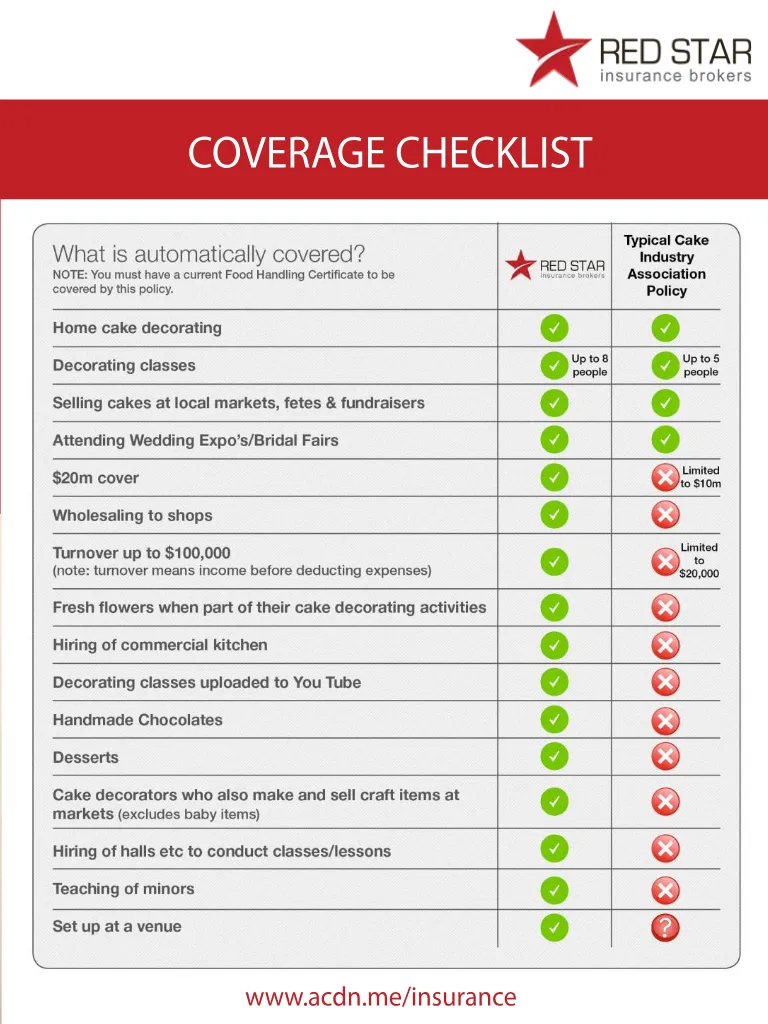
COMPREHENSIVE CAKE DECORATING INSURANCE $20m Public & Products Liability $189 PER YEAR FOR ACDN MEMBERS $289 per year for Non-ACDN Members (Insurance subject to acceptance criteria) To arrange cover or for more information visit www.acdn.me/insurance Red Star Insurance Pty Ltd (AFSL 444803) T&C apply, see website for details. The Australian Cake Decorating Network Pty Ltd does not provide any advice regarding insurance matters. Please contact Red Star Insurance Brokers on the above contact details to discuss your insurance requirements. Referral advertisement. For information see www.acdn.me/insurance
Page 59 text
COVERAGE CHECKLIST Typical Cake Decorating Association Policy www.acdn.me/insurance

Page 60 text
f Promote, network, shop & save with the Australian Cake Decorating Network! Join us today! Meet Katie! To learn about the benefits of being an ACDN member! Watch our video at www.acdn.me or view the online version of Cake! magazine at www.cakemagazine.me
Page 71 text
Become a member of the Australian Cake Decorating Network and save with great discounts from our Preferred Suppliers! JOIN US NOW!




Page 88 text
ACDN Member Directory A better way to search! Use our online directory to search for Decorators Suppliers Courses Using postcode or business name! For the most up to date member directory information! www.acdn.me


Page 89 text
Members: If you're not listed in the website online directory, please login to the Member's Lounge at www.acdn.me to add or update your listing Become a member! Join online at www.acdn.me/join
Page 90 text
Read Cake! magazine online or download & print for offline viewing HERE! f www.acdn.me [email protected] click here to join our mailing list! To advertise in Cake! magazine, contact [email protected]
Page 91 text
THANKYOU FOR READING ANOTHER ISSUE OF Cake! m a g a z i n e f www.acdn.me [email protected] Don't miss future issues of Cake! Subscribe for FREE here! To advertise in Cake! magazine, contact: [email protected]