Page 102 of 107
Page 1 text
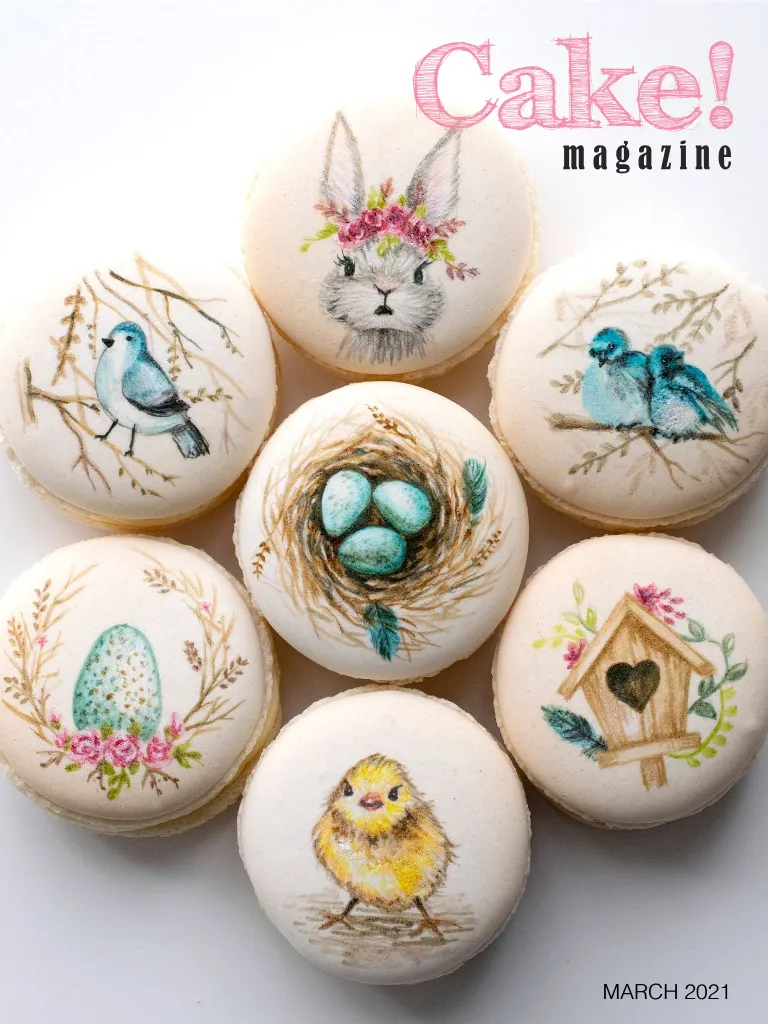
MARCH 2021
Page 2 text
To advertise in Cake ! magazine , contact : liz @ acdn . me f www . acdn . me hello @ acdn . me click here to join our mailing list ! Cake ! m a g a z i n e PUBLISHER : Cake ! Magazine is published by the Australian Cake Decorating Network Pty Ltd . ACN : 91 164 927 584 . © All content copyright 2020 Australian Cake Decorating Network Pty Ltd . All rights reserved . Reproduction any part of the magazine without written permission is prohibited . All prices included in Cake ! Magazine are approximate and are in AUD unless otherwise stated . Prices quoted are correct at the time of publishing and may vary or be subject to change . The Australian Cake Decorating Network Pty Ltd accepts no responsibility for damage or loss as a result of material submitted for , published in or as a result of this publication . The Australian Cake Decorating Network does not have an affiliation with any other magazine . The views and opinions expressed within this publication are not necessarily the views of the publisher or it ' s affiliates . While every effort has been made to ensure the accuracy of the informtion contained within Cake ! Magazine the publisher and Cake ! Magazine hold no responsibility for any errors , omissions , or consequences subsequent or otherwise , including loss or damage arising from reliance on information in this publication . Content is supplied for publication in Cake ! Magazine by parties external to the Australian Cake Decorating Network and it is the external party ' s responsibility to ensure content and credits are accurate . Cake ! Magazine contains advertising through individual arrangements , which may include paid affiliate arrangements . Cake ! Magazine may also contain affiliate links . The agreements are held between the advertiser or affiliate and the Australian Cake Decorating Network Ptd Ltd . To advertise in Cake ! magazine , contact : liz @ acdn . me f www . acdn . me hello @ acdn . me click here to join our mailing list !
Page 3 text
Liz Wright editor letter from the editor Welcome to our first Cake ! Magazine issue of 2021 ! We are happy to share with you lots of Easter tutorials and inspiration for your Easter baking this year ! This issue was lots of fun to put together . I love this time of year , spending time with the family while the weather is still beautiful . My family and I are making the most of the warmth before the cold weather sets in ! I hope you enjoy this issue filled with Easter themed tutorials and recipes for you to create and share with your loved ones . we had over 80 participants attend live and a great night was had by all . Congratulations to all of our winners , and a big thank you to our Awards Night Sponsors for helping us create this event for our industry ! See our 2020 Awards Night winners on page 56 . Wishing you all a good break over the Easter holidays , and I hope you love this issue of Cake ! Magazine ! Take a look at the winners of our 2020 Cake Decorating & Baking Industry Awards Night . Due to COVID we ran our event Online , for the first time ever , and although it was in a different format Liz COVER IMAGE : Ashini Wijayaneththi Cherry On Top Cakes Liz Wright editor Liz is the editor of Cake ! magazine and founder and owner of the Australian Cake Decorating Network . Liz grew up surrounded by cake , spending hours upon hours watching her mum create stunning wedding cakes ( in the days of intricate piping and extension work !). Liz is excited to have the opportunity to use Cake ! magazine as well as the Australian Cake Decorating Network to showcase the incredbile talent of cake decorators in Australia and worldwide .
Page 4 text
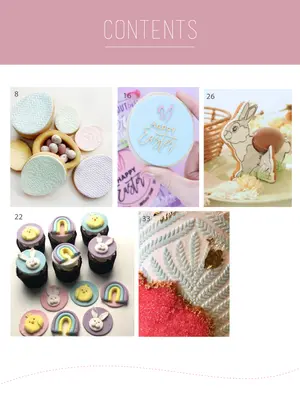
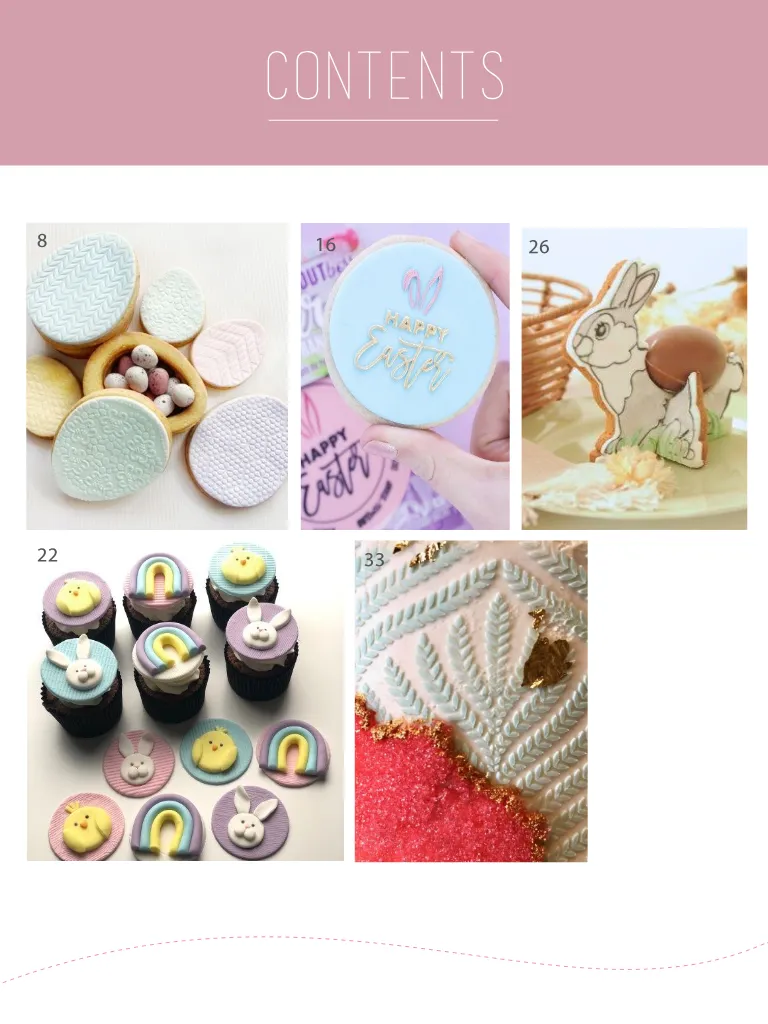
contents 8 16 26 28 40 22 33 24 25 17
Page 5 text
21 Features 50 56 Amber Comadira-Smith : Busines Basics 2020 ACDN Virtual Awards Night : Winners Announced Tutorials 8 16 22 26 33 Easter Egg Cookie Baskets Happy Easter Cookies Fondant Easter Cupcake Toppers Standing Bunny Egg Holder How to make a Sugar Sheet Regulars 3 41 77 Letter from the editor Recipes ACDN Member Gallery 84 MARCH 2021 21 Features 50 56 Amber Comadira-Smith : Busines Basics 2020 ACDN Virtual Awards Night : Winners Announced Tutorials 8 16 22 26 33 Easter Egg Cookie Baskets Happy Easter Cookies Fondant Easter Cupcake Toppers Standing Bunny Egg Holder How to make a Sugar Sheet Regulars 3 41 77 Letter from the editor Recipes ACDN Member Gallery 84 MARCH 2021
Page 6 text
www . acdn . me hello @ acdn . me To advertise in Cake ! magazine , contact liz @ acdn . me SUBSCRIBE FOR FREE to have each issue of Cake ! magzine sent straight to your inbox ! f www . acdn . me hello @ acdn . me click here to join our mailing list ! To advertise in Cake ! magazine , contact liz @ acdn . me


Page 7 text
Easter treats ! A collection of tutorials to help you make your own sweet Easter themed creations
Page 8 text
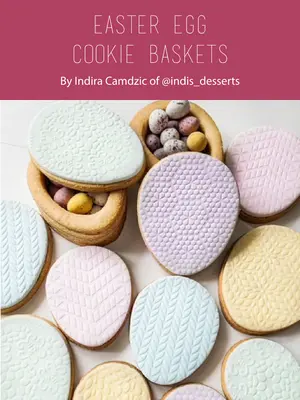
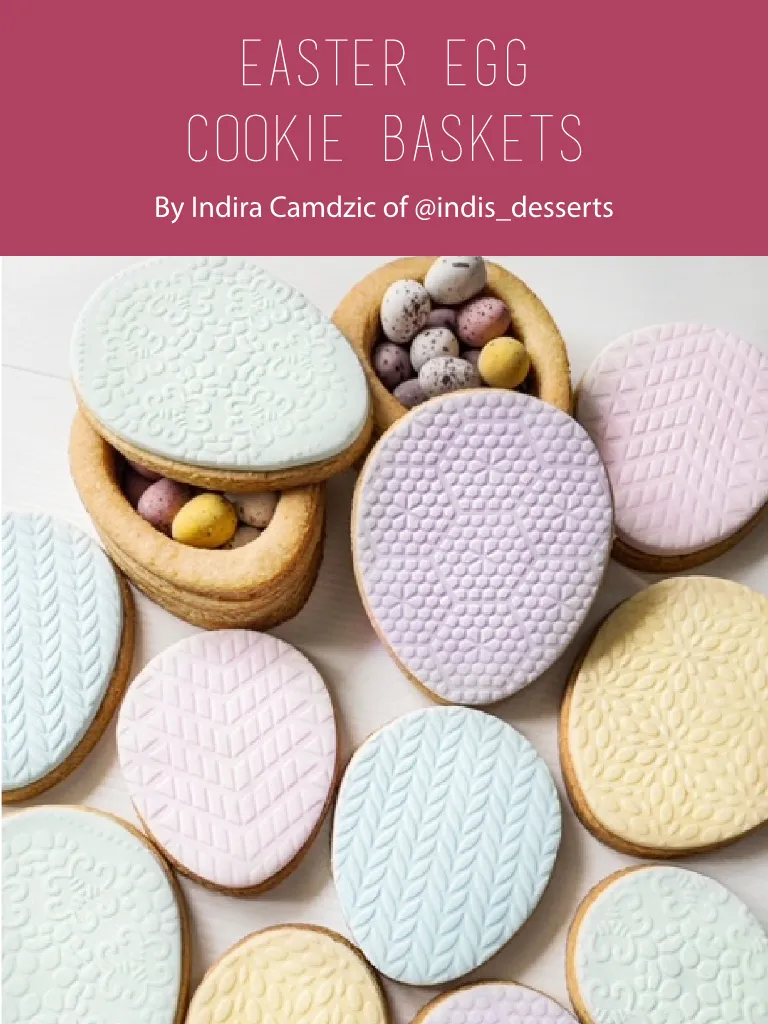
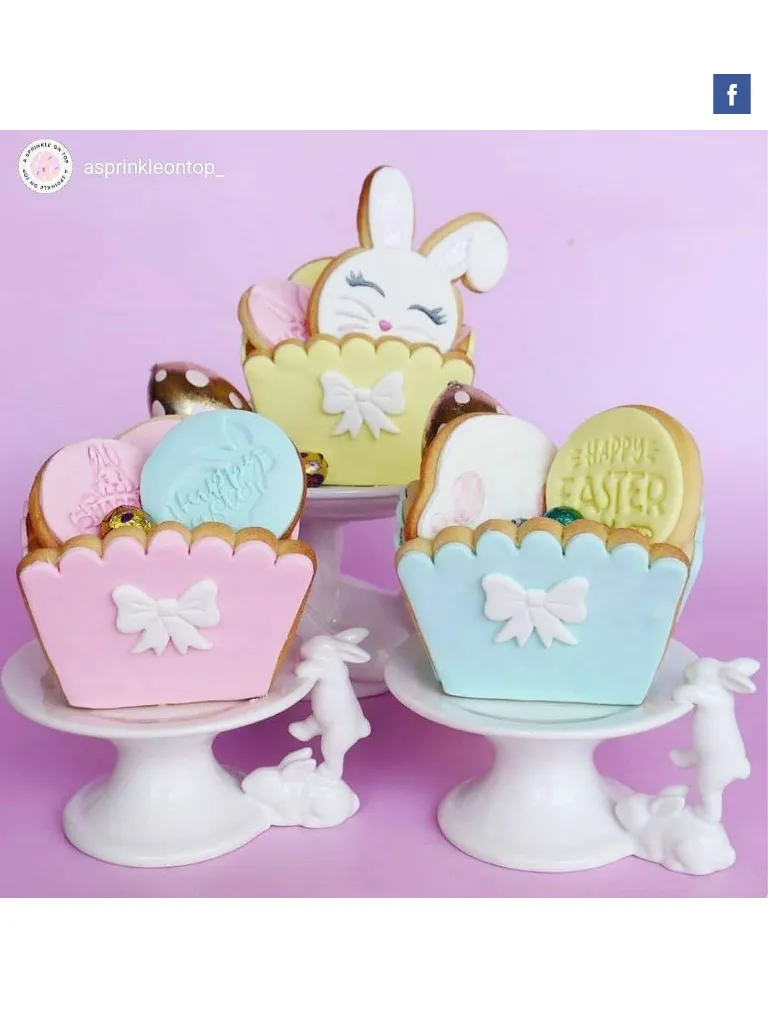
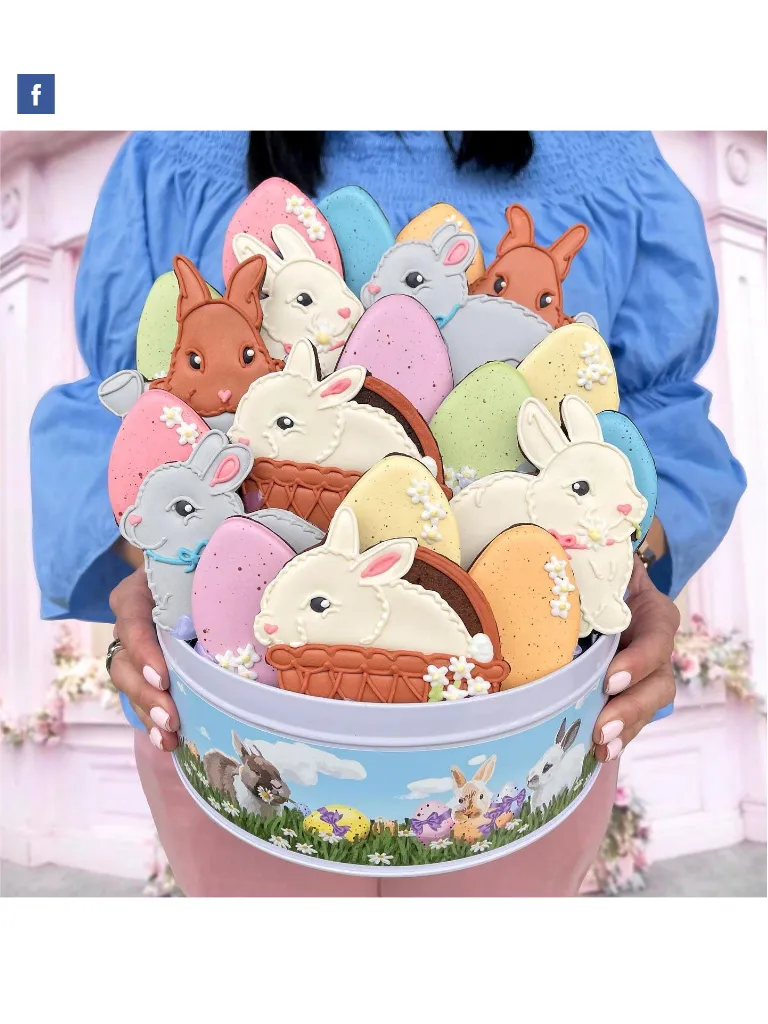
EASTER EGG COOKIE BASKETS By Indira Camdzic of @ indis _ desserts
Page 9 text
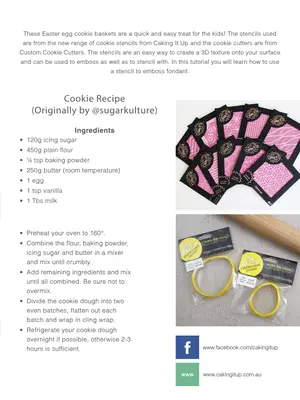
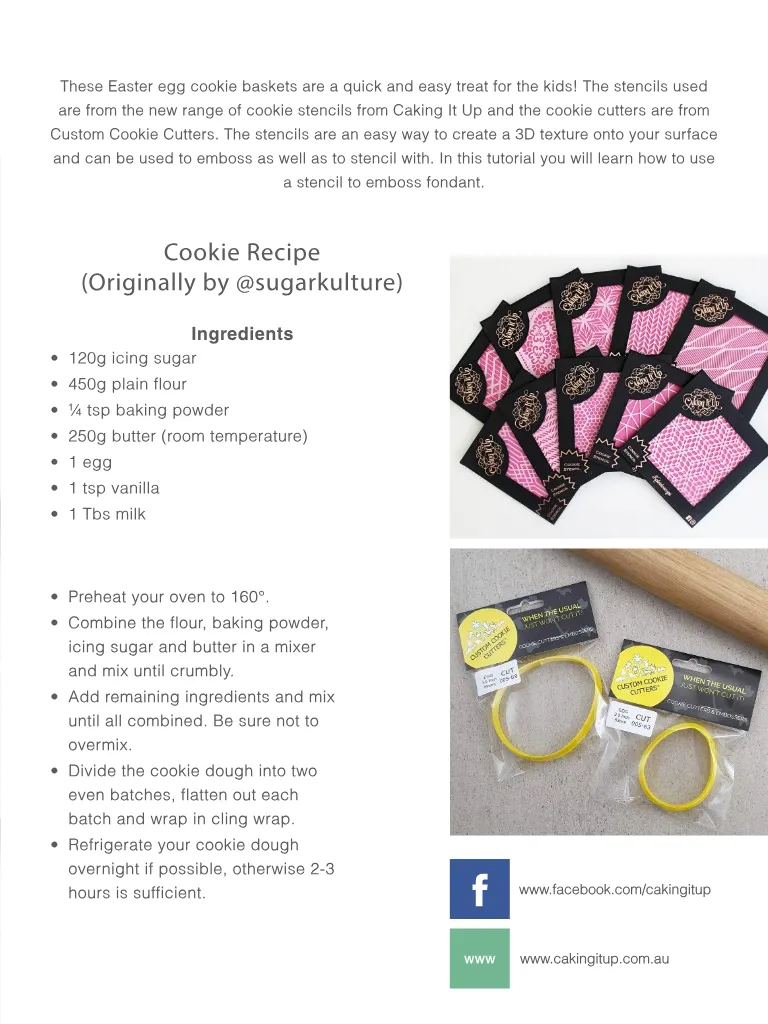
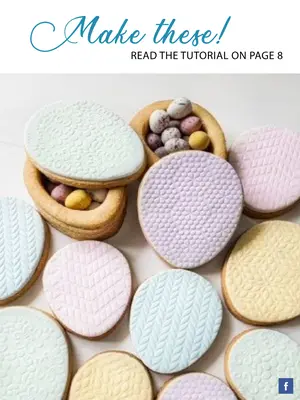
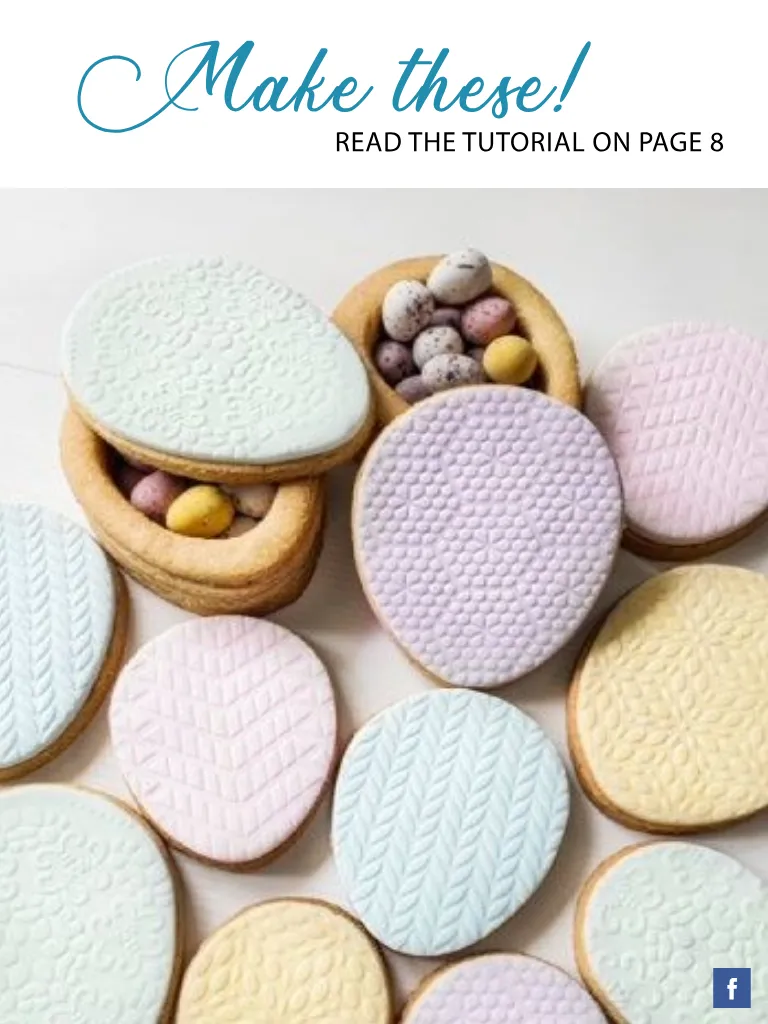
Ingredients These Easter egg cookie baskets are a quick and easy treat for the kids ! The stencils used are from the new range of cookie stencils from Caking It Up and the cookie cutters are from Custom Cookie Cutters . The stencils are an easy way to create a 3D texture onto your surface and can be used to emboss as well as to stencil with . In this tutorial you will learn how to use a stencil to emboss fondant . Cookie Recipe ( Originally by @ sugarkulture ) Ingredients • 120g icing sugar • 450g plain flour • ¼ tsp baking powder • 250g butter ( room temperature ) • 1 egg • 1 tsp vanilla • 1 Tbs milk • Preheat your oven to 160 °. • Combine the flour , baking powder , icing sugar and butter in a mixer and mix until crumbly . • Add remaining ingredients and mix until all combined . Be sure not to overmix . • Divide the cookie dough into two even batches , flatten out each batch and wrap in cling wrap . • Refrigerate your cookie dough overnight if possible , otherwise 2-3 hours is sufficient . f www . facebook . com / cakingitup www www . cakingitup . com . au
Page 10 text
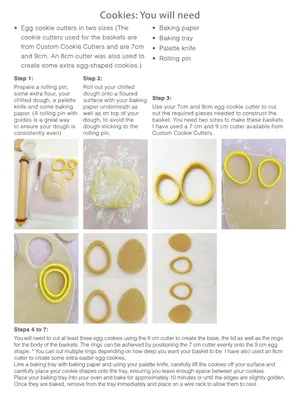
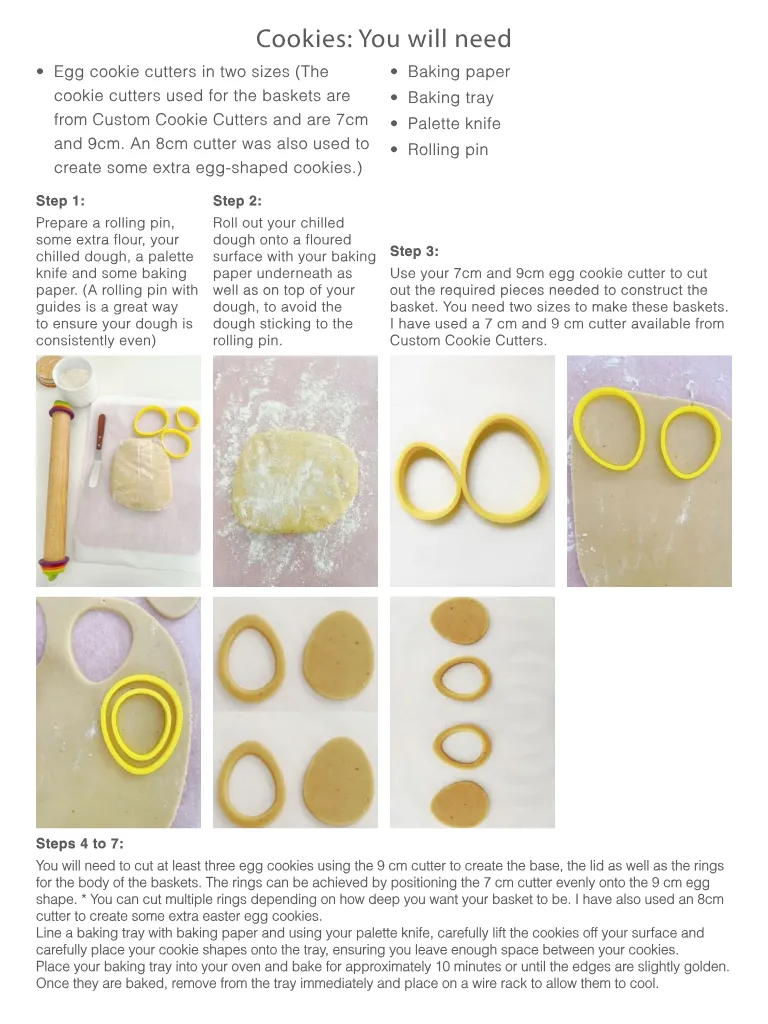
Cookies : You will need • Egg cookie cutters in two sizes ( The cookie cutters used for the baskets are from Custom Cookie Cutters and are 7cm and 9cm . An 8cm cutter was also used to create some extra egg-shaped cookies .) Step 1 : Step 2 : Prepare a rolling pin , some extra flour , your chilled dough , a palette knife and some baking paper . ( A rolling pin with guides is a great way to ensure your dough is consistently even ) Roll out your chilled dough onto a floured surface with your baking paper underneath as well as on top of your dough , to avoid the dough sticking to the rolling pin . • Baking paper • Baking tray • Palette knife • Rolling pin Step 3 : Use your 7cm and 9cm egg cookie cutter to cut out the required pieces needed to construct the basket . You need two sizes to make these baskets . I have used a 7 cm and 9 cm cutter available from Custom Cookie Cutters . Steps 4 to 7 : You will need to cut at least three egg cookies using the 9 cm cutter to create the base , the lid as well as the rings for the body of the baskets . The rings can be achieved by positioning the 7 cm cutter evenly onto the 9 cm egg shape . * You can cut multiple rings depending on how deep you want your basket to be . I have also used an 8cm cutter to create some extra easter egg cookies . Line a baking tray with baking paper and using your palette knife , carefully lift the cookies off your surface and carefully place your cookie shapes onto the tray , ensuring you leave enough space between your cookies . Place your baking tray into your oven and bake for approximately 10 minutes or until the edges are slightly golden . Once they are baked , remove from the tray immediately and place on a wire rack to allow them to cool .
Page 11 text
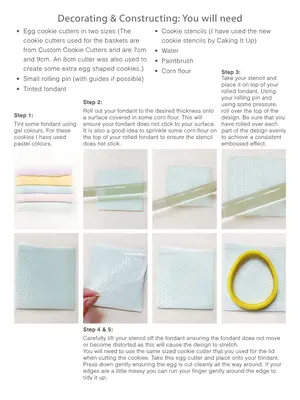
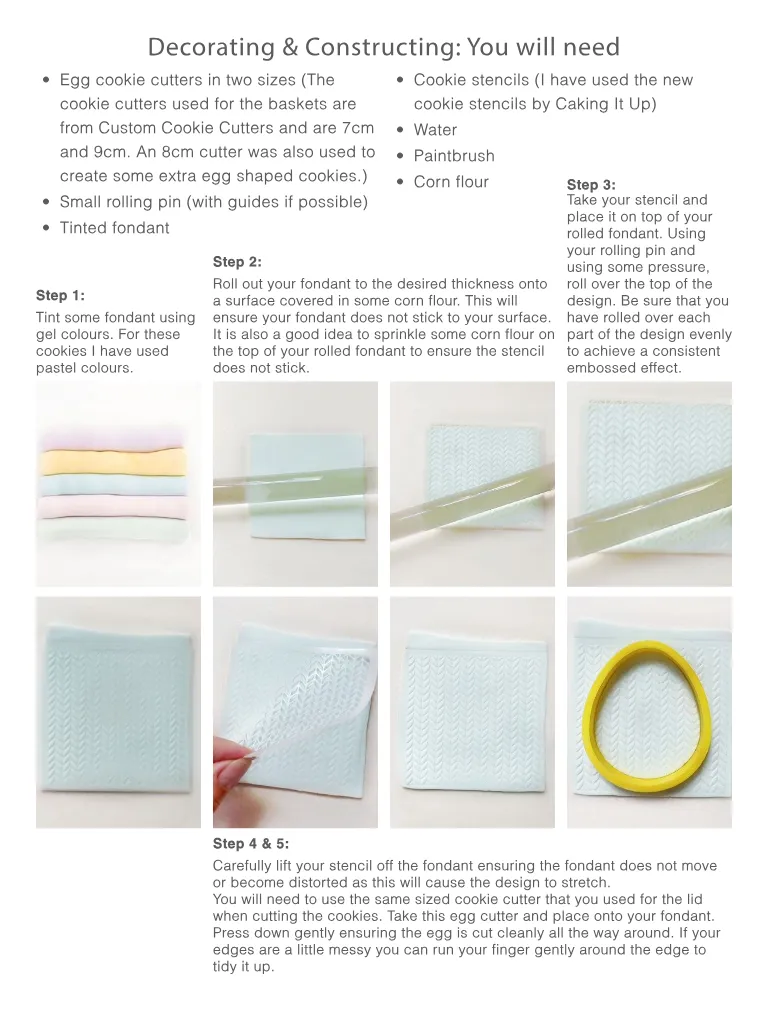
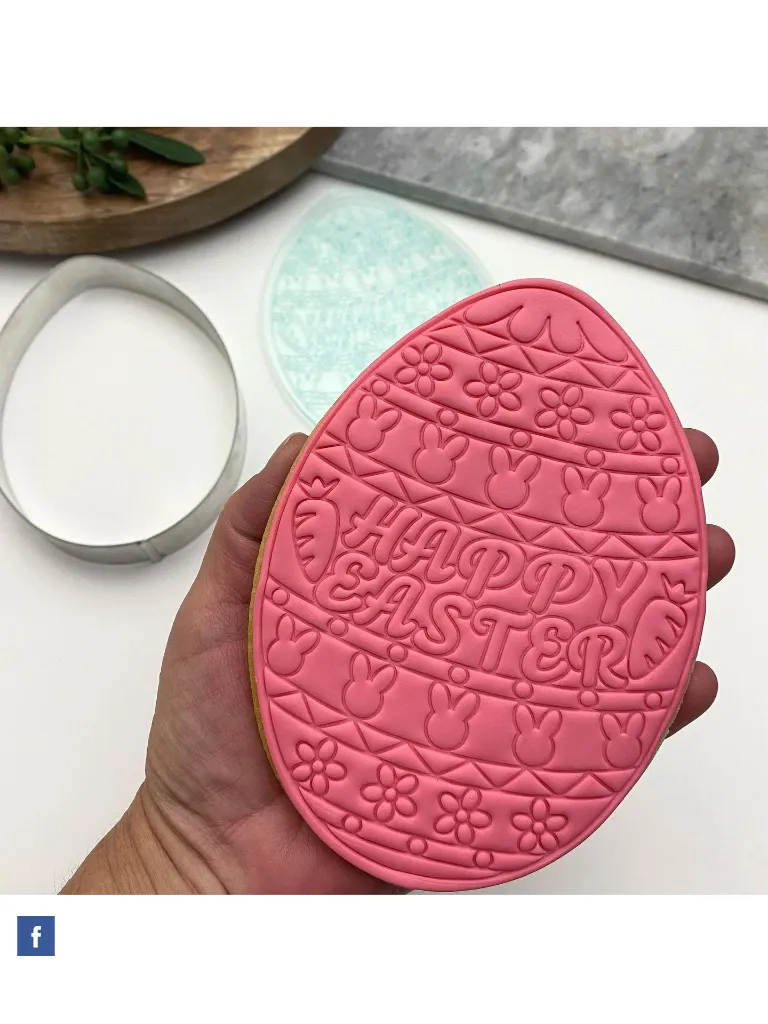
• Egg cookie cutters in two sizes ( The cookie cutters used for the baskets are from Custom Cookie Cutters and are 7cm and 9cm . An 8cm cutter was also used to create some extra egg shaped cookies .) • Small rolling pin ( with guides if possible ) • Tinted fondant Step 1 : Tint some fondant using gel colours . For these cookies I have used pastel colours . Decorating & Constructing : You will need Step 2 : • Cookie stencils ( I have used the new cookie stencils by Caking It Up ) • Water • Paintbrush • Corn flour Roll out your fondant to the desired thickness onto a surface covered in some corn flour . This will ensure your fondant does not stick to your surface . It is also a good idea to sprinkle some corn flour on the top of your rolled fondant to ensure the stencil does not stick . Step 3 : Take your stencil and place it on top of your rolled fondant . Using your rolling pin and using some pressure , roll over the top of the design . Be sure that you have rolled over each part of the design evenly to achieve a consistent embossed effect . Step 4 & 5 : Carefully lift your stencil off the fondant ensuring the fondant does not move or become distorted as this will cause the design to stretch . You will need to use the same sized cookie cutter that you used for the lid when cutting the cookies . Take this egg cutter and place onto your fondant . Press down gently ensuring the egg is cut cleanly all the way around . If your edges are a little messy you can run your finger gently around the edge to tidy it up .
Page 12 text
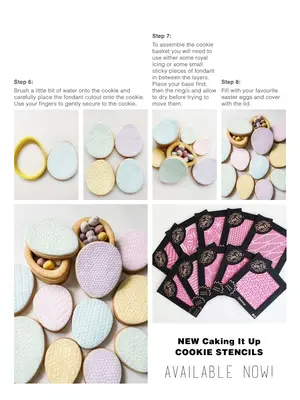
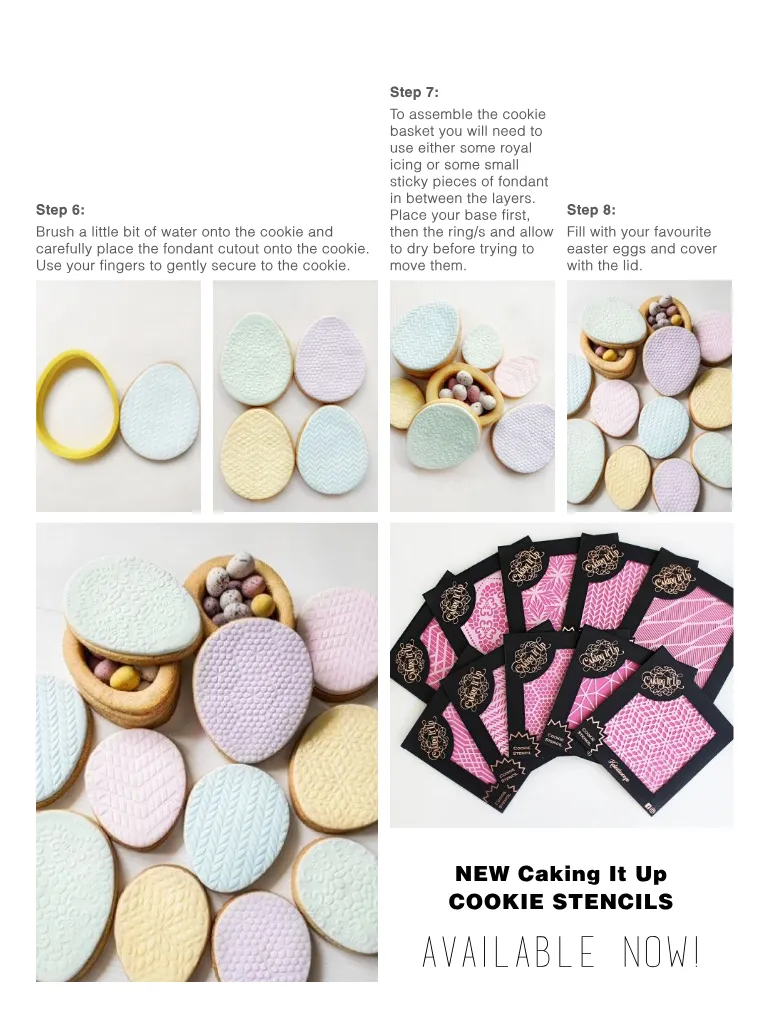
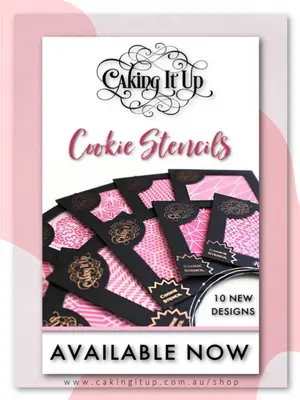
Step 6 : Brush a little bit of water onto the cookie and carefully place the fondant cutout onto the cookie . Use your fingers to gently secure to the cookie . Step 7 : To assemble the cookie basket you will need to use either some royal icing or some small sticky pieces of fondant in between the layers . Place your base first , then the ring / s and allow to dry before trying to move them . Step 8 : Fill with your favourite easter eggs and cover with the lid . NEW Caking It Up COOKIE STENCILS Available NOW !
Page 15 text
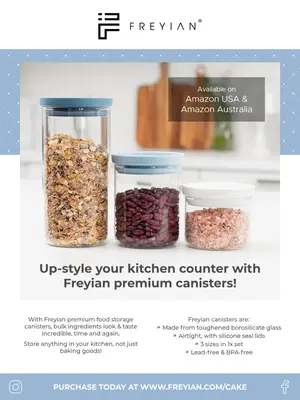
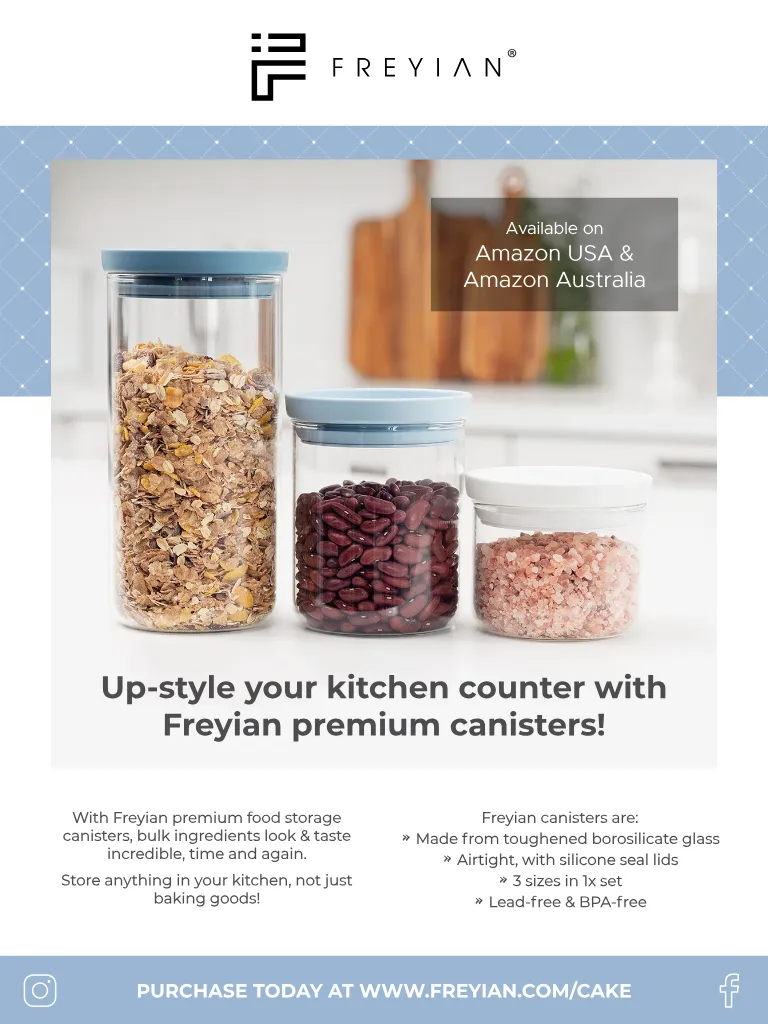
Available on Amazon USA & Amazon Australia Available on Amazon USA & Amazon Australia Up-style your kitchen counter with Freyian premium canisters ! With Freyian premium food storage canisters , bulk ingredients look & taste incredible , time and again . Store anything in your kitchen , not just baking goods ! Freyian canisters are : » Made from toughened borosilicate glass » Airtight , with silicone seal lids » 3 sizes in 1x set » Lead-free & BPA-free PURCHASE TODAY AT WWW . FREYIAN . COM / CAKE
Page 16 text
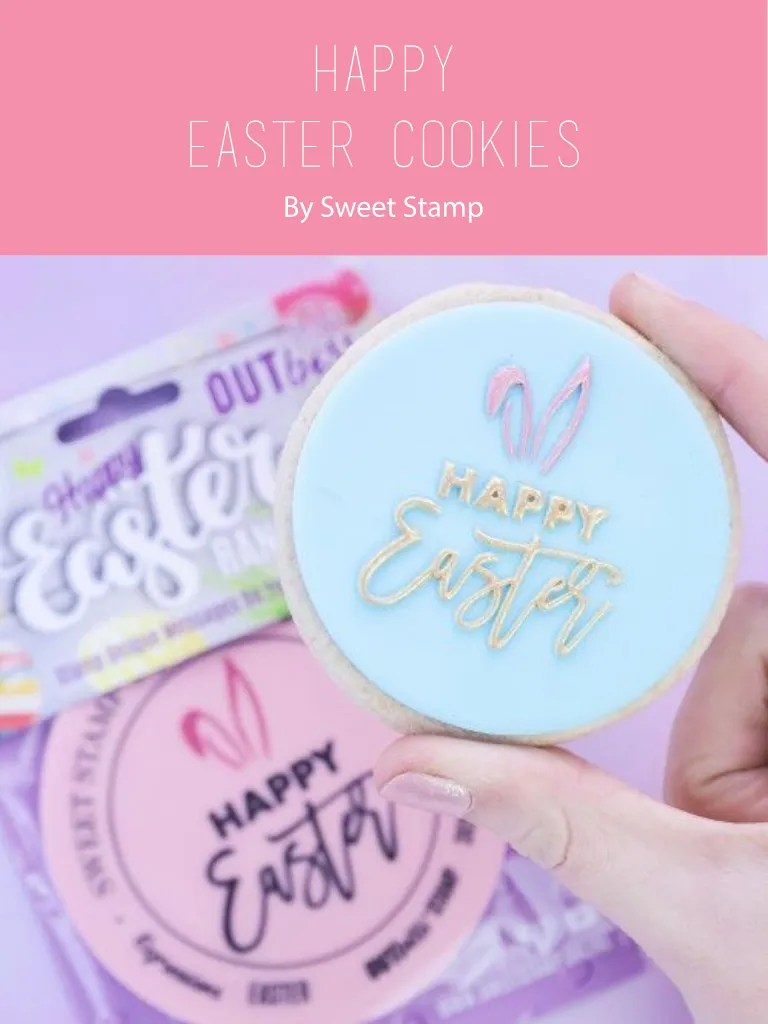
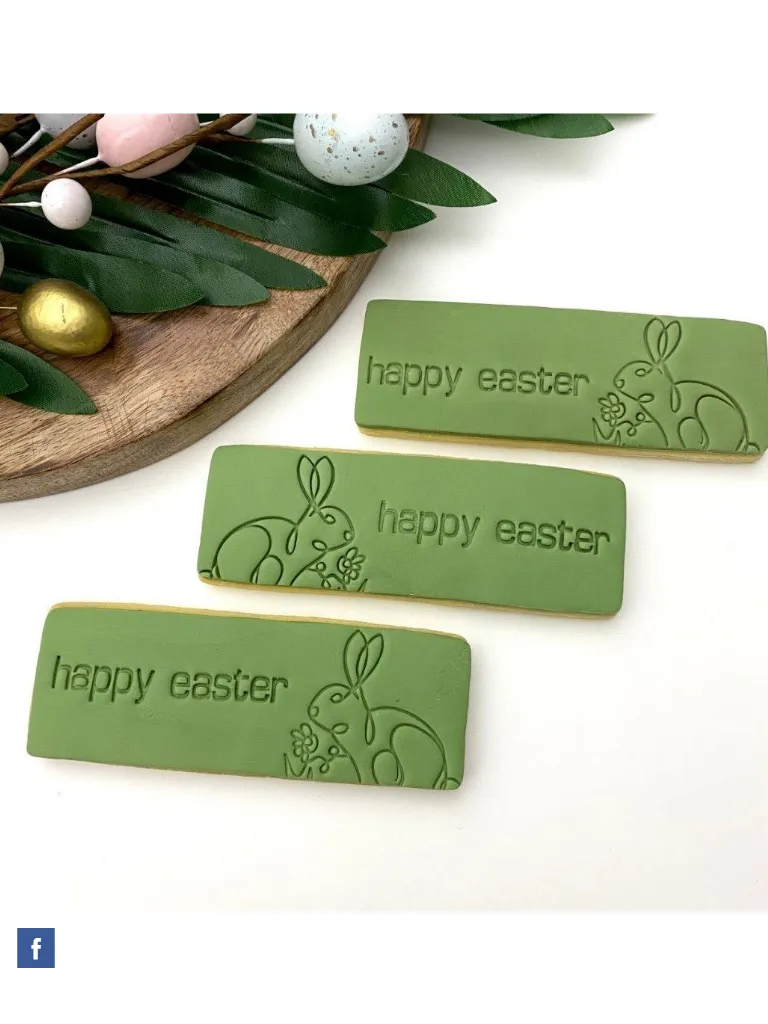
HAPPY EASTER COOKIES By Sweet Stamp
Page 17 text
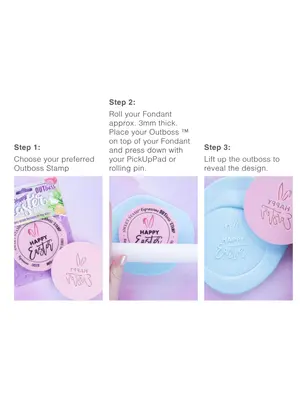
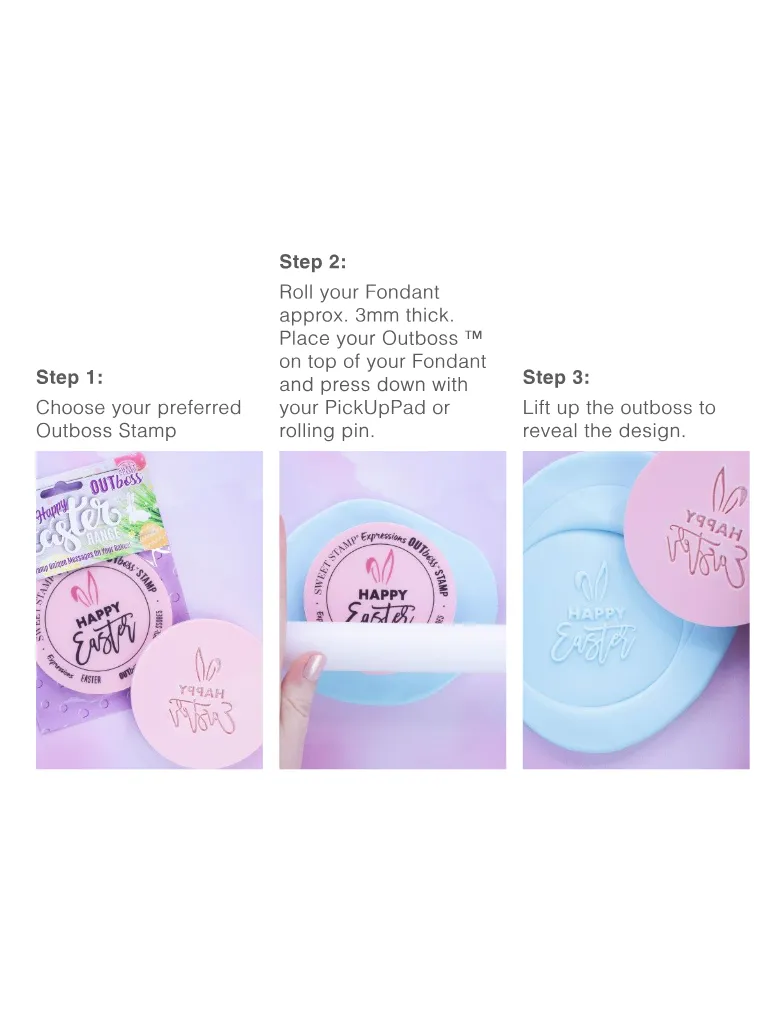
Step 1 : Choose your preferred Outboss Stamp Step 2 : Roll your Fondant approx . 3mm thick . Place your Outboss ™ on top of your Fondant and press down with your PickUpPad or rolling pin . Step 3 : Lift up the outboss to reveal the design .
Page 18 text
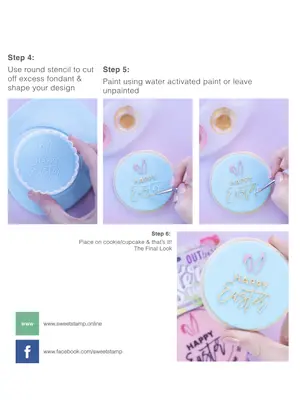
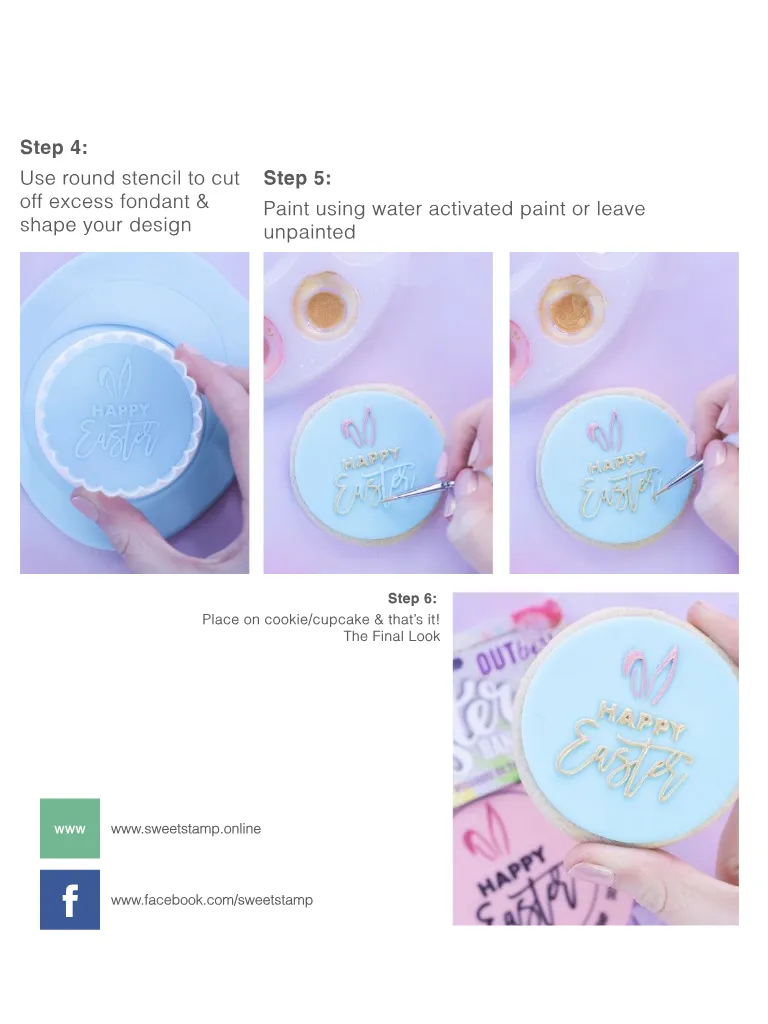
Step 4 : Use round stencil to cut off excess fondant & shape your design Step 5 : Paint using water activated paint or leave unpainted Step 6 : Place on cookie / cupcake & that ’ s it ! The Final Look www www . sweetstamp . online f www . facebook . com / sweetstamp
Page 19 text
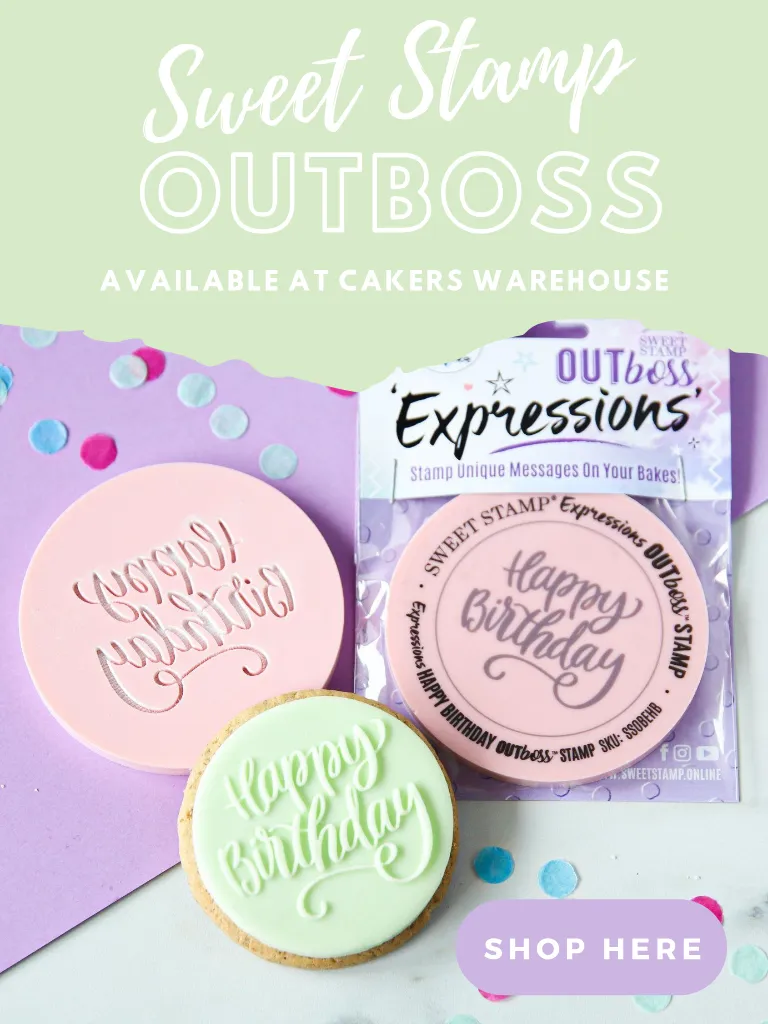
Sweet Stamp OUTBOSS AVAILABLE AT CAKERS WAREHOUSE S H O P H E R E

Page 20 text
Stem & Reed FLOWERS AVAILABLE AT CAKERS WAREHOUSE S H O P H E R E


Page 21 text
NEW SAME BUTDifferent , SAME PACKAGING METALLIC LUSTRE 100 % FOOD GRADE INGREDIENTS MADE IN AUSTRALIA SWEETSTICKS . COM . AU • @ SWEETSTICKSAU
Page 22 text
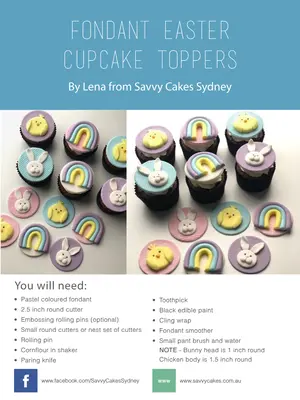
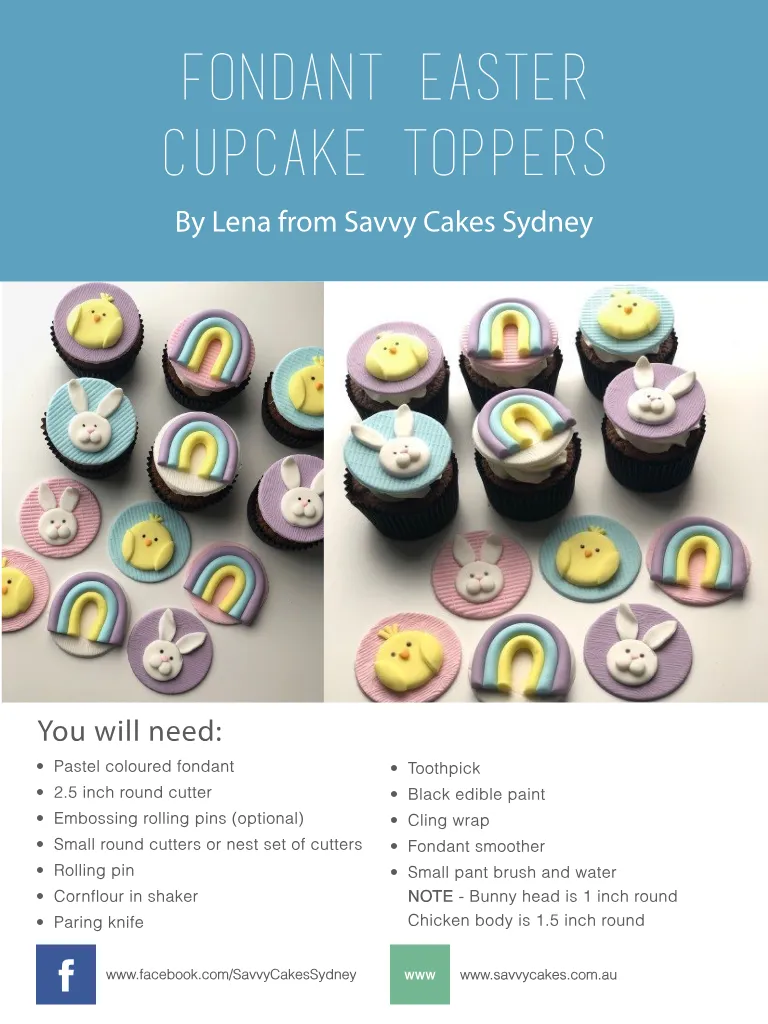
FONDANT EASTER CUPCAKE TOPPERS By Lena from Savvy Cakes Sydney You will need : • Pastel coloured fondant • 2.5 inch round cutter • Embossing rolling pins ( optional ) • Small round cutters or nest set of cutters • Rolling pin • Cornflour in shaker • Paring knife • Toothpick • Black edible paint • Cling wrap • Fondant smoother • Small pant brush and water NOTE - Bunny head is 1 inch round Chicken body is 1.5 inch round f www . facebook . com / SavvyCakesSydney www www . savvycakes . com . au
Page 23 text
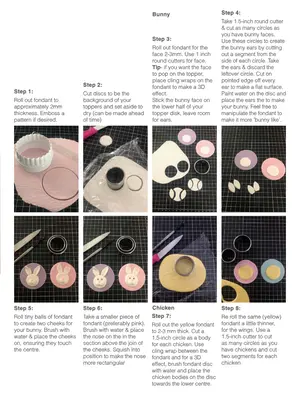
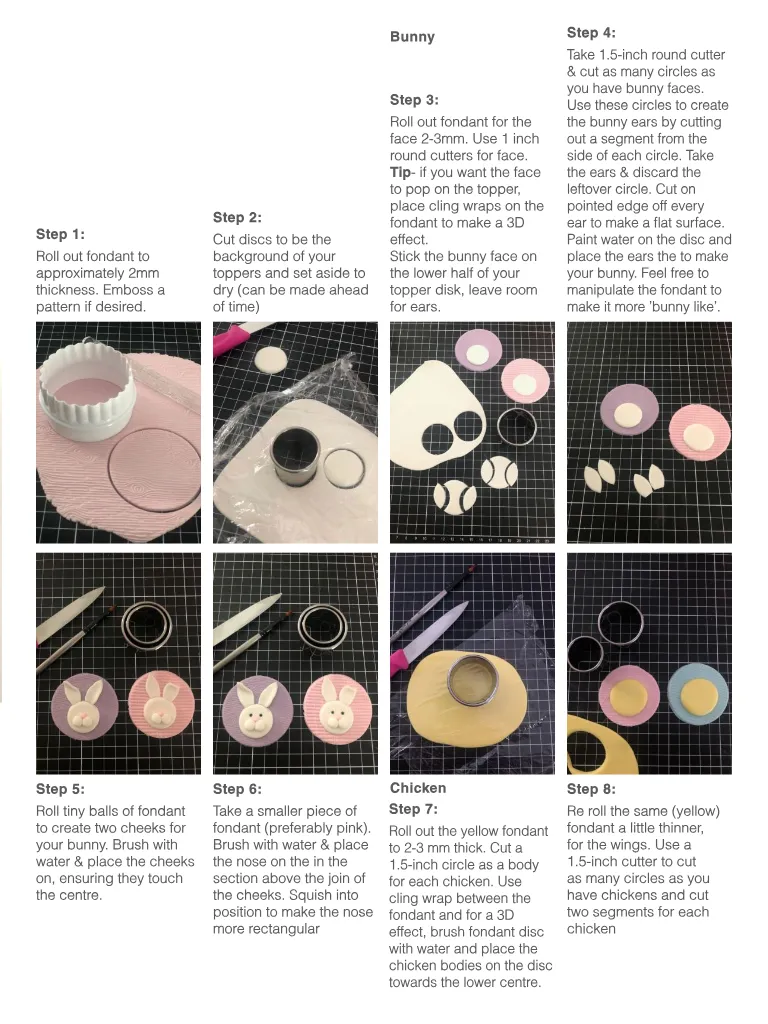
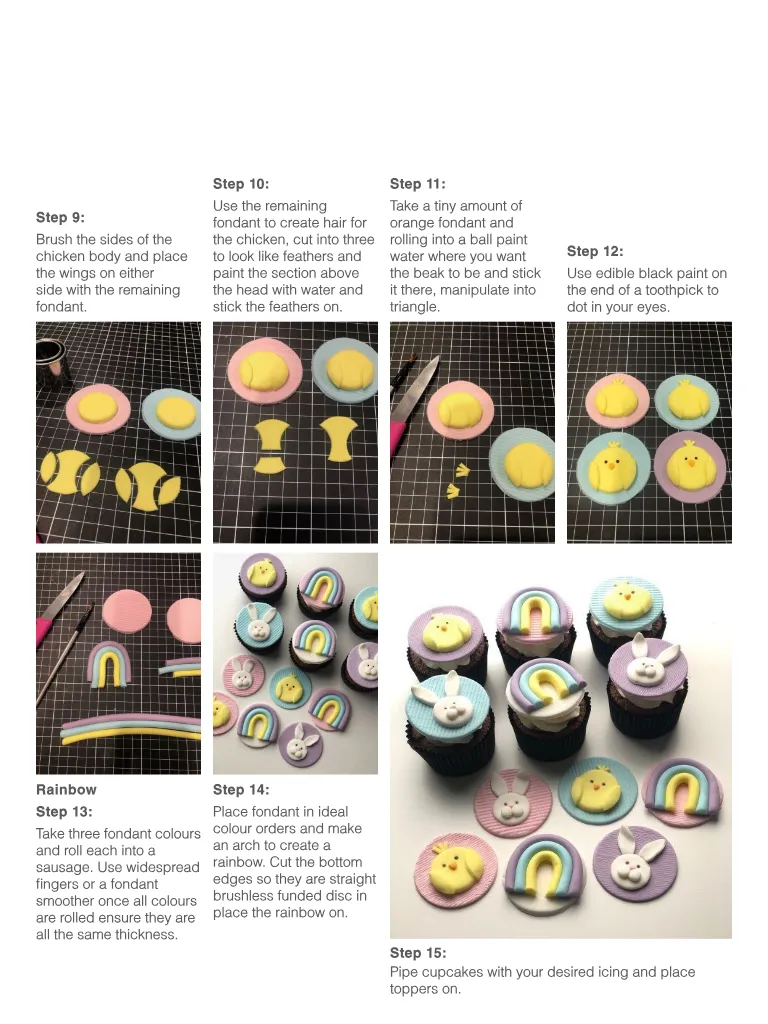
Step 1 : Roll out fondant to approximately 2mm thickness . Emboss a pattern if desired . Step 2 : Cut discs to be the background of your toppers and set aside to dry ( can be made ahead of time ) Bunny Step 4 : Step 3 : Roll out fondant for the face 2-3mm . Use 1 inch round cutters for face . Tip- if you want the face to pop on the topper , place cling wraps on the fondant to make a 3D effect . Stick the bunny face on the lower half of your topper disk , leave room for ears . Take 1.5-inch round cutter & cut as many circles as you have bunny faces . Use these circles to create the bunny ears by cutting out a segment from the side of each circle . Take the ears & discard the leftover circle . Cut on pointed edge off every ear to make a flat surface . Paint water on the disc and place the ears the to make your bunny . Feel free to manipulate the fondant to make it more ’ bunny like ’. Step 5 : Roll tiny balls of fondant to create two cheeks for your bunny . Brush with water & place the cheeks on , ensuring they touch the centre . Step 6 : Take a smaller piece of fondant ( preferably pink ). Brush with water & place the nose on the in the section above the join of the cheeks . Squish into position to make the nose more rectangular Chicken Step 7 : Roll out the yellow fondant to 2-3 mm thick . Cut a 1.5-inch circle as a body for each chicken . Use cling wrap between the fondant and for a 3D effect , brush fondant disc with water and place the chicken bodies on the disc towards the lower centre . Step 8 : Re roll the same ( yellow ) fondant a little thinner , for the wings . Use a 1.5-inch cutter to cut as many circles as you have chickens and cut two segments for each chicken
Page 24 text
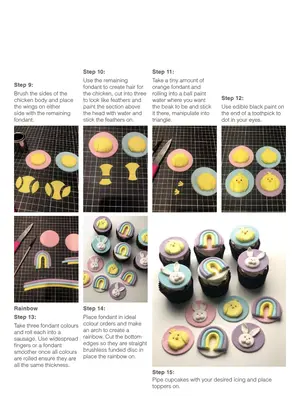
Step 9 : Brush the sides of the chicken body and place the wings on either side with the remaining fondant . Step 10 : Step 11 : Use the remaining fondant to create hair for the chicken , cut into three to look like feathers and paint the section above the head with water and stick the feathers on . Take a tiny amount of orange fondant and rolling into a ball paint water where you want the beak to be and stick it there , manipulate into triangle . Step 12 : Use edible black paint on the end of a toothpick to dot in your eyes . Rainbow Step 13 : Take three fondant colours and roll each into a sausage . Use widespread fingers or a fondant smoother once all colours are rolled ensure they are all the same thickness . Step 14 : Place fondant in ideal colour orders and make an arch to create a rainbow . Cut the bottom edges so they are straight brushless funded disc in place the rainbow on . Step 15 : Pipe cupcakes with your desired icing and place toppers on .
Page 25 text
NEW ` www . cakedecoratingsolutions . com . au
Page 26 text
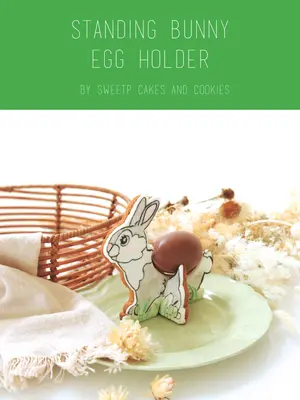
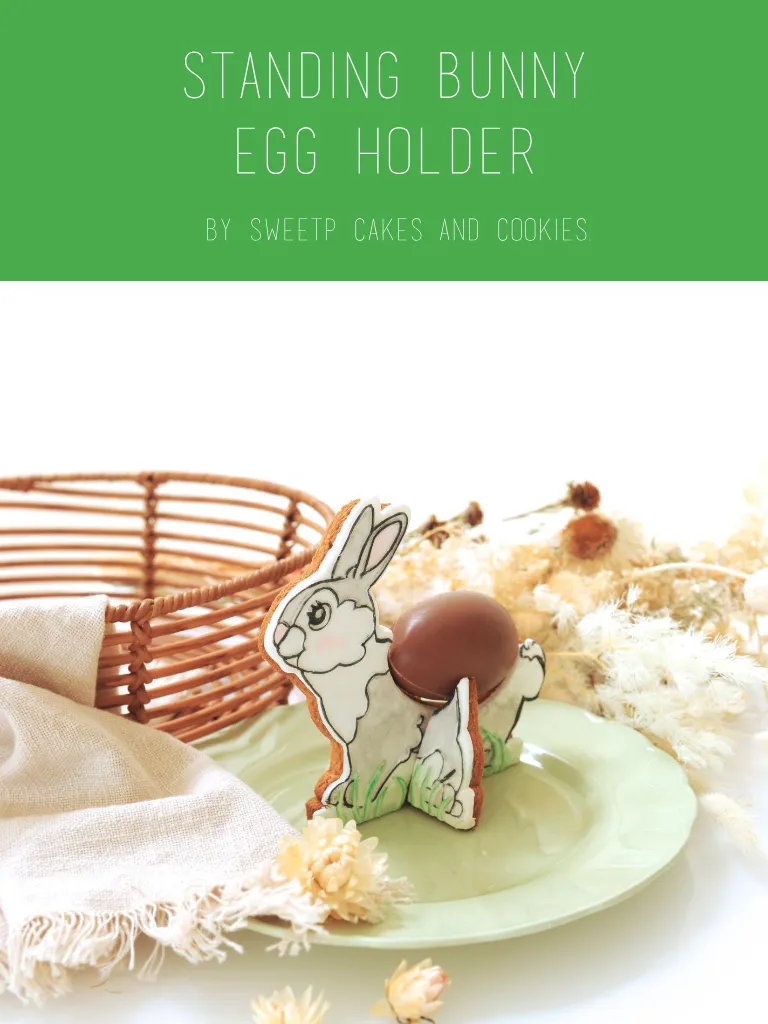
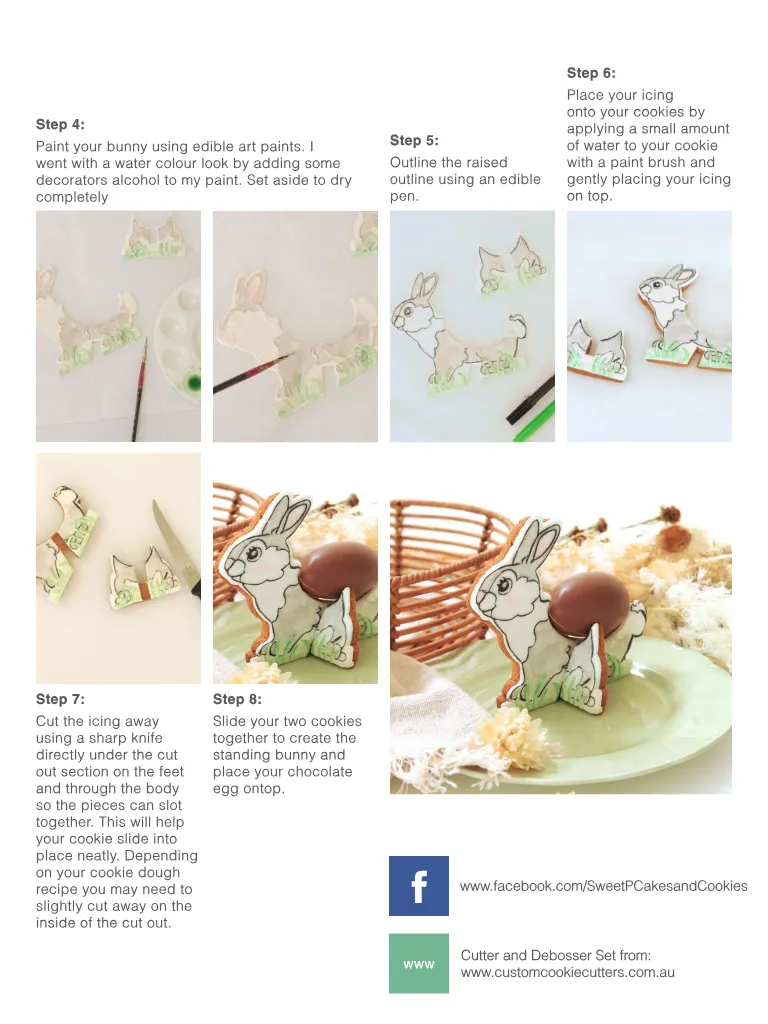
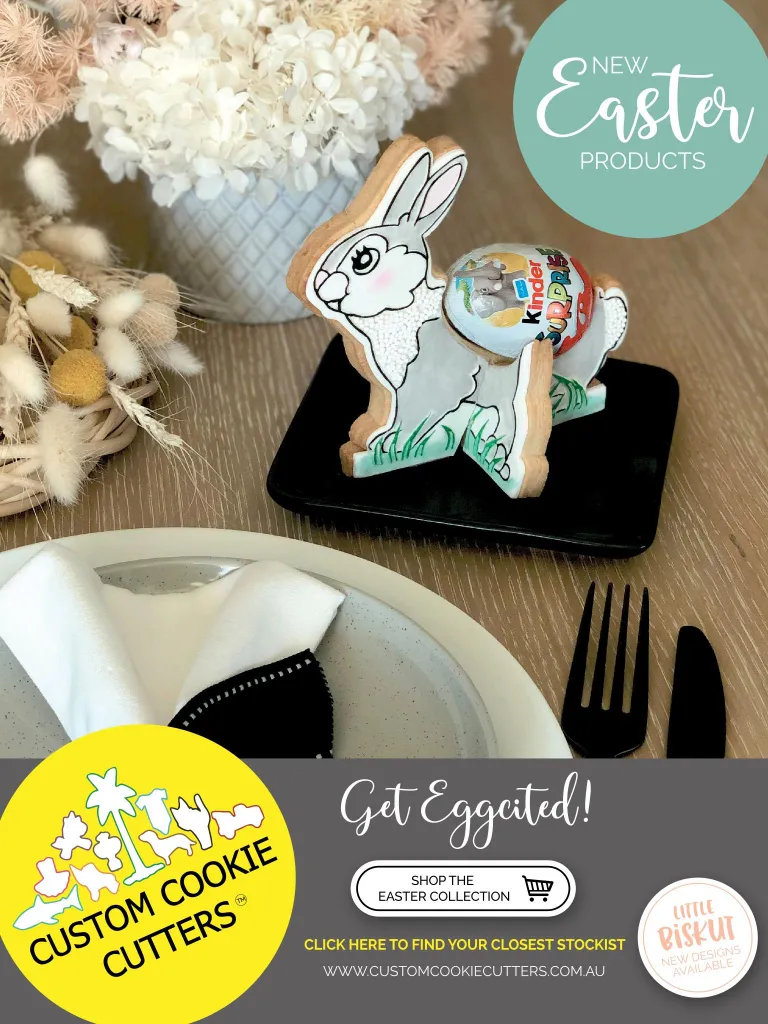
STANDING BUNNY EGG HOLDER BY SweetP Cakes and Cookies .
Page 27 text
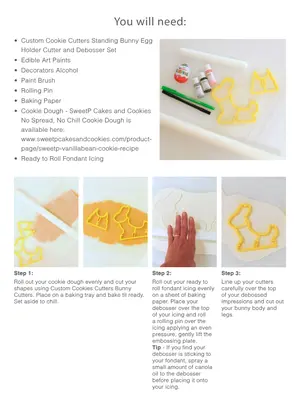
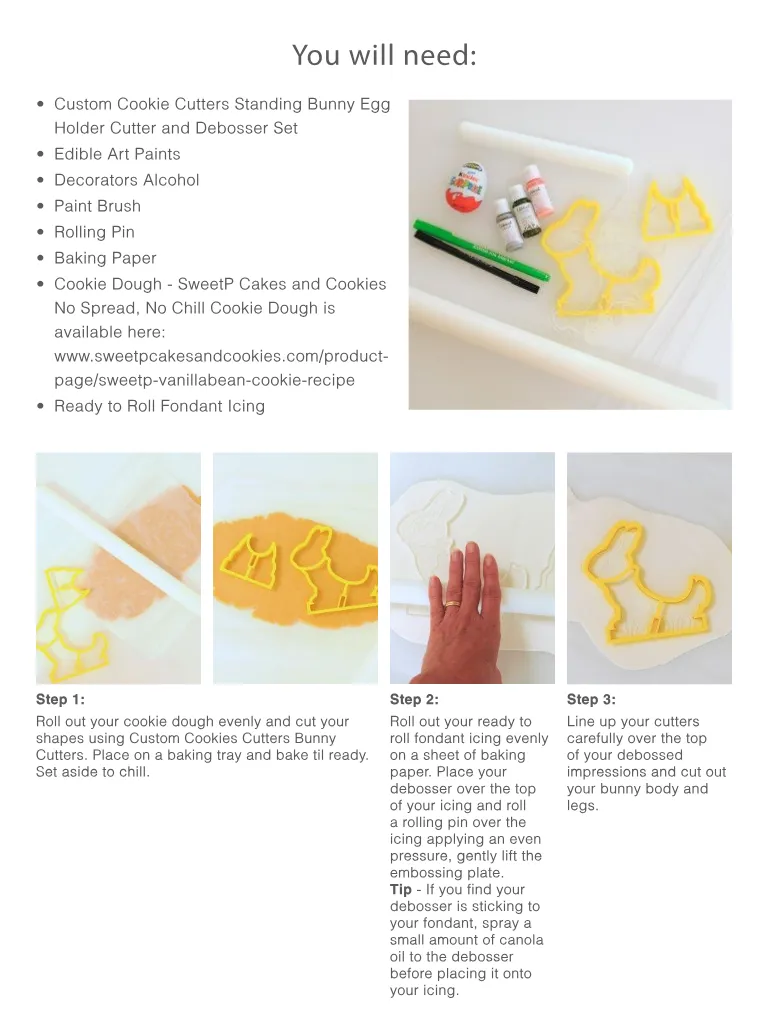
You will need : • Custom Cookie Cutters Standing Bunny Egg Holder Cutter and Debosser Set • Edible Art Paints • Decorators Alcohol • Paint Brush • Rolling Pin • Baking Paper • Cookie Dough - SweetP Cakes and Cookies No Spread , No Chill Cookie Dough is available here : www . sweetpcakesandcookies . com / productpage / sweetp-vanillabean-cookie-recipe • Ready to Roll Fondant Icing Step 1 : Step 2 : Step 3 : Roll out your cookie dough evenly and cut your shapes using Custom Cookies Cutters Bunny Cutters . Place on a baking tray and bake til ready . Set aside to chill . Roll out your ready to roll fondant icing evenly on a sheet of baking paper . Place your debosser over the top of your icing and roll a rolling pin over the icing applying an even pressure , gently lift the embossing plate . Tip - If you find your debosser is sticking to your fondant , spray a small amount of canola oil to the debosser before placing it onto your icing . Line up your cutters carefully over the top of your debossed impressions and cut out your bunny body and legs .
Page 28 text
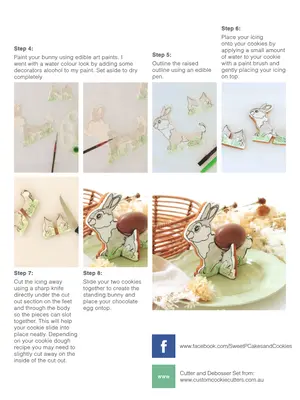
Step 4 : Paint your bunny using edible art paints . I went with a water colour look by adding some decorators alcohol to my paint . Set aside to dry completely Step 5 : Outline the raised outline using an edible pen . Step 6 : Place your icing onto your cookies by applying a small amount of water to your cookie with a paint brush and gently placing your icing on top . Step 7 : Step 8 : Cut the icing away using a sharp knife directly under the cut out section on the feet and through the body so the pieces can slot together . This will help your cookie slide into place neatly . Depending on your cookie dough recipe you may need to slightly cut away on the inside of the cut out . Slide your two cookies together to create the standing bunny and place your chocolate egg ontop . f www www . facebook . com / SweetPCakesandCookies Cutter and Debosser Set from : www . customcookiecutters . com . au
Page 29 text
SHOP THE EASTER COLLECTION CLICK HERE TO FIND YOUR CLOSEST STOCKIST NEW DESIGNS AVAILABLE




Page 31 text
Baking Box Subscription A MONTHLY SUBSCRIPTION OF CAKE AND BAKING GOODIES DELIVERED TO YOUR DOOR ! FIND OUT MORE AT WWW . BAKINGBOX . ME Subscribe at www . bakingbox . me
Page 32 text
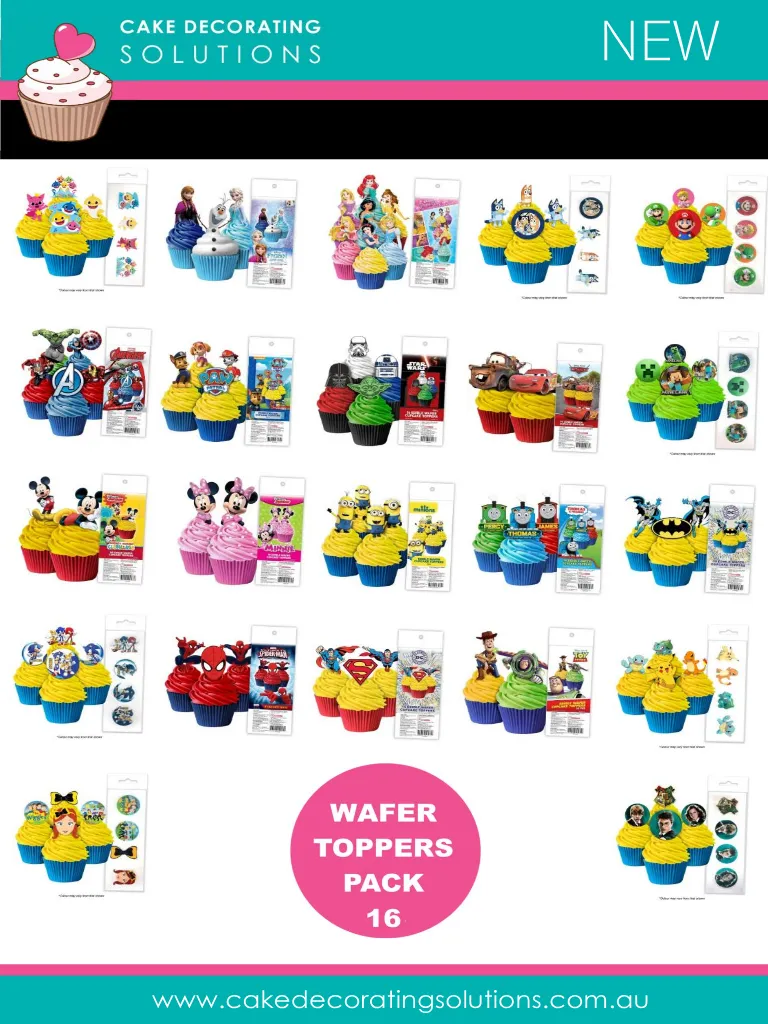
NEW ` pf www . cakedecoratingsolutions . com . au
Page 33 text
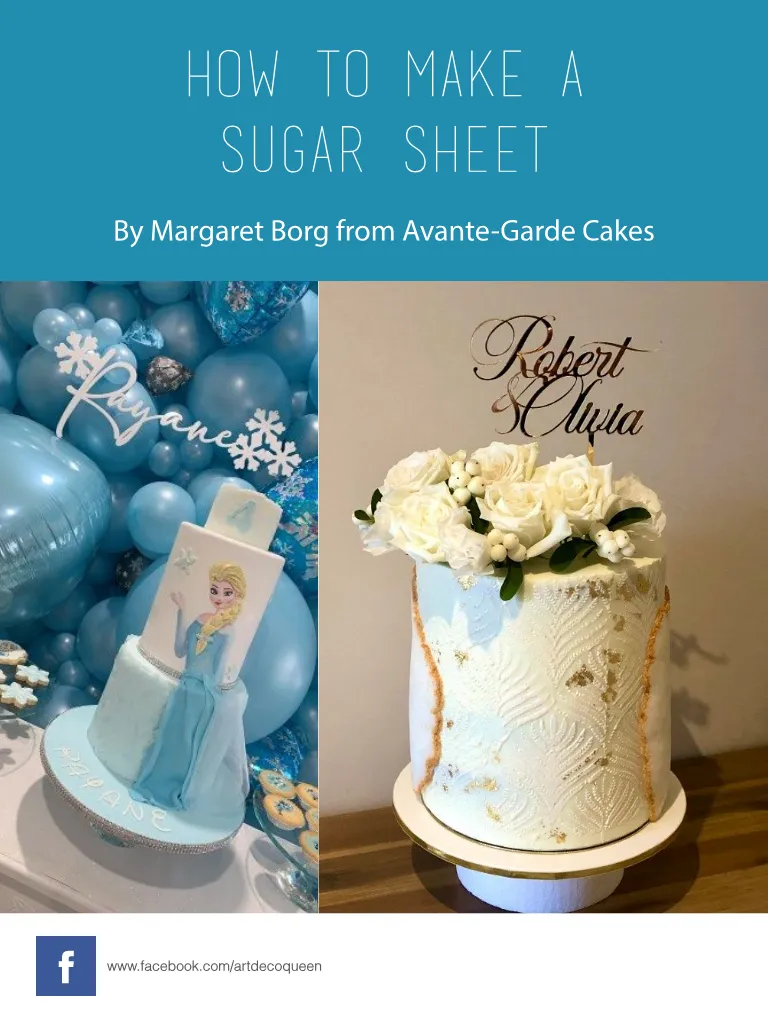
HOW TO MAKE A SUGAR SHEET By Margaret Borg from Avante-Garde Cakes f www . facebook . com / artdecoqueen
Page 34 text
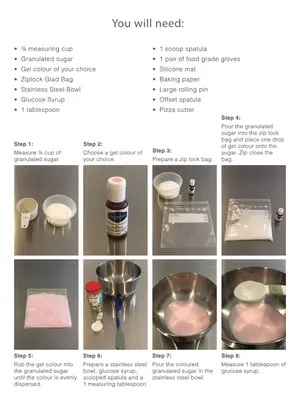
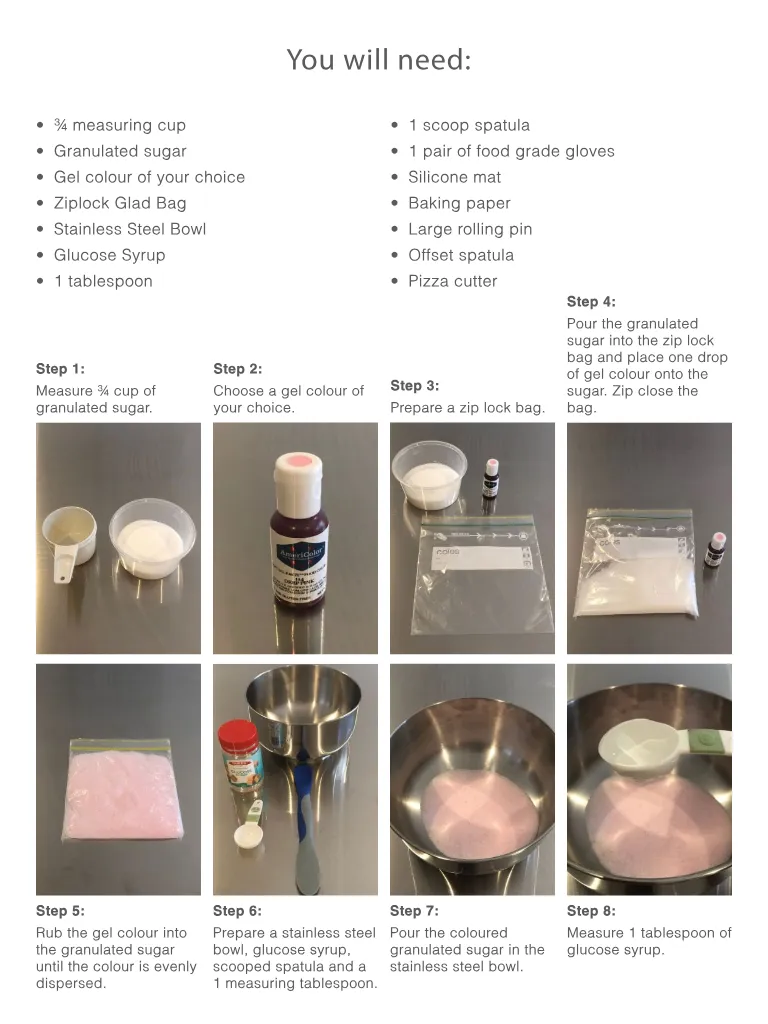
You will need : • ¾ measuring cup • Granulated sugar • Gel colour of your choice • Ziplock Glad Bag • Stainless Steel Bowl • Glucose Syrup • 1 tablespoon Step 1 : Measure ¾ cup of granulated sugar . • 1 scoop spatula • 1 pair of food grade gloves • Silicone mat • Baking paper • Large rolling pin • Offset spatula • Pizza cutter Step 2 : Choose a gel colour of Step 3 : your choice . Prepare a zip lock bag . Step 4 : Pour the granulated sugar into the zip lock bag and place one drop of gel colour onto the sugar . Zip close the bag . Step 5 : Rub the gel colour into the granulated sugar until the colour is evenly dispersed . Step 6 : Step 7 : Step 8 : Prepare a stainless steel bowl , glucose syrup , scooped spatula and a 1 measuring tablespoon . Pour the coloured granulated sugar in the stainless steel bowl . Measure 1 tablespoon of glucose syrup .
Page 35 text
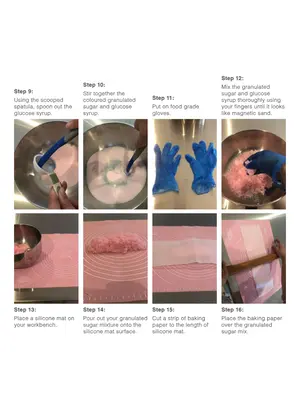
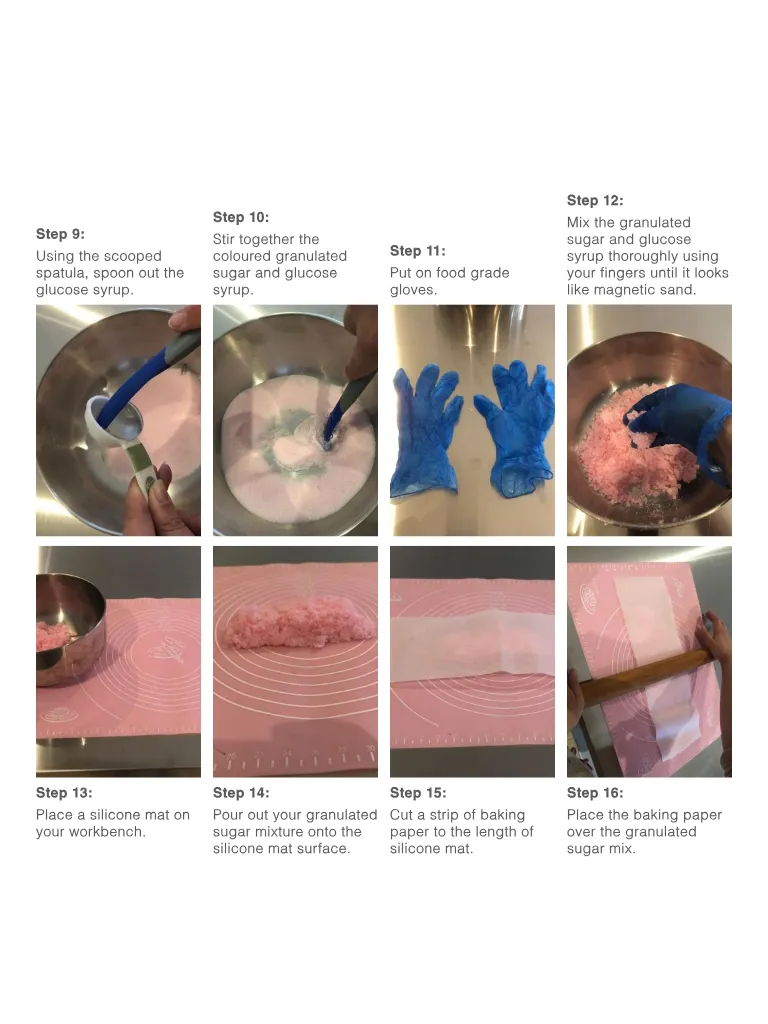
Step 9 : Using the scooped spatula , spoon out the glucose syrup . Step 10 : Stir together the coloured granulated sugar and glucose syrup . Step 11 : Put on food grade gloves . Step 12 : Mix the granulated sugar and glucose syrup thoroughly using your fingers until it looks like magnetic sand . Step 13 : Place a silicone mat on your workbench . Step 14 : Step 15 : Step 16 : Pour out your granulated sugar mixture onto the silicone mat surface . Cut a strip of baking paper to the length of silicone mat . Place the baking paper over the granulated sugar mix .
Page 36 text
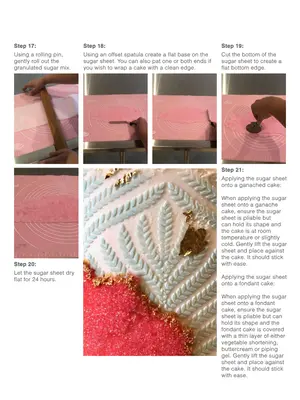
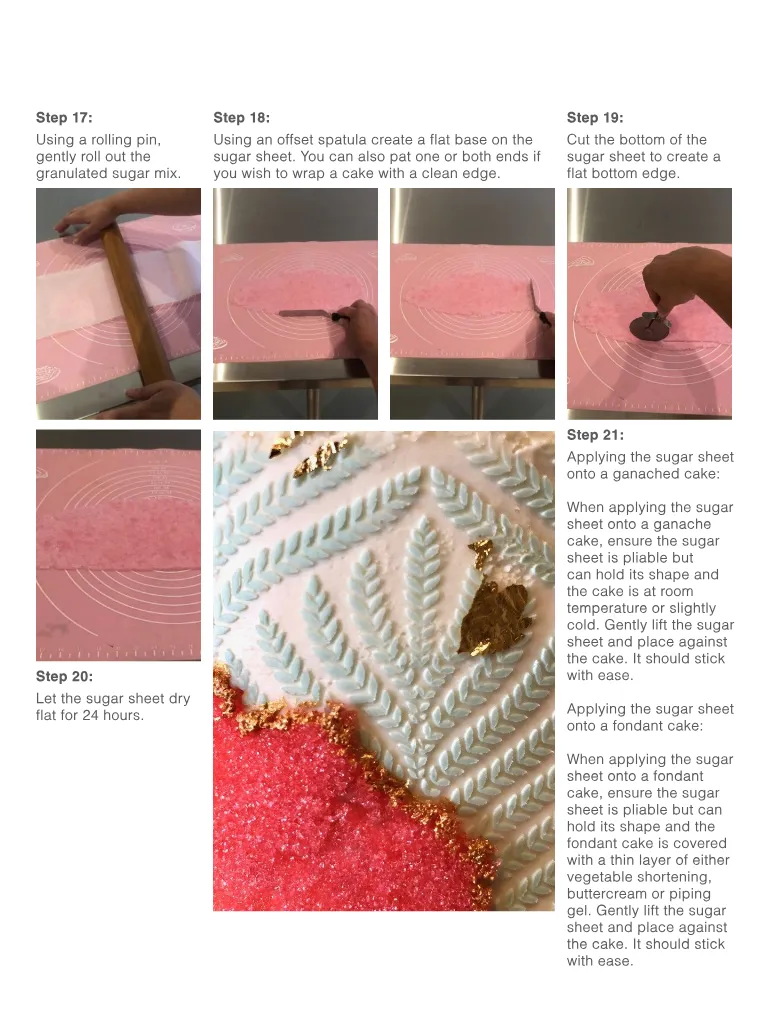
Step 17 : Using a rolling pin , gently roll out the granulated sugar mix . Step 18 : Step 19 : Using an offset spatula create a flat base on the sugar sheet . You can also pat one or both ends if you wish to wrap a cake with a clean edge . Cut the bottom of the sugar sheet to create a flat bottom edge . Step 21 : Applying the sugar sheet onto a ganached cake : Step 20 : Let the sugar sheet dry flat for 24 hours . When applying the sugar sheet onto a ganache cake , ensure the sugar sheet is pliable but can hold its shape and the cake is at room temperature or slightly cold . Gently lift the sugar sheet and place against the cake . It should stick with ease . Applying the sugar sheet onto a fondant cake : When applying the sugar sheet onto a fondant cake , ensure the sugar sheet is pliable but can hold its shape and the fondant cake is covered with a thin layer of either vegetable shortening , buttercream or piping gel . Gently lift the sugar sheet and place against the cake . It should stick with ease .
Page 37 text
colour mill .


Page 39 text
Monthly focus topics include : - Social Media - Pricing for profit - Photography & editing - Quoting & invoicing - Marketing & more ! Build a successful baking business with the support of the ACDN Business Lounge ! www . acdn . me / business Join the waiting list to receive your invite !
Page 40 text
NEW ` www . cakedecoratingsolutions . com . au

Page 41 text
Recipes A collection of delicious recipes for you to bake this Easter
Page 43 text
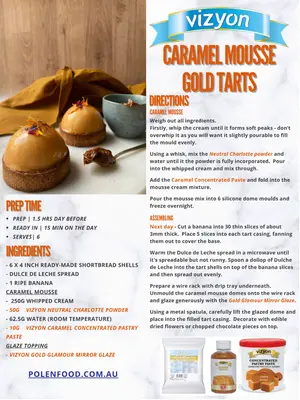
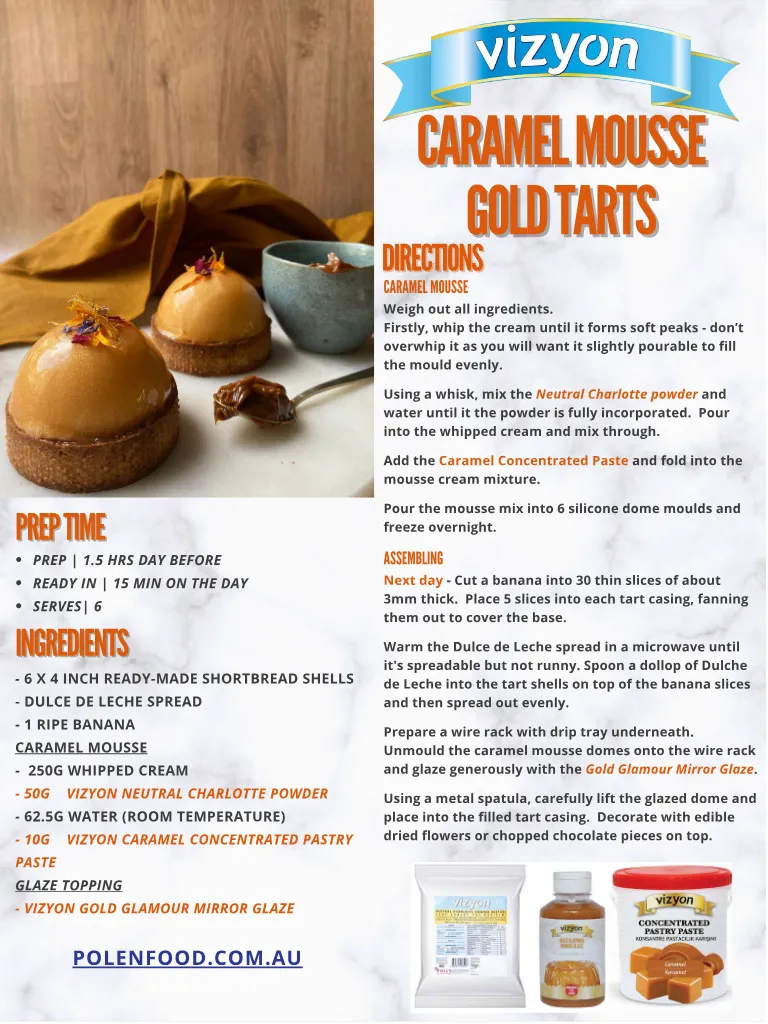
DIRECTIONS PREP TIME INGREDIENTS CARAMEL MOUSSE DIRECTIONS CARAMEL MOUSSE GOLD TARTS Weigh out all ingredients . Firstly , whip the cream until it forms soft peaks - don ’ t overwhip it as you will want it slightly pourable to fill the mould evenly . Using a whisk , mix the Neutral Charlotte powder and water until it the powder is fully incorporated . Pour into the whipped cream and mix through . Add the Caramel Concentrated Paste and fold into the mousse cream mixture . PREP TIME PREP | 1.5 HRS DAY BEFORE READY IN | 15 MIN ON THE DAY SERVES | 6 INGREDIENTS - 6 X 4 INCH READY-MADE SHORTBREAD SHELLS - DULCE DE LECHE SPREAD - 1 RIPE BANANA CARAMEL MOUSSE - 250G WHIPPED CREAM - 50G VIZYON NEUTRAL CHARLOTTE POWDER - 62.5G WATER ( ROOM TEMPERATURE ) - 10G VIZYON CARAMEL CONCENTRATED PASTRY PASTE GLAZE TOPPING - VIZYON GOLD GLAMOUR MIRROR GLAZE Pour the mousse mix into 6 silicone dome moulds and freeze overnight . ASSEMBLING Next day - Cut a banana into 30 thin slices of about 3mm thick . Place 5 slices into each tart casing , fanning them out to cover the base . Warm the Dulce de Leche spread in a microwave until it ' s spreadable but not runny . Spoon a dollop of Dulche de Leche into the tart shells on top of the banana slices and then spread out evenly . Prepare a wire rack with drip tray underneath . Unmould the caramel mousse domes onto the wire rack and glaze generously with the Gold Glamour Mirror Glaze . Using a metal spatula , carefully lift the glazed dome and place into the filled tart casing . Decorate with edible dried flowers or chopped chocolate pieces on top . POLENFOOD . COM . AU
Page 44 text
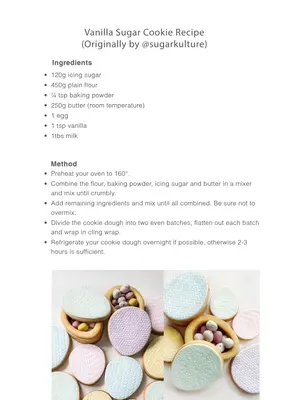
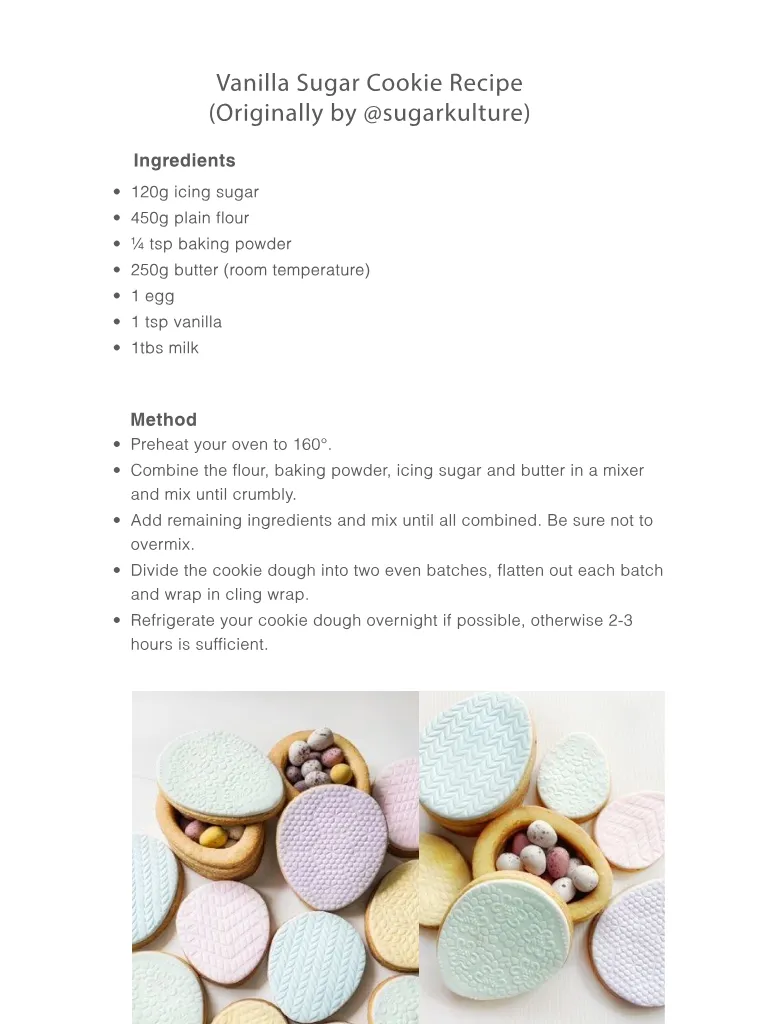
Ingredients Method Ingredients • 120g icing sugar • 450g plain flour • ¼ tsp baking powder • 250g butter ( room temperature ) • 1 egg • 1 tsp vanilla • 1tbs milk Vanilla Sugar Cookie Recipe ( Originally by @ sugarkulture ) Method • Preheat your oven to 160 °. • Combine the flour , baking powder , icing sugar and butter in a mixer and mix until crumbly . • Add remaining ingredients and mix until all combined . Be sure not to overmix . • Divide the cookie dough into two even batches , flatten out each batch and wrap in cling wrap . • Refrigerate your cookie dough overnight if possible , otherwise 2-3 hours is sufficient .
Page 45 text
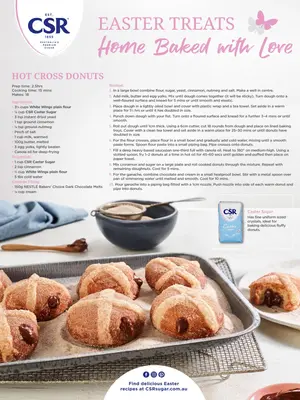
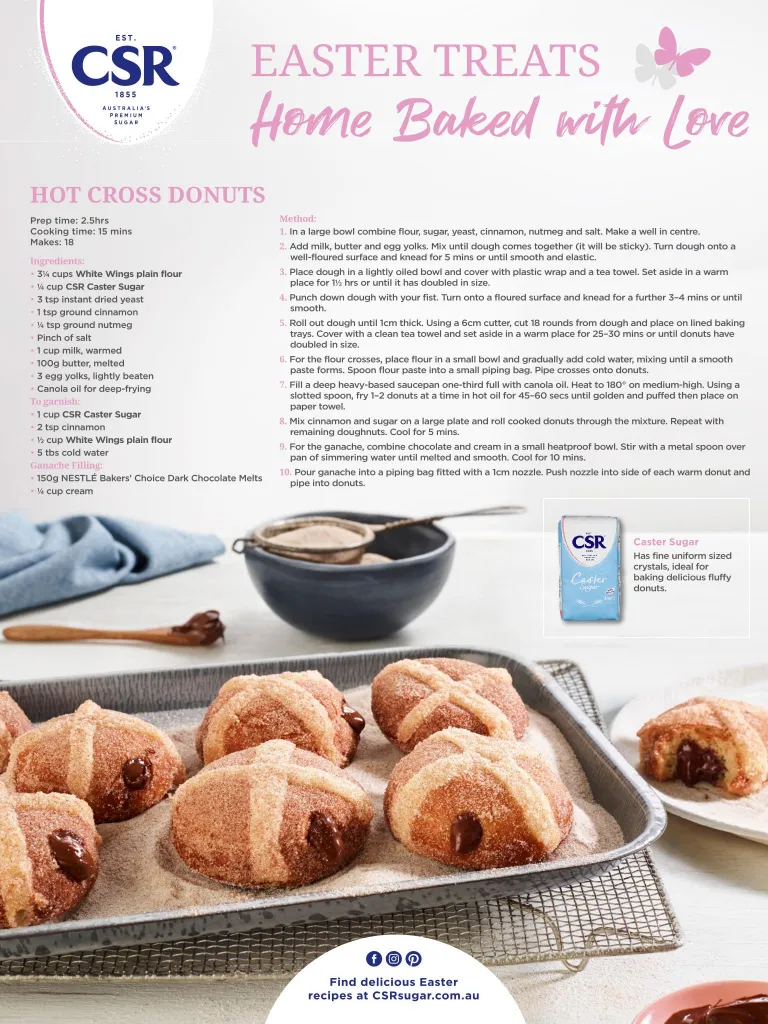
EASTER TREATS Home Baked with Love HOT CROSS DONUTS Prep time : 2.5hrs Cooking time : 15 mins Makes : 18 Ingredients : • 3¼ cups White Wings plain flour • ¼ cup CSR Caster Sugar • 3 tsp instant dried yeast • 1 tsp ground cinnamon • ¼ tsp ground nutmeg • Pinch of salt • 1 cup milk , warmed • 100g butter , melted • 3 egg yolks , lightly beaten • Canola oil for deep-frying To garnish : • 1 cup CSR Caster Sugar • 2 tsp cinnamon • ½ cup White Wings plain flour • 5 tbs cold water Ganache Filling : • 150g NESTLÉ Bakers ’ Choice Dark Chocolate Melts • ¼ cup cream Method : 1 . In a large bowl combine flour , sugar , yeast , cinnamon , nutmeg and salt . Make a well in centre . 2 . Add milk , butter and egg yolks . Mix until dough comes together ( it will be sticky ). Turn dough onto a well-floured surface and knead for 5 mins or until smooth and elastic . 3 . Place dough in a lightly oiled bowl and cover with plastic wrap and a tea towel . Set aside in a warm place for 1½ hrs or until it has doubled in size . 4 . Punch down dough with your fist . Turn onto a floured surface and knead for a further 3 – 4 mins or until smooth . 5 . Roll out dough until 1cm thick . Using a 6cm cutter , cut 18 rounds from dough and place on lined baking trays . Cover with a clean tea towel and set aside in a warm place for 25 – 30 mins or until donuts have doubled in size . 6 . For the flour crosses , place flour in a small bowl and gradually add cold water , mixing until a smooth paste forms . Spoon flour paste into a small piping bag . Pipe crosses onto donuts . 7 . Fill a deep heavy-based saucepan one-third full with canola oil . Heat to 180 ° on medium-high . Using a slotted spoon , fry 1 – 2 donuts at a time in hot oil for 45 – 60 secs until golden and puffed then place on paper towel . 8 . Mix cinnamon and sugar on a large plate and roll cooked donuts through the mixture . Repeat with remaining doughnuts . Cool for 5 mins . 9 . For the ganache , combine chocolate and cream in a small heatproof bowl . Stir with a metal spoon over pan of simmering water until melted and smooth . Cool for 10 mins . 10 . Pour ganache into a piping bag fitted with a 1cm nozzle . Push nozzle into side of each warm donut and pipe into donuts . Caster Sugar Has fine uniform sized crystals , ideal for baking delicious fluffy donuts .
Page 46 text
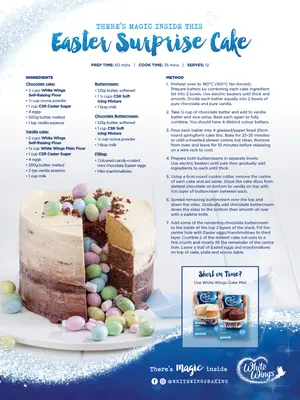
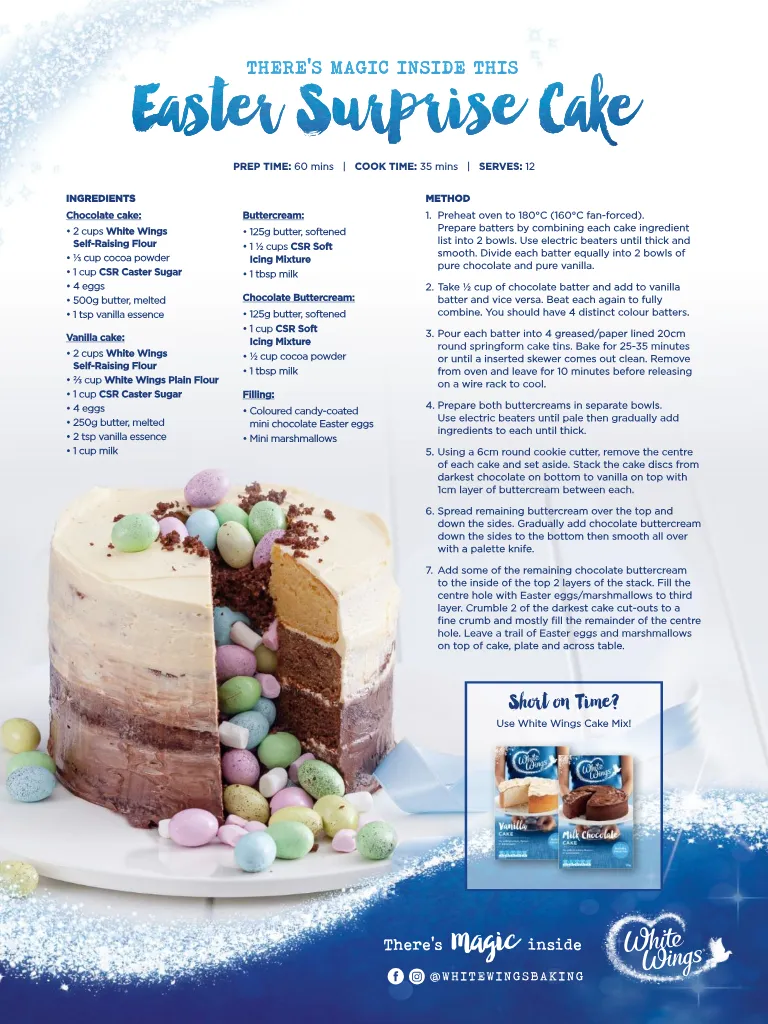
PREP TIME : 60 mins | COOK TIME : 35 mins | SERVES : 12 INGREDIENTS Chocolate cake : • 2 cups White Wings Self-Raising Flour • 1/3 cup cocoa powder • 1 cup CSR Caster Sugar • 4 eggs • 500g butter , melted • 1 tsp vanilla essence Vanilla cake : • 2 cups White Wings Self-Raising Flour • 2/3 cup White Wings Plain Flour • 1 cup CSR Caster Sugar • 4 eggs • 250g butter , melted • 2 tsp vanilla essence • 1 cup milk Buttercream : • 125g butter , softened • 1 ½ cups CSR Soft Icing Mixture • 1 tbsp milk Chocolate Buttercream : • 125g butter , softened • 1 cup CSR Soft Icing Mixture • ½ cup cocoa powder • 1 tbsp milk Filling : • Coloured candy-coated mini chocolate Easter eggs • Mini marshmallows METHOD 1 . Preheat oven to 180 ° C ( 160 ° C fan-forced ). Prepare batters by combining each cake ingredient list into 2 bowls . Use electric beaters until thick and smooth . Divide each batter equally into 2 bowls of pure chocolate and pure vanilla . 2 . Take ½ cup of chocolate batter and add to vanilla batter and vice versa . Beat each again to fully combine . You should have 4 distinct colour batters . 3 . Pour each batter into 4 greased / paper lined 20cm round springform cake tins . Bake for 25-35 minutes or until a inserted skewer comes out clean . Remove from oven and leave for 10 minutes before releasing on a wire rack to cool . 4 . Prepare both buttercreams in separate bowls . Use electric beaters until pale then gradually add ingredients to each until thick . 5 . Using a 6cm round cookie cutter , remove the centre of each cake and set aside . Stack the cake discs from darkest chocolate on bottom to vanilla on top with 1cm layer of buttercream between each . 6 . Spread remaining buttercream over the top and down the sides . Gradually add chocolate buttercream down the sides to the bottom then smooth all over with a palette knife . 7 . Add some of the remaining chocolate buttercream to the inside of the top 2 layers of the stack . Fill the centre hole with Easter eggs / marshmallows to third layer . Crumble 2 of the darkest cake cut-outs to a fine crumb and mostly fill the remainder of the centre hole . Leave a trail of Easter eggs and marshmallows on top of cake , plate and across table . Short on Time ? Use White Wings Cake Mix ! There ’ s inside @ WHITEWINGSBAKING


Page 47 text
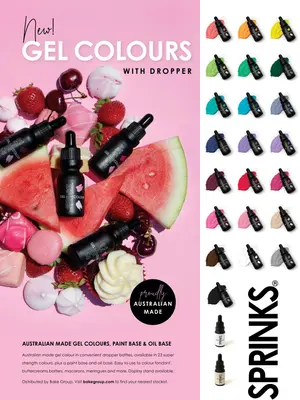
ACDN Members save 7.5 % with Berry Fresh See discounts page at www . acdn . me / discounts Quality freeze dried berry crumble and berry powders , made in Australia from 100 % Australian Berries . No preservatives , no additives – just natural Strawberries , Raspberries and Blueberries . Buy online for delivery to anywhere in Australia . www . berryfresh . com . au
Page 48 text
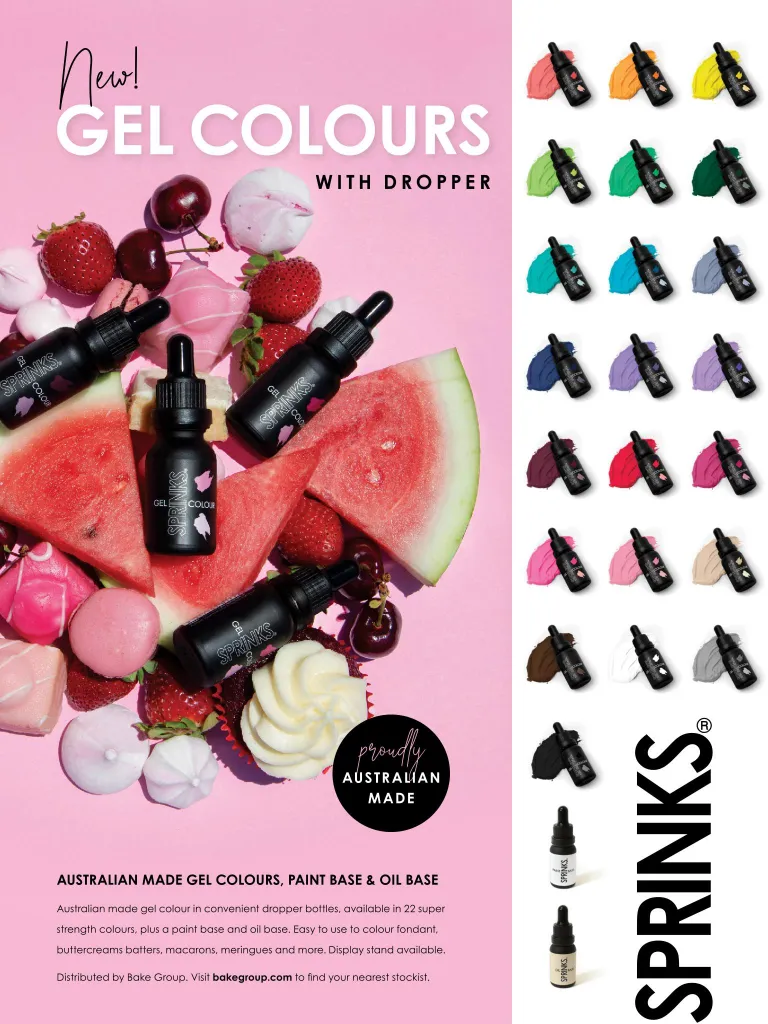
proudly AUSTRALIAN MADE


Page 49 text
Interview time !
Page 50 text
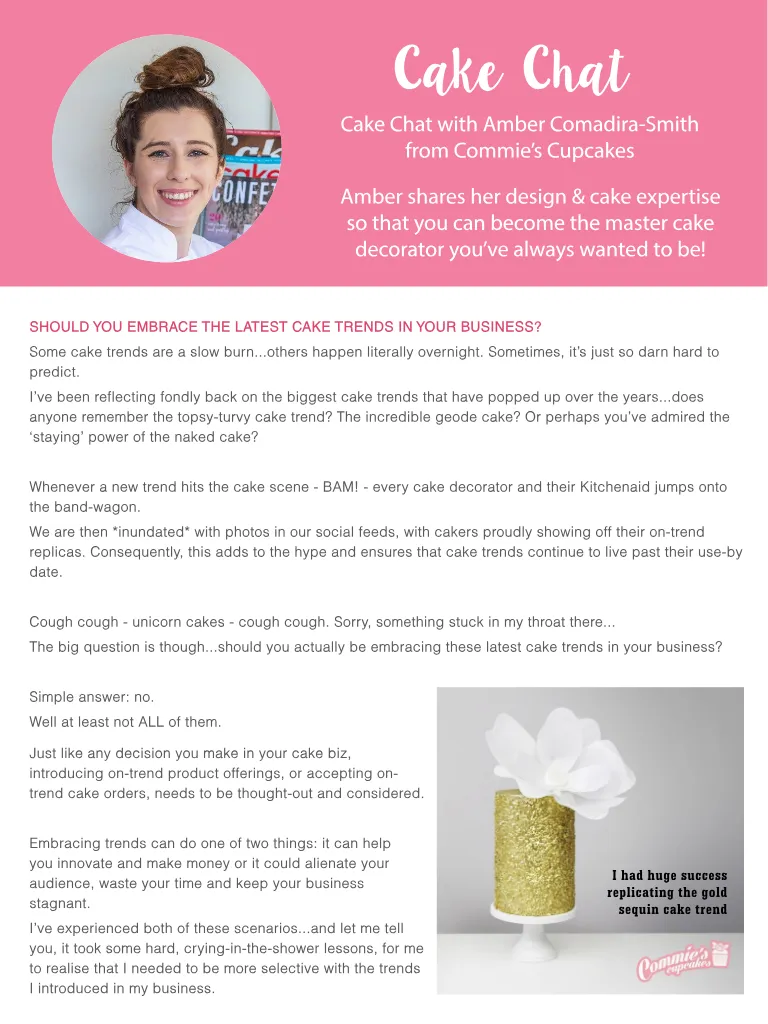
Cake Chat Cake Chat with Amber Comadira-Smith from Commie ’ s Cupcakes Amber shares her design & cake expertise so that you can become the master cake decorator you ’ ve always wanted to be ! SHOULD YOU EMBRACE THE LATEST CAKE TRENDS IN YOUR BUSINESS ? Some cake trends are a slow burn ... others happen literally overnight . Sometimes , it ’ s just so darn hard to predict . I ’ ve been reflecting fondly back on the biggest cake trends that have popped up over the years ... does anyone remember the topsy-turvy cake trend ? The incredible geode cake ? Or perhaps you ’ ve admired the ‘ staying ’ power of the naked cake ? Whenever a new trend hits the cake scene - BAM ! - every cake decorator and their Kitchenaid jumps onto the band-wagon . We are then * inundated * with photos in our social feeds , with cakers proudly showing off their on-trend replicas . Consequently , this adds to the hype and ensures that cake trends continue to live past their use-by date . Cough cough - unicorn cakes - cough cough . Sorry , something stuck in my throat there ... The big question is though ... should you actually be embracing these latest cake trends in your business ? Simple answer : no . Well at least not ALL of them . Just like any decision you make in your cake biz , introducing on-trend product offerings , or accepting ontrend cake orders , needs to be thought-out and considered . Embracing trends can do one of two things : it can help you innovate and make money or it could alienate your audience , waste your time and keep your business stagnant . I ’ ve experienced both of these scenarios ... and let me tell you , it took some hard , crying-in-the-shower lessons , for me to realise that I needed to be more selective with the trends I introduced in my business . I had huge success replicating the gold sequin cake trend
Page 51 text
The last time I embraced a popular cake trend in my business was during the height of the unicorn cake craze . To help set the scene , my business was advertised as a high-end cake and cupcake shop . So my target audience were typically big money earners and well known figures in my community , who were willing to pay the price for me to custom design and create cakes for their special events . I typically didn ’ t involve myself in the latest cake craze - it wasn ’ t something I was interested in - and didn ’ t rely on their hype to make money . BUT ... I did have my “ weak ” moments . It was during a busy cake week that I received a last minute request to make a unicorn cake for a little girl ’ s 10th birthday party , due for Sunday ( it was Thursday at the time ). Now this customer wasn ’ t my usual target market ( kids birthday cake plus Mum on a budget ), and like I said above , I didn ’ t involve myself with on-trend cakes …. But the customer explained that the previous decorator had cancelled their order and they were frantically trying to find a replacement decorator to make the cake . Many places were already booked and they reached out to me as a last resort . The mother sounded so upset and admittedly it pulled at my heart strings . I was ‘ umm-ng ’ and ‘ uhhhh-ing ’ about accepting the order ... I finally thought , ‘ I COULD squeeze the order in ... maybe I should give it a go ? It ’ ll be easy to pull together and it would make this little girl ’ s birthday so special . These cakes are straight forward , it ’ ll be easy money !’ Well ... Once I agreed to accept the order , the customer became a nightmare . She argued against my “ high pricing ” and was evasive with making payment . She needed constant updates while I made her cake , where she second guessed my decisions . She also attempted to change the design the day the cake was due . I felt like I had aged 10 years in only those few short days . I started to understand why the previous cake decorator had bailed ...
Page 52 text
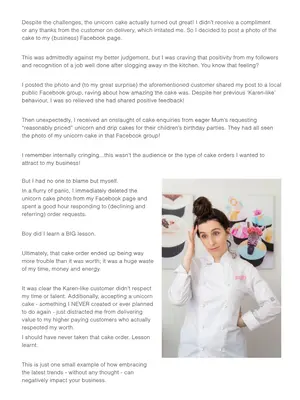
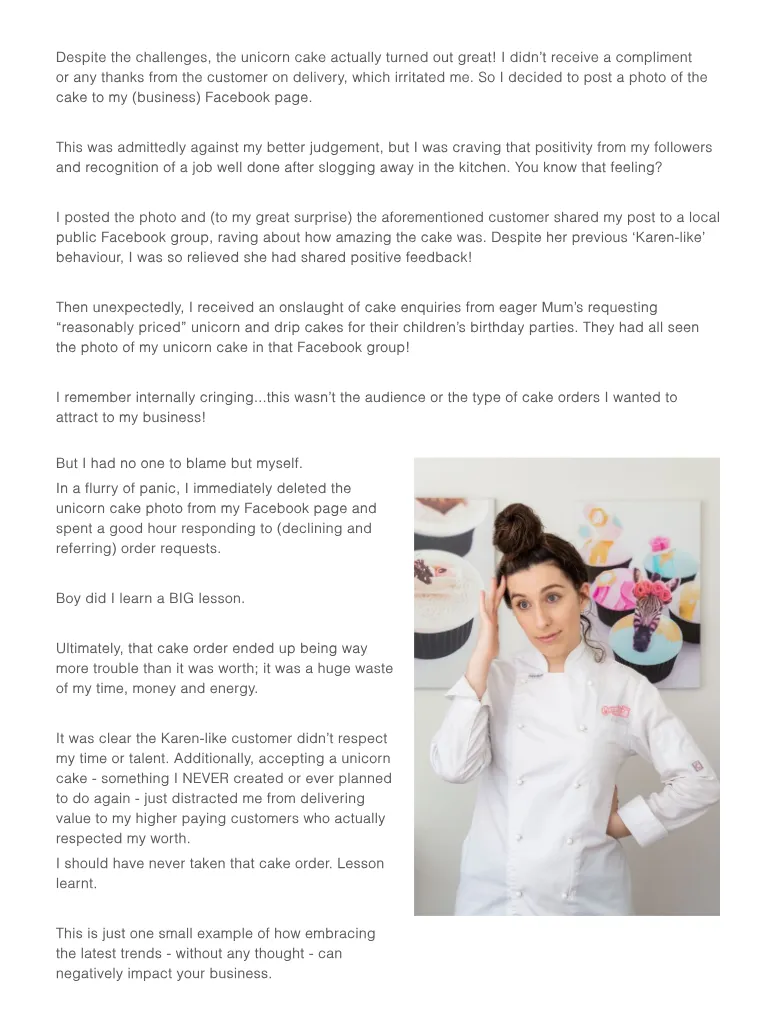
Despite the challenges , the unicorn cake actually turned out great ! I didn ’ t receive a compliment or any thanks from the customer on delivery , which irritated me . So I decided to post a photo of the cake to my ( business ) Facebook page . This was admittedly against my better judgement , but I was craving that positivity from my followers and recognition of a job well done after slogging away in the kitchen . You know that feeling ? I posted the photo and ( to my great surprise ) the aforementioned customer shared my post to a local public Facebook group , raving about how amazing the cake was . Despite her previous ‘ Karen-like ’ behaviour , I was so relieved she had shared positive feedback ! Then unexpectedly , I received an onslaught of cake enquiries from eager Mum ’ s requesting “ reasonably priced ” unicorn and drip cakes for their children ’ s birthday parties . They had all seen the photo of my unicorn cake in that Facebook group ! I remember internally cringing ... this wasn ’ t the audience or the type of cake orders I wanted to attract to my business ! But I had no one to blame but myself . In a flurry of panic , I immediately deleted the unicorn cake photo from my Facebook page and spent a good hour responding to ( declining and referring ) order requests . Boy did I learn a BIG lesson . Ultimately , that cake order ended up being way more trouble than it was worth ; it was a huge waste of my time , money and energy . It was clear the Karen-like customer didn ’ t respect my time or talent . Additionally , accepting a unicorn cake - something I NEVER created or ever planned to do again - just distracted me from delivering value to my higher paying customers who actually respected my worth . I should have never taken that cake order . Lesson learnt . This is just one small example of how embracing the latest trends - without any thought - can negatively impact your business .
Page 53 text
The big question is : how do you know what trends will make or break your business ? To ensure you make a positive impact for your business ( and avoid wasting precious time ), here ’ s what you need to ask yourself before introducing an ‘ on-trend ’ gimmick or cake design : - Is this new trend simply a one-hit-wonder ? Or does this trend have ‘ staying power ’? - Is this trend relevant to my niche ? Ie . wedding cakes , children ’ s cakes and so on . - Will my key target audience buy this trend ? - Will focusing on this trend alienate my key target market and attract people I don ’ t want to service ? - Will embracing this trend allow me to generate extra income to support my business ? - Will introducing this new trend be too much trouble or cost me more in the long run ? Answering and really considering these questions will help you to define the relevance of the trend to your business ( if any ) and if it ’ s worth investing into . Remember : don ’ t get caught up in the trend hype - be selective and do what ’ s right for the direction of your business and your target customers . MORE INFORMATION facebook . com / commiescupcakes commiescupcakes . com
Page 54 text
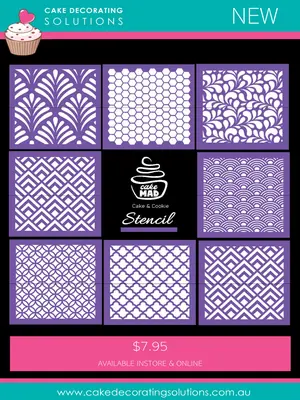
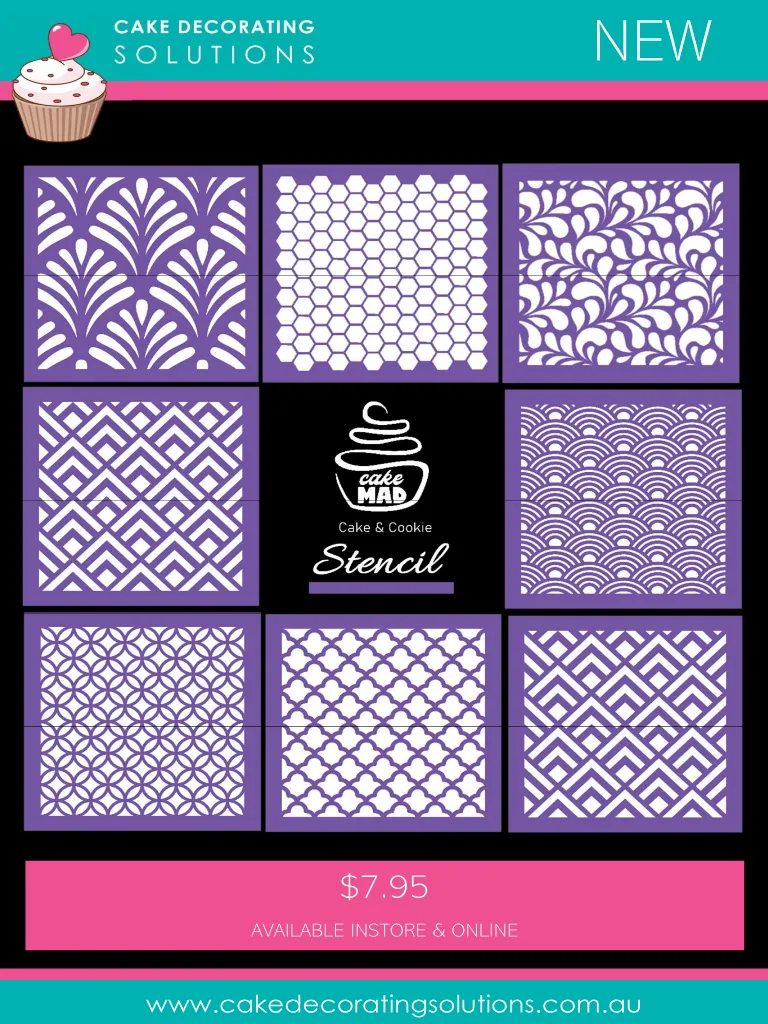
NEW ` $ 7.95 AVAILABLE INSTORE & ONLINE www . cakedecoratingsolutions . com . au


Page 55 text
Become a member of the Australian Cake Decorating Network and SAVE with great DISCOUNTS from our Preferred Suppliers ! JOIN US HERE !


Page 56 text
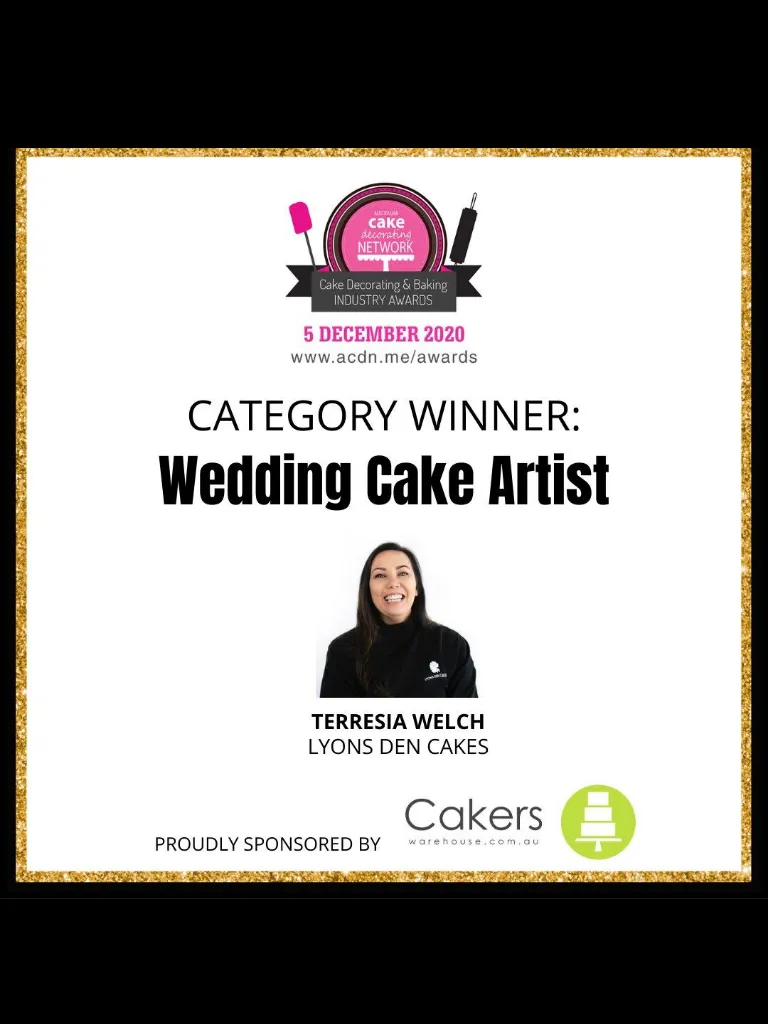
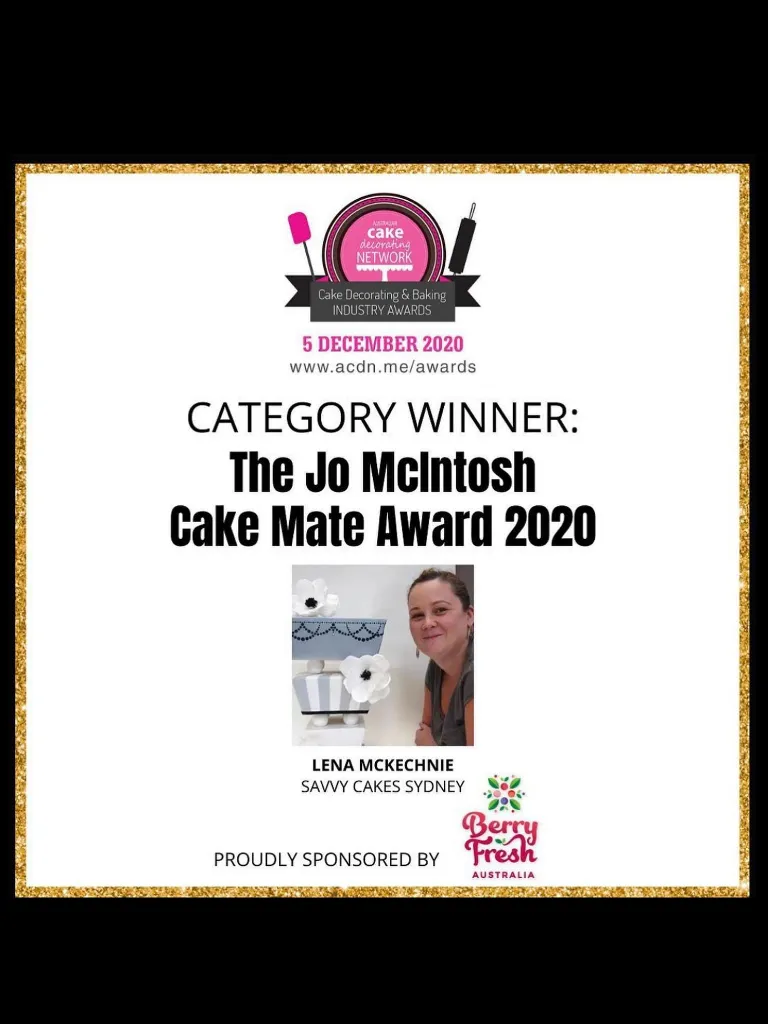
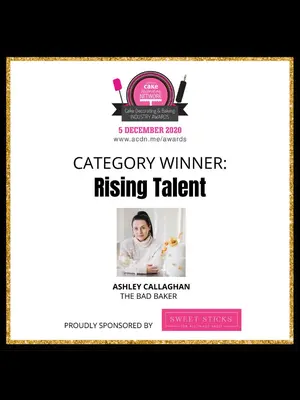
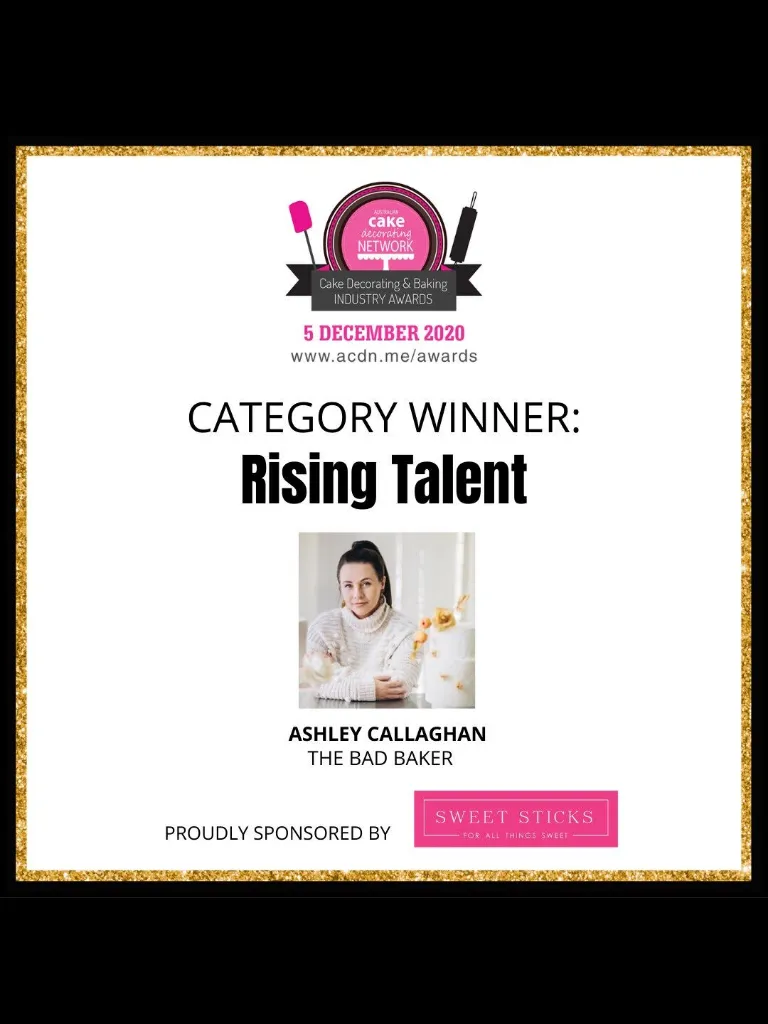
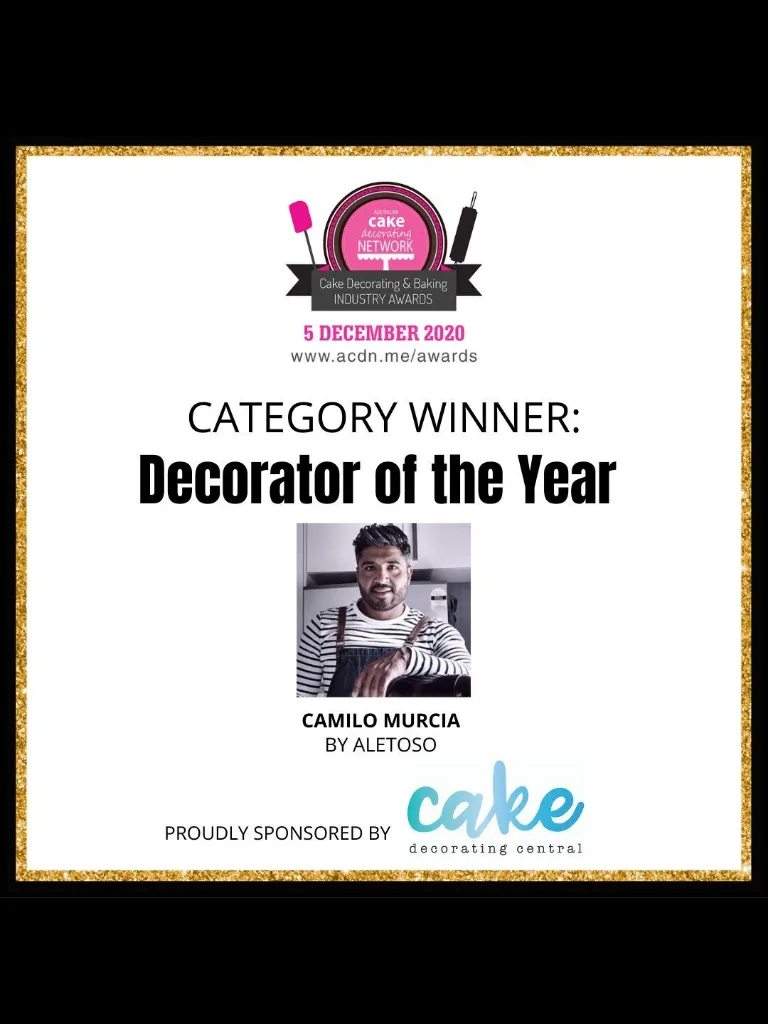
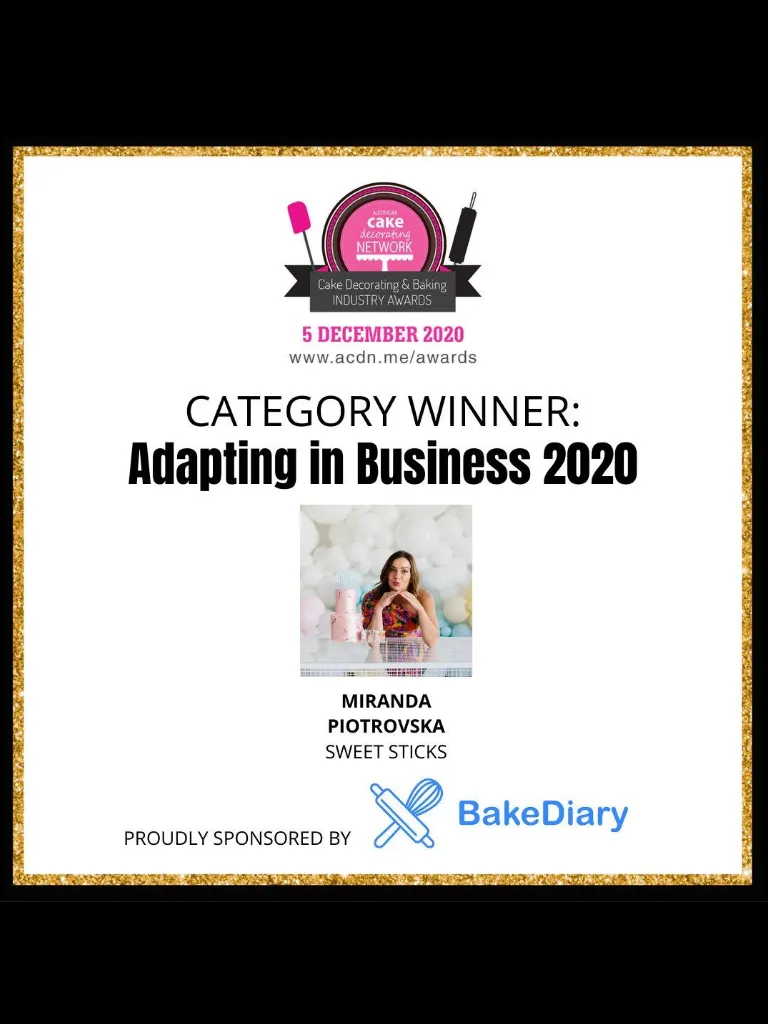
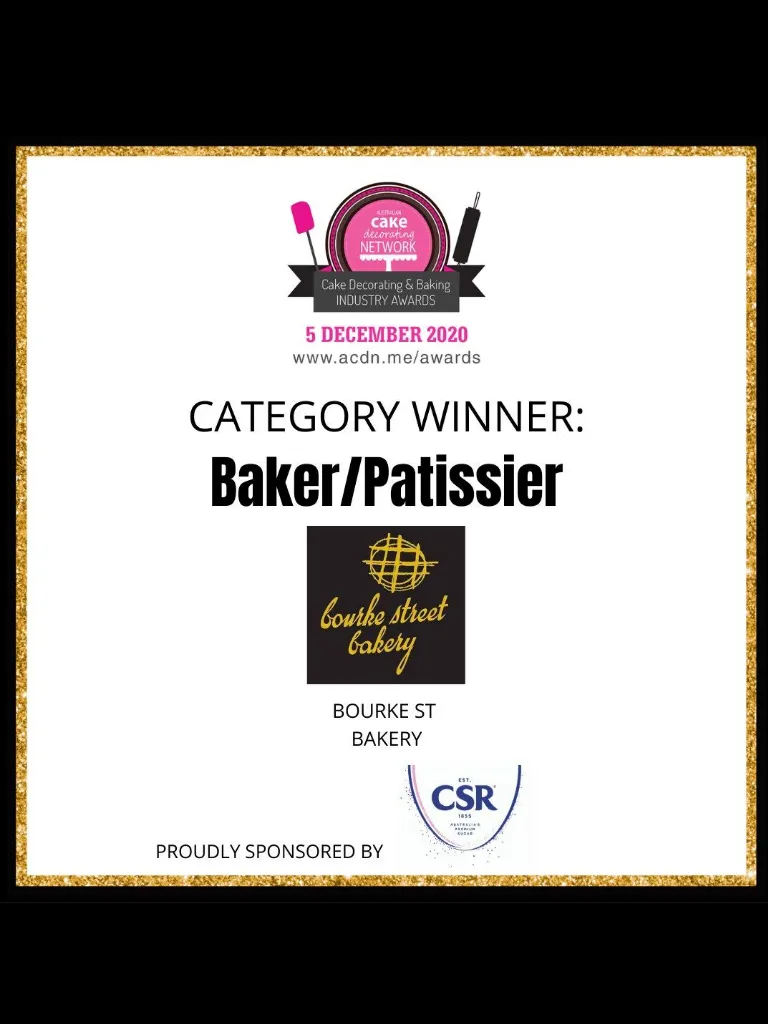
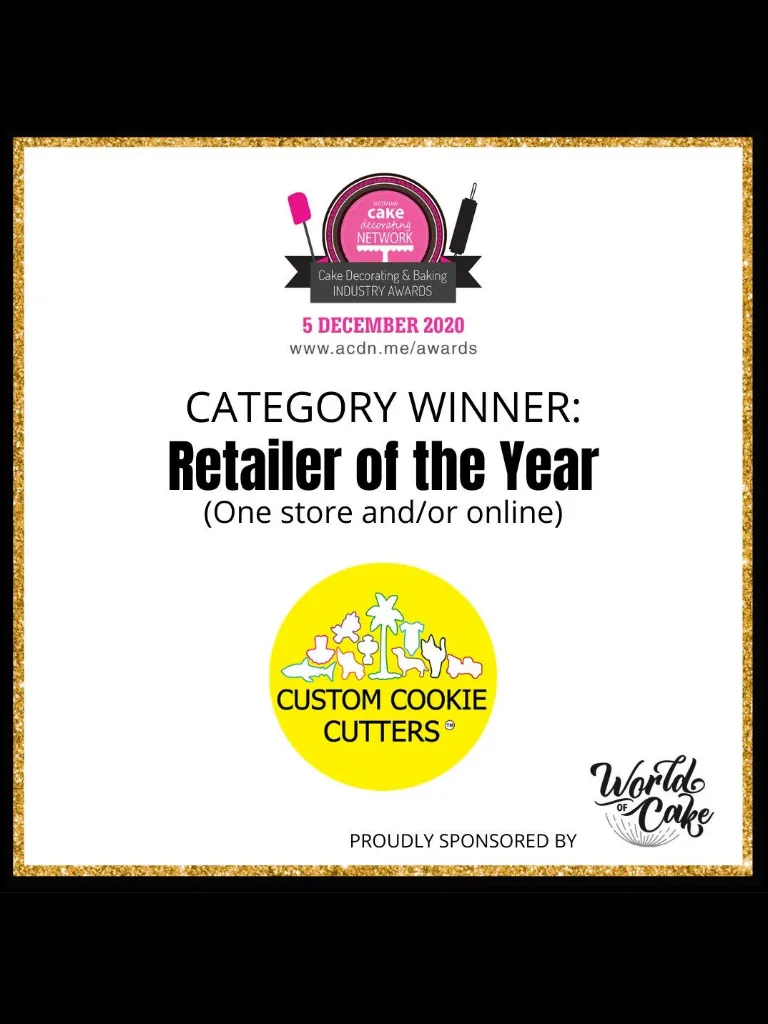
On 5th December 2020 we held our Annual Awards Night online ! AND THE 2020 WINNERS ARE ... www . acdn . me / awards





















Page 76 text
NOW AT 2 LOCATIONS - HALLAM & PAKENHAM ! Australia ' s Largest Cake Decorating Superstore NOW AT 2 LOCATIONS - HALLAM & PAKENHAM ! 5 % DISCOUNT FOR ALL ACDN MEMBERS mydreamcake . com . au | 03 8759 1788 2 / 261 Princess Hwy , Hallam Vic 2 / 895 Princess Hwy , Pakenham Vic
Page 77 text
ACDN Member gallery We invited our members to submit to our member gallery - take a look at what they ' ve been creating ! Want to submit to our member gallery ? Join us HERE !

Page 78 text
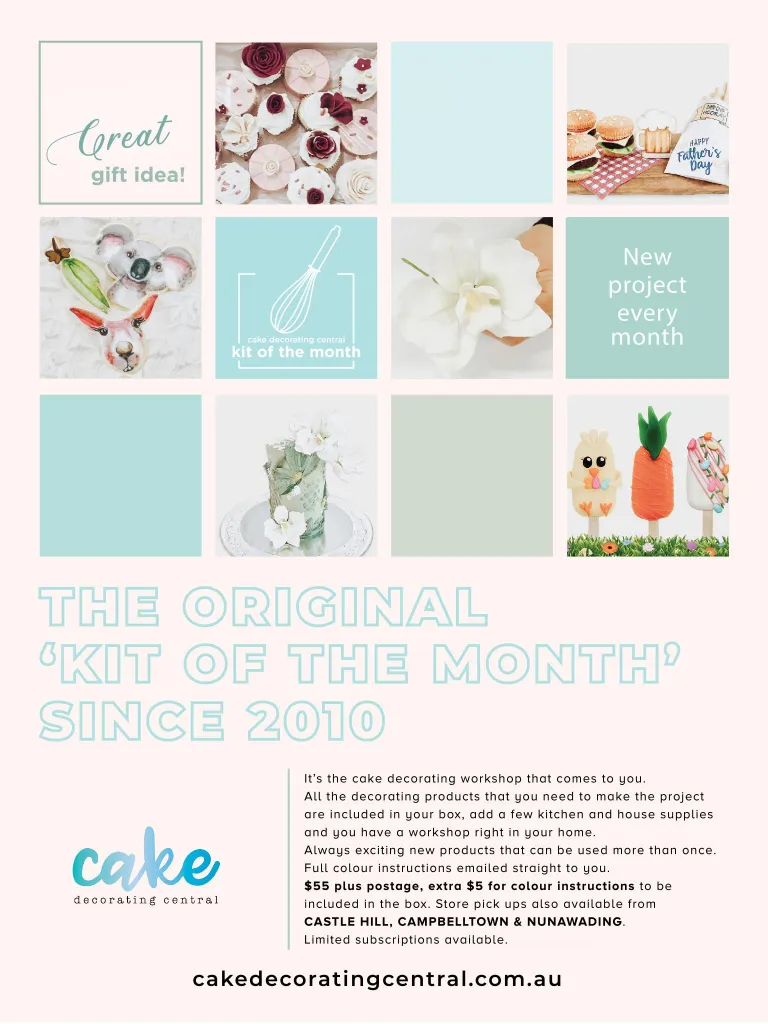
Great gift idea ! cake decorating central kit of the month New FREE POSTAGE project every month Join by 30th November and get your first three months postage for free . It ’ s the cake decorating workshop that comes to you . All the decorating products that you need to make the project are included in your box , add a few kitchen and house supplies and you have a workshop right in your home . Always exciting new products that can be used more than once . Full colour instructions emailed straight to you . $ 55 plus postage , extra $ 5 for colour instructions to be included in the box . Store pick ups also available from CASTLE HILL , CAMPBELLTOWN & NUNAWADING . Limited subscriptions available . cakedecoratingcentral . com . au
Page 80 text
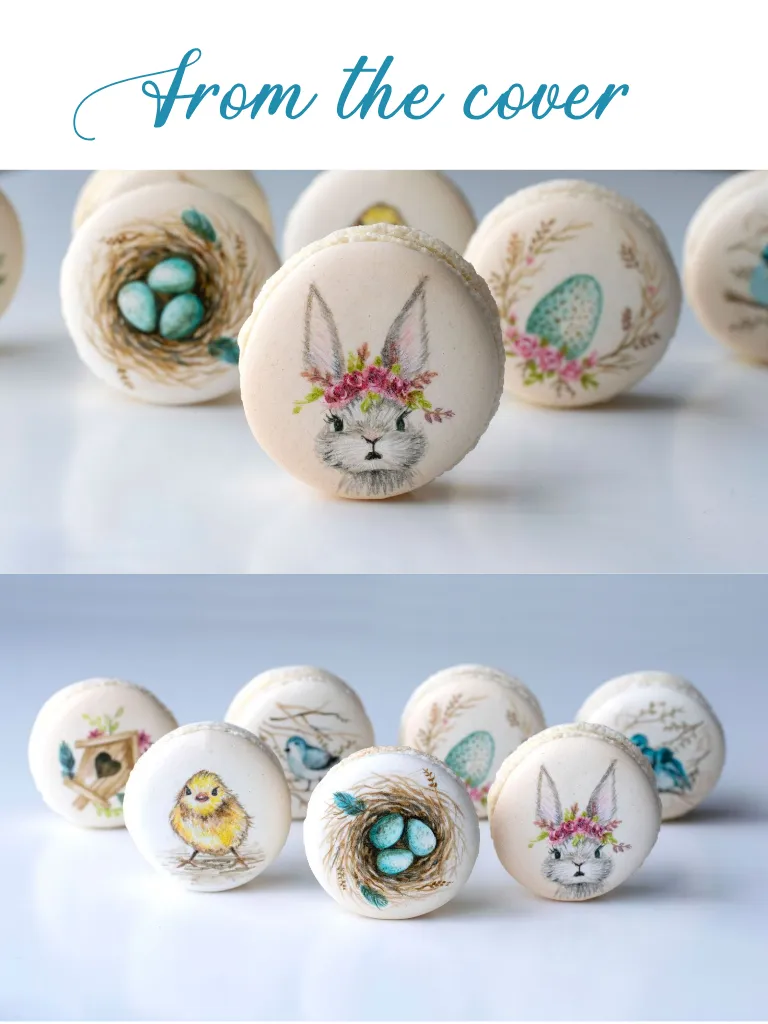
From the cover


Page 84 text
Portable AIRBRUSH AVAILABLE AT CAKERS WAREHOUSE S H O P H E R E
Page 86 text
f f f


Page 93 text
Baking Box Subscription A MONTHLY SUBSCRIPTION OF CAKE AND BAKING GOODIES DELIVERED TO YOUR DOOR ! FIND OUT MORE AT WWW . BAKINGBOX . ME Subscribe at www . bakingbox . me
Page 97 text
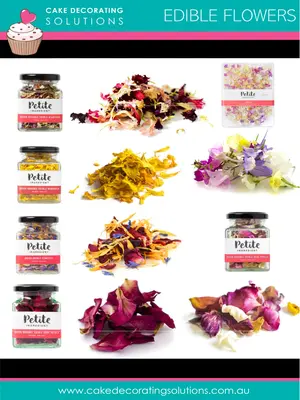
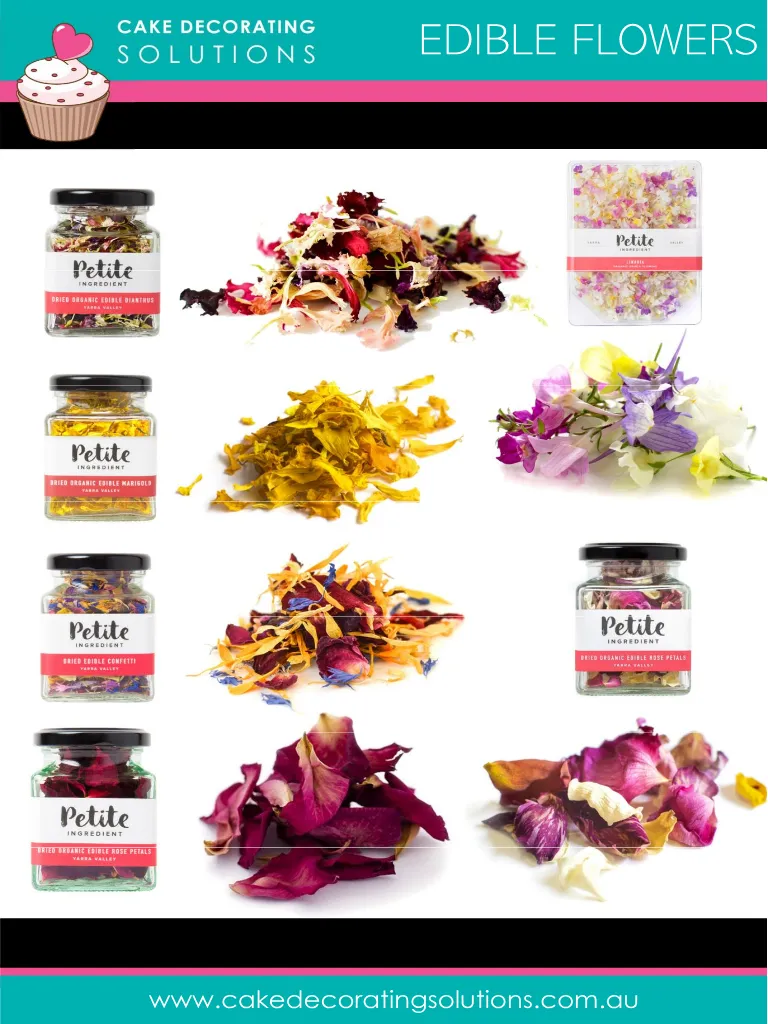
EDIBLE FLOWERS ` www . cakedecoratingsolutions . com . au


Page 100 text
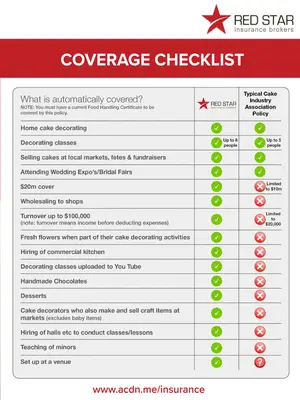
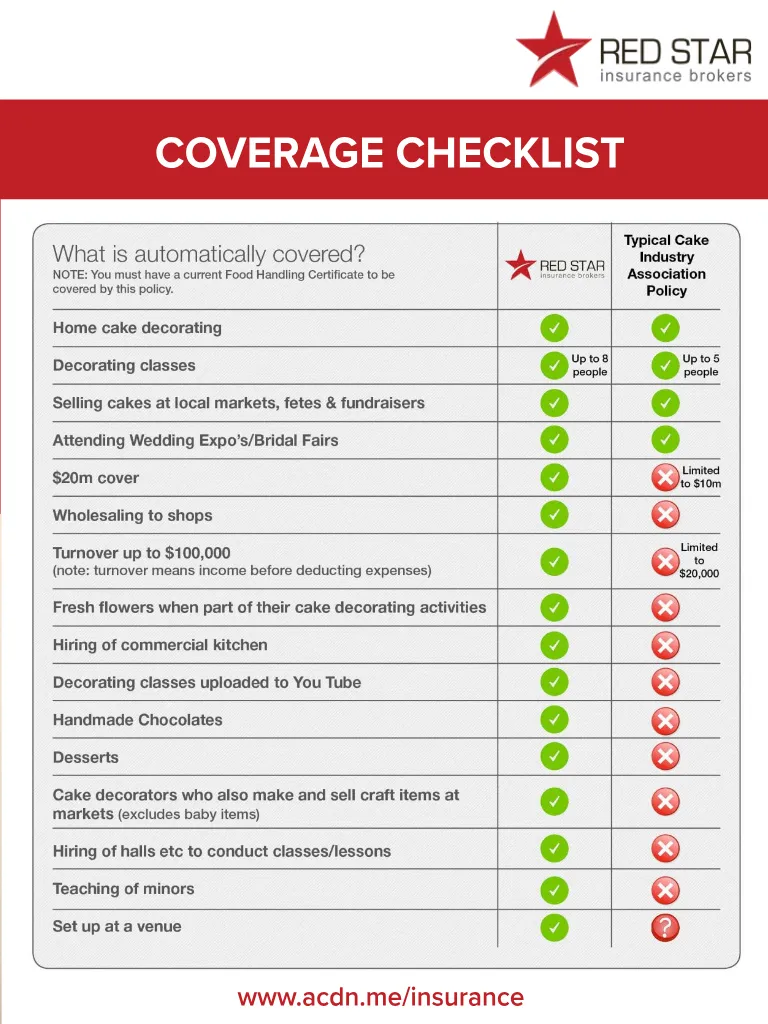
COMPREHENSIVE CAKE DECORATING INSURANCE $ 20m Public & Products Liability $ 189 PER YEAR FOR ACDN MEMBERS $ 289 per year for Non-ACDN Members ( Insurance subject to acceptance criteria ) To arrange cover or for more information visit www . acdn . me / insurance Red Star Insurance Pty Ltd ( AFSL 444803 ) T & C apply , see website for details . The Australian Cake Decorating Network Pty Ltd does not provide any advice regarding insurance matters . Please contact Red Star Insurance Brokers on the above contact details to discuss your insurance requirements . Referral advertisement . For information see www . acdn . me / insurance
Page 101 text
COVERAGE CHECKLIST Typical Cake Decorating Association Policy www . acdn . me / insurance

Page 104 text
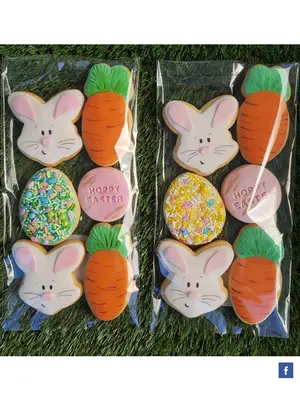
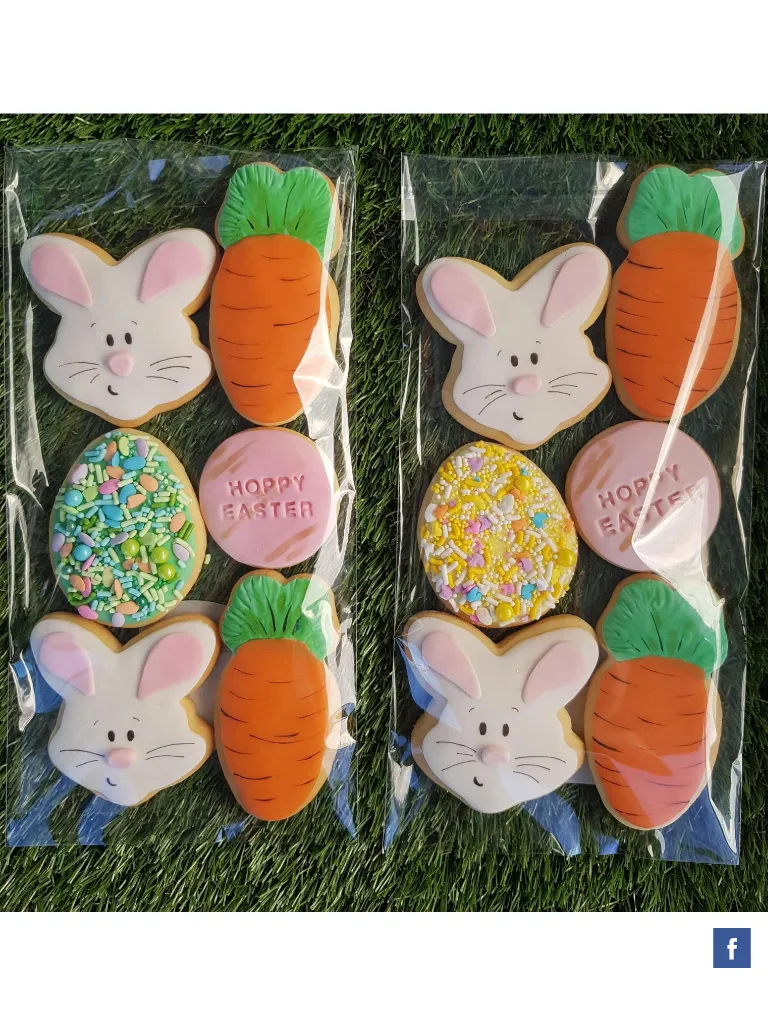
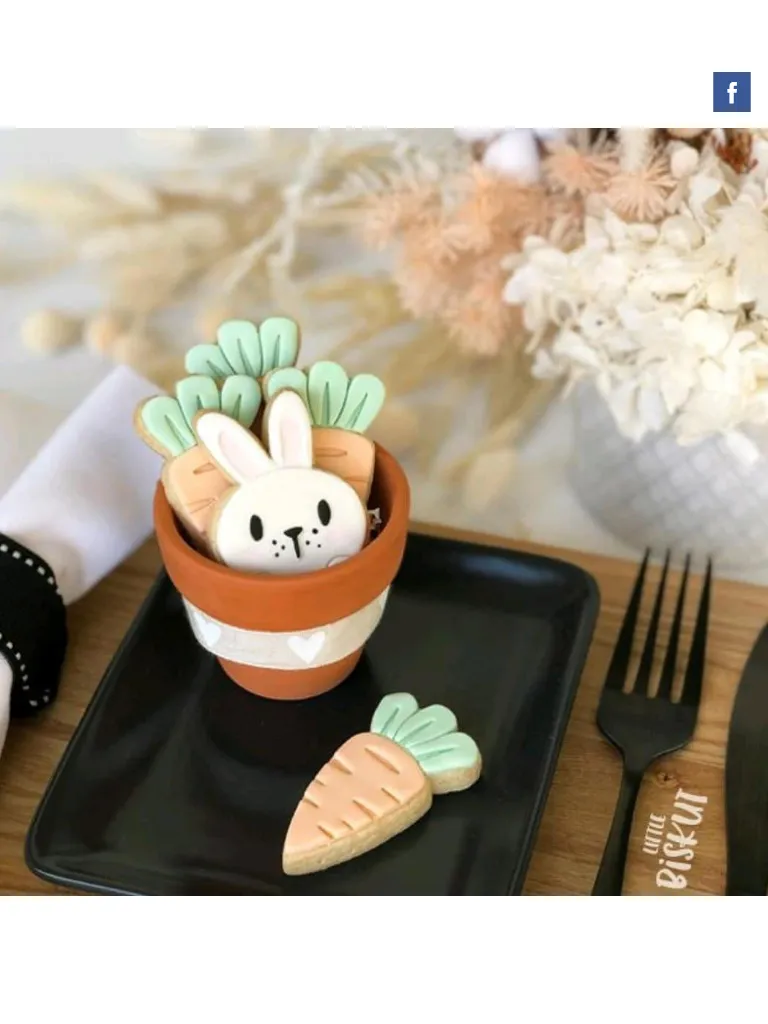
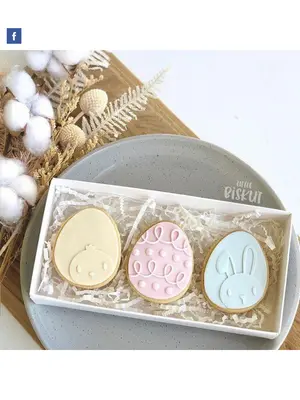
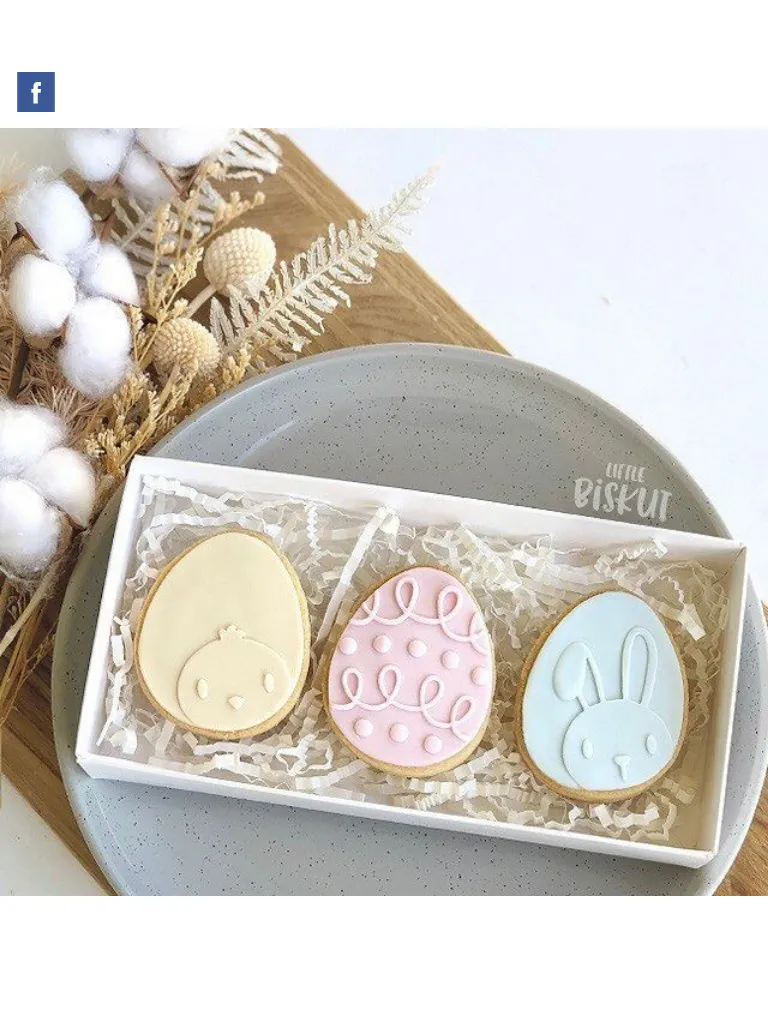
Make these ! READ THE TUTORIAL ON PAGE 8 f


Page 105 text
ACDN Member Directory A better way to search ! Use our online directory to search for Decorators Suppliers Courses Using postcode or business name ! For the most up to date member directory information ! www . acdn . me


Page 106 text
Members : If you ' re not listed in the website online directory , please login to the Member ' s Lounge at www . acdn . me to add or update your listing Become a member ! Join online at www . acdn . me / join