Page 102 of 114
Page 1 text
Cake! Cake!
Page 2 text
letter from the editor Hello and welcome to our final issue of We have had a massive year here at Cake! Magazine for 2023! (Can you ACDN and we are so excited for an believe it’s December already!?) even bigger 2024 which will include the new Festival of Cake being held in Here at ACDN we can’t get enough of Melbourne next September + so Christmas and love publishing this issue much more! each year! We love seeing the new cakes, cookies and sweet treats our In this issue of Cake! Magazine we are members have been creating, and very lucky to feature a number of our PUBLISHER: bringing together an issue to inspire award winners including Camilo rights reserved. Reproduction any part of the magazine without written permission is prohibited. All prices included in Cake! Magazine are approximate and are in AUD unless your own creativity this festive season. otherwise stated. Prices quoted are correct at the time of publishing and may vary or be subject to change. The Australian Cake Decorating Network Pty Ltd accepts no responsibility Murcia, Katelyn Wait, Alexander for damage or loss as a result of material submitted for, published in or as a result of this publication. The Australian Cake Decorating Network does not have an affiliation with any other magazine. Coppleman & Elizabeth Andreevski. The views and opinions expressed within this publication are not necessarily the views of the publisher or it's affiliates. While every effort has been made to ensure the accuracy of the On the 23rd of September, we information contained within Cake! Magazine the publisher and Cake! Magazine hold no responsibility for any errors, omissions, or consequences subsequent or otherwise, including loss or damage arising from reliance on information in this publication. Content is supplied for publication in Cake! Magazine by parties external to the celebrated the Australian Cake Australian Cake Decorating Network and it is the external party's responsibility to ensure content and credits are accurate. We hope you enjoy this issue of Cake! Cake! Magazine contains advertising through individual arrangements, which may include paid affiliate arrangements. Cake! Magazine may also contain affiliate links. The agreements Decorating & Baking Industry Awards are held between the advertiser or affiliate and the Australian Cake Decorating Network Ptd Ltd. Magazine! night. It was lovely to see so many of you there. Enjoy!
Page 3 text
letter from the editor We have had a massive year here at even bigger 2024 which will include Melbourne next September + so much more! In this issue of Cake! Magazine we are very lucky to feature a number of our award winners including Camilo otherwise stated. Prices quoted are correct at the time of publishing and may vary or be subject to change. The Australian Cake Decorating Network Pty Ltd accepts no responsibility Coppleman & Elizabeth Andreevski. The views and opinions expressed within this publication are not necessarily the views of the publisher or it's affiliates. While every effort has been made to ensure the accuracy of the information contained within Cake! Magazine the publisher and Cake! Magazine hold no responsibility for any errors, omissions, or consequences subsequent or otherwise, including loss or damage arising from reliance on information in this publication. Content is supplied for publication in Cake! Magazine by parties external to the We hope you enjoy this issue of Cake! Cake! Magazine contains advertising through individual arrangements, which may include paid affiliate arrangements. Cake! Magazine may also contain affiliate links. The agreements
Page 4 text
Contents 73 28 15 37 48 53 87
Page 5 text
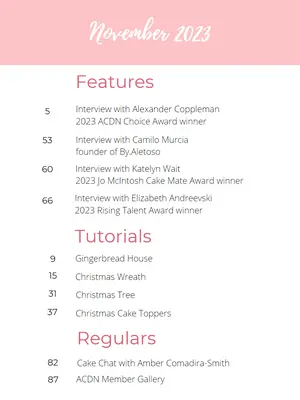
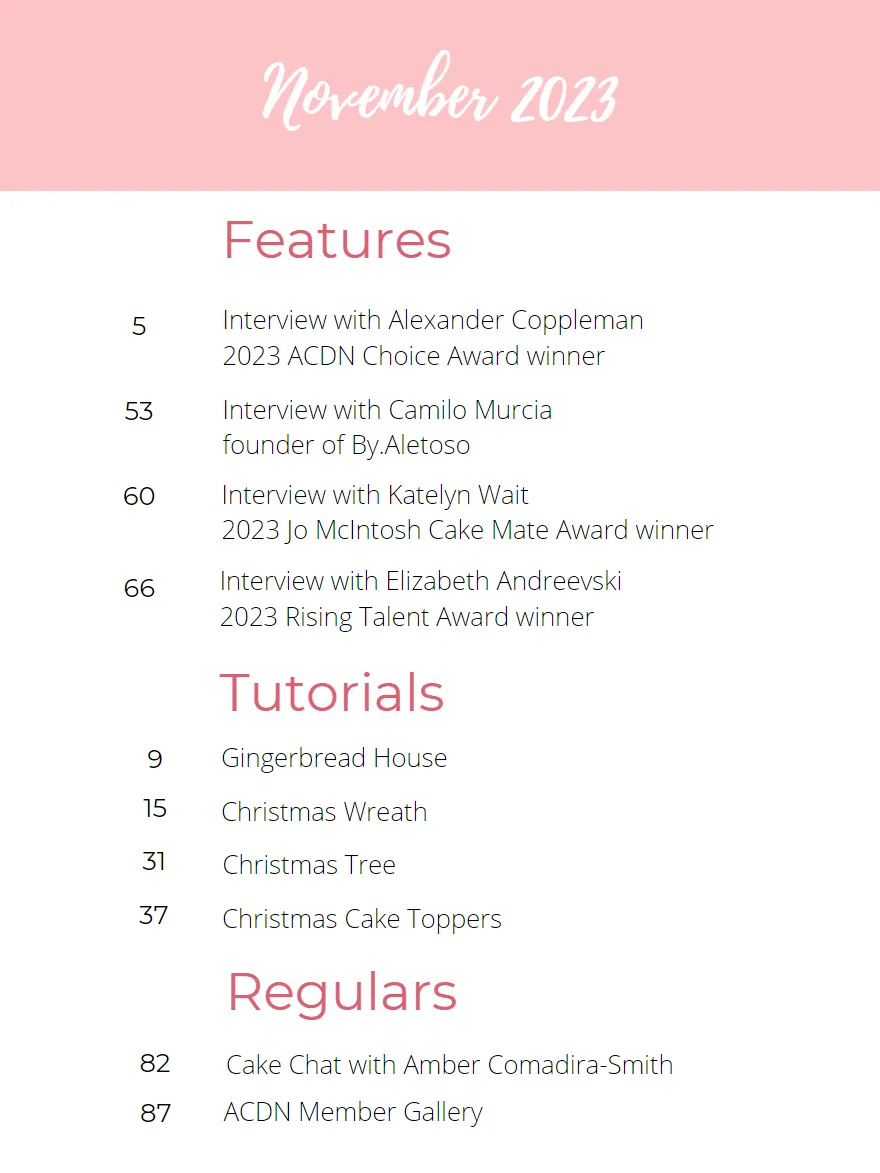
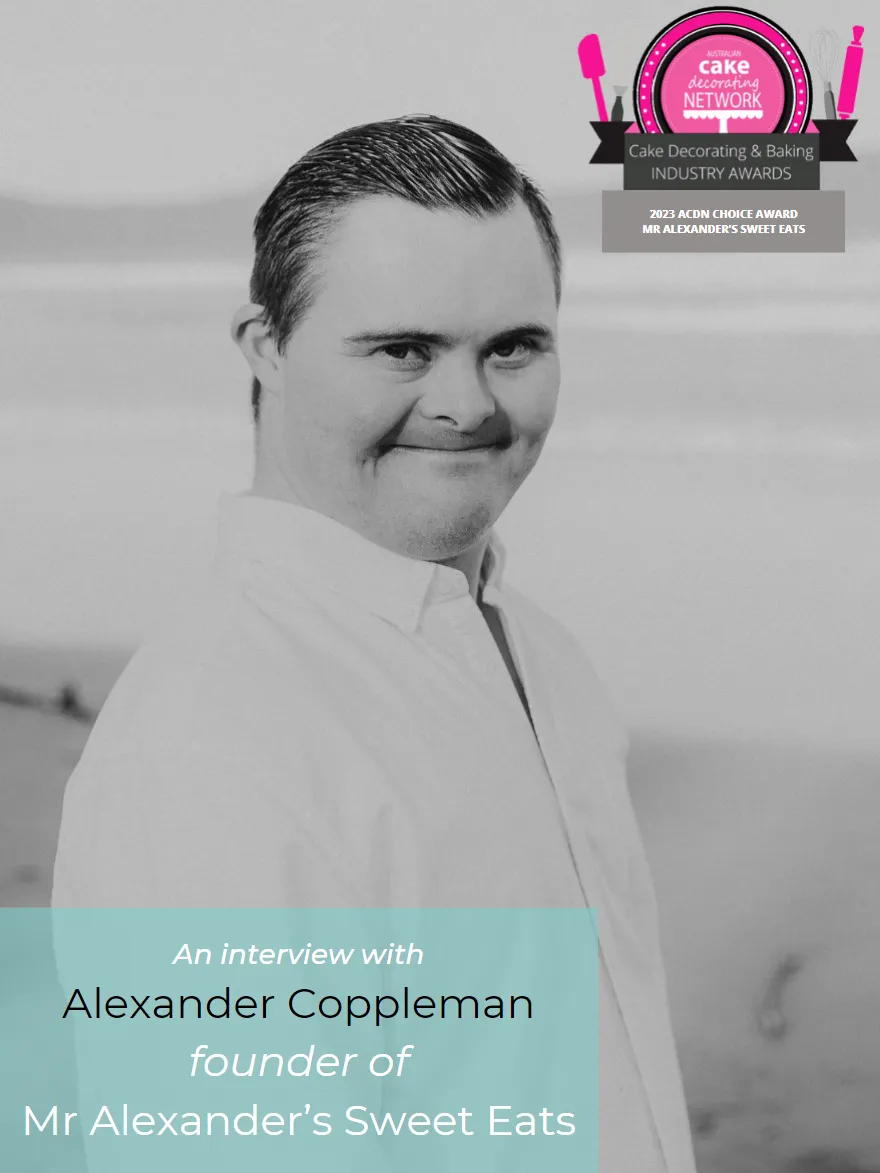
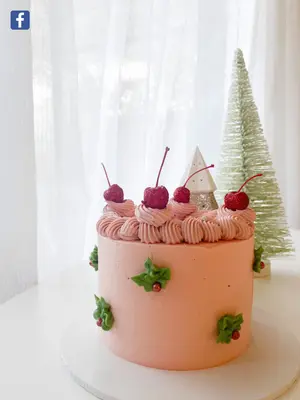
November 2023 Features 5 Interview with Alexander Coppleman 2023 ACDN Choice Award winner 53 Interview with Camilo Murcia founder of By. Aletoso 60 Interview with Katelyn Wait 2023 Jo McIntosh Cake Mate Award winner 66 Interview with Elizabeth Andreevski 2023 Rising Talent Award winner Tutorials 9 Gingerbread House 15 Christmas Wreath 31 Christmas Tree 37 Christmas Cake Toppers Regulars 82 Cake Chat with Amber Comadira-Smith 87 ACDN Member Gallery
Page 6 text
Tutorials to bake this CHRISTMAS
Page 7 text
Tutorials to bake this CHRISTMAS
Page 9 text
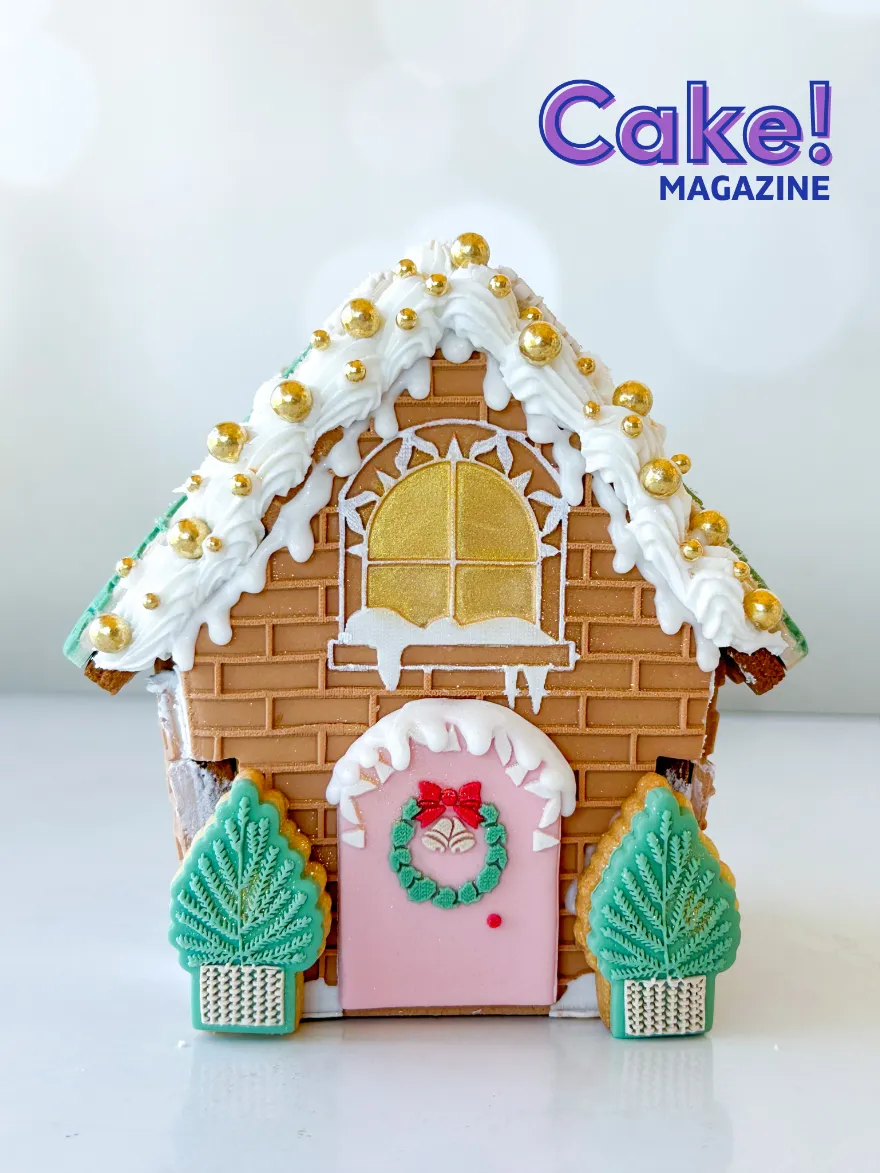
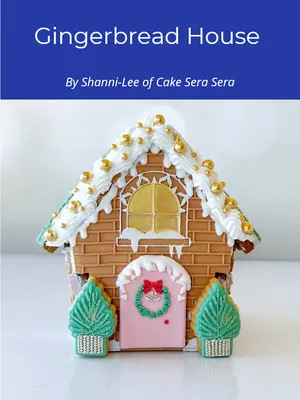
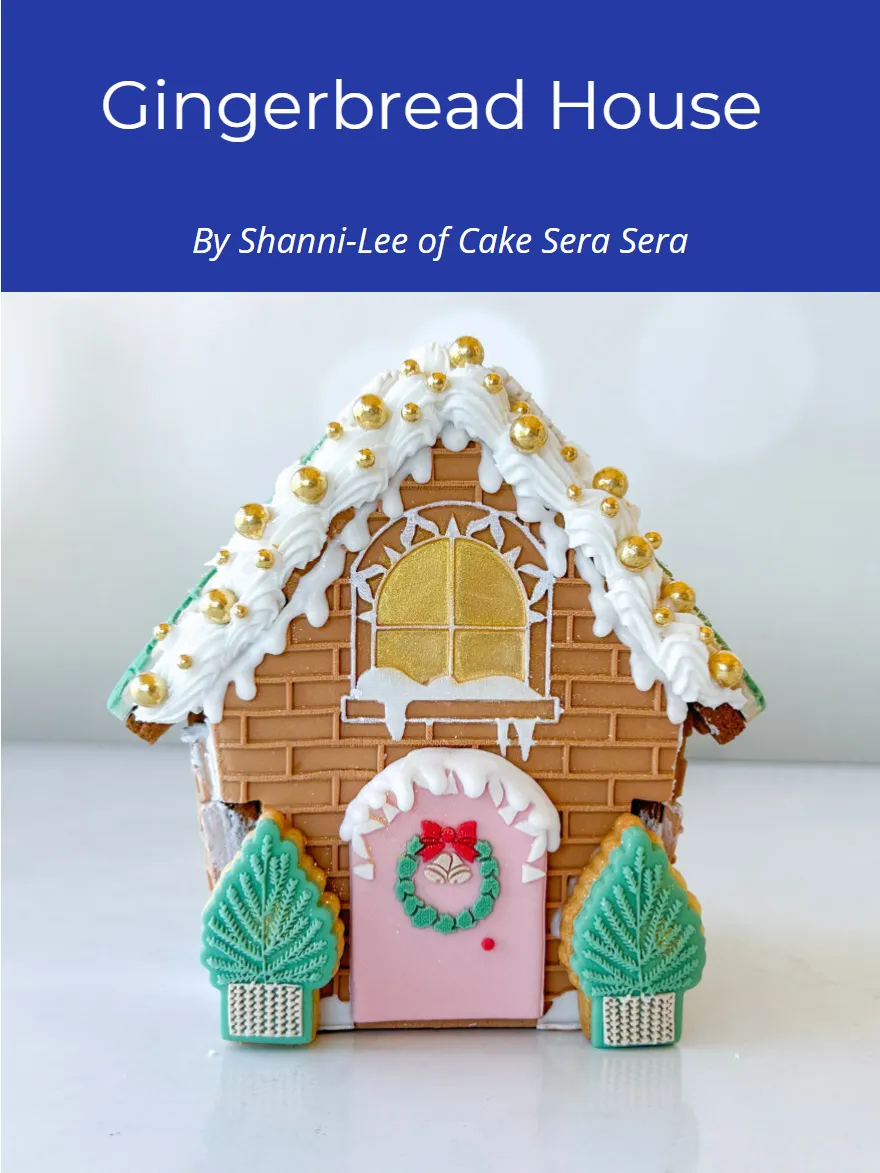
Gingerbread House By Shanni-Lee of Cake Sera Sera
Page 10 text
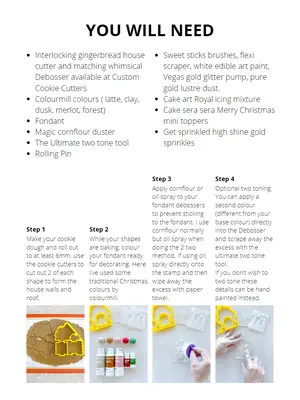
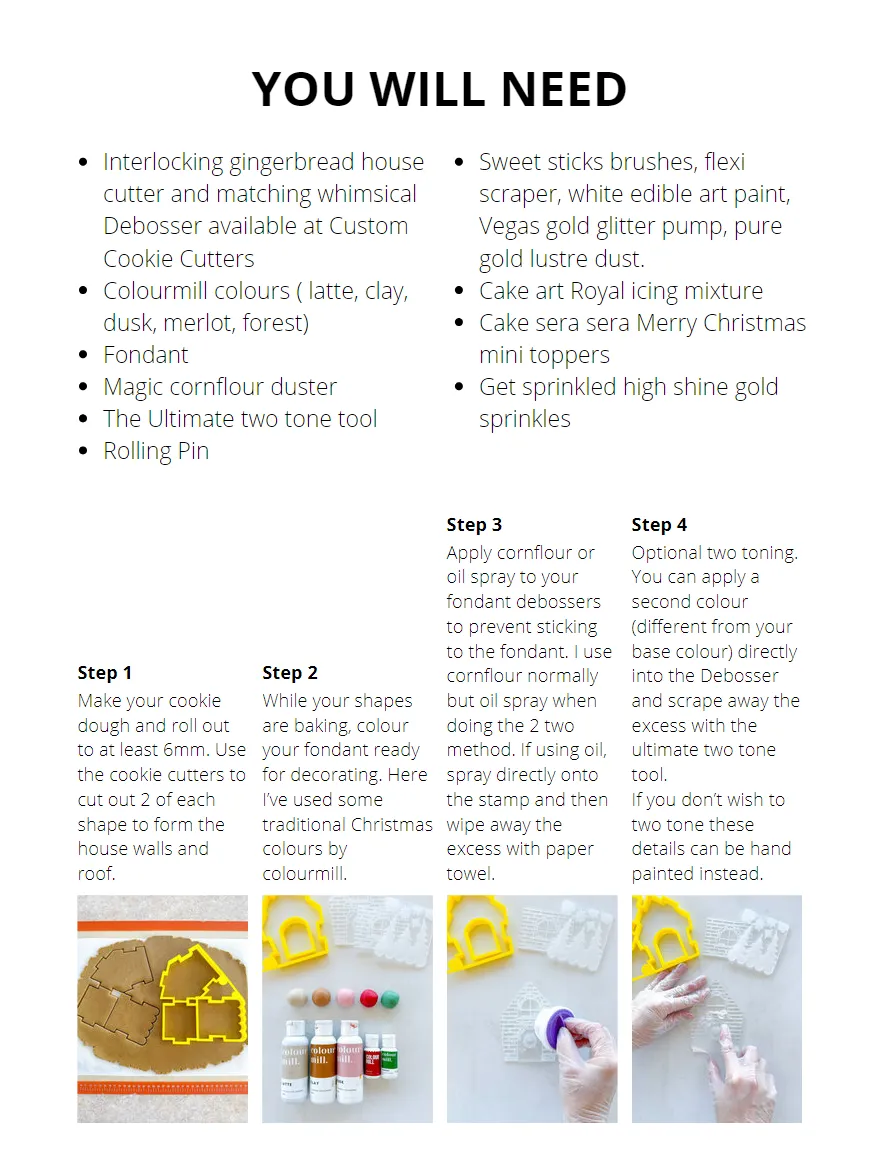
YOU WILL NEED Interlocking gingerbread house Sweet sticks brushes, flexi cutter and matching whimsical scraper, white edible art paint, Debosser available at Custom Vegas gold glitter pump, pure Cookie Cutters gold lustre dust. Colourmill colours ( latte, clay, Cake art Royal icing mixture dusk, merlot, forest) Cake sera sera Merry Christmas Fondant mini toppers Magic cornflour duster Get sprinkled high shine gold The Ultimate two tone tool sprinkles Rolling Pin Step 3 Step 4 Apply cornflour or Optional two toning. oil spray to your You can apply a fondant debossers second colour to prevent sticking (different from your to the fondant. I use base colour) directly Step 1 Step 2 cornflour normally into the Debosser Make your cookie While your shapes but oil spray when and scrape away the dough and roll out are baking, colour doing the 2 two excess with the to at least 6mm. Use your fondant ready method. If using oil, ultimate two tone the cookie cutters to for decorating. Here spray directly onto tool. cut out 2 of each I’ve used some the stamp and then If you don’t wish to shape to form the traditional Christmas wipe away the two tone these house walls and colours by excess with paper details can be hand roof. colourmill. towel. painted instead.
Page 11 text
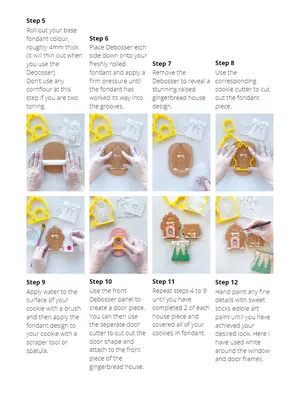
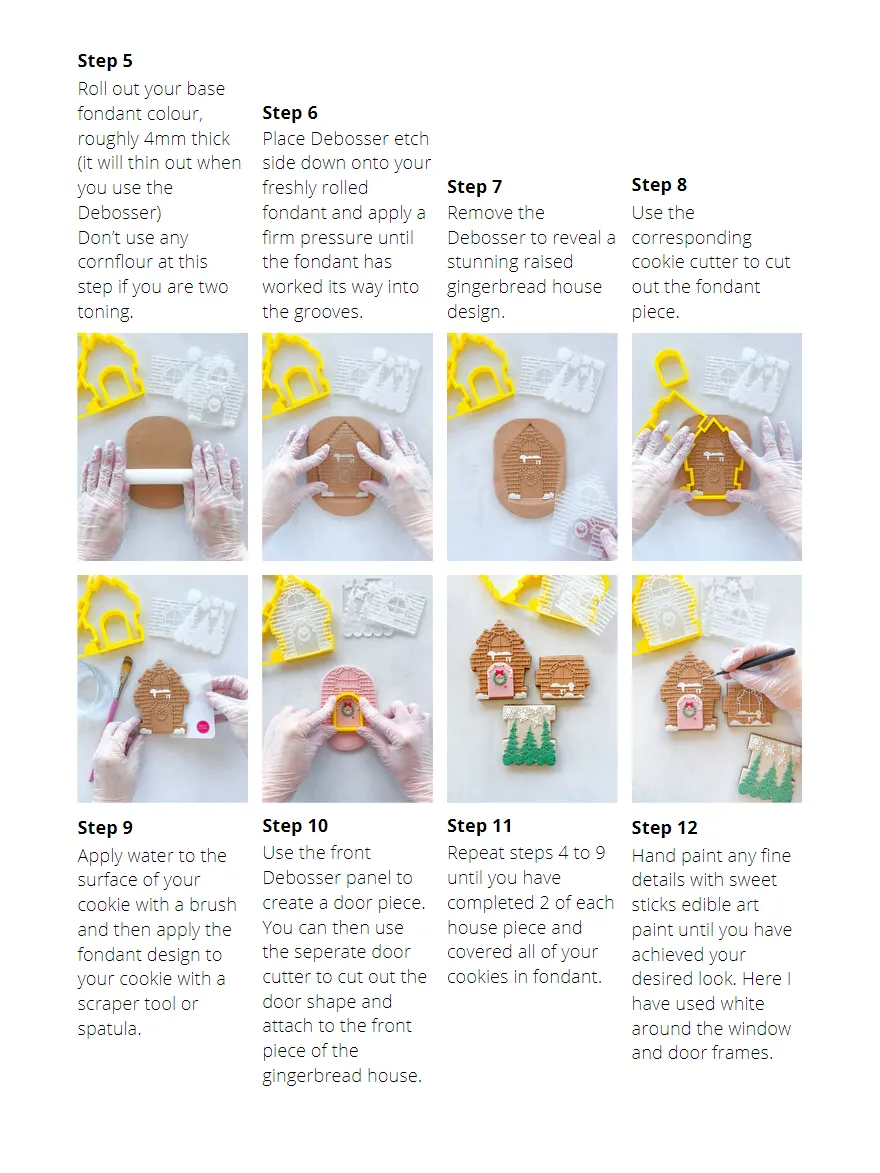
Step 5 Roll out your base fondant colour, Step 6 roughly 4mm thick Place Debosser etch (it will thin out when side down onto your you use the freshly rolled Step 7 Step 8 Debosser) fondant and apply a Remove the Use the Don’t use any firm pressure until Debosser to reveal a corresponding cornflour at this the fondant has stunning raised cookie cutter to cut step if you are two worked its way into gingerbread house out the fondant toning. the grooves. design. piece. Step 9 Step 10 Step 11 Step 12 Apply water to the Use the front Repeat steps 4 to 9 Hand paint any fine surface of your Debosser panel to until you have details with sweet cookie with a brush create a door piece. completed 2 of each sticks edible art and then apply the You can then use house piece and paint until you have fondant design to the seperate door covered all of your achieved your your cookie with a cutter to cut out the cookies in fondant. desired look. Here I scraper tool or door shape and have used white spatula. attach to the front around the window piece of the and door frames. gingerbread house.
Page 12 text
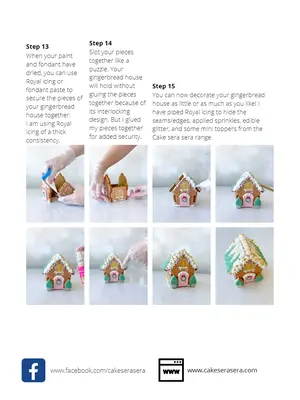
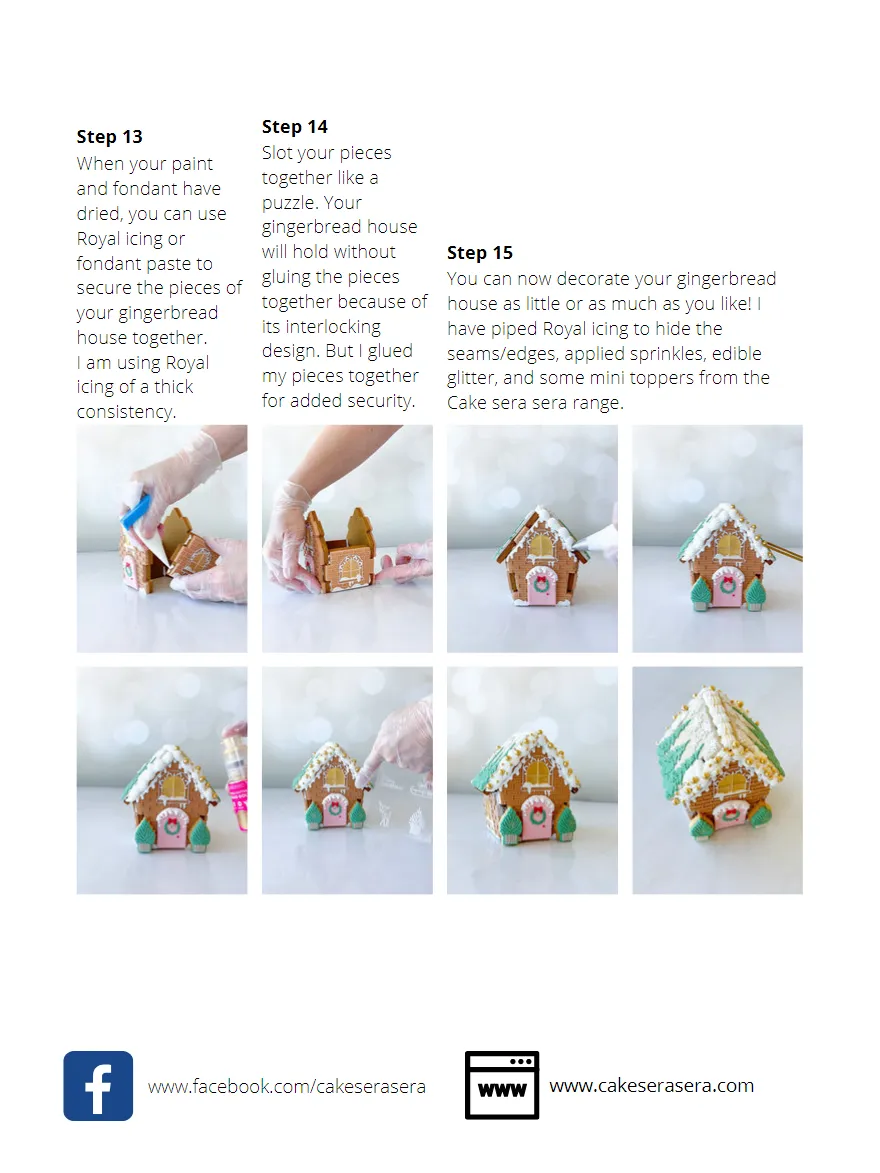
Step 14 Slot your pieces When your paint together like a and fondant have puzzle. Your dried, you can use gingerbread house Royal icing or will hold without Step 15 fondant paste to gluing the pieces You can now decorate your gingerbread secure the pieces of together because of house as little or as much as you like! I your gingerbread its interlocking have piped Royal icing to hide the house together. design. But I glued seams/edges, applied sprinkles, edible I am using Royal my pieces together glitter, and some mini toppers from the icing of a thick for added security. Cake sera sera range. consistency.
Page 13 text
You can now decorate your gingerbread house as little or as much as you like! I have piped Royal icing to hide the seams/edges, applied sprinkles, edible glitter, and some mini toppers from the Cake sera sera range.
Page 14 text
M E L B O U R N E | 2 1 + 2 2 S E P T E M B E R 2 0 2 4 F E S T I V A L O F C A K E . C O M . A U M E L B O U R N E | 2 1 + 2 2 S E P T E M B E R 2 0 2 4 F E S T I V A L O F C A K E . C O M . A U
Page 15 text
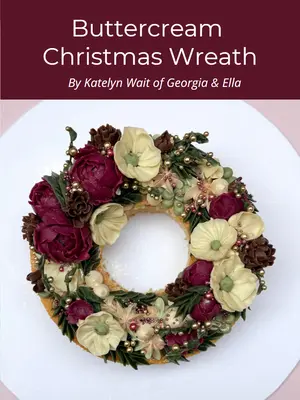
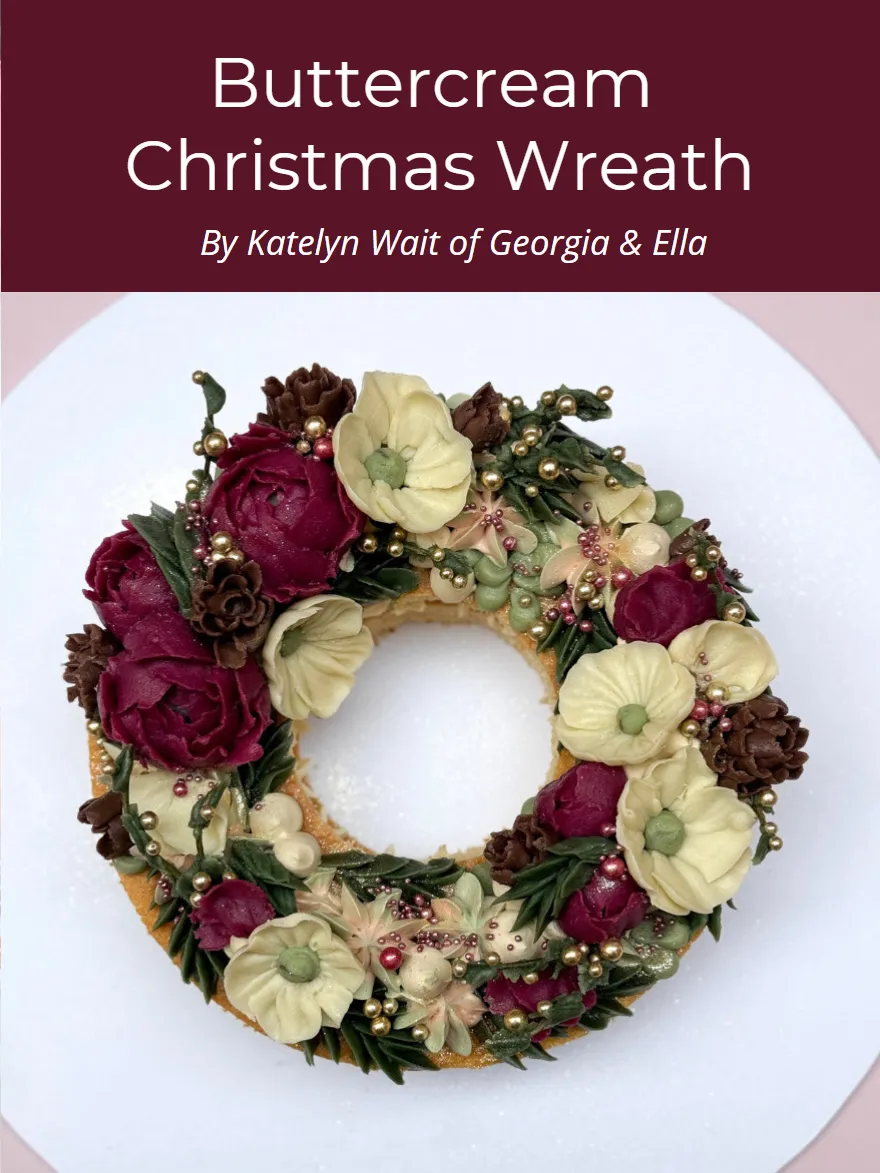
Buttercream Christmas Wreath By Katelyn Wait of Georgia & Ella
Page 16 text
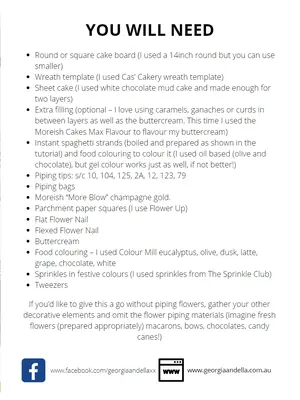
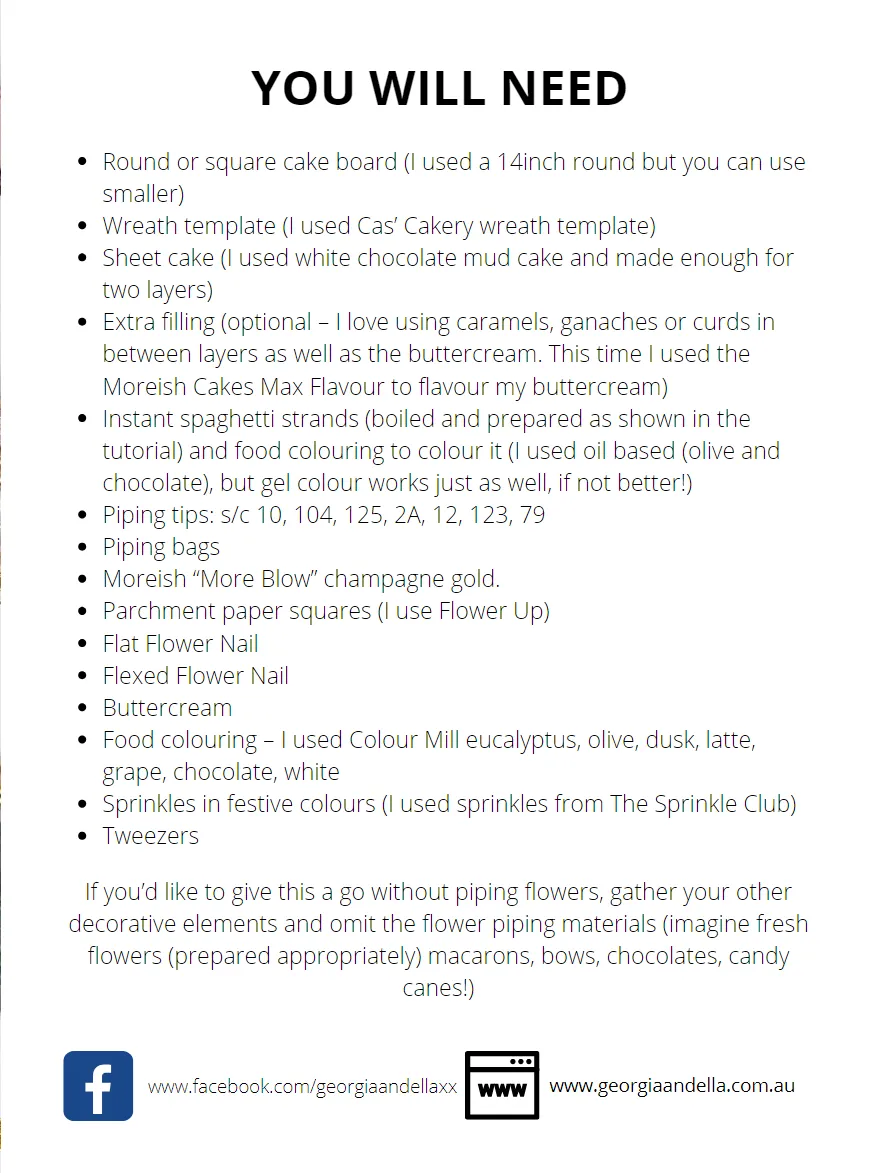
YOU WILL NEED Round or square cake board (I used a 14inch round but you can use smaller) Wreath template (I used Cas’ Cakery wreath template) Sheet cake (I used white chocolate mud cake and made enough for two layers) Extra filling (optional – I love using caramels, ganaches or curds in between layers as well as the buttercream. This time I used the Moreish Cakes Max Flavour to flavour my buttercream) Instant spaghetti strands (boiled and prepared as shown in the tutorial) and food colouring to colour it (I used oil based (olive and chocolate), but gel colour works just as well, if not better!) Piping tips: s/c 10, 104, 125, 2A, 12, 123, 79 Piping bags Moreish “More Blow” champagne gold. Parchment paper squares (I use Flower Up) Flat Flower Nail Flexed Flower Nail Buttercream Food colouring – I used Colour Mill eucalyptus, olive, dusk, latte,
Page 17 text
YOU WILL NEED Round or square cake board (I used a 14inch round but you can use Wreath template (I used Cas’ Cakery wreath template) Sheet cake (I used white chocolate mud cake and made enough for Extra filling (optional – I love using caramels, ganaches or curds in Moreish Cakes Max Flavour to flavour my buttercream) chocolate), but gel colour works just as well, if not better!) Food colouring – I used Colour Mill eucalyptus, olive, dusk, latte,
Page 18 text
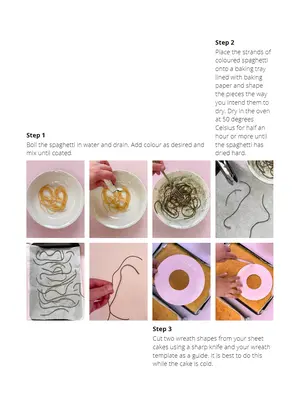
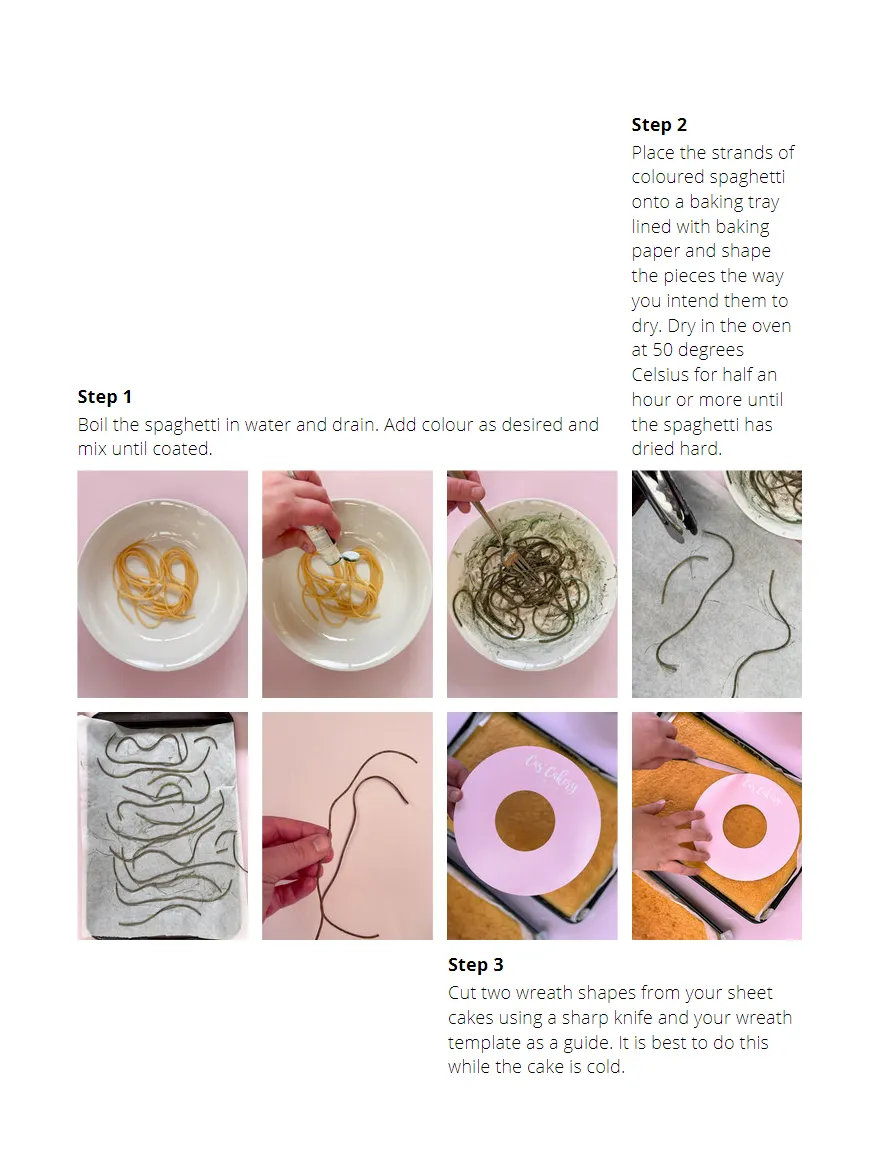
Step 2 Place the strands of coloured spaghetti onto a baking tray lined with baking paper and shape the pieces the way you intend them to dry. Dry in the oven at 50 degrees Celsius for half an Step 1 hour or more until Boil the spaghetti in water and drain. Add colour as desired and the spaghetti has mix until coated. dried hard. Step 3 Cut two wreath shapes from your sheet cakes using a sharp knife and your wreath template as a guide. It is best to do this while the cake is cold.
Page 19 text
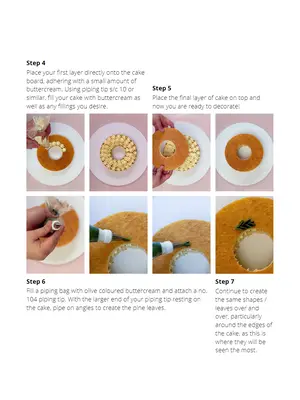
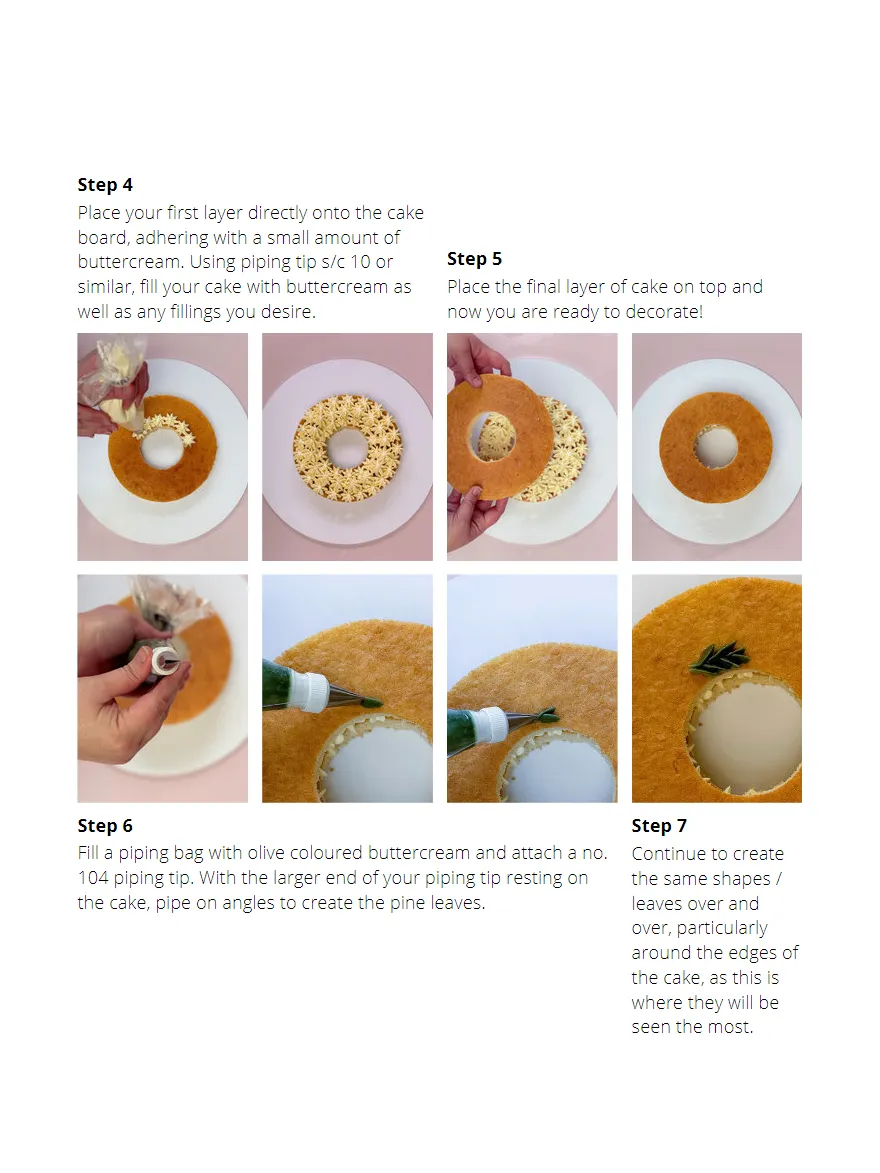
Step 4 Place your first layer directly onto the cake board, adhering with a small amount of buttercream. Using piping tip s/c 10 or Step 5 similar, fill your cake with buttercream as Place the final layer of cake on top and well as any fillings you desire. now you are ready to decorate! Step 6 Step 7 Fill a piping bag with olive coloured buttercream and attach a no. Continue to create 104 piping tip. With the larger end of your piping tip resting on the same shapes / the cake, pipe on angles to create the pine leaves. leaves over and over, particularly around the edges of the cake, as this is where they will be seen the most.
Page 20 text
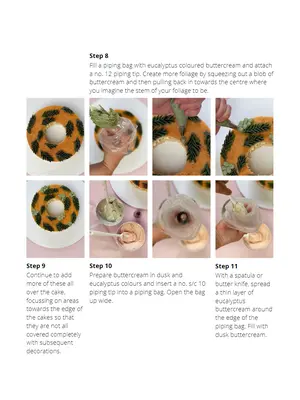
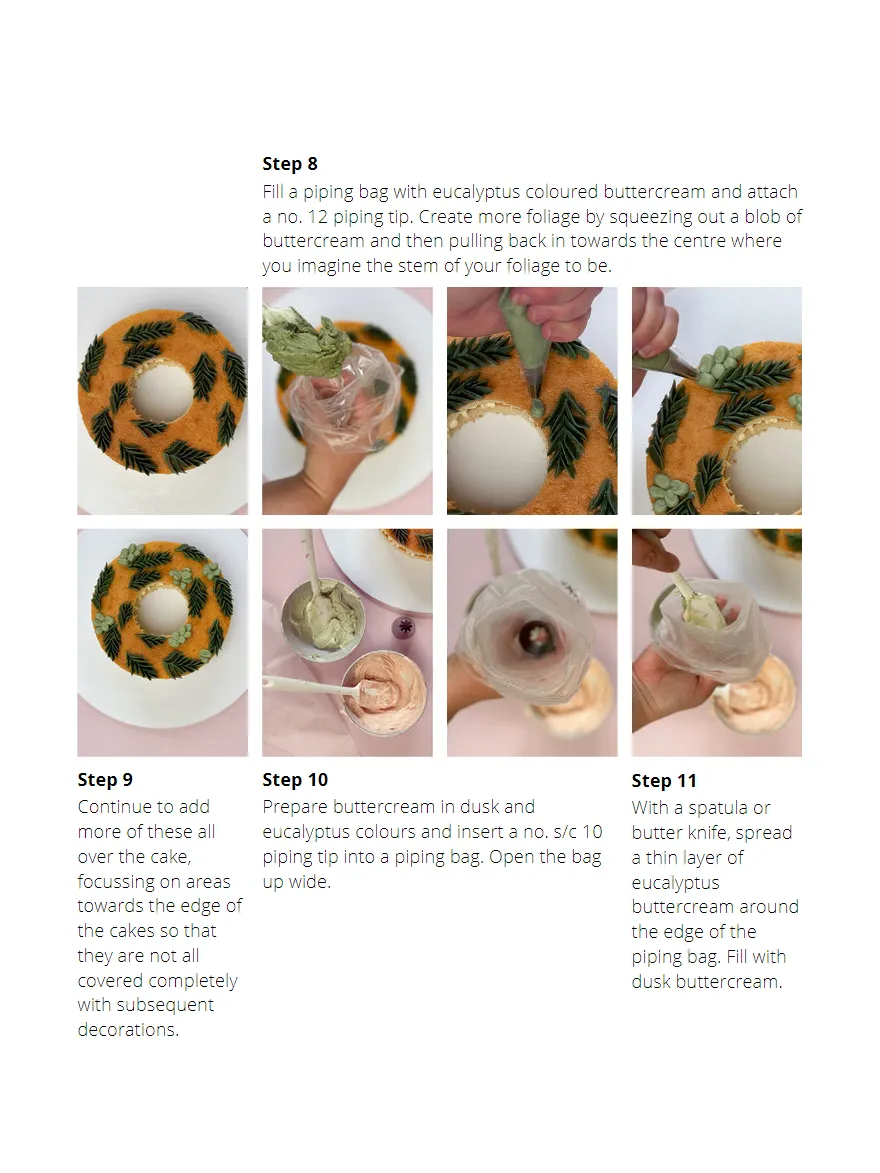
Step 8 Fill a piping bag with eucalyptus coloured buttercream and attach a no. 12 piping tip. Create more foliage by squeezing out a blob of buttercream and then pulling back in towards the centre where you imagine the stem of your foliage to be. Step 9 Step 10 Step 11 Continue to add Prepare buttercream in dusk and With a spatula or more of these all eucalyptus colours and insert a no. s/c 10 butter knife, spread over the cake, piping tip into a piping bag. Open the bag a thin layer of focussing on areas up wide. eucalyptus towards the edge of buttercream around the cakes so that the edge of the they are not all piping bag. Fill with covered completely dusk buttercream. with subsequent decorations.
Page 21 text
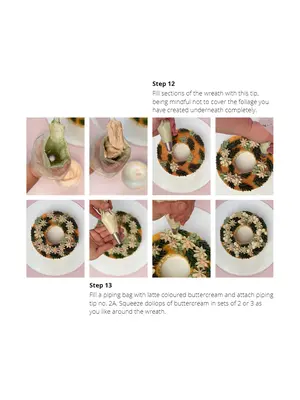
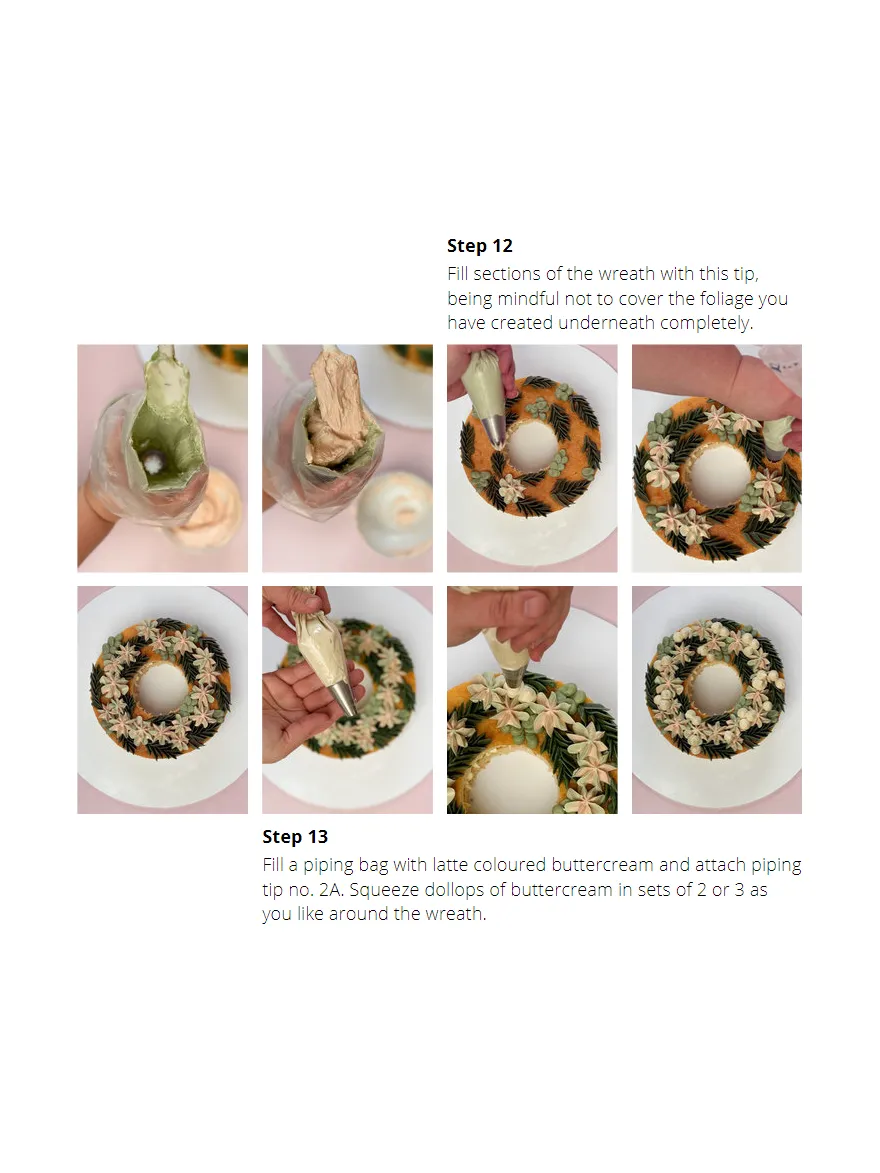
Step 12 Fill sections of the wreath with this tip, being mindful not to cover the foliage you have created underneath completely. Step 13 Fill a piping bag with latte coloured buttercream and attach piping tip no. 2A. Squeeze dollops of buttercream in sets of 2 or 3 as you like around the wreath.
Page 22 text
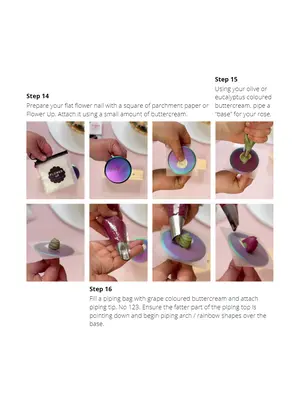
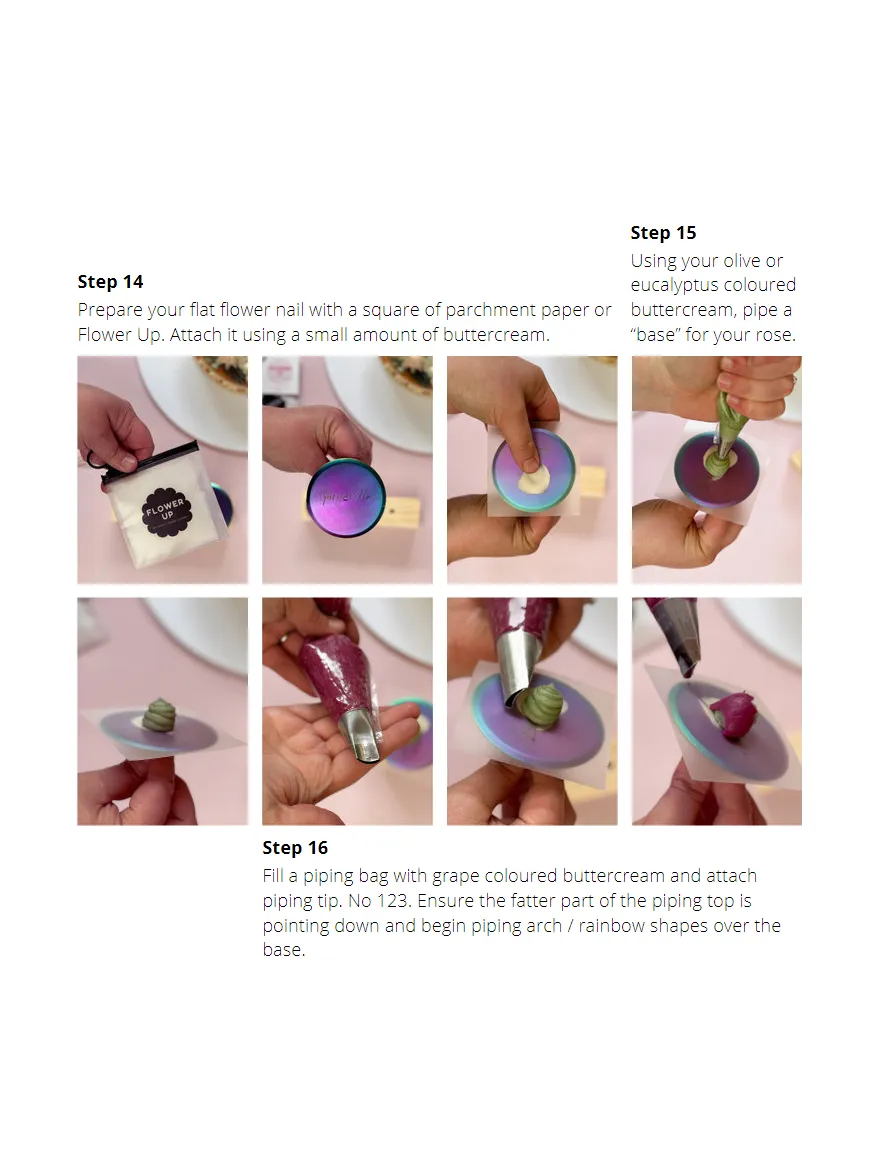
Step 15 Using your olive or Step 14 eucalyptus coloured Prepare your flat flower nail with a square of parchment paper or buttercream, pipe a Flower Up. Attach it using a small amount of buttercream. “base” for your rose. Step 16 Fill a piping bag with grape coloured buttercream and attach piping tip. No 123. Ensure the fatter part of the piping top is pointing down and begin piping arch / rainbow shapes over the base.
Page 23 text
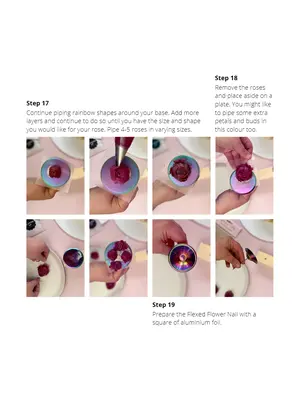
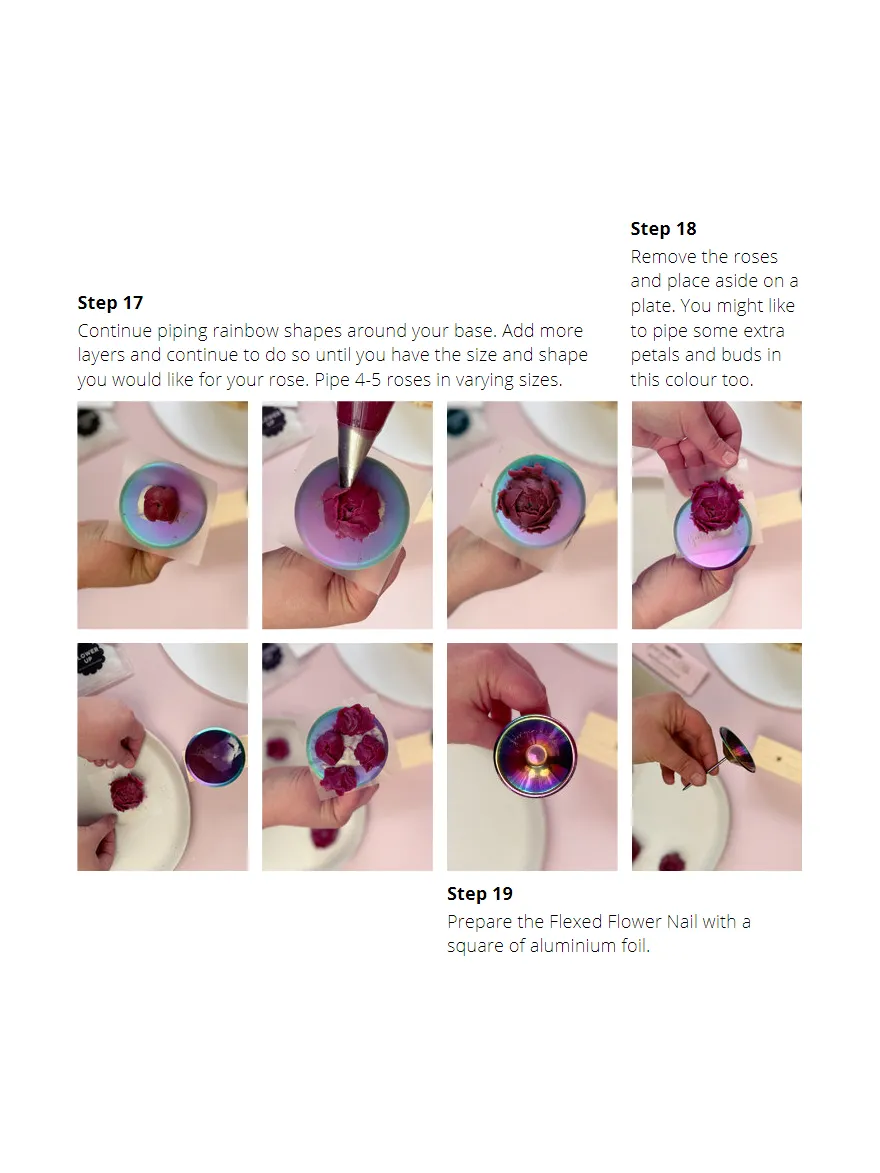
Step 18 Remove the roses and place aside on a Step 17 plate. You might like Continue piping rainbow shapes around your base. Add more to pipe some extra layers and continue to do so until you have the size and shape petals and buds in you would like for your rose. Pipe 4-5 roses in varying sizes. this colour too. Step 19 Prepare the Flexed Flower Nail with a square of aluminium foil.
Page 24 text
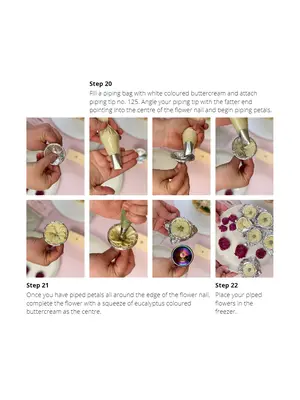
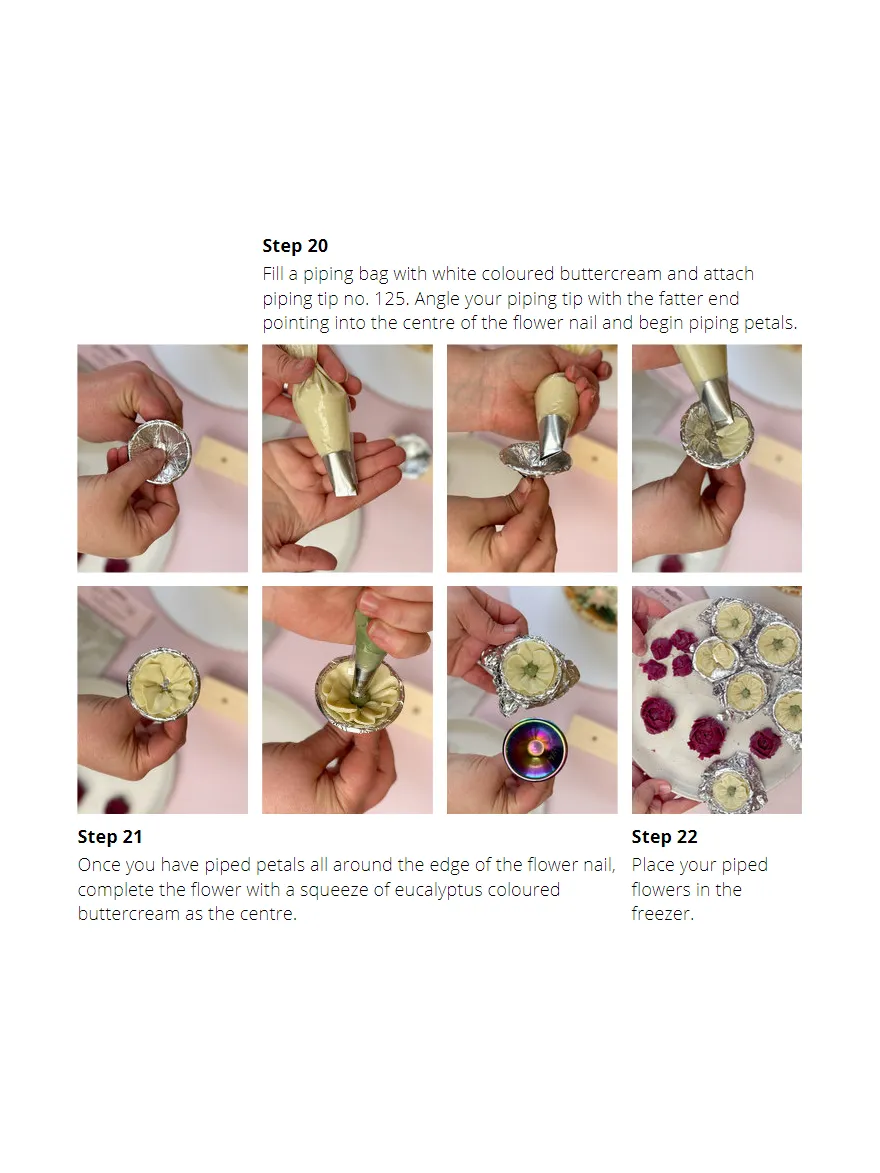
Step 20 Fill a piping bag with white coloured buttercream and attach piping tip no. 125. Angle your piping tip with the fatter end pointing into the centre of the flower nail and begin piping petals. Step 21 Step 22 Once you have piped petals all around the edge of the flower nail, Place your piped complete the flower with a squeeze of eucalyptus coloured flowers in the buttercream as the centre. freezer.
Page 25 text
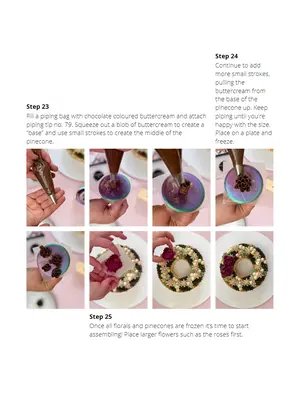
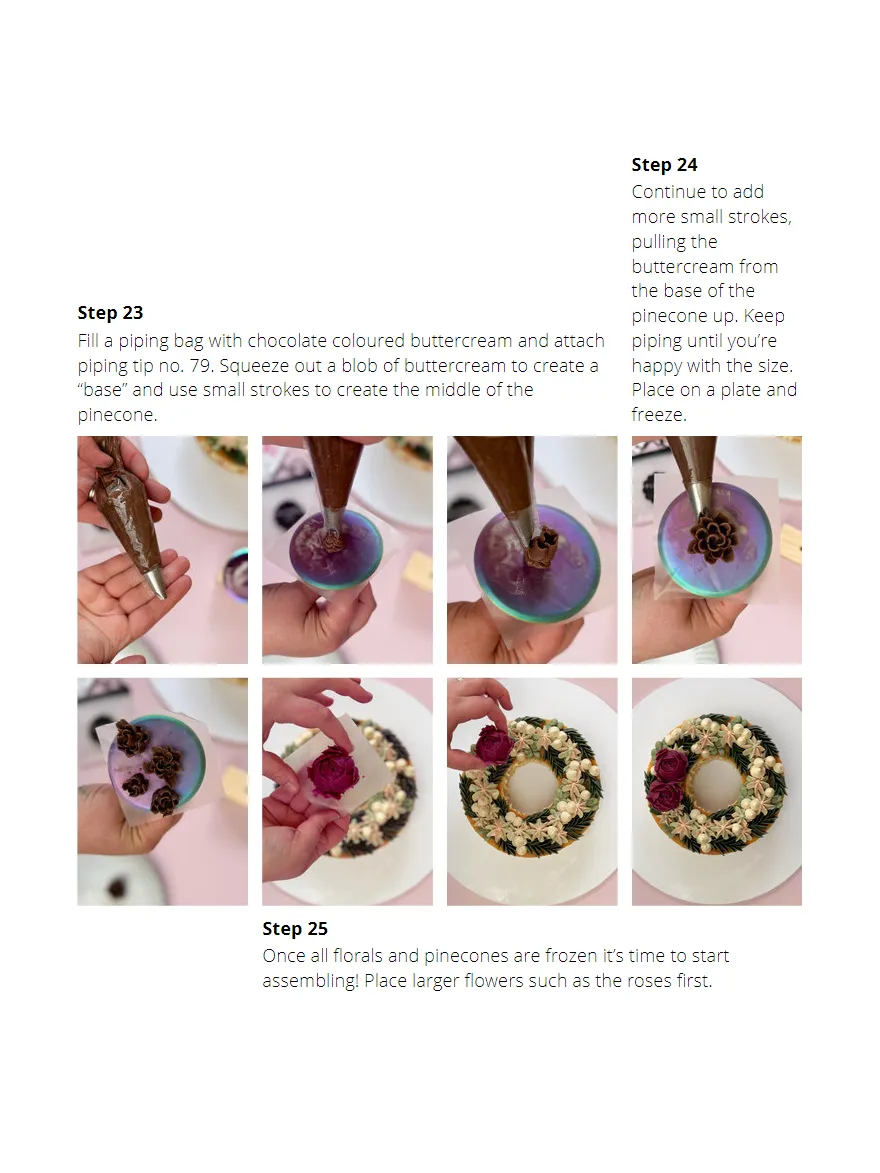
Step 24 Continue to add more small strokes, pulling the buttercream from the base of the Step 23 pinecone up. Keep Fill a piping bag with chocolate coloured buttercream and attach piping until you’re piping tip no. 79. Squeeze out a blob of buttercream to create a happy with the size. “base” and use small strokes to create the middle of the Place on a plate and pinecone. freeze. Step 25 Once all florals and pinecones are frozen it’s time to start assembling! Place larger flowers such as the roses first.
Page 26 text
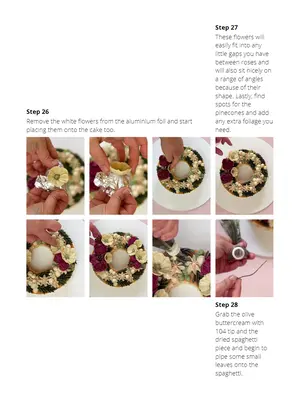
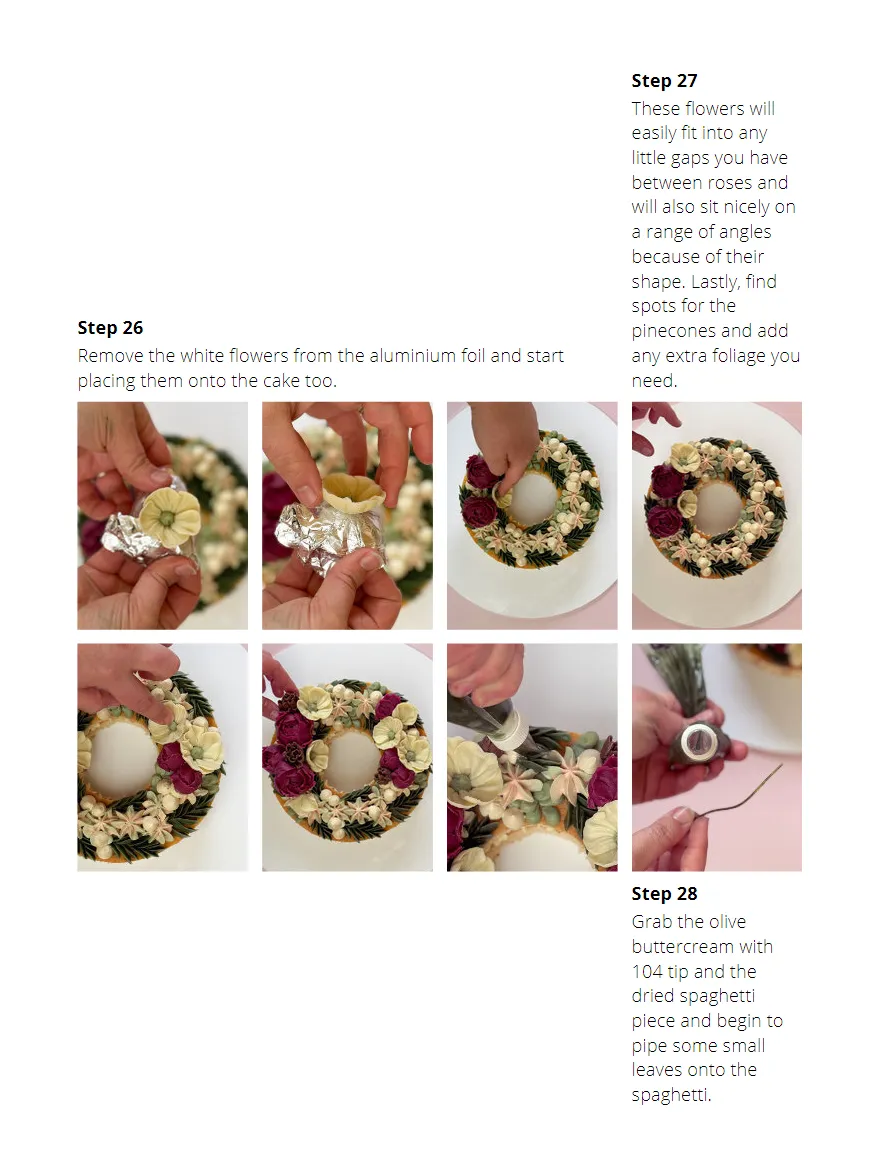
Step 27 These flowers will easily fit into any little gaps you have between roses and will also sit nicely on a range of angles because of their shape. Lastly, find spots for the Step 26 pinecones and add Remove the white flowers from the aluminium foil and start any extra foliage you placing them onto the cake too. need. Step 28 Grab the olive buttercream with 104 tip and the dried spaghetti piece and begin to pipe some small leaves onto the spaghetti.
Page 27 text
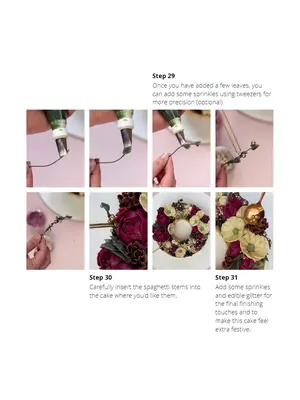
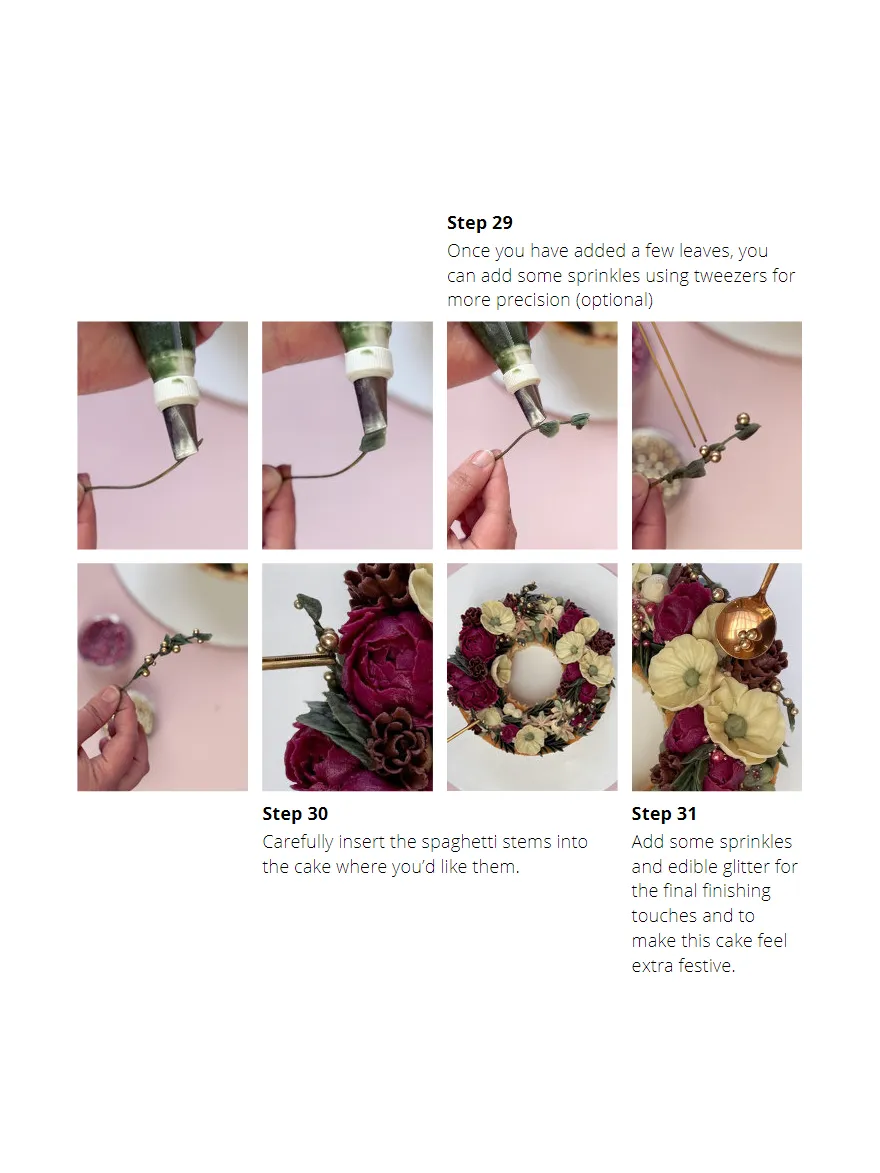
Step 29 Once you have added a few leaves, you can add some sprinkles using tweezers for more precision (optional) Step 30 Step 31 Carefully insert the spaghetti stems into Add some sprinkles the cake where you’d like them. and edible glitter for the final finishing touches and to make this cake feel extra festive.
Page 28 text
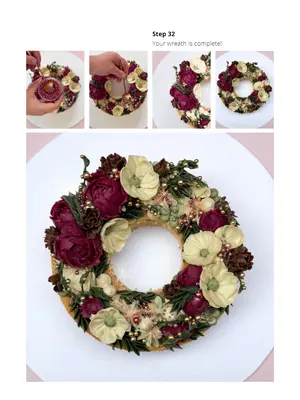
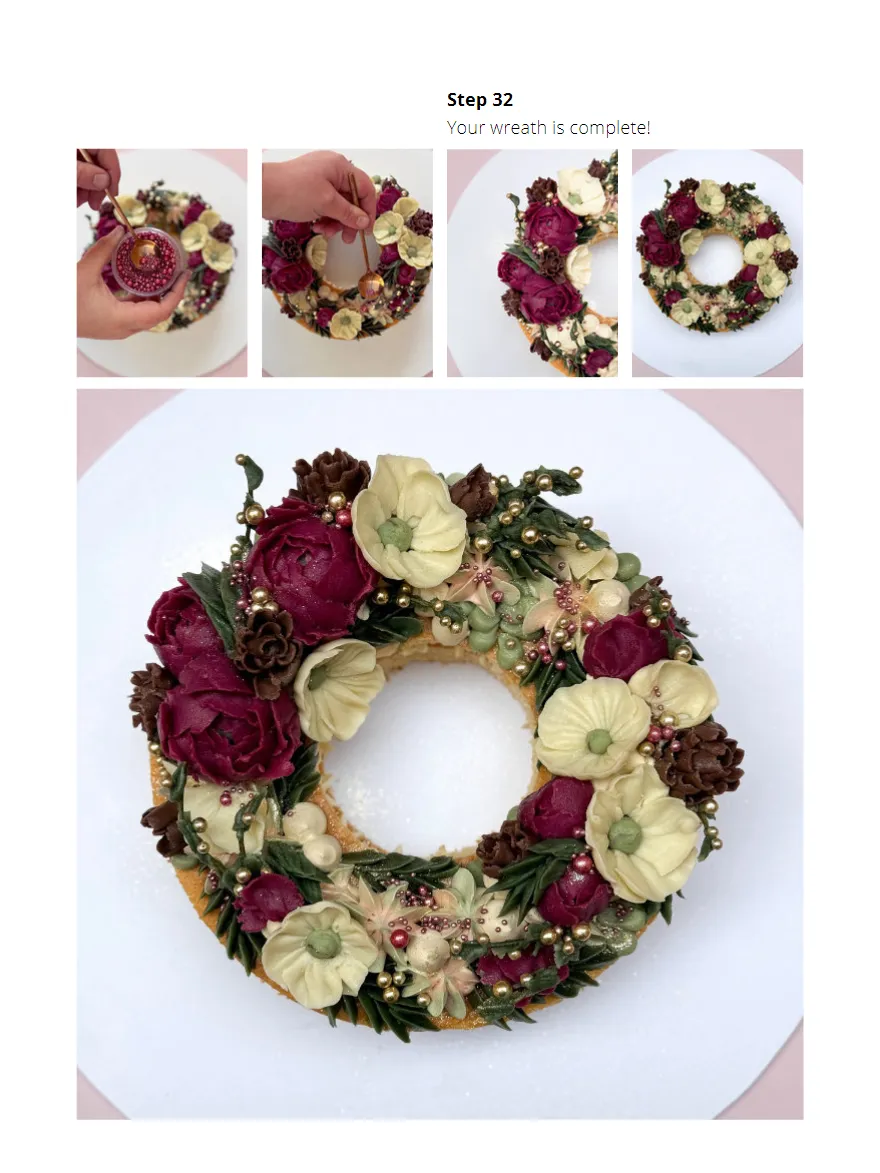
Step 32 Your wreath is complete!
Page 29 text
Your wreath is complete!
Page 31 text
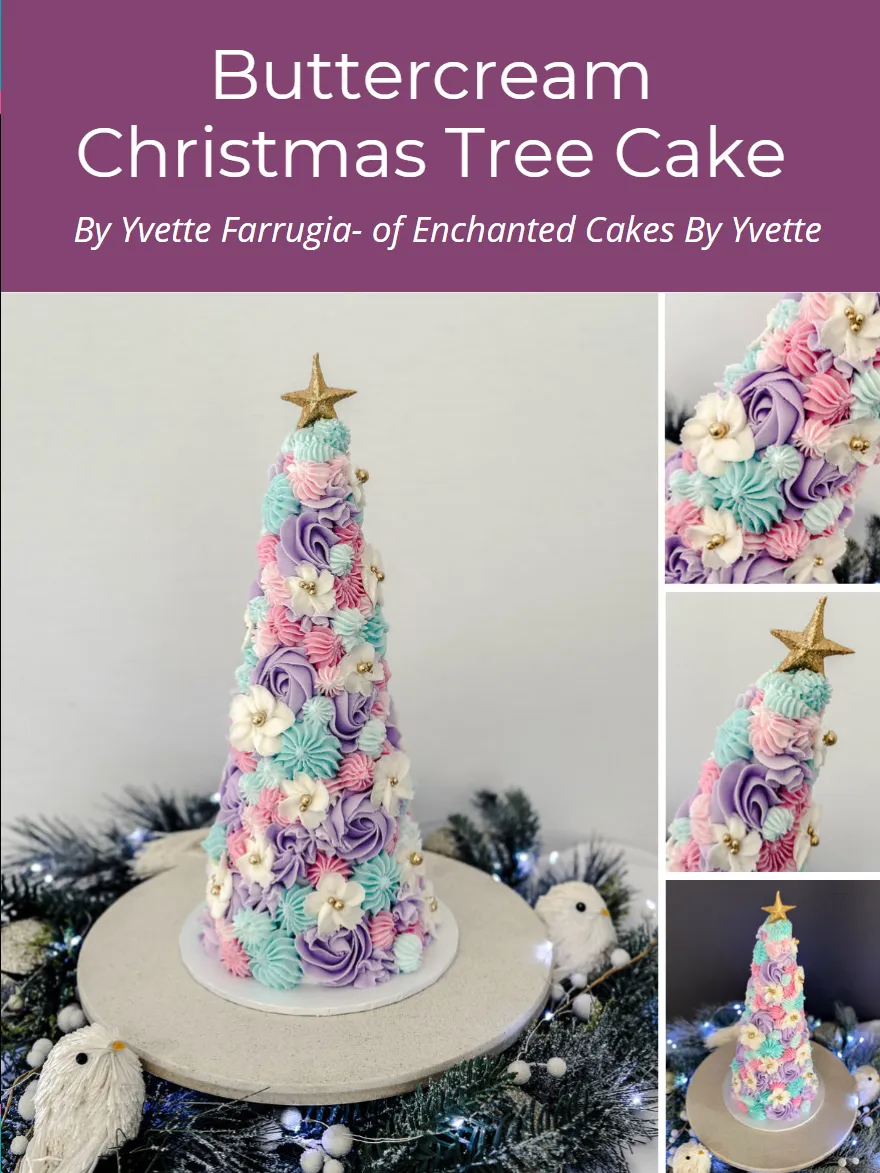
Buttercream Christmas Tree Cake By Yvette Farrugia- of Enchanted Cakes By Yvette
Page 32 text
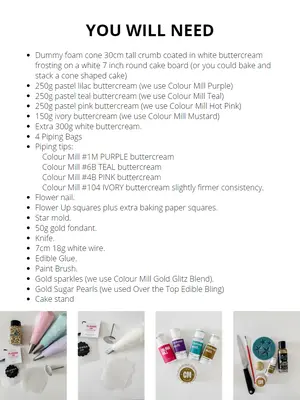
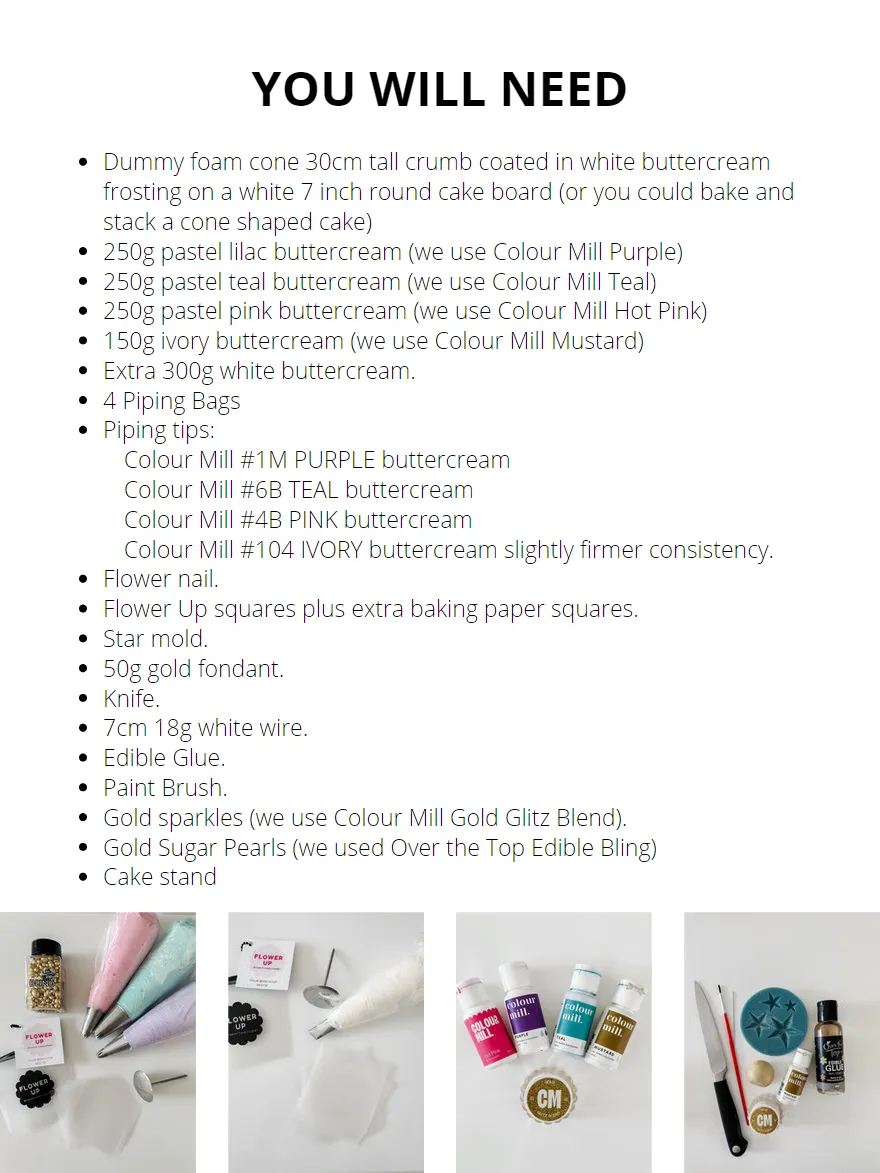
YOU WILL NEED Dummy foam cone 30cm tall crumb coated in white buttercream frosting on a white 7 inch round cake board (or you could bake and stack a cone shaped cake) 250g pastel lilac buttercream (we use Colour Mill Purple) 250g pastel teal buttercream (we use Colour Mill Teal) 250g pastel pink buttercream (we use Colour Mill Hot Pink) 150g ivory buttercream (we use Colour Mill Mustard) Extra 300g white buttercream. 4 Piping Bags Piping tips: Colour Mill #1M PURPLE buttercream Colour Mill #6B TEAL buttercream Colour Mill #4B PINK buttercream Colour Mill #104 IVORY buttercream slightly firmer consistency. Flower nail. Flower Up squares plus extra baking paper squares. Star mold. 50g gold fondant. Knife. 7cm 18g white wire. Edible Glue. Paint Brush. Gold sparkles (we use Colour Mill Gold Glitz Blend). Gold Sugar Pearls (we used Over the Top Edible Bling) Cake stand
Page 33 text
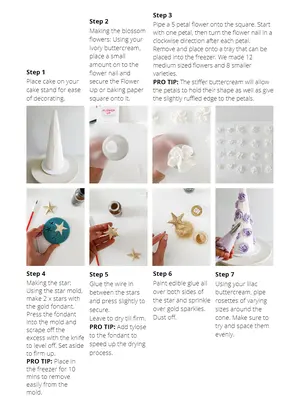
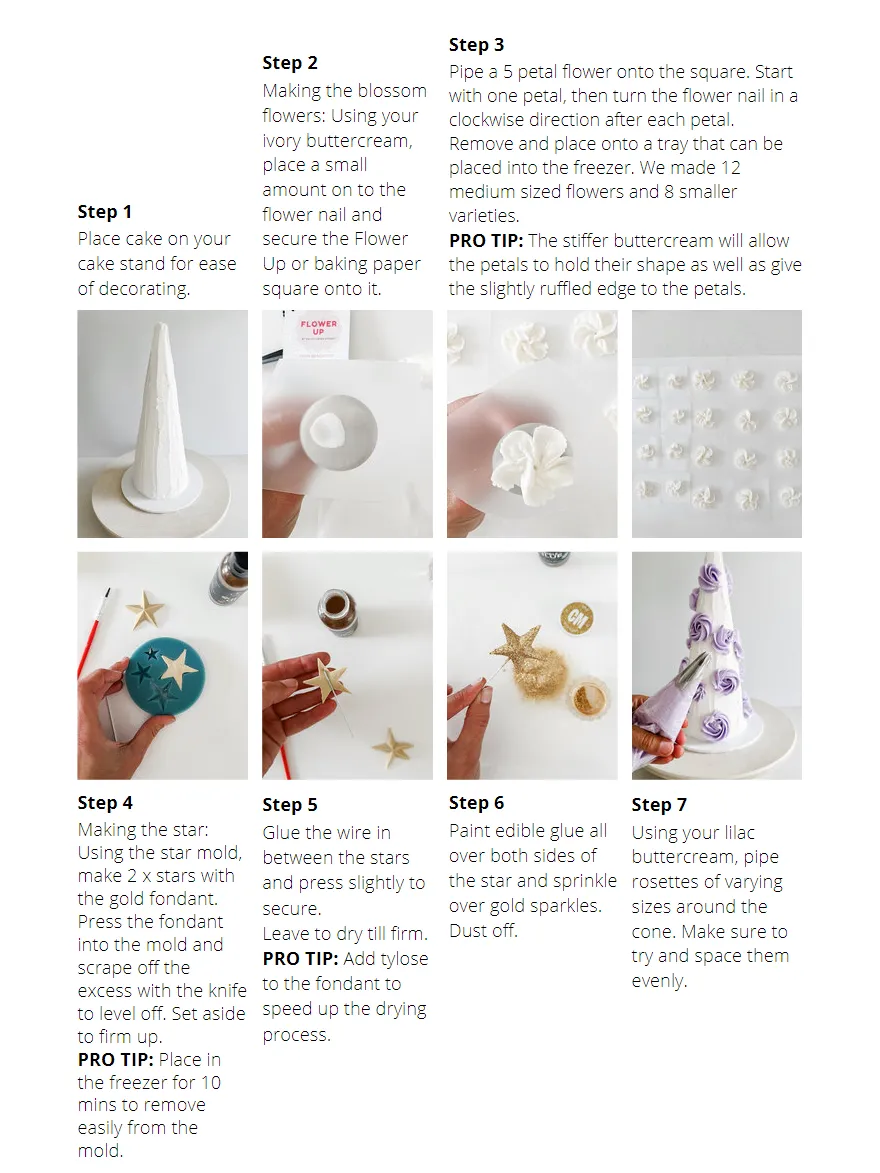
Step 3 Step 2 Pipe a 5 petal flower onto the square. Start Making the blossom with one petal, then turn the flower nail in a flowers: Using your clockwise direction after each petal. ivory buttercream, Remove and place onto a tray that can be place a small placed into the freezer. We made 12 amount on to the medium sized flowers and 8 smaller Step 1 flower nail and varieties. Place cake on your secure the Flower PRO TIP: The stiffer buttercream will allow cake stand for ease Up or baking paper the petals to hold their shape as well as give of decorating. square onto it. the slightly ruffled edge to the petals. Step 4 Step 5 Step 6 Step 7 Making the star: Glue the wire in Paint edible glue all Using your lilac Using the star mold, between the stars over both sides of buttercream, pipe make 2 x stars with and press slightly to the star and sprinkle rosettes of varying the gold fondant. secure. over gold sparkles. sizes around the Press the fondant Leave to dry till firm. Dust off. cone. Make sure to into the mold and scrape off the PRO TIP: Add tylose try and space them excess with the knife to the fondant to evenly. to level off. Set aside speed up the drying to firm up. process. PRO TIP: Place in the freezer for 10 mins to remove easily from the mold.
Page 34 text
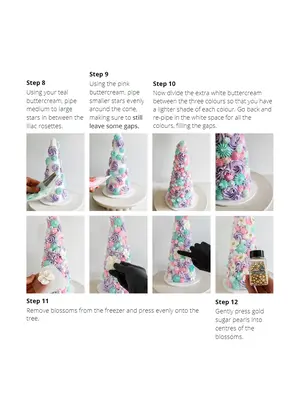
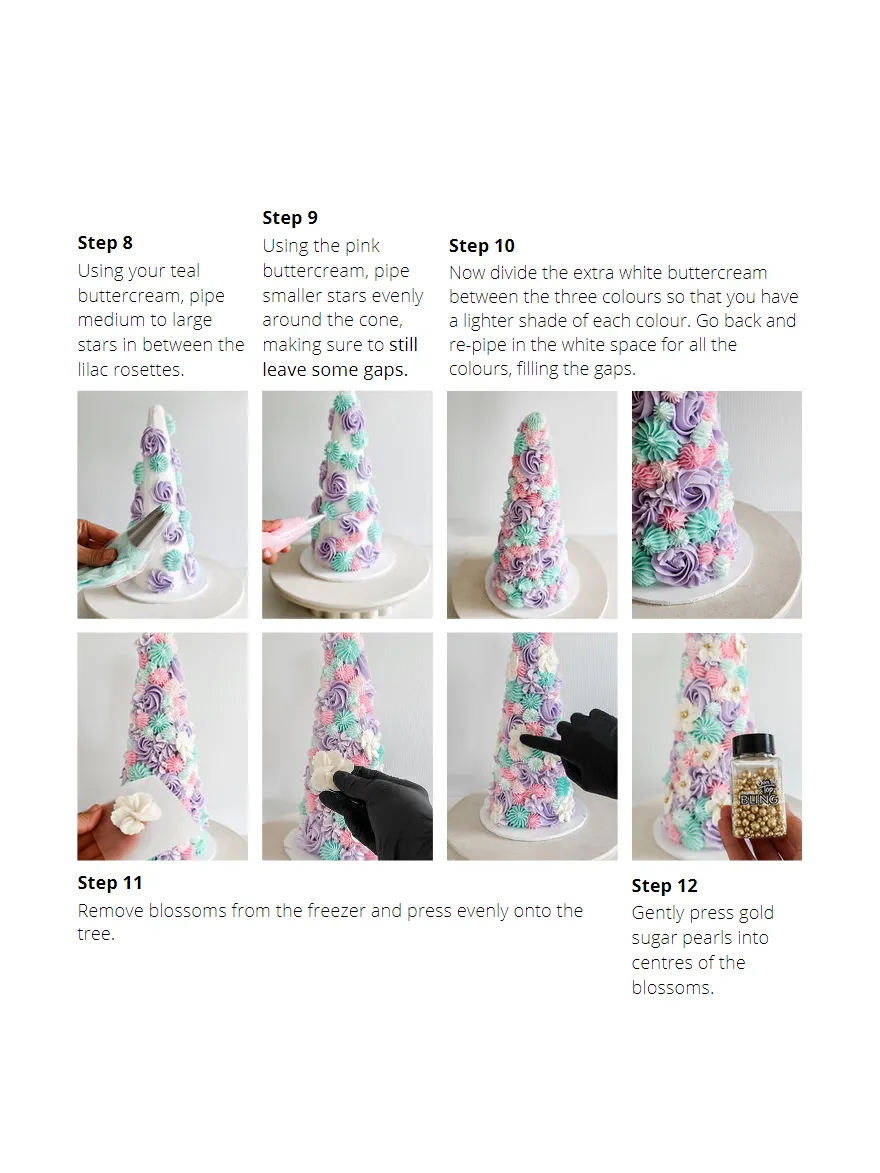
Step 9 Step 8 Using the pink Step 10 Using your teal buttercream, pipe Now divide the extra white buttercream buttercream, pipe smaller stars evenly between the three colours so that you have medium to large around the cone, a lighter shade of each colour. Go back and stars in between the making sure to still re-pipe in the white space for all the lilac rosettes. leave some gaps. colours, filling the gaps. Step 11 Step 12 Remove blossoms from the freezer and press evenly onto the Gently press gold tree. sugar pearls into centres of the blossoms.
Page 35 text
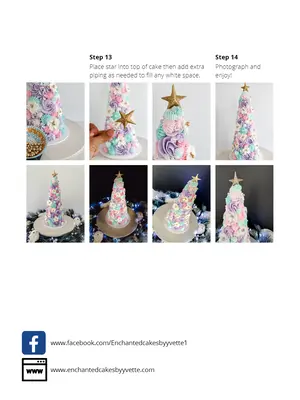
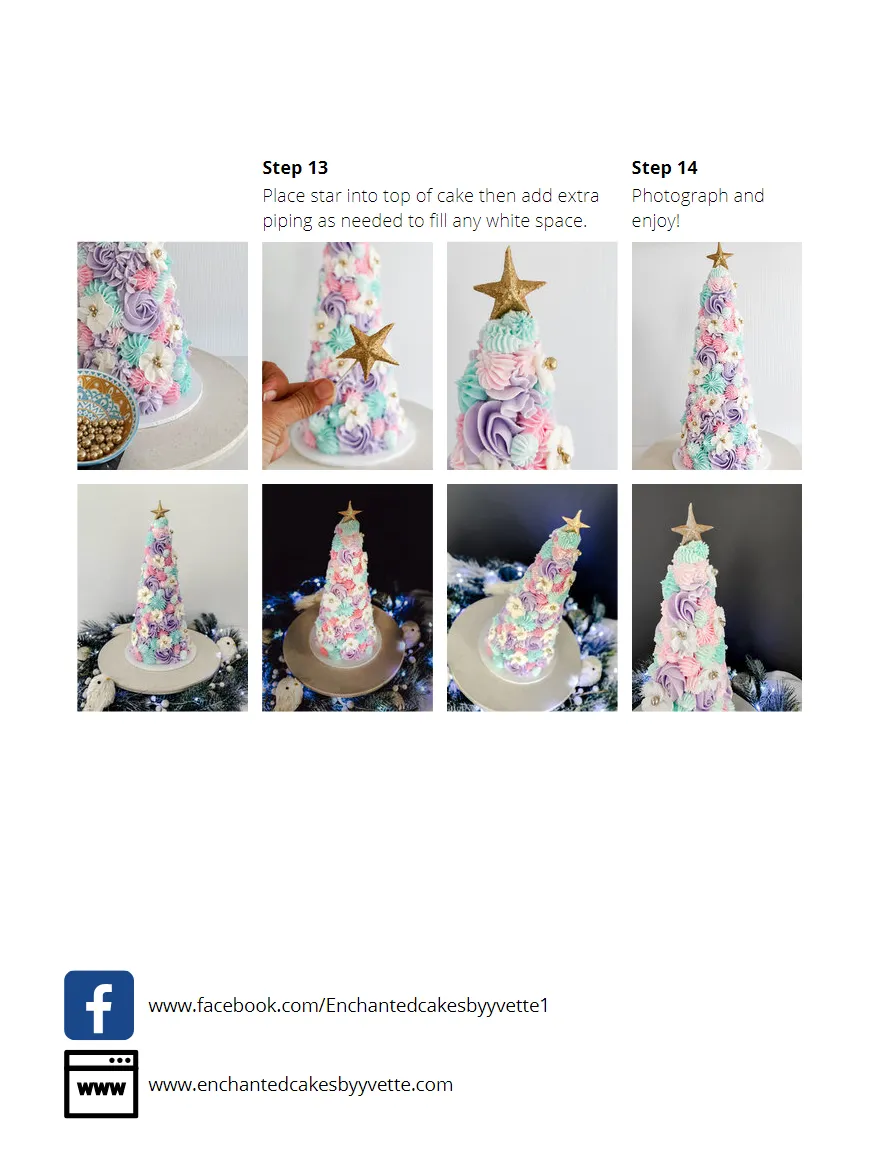
Step 13 Step 14 Place star into top of cake then add extra Photograph and piping as needed to fill any white space. enjoy! www.facebook.com/Enchantedcakesbyyvette1 www.enchantedcakesbyyvette.com
Page 37 text
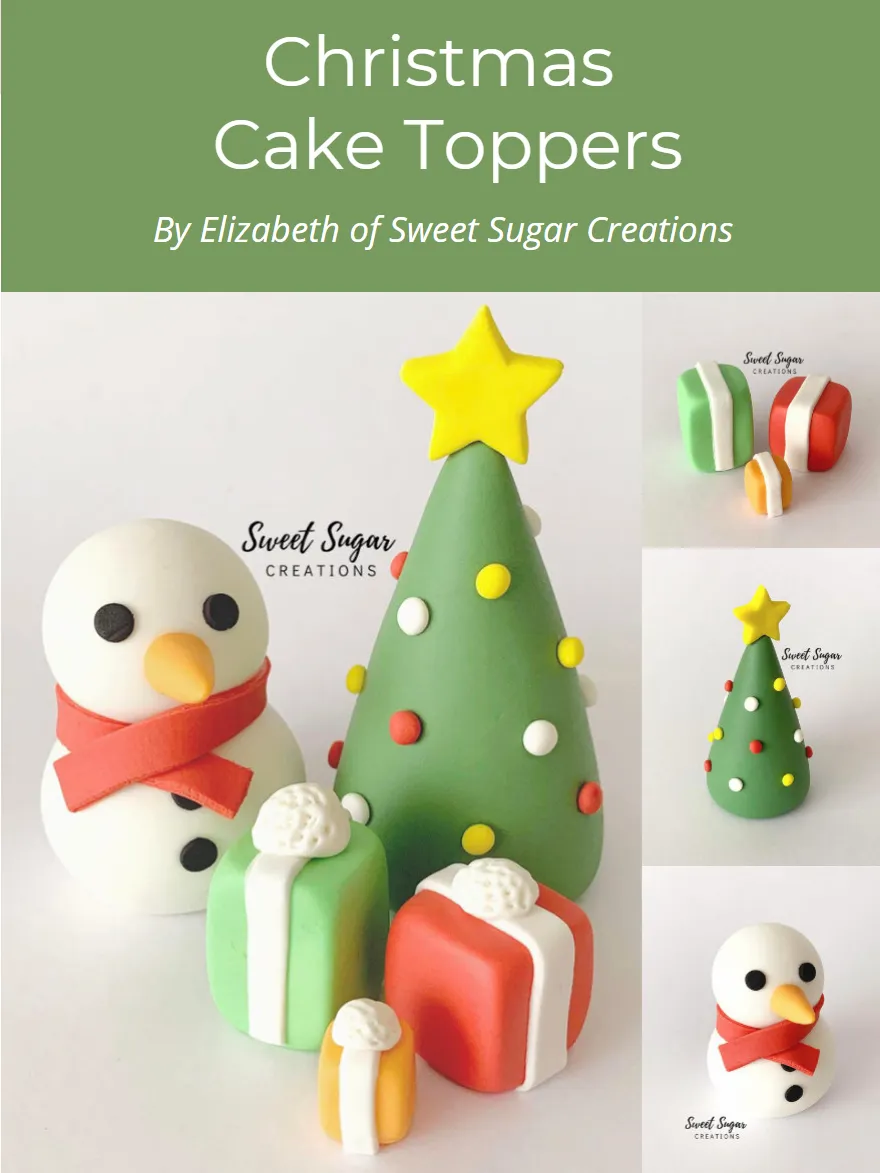
Christmas Cake Toppers By Elizabeth of Sweet Sugar Creations
Page 38 text
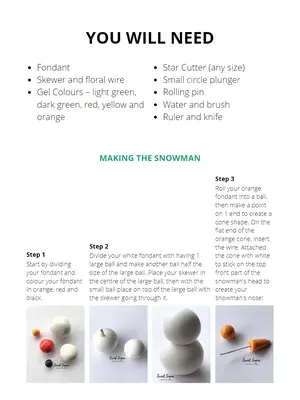
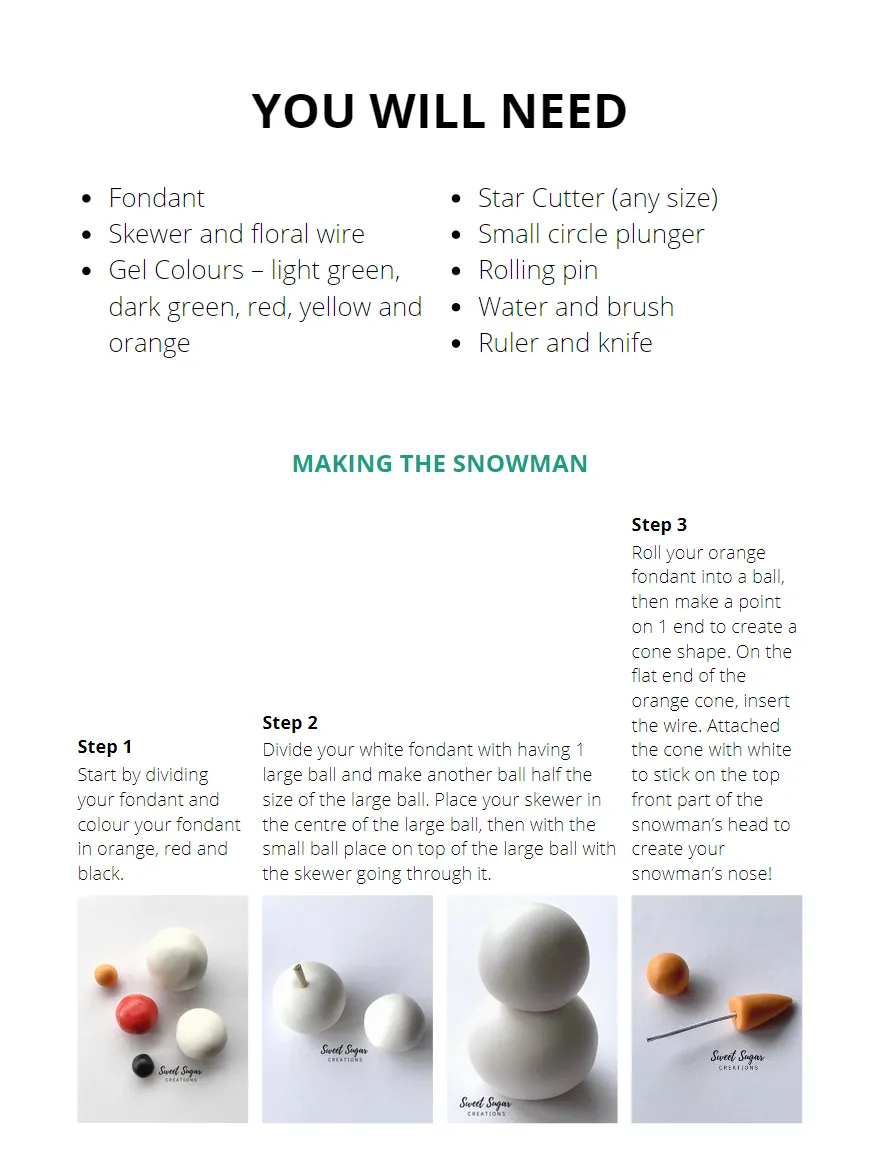
YOU WILL NEED Fondant Star Cutter (any size) Skewer and floral wire Small circle plunger Gel Colours – light green, Rolling pin dark green, red, yellow and Water and brush orange Ruler and knife MAKING THE SNOWMAN Step 3 Roll your orange fondant into a ball, then make a point on 1 end to create a cone shape. On the flat end of the orange cone, insert Step 2 the wire. Attached Step 1 Divide your white fondant with having 1 the cone with white Start by dividing large ball and make another ball half the to stick on the top your fondant and size of the large ball. Place your skewer in front part of the colour your fondant the centre of the large ball, then with the snowman’s head to in orange, red and small ball place on top of the large ball with create your black. the skewer going through it. snowman’s nose!
Page 39 text
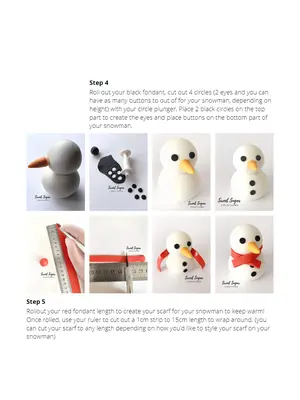
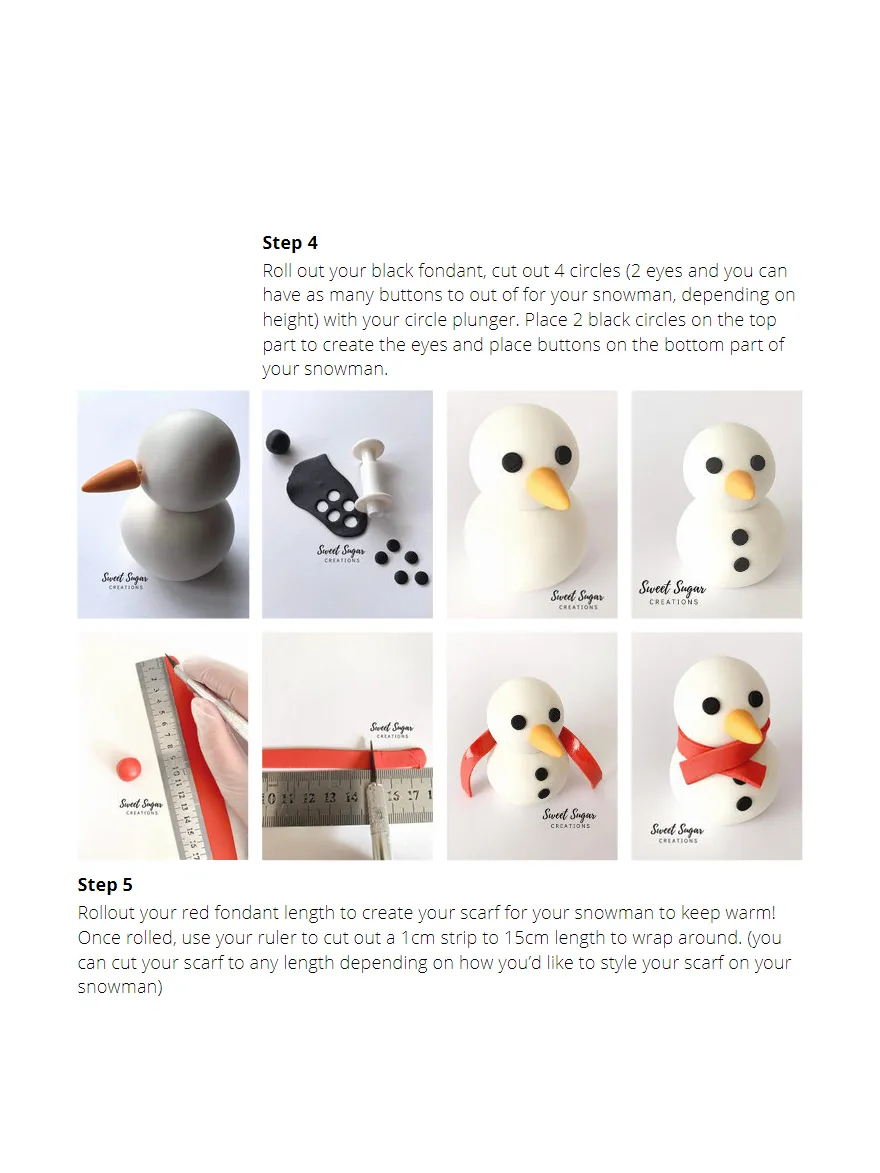
Step 4 Roll out your black fondant, cut out 4 circles (2 eyes and you can have as many buttons to out of for your snowman, depending on height) with your circle plunger. Place 2 black circles on the top part to create the eyes and place buttons on the bottom part of your snowman. Step 5 Rollout your red fondant length to create your scarf for your snowman to keep warm! Once rolled, use your ruler to cut out a 1cm strip to 15cm length to wrap around. (you can cut your scarf to any length depending on how you’d like to style your scarf on your snowman)
Page 40 text
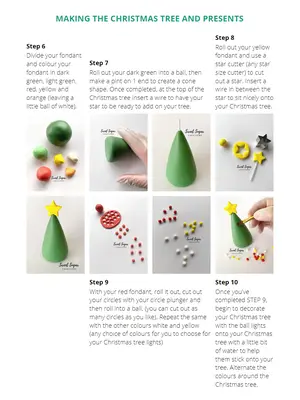
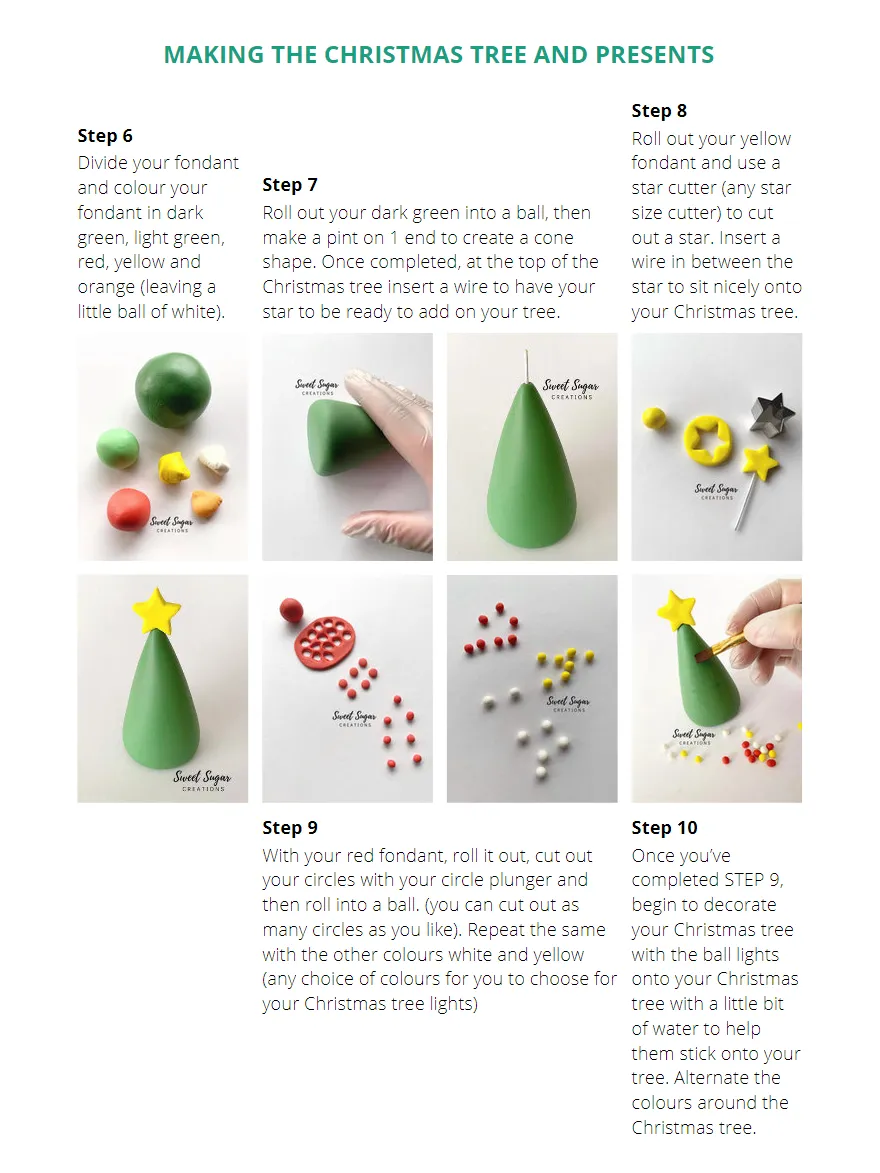
MAKING THE CHRISTMAS TREE AND PRESENTS Step 8 Step 6 Roll out your yellow Divide your fondant fondant and use a and colour your Step 7 star cutter (any star fondant in dark Roll out your dark green into a ball, then size cutter) to cut green, light green, make a pint on 1 end to create a cone out a star. Insert a red, yellow and shape. Once completed, at the top of the wire in between the orange (leaving a Christmas tree insert a wire to have your star to sit nicely onto little ball of white). star to be ready to add on your tree. your Christmas tree. Step 9 Step 10 With your red fondant, roll it out, cut out Once you’ve your circles with your circle plunger and completed STEP 9, then roll into a ball. (you can cut out as begin to decorate many circles as you like). Repeat the same your Christmas tree with the other colours white and yellow with the ball lights (any choice of colours for you to choose for onto your Christmas your Christmas tree lights) tree with a little bit of water to help them stick onto your tree. Alternate the colours around the Christmas tree.
Page 41 text
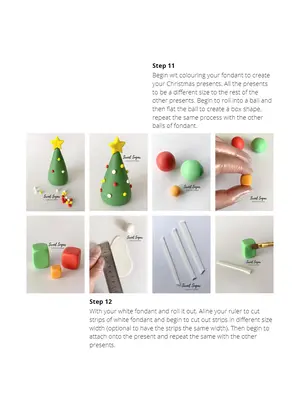
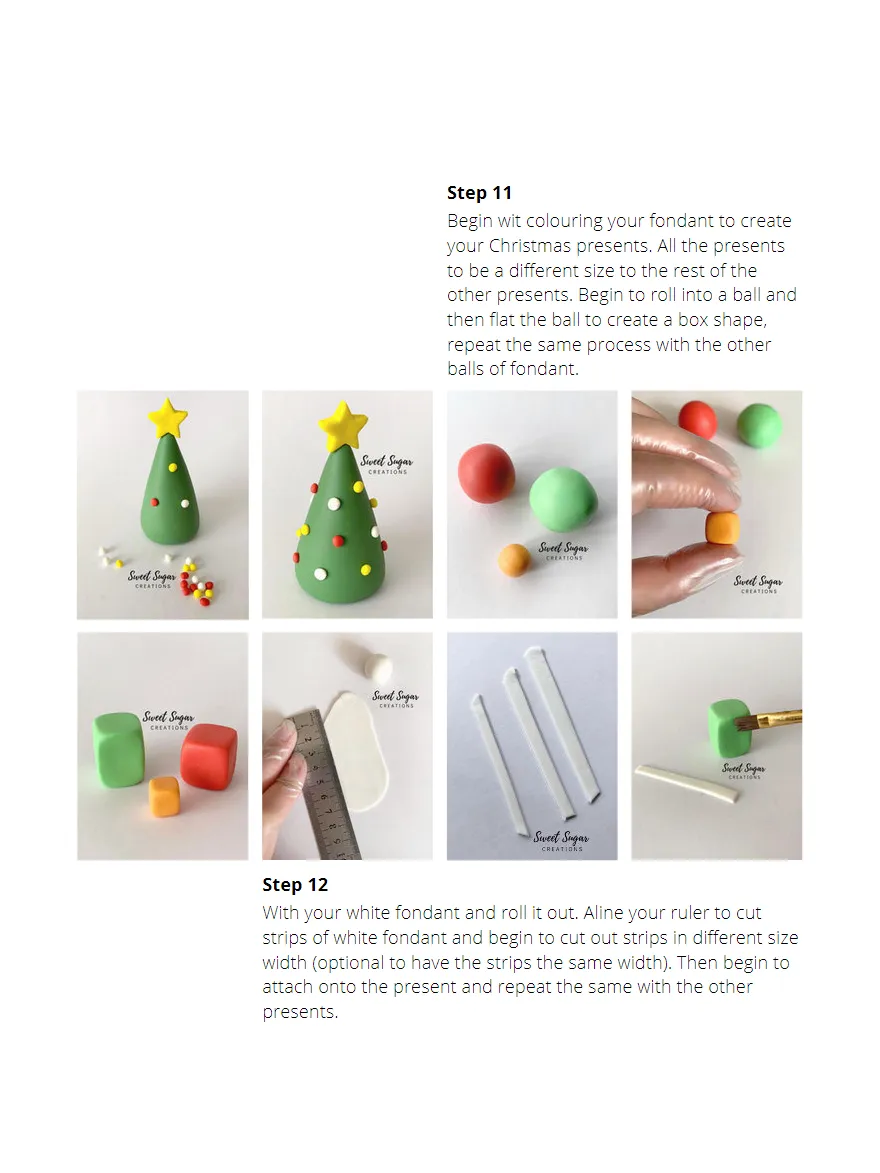
Step 11 Begin wit colouring your fondant to create your Christmas presents. All the presents to be a different size to the rest of the other presents. Begin to roll into a ball and then flat the ball to create a box shape, repeat the same process with the other balls of fondant. Step 12 With your white fondant and roll it out. Aline your ruler to cut strips of white fondant and begin to cut out strips in different size width (optional to have the strips the same width). Then begin to attach onto the present and repeat the same with the other presents.
Page 42 text
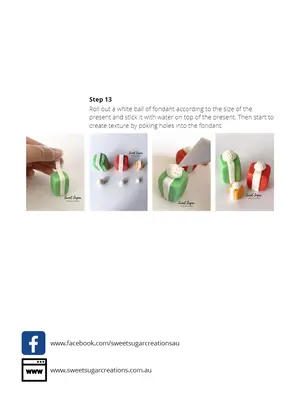
Step 13 Roll out a white ball of fondant according to the size of the present and stick it with water on top of the present. Then start to create texture by poking holes into the fondant

Page 43 text
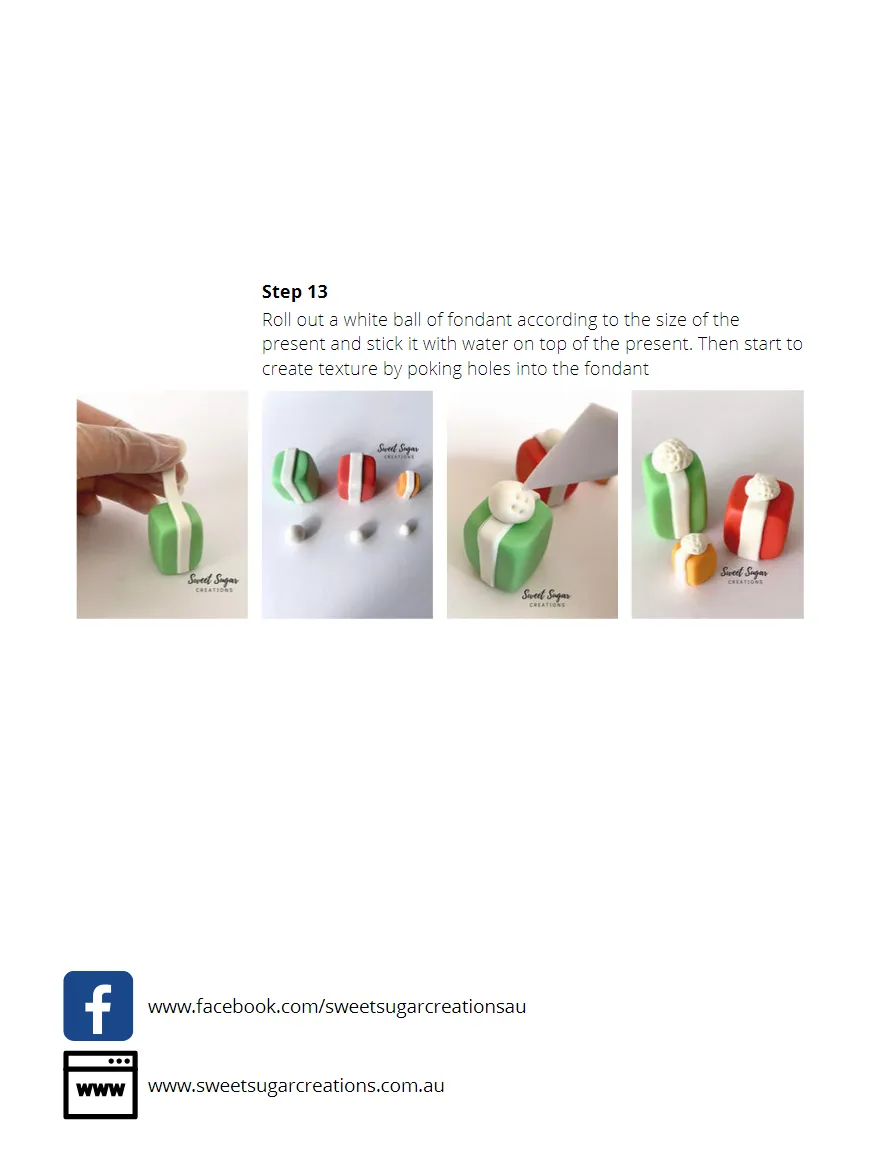
Roll out a white ball of fondant according to the size of the present and stick it with water on top of the present. Then start to create texture by poking holes into the fondant




Page 48 text
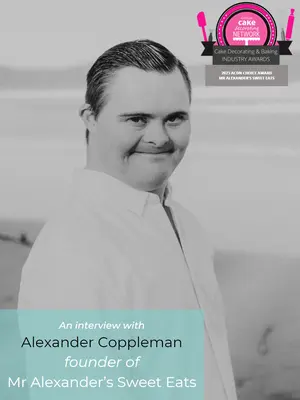
TELL US ABOUT YOURSELF AND YOUR BUSINESS? Hi. My name is Alexander Coppleman and I have Down Syndrome. I have been making cakes for my family and friends for about 7 years. I started at a disability baking school where we learned to bake cupcakes and decorate them. I had so much fun I decided to start a cake business, ‘Mr Alexander’s Sweet Eats’. To get more skills, I went to classes at Cake Decorating Solutions to learn how to decorate a drip cake and how to cover a cake with fondant. This is where I met my cake teacher, Karen Hardie. She helps me with my cake business every week and teaches me how to do things when I am not sure. Together we have been to many classes with fabulous international teachers including Emma Jayne, Dawn Butler, Zoe Hopkinson, Carla Puig, Sachiko Windbiel, Marc Suarez and many others. They have taught me many skills which I use in my cake business today. I use these skills when I create cakes to enter cake competitions. I have competed in both Newcastle and Gosford shows, where I have placed 2nd and 2x 1st, with my latest entry achieving Best Overall Exhibit - Novice. This also led me to be a finalist for cake industry awards. I was excited to win ACADA 2023 Rising Star of the year, and the most recent being ACDN’s newly established award of 2023 ACDN Choice Award. I am so proud of these awards as I was chosen from all eligible cake decorators in Australia, not just people with a disability. I was also lucky enough to be chosen, for a couple of years, as 1 of only 2 cake decorators in Australia to be a Katy Sue design team member. I got to create cakes using the new release moulds, which were photographed and displayed on the website as examples of how to use them.
Page 49 text
Hi. My name is Alexander Coppleman and I have Down Syndrome. I have been making cakes for bake cupcakes and decorate them. I had so much fun I decided to start a cake business, ‘Mr To get more skills, I went to classes at Cake Decorating Solutions to learn how to decorate a drip helps me with my cake business every week and teaches me how to do things when I am not sure. Jayne, Dawn Butler, Zoe Hopkinson, Carla Puig, Sachiko Windbiel, Marc Suarez and many others. I use these skills when I create cakes to enter cake competitions. I have competed in both Newcastle and Gosford shows, where I have placed 2nd and 2x 1st, with my latest entry achieving This also led me to be a finalist for cake industry awards. I was excited to win ACADA 2023 Rising Star of the year, and the most recent being ACDN’s newly established award of 2023 ACDN Choice Award. I am so proud of these awards as I was chosen from all eligible cake decorators in Australia, I was also lucky enough to be chosen, for a couple of years, as 1 of only 2 cake decorators in Australia to be a Katy Sue design team member. I got to create cakes using the new release moulds, which were photographed and displayed on the website as examples of how to use them.
Page 50 text
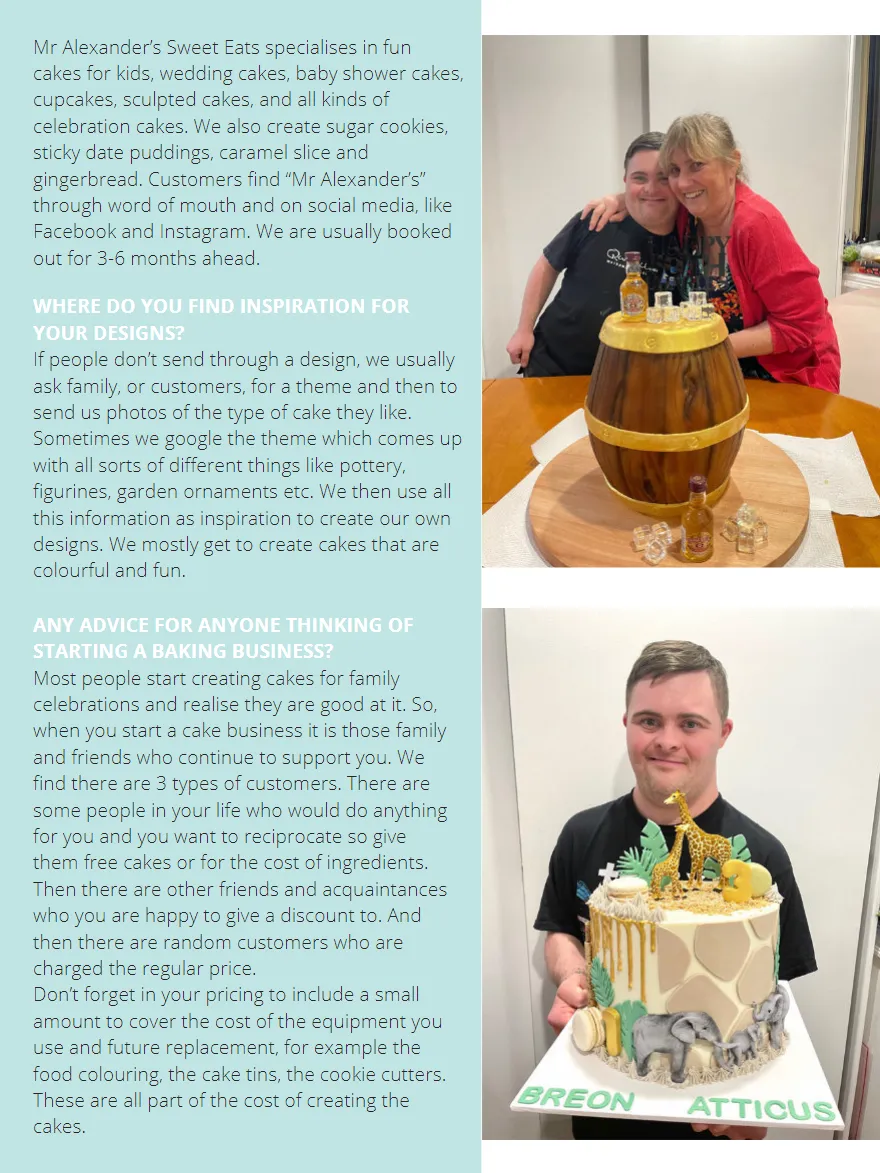
Mr Alexander’s Sweet Eats specialises in fun cakes for kids, wedding cakes, baby shower cakes, More information: cupcakes, sculpted cakes, and all kinds of celebration cakes. We also create sugar cookies, sticky date puddings, caramel slice and gingerbread. Customers find “Mr Alexander’s” www.instagram.com/mralexanderssweeteats through word of mouth and on social media, like Facebook and Instagram. We are usually booked www.facebook.com/mralexanderssweeteats out for 3-6 months ahead. WHERE DO YOU FIND INSPIRATION FOR YOUR DESIGNS? If people don’t send through a design, we usually ask family, or customers, for a theme and then to send us photos of the type of cake they like. Sometimes we google the theme which comes up with all sorts of different things like pottery, figurines, garden ornaments etc. We then use all this information as inspiration to create our own designs. We mostly get to create cakes that are colourful and fun. ANY ADVICE FOR ANYONE THINKING OF STARTING A BAKING BUSINESS? Most people start creating cakes for family celebrations and realise they are good at it. So, when you start a cake business it is those family and friends who continue to support you. We
Page 51 text
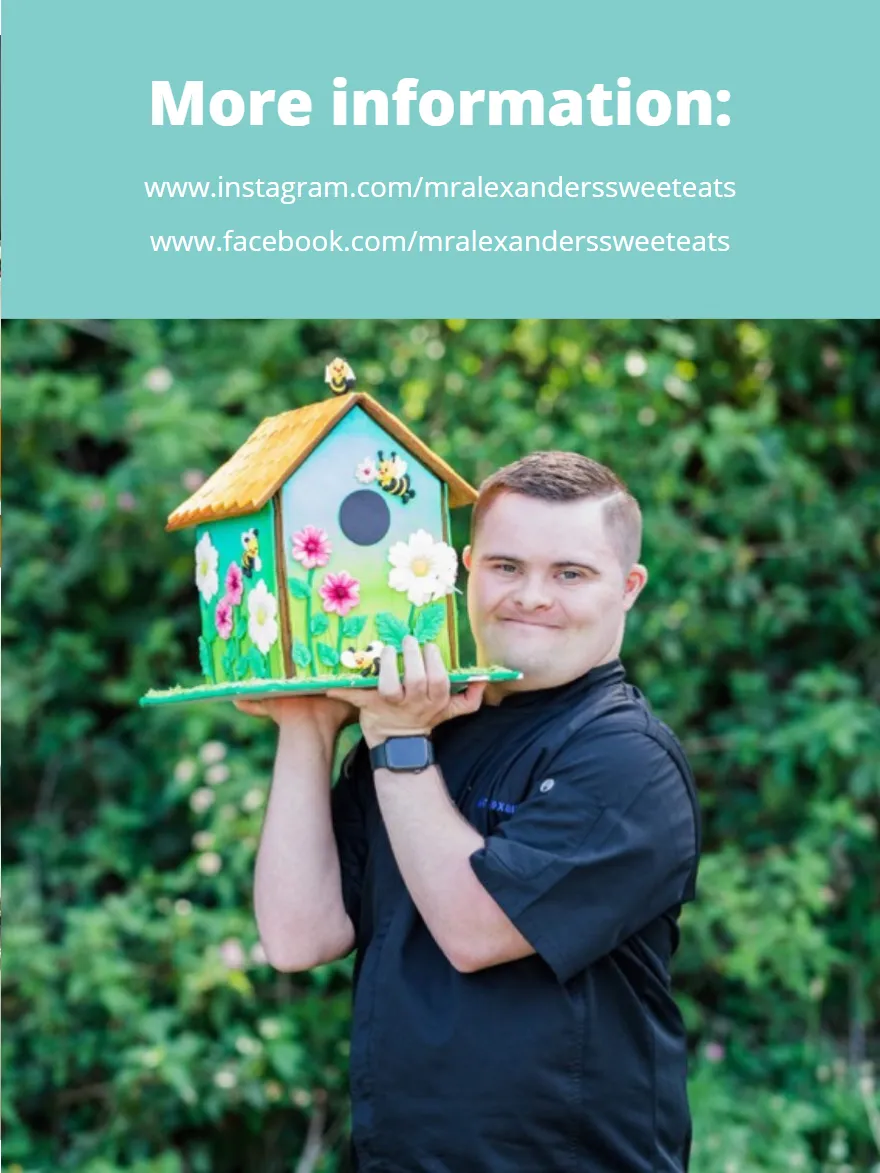
More information: www.instagram.com/mralexanderssweeteats www.facebook.com/mralexanderssweeteats
Page 53 text
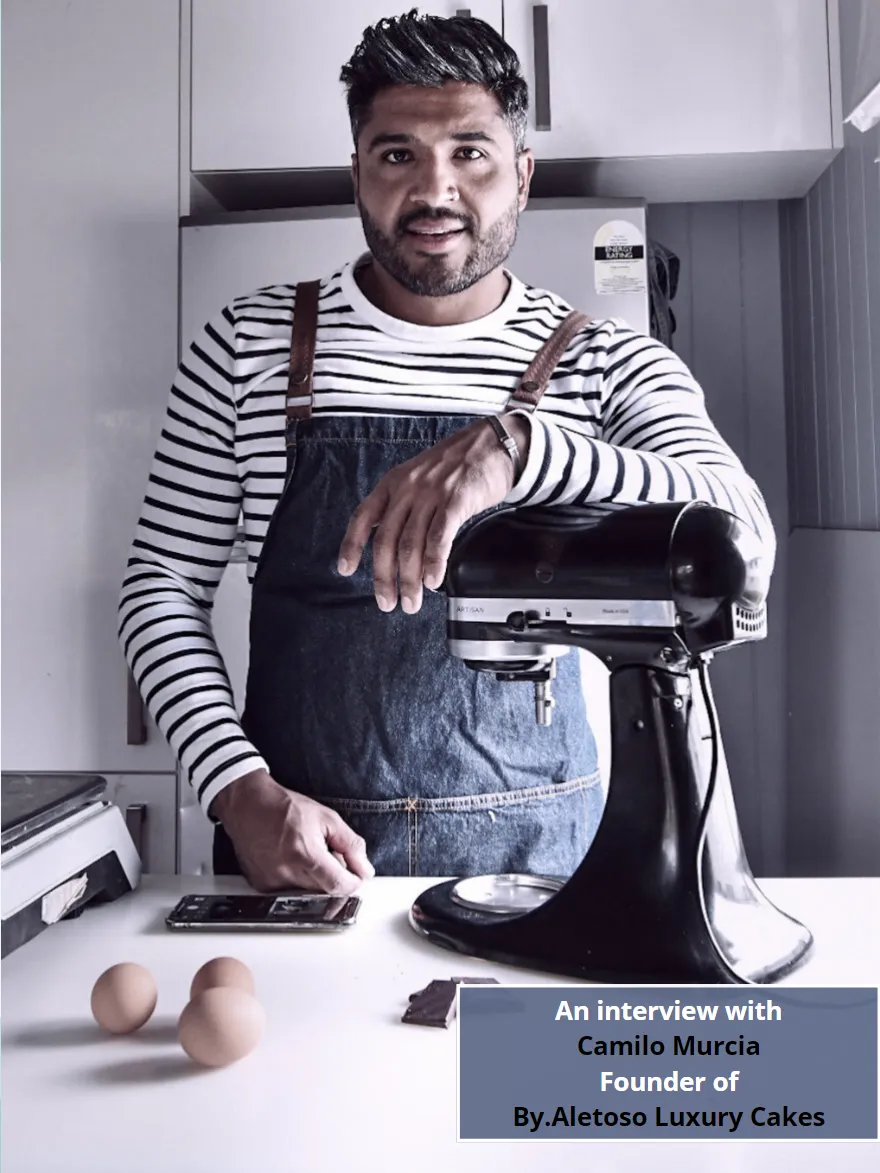
An interview with Camilo Murcia Founder of By . Aletoso Luxury Cakes
Page 54 text
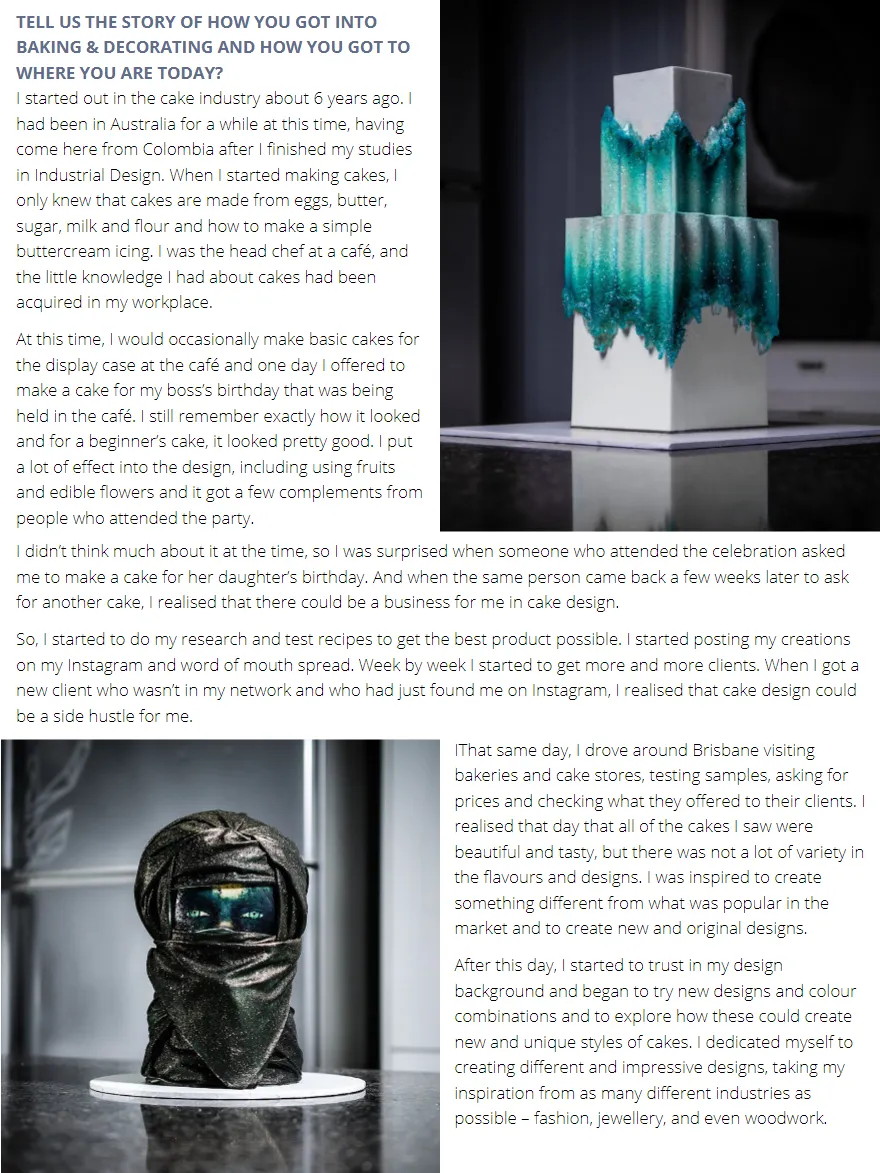
TELL US THE STORY OF HOW YOU GOT INTO BAKING & DECORATING AND HOW YOU GOT TO WHERE YOU ARE TODAY? I started out in the cake industry about 6 years ago. I had been in Australia for a while at this time, having come here from Colombia after I finished my studies in Industrial Design. When I started making cakes, I only knew that cakes are made from eggs, butter, sugar, milk and flour and how to make a simple buttercream icing. I was the head chef at a café, and the little knowledge I had about cakes had been acquired in my workplace. At this time, I would occasionally make basic cakes for the display case at the café and one day I offered to make a cake for my boss’s birthday that was being held in the café. I still remember exactly how it looked and for a beginner’s cake, it looked pretty good. I put a lot of effect into the design, including using fruits and edible flowers and it got a few complements from people who attended the party. I didn’t think much about it at the time, so I was surprised when someone who attended the celebration asked me to make a cake for her daughter’s birthday. And when the same person came back a few weeks later to ask for another cake, I realised that there could be a business for me in cake design. So, I started to do my research and test recipes to get the best product possible. I started posting my creations on my Instagram and word of mouth spread. Week by week I started to get more and more clients. When I got a new client who wasn’t in my network and who had just found me on Instagram, I realised that cake design could be a side hustle for me. IThat same day, I drove around Brisbane visiting
Page 55 text
I didn’t think much about it at the time, so I was surprised when someone who attended the celebration asked me to make a cake for her daughter’s birthday. And when the same person came back a few weeks later to ask So, I started to do my research and test recipes to get the best product possible. I started posting my creations on my Instagram and word of mouth spread. Week by week I started to get more and more clients. When I got a new client who wasn’t in my network and who had just found me on Instagram, I realised that cake design could IThat same day, I drove around Brisbane visiting
Page 56 text
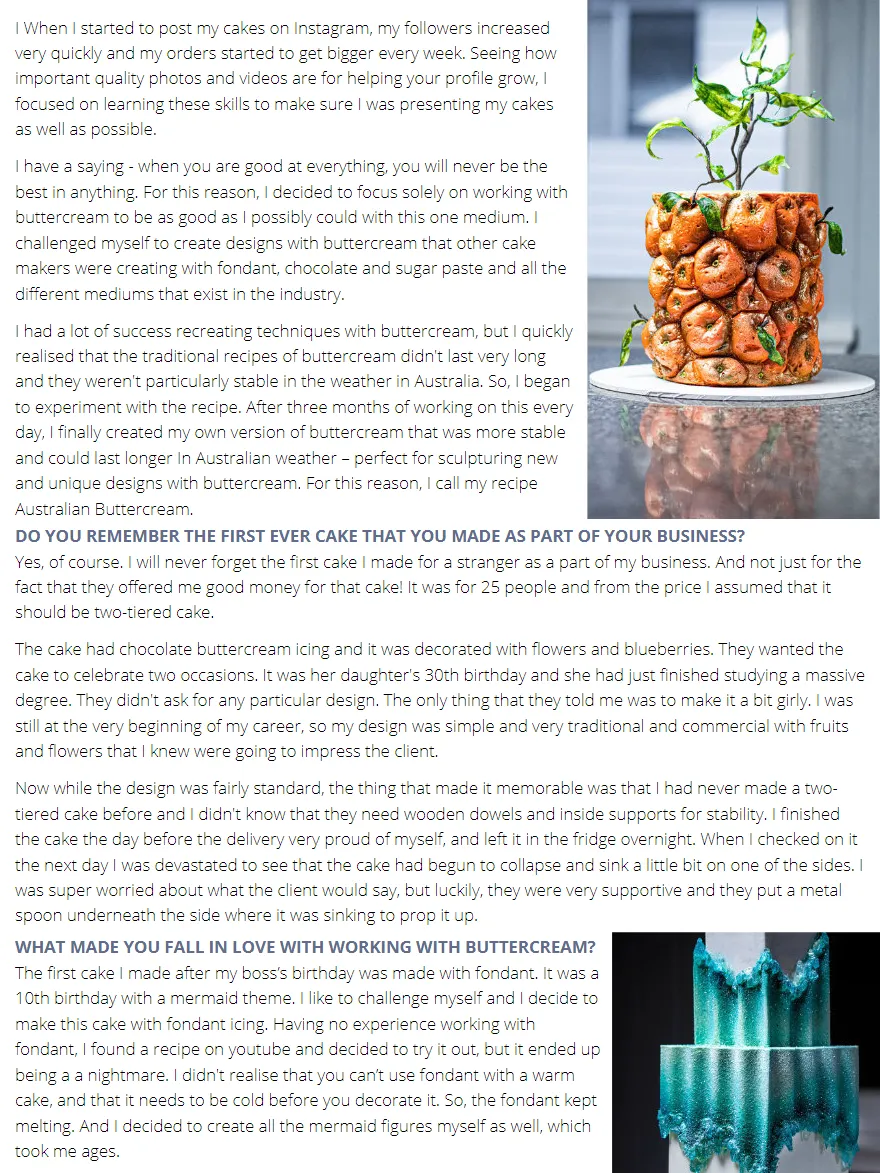
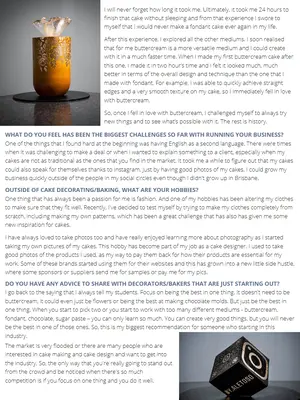
I When I started to post my cakes on Instagram, my followers increased very quickly and my orders started to get bigger every week. Seeing how important quality photos and videos are for helping your profile grow, I focused on learning these skills to make sure I was presenting my cakes as well as possible. I have a saying - when you are good at everything, you will never be the best in anything. For this reason, I decided to focus solely on working with buttercream to be as good as I possibly could with this one medium. I challenged myself to create designs with buttercream that other cake makers were creating with fondant, chocolate and sugar paste and all the different mediums that exist in the industry. I had a lot of success recreating techniques with buttercream, but I quickly realised that the traditional recipes of buttercream didn't last very long and they weren't particularly stable in the weather in Australia. So, I began to experiment with the recipe. After three months of working on this every day, I finally created my own version of buttercream that was more stable and could last longer In Australian weather – perfect for sculpturing new and unique designs with buttercream. For this reason, I call my recipe Australian Buttercream. DO YOU REMEMBER THE FIRST EVER CAKE THAT YOU MADE AS PART OF YOUR BUSINESS? Yes, of course. I will never forget the first cake I made for a stranger as a part of my business. And not just for the fact that they offered me good money for that cake! It was for 25 people and from the price I assumed that it should be two-tiered cake. The cake had chocolate buttercream icing and it was decorated with flowers and blueberries. They wanted the cake to celebrate two occasions. It was her daughter's 30th birthday and she had just finished studying a massive degree. They didn't ask for any particular design. The only thing that they told me was to make it a bit girly. I was still at the very beginning of my career, so my design was simple and very traditional and commercial with fruits and flowers that I knew were going to impress the client. Now while the design was fairly standard, the thing that made it memorable was that I had never made a two- tiered cake before and I didn't know that they need wooden dowels and inside supports for stability. I finished the cake the day before the delivery very proud of myself, and left it in the fridge overnight. When I checked on it the next day I was devastated to see that the cake had begun to collapse and sink a little bit on one of the sides. I was super worried about what the client would say, but luckily, they were very supportive and they put a metal spoon underneath the side where it was sinking to prop it up. WHAT MADE YOU FALL IN LOVE WITH WORKING WITH BUTTERCREAM? The first cake I made after my boss’s birthday was made with fondant. It was a 10th birthday with a mermaid theme. I like to challenge myself and I decide to make this cake with fondant icing. Having no experience working with fondant, I found a recipe on youtube and decided to try it out, but it ended up being a a nightmare. I didn't realise that you can’t use fondant with a warm cake, and that it needs to be cold before you decorate it. So, the fondant kept melting. And I decided to create all the mermaid figures myself as well, which took me ages.
Page 57 text
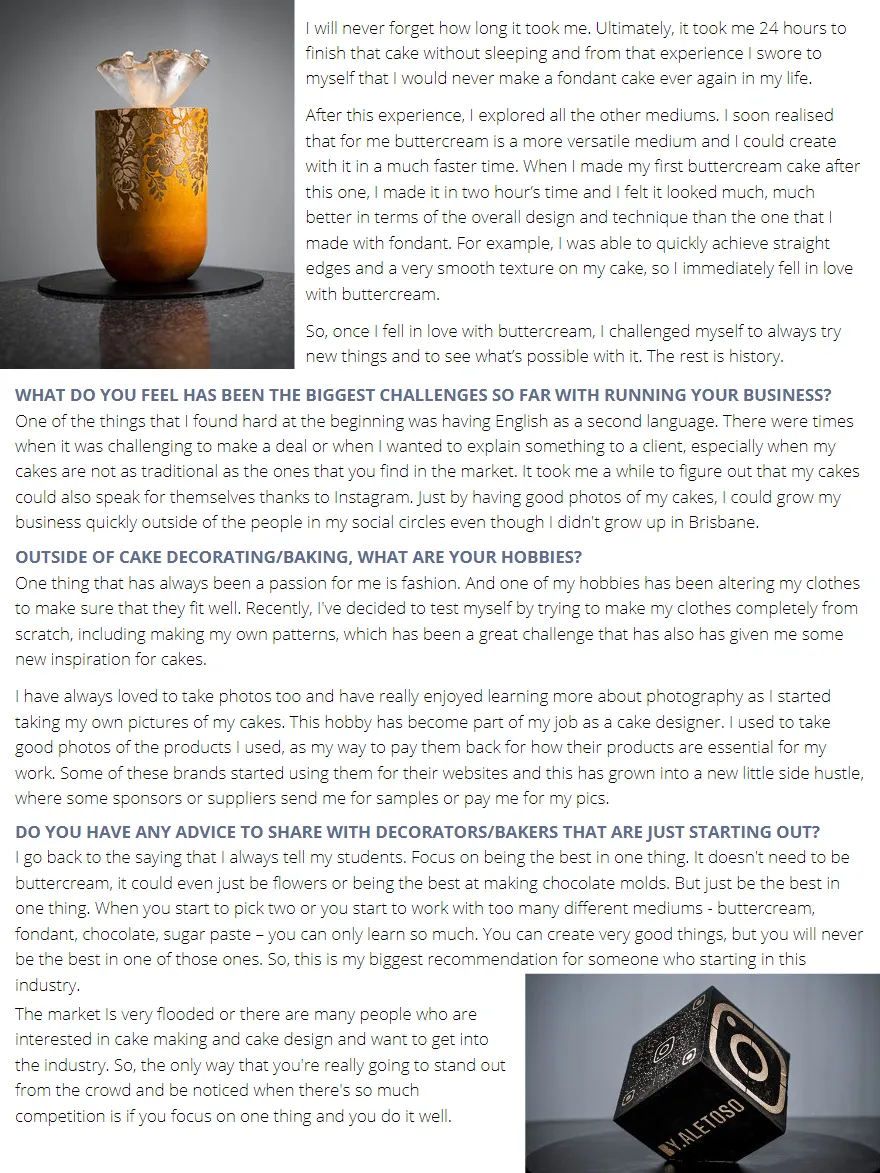
I will never forget how long it took me. Ultimately, it took me 24 hours to finish that cake without sleeping and from that experience I swore to myself that I would never make a fondant cake ever again in my life. After this experience, I explored all the other mediums. I soon realised that for me buttercream is a more versatile medium and I could create with it in a much faster time. When I made my first buttercream cake after this one, I made it in two hour’s time and I felt it looked much, much better in terms of the overall design and technique than the one that I made with fondant. For example, I was able to quickly achieve straight edges and a very smooth texture on my cake, so I immediately fell in love with buttercream. So, once I fell in love with buttercream, I challenged myself to always try new things and to see what’s possible with it. The rest is history. WHAT DO YOU FEEL HAS BEEN THE BIGGEST CHALLENGES SO FAR WITH RUNNING YOUR BUSINESS? One of the things that I found hard at the beginning was having English as a second language. There were times when it was challenging to make a deal or when I wanted to explain something to a client, especially when my cakes are not as traditional as the ones that you find in the market. It took me a while to figure out that my cakes could also speak for themselves thanks to Instagram. Just by having good photos of my cakes, I could grow my business quickly outside of the people in my social circles even though I didn't grow up in Brisbane. OUTSIDE OF CAKE DECORATING/BAKING, WHAT ARE YOUR HOBBIES? One thing that has always been a passion for me is fashion. And one of my hobbies has been altering my clothes to make sure that they fit well. Recently, I've decided to test myself by trying to make my clothes completely from scratch, including making my own patterns, which has been a great challenge that has also has given me some new inspiration for cakes. I have always loved to take photos too and have really enjoyed learning more about photography as I started taking my own pictures of my cakes. This hobby has become part of my job as a cake designer. I used to take good photos of the products I used, as my way to pay them back for how their products are essential for my work. Some of these brands started using them for their websites and this has grown into a new little side hustle, where some sponsors or suppliers send me for samples or pay me for my pics. DO YOU HAVE ANY ADVICE TO SHARE WITH DECORATORS/BAKERS THAT ARE JUST STARTING OUT? I go back to the saying that I always tell my students. Focus on being the best in one thing. It doesn't need to be buttercream, it could even just be flowers or being the best at making chocolate molds. But just be the best in one thing. When you start to pick two or you start to work with too many different mediums - buttercream, fondant, chocolate, sugar paste – you can only learn so much. You can create very good things, but you will never be the best in one of those ones. So, this is my biggest recommendation for someone who starting in this industry. The market Is very flooded or there are many people who are interested in cake making and cake design and want to get into the industry. So, the only way that you're really going to stand out from the crowd and be noticed when there's so much competition is if you focus on one thing and you do it well.
Page 58 text
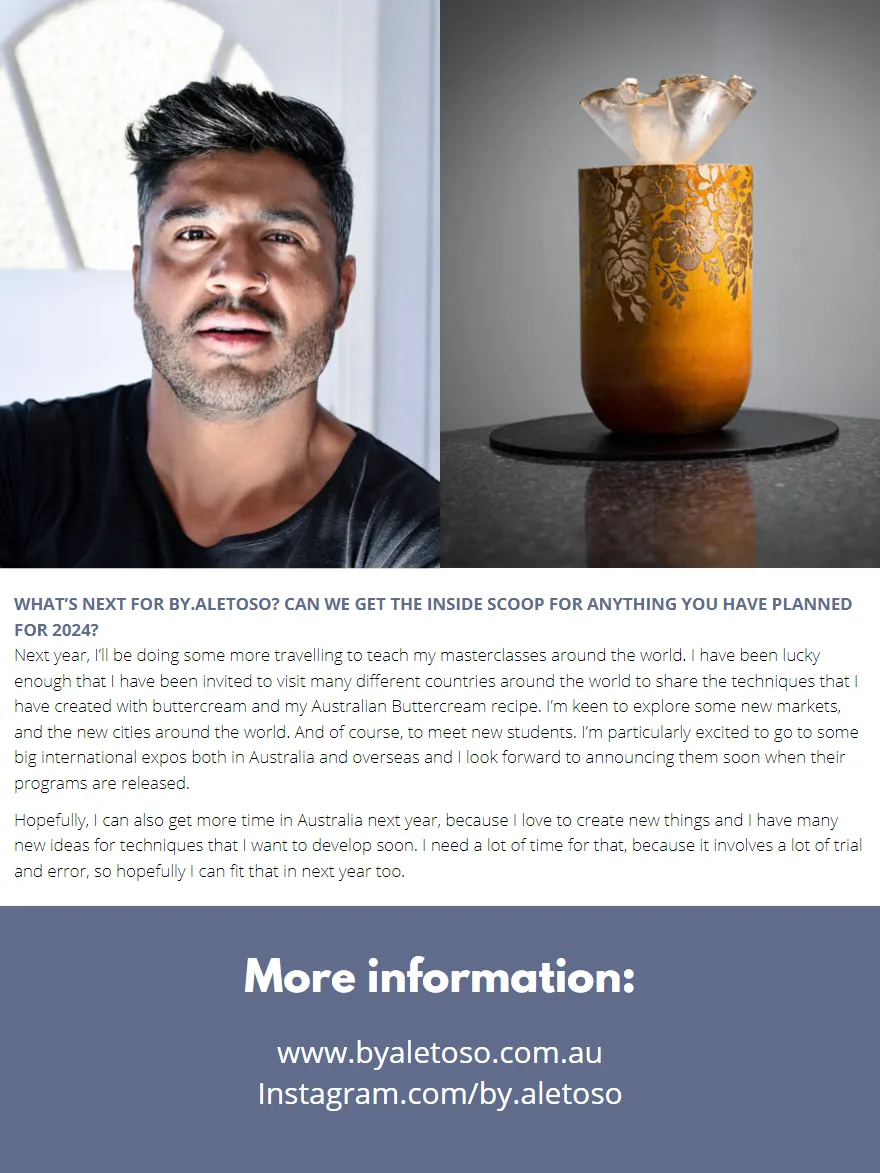
WHAT’S NEXT FOR BY.ALETOSO? CAN WE GET THE INSIDE SCOOP FOR ANYTHING YOU HAVE PLANNED FOR 2024? Next year, I’ll be doing some more travelling to teach my masterclasses around the world. I have been lucky enough that I have been invited to visit many different countries around the world to share the techniques that I have created with buttercream and my Australian Buttercream recipe. I’m keen to explore some new markets, and the new cities around the world. And of course, to meet new students. I’m particularly excited to go to some big international expos both in Australia and overseas and I look forward to announcing them soon when their
Page 59 text
WHAT’S NEXT FOR BY.ALETOSO? CAN WE GET THE INSIDE SCOOP FOR ANYTHING YOU HAVE PLANNED Next year, I’ll be doing some more travelling to teach my masterclasses around the world. I have been lucky enough that I have been invited to visit many different countries around the world to share the techniques that I have created with buttercream and my Australian Buttercream recipe. I’m keen to explore some new markets, and the new cities around the world. And of course, to meet new students. I’m particularly excited to go to some big international expos both in Australia and overseas and I look forward to announcing them soon when their
Page 60 text
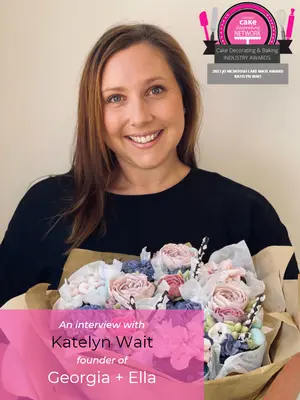
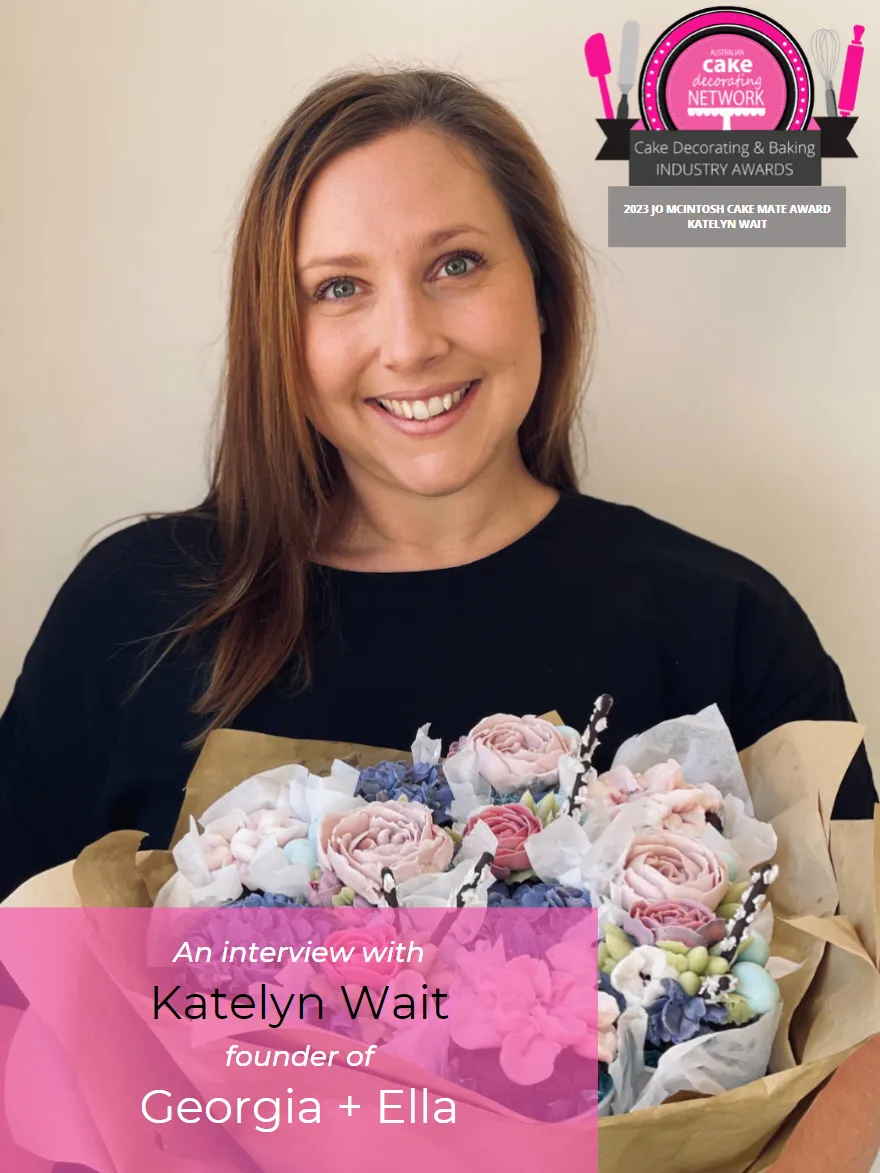
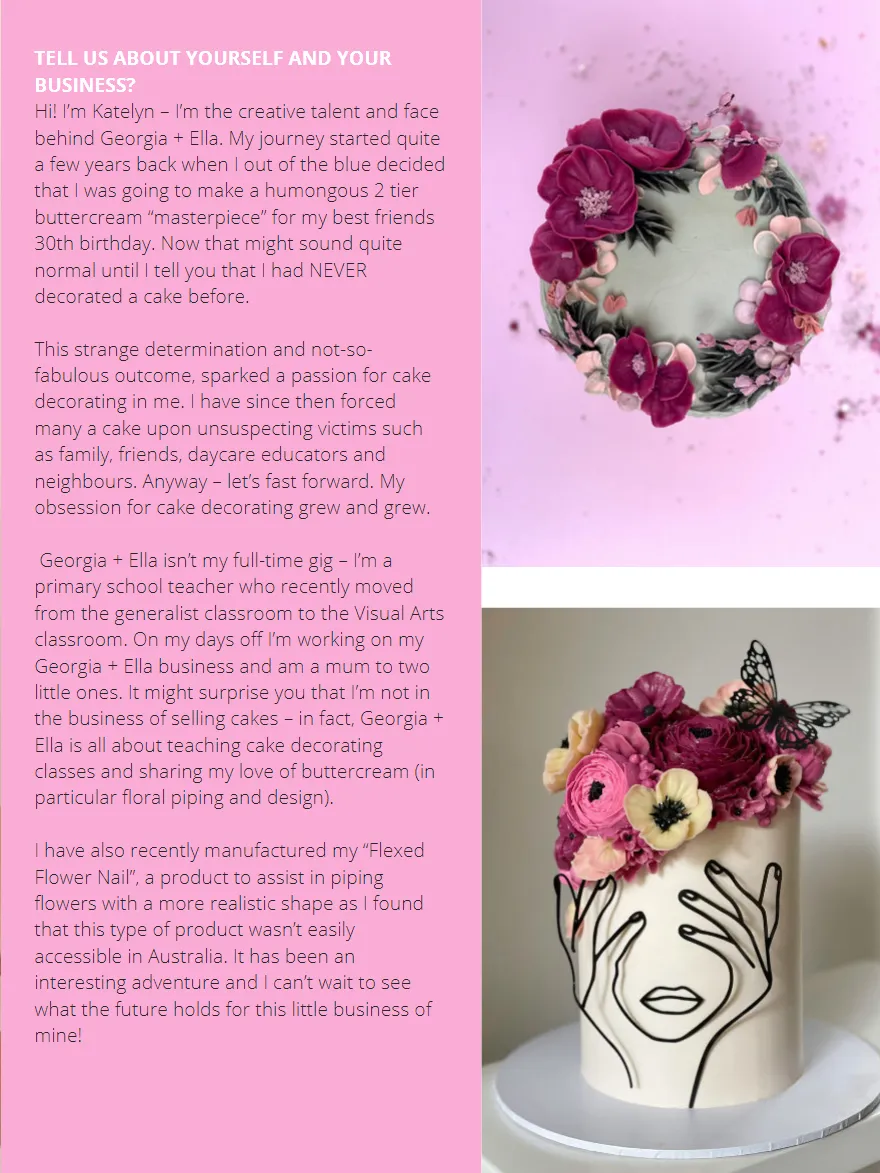
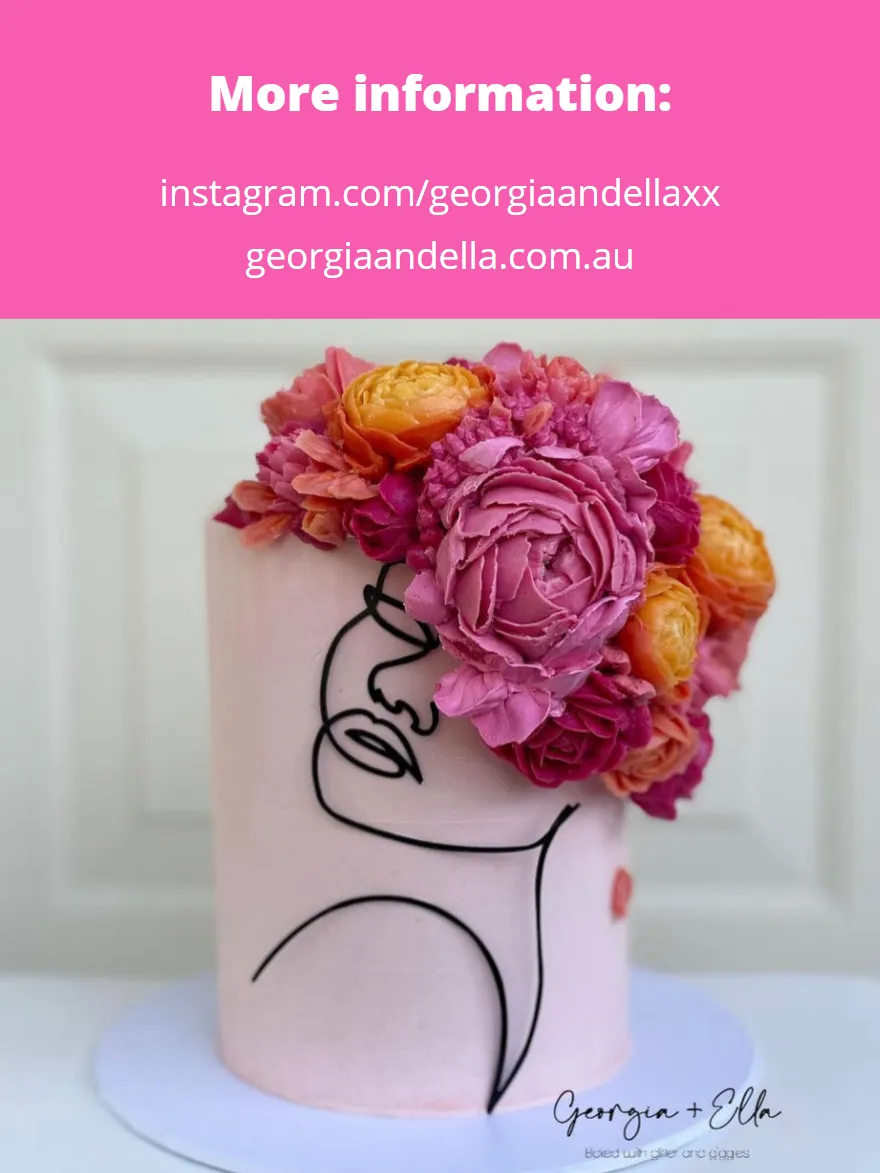
TELL US ABOUT YOURSELF AND YOUR BUSINESS? Hi! I’m Katelyn – I’m the creative talent and face behind Georgia + Ella. My journey started quite a few years back when I out of the blue decided that I was going to make a humongous 2 tier buttercream “masterpiece” for my best friends 30th birthday. Now that might sound quite normal until I tell you that I had NEVER decorated a cake before. This strange determination and not-so- fabulous outcome, sparked a passion for cake decorating in me. I have since then forced many a cake upon unsuspecting victims such as family, friends, daycare educators and neighbours. Anyway – let’s fast forward. My obsession for cake decorating grew and grew. Georgia + Ella isn’t my full-time gig – I’m a primary school teacher who recently moved from the generalist classroom to the Visual Arts classroom. On my days off I’m working on my Georgia + Ella business and am a mum to two little ones. It might surprise you that I’m not in the business of selling cakes – in fact, Georgia + Ella is all about teaching cake decorating
Page 61 text
2023 JO MCINTOSH CAKE MATE AWARD
Page 62 text
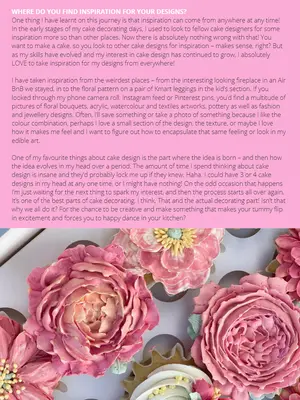
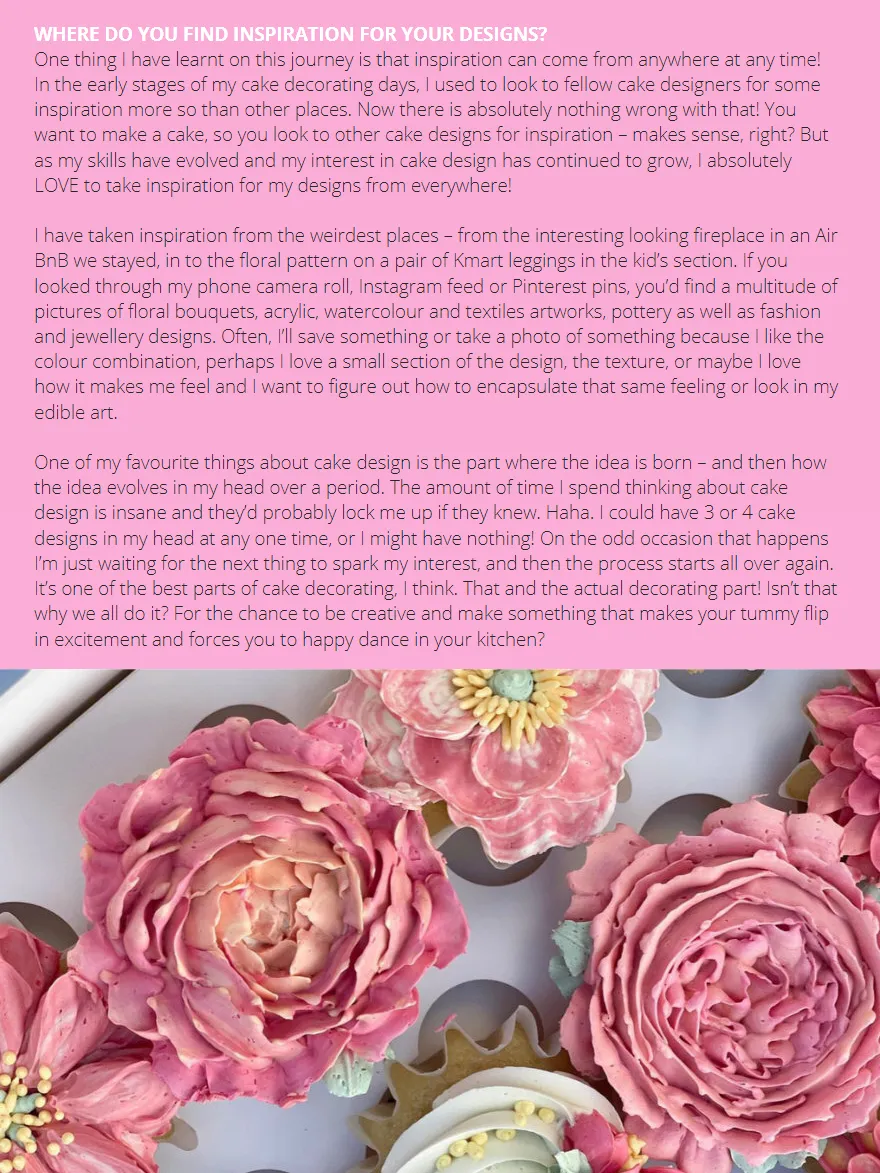
WHERE DO YOU FIND INSPIRATION FOR YOUR DESIGNS? One thing I have learnt on this journey is that inspiration can come from anywhere at any time! In the early stages of my cake decorating days, I used to look to fellow cake designers for some inspiration more so than other places. Now there is absolutely nothing wrong with that! You want to make a cake, so you look to other cake designs for inspiration – makes sense, right? But as my skills have evolved and my interest in cake design has continued to grow, I absolutely LOVE to take inspiration for my designs from everywhere! I have taken inspiration from the weirdest places – from the interesting looking fireplace in an Air BnB we stayed, in to the floral pattern on a pair of Kmart leggings in the kid’s section. If you looked through my phone camera roll, Instagram feed or Pinterest pins, you’d find a multitude of pictures of floral bouquets, acrylic, watercolour and textiles artworks, pottery as well as fashion and jewellery designs. Often, I’ll save something or take a photo of something because I like the colour combination, perhaps I love a small section of the design, the texture, or maybe I love how it makes me feel and I want to figure out how to encapsulate that same feeling or look in my edible art. One of my favourite things about cake design is the part where the idea is born – and then how the idea evolves in my head over a period. The amount of time I spend thinking about cake design is insane and they’d probably lock me up if they knew. Haha. I could have 3 or 4 cake designs in my head at any one time, or I might have nothing! On the odd occasion that happens I’m just waiting for the next thing to spark my interest, and then the process starts all over again. It’s one of the best parts of cake decorating, I think. That and the actual decorating part! Isn’t that why we all do it? For the chance to be creative and make something that makes your tummy flip in excitement and forces you to happy dance in your kitchen?
Page 63 text
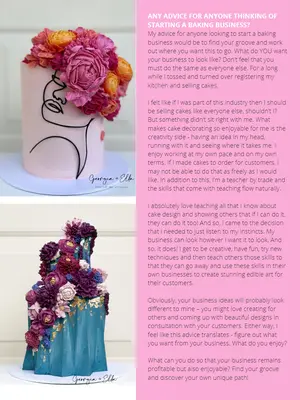
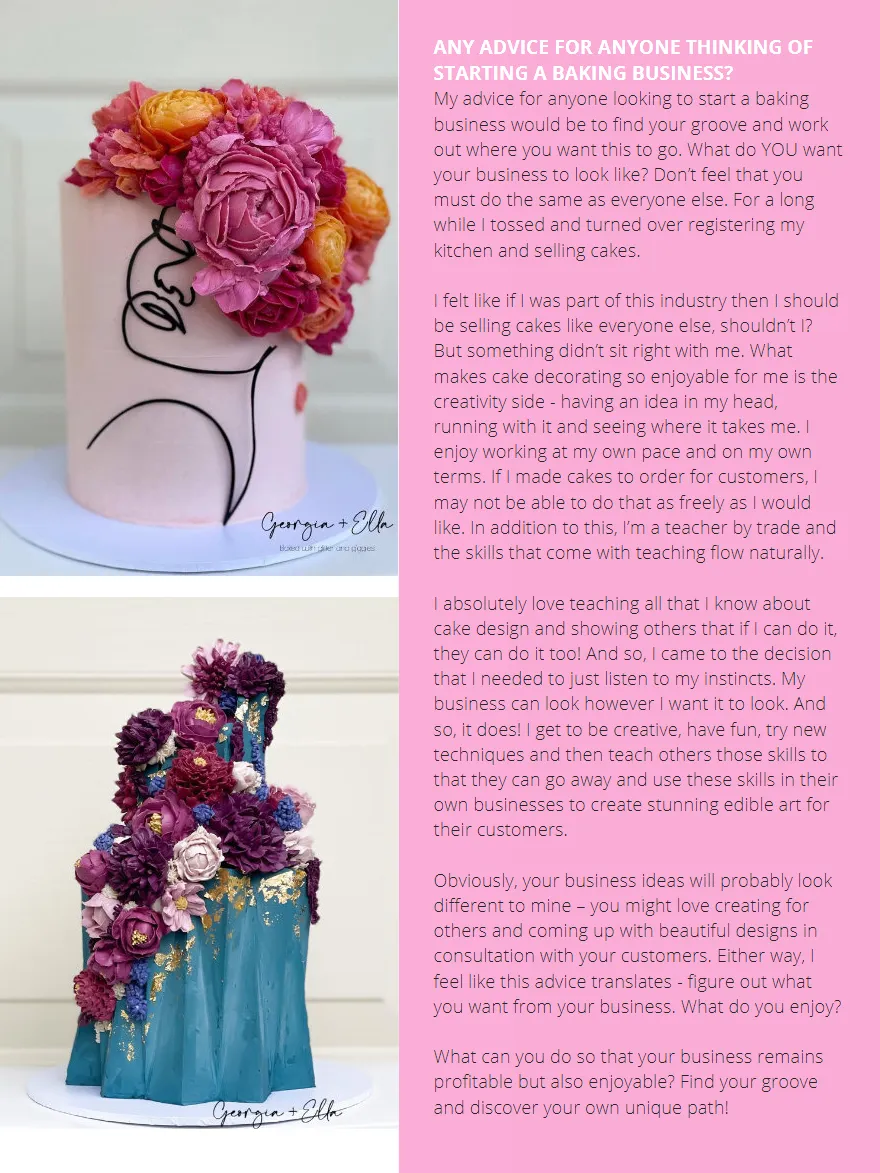
ANY ADVICE FOR ANYONE THINKING OF STARTING A BAKING BUSINESS? My advice for anyone looking to start a baking business would be to find your groove and work out where you want this to go. What do YOU want your business to look like? Don’t feel that you must do the same as everyone else. For a long while I tossed and turned over registering my kitchen and selling cakes. I felt like if I was part of this industry then I should be selling cakes like everyone else, shouldn’t I? But something didn’t sit right with me. What makes cake decorating so enjoyable for me is the creativity side - having an idea in my head, running with it and seeing where it takes me. I enjoy working at my own pace and on my own terms. If I made cakes to order for customers, I may not be able to do that as freely as I would like. In addition to this, I’m a teacher by trade and the skills that come with teaching flow naturally. I absolutely love teaching all that I know about cake design and showing others that if I can do it, they can do it too! And so, I came to the decision that I needed to just listen to my instincts. My business can look however I want it to look. And so, it does! I get to be creative, have fun, try new techniques and then teach others those skills to that they can go away and use these skills in their own businesses to create stunning edible art for their customers. Obviously, your business ideas will probably look different to mine – you might love creating for others and coming up with beautiful designs in consultation with your customers. Either way, I feel like this advice translates - figure out what you want from your business. What do you enjoy? What can you do so that your business remains profitable but also enjoyable? Find your groove and discover your own unique path!
Page 64 text
More information: instagram.com/georgiaandellaxx georgiaandella.com.au
Page 66 text
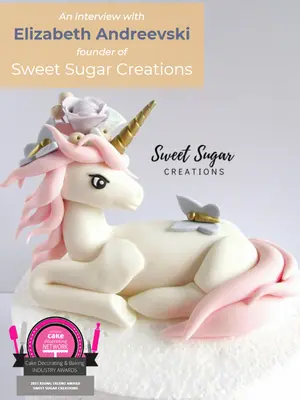
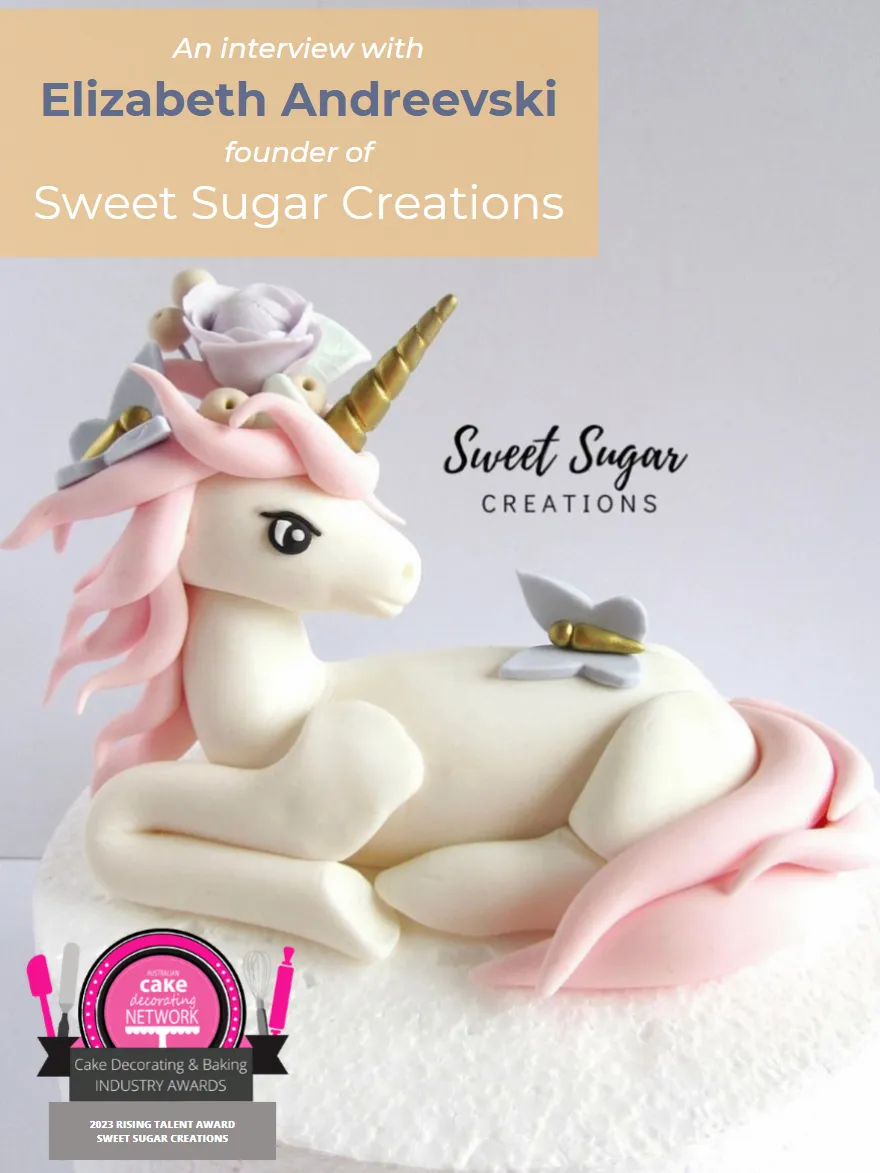
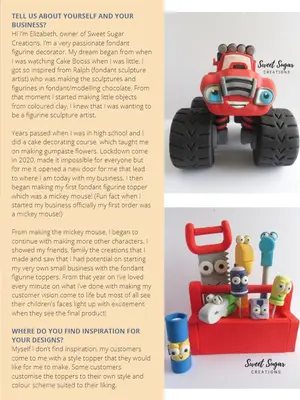
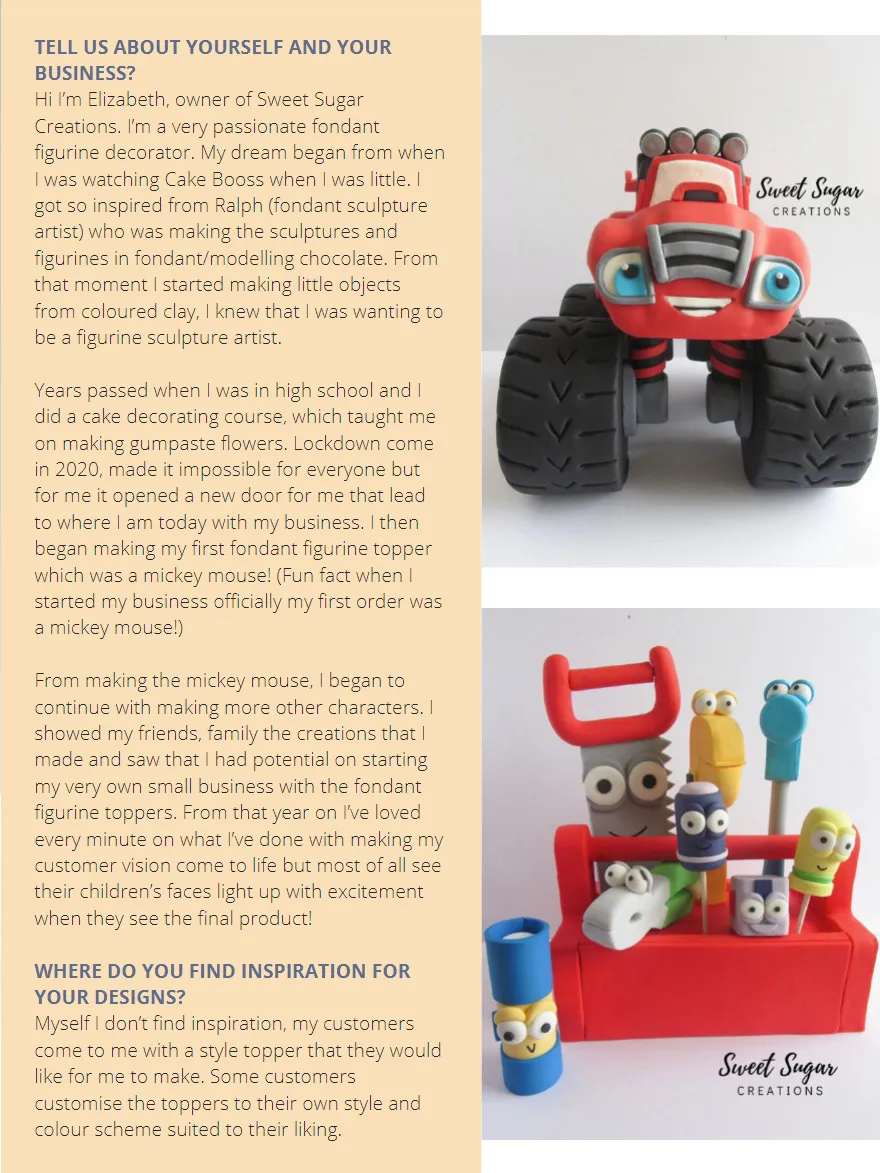
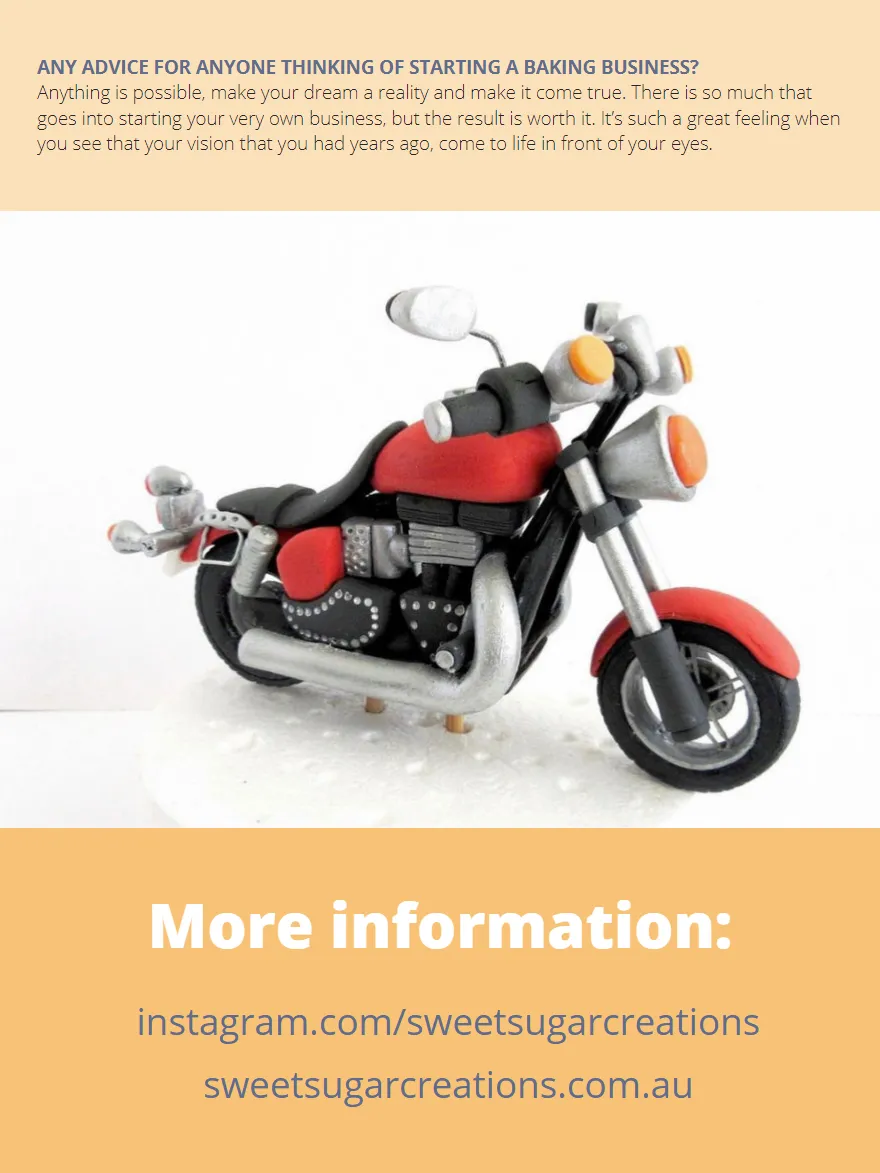
TELL US ABOUT YOURSELF AND YOUR An interview with Elizabeth Andreevski Hi I’m Elizabeth, owner of Sweet Sugar figurine decorator. My dream began from when founder of I was watching Cake Booss when I was little. I Sweet Sugar Creations got so inspired from Ralph (fondant sculpture artist) who was making the sculptures and figurines in fondant/modelling chocolate. From that moment I started making little objects from coloured clay, I knew that I was wanting to be a figurine sculpture artist. Years passed when I was in high school and I did a cake decorating course, which taught me on making gumpaste flowers. Lockdown come in 2020, made it impossible for everyone but for me it opened a new door for me that lead to where I am today with my business. I then began making my first fondant figurine topper which was a mickey mouse! (Fun fact when I started my business officially my first order was a mickey mouse!) From making the mickey mouse, I began to continue with making more other characters. I showed my friends, family the creations that I made and saw that I had potential on starting
Page 67 text
TELL US ABOUT YOURSELF AND YOUR BUSINESS ? Hi I ’ m Elizabeth , owner of Sweet Sugar Creations . I ’ m a very passionate fondant figurine decorator . My dream began from when I was watching Cake Booss when I was little . I got so inspired from Ralph ( fondant sculpture artist ) who was making the sculptures and figurines in fondant / modelling chocolate . From that moment I started making little objects from coloured clay , I knew that I was wanting to be a figurine sculpture artist . Years passed when I was in high school and I did a cake decorating course , which taught me on making gumpaste flowers . Lockdown come in 2020 , made it impossible for everyone but for me it opened a new door for me that lead to where I am today with my business . I then began making my first fondant figurine topper which was a mickey mouse ! ( Fun fact when I started my business officially my first order was a mickey mouse !) From making the mickey mouse , I began to continue with making more other characters . I showed my friends , family the creations that I made and saw that I had potential on starting my very own small business with the fondant figurine toppers . From that year on I ’ ve loved every minute on what I ’ ve done with making my customer vision come to life but most of all see their children ’ s faces light up with excitement when they see the final product ! WHERE DO YOU FIND INSPIRATION FOR YOUR DESIGNS ? Myself I don ’ t find inspiration , my customers come to me with a style topper that they would like for me to make . Some customers customise the toppers to their own style and colour scheme suited to their liking .
Page 68 text
goes into starting your very own business, but the result is worth it. It’s such a great feeling when you see that your vision that you had years ago, come to life in front of your eyes.
Page 69 text
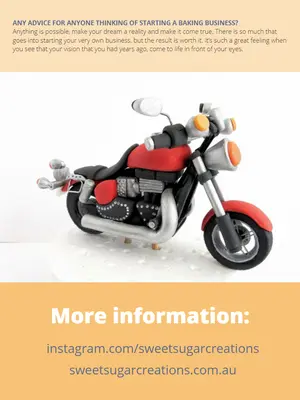
ANY ADVICE FOR ANYONE THINKING OF STARTING A BAKING BUSINESS? Anything is possible, make your dream a reality and make it come true. There is so much that goes into starting your very own business, but the result is worth it. It’s such a great feeling when you see that your vision that you had years ago, come to life in front of your eyes.

Page 72 text
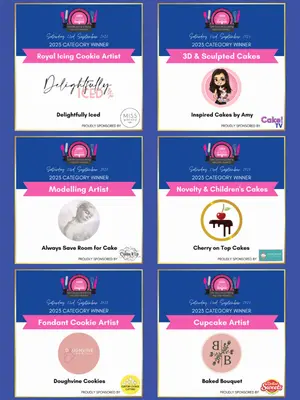
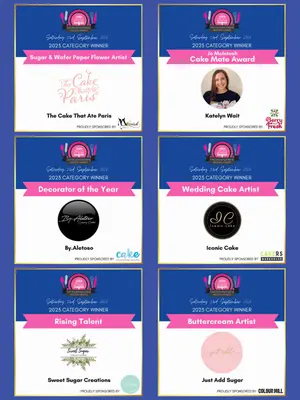
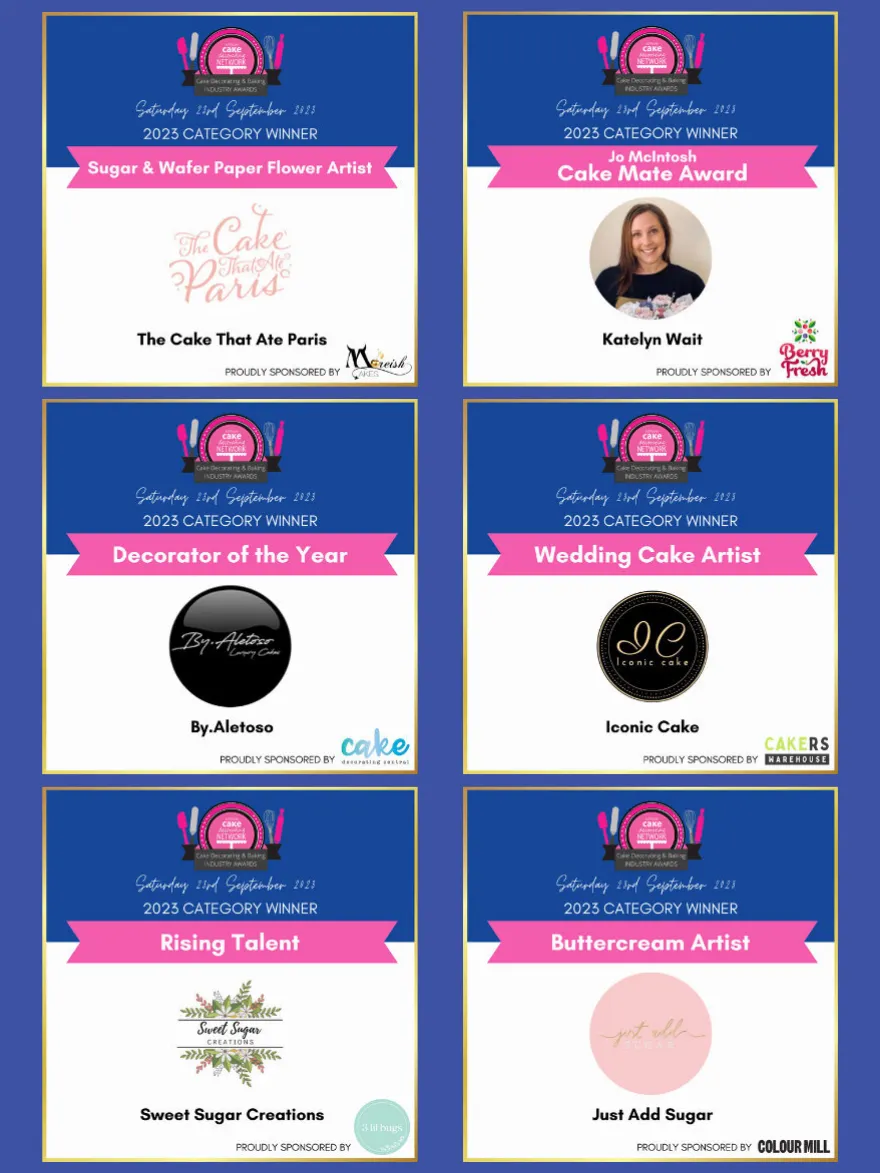
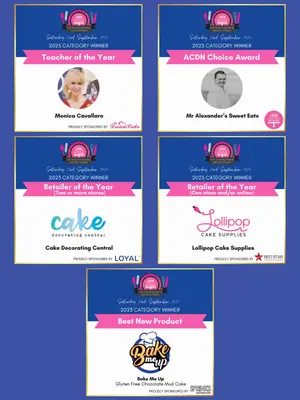
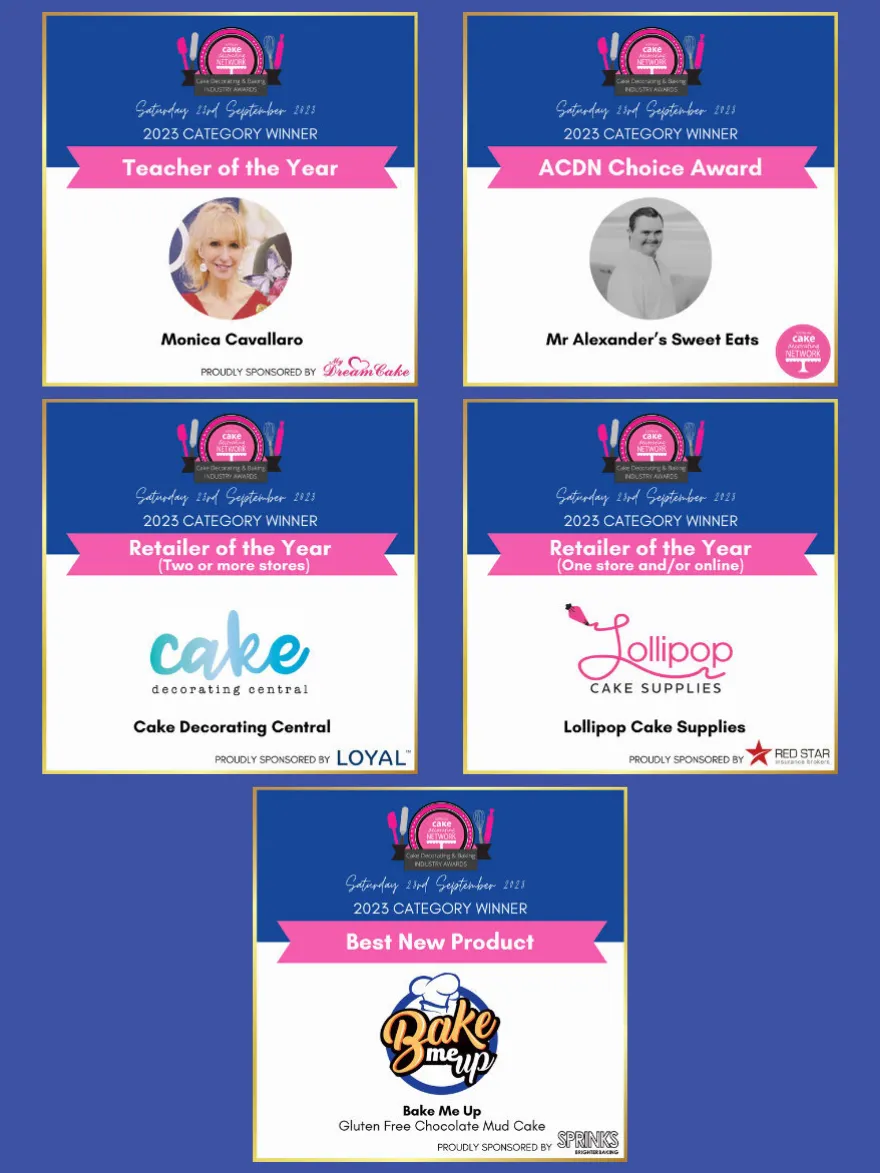
Now live! Cake! Cake! TV AND THE WINNERS ARE... PREMIUM TUTORIALS FROM DECORATORS AROUND THE WORLD
Page 73 text
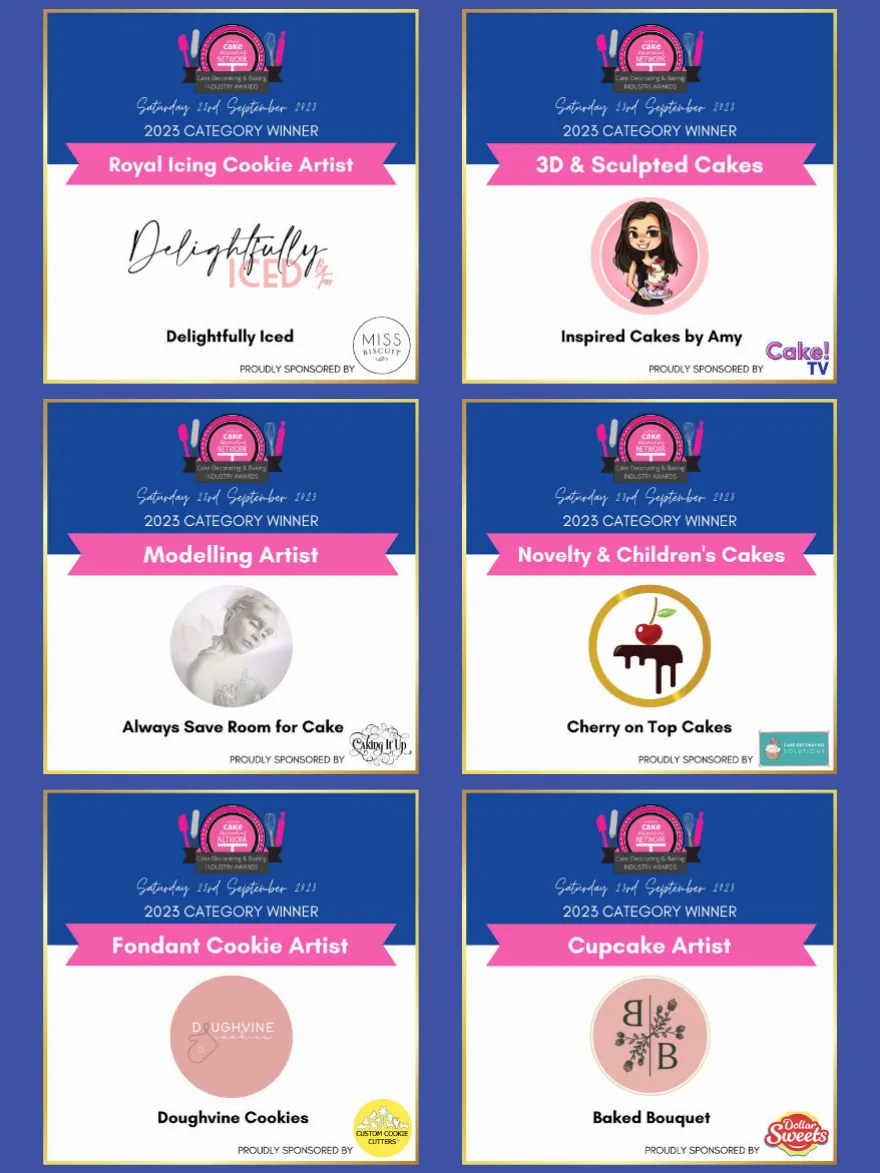
Cake! Cake! TV AND THE WINNERS ARE... PREMIUM TUTORIALS FROM DECORATORS AROUND THE WORLD
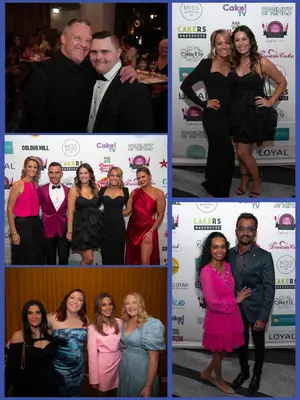
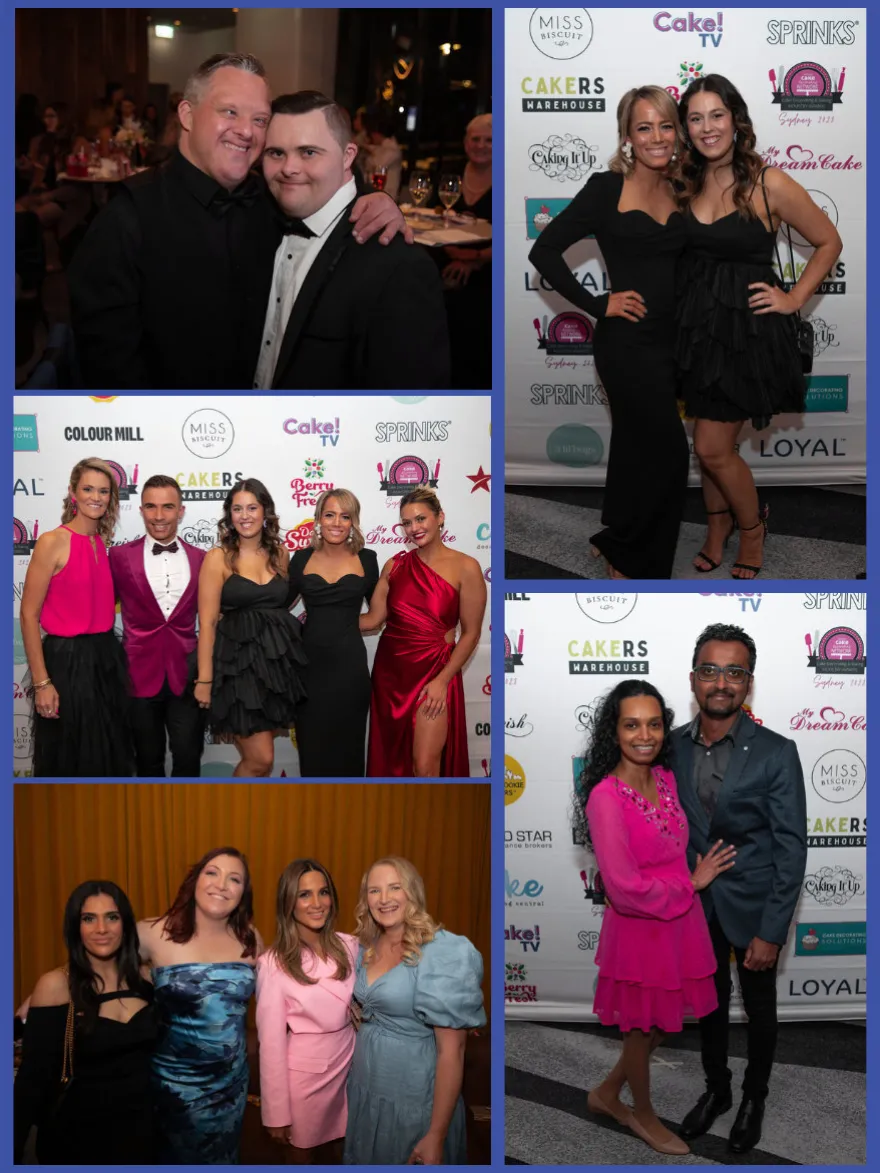
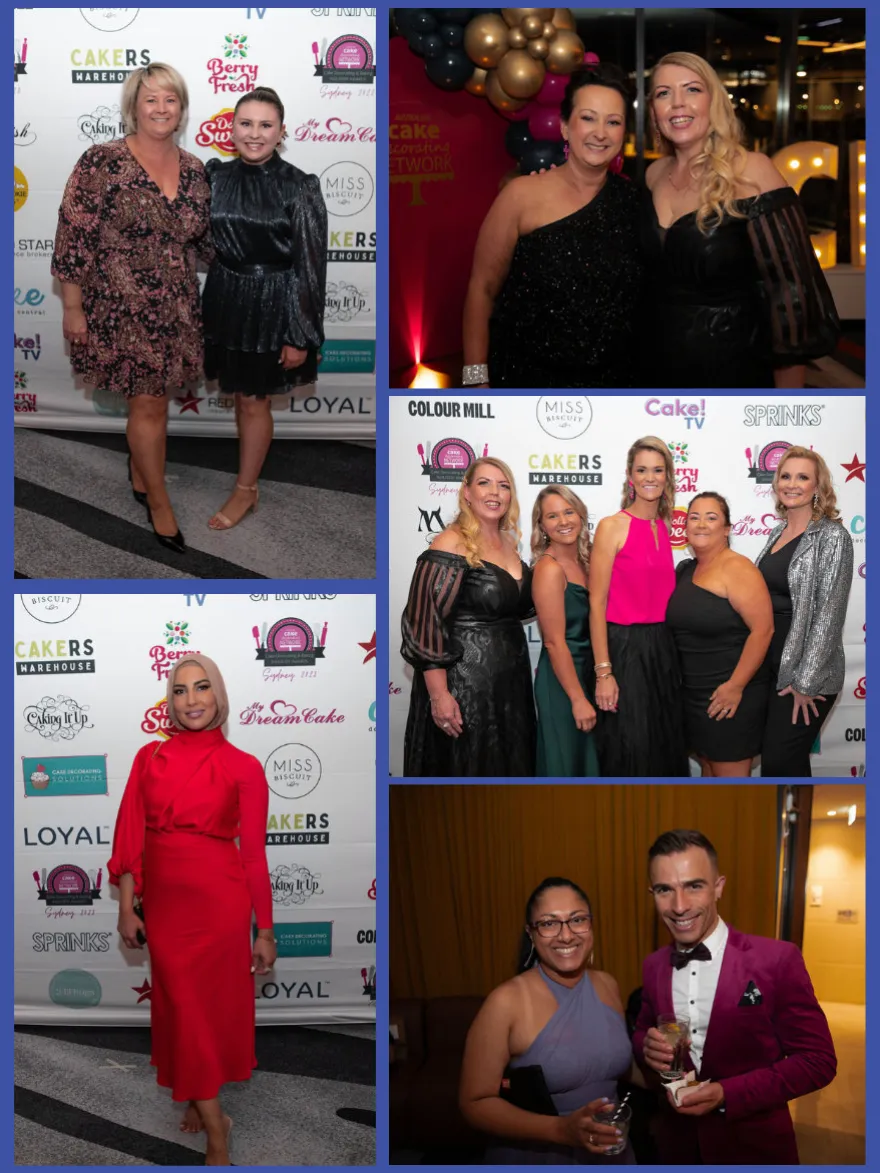
Page 78 text
Saturday 23rd September 2023 THANKYOU! THANK YOU TO OUR SPONSORS FOR SUPPORTING OUR 2023 AWARDS NIGHT
Page 79 text
Saturday 23rd September 2023 THANK YOU TO OUR SPONSORS FOR SUPPORTING OUR 2023 AWARDS NIGHT


Page 80 text
$199
Page 82 text
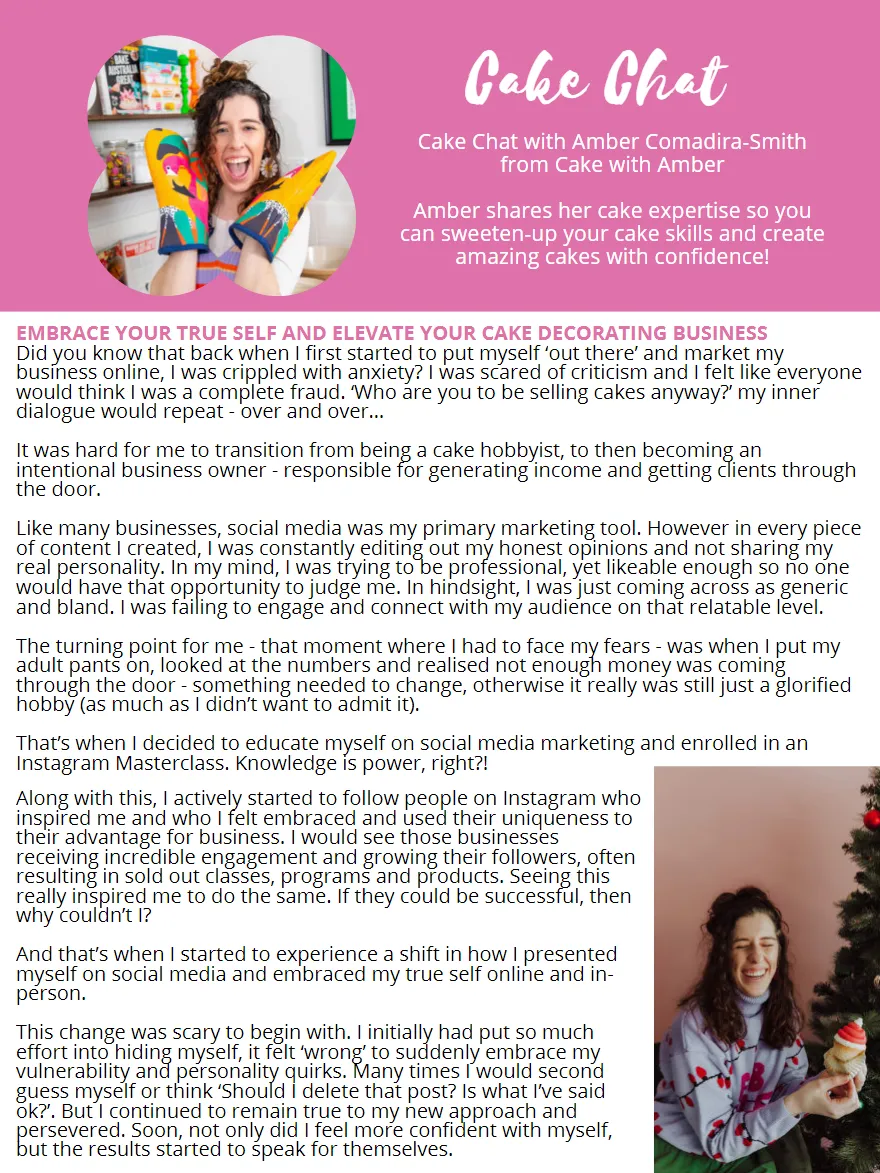
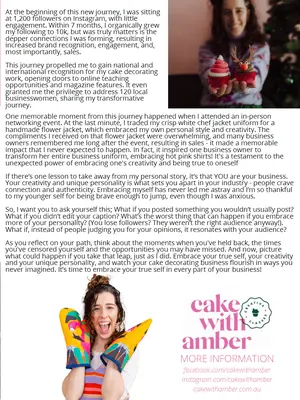
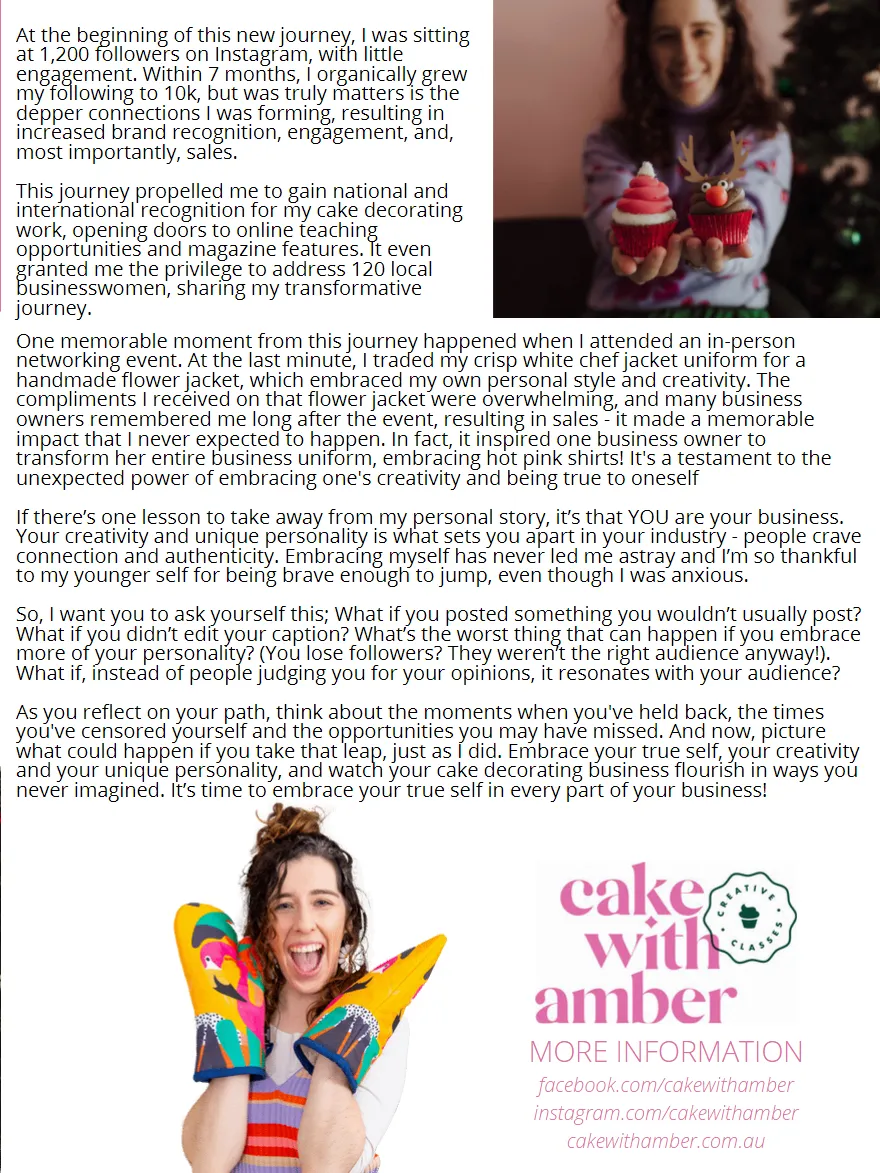
At the beginning of this new journey, I was sitting at 1,200 followers on Instagram, with little Cake Chat engagement. Within 7 months, I organically grew my following to 10k, but was truly matters is the depper connections I was forming, resulting in increased brand recognition, engagement, and, most importantly, sales. from Cake with Amber This journey propelled me to gain national and international recognition for my cake decorating Amber shares her cake expertise so you granted me the privilege to address 120 local businesswomen, sharing my transformative EMBRACE YOUR TRUE SELF AND ELEVATE YOUR CAKE DECORATING BUSINESS compliments I received on that flower jacket were overwhelming, and many business dialogue would repeat - over and over… transform her entire business uniform, embracing hot pink shirts! It's a testament to the It was hard for me to transition from being a cake hobbyist, to then becoming an unexpected power of embracing one's creativity and being true to oneself intentional business owner - responsible for generating income and getting clients through If there’s one lesson to take away from my personal story, it’s that YOU are your business. Your creativity and unique personality is what sets you apart in your industry - people crave Like many businesses, social media was my primary marketing tool. However in every piece connection and authenticity. Embracing myself has never led me astray and I’m so thankful of content I created, I was constantly editing out my honest opinions and not sharing my real personality. In my mind, I was trying to be professional, yet likeable enough so no one would have that opportunity to judge me. In hindsight, I was just coming across as generic So, I want you to ask yourself this; What if you posted something you wouldn’t usually post? and bland. I was failing to engage and connect with my audience on that relatable level. What if you didn’t edit your caption? What’s the worst thing that can happen if you embrace more of your personality? (You lose followers? They weren’t the right audience anyway!). The turning point for me - that moment where I had to face my fears - was when I put my What if, instead of people judging you for your opinions, it resonates with your audience? adult pants on, looked at the numbers and realised not enough money was coming through the door - something needed to change, otherwise it really was still just a glorified As you reflect on your path, think about the moments when you've held back, the times you've censored yourself and the opportunities you may have missed. And now, picture what could happen if you take that leap, just as I did. Embrace your true self, your creativity That’s when I decided to educate myself on social media marketing and enrolled in an Instagram Masterclass. Knowledge is power, right?!
Page 83 text
Amber shares her cake expertise so you handmade flower jacket, which embraced my own personal style and creativity. The would think I was a complete fraud. ‘Who are you to be selling cakes anyway?’ my inner transform her entire business uniform, embracing hot pink shirts! It's a testament to the It was hard for me to transition from being a cake hobbyist, to then becoming an Your creativity and unique personality is what sets you apart in your industry - people crave Like many businesses, social media was my primary marketing tool. However in every piece connection and authenticity. Embracing myself has never led me astray and I’m so thankful of content I created, I was constantly editing out my honest opinions and not sharing my to my younger self for being brave enough to jump, even though I was anxious. real personality. In my mind, I was trying to be professional, yet likeable enough so no one would have that opportunity to judge me. In hindsight, I was just coming across as generic So, I want you to ask yourself this; What if you posted something you wouldn’t usually post? and bland. I was failing to engage and connect with my audience on that relatable level. What if you didn’t edit your caption? What’s the worst thing that can happen if you embrace more of your personality? (You lose followers? They weren’t the right audience anyway!). The turning point for me - that moment where I had to face my fears - was when I put my What if, instead of people judging you for your opinions, it resonates with your audience? adult pants on, looked at the numbers and realised not enough money was coming through the door - something needed to change, otherwise it really was still just a glorified As you reflect on your path, think about the moments when you've held back, the times you've censored yourself and the opportunities you may have missed. And now, picture what could happen if you take that leap, just as I did. Embrace your true self, your creativity That’s when I decided to educate myself on social media marketing and enrolled in an
Page 84 text
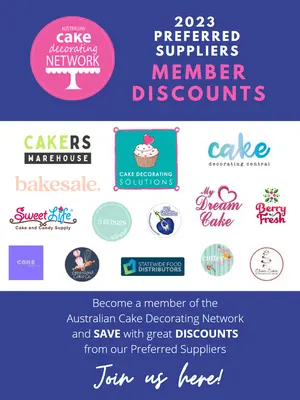
2023 PREFERRED SUPPLIERS MEMBER DISCOUNTS
Page 85 text
2023 PREFERRED SUPPLIERS MEMBER DISCOUNTS

Page 92 text
2023 PREFERRED SUPPLIERS MEMBER DISCOUNTS
Page 93 text
2023 PREFERRED SUPPLIERS MEMBER DISCOUNTS
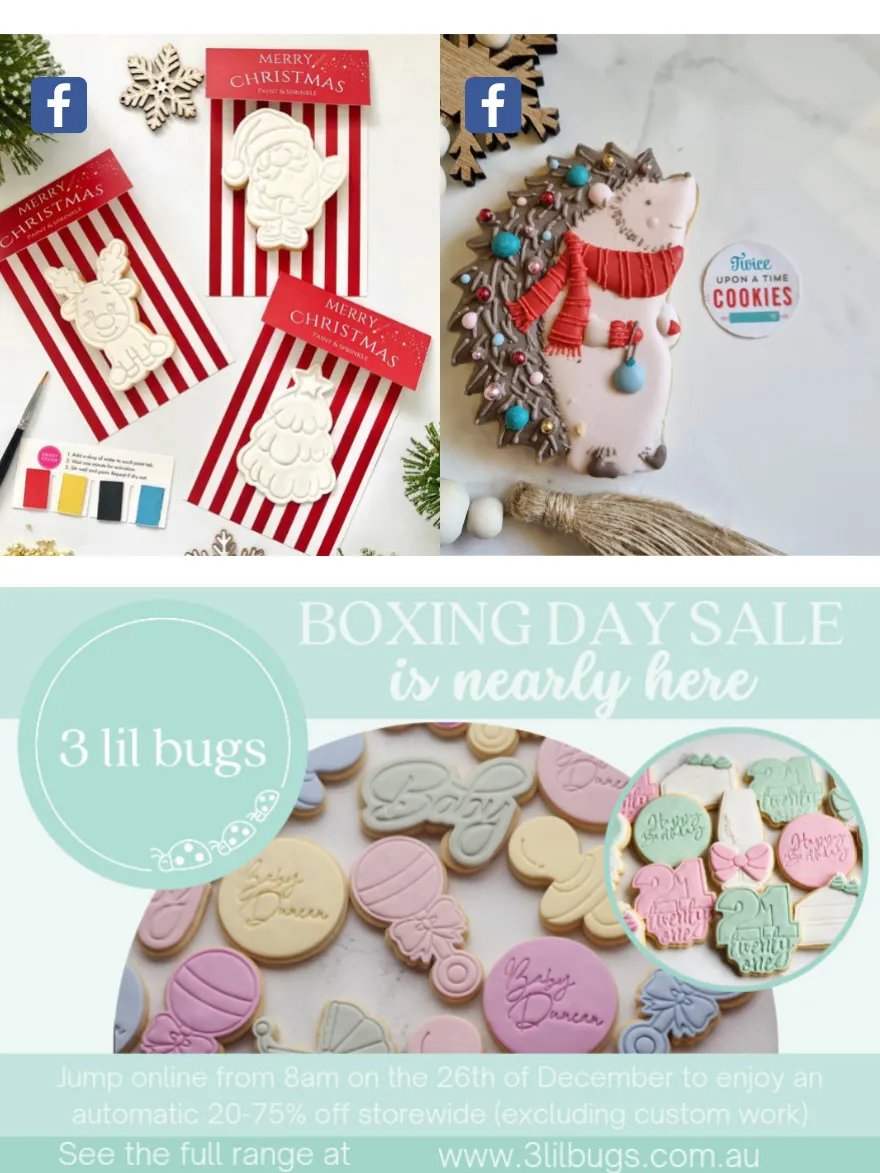
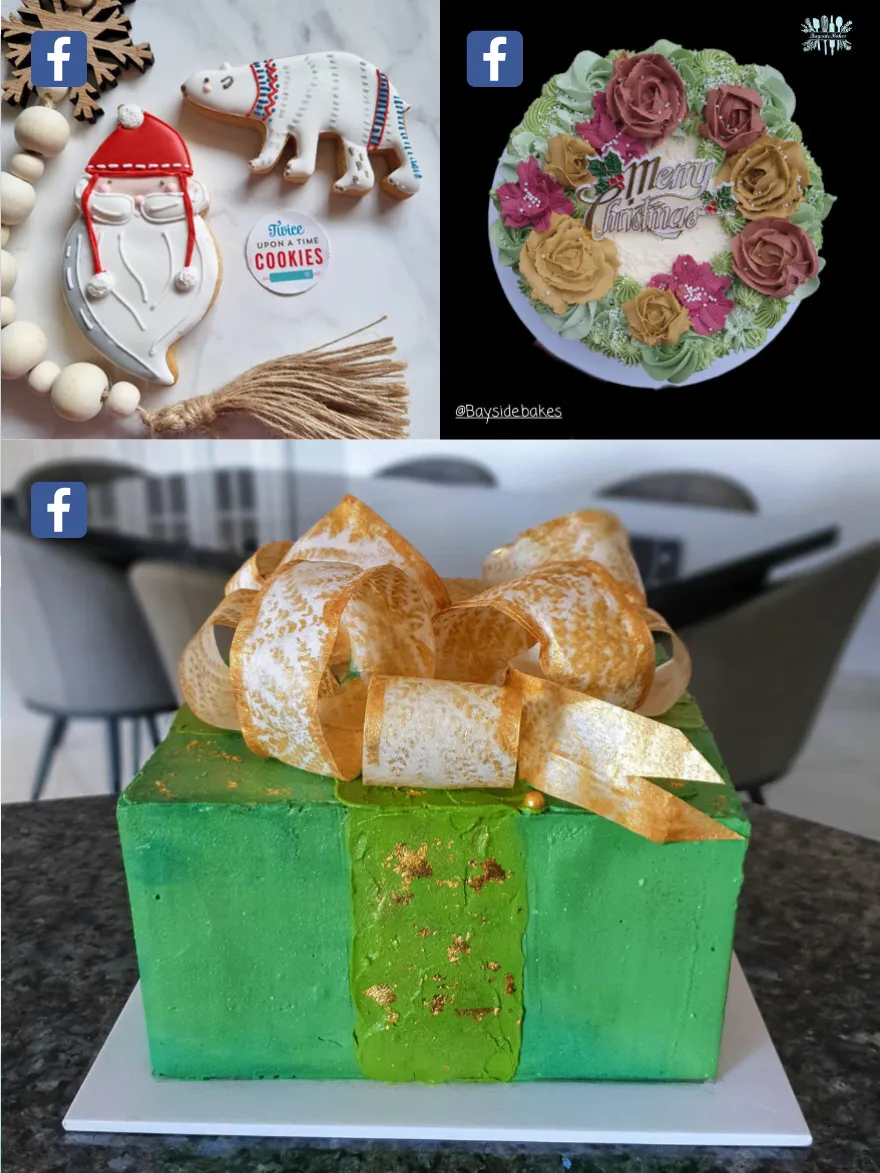
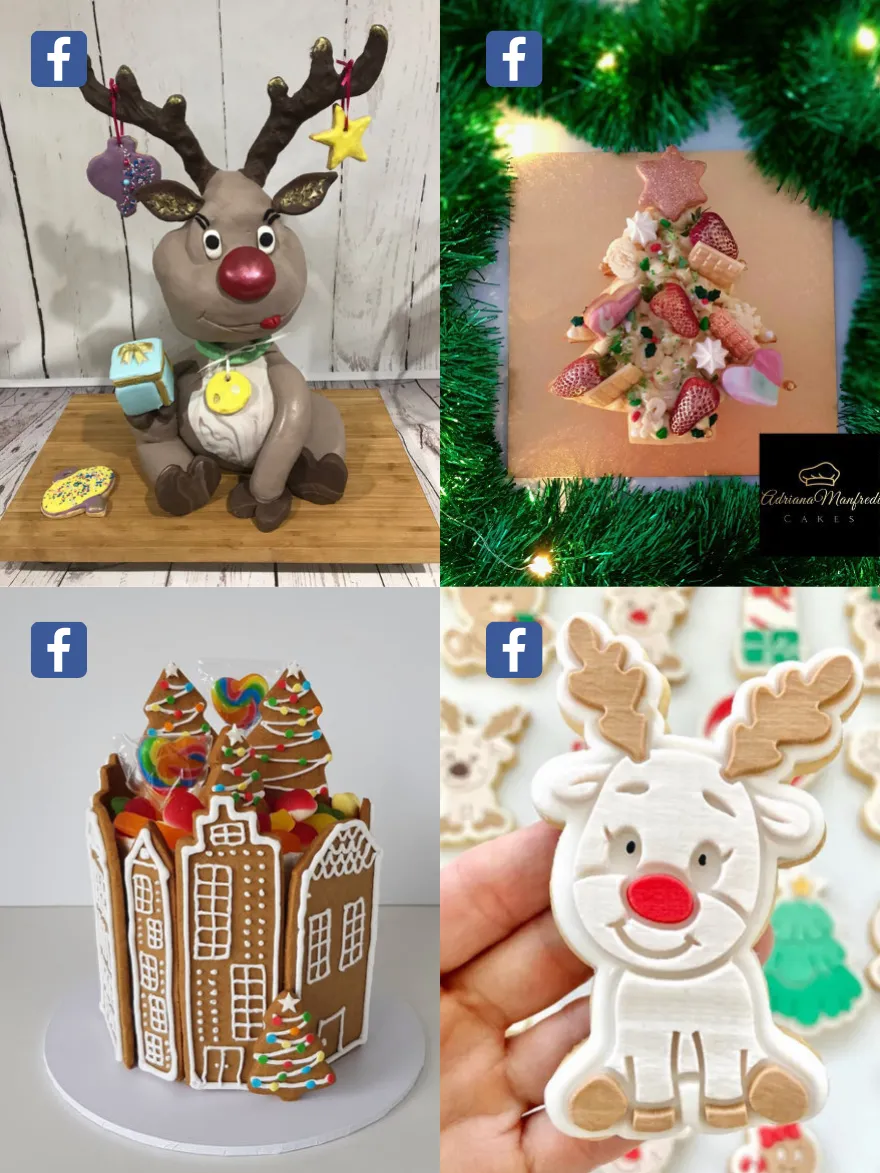
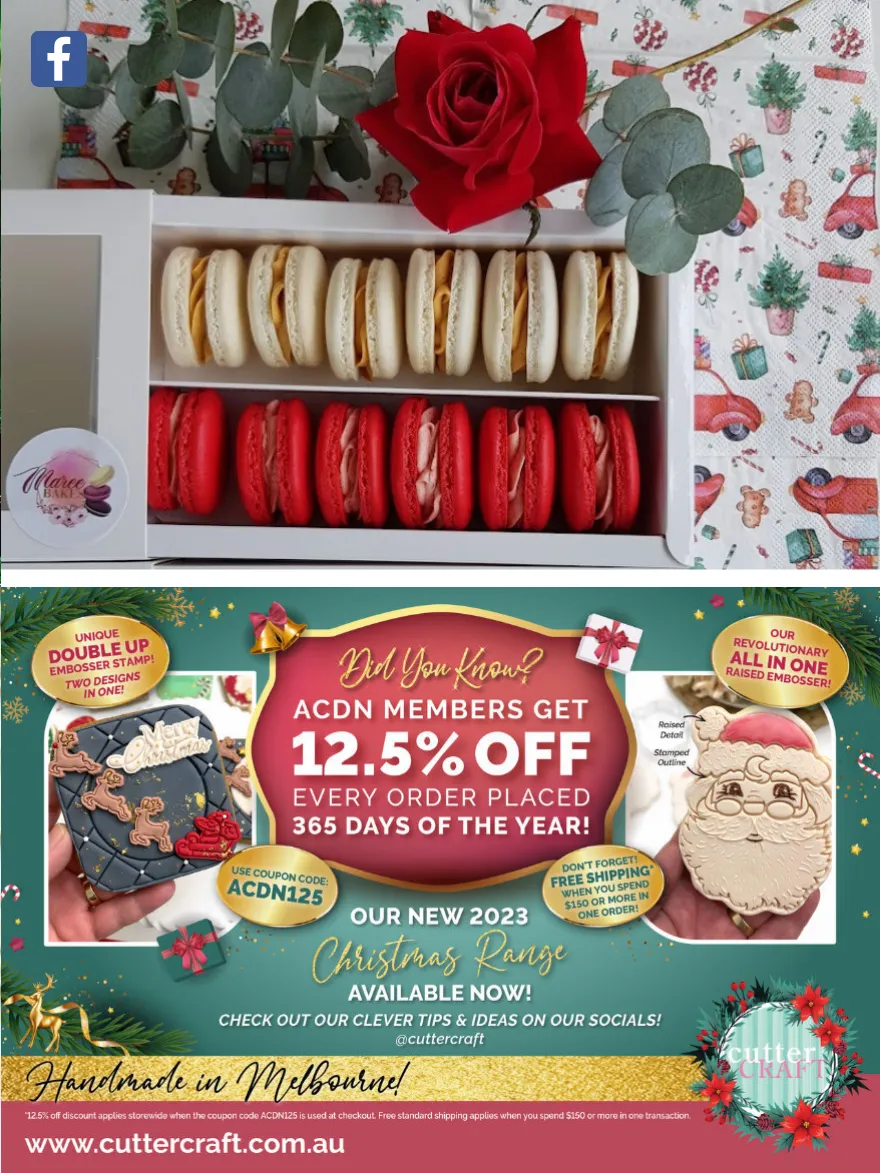
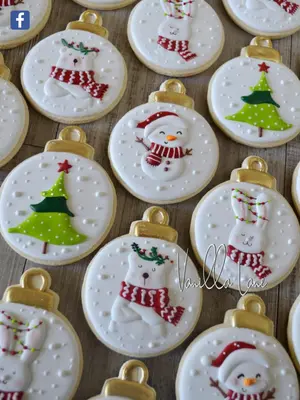


Page 110 text
2023 PREFERRED SUPPLIERS MEMBER DISCOUNTS
Page 111 text
2023 PREFERRED SUPPLIERS MEMBER DISCOUNTS