Page 65 of 69

Page 1 text
Cake! MAGAZINE
Page 2 text
letter from the editor Welcome to our second Cake! Magazine This edition of Cake! Magazine is issue for 2024! This year is flying by! dedicated to all things Vintage, featuring beautiful cake and cookie We had the most amazing time in tutorials along with a collection of Miami attending SoFlo Cake & Candy inspiring images in our Member Expo and are so excited for what is in Gallery. stall for the second half of this year. Inside, you'll also find an exclusive We're charging ahead with organising interview with Alexandra of Save Me PUBLISHER: the Festival of Cake and the Australian Some Sweets, as well as Amber rights reserved. Reproduction any part of the magazine without written permission is prohibited. All prices included in Cake! Magazine are approximate and are in AUD unless Baking and Decorating Industry Awards, otherwise stated. Prices quoted are correct at the time of publishing and may vary or be subject to change. The Australian Cake Decorating Network Pty Ltd accepts no responsibility Comadira-Smith's regular column, for damage or loss as a result of material submitted for, published in or as a result of this publication. The Australian Cake Decorating Network does not have an affiliation with any other magazine. set to take place in Melbourne this answering your questions on teaching The views and opinions expressed within this publication are not necessarily the views of the publisher or it's affiliates. While every effort has been made to ensure the accuracy of the September! Tickets for the Festival of information contained within Cake! Magazine the publisher and Cake! Magazine hold no responsibility for any errors, omissions, or consequences subsequent or otherwise, including cake decorating! loss or damage arising from reliance on information in this publication. Content is supplied for publication in Cake! Magazine by parties external to the Cake are available for purchase, so Australian Cake Decorating Network and it is the external party's responsibility to ensure content and credits are accurate. Cake! Magazine contains advertising through individual arrangements, which may include paid affiliate arrangements. Cake! Magazine may also contain affiliate links. The agreements make sure to grab yours today! are held between the advertiser or affiliate and the Australian Cake Decorating Network Ptd Ltd. We hope you enjoy this issue of Cake! Magazine! Enjoy!
Page 3 text
letter from the editor This edition of Cake! Magazine is featuring beautiful cake and cookie inspiring images in our Member Inside, you'll also find an exclusive interview with Alexandra of Save Me Cake! Magazine is published by the Australian Cake Decorating Network Pty Ltd. ACN: 91 164 927 584. © All content copyright 2022 Australian Cake Decorating Network Pty Ltd. All Some Sweets, as well as Amber All prices included in Cake! Magazine are approximate and are in AUD unless otherwise stated. Prices quoted are correct at the time of publishing and may vary or be subject to change. The Australian Cake Decorating Network Pty Ltd accepts no responsibility Comadira-Smith's regular column, for damage or loss as a result of material submitted for, published in or as a result of this publication. The Australian Cake Decorating Network does not have an affiliation with any answering your questions on teaching The views and opinions expressed within this publication are not necessarily the views of the publisher or it's affiliates. While every effort has been made to ensure the accuracy of the information contained within Cake! Magazine the publisher and Cake! Magazine hold no responsibility for any errors, omissions, or consequences subsequent or otherwise, including cake decorating! loss or damage arising from reliance on information in this publication. Content is supplied for publication in Cake! Magazine by parties external to the Cake! Magazine contains advertising through individual arrangements, which may include paid affiliate arrangements. Cake! Magazine may also contain affiliate links. The agreements We hope you enjoy this issue of Cake!
Page 4 text
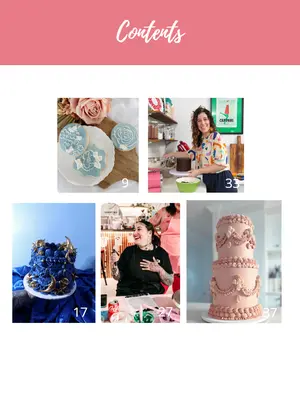
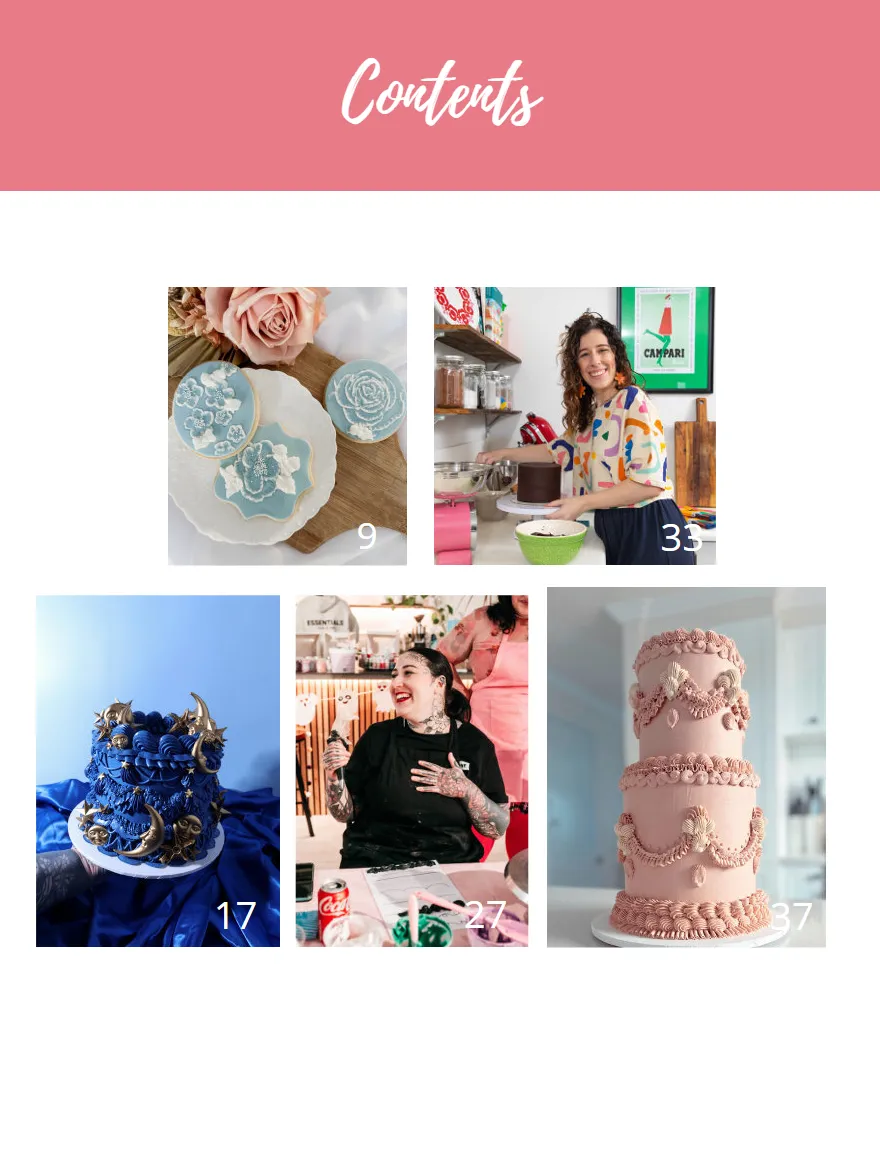
Contents 9 33 17 27 37
Page 5 text
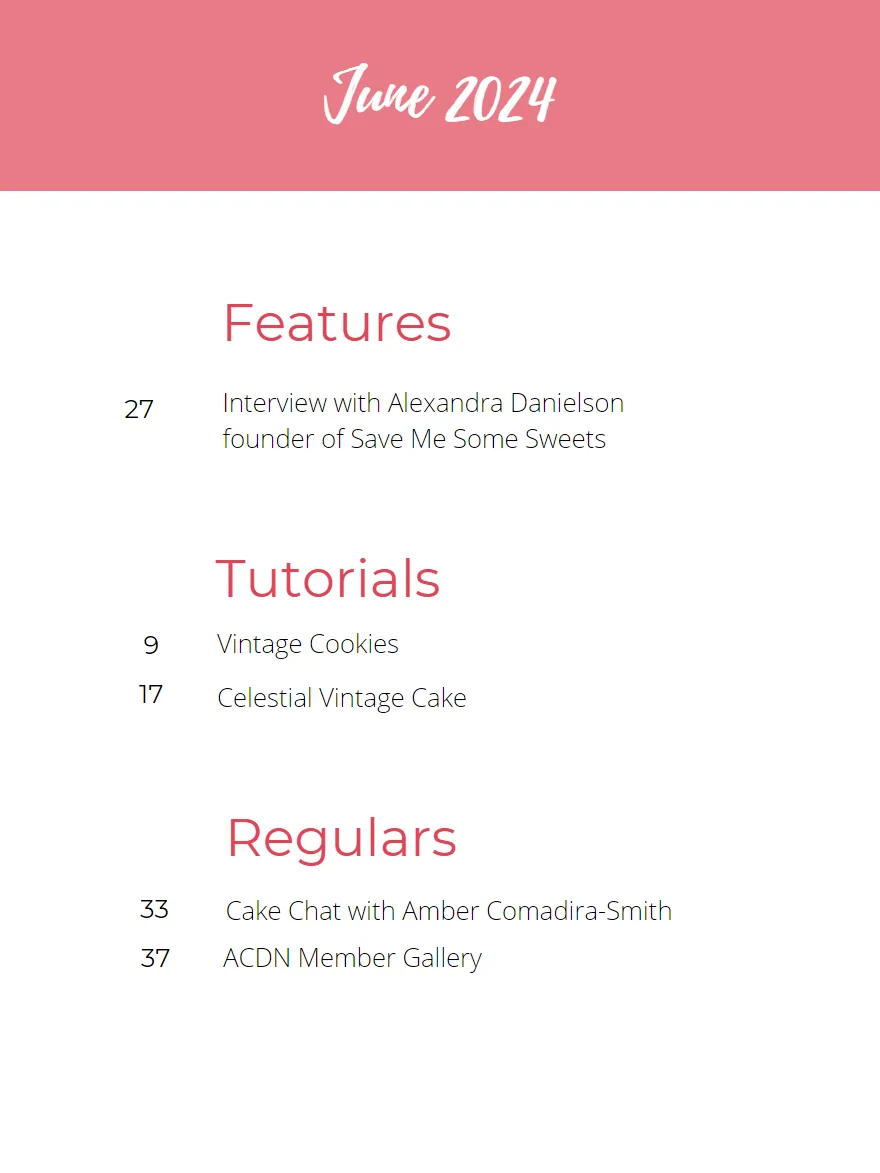
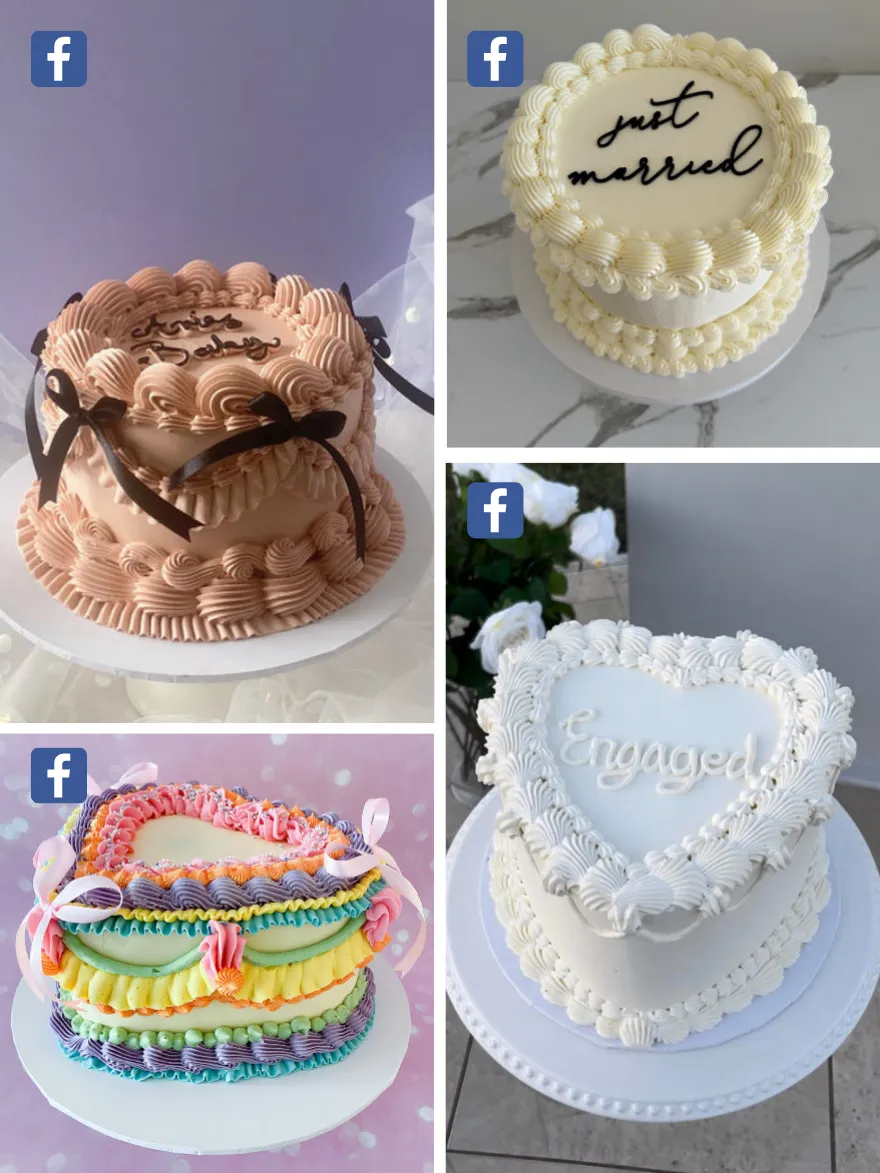
June 2024 Features 27 Interview with Alexandra Danielson founder of Save Me Some Sweets Tutorials 9 Vintage Cookies 17 Celestial Vintage Cake Regulars 33 Cake Chat with Amber Comadira-Smith 37 ACDN Member Gallery


Page 6 text
Cake! Magazine Vintage Vintage


Page 7 text
Vintage Vintage
Page 8 text
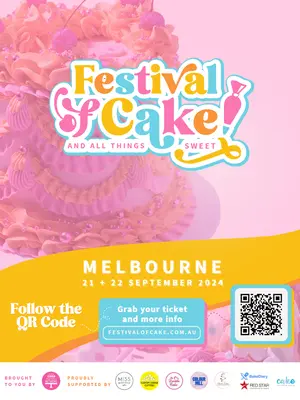
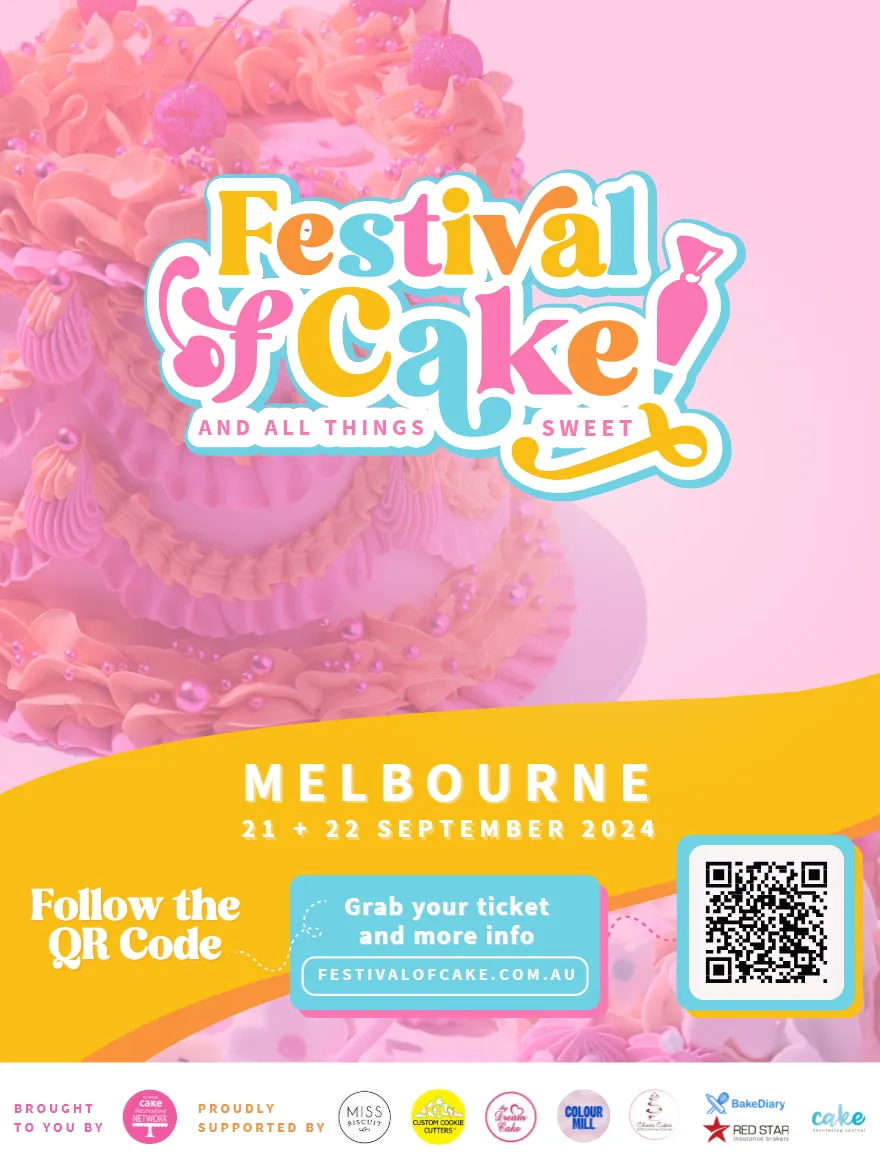
M E L B O U R N E | 2 1 + 2 2 S E P T E M B E R 2 0 2 4 F E S T I V A L O F C A K E . C O M . A U
Page 9 text
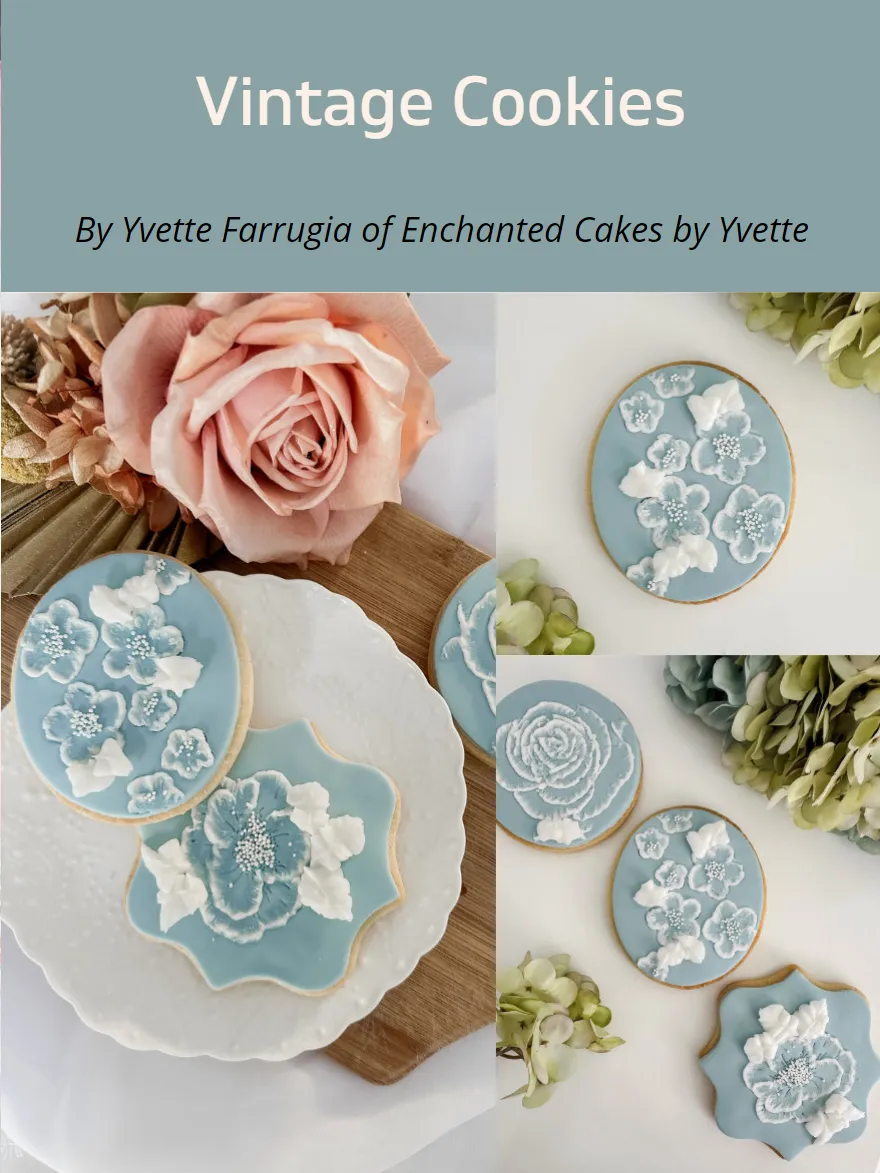
Vintage Cookies By Yvette Farrugia of Enchanted Cakes by Yvette
Page 10 text
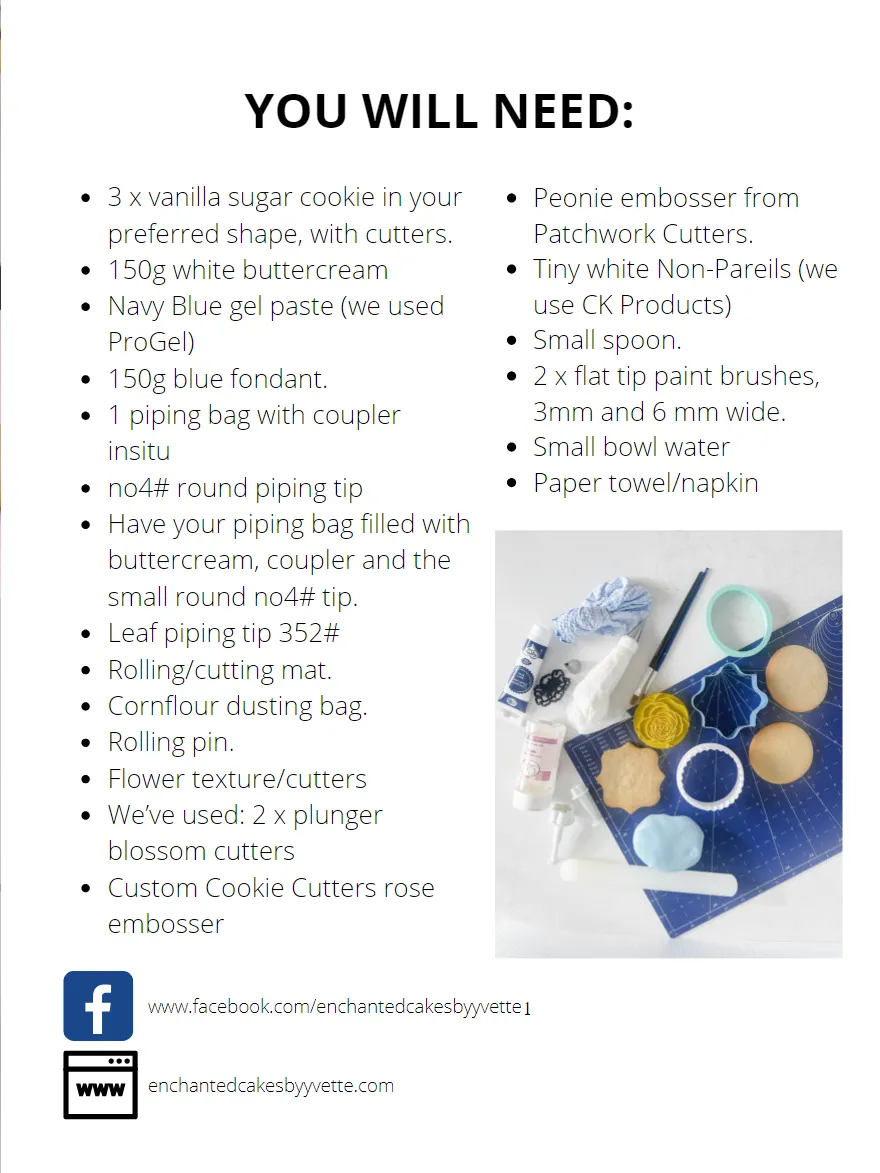
YOU WILL NEED: 3 x vanilla sugar cookie in your Peonie embosser from preferred shape, with cutters. Patchwork Cutters. 150g white buttercream Navy Blue gel paste (we used use CK Products) ProGel) Small spoon. 150g blue fondant. 1 piping bag with coupler 3mm and 6 mm wide. insitu Small bowl water no4# round piping tip Paper towel/napkin Have your piping bag filled with buttercream, coupler and the small round no4# tip. Leaf piping tip 352# Rolling/cutting mat. Cornflour dusting bag. Rolling pin.
Page 11 text
YOU WILL NEED: Patchwork Cutters. Tiny white Non-Pareils (we use CK Products) Small spoon. 2 x flat tip paint brushes, Small bowl water 1
Page 12 text
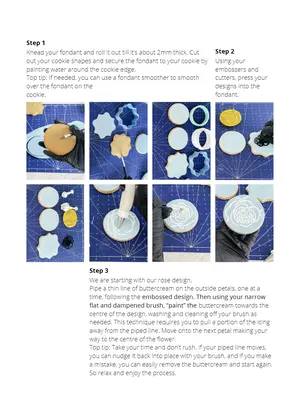
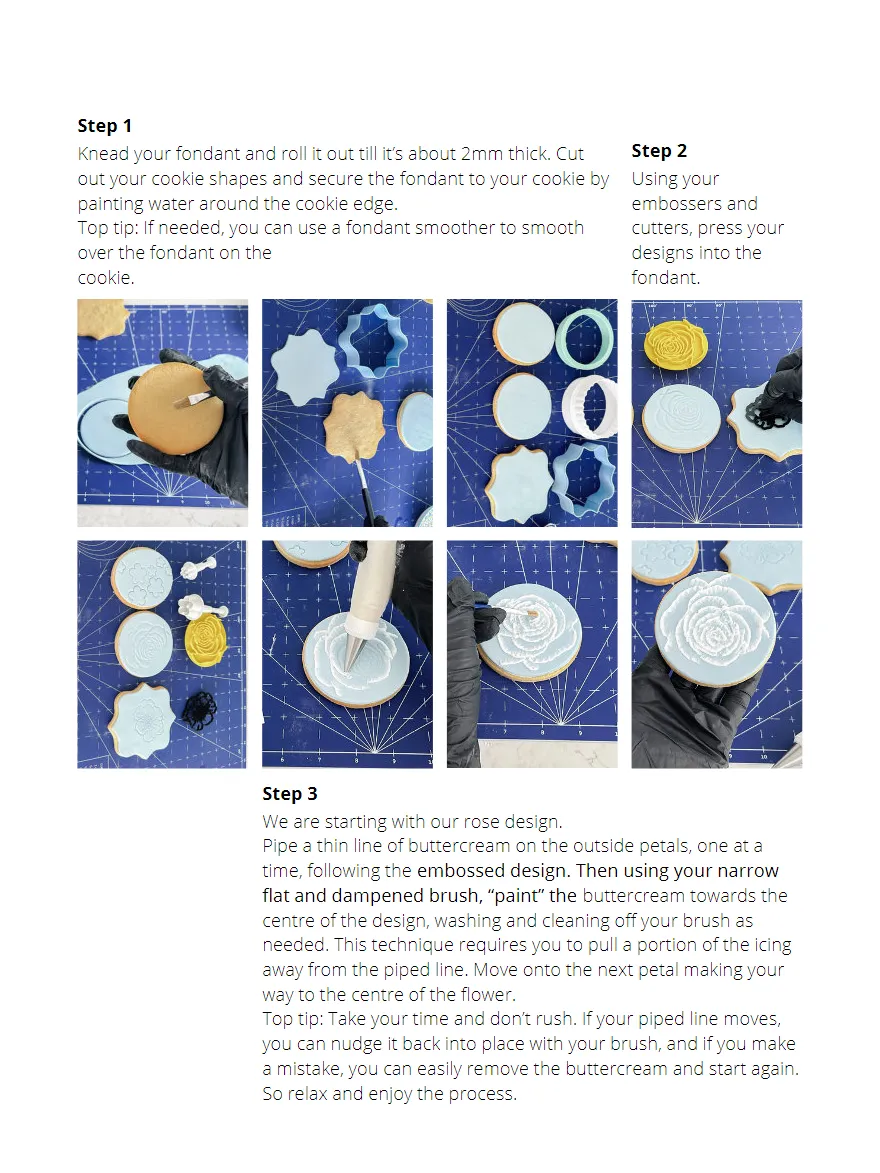
Step 1 Knead your fondant and roll it out till it’s about 2mm thick. Cut Step 2 out your cookie shapes and secure the fondant to your cookie by Using your painting water around the cookie edge. embossers and Top tip: If needed, you can use a fondant smoother to smooth cutters, press your over the fondant on the designs into the cookie. fondant. Step 3 We are starting with our rose design. Pipe a thin line of buttercream on the outside petals, one at a time, following the embossed design. Then using your narrow flat and dampened brush, “paint” the buttercream towards the centre of the design, washing and cleaning off your brush as needed. This technique requires you to pull a portion of the icing away from the piped line. Move onto the next petal making your way to the centre of the flower. Top tip: Take your time and don’t rush. If your piped line moves, you can nudge it back into place with your brush, and if you make a mistake, you can easily remove the buttercream and start again. So relax and enjoy the process.
Page 13 text
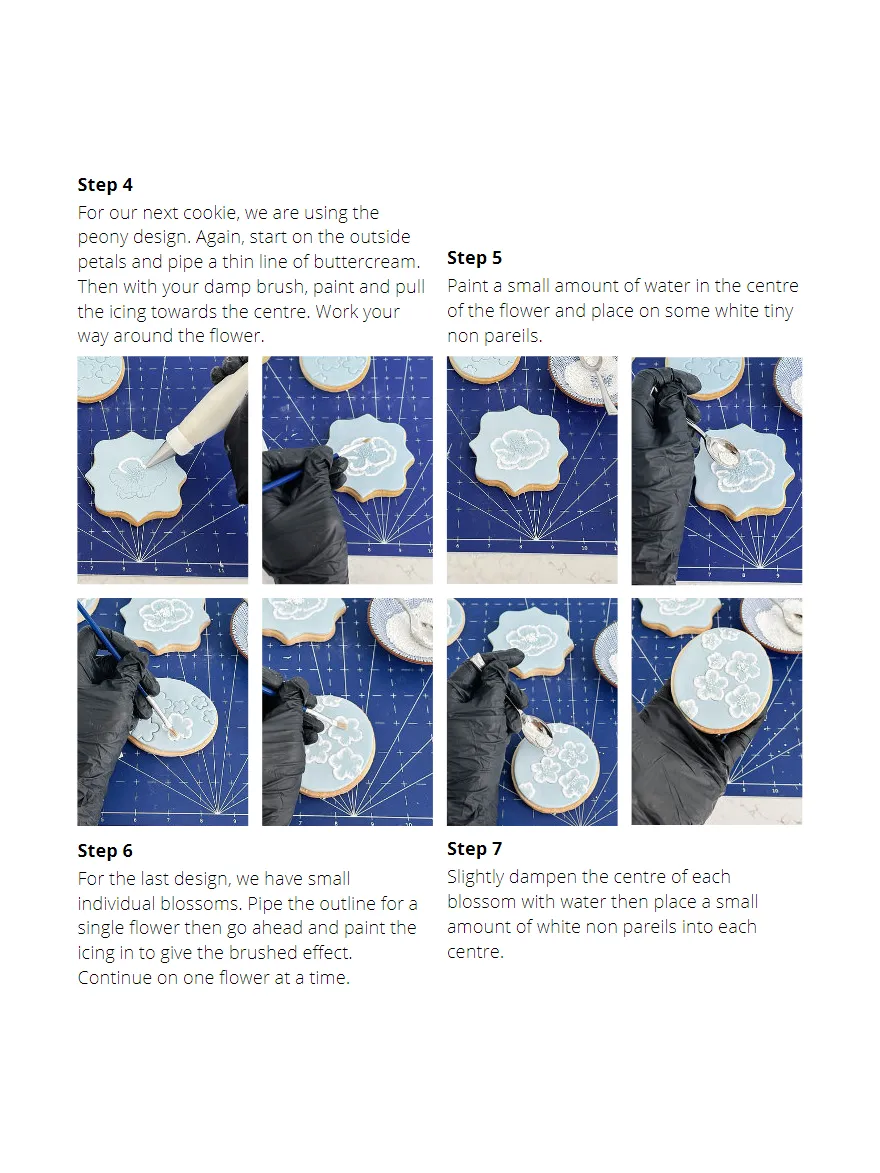
Step 4 For our next cookie, we are using the peony design. Again, start on the outside petals and pipe a thin line of buttercream. Step 5 Then with your damp brush, paint and pull Paint a small amount of water in the centre the icing towards the centre. Work your of the flower and place on some white tiny way around the flower. non pareils. Step 6 Step 7 For the last design, we have small Slightly dampen the centre of each individual blossoms. Pipe the outline for a blossom with water then place a small single flower then go ahead and paint the amount of white non pareils into each icing in to give the brushed effect. centre. Continue on one flower at a time.
Page 14 text
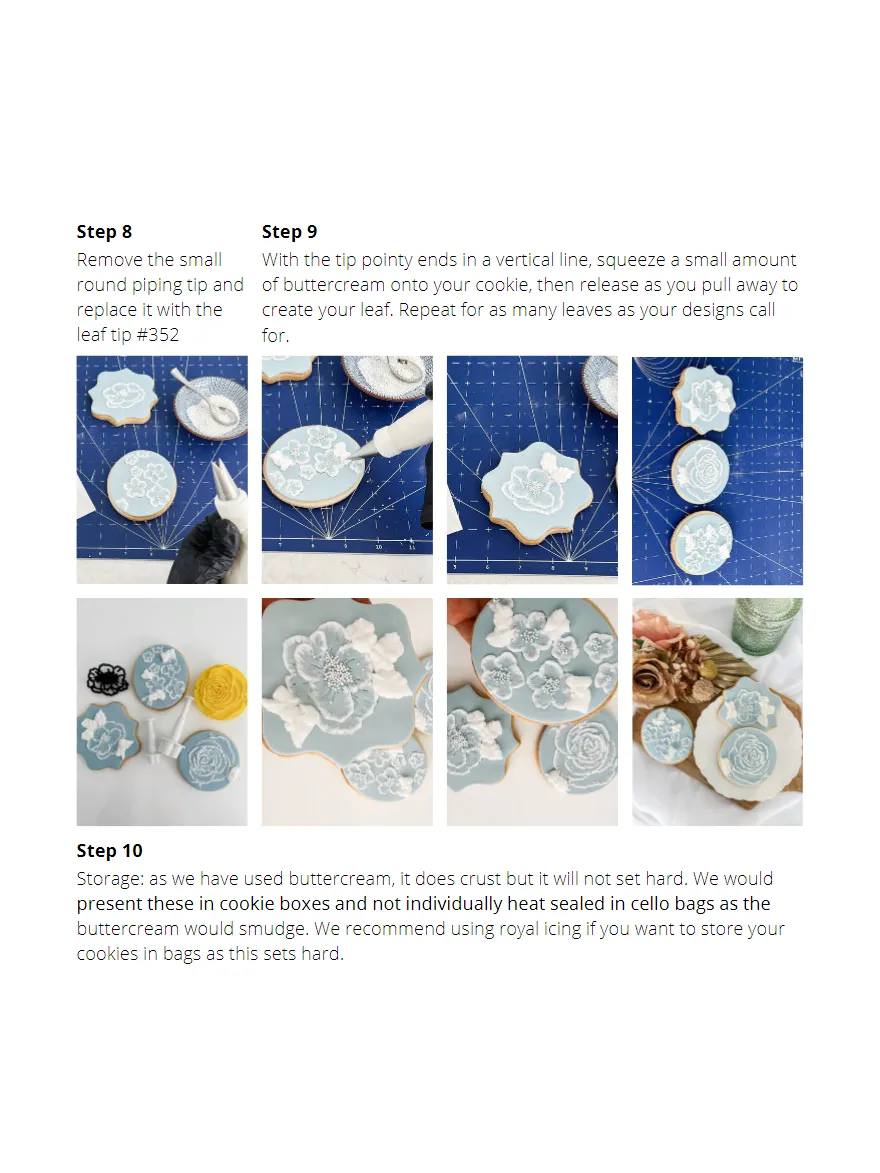
Step 8 Step 9 Remove the small With the tip pointy ends in a vertical line, squeeze a small amount round piping tip and of buttercream onto your cookie, then release as you pull away to replace it with the create your leaf. Repeat for as many leaves as your designs call leaf tip #352 for.
Page 15 text
With the tip pointy ends in a vertical line, squeeze a small amount of buttercream onto your cookie, then release as you pull away to create your leaf. Repeat for as many leaves as your designs call


Page 16 text
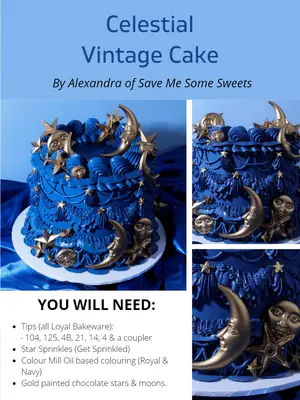
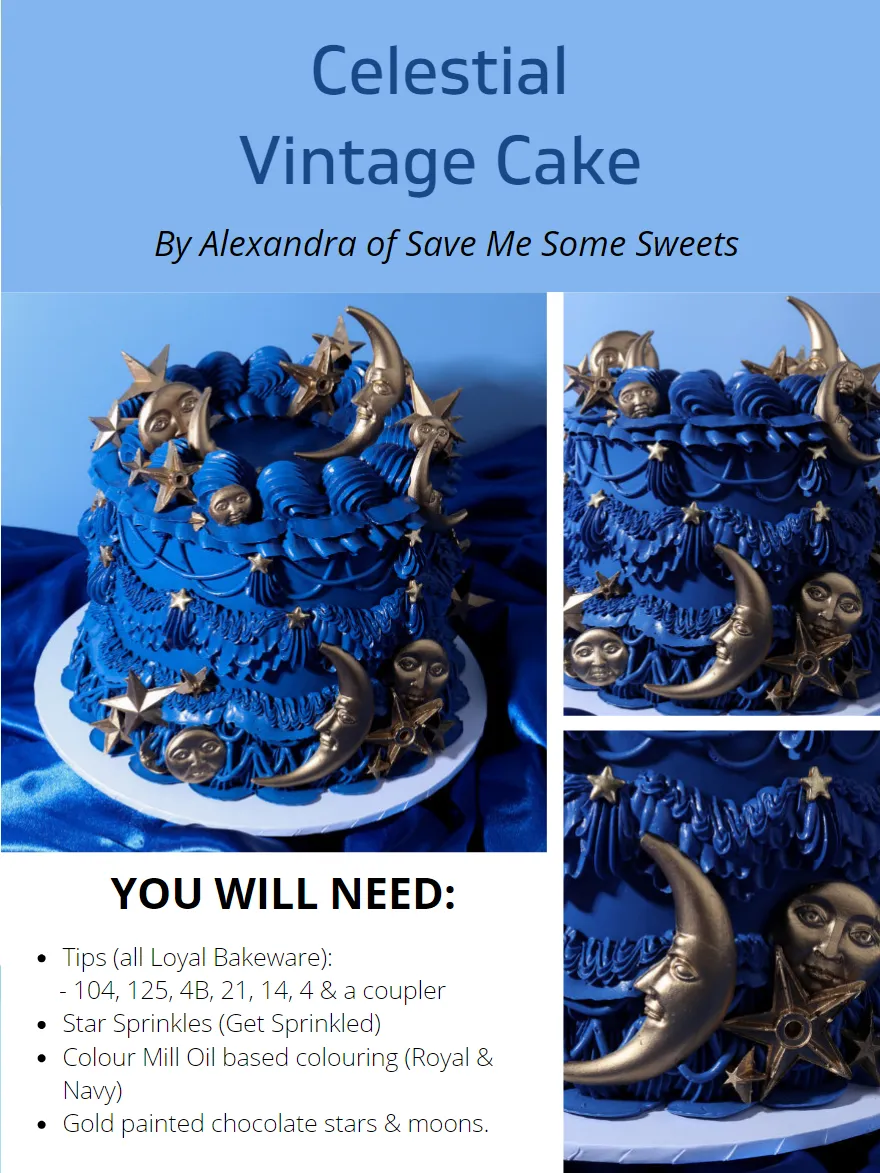
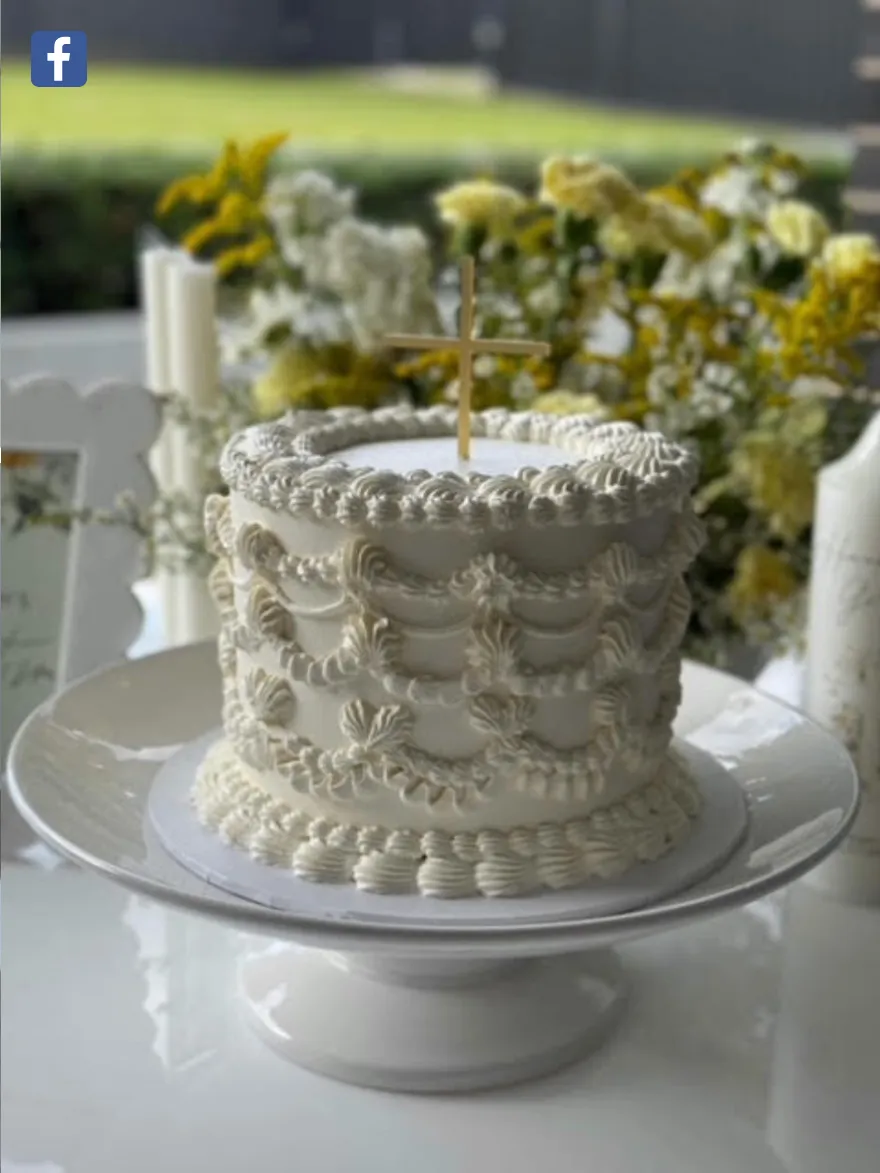
Celestial Vintage Cake By Alexandra of Save Me Some Sweets
Page 17 text
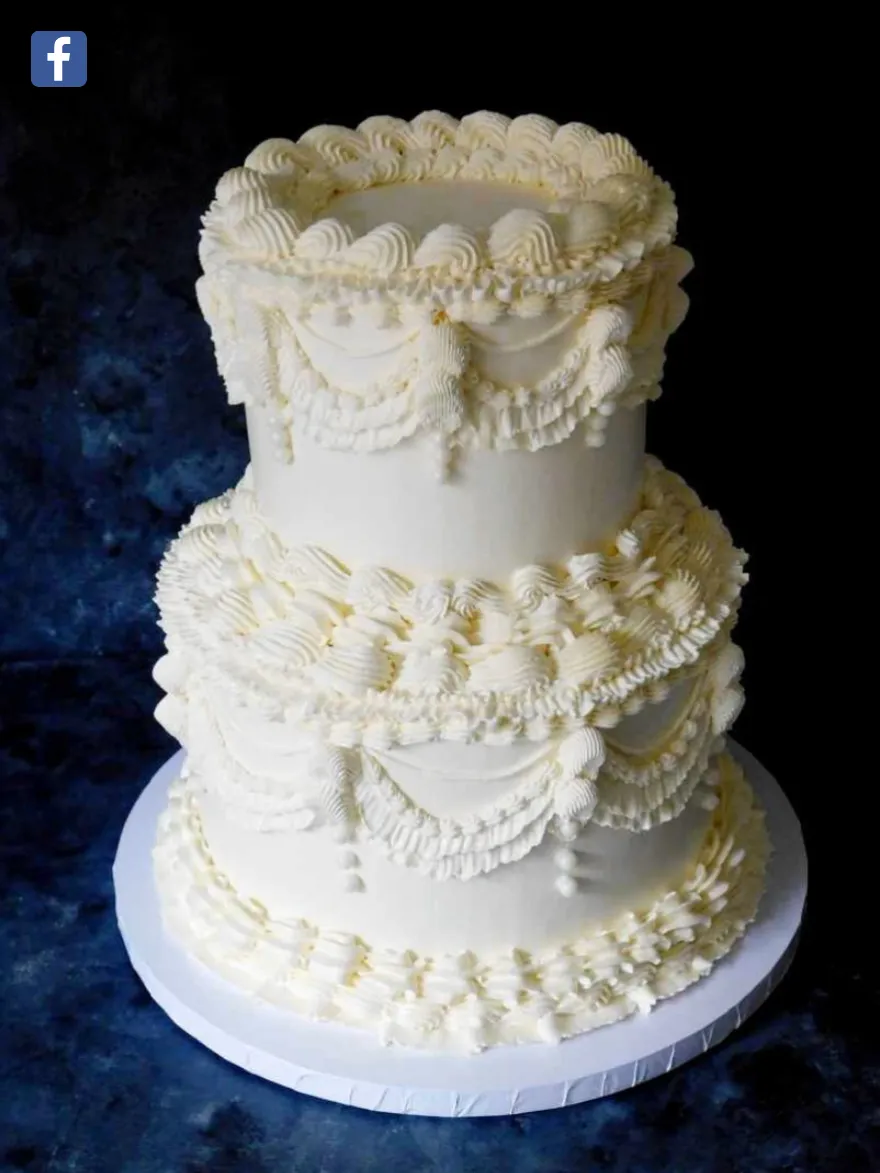
Vintage Cake By Alexandra of Save Me Some Sweets
Page 18 text
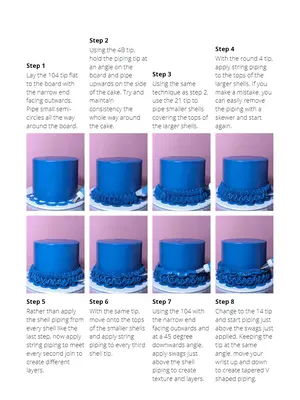
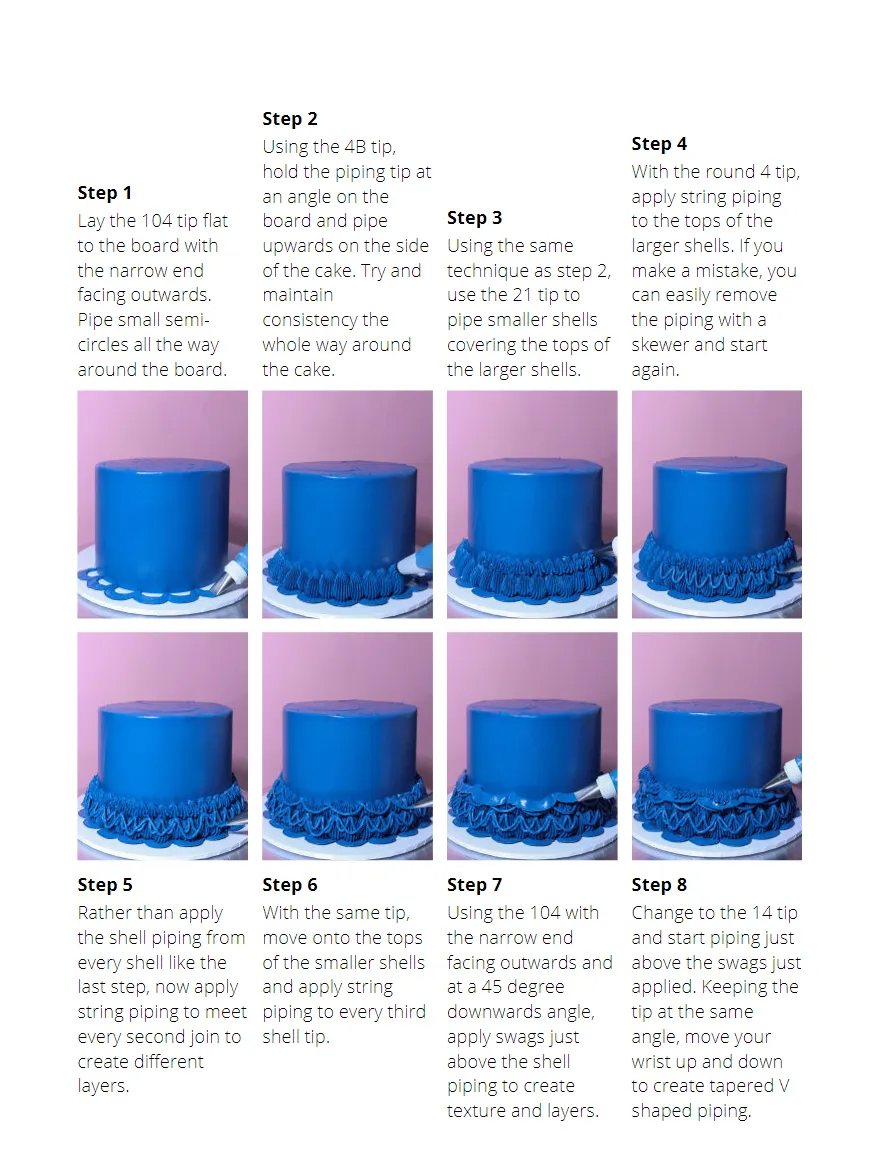
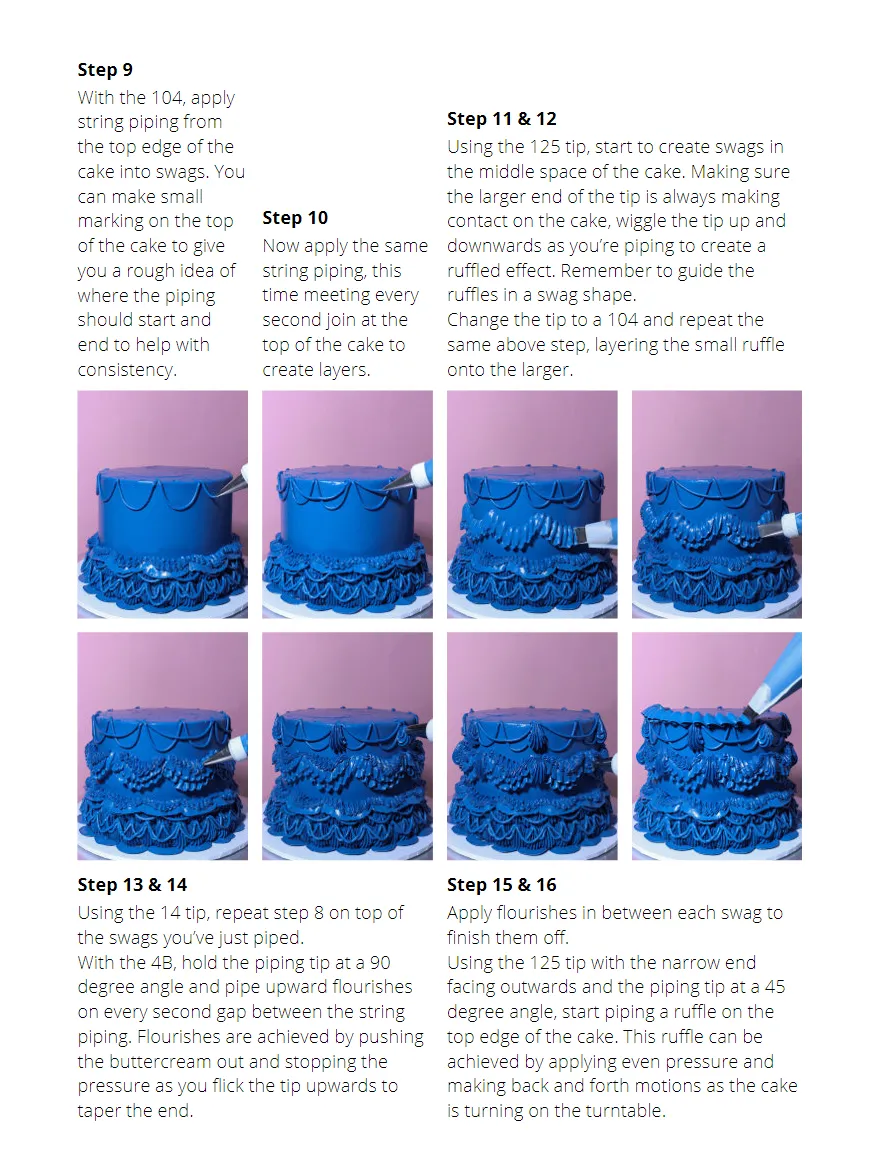
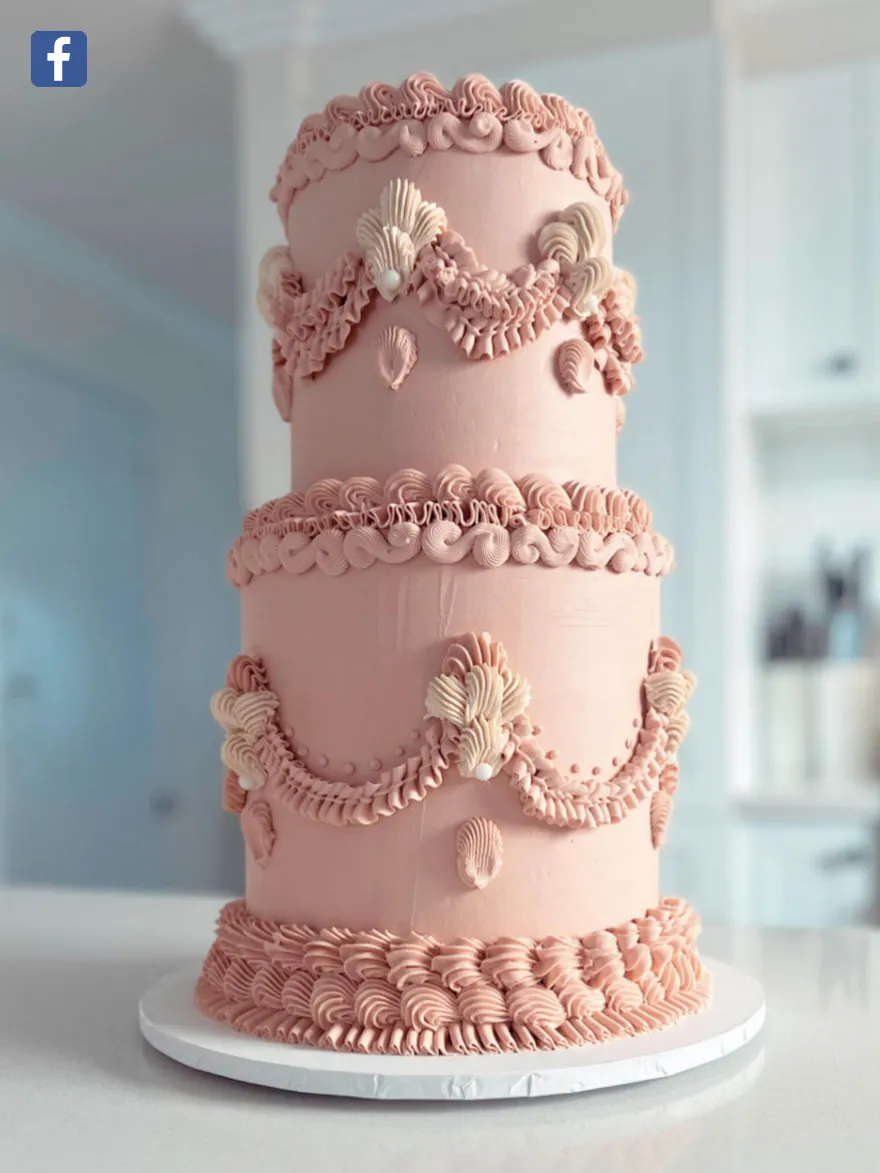
Step 2 Using the 4B tip, Step 4 hold the piping tip at With the round 4 tip, Step 1 an angle on the apply string piping Lay the 104 tip flat board and pipe Step 3 to the tops of the to the board with upwards on the side Using the same larger shells. If you the narrow end of the cake. Try and technique as step 2, make a mistake, you facing outwards. maintain use the 21 tip to can easily remove Pipe small semi- consistency the pipe smaller shells the piping with a circles all the way whole way around covering the tops of skewer and start around the board. the cake. the larger shells. again. Step 5 Step 6 Step 7 Step 8 Rather than apply With the same tip, Using the 104 with Change to the 14 tip the shell piping from move onto the tops the narrow end and start piping just every shell like the of the smaller shells facing outwards and above the swags just last step, now apply and apply string at a 45 degree applied. Keeping the string piping to meet piping to every third downwards angle, tip at the same every second join to shell tip. apply swags just angle, move your create different above the shell wrist up and down layers. piping to create to create tapered V texture and layers. shaped piping.
Page 19 text
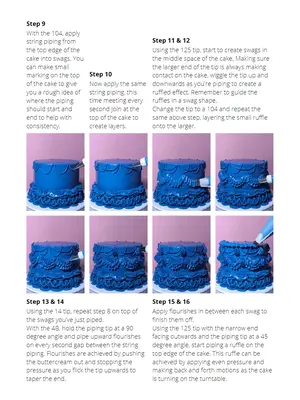
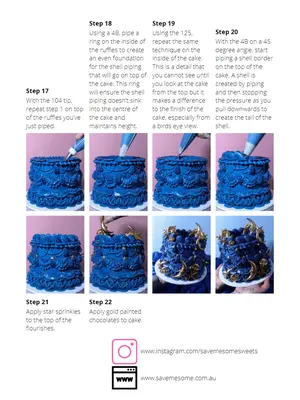
Step 9 With the 104, apply string piping from Step 11 & 12 the top edge of the Using the 125 tip, start to create swags in cake into swags. You the middle space of the cake. Making sure can make small the larger end of the tip is always making marking on the top Step 10 contact on the cake, wiggle the tip up and of the cake to give Now apply the same downwards as you’re piping to create a you a rough idea of string piping, this ruffled effect. Remember to guide the where the piping time meeting every ruffles in a swag shape. should start and second join at the Change the tip to a 104 and repeat the end to help with top of the cake to same above step, layering the small ruffle consistency. create layers. onto the larger. Step 13 & 14 Step 15 & 16 Using the 14 tip, repeat step 8 on top of Apply flourishes in between each swag to the swags you’ve just piped. finish them off. With the 4B, hold the piping tip at a 90 Using the 125 tip with the narrow end degree angle and pipe upward flourishes facing outwards and the piping tip at a 45 on every second gap between the string degree angle, start piping a ruffle on the piping. Flourishes are achieved by pushing top edge of the cake. This ruffle can be the buttercream out and stopping the achieved by applying even pressure and pressure as you flick the tip upwards to making back and forth motions as the cake taper the end. is turning on the turntable.
Page 20 text
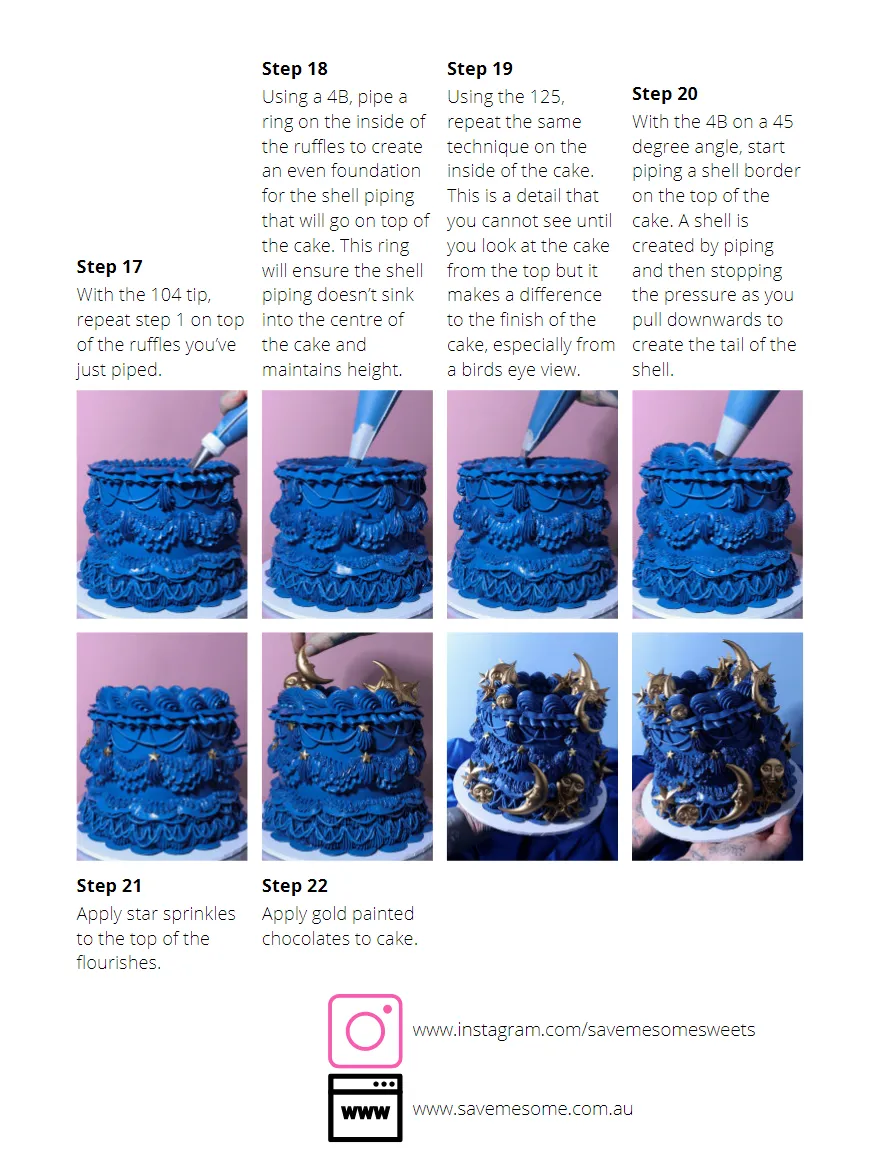
Step 18 Step 19 Using a 4B, pipe a Using the 125, ring on the inside of repeat the same the ruffles to create technique on the an even foundation inside of the cake. for the shell piping This is a detail that that will go on top of you cannot see until the cake. This ring you look at the cake Step 17 will ensure the shell from the top but it With the 104 tip, piping doesn’t sink makes a difference repeat step 1 on top into the centre of to the finish of the of the ruffles you’ve the cake and cake, especially from just piped. maintains height. a birds eye view.

Page 21 text
Step 20 With the 4B on a 45 degree angle, start inside of the cake. piping a shell border This is a detail that on the top of the you cannot see until cake. A shell is you look at the cake created by piping from the top but it and then stopping makes a difference the pressure as you to the finish of the pull downwards to cake, especially from create the tail of the shell.
Page 22 text
AND ALL THINGS SWEET
Page 23 text
SWEET


Page 27 text
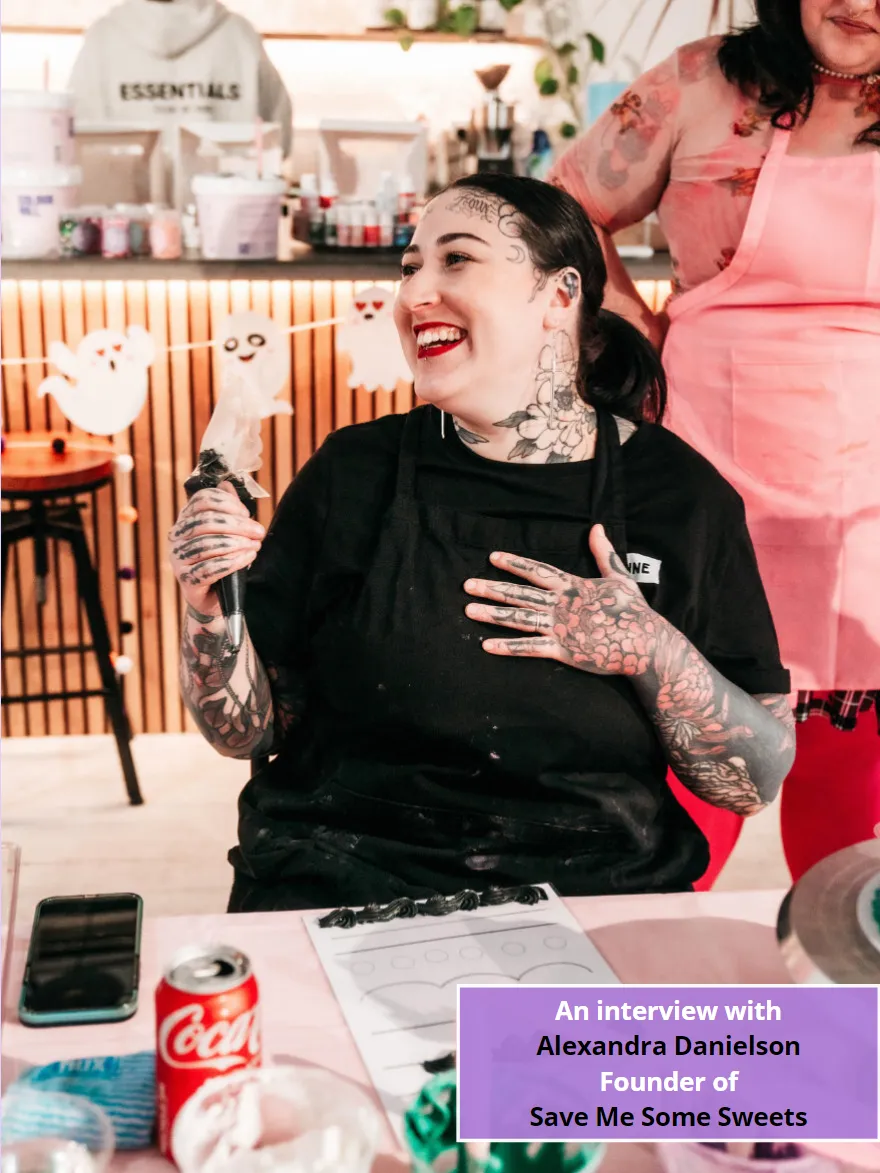
An interview with Alexandra Danielson Founder of Save Me Some Sweets
Page 28 text
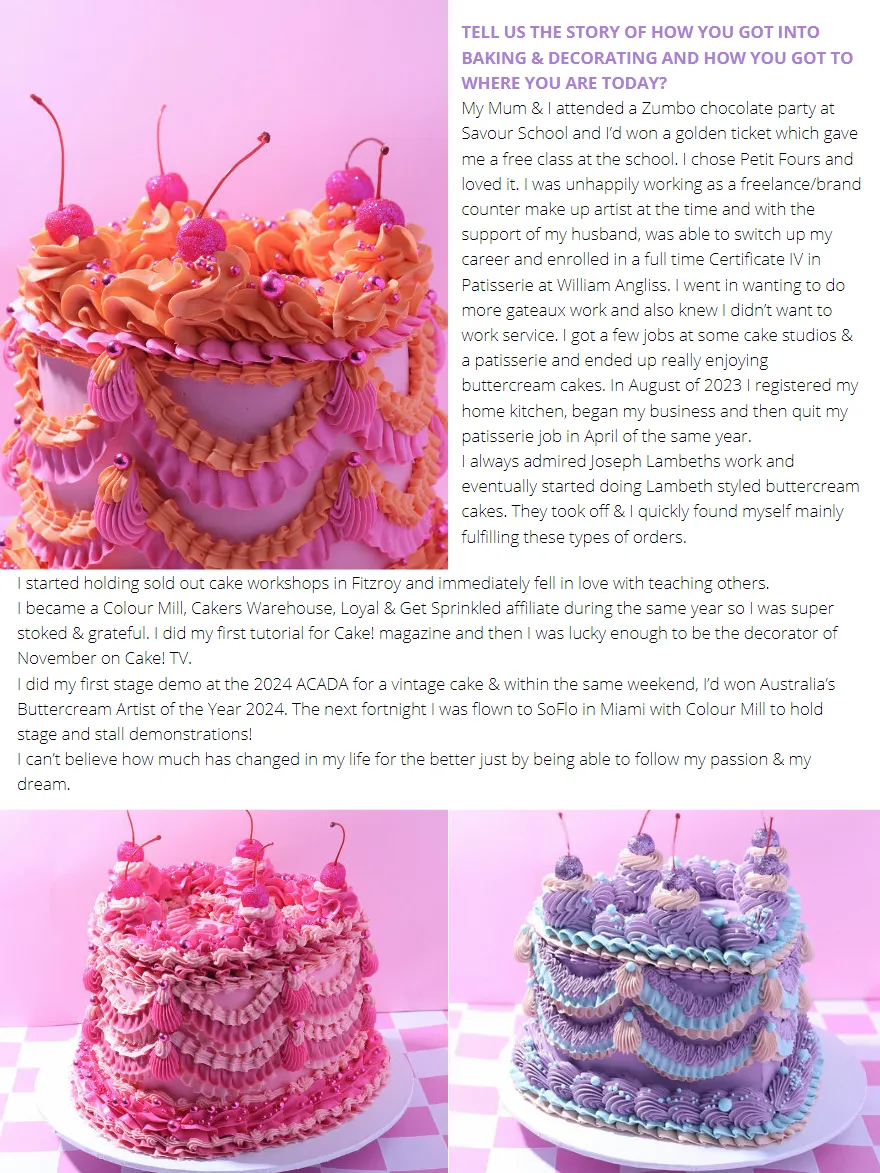
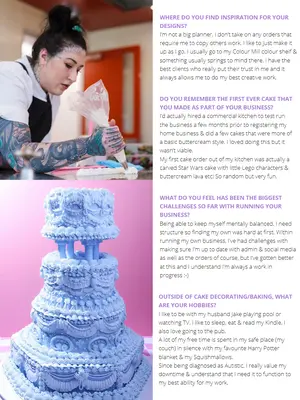
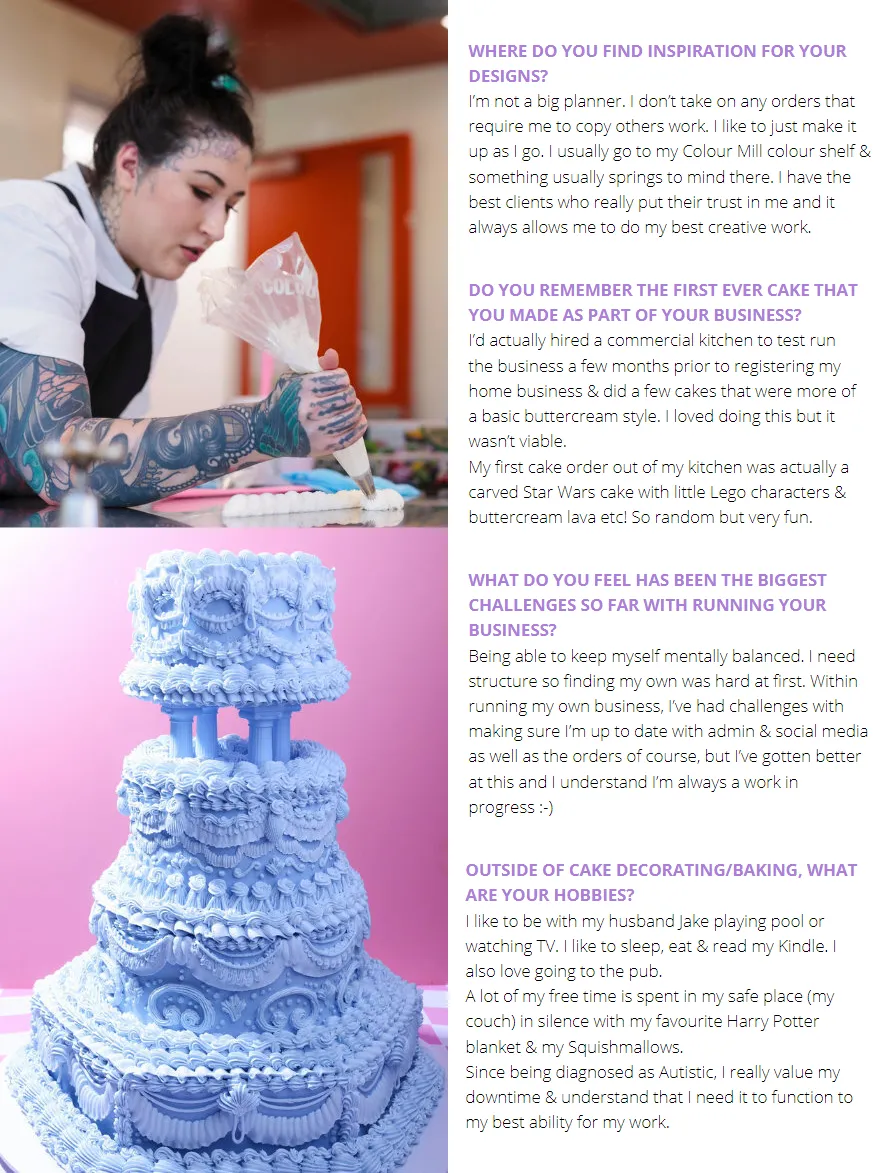
TELL US THE STORY OF HOW YOU GOT INTO BAKING & DECORATING AND HOW YOU GOT TO WHERE YOU ARE TODAY? My Mum & I attended a Zumbo chocolate party at Savour School and I’d won a golden ticket which gave me a free class at the school. I chose Petit Fours and loved it. I was unhappily working as a freelance/brand counter make up artist at the time and with the support of my husband, was able to switch up my career and enrolled in a full time Certificate IV in Patisserie at William Angliss. I went in wanting to do more gateaux work and also knew I didn’t want to work service. I got a few jobs at some cake studios & a patisserie and ended up really enjoying buttercream cakes. In August of 2023 I registered my home kitchen, began my business and then quit my patisserie job in April of the same year. I always admired Joseph Lambeths work and eventually started doing Lambeth styled buttercream cakes. They took off & I quickly found myself mainly fulfilling these types of orders. I started holding sold out cake workshops in Fitzroy and immediately fell in love with teaching others. I became a Colour Mill, Cakers Warehouse, Loyal & Get Sprinkled affiliate during the same year so I was super stoked & grateful. I did my first tutorial for Cake! magazine and then I was lucky enough to be the decorator of November on Cake! TV. I did my first stage demo at the 2024 ACADA for a vintage cake & within the same weekend, I’d won Australia’s Buttercream Artist of the Year 2024. The next fortnight I was flown to SoFlo in Miami with Colour Mill to hold stage and stall demonstrations! I can’t believe how much has changed in my life for the better just by being able to follow my passion & my dream.
Page 29 text
WHERE DO YOU FIND INSPIRATION FOR YOUR DESIGNS? I’m not a big planner. I don’t take on any orders that require me to copy others work. I like to just make it up as I go. I usually go to my Colour Mill colour shelf & something usually springs to mind there. I have the best clients who really put their trust in me and it always allows me to do my best creative work. DO YOU REMEMBER THE FIRST EVER CAKE THAT YOU MADE AS PART OF YOUR BUSINESS? I’d actually hired a commercial kitchen to test run the business a few months prior to registering my home business & did a few cakes that were more of a basic buttercream style. I loved doing this but it wasn’t viable. My first cake order out of my kitchen was actually a carved Star Wars cake with little Lego characters & buttercream lava etc! So random but very fun. WHAT DO YOU FEEL HAS BEEN THE BIGGEST CHALLENGES SO FAR WITH RUNNING YOUR BUSINESS? Being able to keep myself mentally balanced. I need structure so finding my own was hard at first. Within running my own business, I’ve had challenges with making sure I’m up to date with admin & social media as well as the orders of course, but I’ve gotten better at this and I understand I’m always a work in progress :-) OUTSIDE OF CAKE DECORATING/BAKING, WHAT ARE YOUR HOBBIES? I like to be with my husband Jake playing pool or watching TV. I like to sleep, eat & read my Kindle. I also love going to the pub. A lot of my free time is spent in my safe place (my couch) in silence with my favourite Harry Potter blanket & my Squishmallows. Since being diagnosed as Autistic, I really value my downtime & understand that I need it to function to my best ability for my work.
Page 30 text
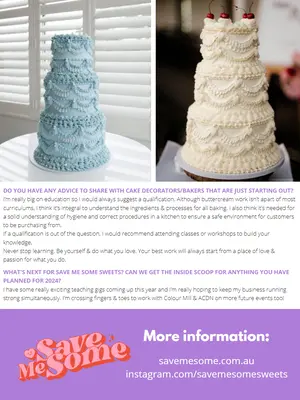
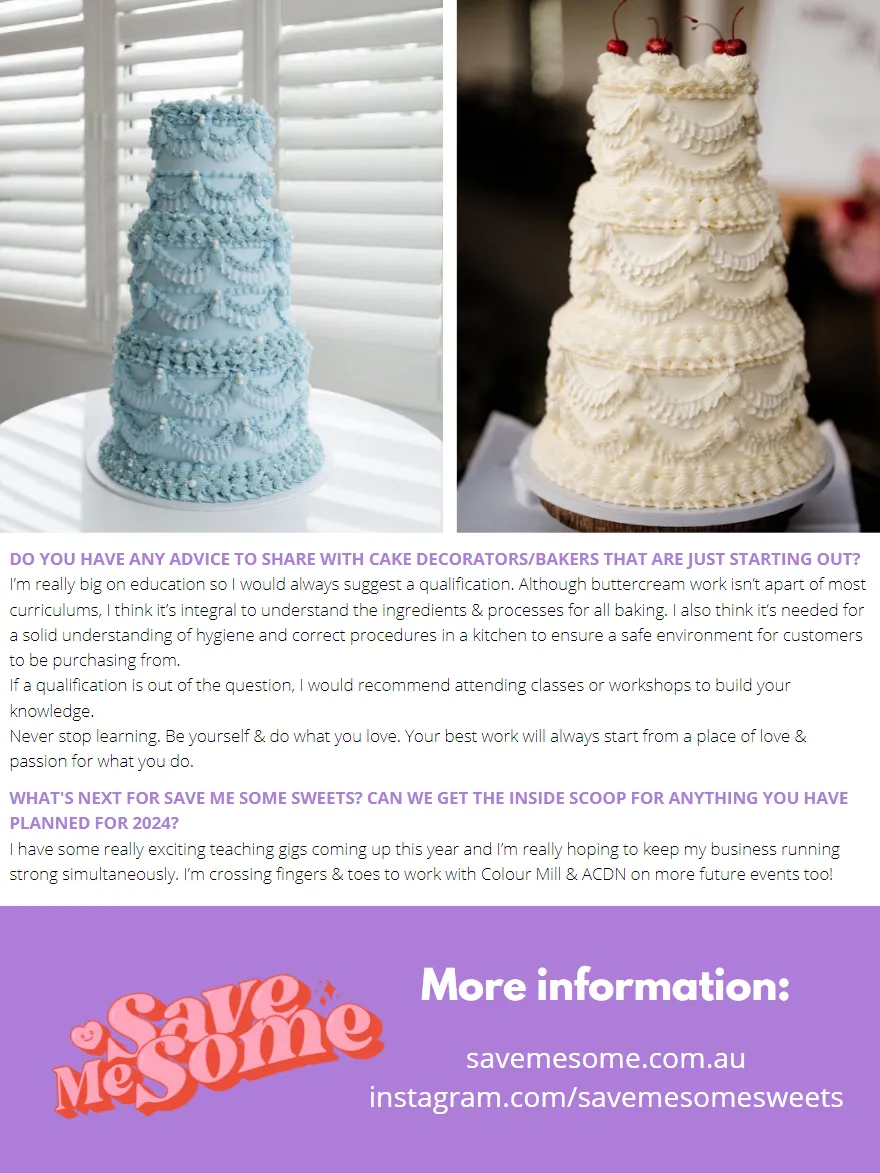
DO YOU HAVE ANY ADVICE TO SHARE WITH CAKE DECORATORS/BAKERS THAT ARE JUST STARTING OUT? I’m really big on education so I would always suggest a qualification. Although buttercream work isn’t apart of most curriculums, I think it’s integral to understand the ingredients & processes for all baking. I also think it’s needed for a solid understanding of hygiene and correct procedures in a kitchen to ensure a safe environment for customers to be purchasing from. If a qualification is out of the question, I would recommend attending classes or workshops to build your knowledge. Never stop learning. Be yourself & do what you love. Your best work will always start from a place of love & passion for what you do.


Page 31 text
DO YOU HAVE ANY ADVICE TO SHARE WITH CAKE DECORATORS/BAKERS THAT ARE JUST STARTING OUT? I’m really big on education so I would always suggest a qualification. Although buttercream work isn’t apart of most curriculums, I think it’s integral to understand the ingredients & processes for all baking. I also think it’s needed for a solid understanding of hygiene and correct procedures in a kitchen to ensure a safe environment for customers If a qualification is out of the question, I would recommend attending classes or workshops to build your Never stop learning. Be yourself & do what you love. Your best work will always start from a place of love &
Page 32 text
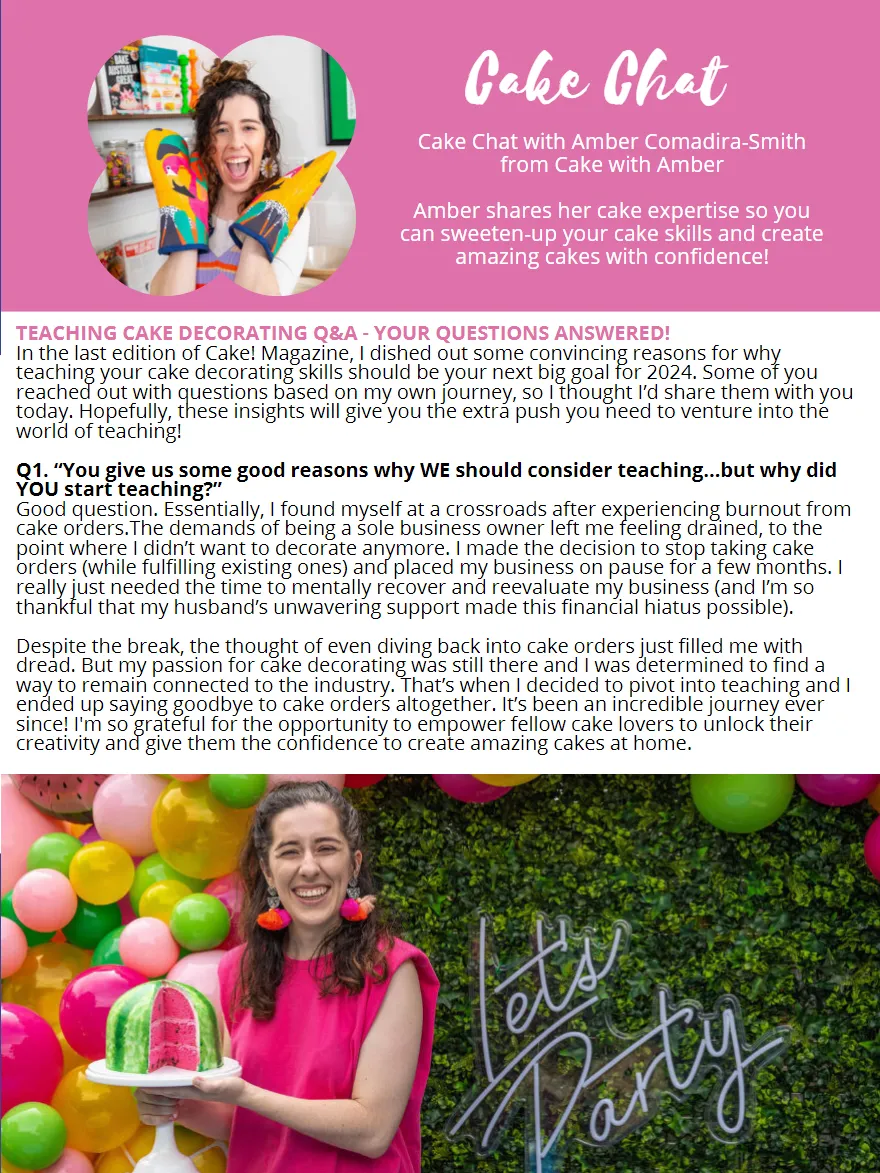
Cake Chat 2024 PREFERRED SUPPLIERS from Cake with Amber MEMBER Amber shares her cake expertise so you can sweeten-up your cake skills and create DISCOUNTS amazing cakes with confidence! TEACHING CAKE DECORATING Q&A - YOUR QUESTIONS ANSWERED! In the last edition of Cake! Magazine, I dished out some convincing reasons for why teaching your cake decorating skills should be your next big goal for 2024. Some of you reached out with questions based on my own journey, so I thought I’d share them with you today. Hopefully, these insights will give you the extra push you need to venture into the world of teaching! Q1. “You give us some good reasons why WE should consider teaching…but why did YOU start teaching?” Good question. Essentially, I found myself at a crossroads after experiencing burnout from cake orders. The demands of being a sole business owner left me feeling drained, to the point where I didn’t want to decorate anymore. I made the decision to stop taking cake orders (while fulfilling existing ones) and placed my business on pause for a few months. I really just needed the time to mentally recover and reevaluate my business (and I’m so Despite the break, the thought of even diving back into cake orders just filled me with dread. But my passion for cake decorating was still there and I was determined to find a way to remain connected to the industry. That’s when I decided to pivot into teaching and I ended up saying goodbye to cake orders altogether. It’s been an incredible journey ever since! I'm so grateful for the opportunity to empower fellow cake lovers to unlock their creativity and give them the confidence to create amazing cakes at home.
Page 33 text
Cake Chat 2024 PREFERRED Cake Chat with Amber Comadira-Smith SUPPLIERS from Cake with Amber MEMBER Amber shares her cake expertise so you DISCOUNTS TEACHING CAKE DECORATING Q&A - YOUR QUESTIONS ANSWERED! today. Hopefully, these insights will give you the extra push you need to venture into the Good question. Essentially, I found myself at a crossroads after experiencing burnout from cake orders. The demands of being a sole business owner left me feeling drained, to the point where I didn’t want to decorate anymore. I made the decision to stop taking cake orders (while fulfilling existing ones) and placed my business on pause for a few months. I really just needed the time to mentally recover and reevaluate my business (and I’m so thankful that my husband’s unwavering support made this financial hiatus possible). Despite the break, the thought of even diving back into cake orders just filled me with dread. But my passion for cake decorating was still there and I was determined to find a way to remain connected to the industry. That’s when I decided to pivot into teaching and I ended up saying goodbye to cake orders altogether. It’s been an incredible journey ever since! I'm so grateful for the opportunity to empower fellow cake lovers to unlock their creativity and give them the confidence to create amazing cakes at home.
Page 34 text
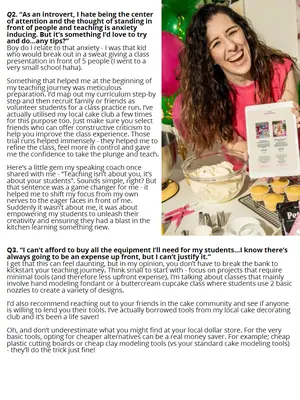
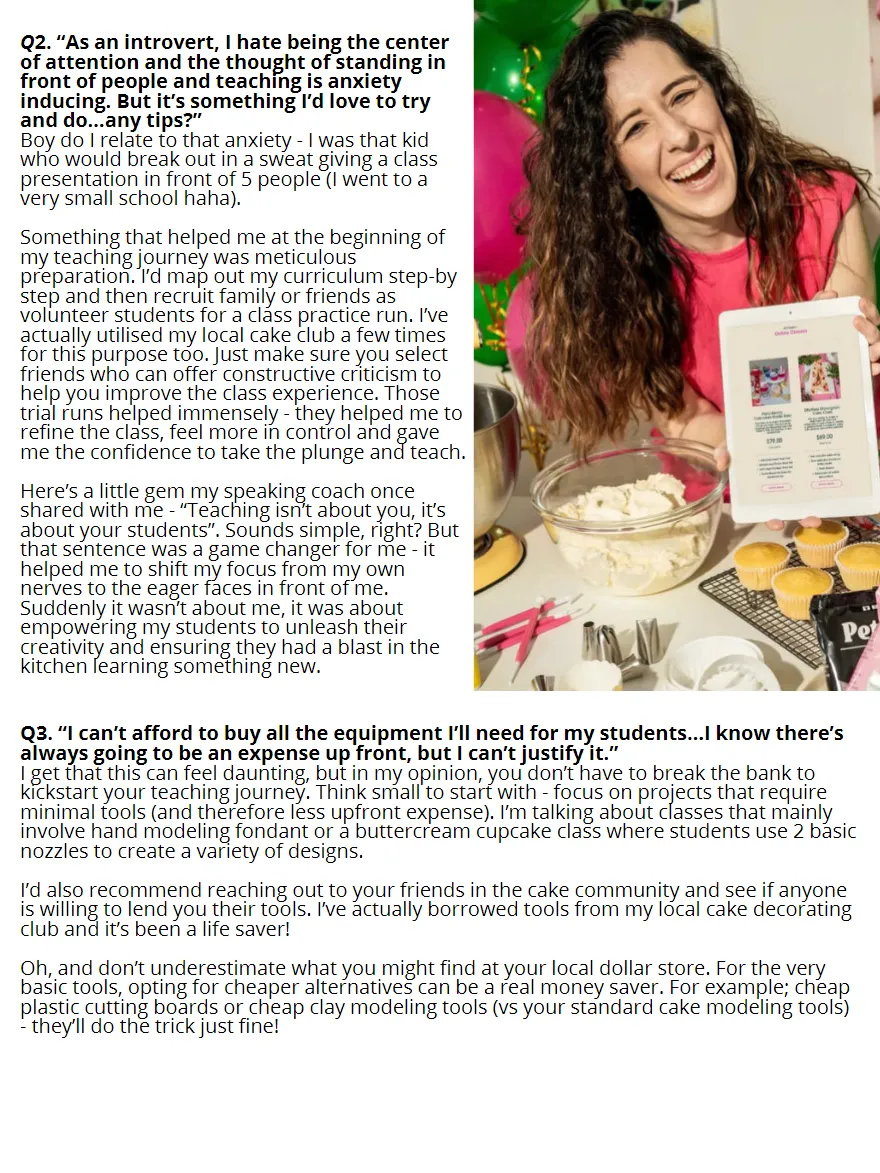
Q4. “The problem I come up against is always space - I 2. “As an introvert, I hate being the center of attention and the thought of standing in don’t have the space to host students in my house front of people and teaching is anxiety and hiring event rooms is expensive. Any inducing. But it’s something I’d love to try suggestions?” and do…any tips?” I feel you! I was also on a tight budget when I first Boy do I relate to that anxiety - I was that kid started, so initially I was teaching in my home kitchen. who would break out in a sweat giving a class However it did mean that I was restricted to about 3-4 presentation in front of 5 people (I went to a students per class, depending on the project. But you know what? I liked this. Because it was a familiar environment - so I felt more comfortable - and it Something that helped me at the beginning of offered a more intimate and personalised setting for my teaching journey was meticulous my students. preparation. I’d map out my curriculum step-by If that’s not feasible, there are plenty of other step and then recruit family or friends as alternative venues out there. I’ve taught at local church volunteer students for a class practice run. I’ve actually utilised my local cake club a few times kitchens and the senior citizens hall, which are typically for this purpose too. Just make sure you select more affordable than your typical events venue. One friends who can offer constructive criticism to spot I love teaching at is one of the local cafes in town - help you improve the class experience. Those it provides a relaxed atmosphere for my students and trial runs helped immensely - they helped me to the bonus of everyone enjoying a coffee and bite to refine the class, feel more in control and gave eat during class. me the confidence to take the plunge and teach. Alternatively, you could offer group party bookings and that sentence was a game changer for me - it might find! helped me to shift my focus from my own One tip I found invaluable is to be flexible with your teaching approach - not everyone Suddenly it wasn’t about me, it was about empowering my students to unleash their kitchen learning something new. During a recent class, I was demonstrating how to use edible gold paint for finishing touches on a cake. Unfortunately I had a bit of an oopsie moment - I accidentally knocked over the paint bottle and it spilt all over the floor. It was a moment of panic, but I quickly improvised by grabbing some cake decorators alcohol and gold lustre dust. Turning the Q3. “I can’t afford to buy all the equipment I’ll need for my students…I know there’s always going to be an expense up front, but I can’t justify it.” situation into a learning opportunity, I showed the class how to create gold paint using
Page 35 text
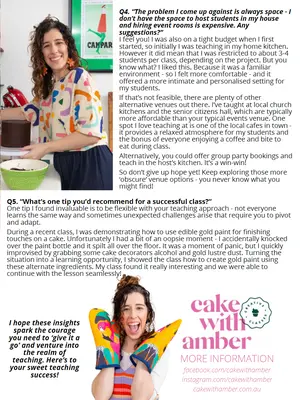
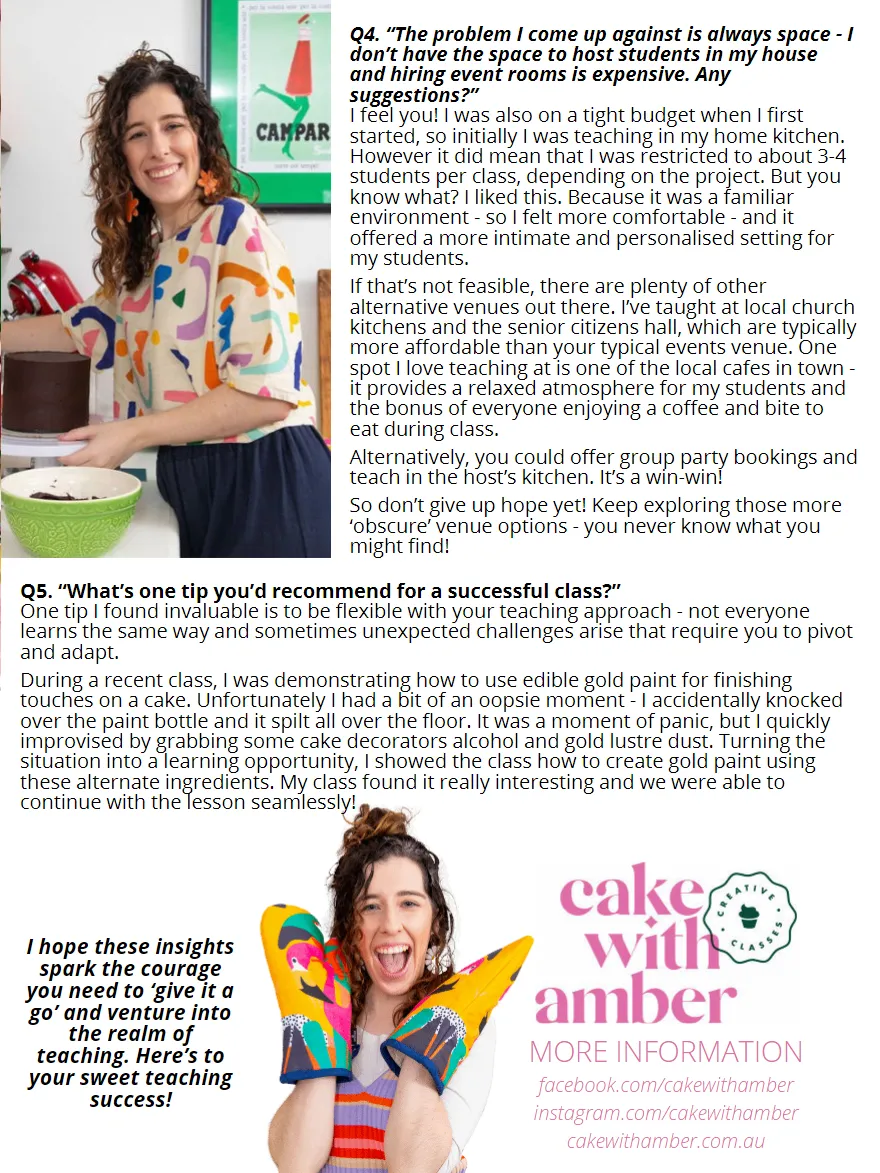
Q4. “The problem I come up against is always space - I don’t have the space to host students in my house and hiring event rooms is expensive. Any I feel you! I was also on a tight budget when I first started, so initially I was teaching in my home kitchen. However it did mean that I was restricted to about 3-4 students per class, depending on the project. But you know what? I liked this. Because it was a familiar environment - so I felt more comfortable - and it offered a more intimate and personalised setting for If that’s not feasible, there are plenty of other alternative venues out there. I’ve taught at local church kitchens and the senior citizens hall, which are typically more affordable than your typical events venue. One spot I love teaching at is one of the local cafes in town - ‘obscure’ venue options - you never know what you One tip I found invaluable is to be flexible with your teaching approach - not everyone learns the same way and sometimes unexpected challenges arise that require you to pivot over the paint bottle and it spilt all over the floor. It was a moment of panic, but I quickly improvised by grabbing some cake decorators alcohol and gold lustre dust. Turning the Q3. “I can’t afford to buy all the equipment I’ll need for my students…I know there’s situation into a learning opportunity, I showed the class how to create gold paint using
Page 36 text
2024 PREFERRED SUPPLIERS MEMBER DISCOUNTS


Page 37 text
2024 PREFERRED SUPPLIERS MEMBER DISCOUNTS

Page 42 text
SAVE THE DATE!
Page 43 text
SAVE THE DATE!
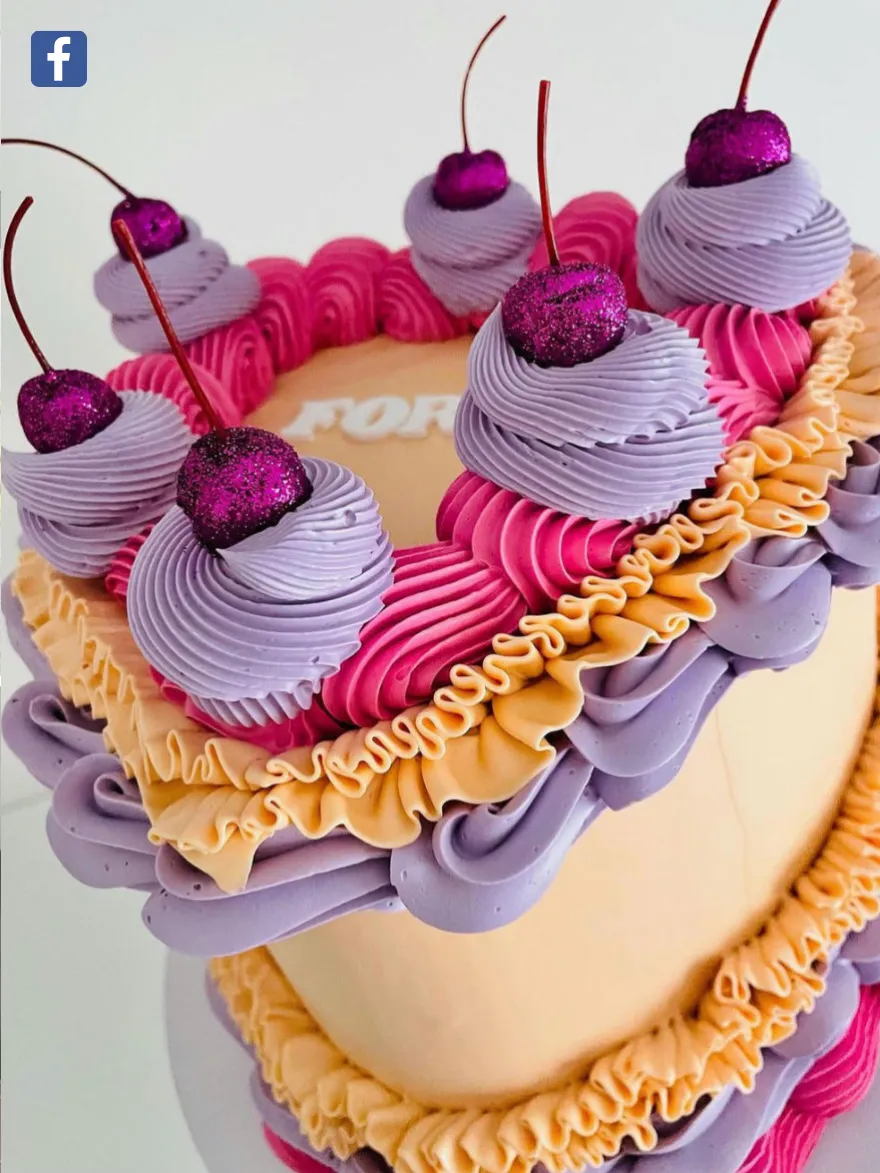
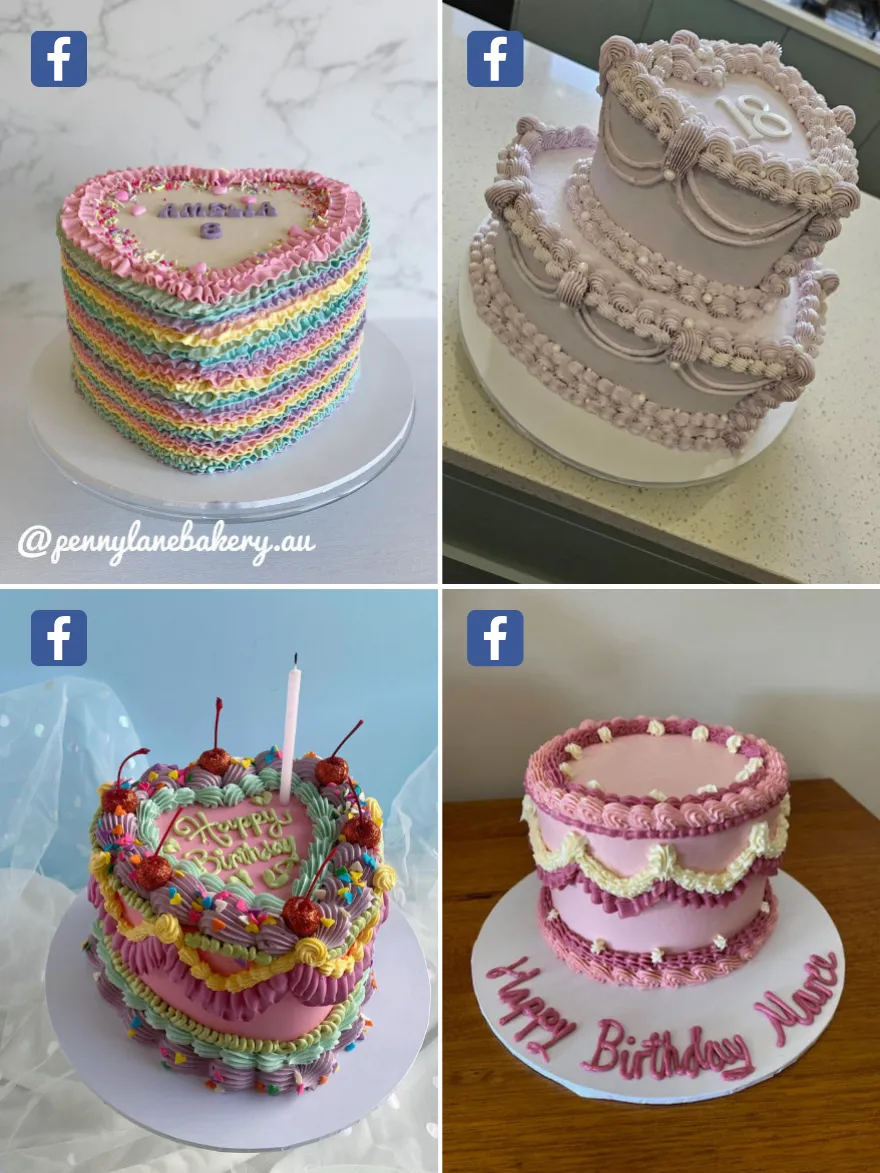


Page 56 text
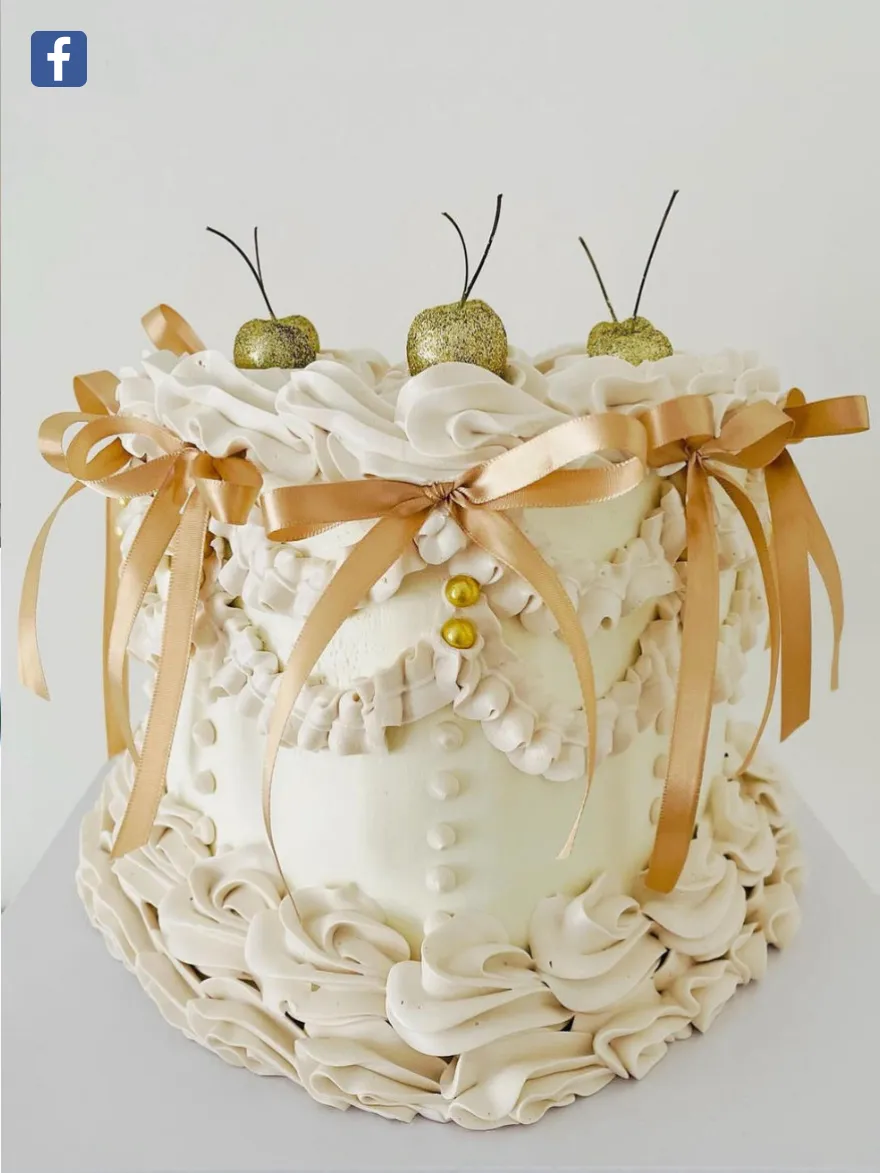
$199
Page 63 text
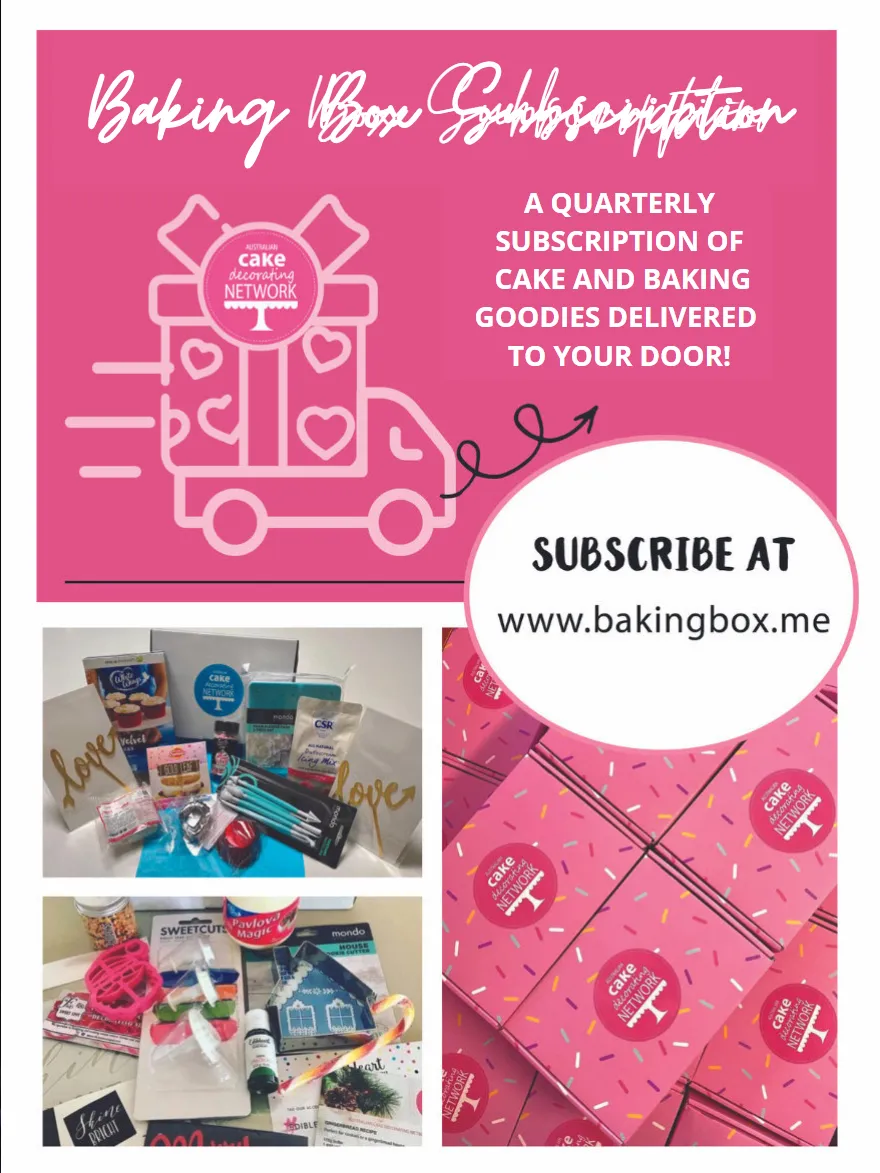
Baking Box Subscription Baking Box Subscription A QUARTERLY SUBSCRIPTION OF CAKE AND BAKING GOODIES DELIVERED TO YOUR DOOR!
Page 66 text
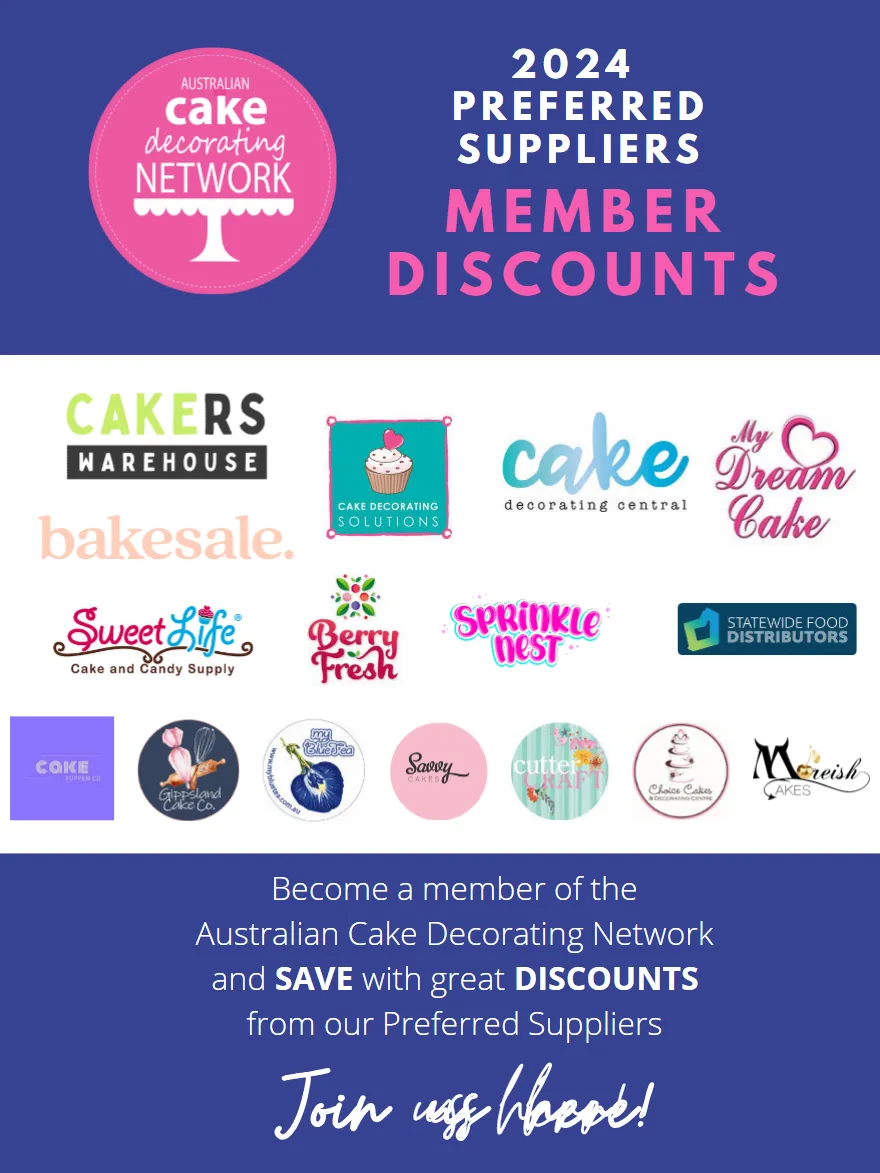
2024 PREFERRED SUPPLIERS MEMBER DISCOUNTS
Page 67 text
2024 PREFERRED SUPPLIERS MEMBER DISCOUNTS