Page 91 of 122
Page 1 text
Cake! MAGAZINE
Page 2 text
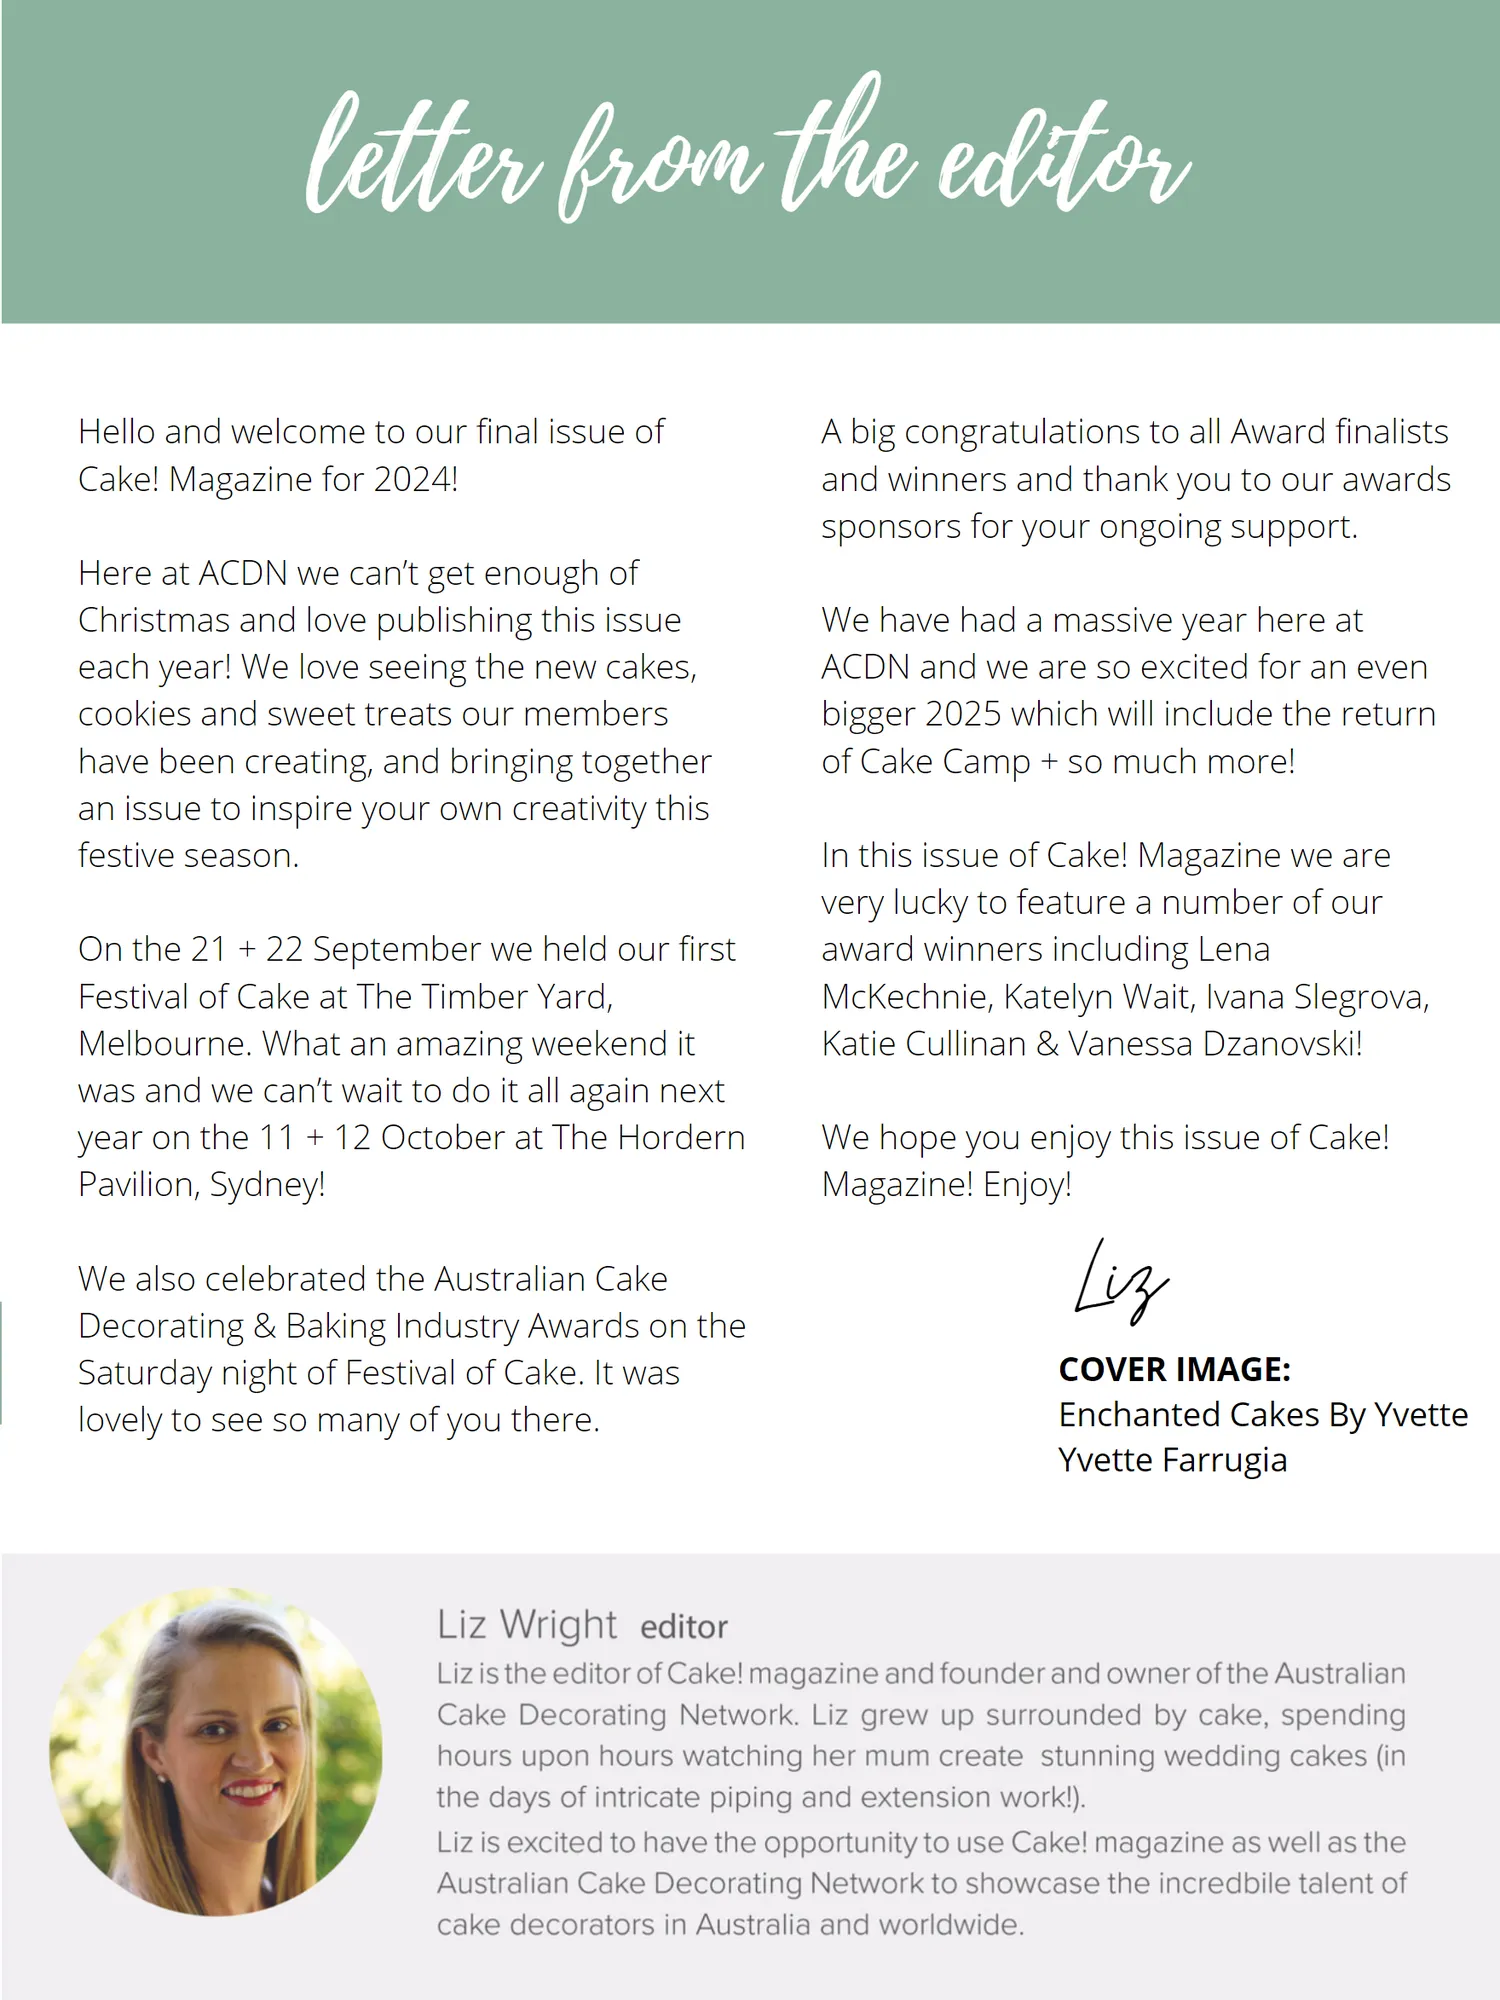
letter from the editor Hello and welcome to our final issue of Cake! Magazine for 2024! Here at ACDN we can’t get enough of Christmas and love publishing this issue
Page 3 text
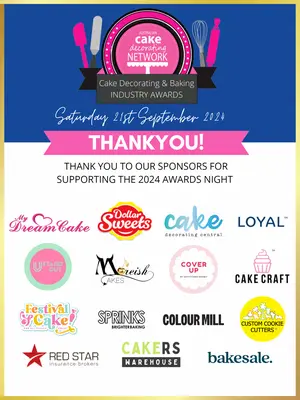
letter from the editor Hello and welcome to our final issue of A big congratulations to all Award finalists and winners and thank you to our awards sponsors for your ongoing support. Here at ACDN we can’t get enough of Christmas and love publishing this issue We have had a massive year here at
Page 4 text
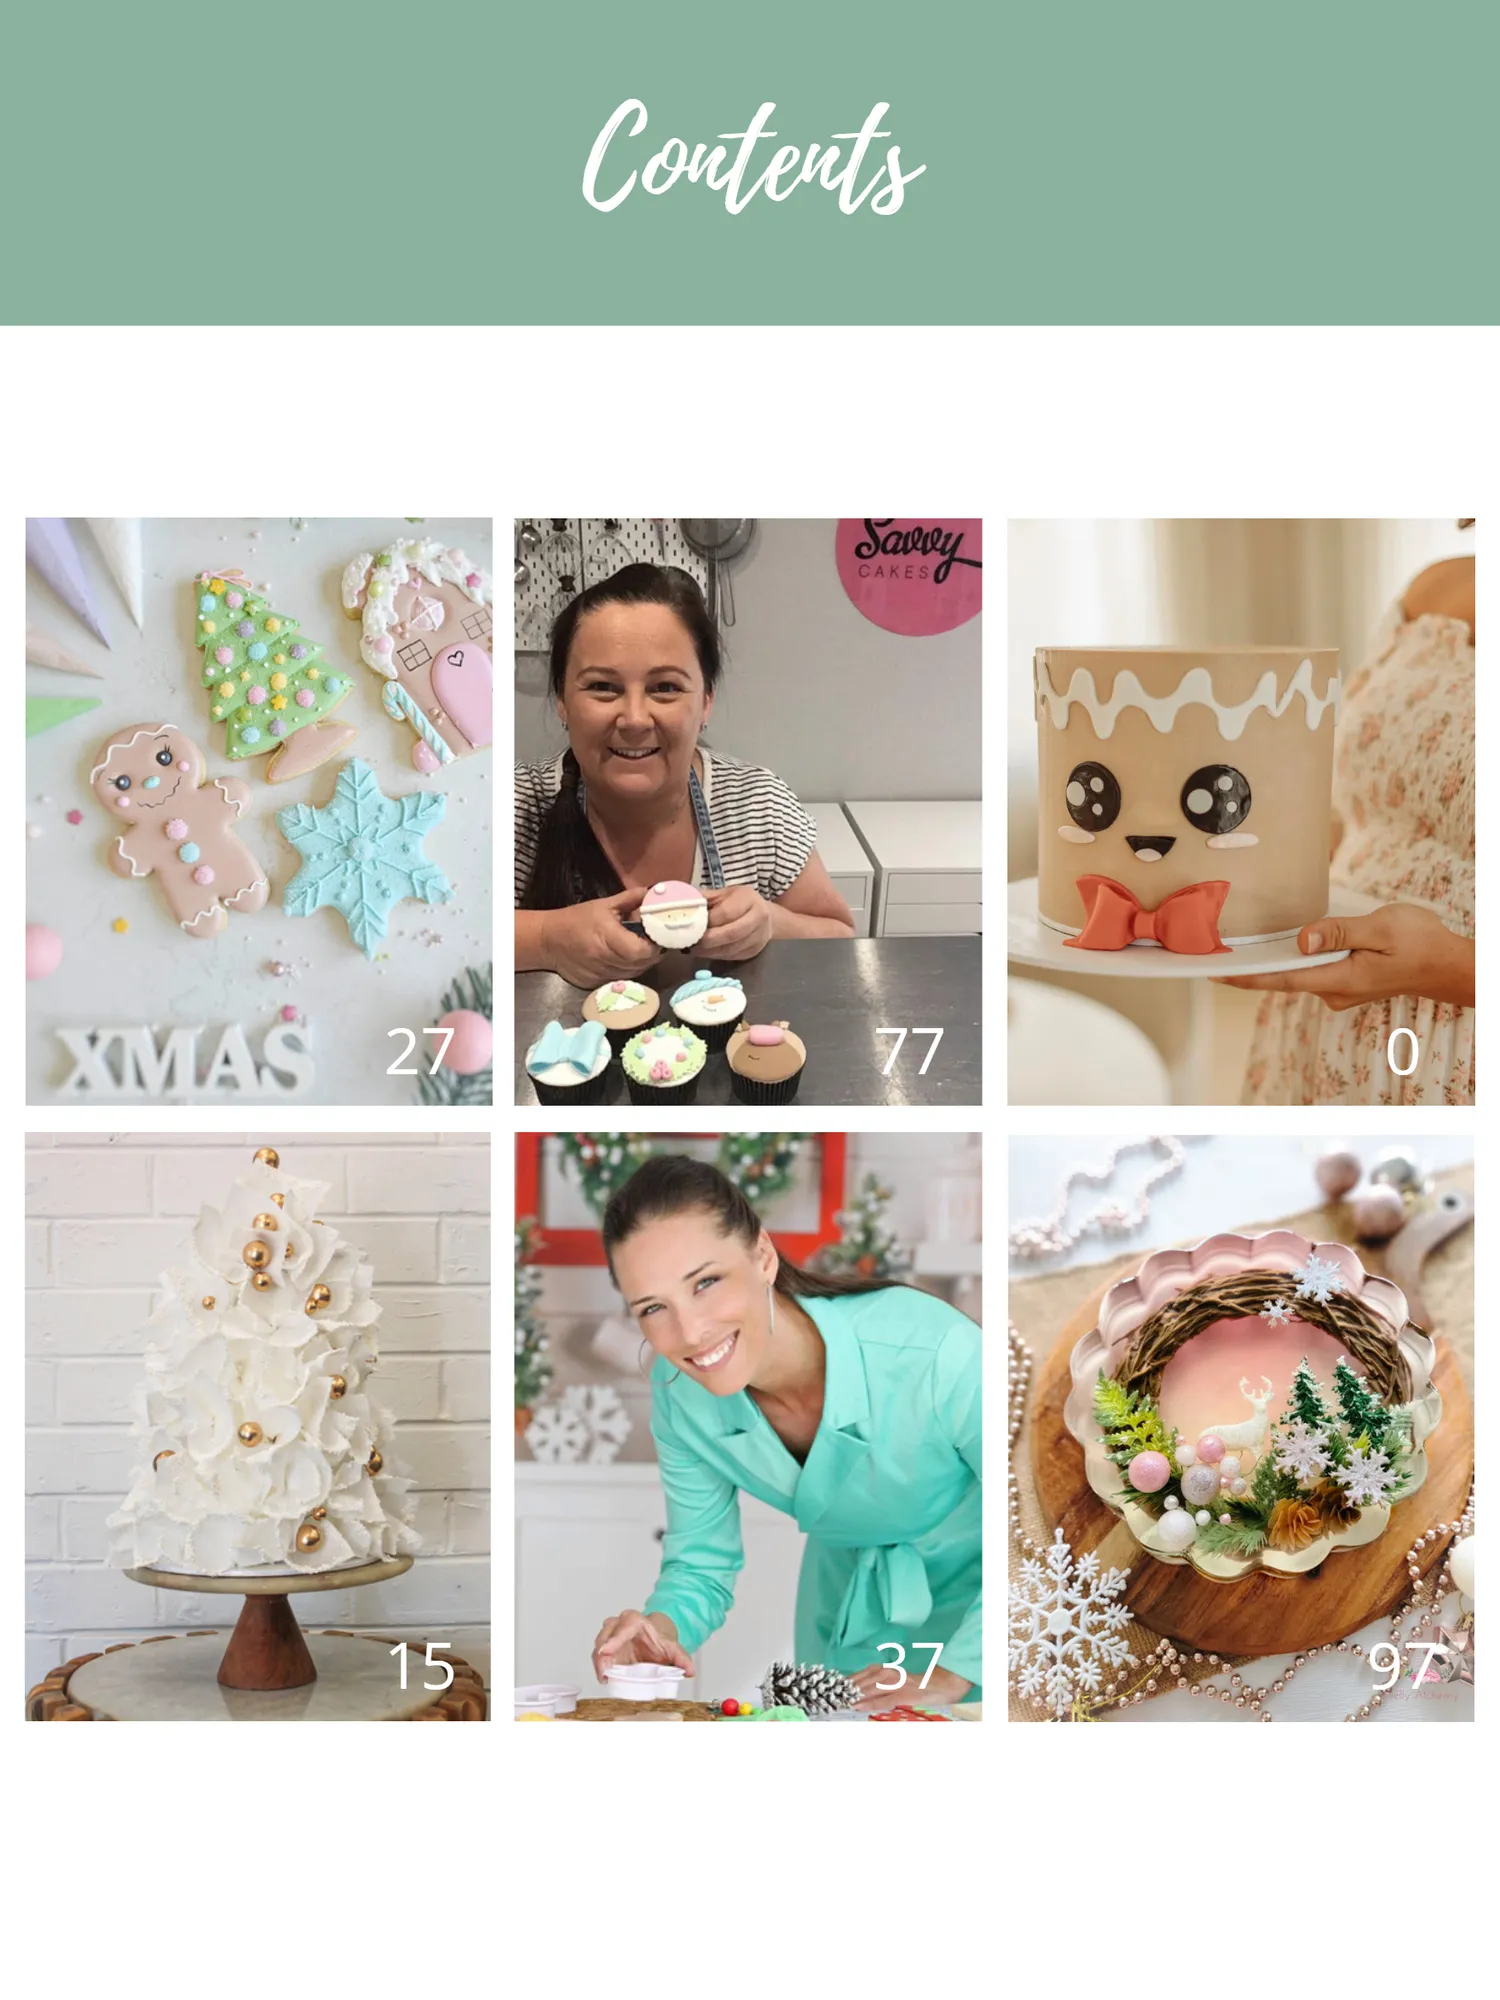
Contents 27 77 0 15 37 97
Page 5 text
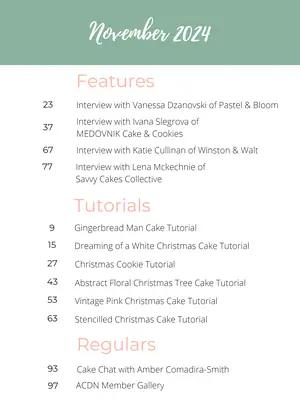
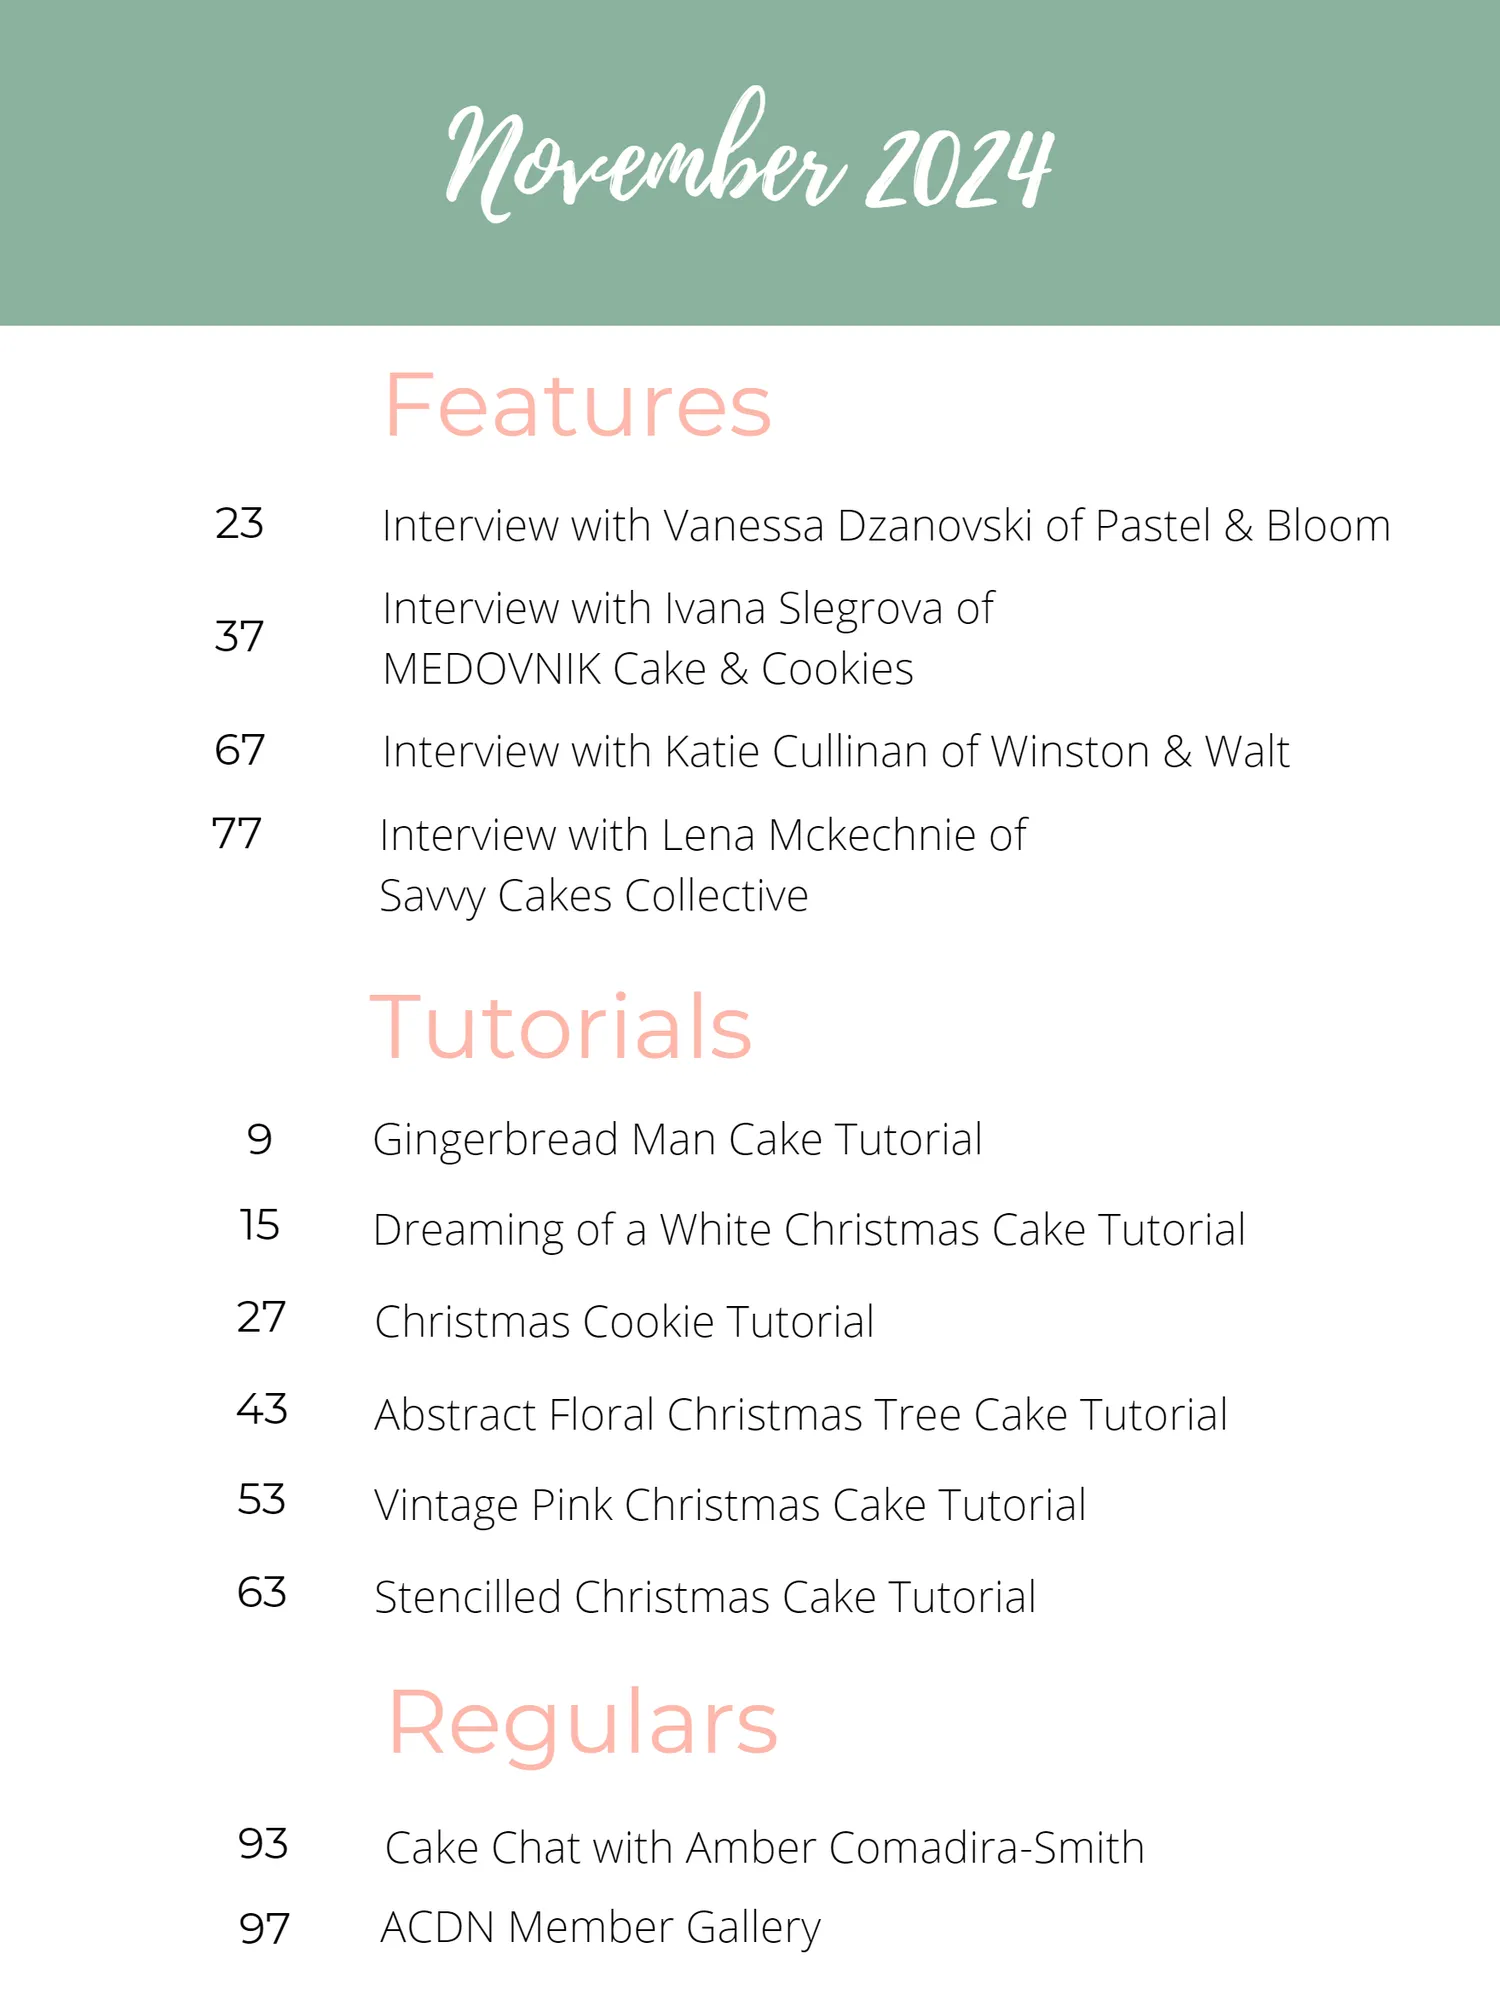
November 2024 Features 23 Interview with Vanessa Dzanovski of Pastel & Bloom Interview with Ivana Slegrova of 37 MEDOVNIK Cake & Cookies 67 Interview with Katie Cullinan of Winston & Walt 77 Interview with Lena Mckechnie of Savvy Cakes Collective Tutorials 9 Gingerbread Man Cake Tutorial 15 Dreaming of a White Christmas Cake Tutorial 27 Christmas Cookie Tutorial 43 Abstract Floral Christmas Tree Cake Tutorial 53 Vintage Pink Christmas Cake Tutorial 63 Stencilled Christmas Cake Tutorial Regulars 93 Cake Chat with Amber Comadira-Smith 97 ACDN Member Gallery
Page 7 text
Tutorials

Page 8 text
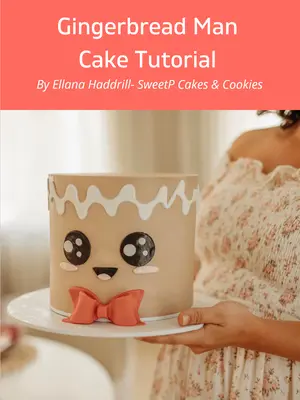
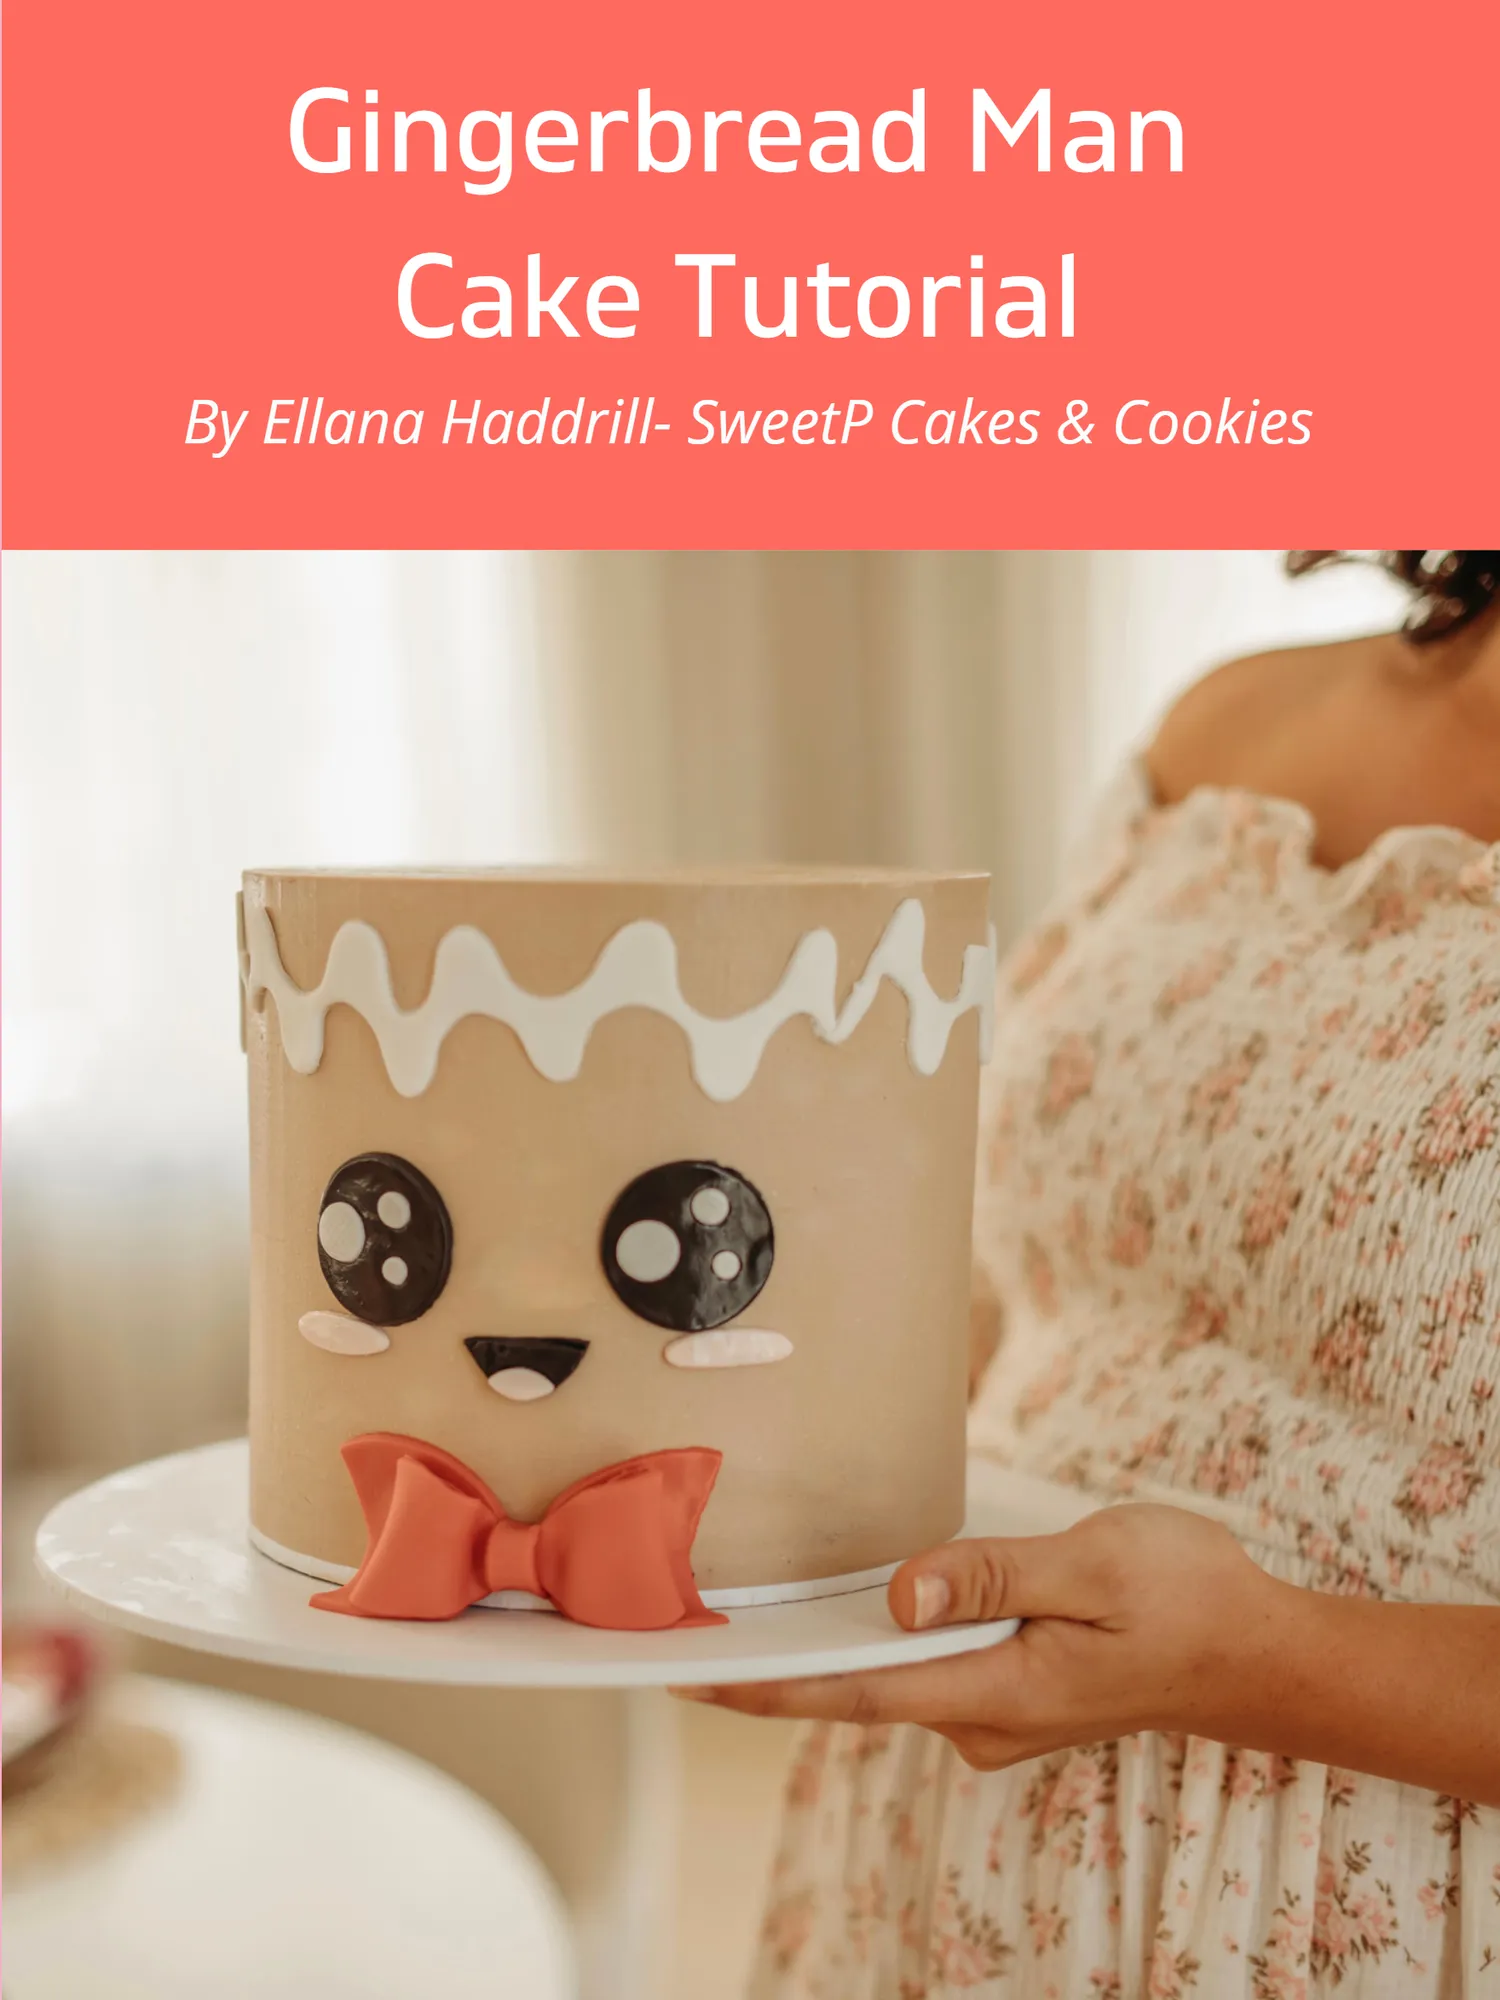
Gingerbread Man By Ellana Haddrill- SweetP Cakes & Cookies
Page 9 text
Gingerbread Man Cake Tutorial By Ellana Haddrill- SweetP Cakes & Cookies
Page 10 text
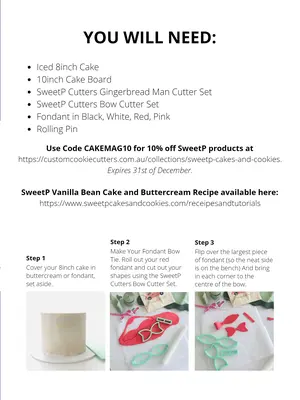
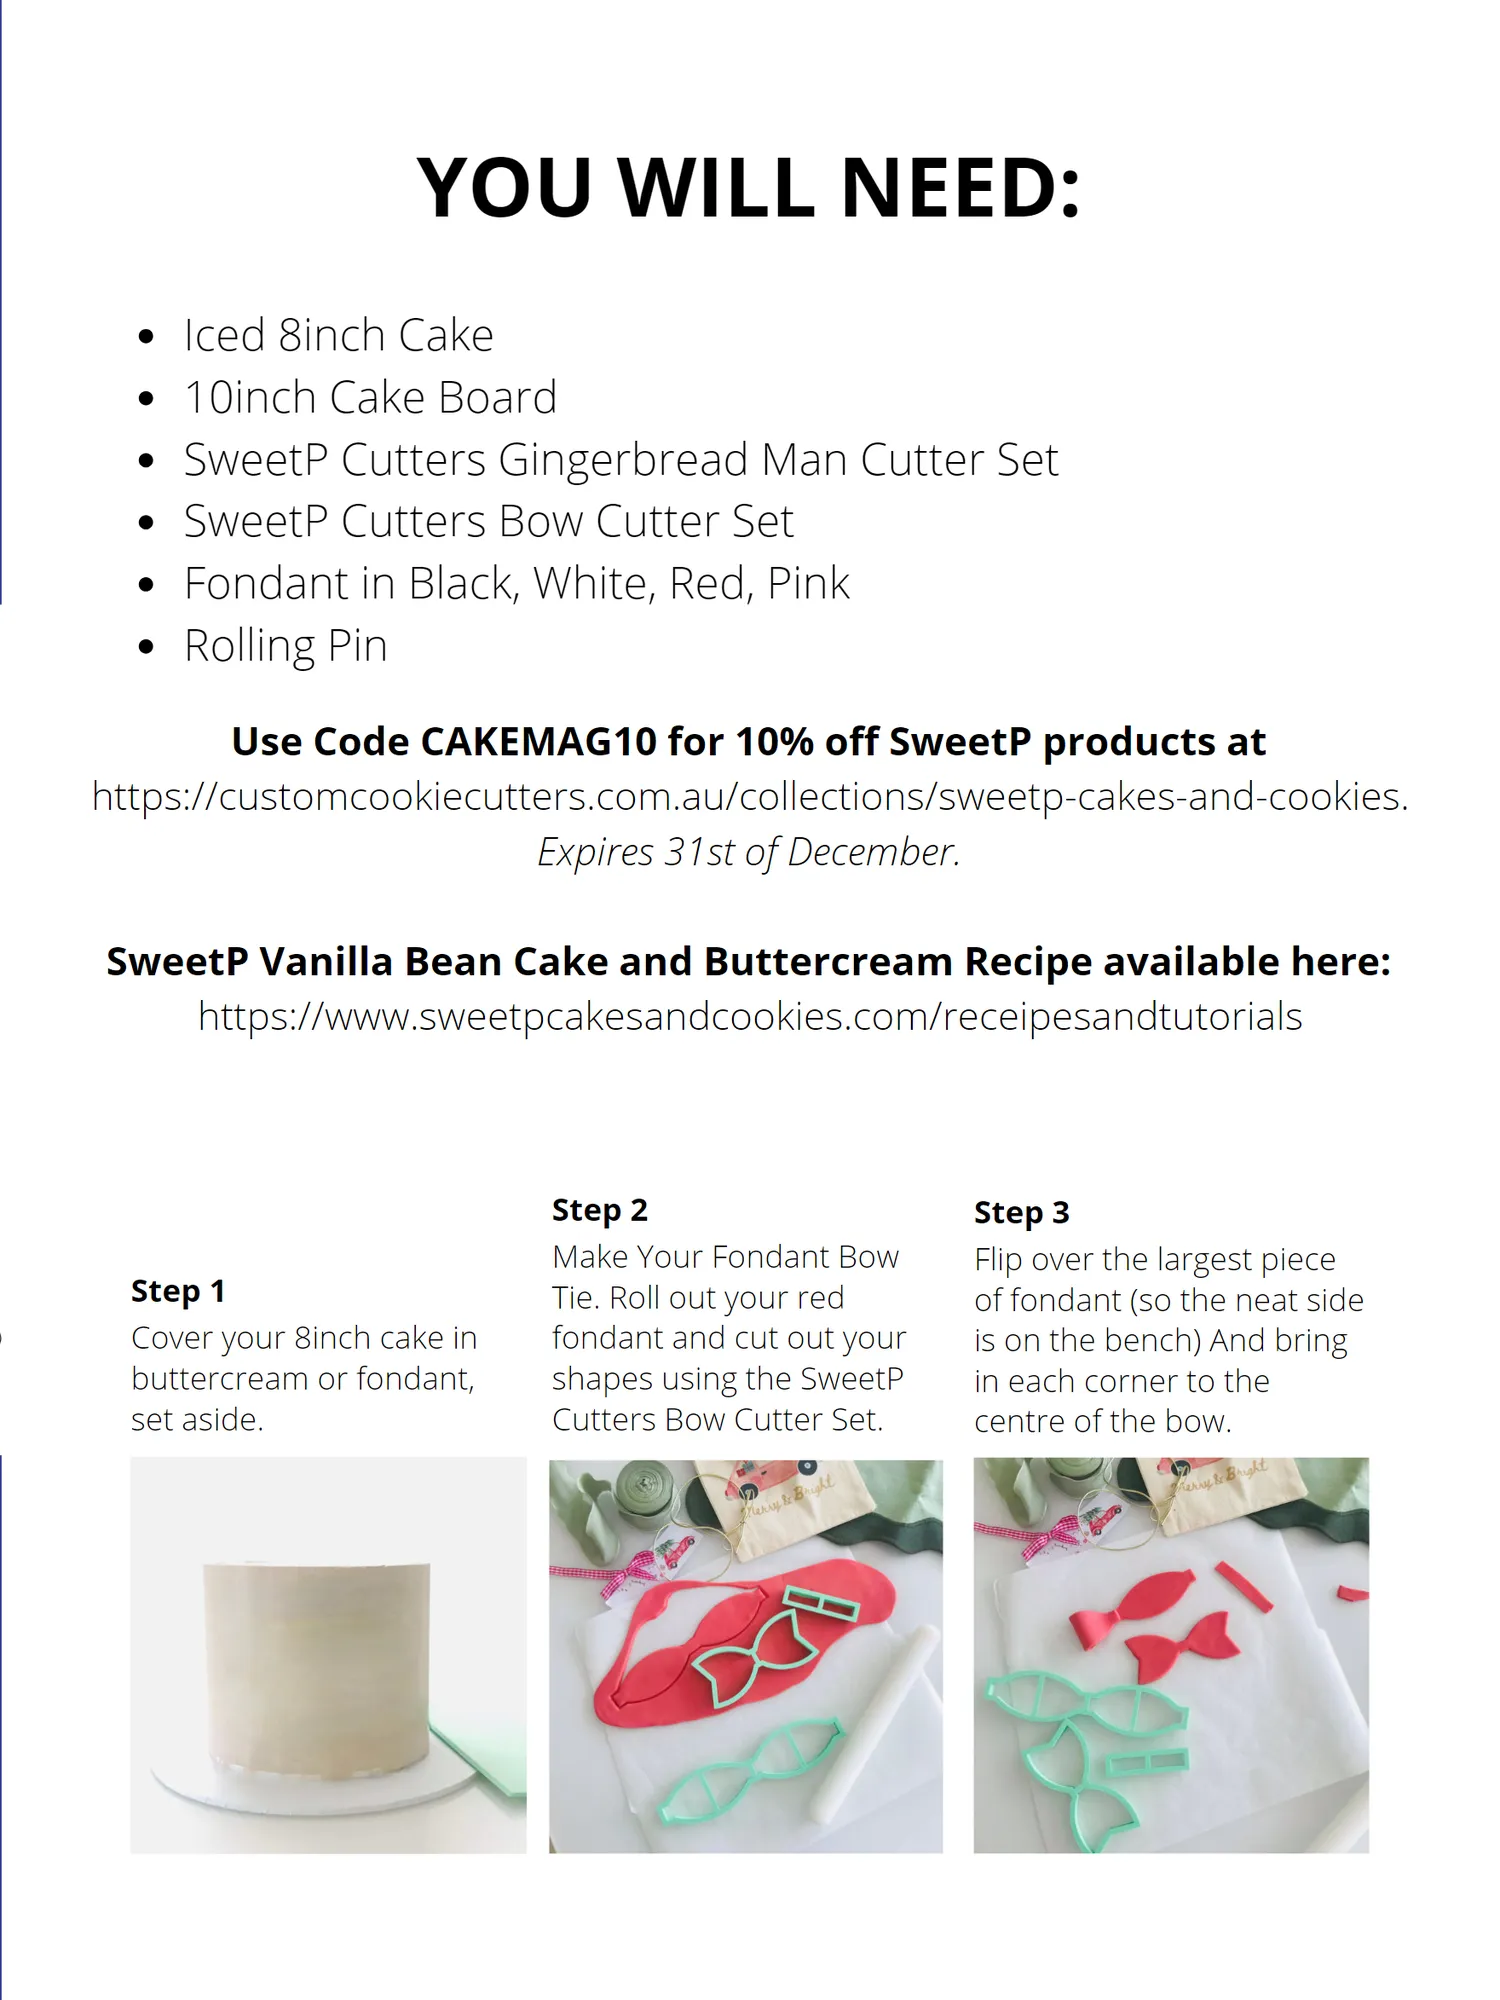
Iced 8inch Cake 10inch Cake Board SweetP Cutters Gingerbread Man Cutter Set SweetP Cutters Bow Cutter Set Rolling Pin
Page 11 text
2024 YOU WILL NEED: PREFERRED SUPPLIERS MEMBER 10inch Cake Board DISCOUNTS SweetP Cutters Gingerbread Man Cutter Set SweetP Cutters Bow Cutter Set Fondant in Black, White, Red, Pink
Page 12 text
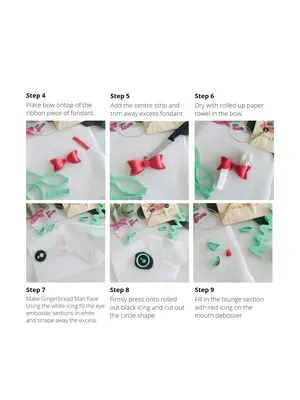
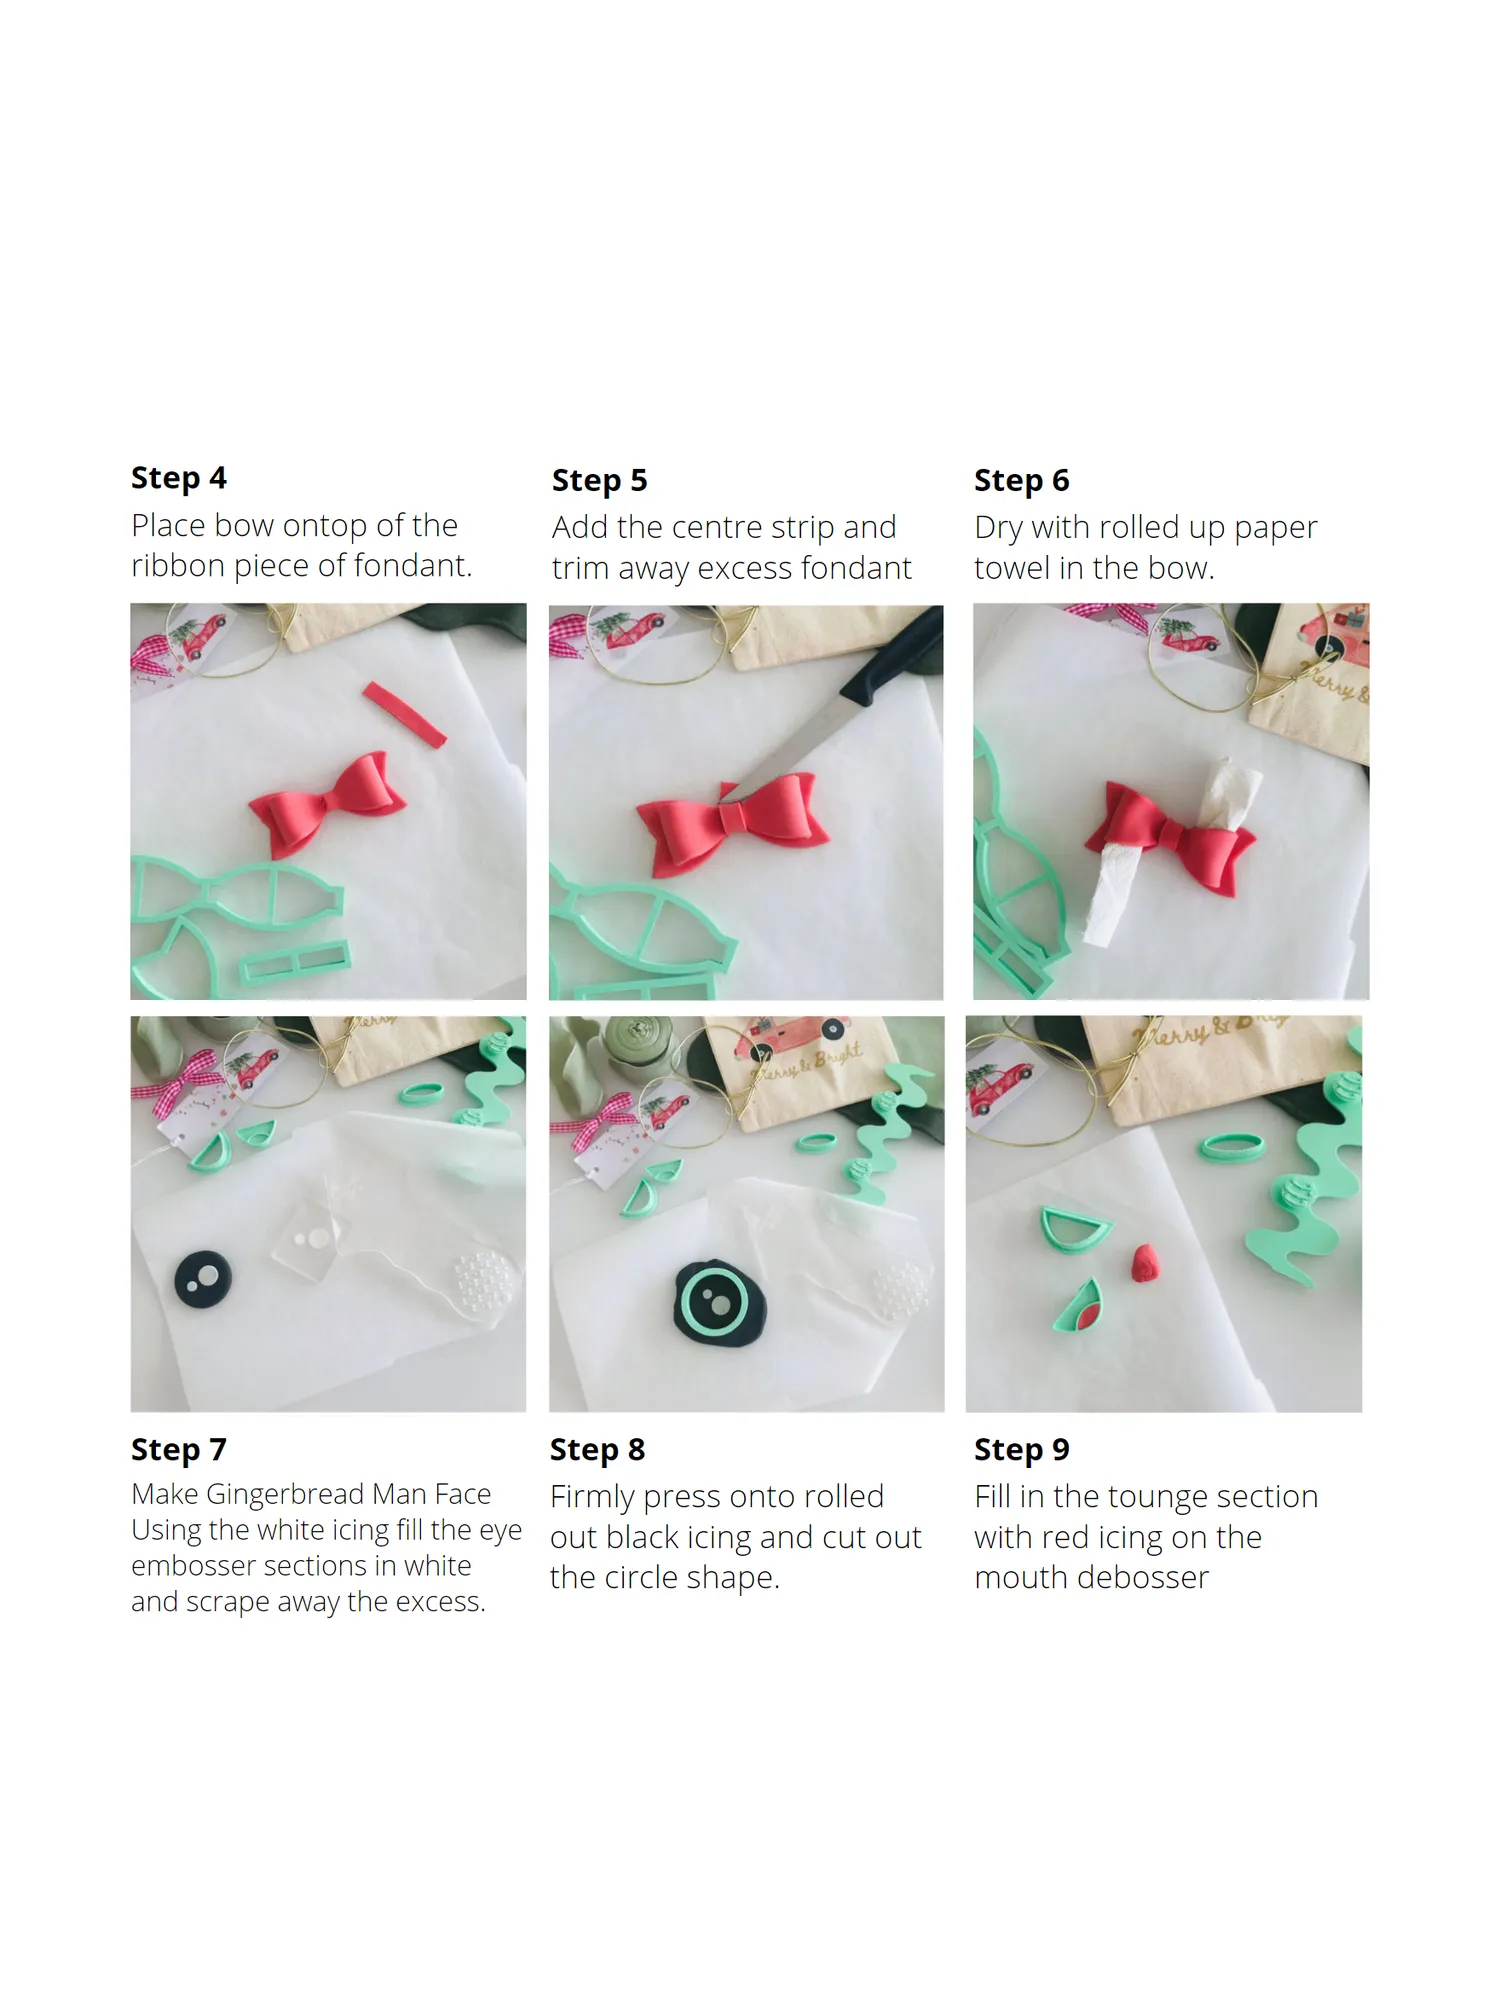
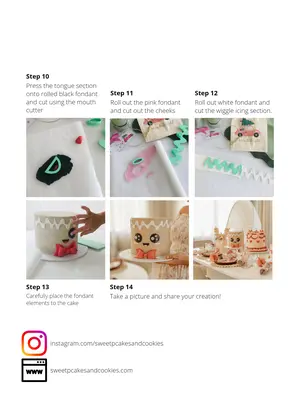
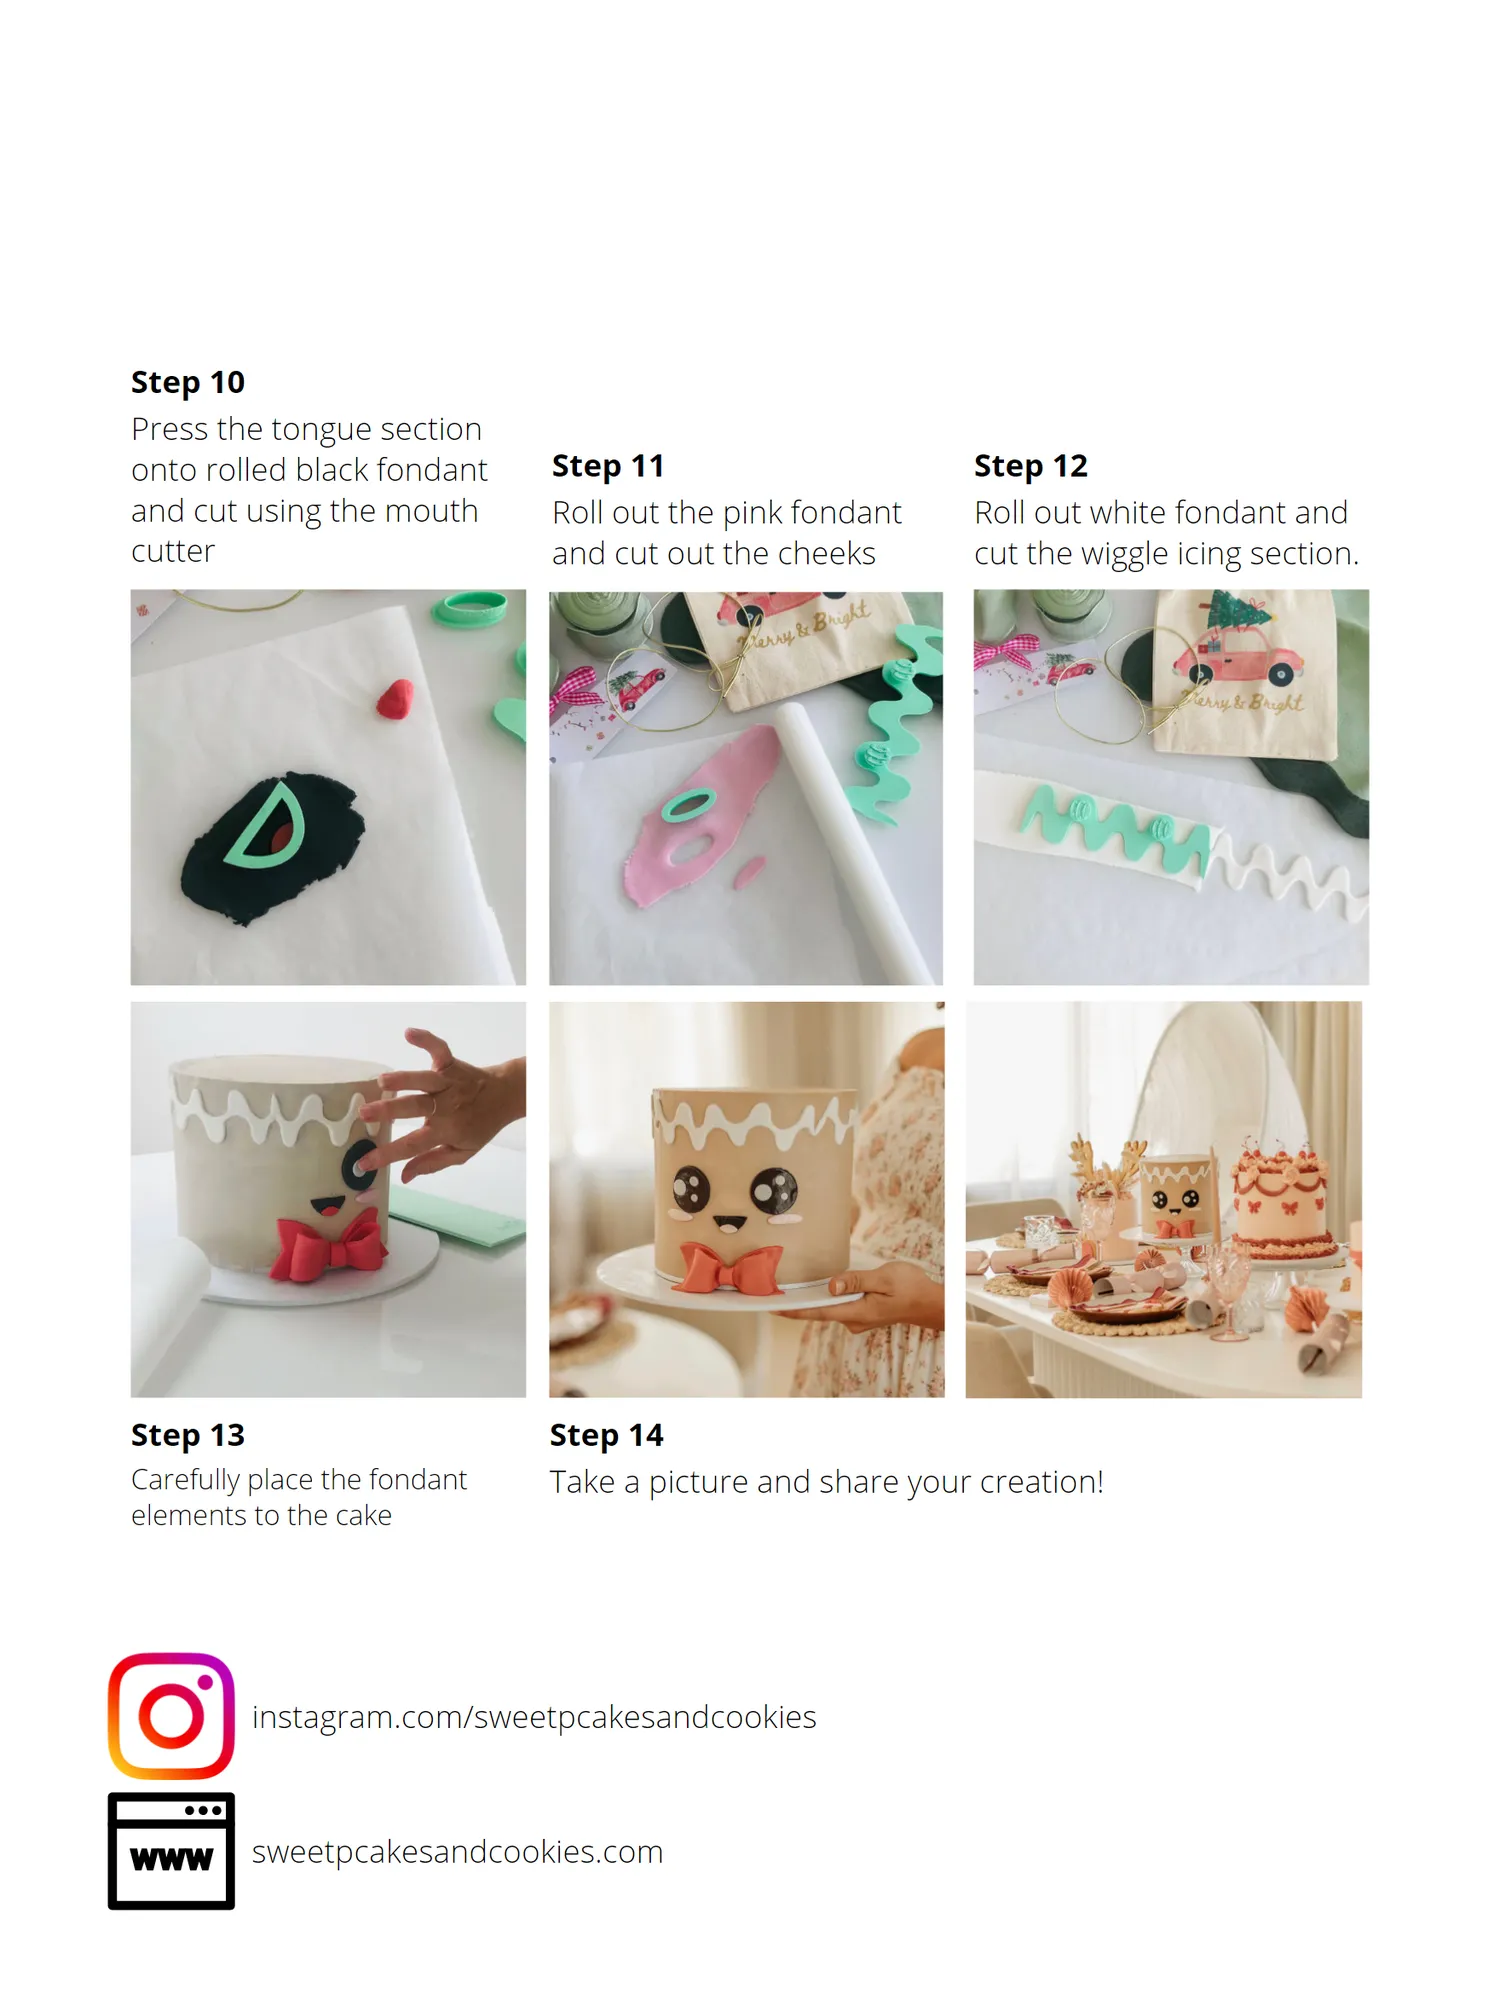
Step 10 Press the tongue section onto rolled black fondant Step 4 and cut using the mouth Place bow ontop of the cutter ribbon piece of fondant.
Page 13 text
Step 11 Step 5 Roll out the pink fondant Add the centre strip and and cut out the cheeks trim away excess fondant
Page 14 text
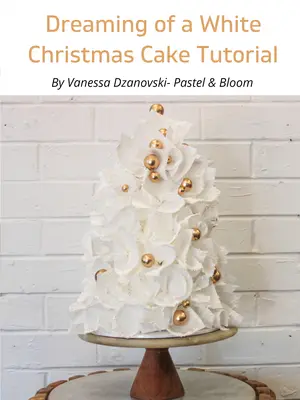
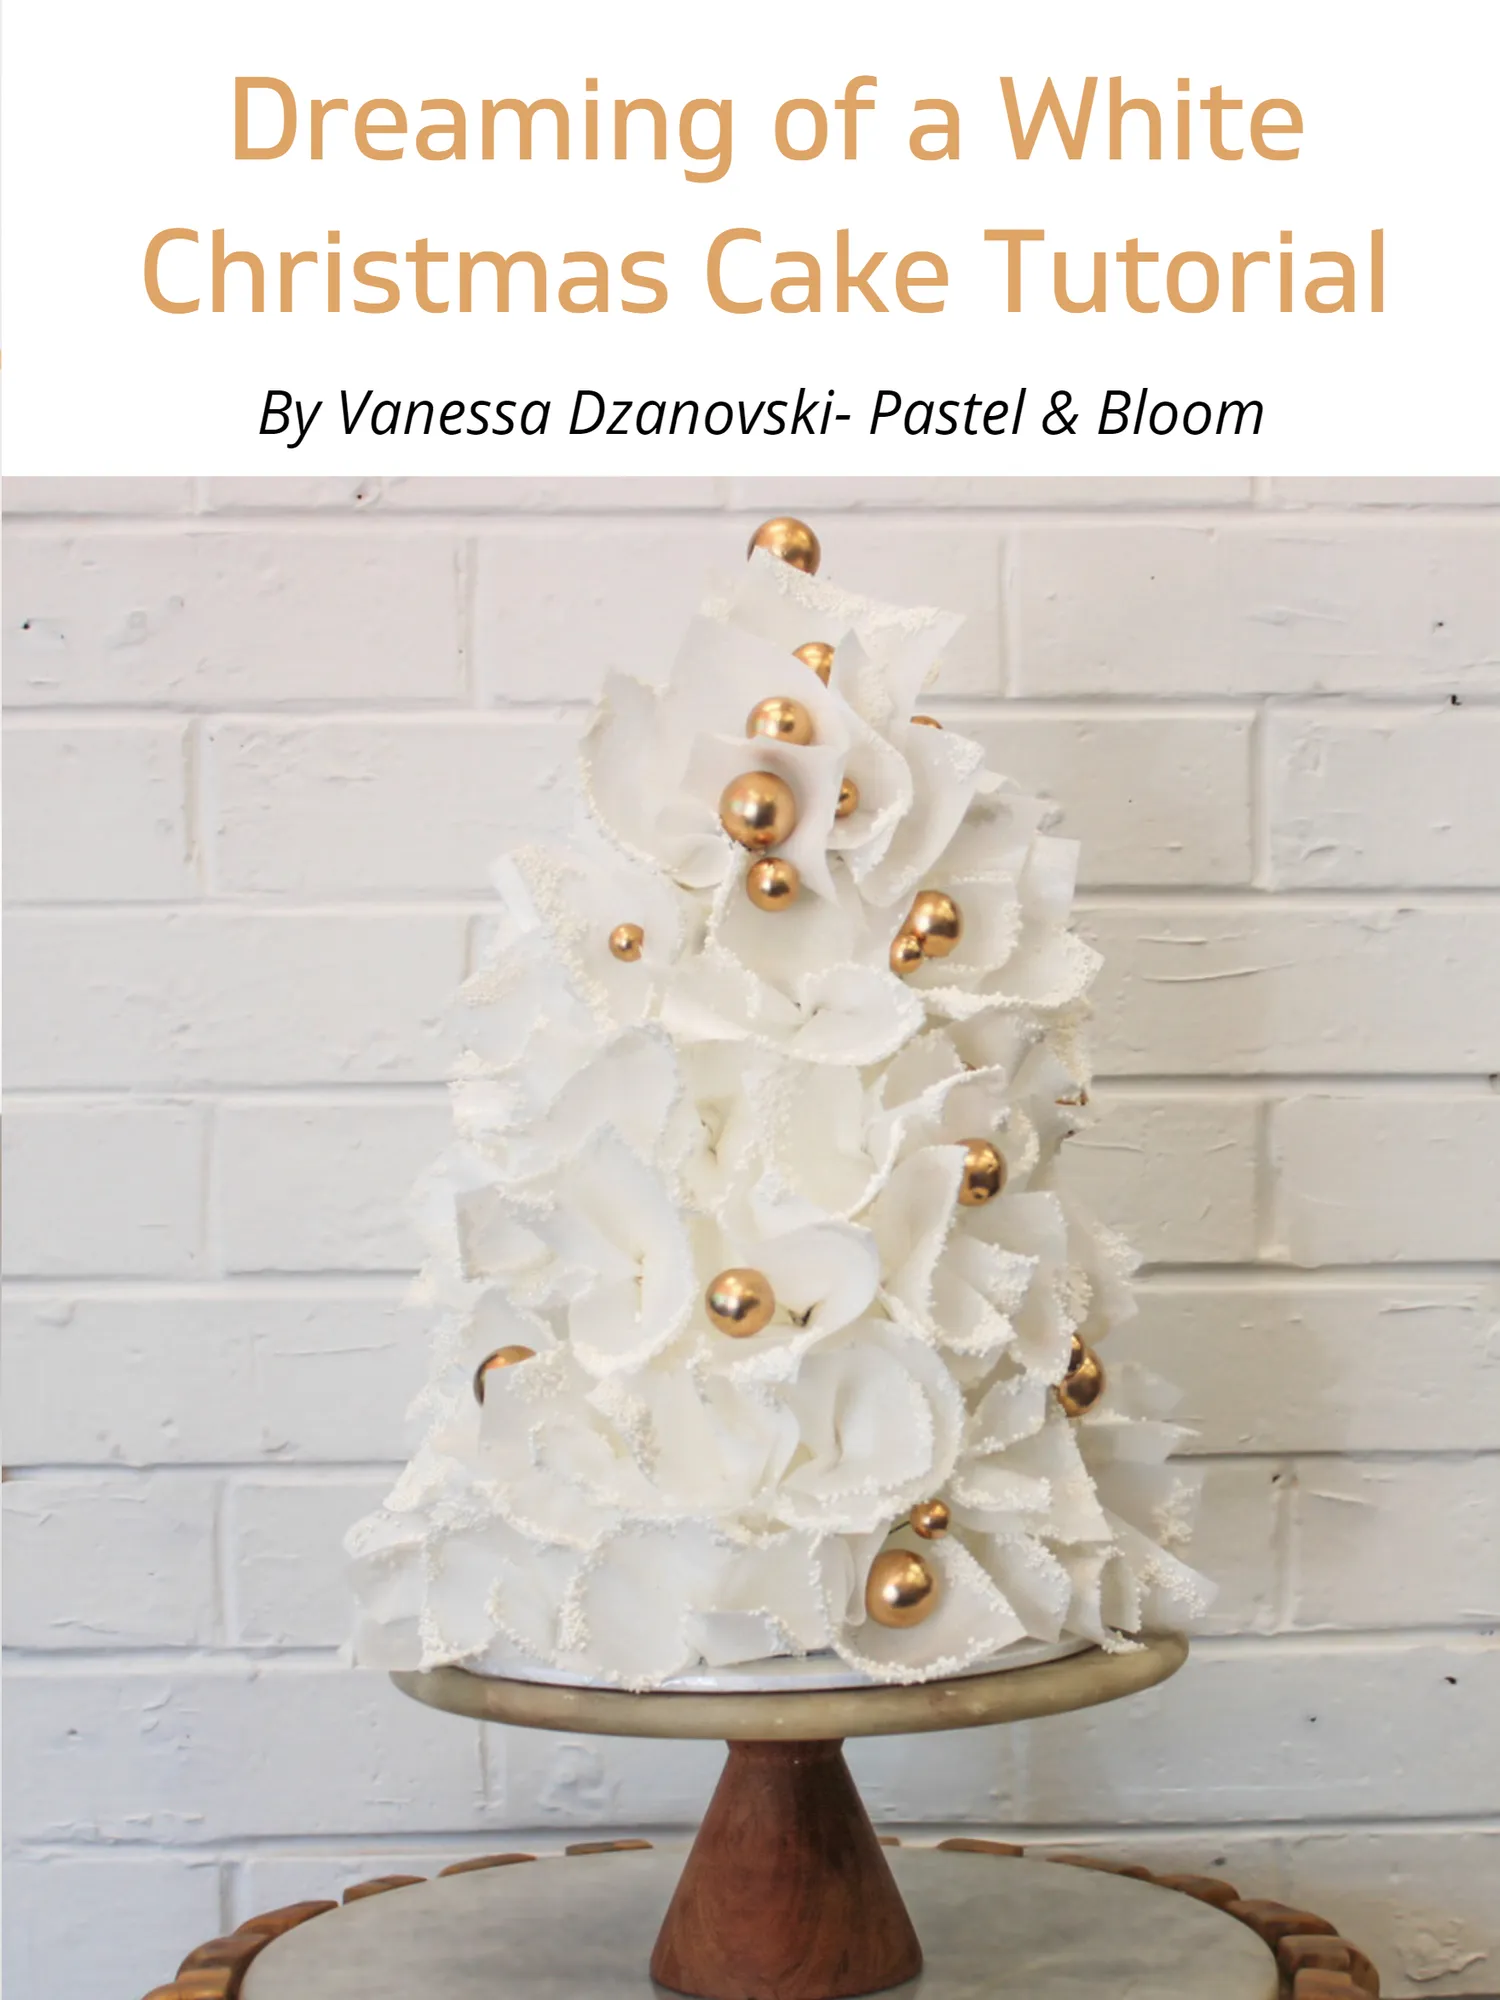
Dreaming of a White Christmas Cake Tutorial By Vanessa Dzanovski- Pastel & Bloom
Page 15 text
Christmas Cake Tutorial By Vanessa Dzanovski- Pastel & Bloom
Page 16 text
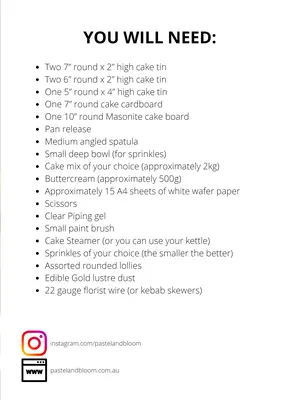
Two 7” round x 2” high cake tin Two 6” round x 2” high cake tin One 5” round x 4” high cake tin One 7” round cake cardboard One 10” round Masonite cake board Pan release
Page 17 text
YOU WILL NEED: Two 7” round x 2” high cake tin Two 6” round x 2” high cake tin One 5” round x 4” high cake tin One 7” round cake cardboard One 10” round Masonite cake board
Page 18 text
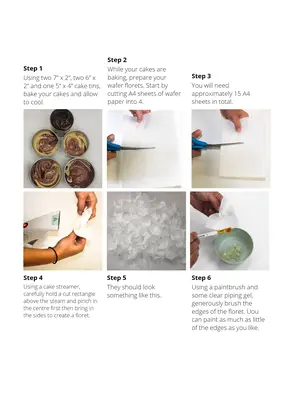
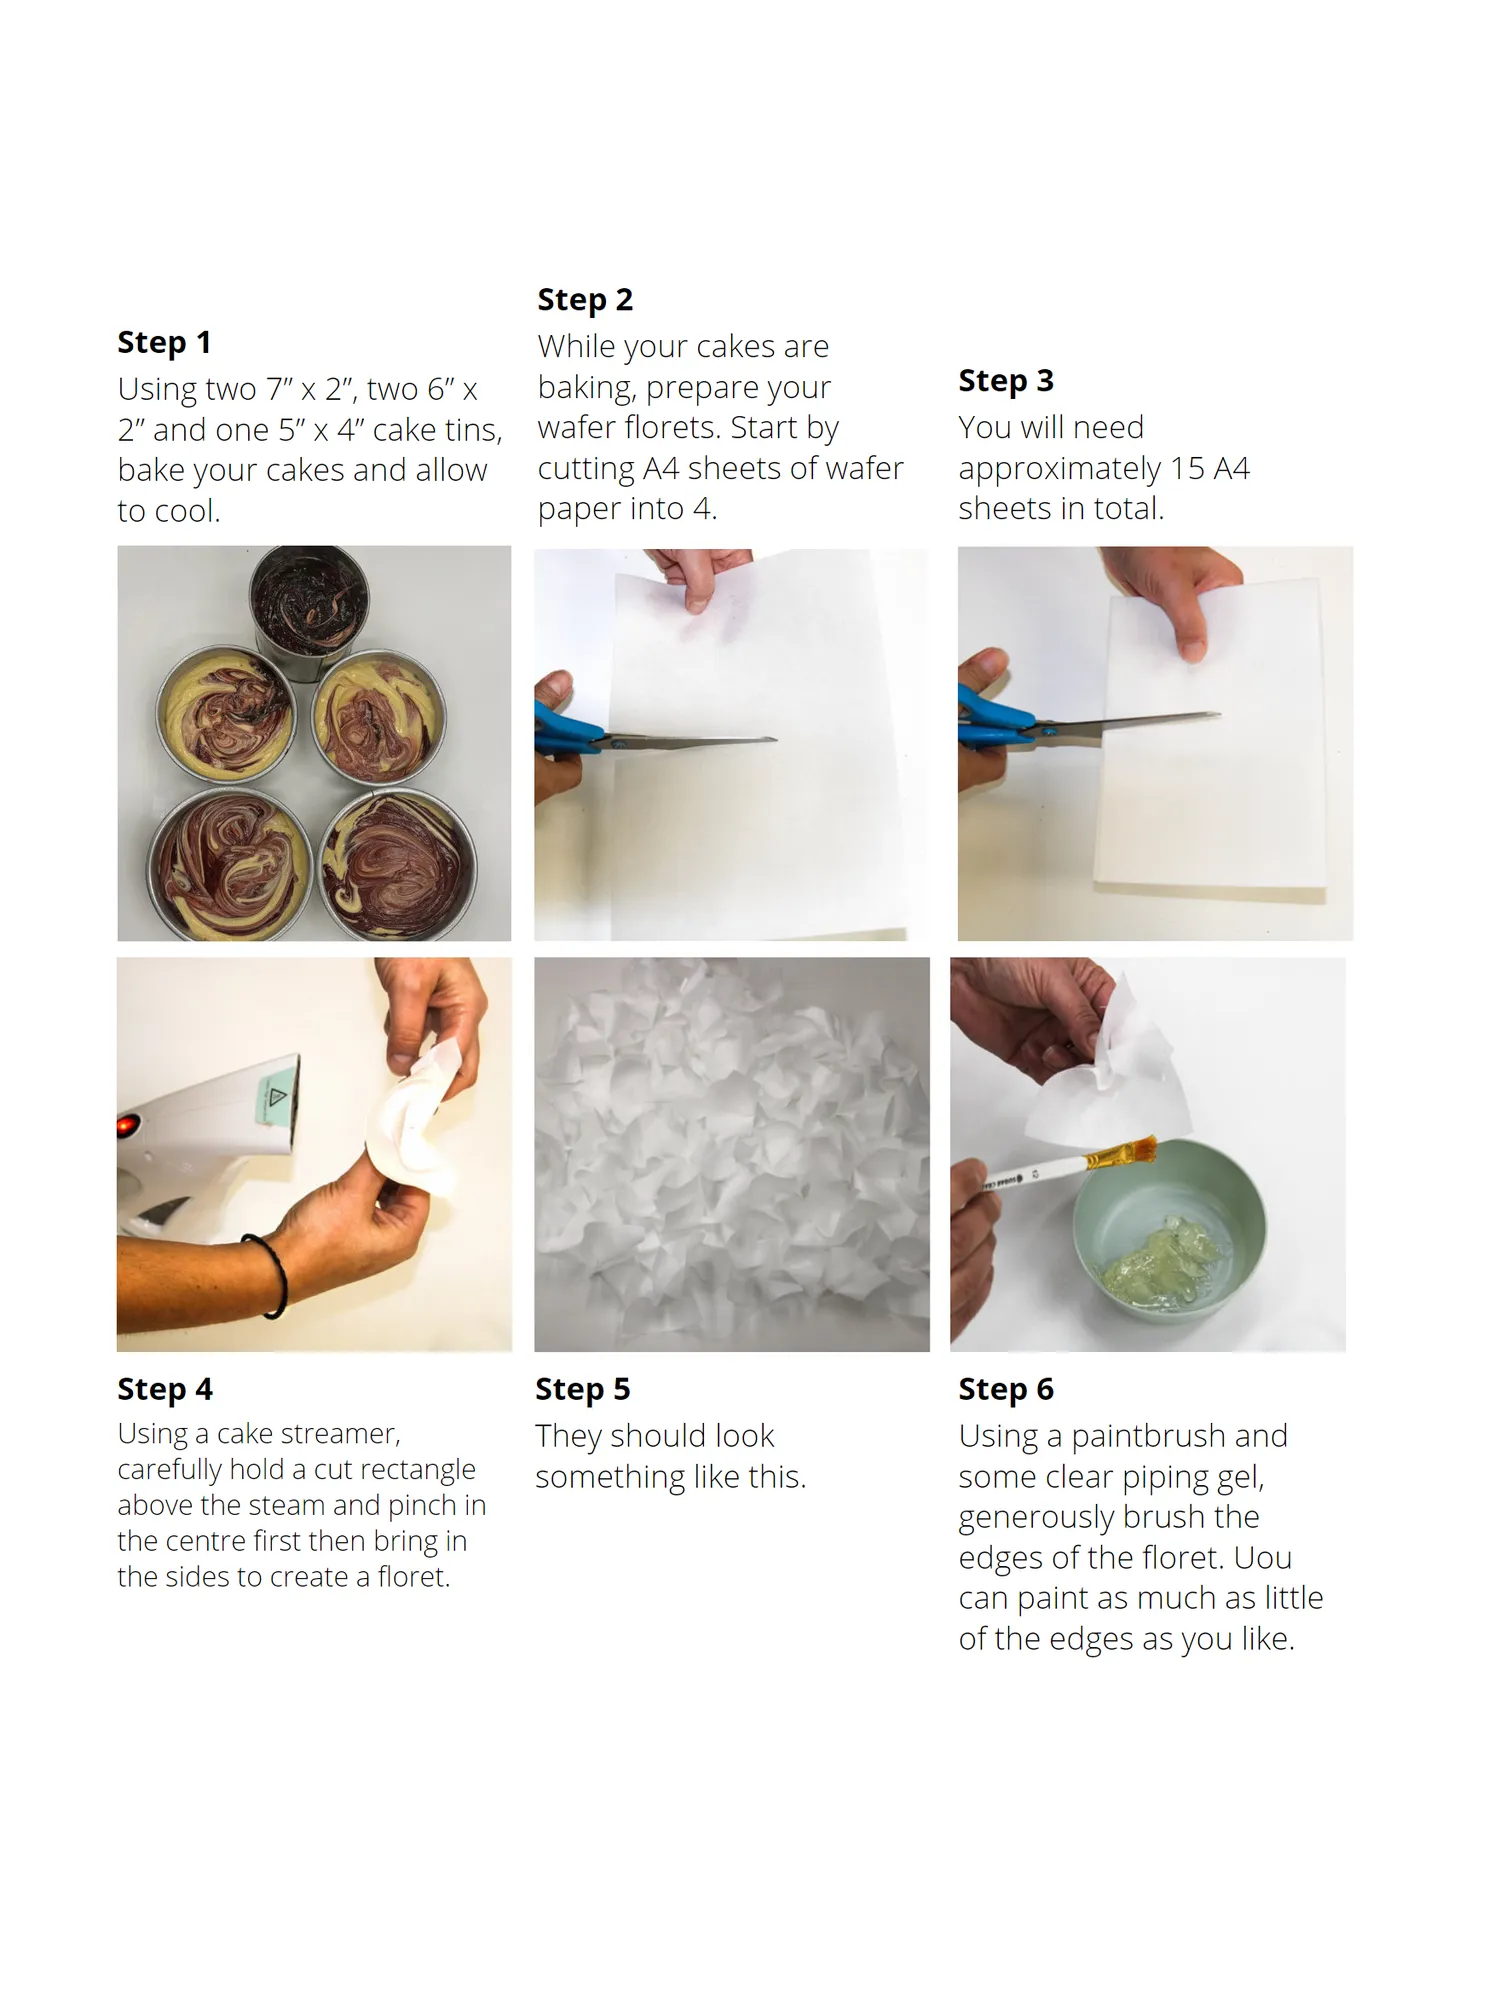
Step 2 Step 1 While your cakes are Using two 7” x 2”, two 6” x baking, prepare your Step 3 2” and one 5” x 4” cake tins, wafer florets. Start by You will need bake your cakes and allow cutting A4 sheets of wafer approximately 15 A4 to cool. paper into 4. sheets in total. Step 4 Step 5 Step 6 Using a cake streamer, They should look Using a paintbrush and carefully hold a cut rectangle something like this. some clear piping gel, above the steam and pinch in generously brush the the centre first then bring in edges of the floret. Uou the sides to create a floret. can paint as much as little of the edges as you like.
Page 19 text
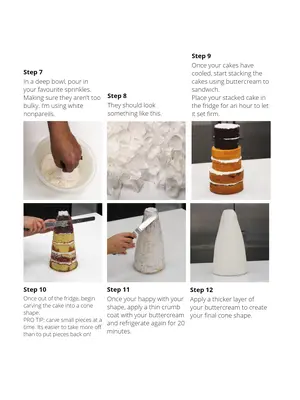
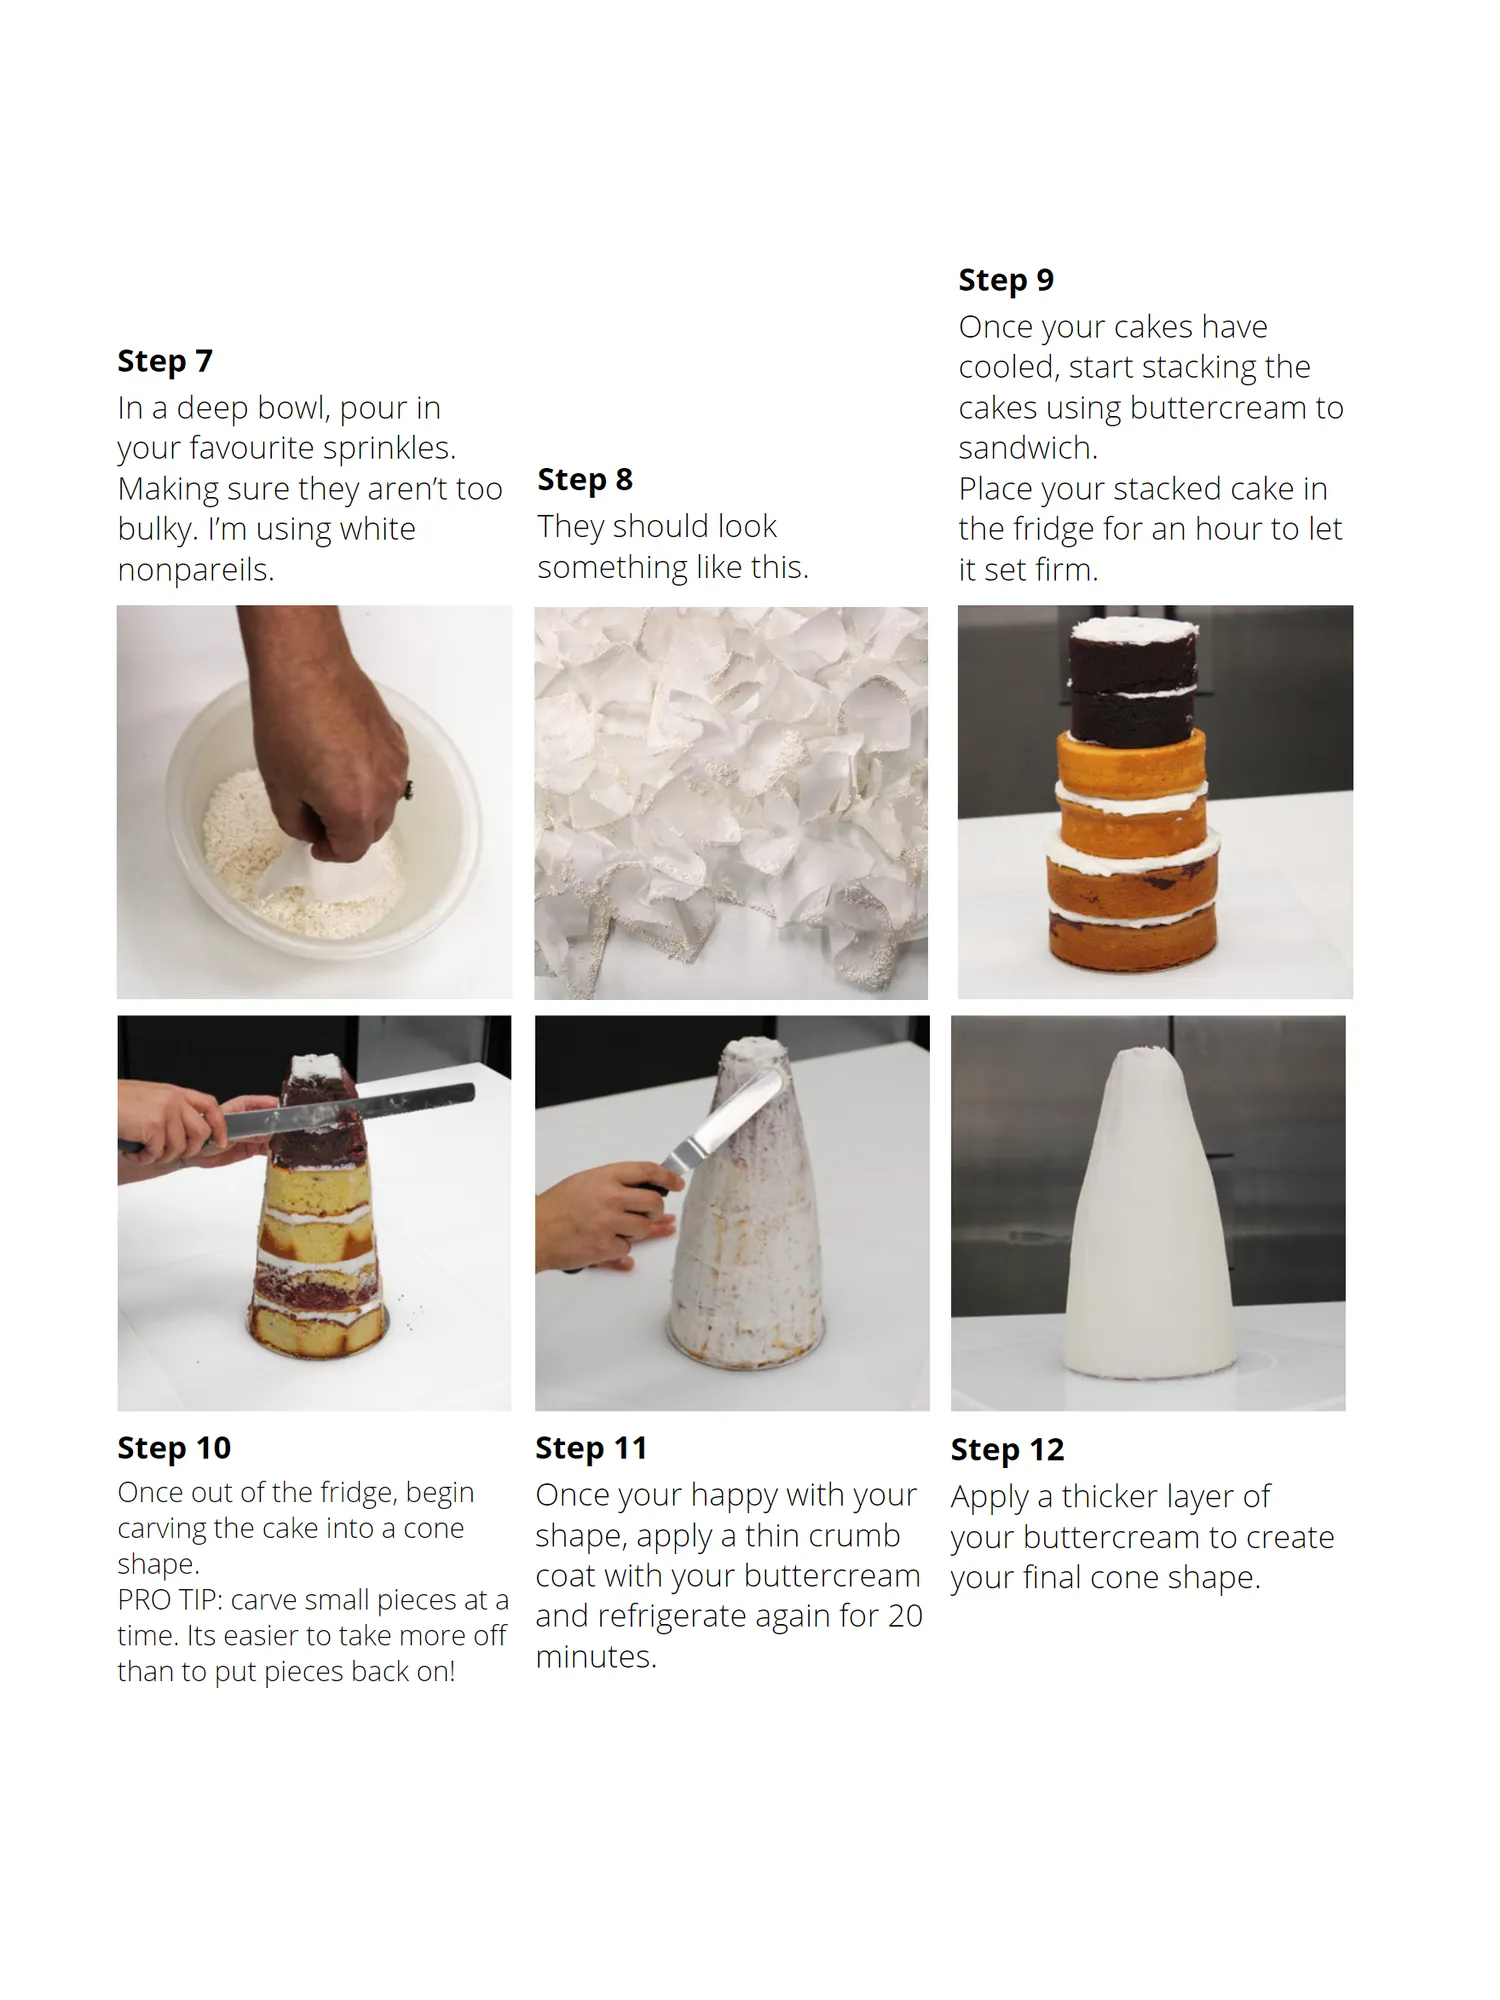
Step 9 Once your cakes have Step 7 cooled, start stacking the In a deep bowl, pour in cakes using buttercream to your favourite sprinkles. sandwich. Making sure they aren’t too Step 8 Place your stacked cake in bulky. I’m using white They should look the fridge for an hour to let nonpareils. something like this. it set firm. Step 10 Step 11 Step 12 Once out of the fridge, begin Once your happy with your Apply a thicker layer of carving the cake into a cone shape, apply a thin crumb your buttercream to create shape. coat with your buttercream your final cone shape. PRO TIP: carve small pieces at a and refrigerate again for 20 time. Its easier to take more off minutes. than to put pieces back on!
Page 20 text
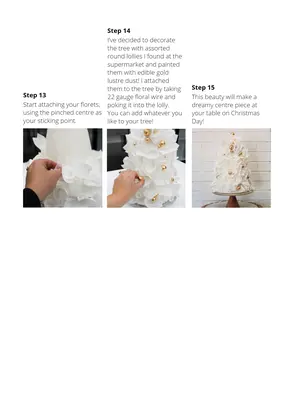
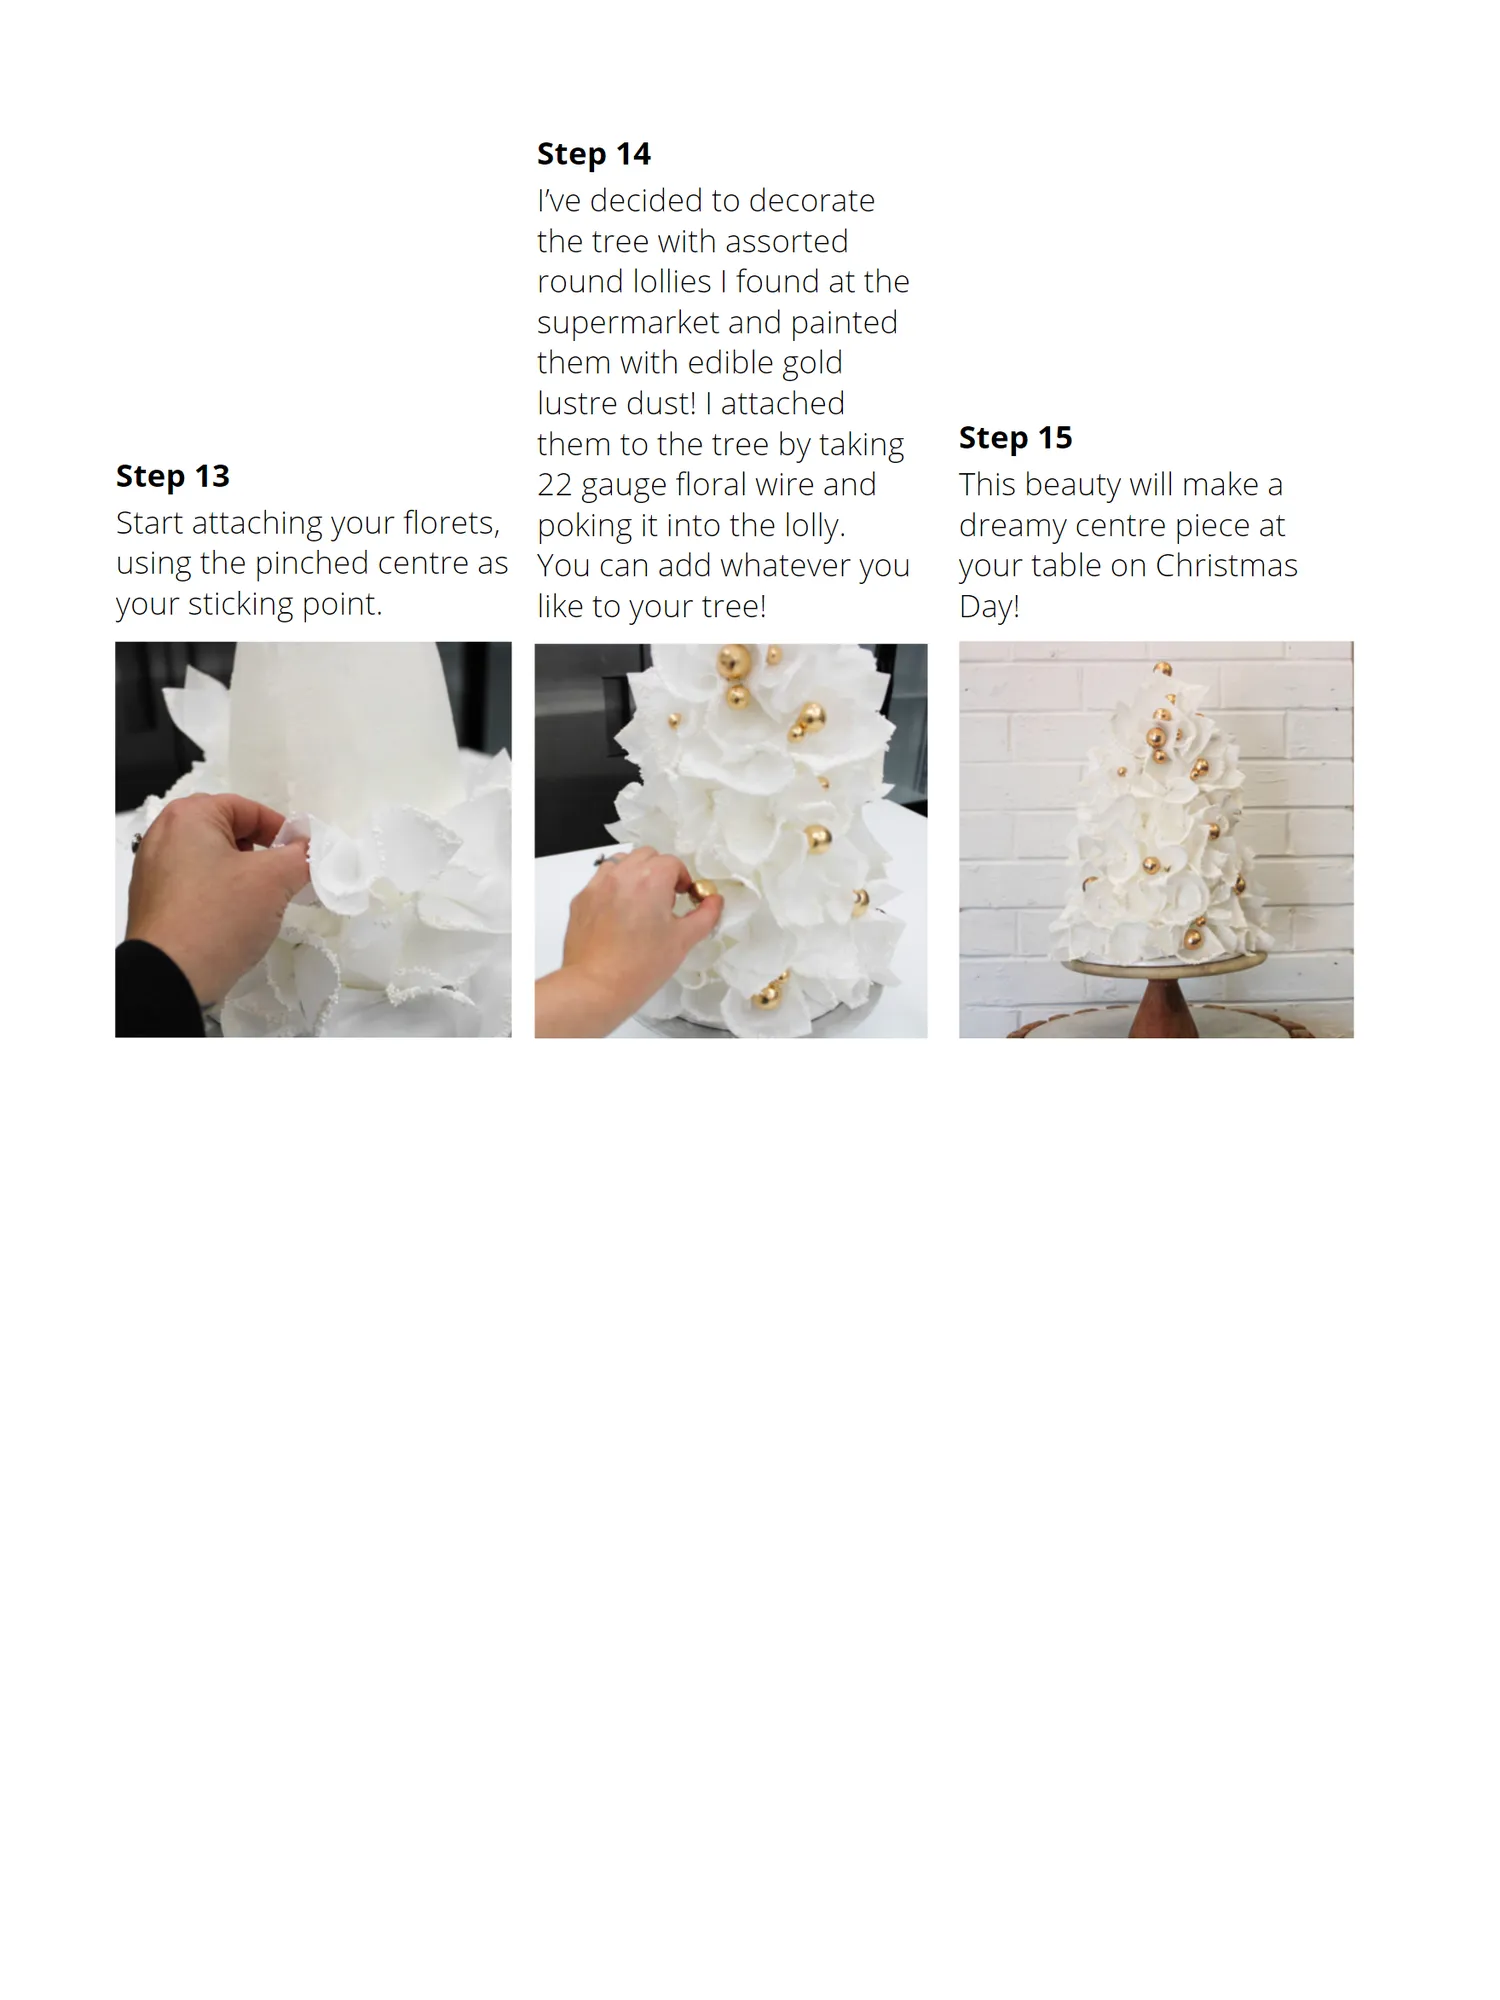
Step 13 Start attaching your florets, using the pinched centre as your sticking point.
Page 21 text
Step 14 I’ve decided to decorate the tree with assorted round lollies I found at the supermarket and painted them with edible gold lustre dust! I attached Step 15 them to the tree by taking 22 gauge floral wire and poking it into the lolly. You can add whatever you like to your tree! Day!
Page 23 text
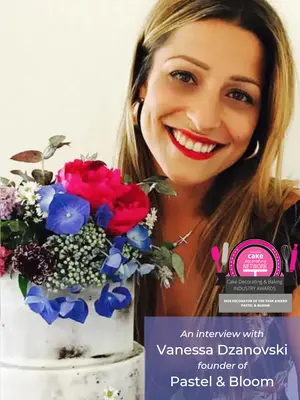
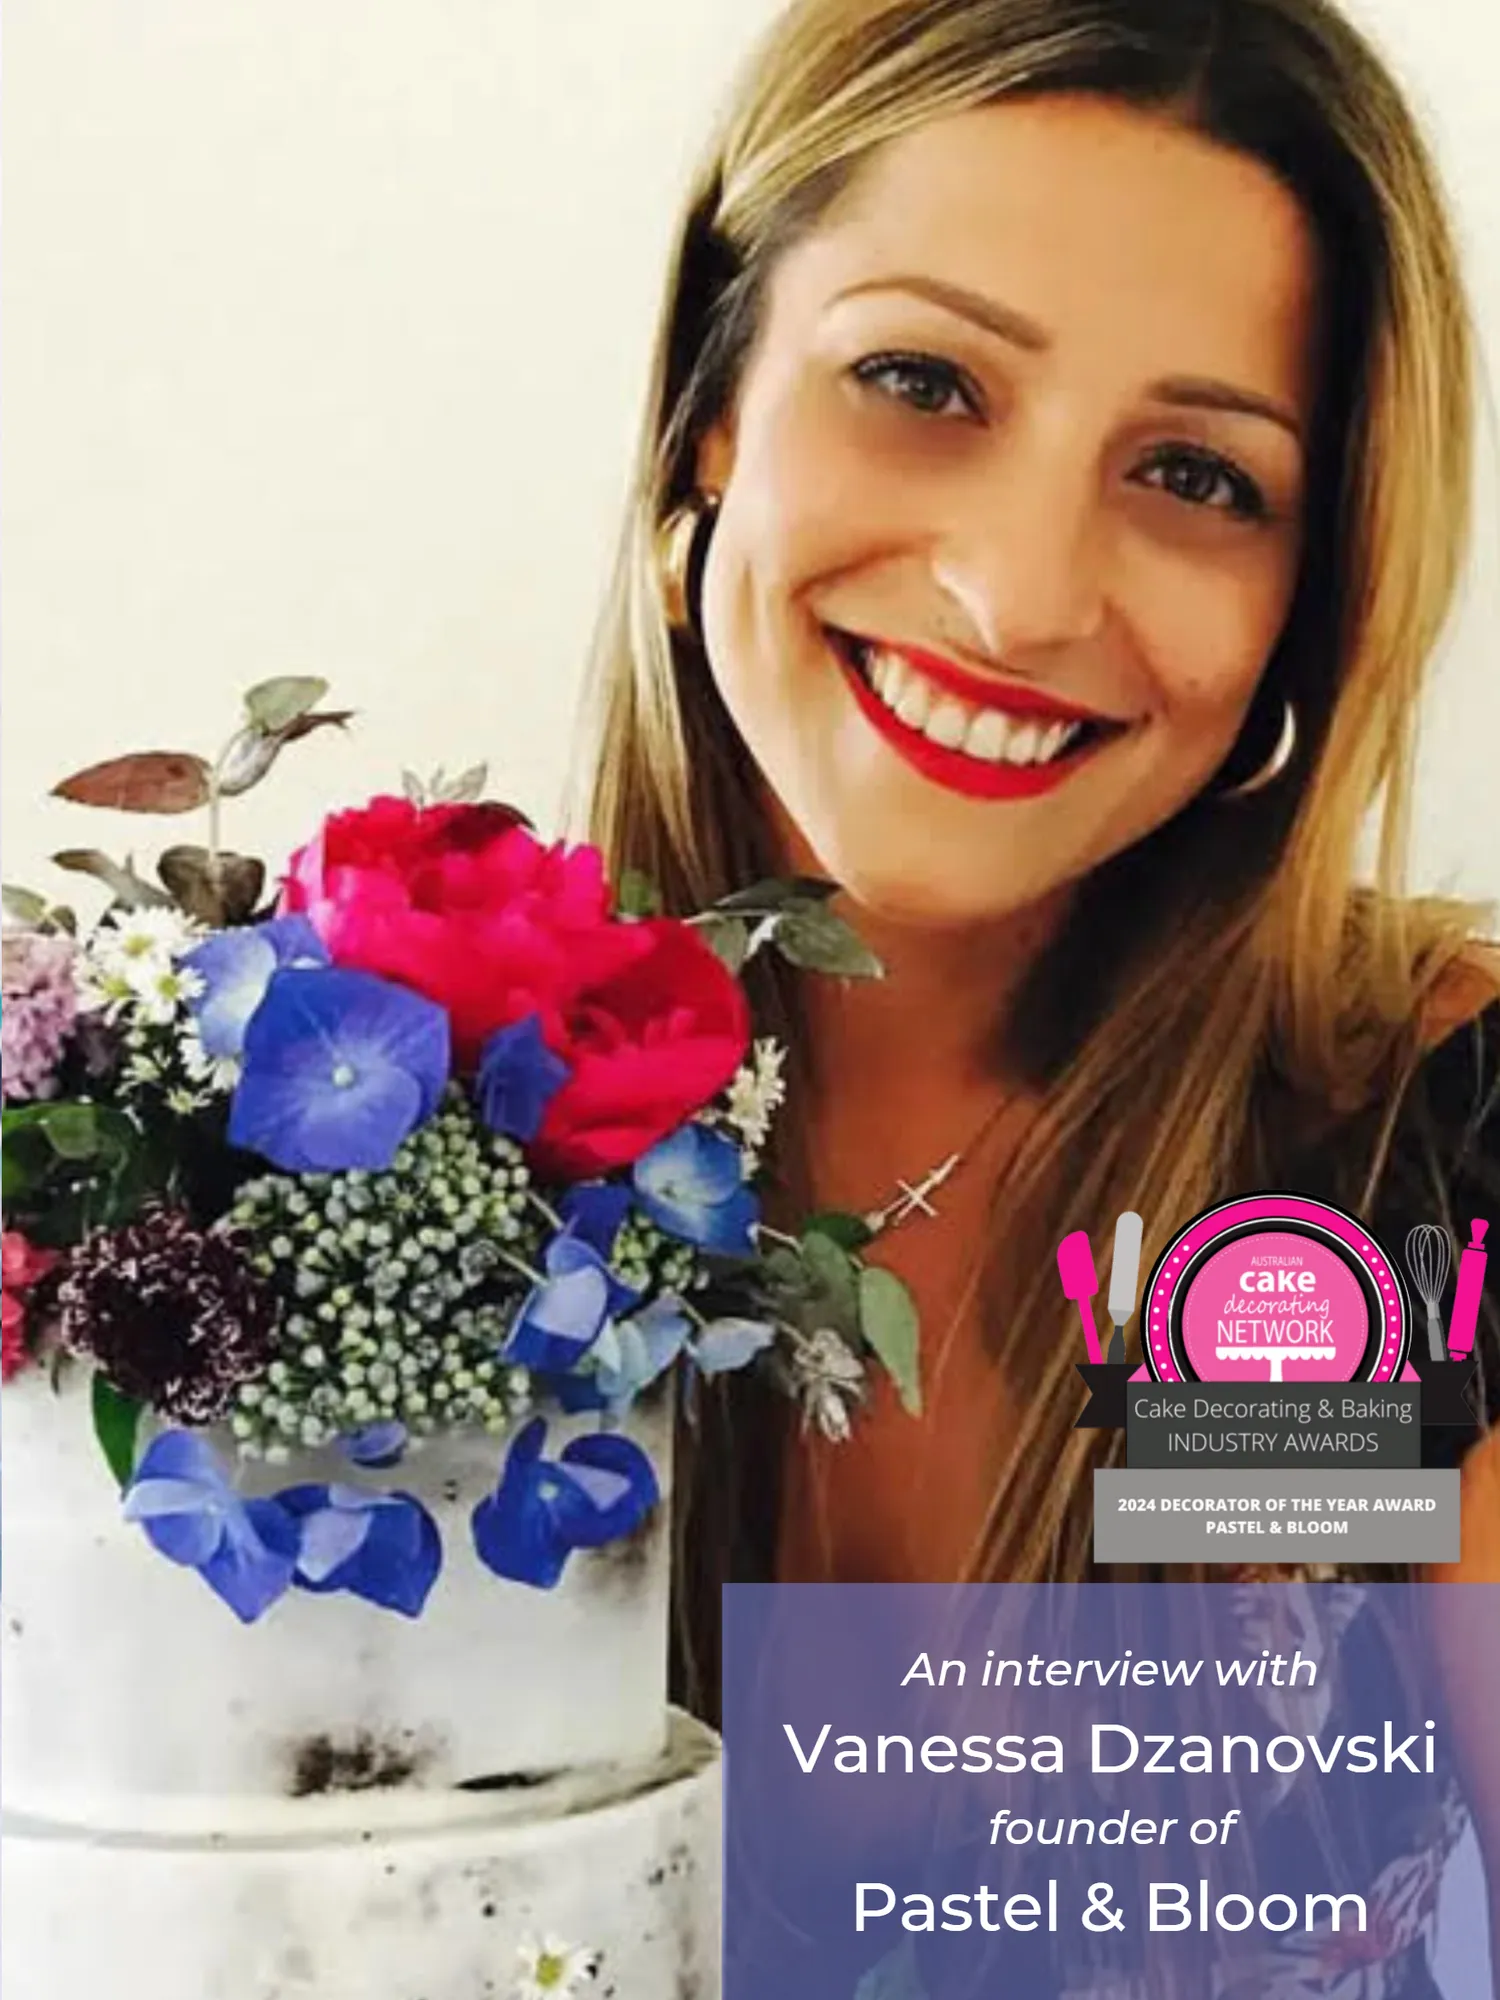
An interview with Vanessa Dzanovski founder of Pastel & Bloom An interview with Vanessa Dzanovski founder of Pastel & Bloom
Page 24 text
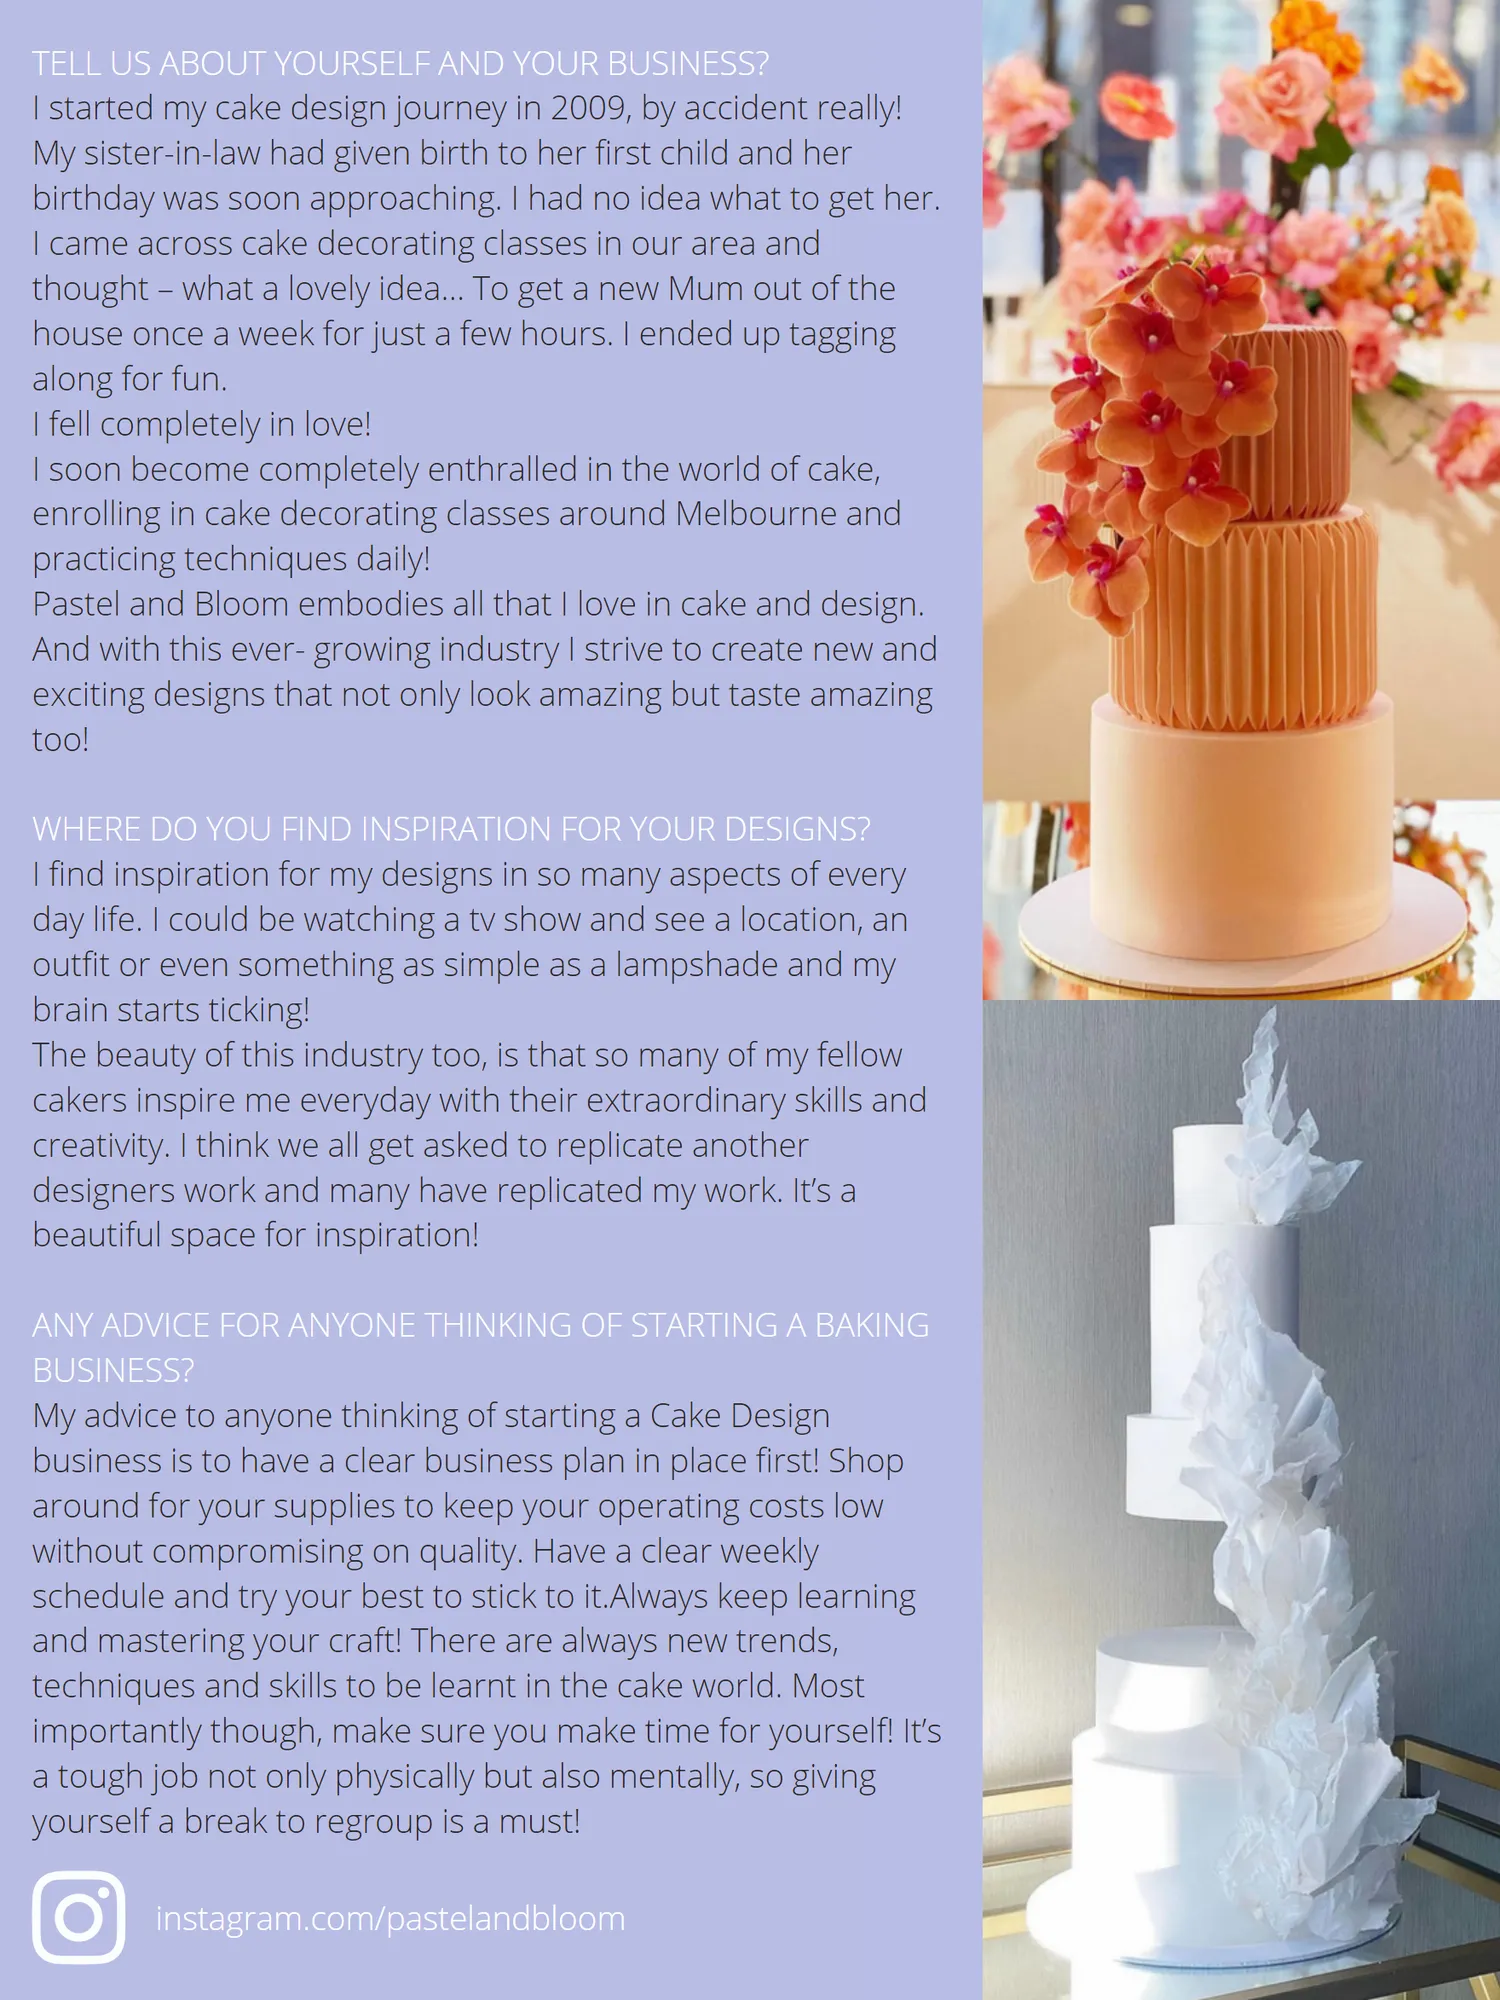
TELL US ABOUT YOURSELF AND YOUR BUSINESS? I started my cake design journey in 2009, by accident really! My sister-in-law had given birth to her first child and her I came across cake decorating classes in our area and thought – what a lovely idea… To get a new Mum out of the house once a week for just a few hours. I ended up tagging I fell completely in love! I soon become completely enthralled in the world of cake, enrolling in cake decorating classes around Melbourne and practicing techniques daily! Pastel and Bloom embodies all that I love in cake and design. And with this ever- growing industry I strive to create new and

Page 25 text
TELL US ABOUT YOURSELF AND YOUR BUSINESS? I started my cake design journey in 2009, by accident really! My sister-in-law had given birth to her first child and her birthday was soon approaching. I had no idea what to get her. I came across cake decorating classes in our area and house once a week for just a few hours. I ended up tagging I soon become completely enthralled in the world of cake, enrolling in cake decorating classes around Melbourne and Pastel and Bloom embodies all that I love in cake and design. And with this ever- growing industry I strive to create new and
Page 27 text
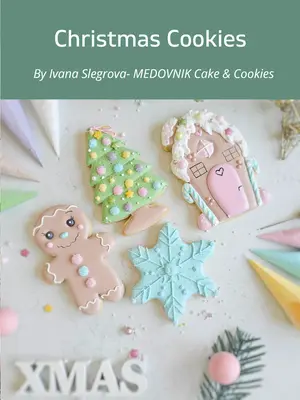
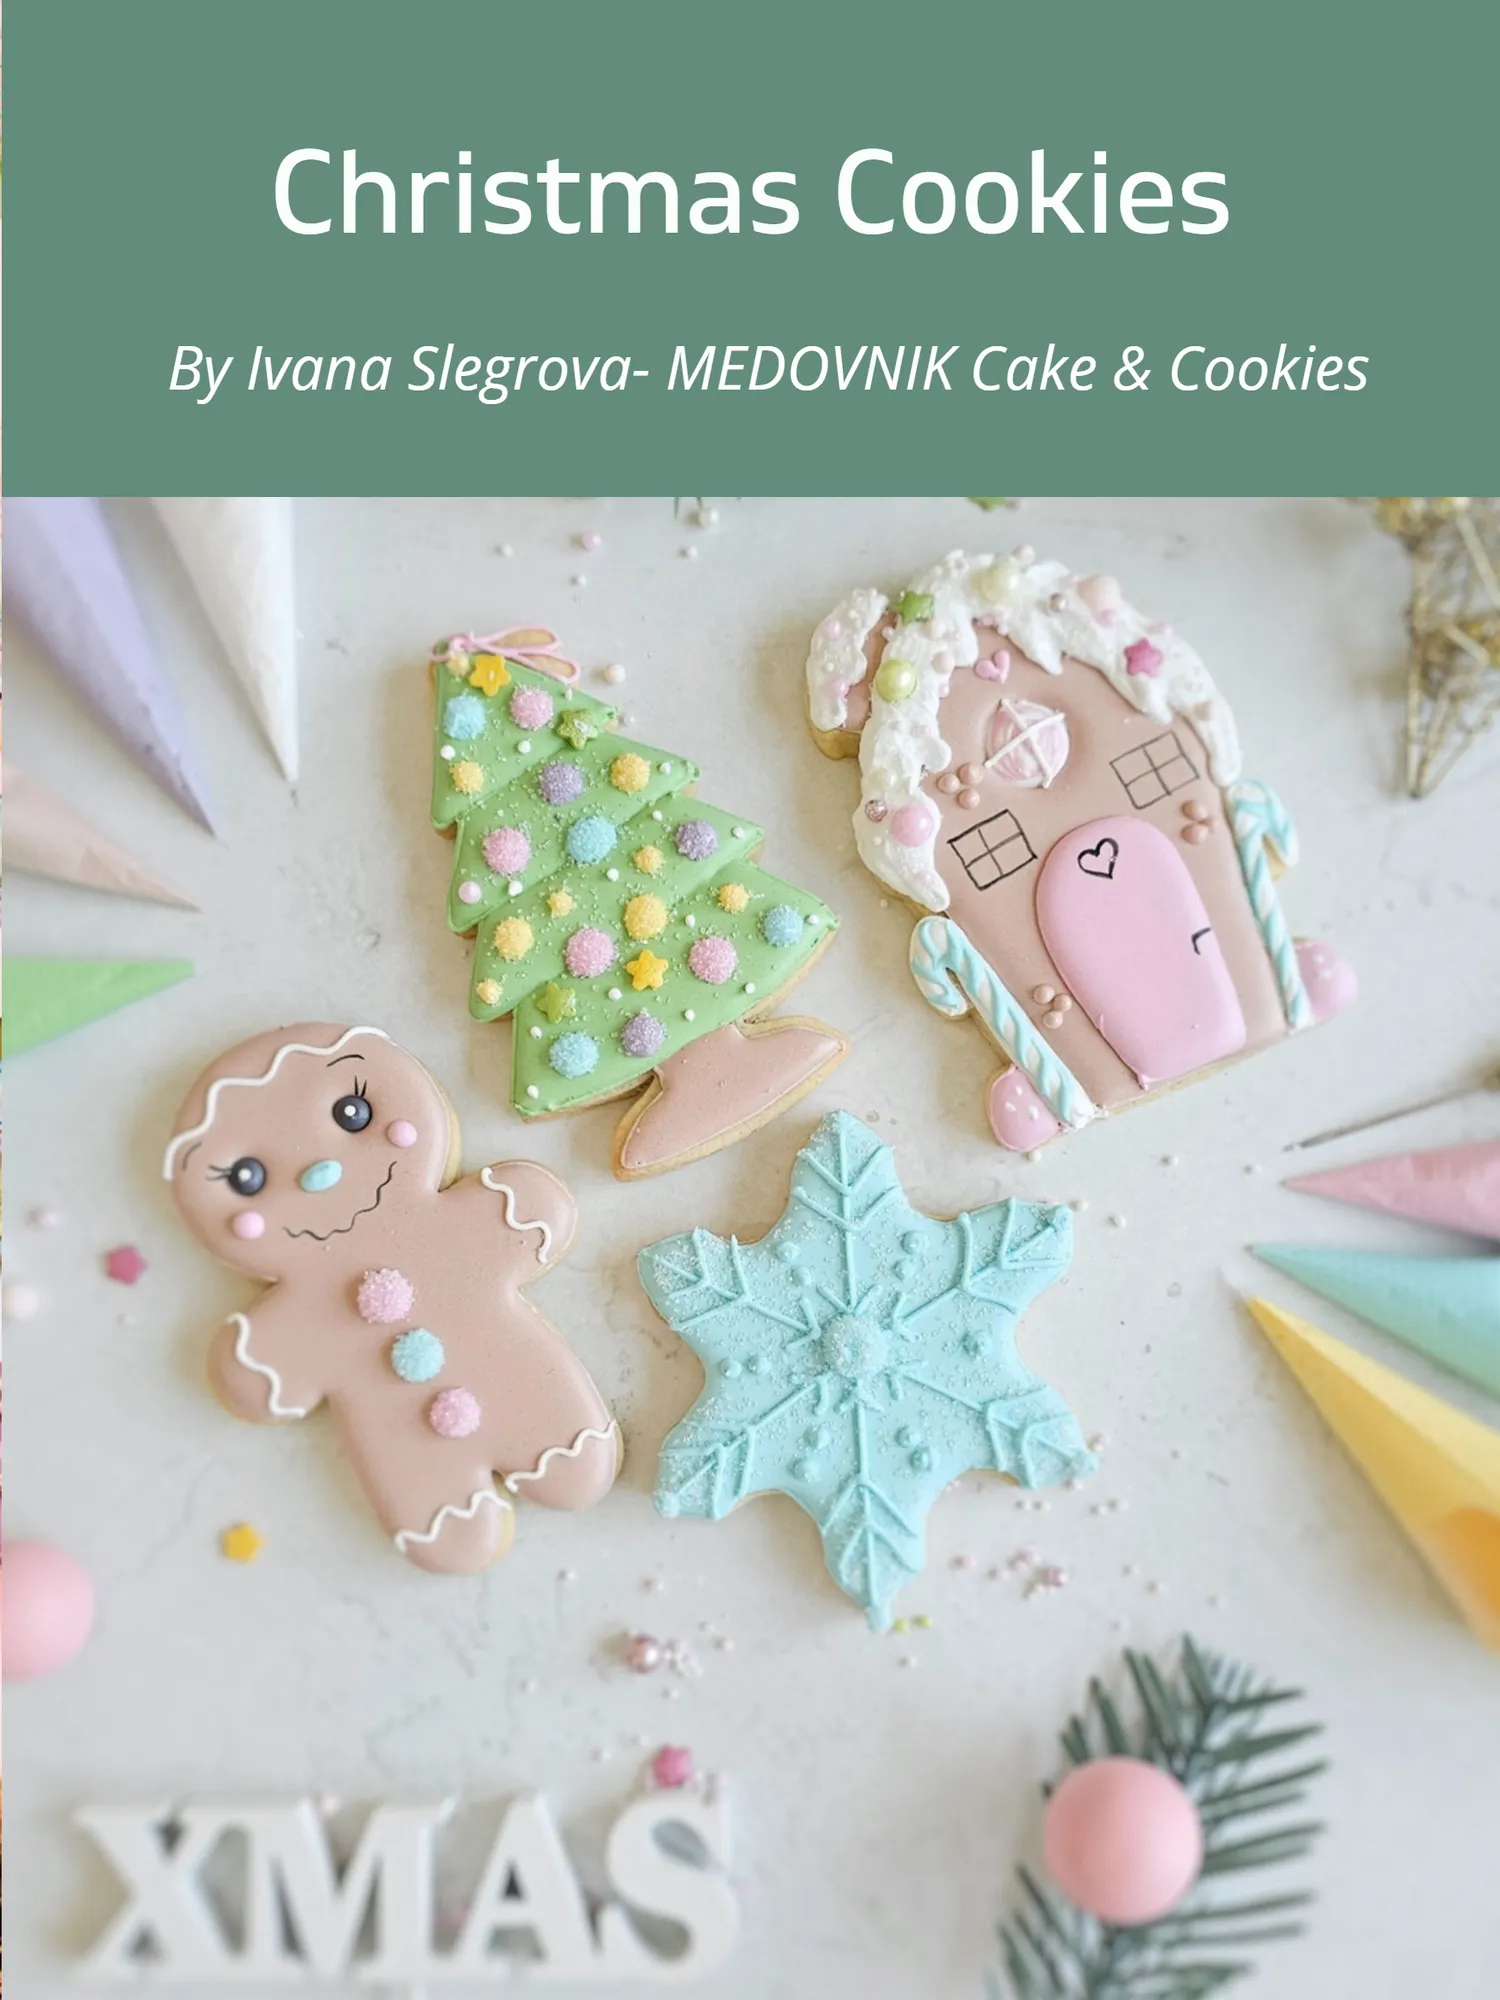
Christmas Cookies By Ivana Slegrova- MEDOVNIK Cake & Cookies
Page 28 text
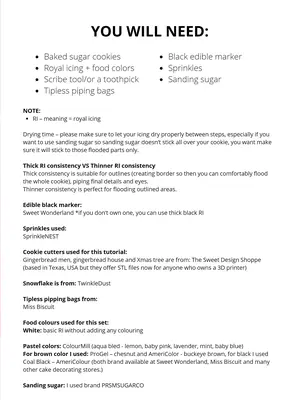
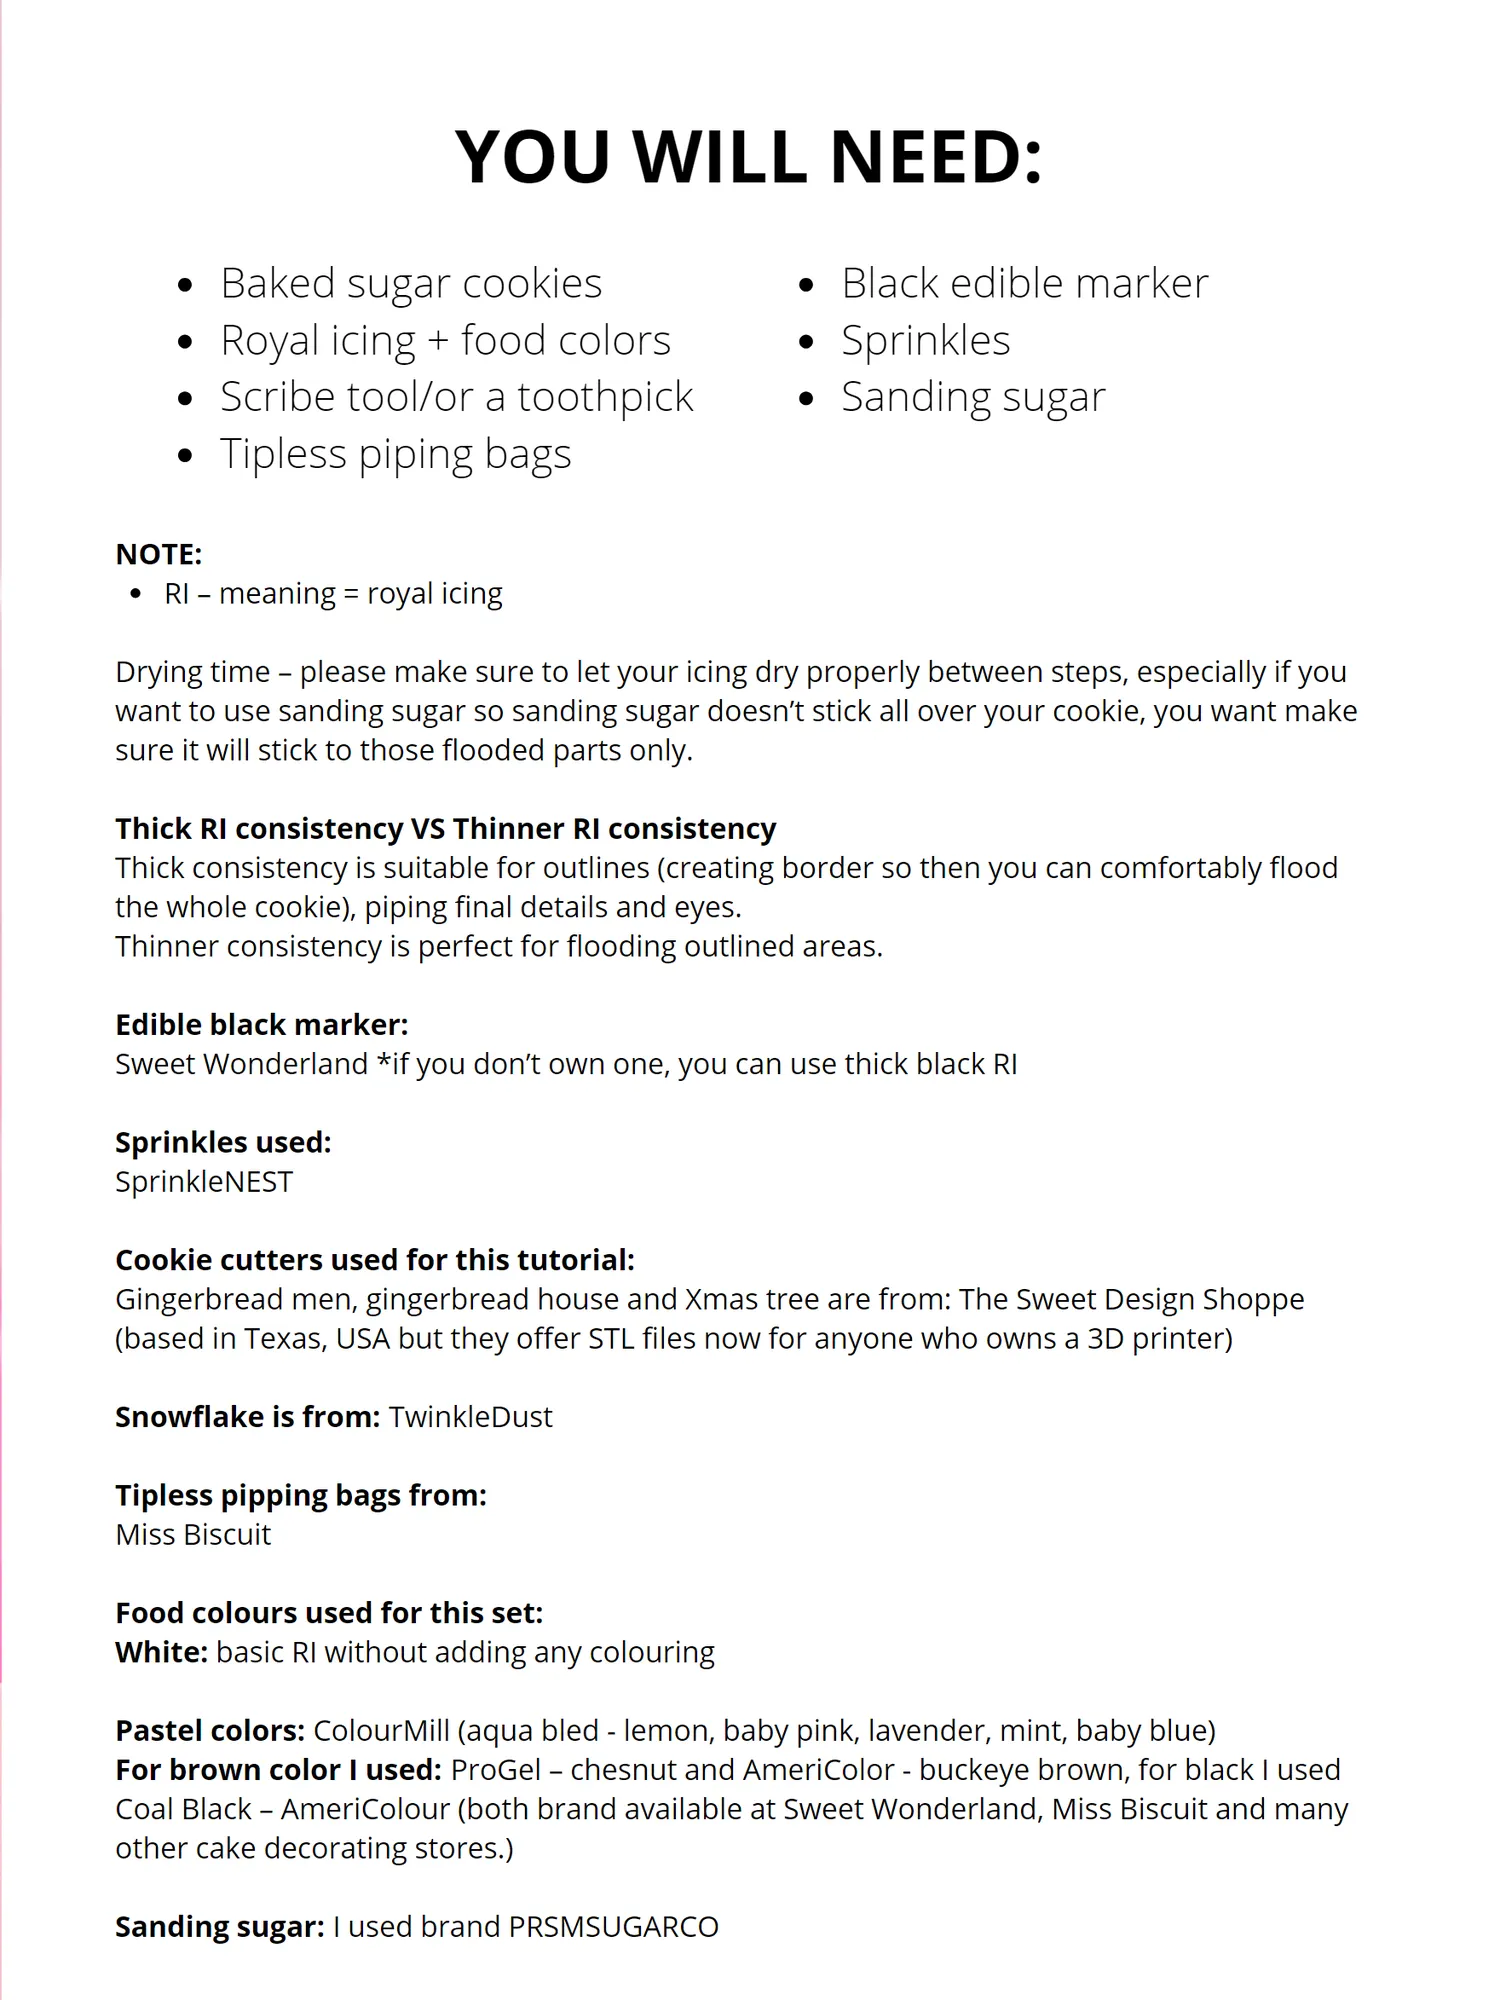
Baked sugar cookies Royal icing + food colors Scribe tool/or a toothpick Tipless piping bags NOTE: RI – meaning = royal icing
Page 29 text
YOU WILL NEED: Black edible marker Sprinkles Scribe tool/or a toothpick Sanding sugar Tipless piping bags
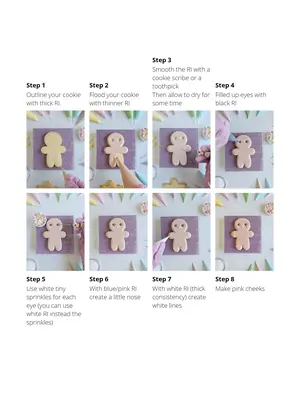
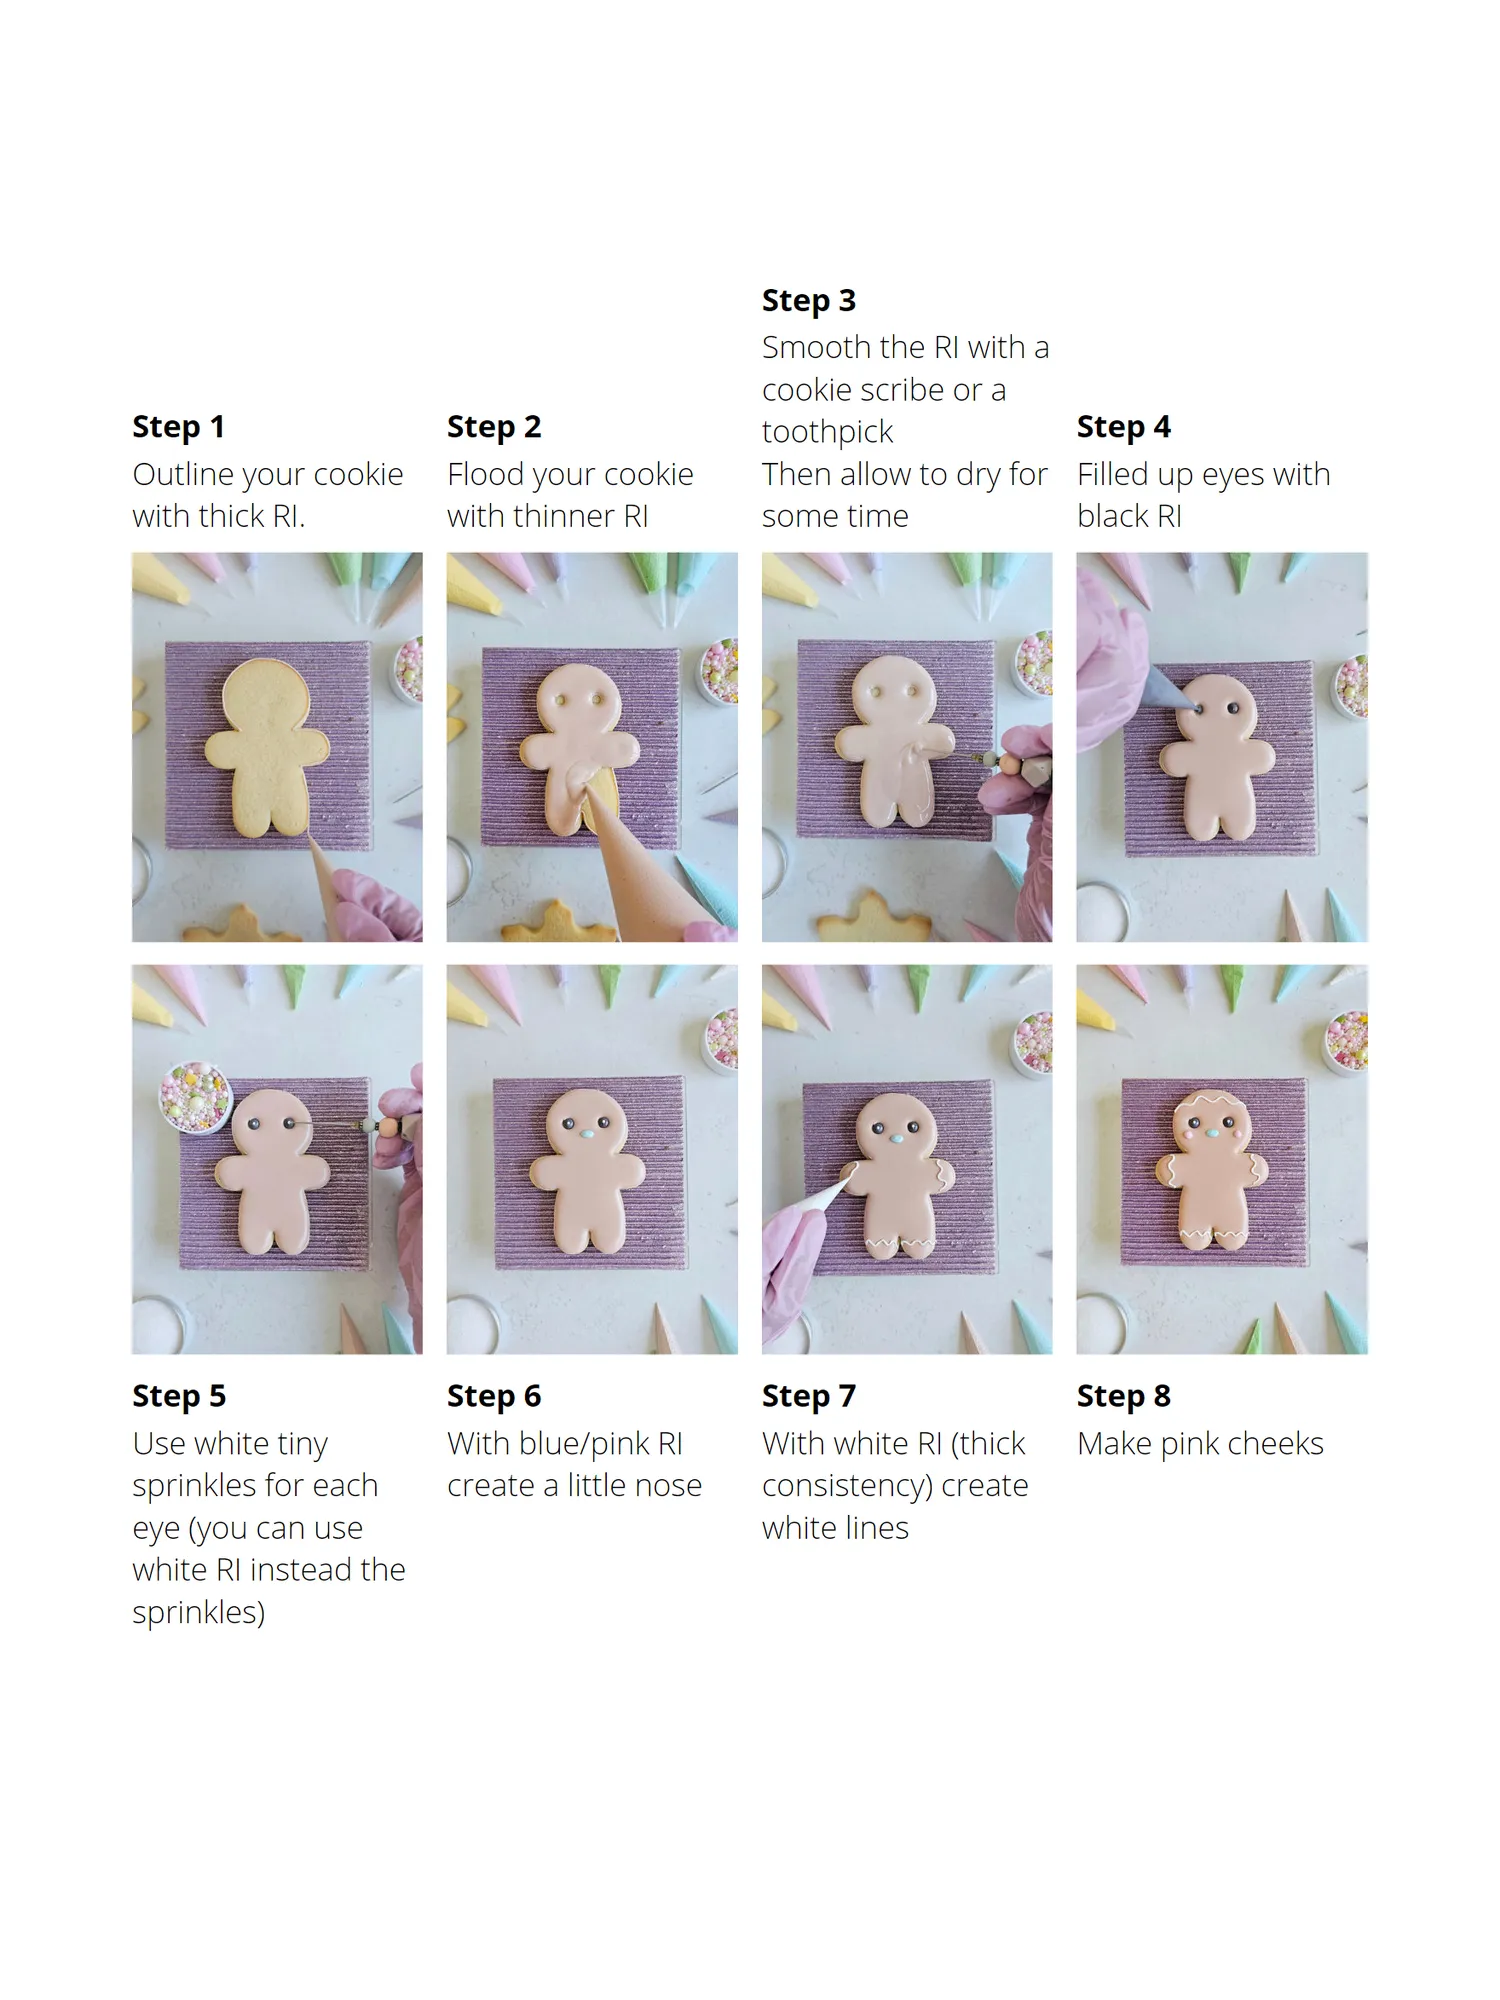
Page 30 text
Step 3 Smooth the RI with a cookie scribe or a Step 1 Step 2 toothpick Step 4 Outline your cookie Flood your cookie Then allow to dry for Filled up eyes with with thick RI. with thinner RI some time black RI Step 5 Step 6 Step 7 Step 8 Use white tiny With blue/pink RI With white RI (thick Make pink cheeks sprinkles for each create a little nose consistency) create eye (you can use white lines white RI instead the sprinkles)
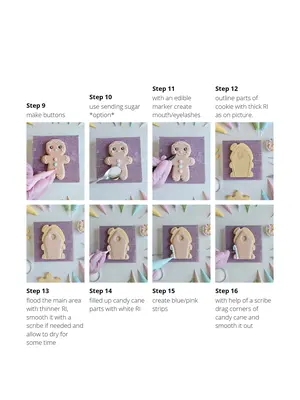
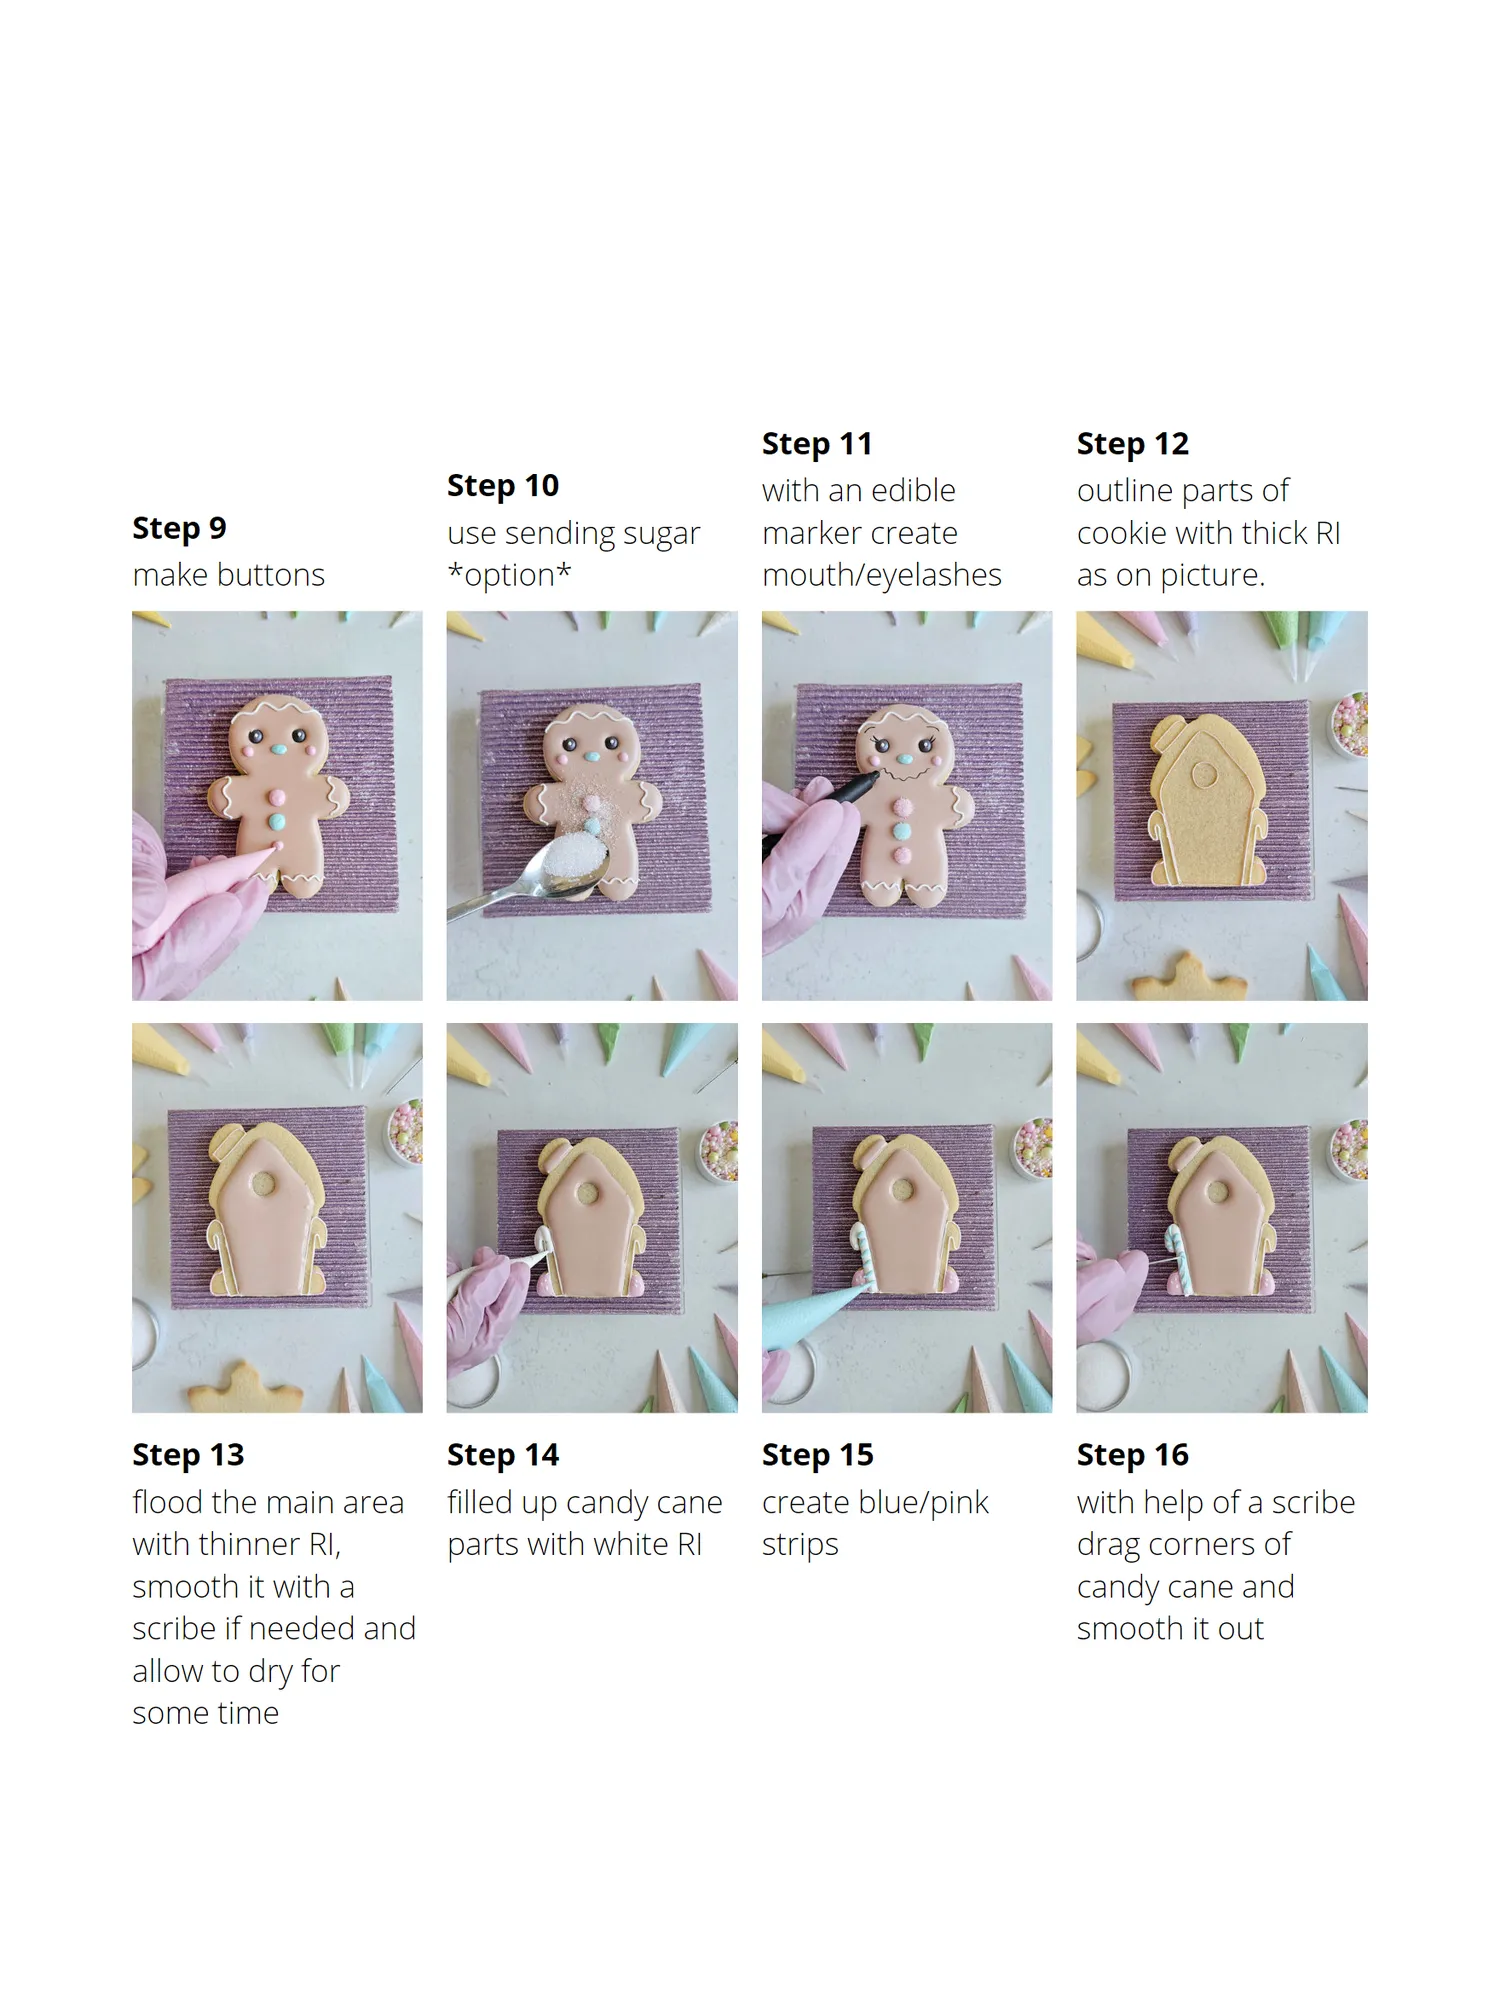
Page 31 text
Step 11 Step 12 Step 10 with an edible outline parts of Step 9 use sending sugar marker create cookie with thick RI make buttons *option* mouth/eyelashes as on picture. Step 13 Step 14 Step 15 Step 16 flood the main area filled up candy cane create blue/pink with help of a scribe with thinner RI, parts with white RI strips drag corners of smooth it with a candy cane and scribe if needed and smooth it out allow to dry for some time
Page 32 text
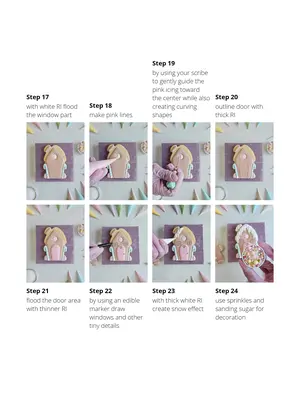
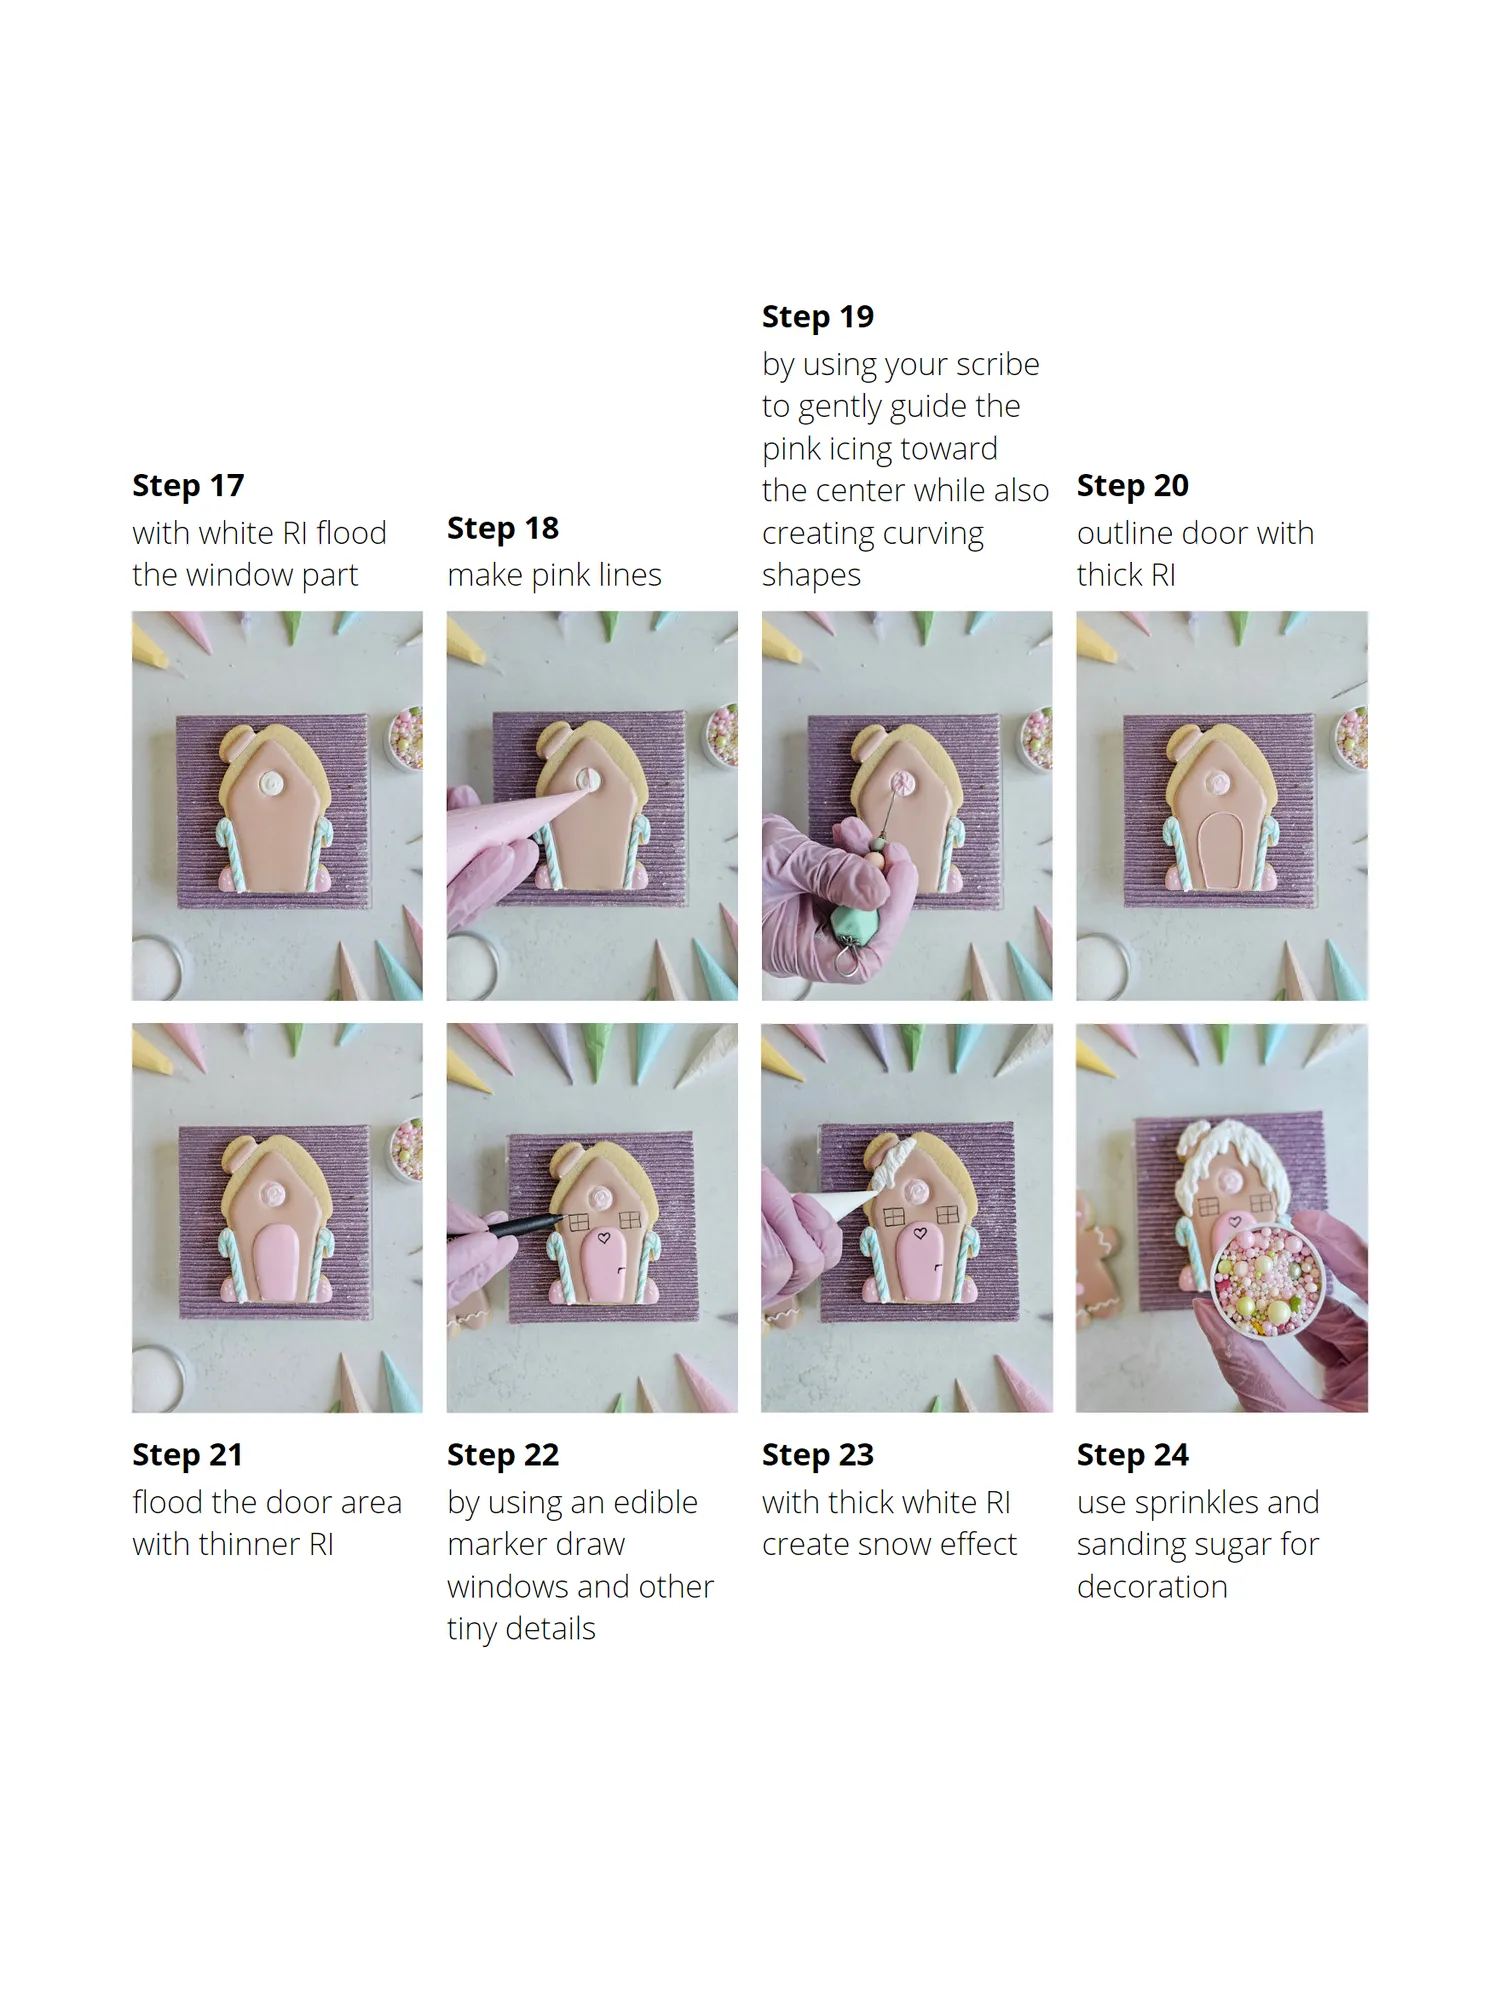
Step 19 by using your scribe to gently guide the pink icing toward Step 17 the center while also Step 20 with white RI flood Step 18 creating curving outline door with the window part make pink lines shapes thick RI Step 21 Step 22 Step 23 Step 24 flood the door area by using an edible with thick white RI use sprinkles and with thinner RI marker draw create snow effect sanding sugar for windows and other decoration tiny details
Page 33 text
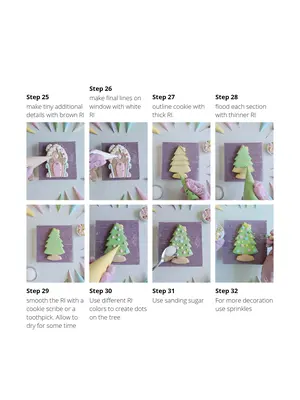
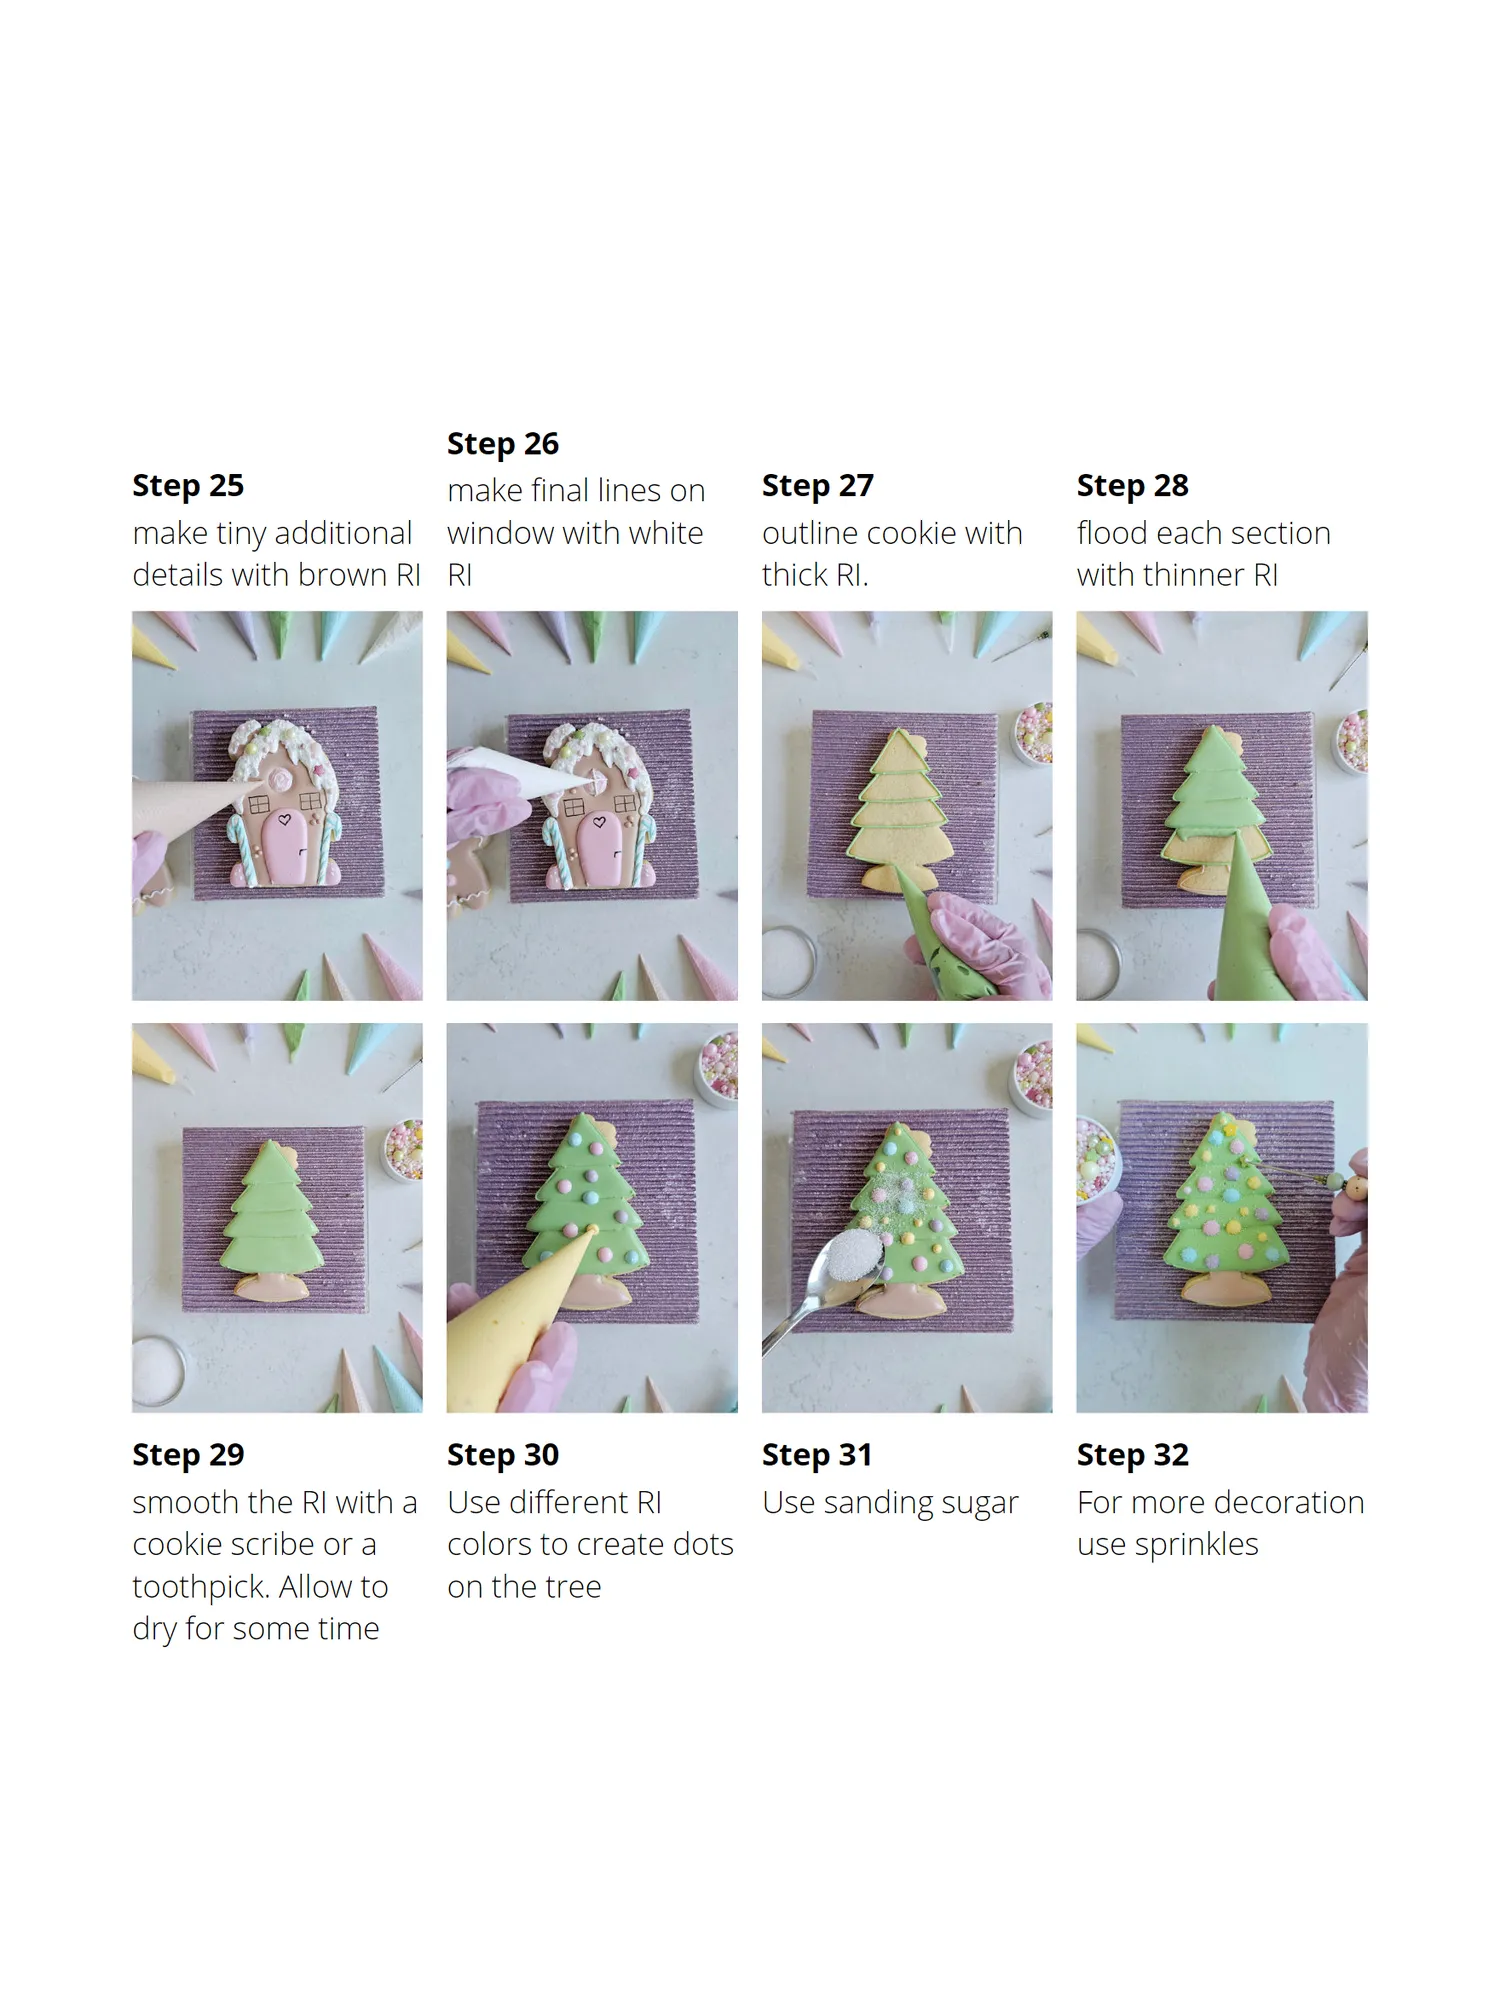
Step 26 Step 25 make final lines on Step 27 Step 28 make tiny additional window with white outline cookie with flood each section details with brown RI RI thick RI. with thinner RI Step 29 Step 30 Step 31 Step 32 smooth the RI with a Use different RI Use sanding sugar For more decoration cookie scribe or a colors to create dots use sprinkles toothpick. Allow to on the tree dry for some time
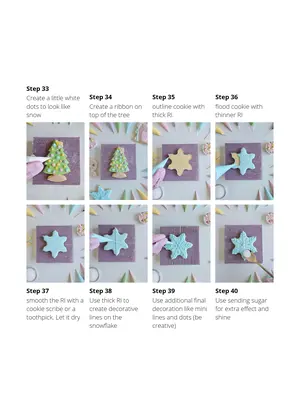
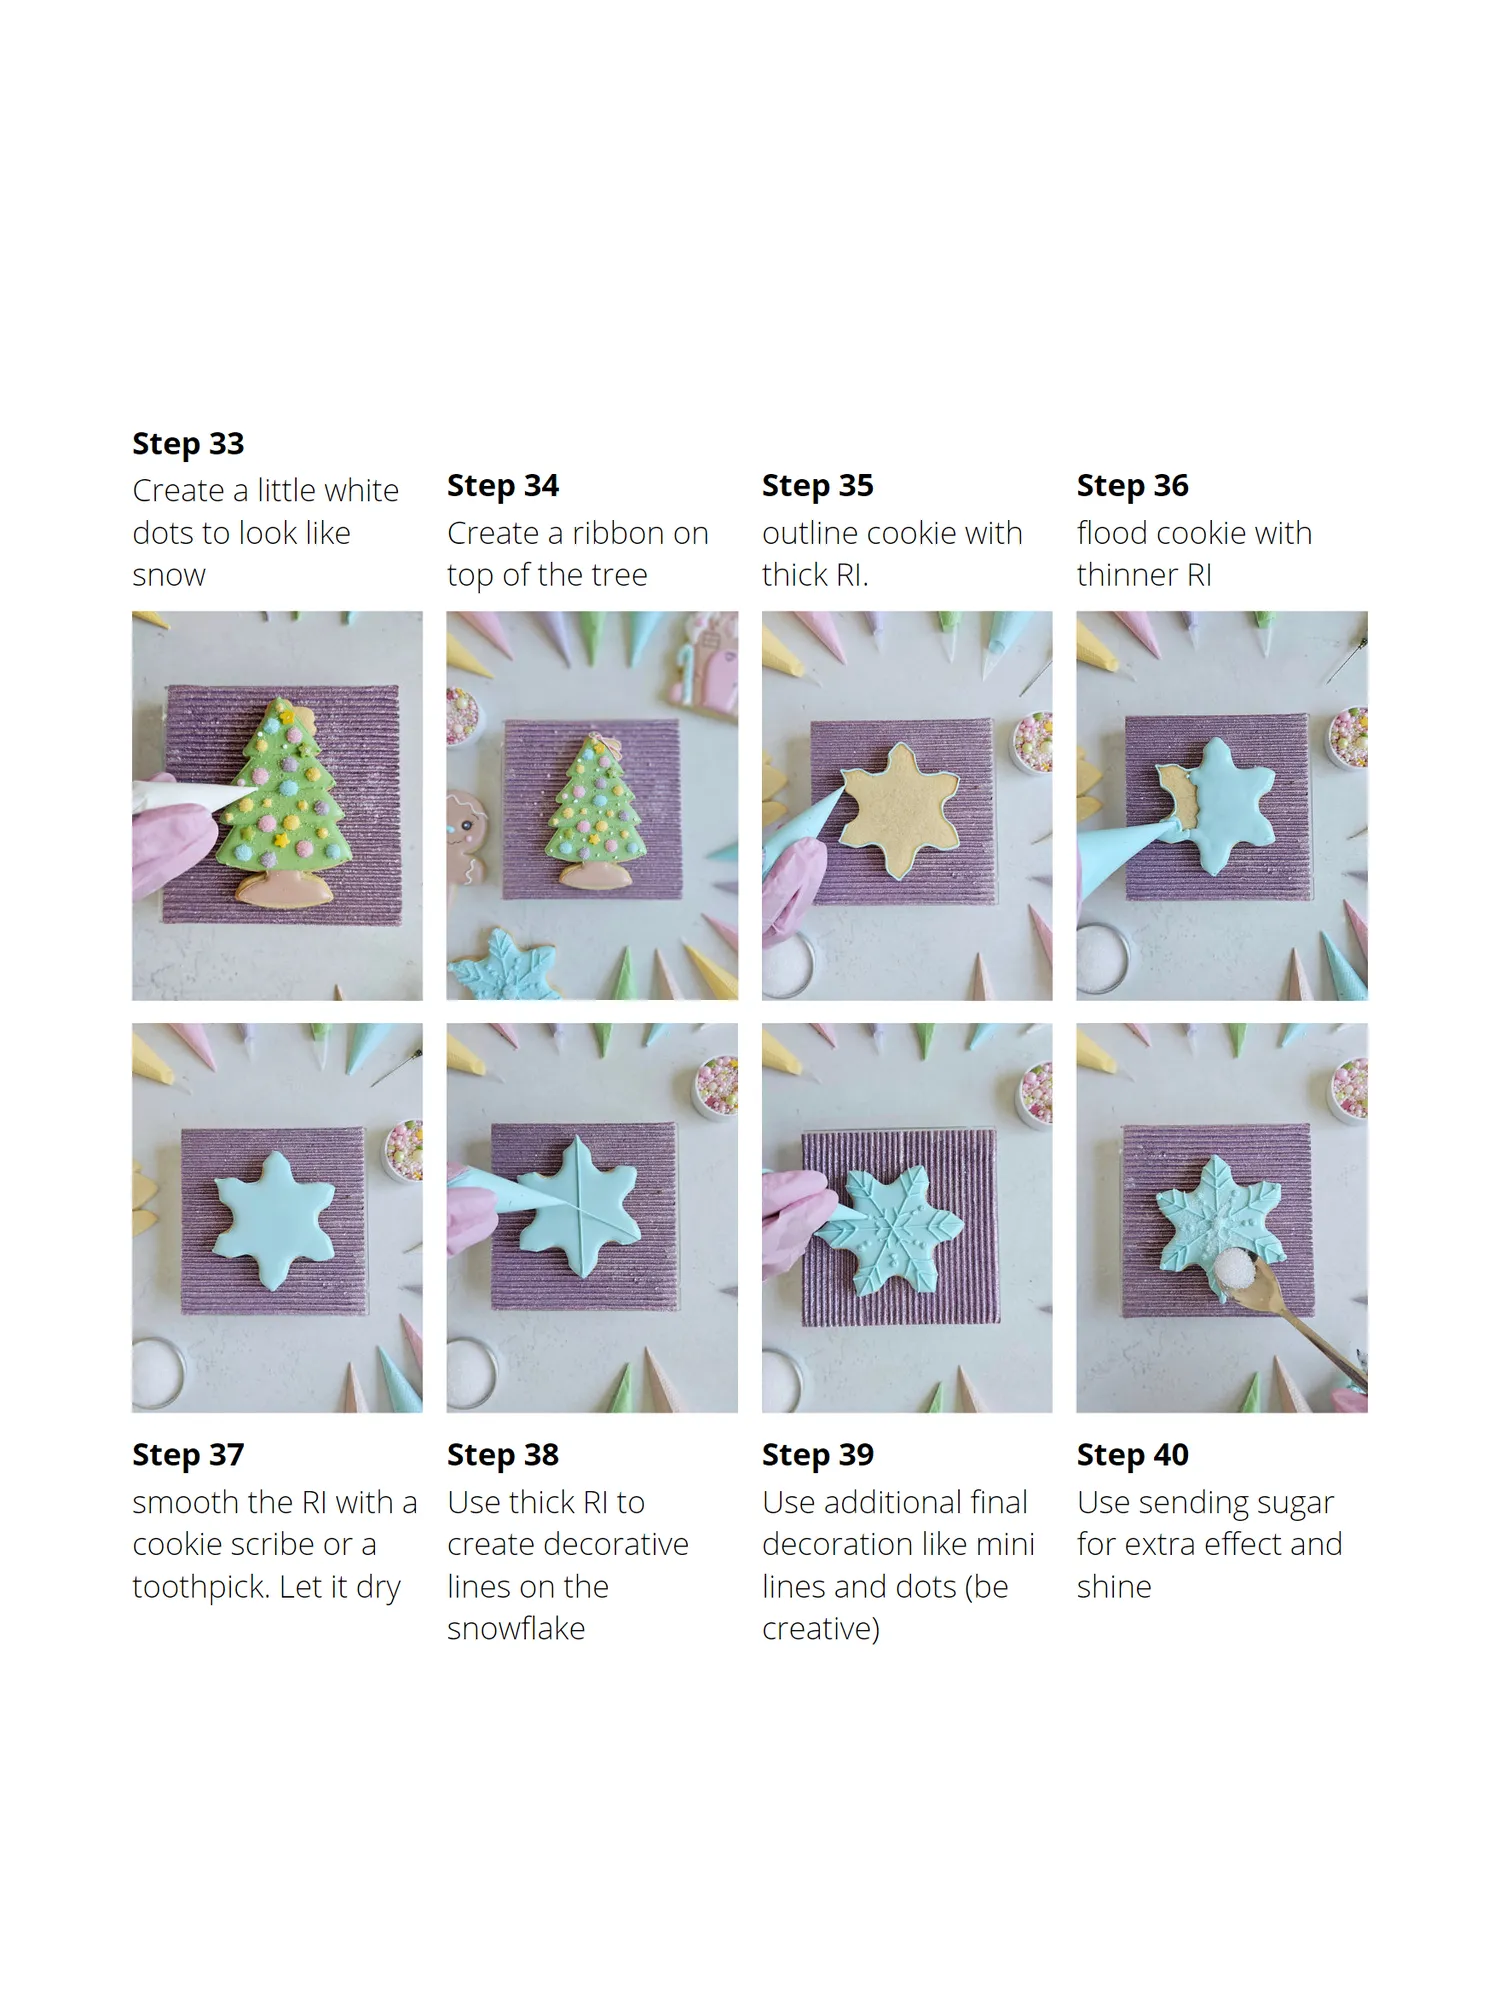
Page 34 text
Step 33 Create a little white Step 34 Step 35 Step 36 dots to look like Create a ribbon on outline cookie with flood cookie with snow top of the tree thick RI. thinner RI Step 37 Step 38 Step 39 Step 40 smooth the RI with a Use thick RI to Use additional final Use sending sugar cookie scribe or a create decorative decoration like mini for extra effect and toothpick. Let it dry lines on the lines and dots (be shine snowflake creative)
Page 35 text
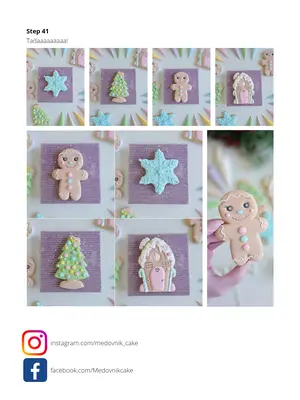
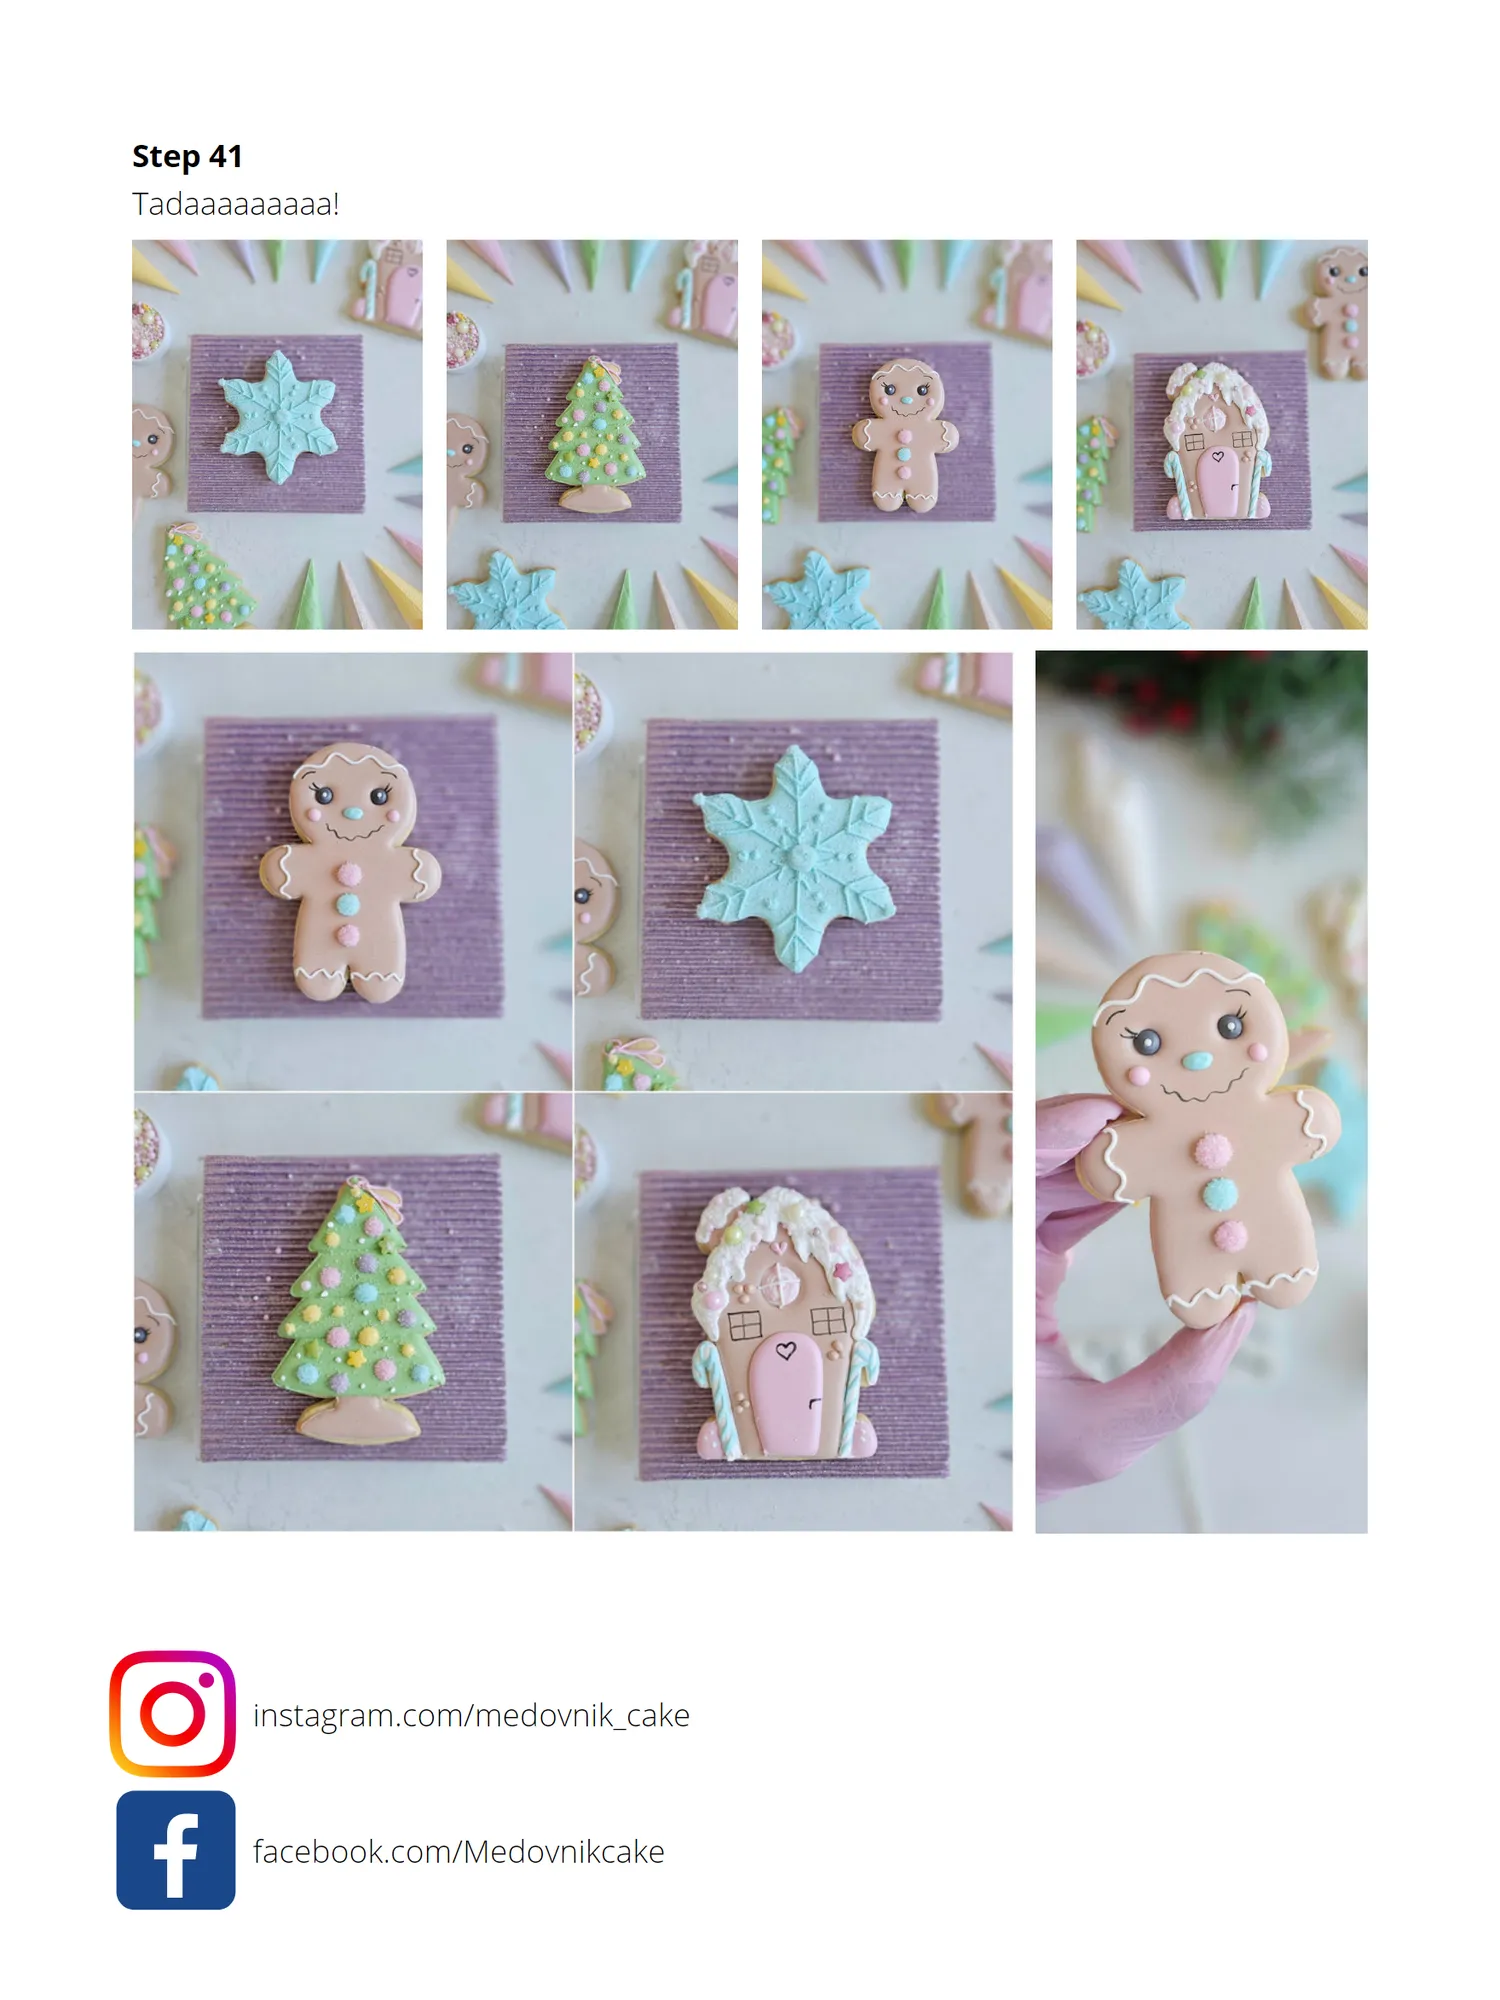
Step 41 Tadaaaaaaaaa! instagram.com/medovnik_cake facebook.com/Medovnikcake
Page 37 text
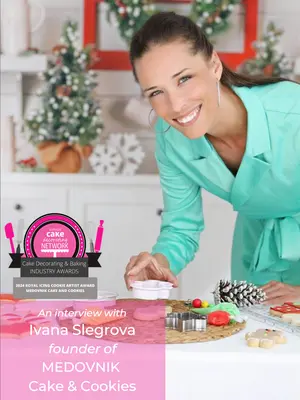
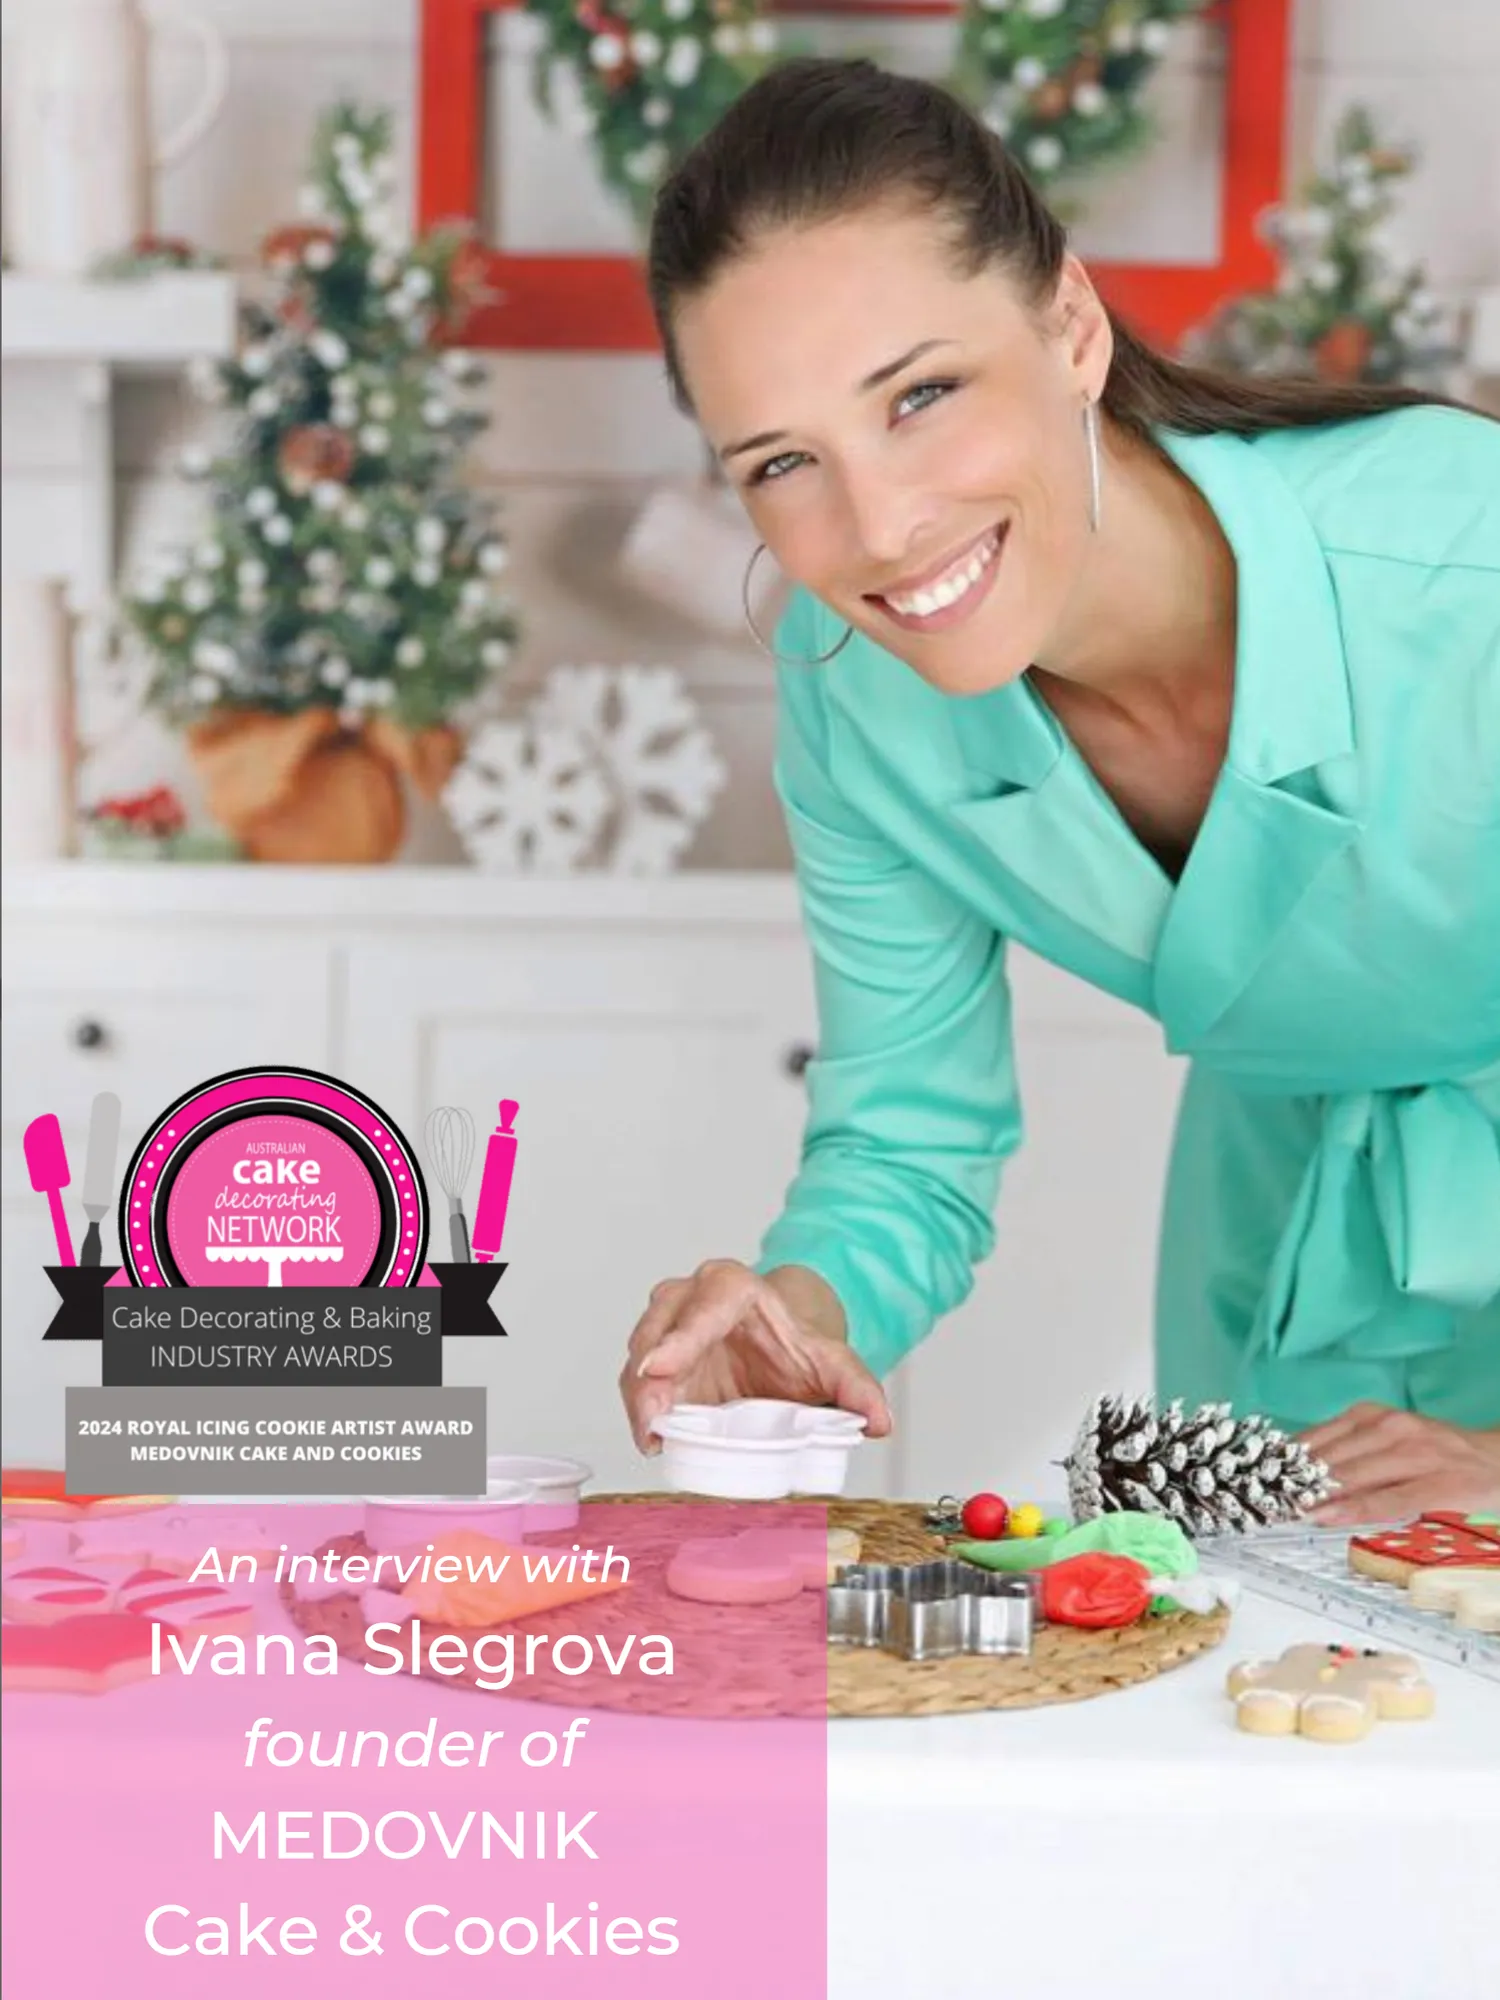
An interview with Ivana Slegrova founder of MEDOVNIK Cake & Cookies
Page 38 text
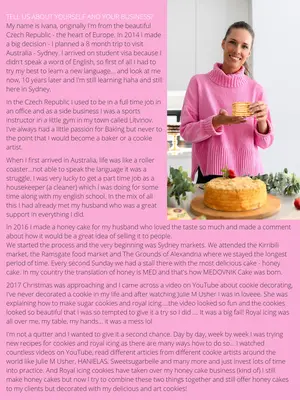
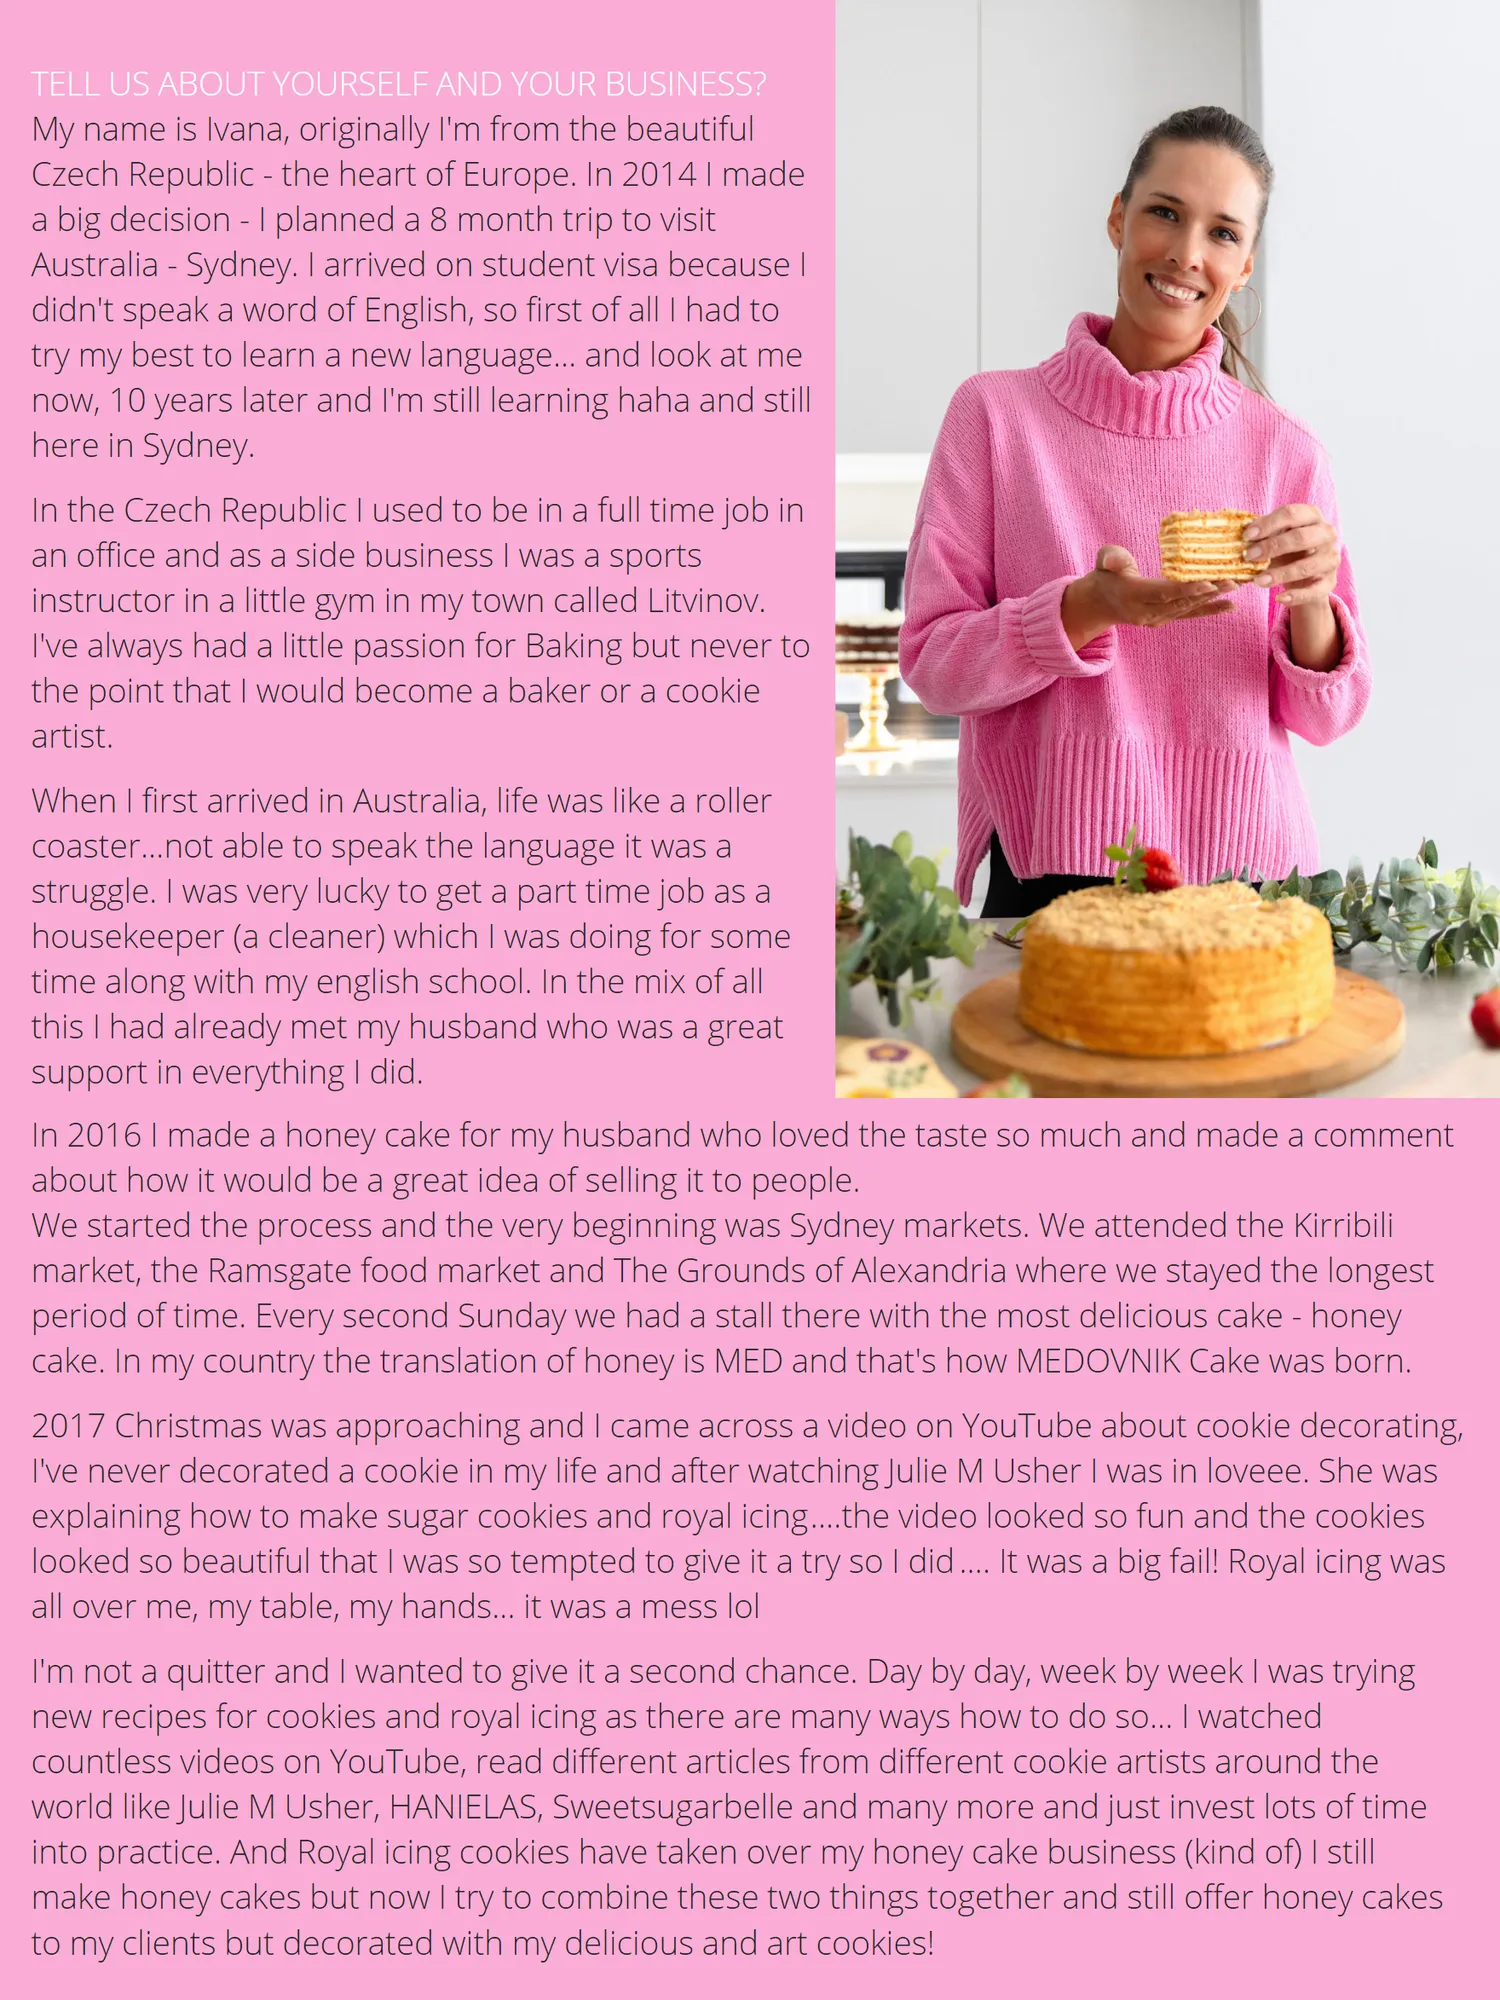
TELL US ABOUT YOURSELF AND YOUR BUSINESS? My name is Ivana, originally I'm from the beautiful Czech Republic - the heart of Europe. In 2014 I made a big decision - I planned a 8 month trip to visit Australia - Sydney. I arrived on student visa because I didn't speak a word of English, so first of all I had to try my best to learn a new language... and look at me now, 10 years later and I'm still learning haha and still here in Sydney. In the Czech Republic I used to be in a full time job in an office and as a side business I was a sports instructor in a little gym in my town called Litvinov. I've always had a little passion for Baking but never to the point that I would become a baker or a cookie artist. When I first arrived in Australia, life was like a roller coaster...not able to speak the language it was a struggle. I was very lucky to get a part time job as a housekeeper (a cleaner) which I was doing for some time along with my english school. In the mix of all this I had already met my husband who was a great support in everything I did. In 2016 I made a honey cake for my husband who loved the taste so much and made a comment about how it would be a great idea of selling it to people. We started the process and the very beginning was Sydney markets. We attended the Kirribili market, the Ramsgate food market and The Grounds of Alexandria where we stayed the longest period of time. Every second Sunday we had a stall there with the most delicious cake - honey cake. In my country the translation of honey is MED and that's how MEDOVNIK Cake was born. 2017 Christmas was approaching and I came across a video on YouTube about cookie decorating, I've never decorated a cookie in my life and after watching Julie M Usher I was in loveee. She was explaining how to make sugar cookies and royal icing .... the video looked so fun and the cookies looked so beautiful that I was so tempted to give it a try so I did .... It was a big fail! Royal icing was all over me, my table, my hands... it was a mess lol I'm not a quitter and I wanted to give it a second chance. Day by day, week by week I was trying new recipes for cookies and royal icing as there are many ways how to do so... I watched countless videos on YouTube, read different articles from different cookie artists around the world like Julie M Usher, HANIELAS, Sweet sugar belle and many more and just invest lots of time into practice. And Royal icing cookies have taken over my honey cake business (kind of) I still make honey cakes but now I try to combine these two things together and still offer honey cakes to my clients but decorated with my delicious and art cookies!
Page 39 text
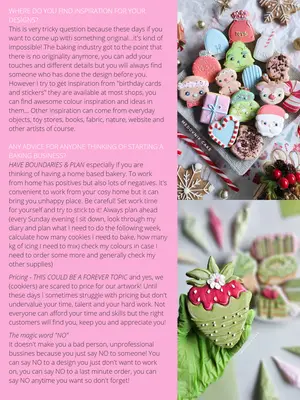
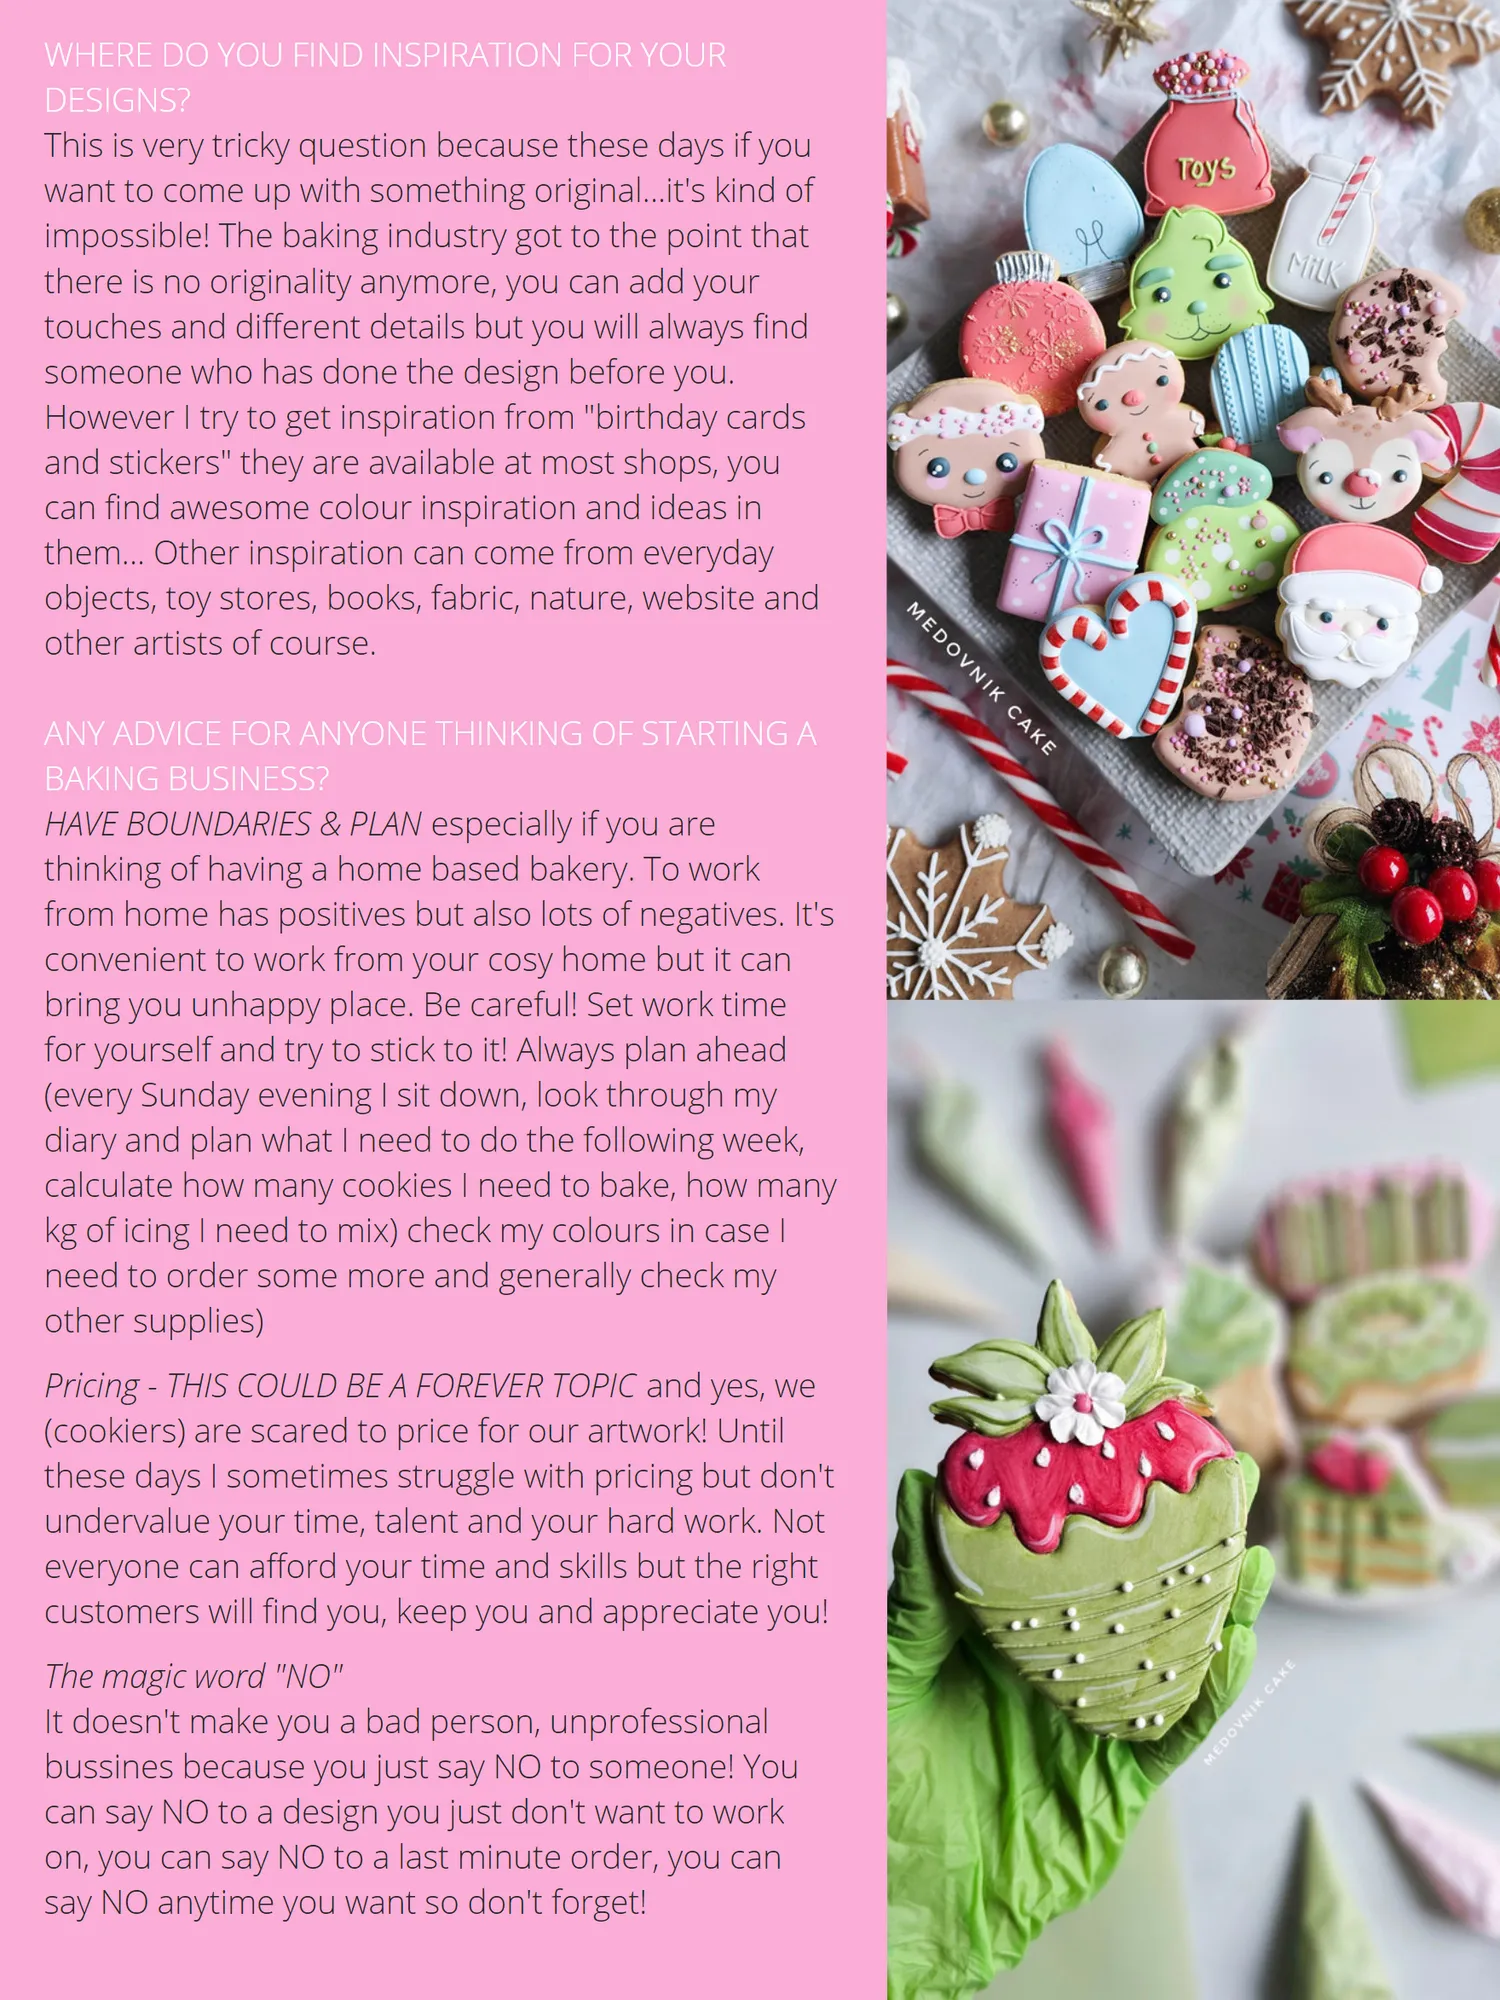
WHERE DO YOU FIND INSPIRATION FOR YOUR DESIGNS? This is very tricky question because these days if you want to come up with something original...it's kind of impossible! The baking industry got to the point that there is no originality anymore, you can add your touches and different details but you will always find someone who has done the design before you. However I try to get inspiration from "birthday cards and stickers" they are available at most shops, you can find awesome colour inspiration and ideas in them... Other inspiration can come from everyday objects, toy stores, books, fabric, nature, website and other artists of course. ANY ADVICE FOR ANYONE THINKING OF STARTING A BAKING BUSINESS? HAVE BOUNDARIES & PLAN especially if you are thinking of having a home based bakery. To work from home has positives but also lots of negatives. It's convenient to work from your cosy home but it can bring you unhappy place. Be careful! Set work time for yourself and try to stick to it! Always plan ahead (every Sunday evening I sit down, look through my diary and plan what I need to do the following week, calculate how many cookies I need to bake, how many kg of icing I need to mix) check my colours in case I need to order some more and generally check my other supplies) Pricing - THIS COULD BE A FOREVER TOPIC and yes, we (cookiers) are scared to price for our artwork! Until these days I sometimes struggle with pricing but don't undervalue your time, talent and your hard work. Not everyone can afford your time and skills but the right customers will find you, keep you and appreciate you! The magic word "NO" It doesn't make you a bad person, unprofessional bussines because you just say NO to someone! You can say NO to a design you just don't want to work on, you can say NO to a last minute order, you can say NO anytime you want so don't forget!
Page 40 text
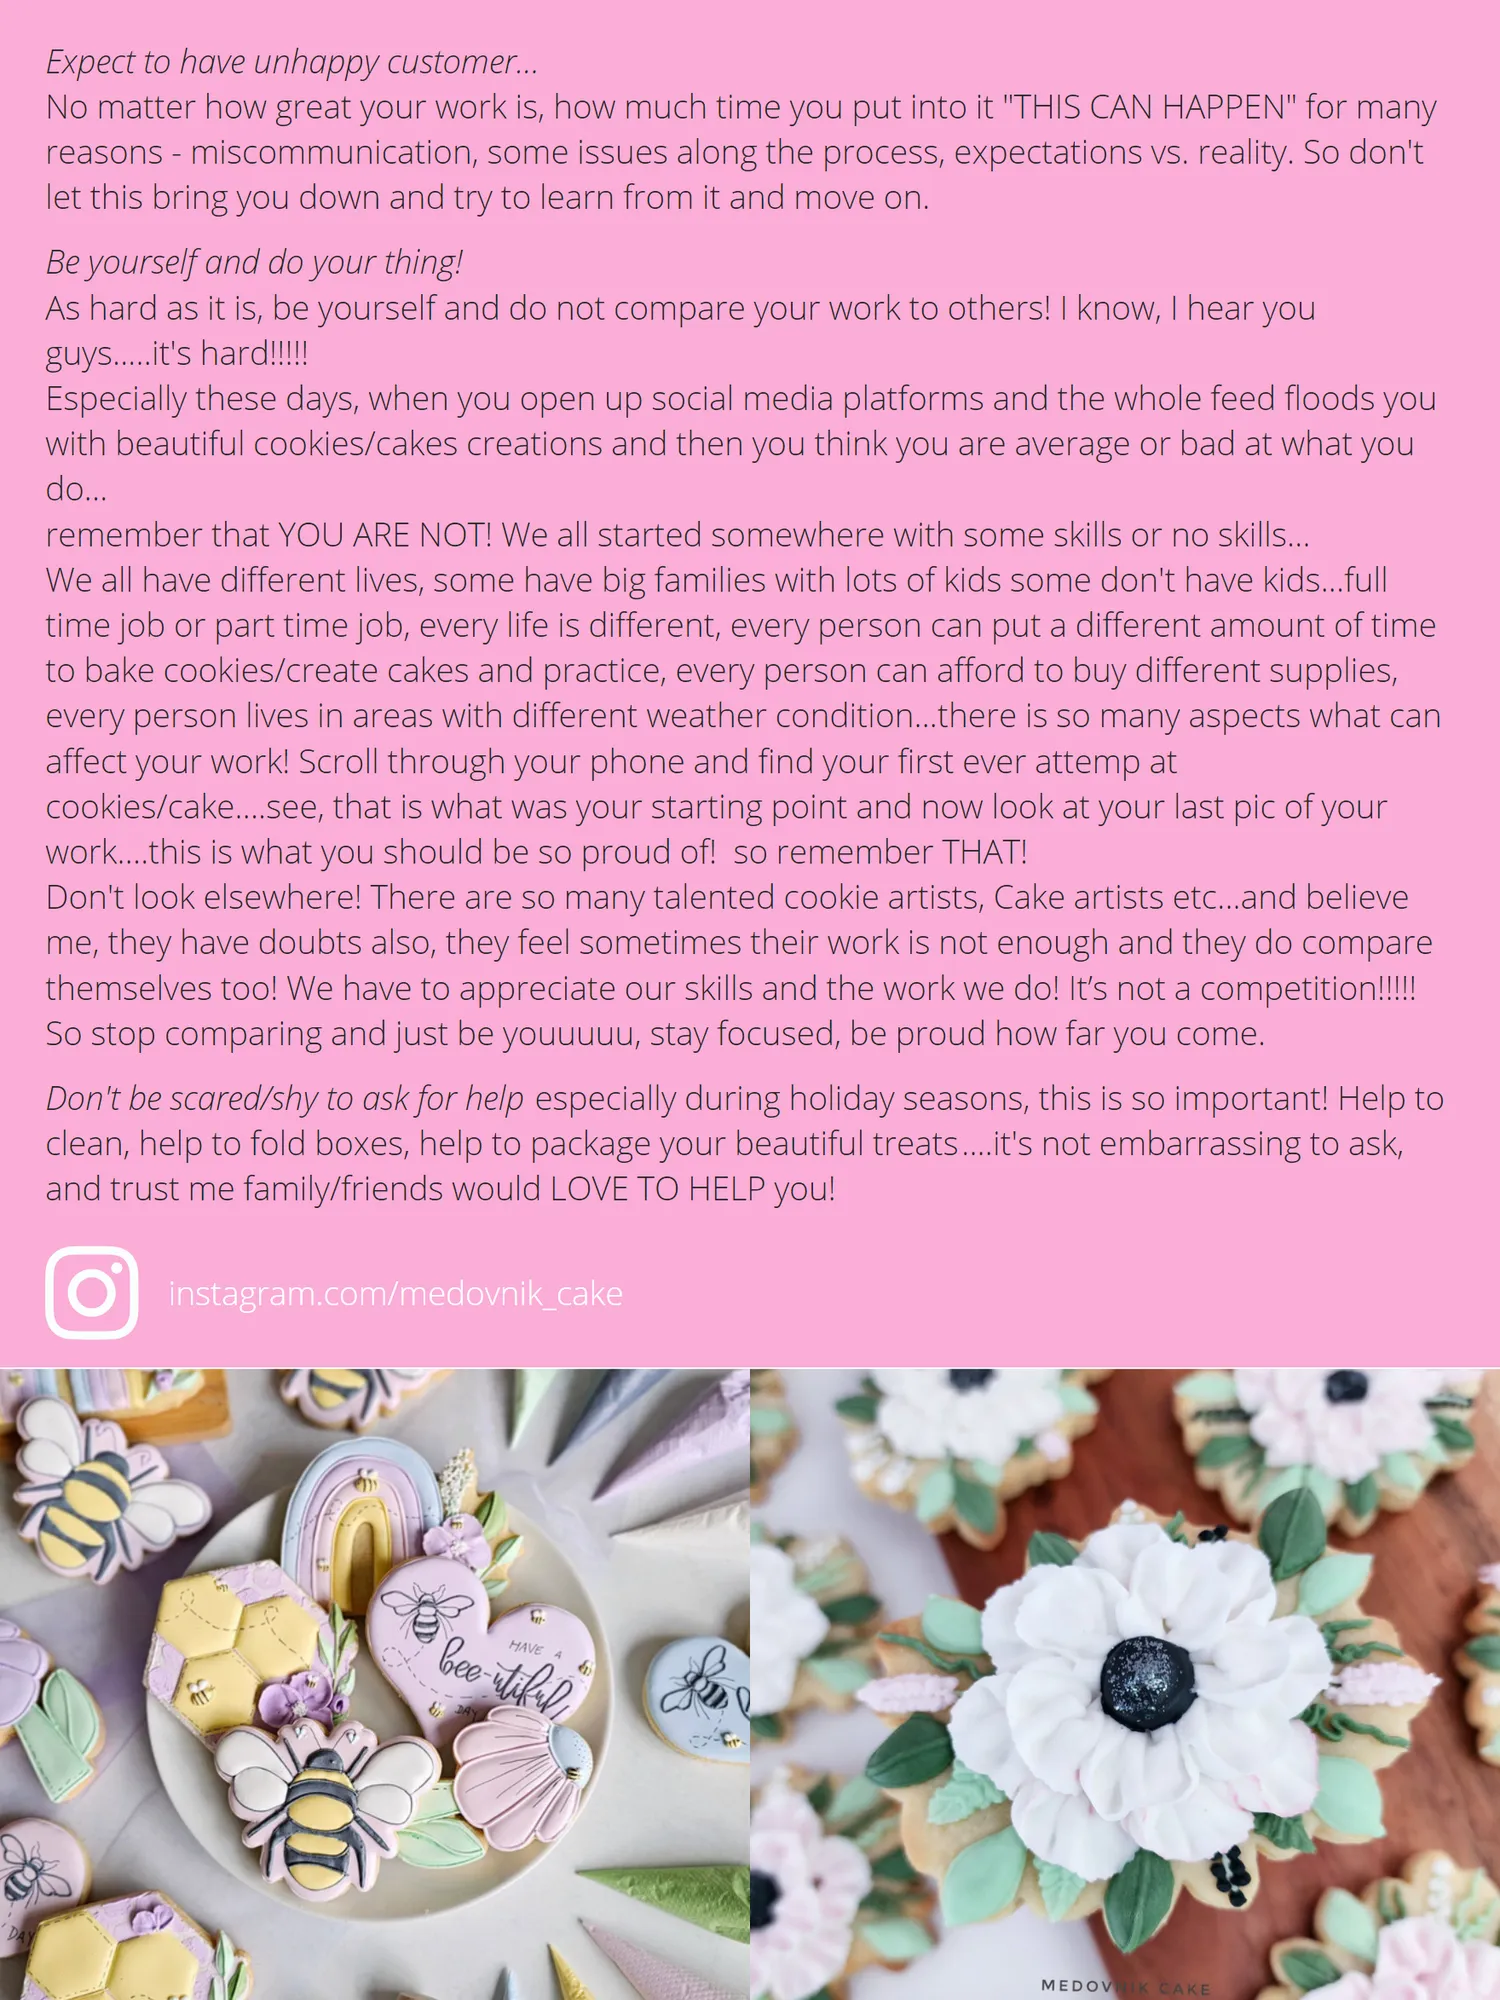
Expect to have unhappy customer... No matter how great your work is, how much time you put into it "THIS CAN HAPPEN" for many reasons - miscommunication, some issues along the process, expectations vs. reality. So don't let this bring you down and try to learn from it and move on. Be yourself and do your thing! As hard as it is, be yourself and do not compare your work to others! I know, I hear you guys ..... it's hard!!!!! Especially these days, when you open up social media platforms and the whole feed floods you with beautiful cookies/cakes creations and then you think you are average or bad at what you do... remember that YOU ARE NOT! We all started somewhere with some skills or no skills... We all have different lives, some have big families with lots of kids some don't have kids...full time job or part time job, every life is different, every person can put a different amount of time


Page 41 text
No matter how great your work is, how much time you put into it "THIS CAN HAPPEN" for many reasons - miscommunication, some issues along the process, expectations vs. reality. So don't let this bring you down and try to learn from it and move on. As hard as it is, be yourself and do not compare your work to others! I know, I hear you Especially these days, when you open up social media platforms and the whole feed floods you with beautiful cookies/cakes creations and then you think you are average or bad at what you remember that YOU ARE NOT! We all started somewhere with some skills or no skills... We all have different lives, some have big families with lots of kids some don't have kids...full time job or part time job, every life is different, every person can put a different amount of time
Page 43 text
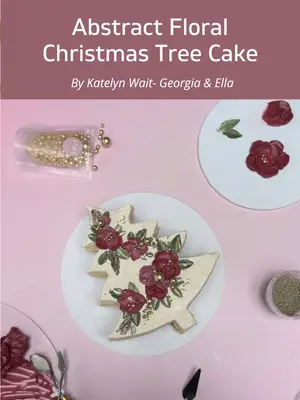
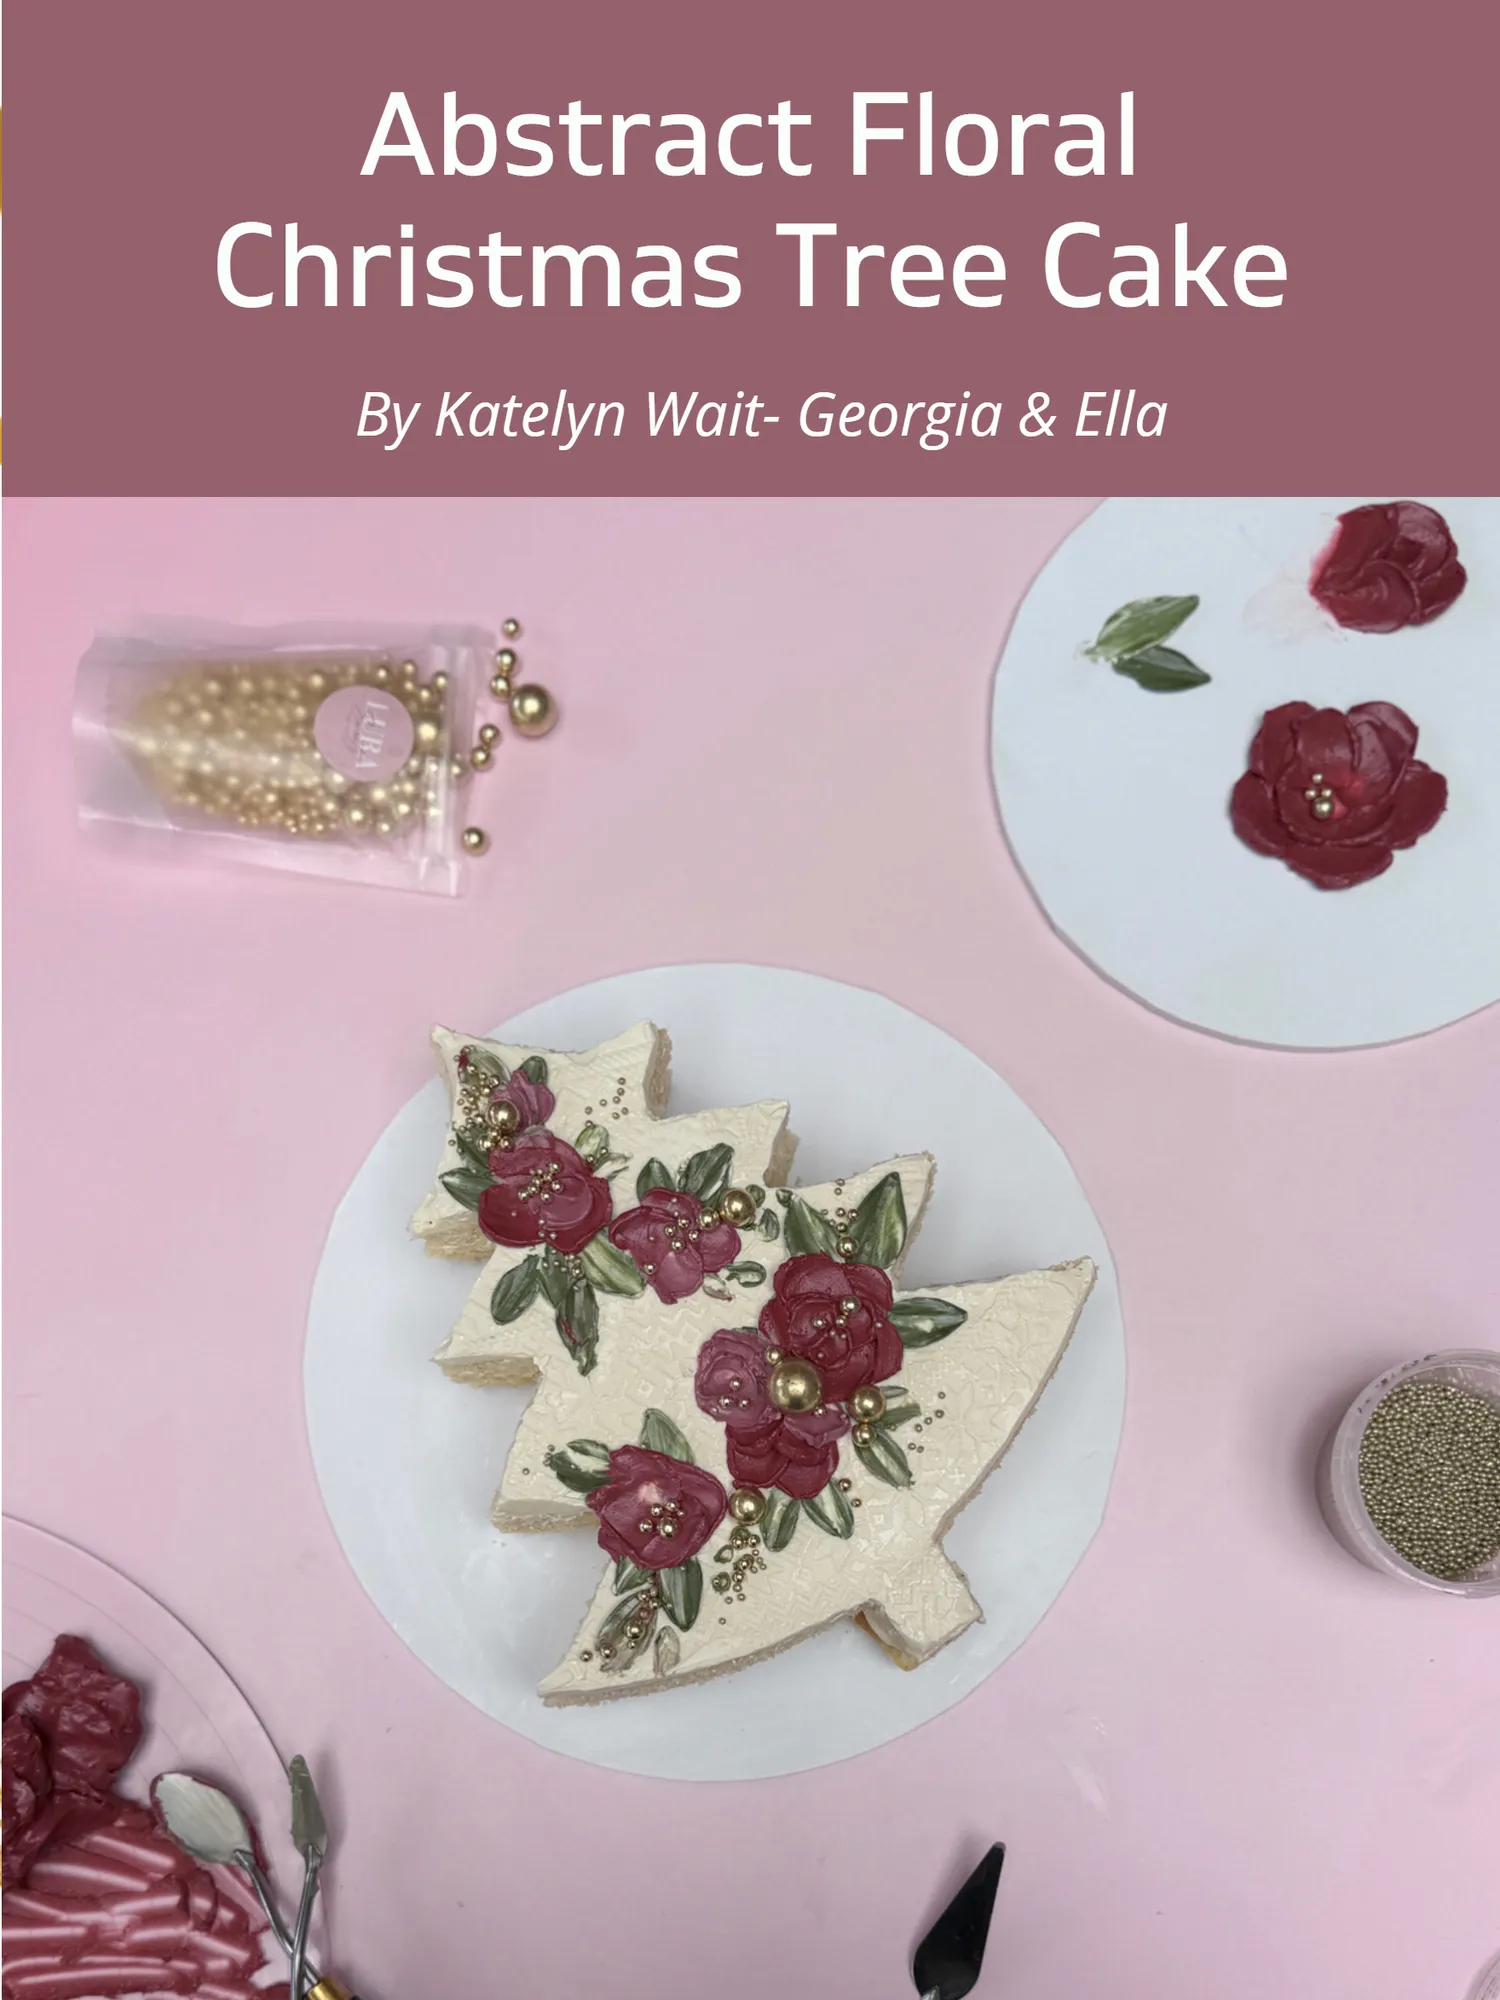
Abstract Floral Christmas Tree Cake By Katelyn Wait- Georgia & Ella
Page 44 text
2x sheet cakes (or one that fits at least 2 of your stencils) 1x christmas tree template to the size of your liking (I used the Cas’ Cakery mini tree)
Page 45 text
YOU WILL NEED: 2x sheet cakes (or one that fits at least 2 of your 1x christmas tree template to the size of your liking (I used the Cas’ Cakery mini tree)
Page 46 text
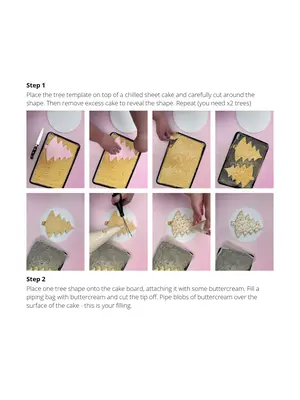
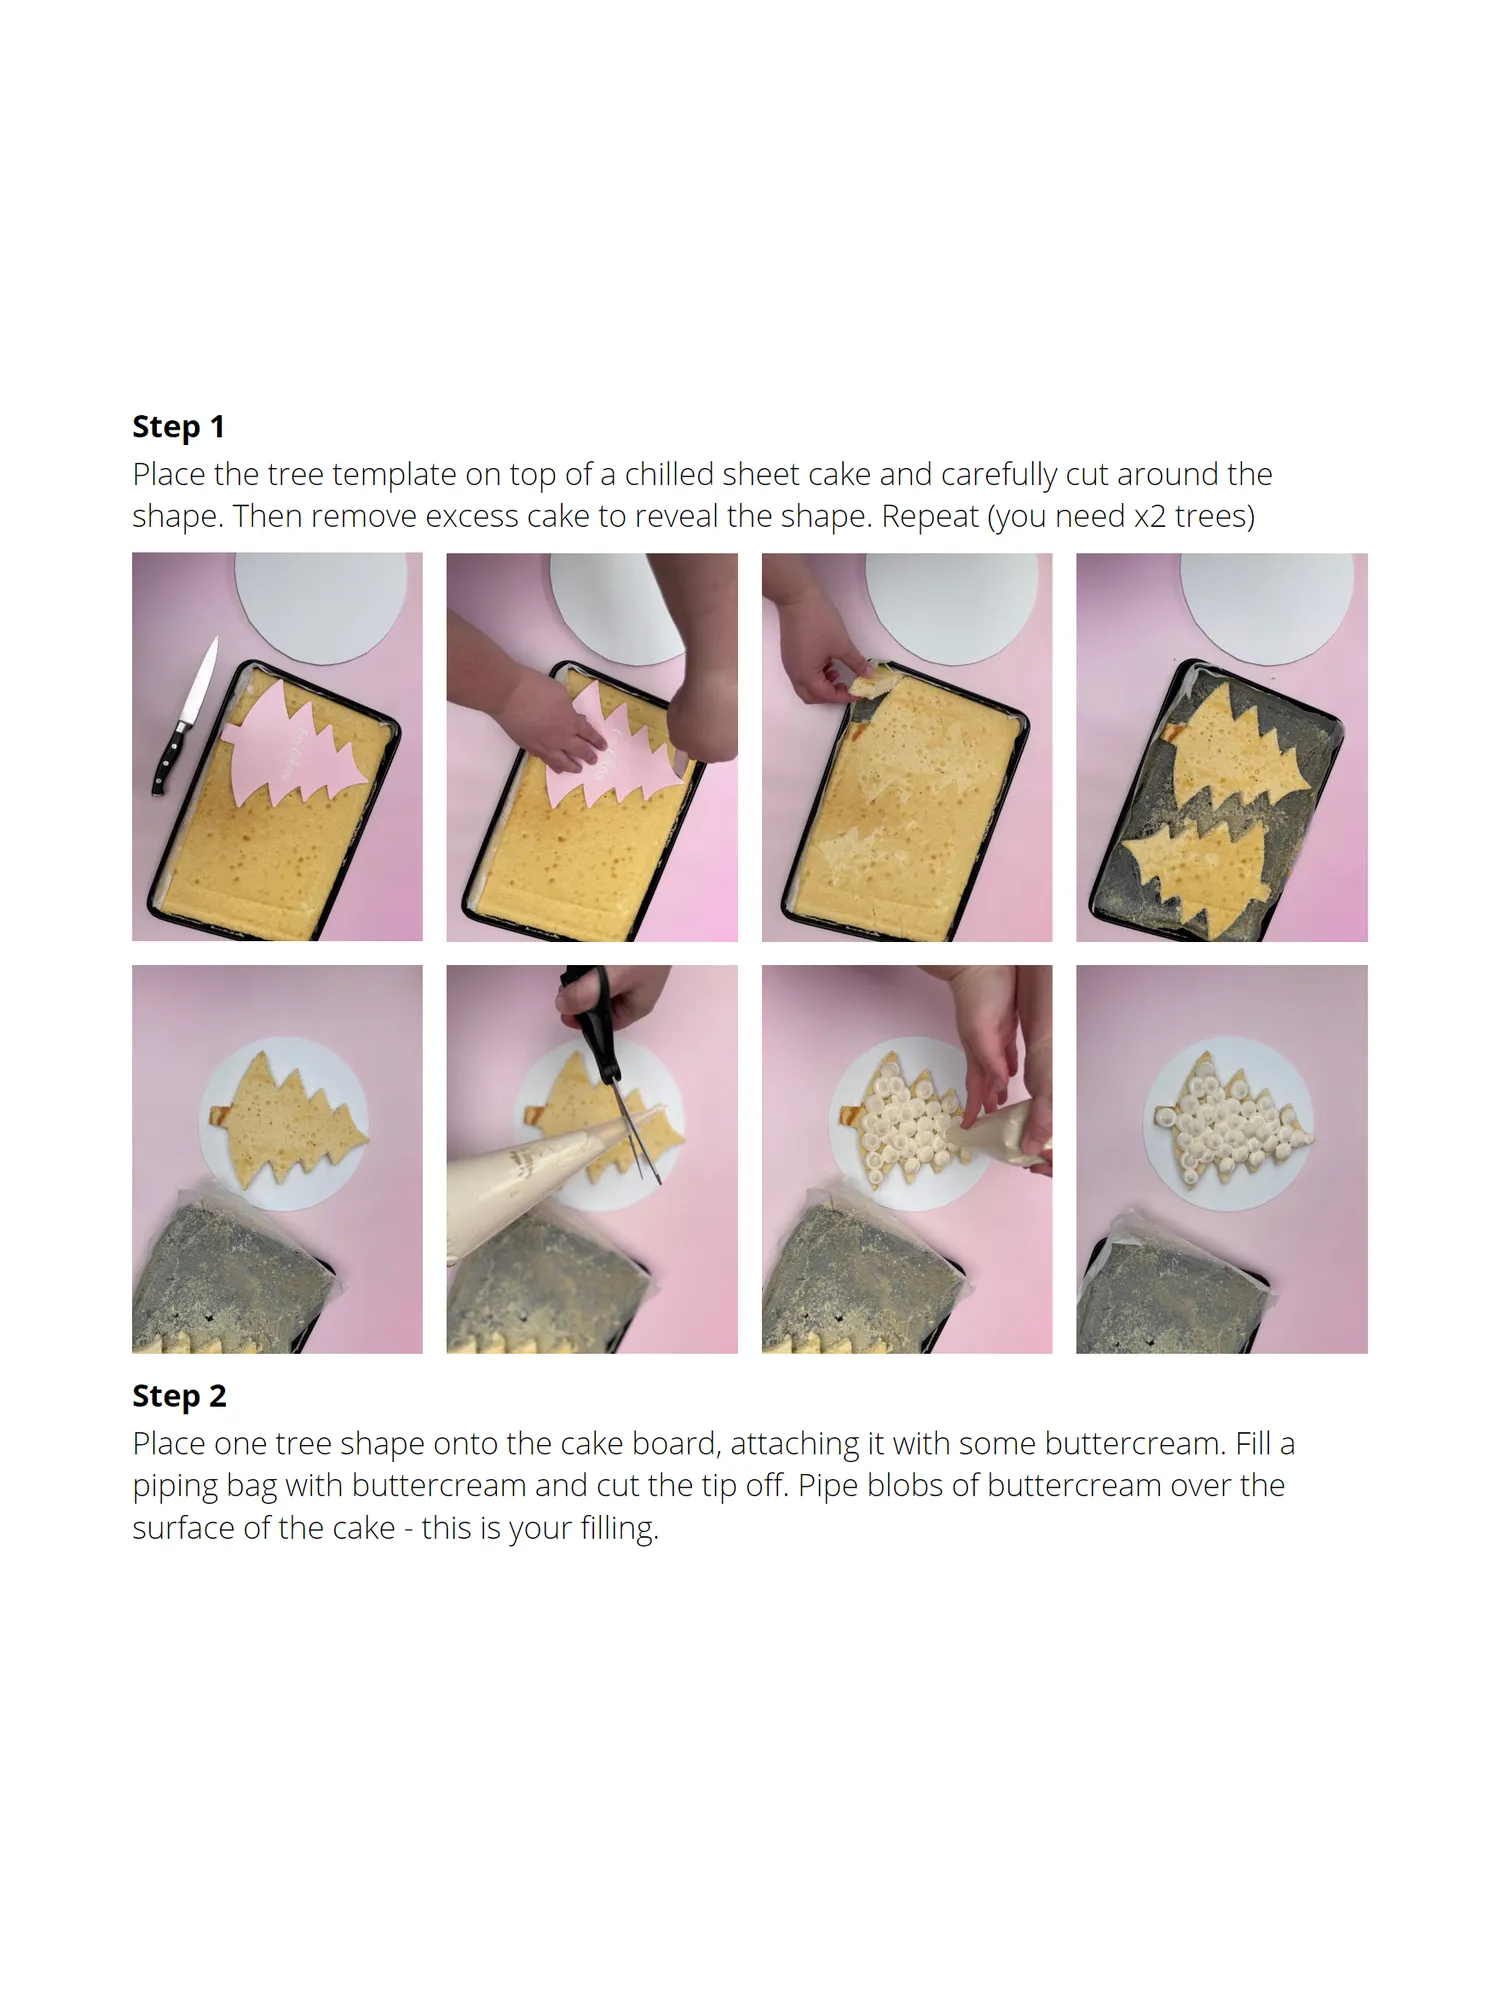
Step 1 Place the tree template on top of a chilled sheet cake and carefully cut around the shape. Then remove excess cake to reveal the shape. Repeat (you need x2 trees) Step 2 Place one tree shape onto the cake board, attaching it with some buttercream. Fill a piping bag with buttercream and cut the tip off. Pipe blobs of buttercream over the surface of the cake - this is your filling.
Page 47 text
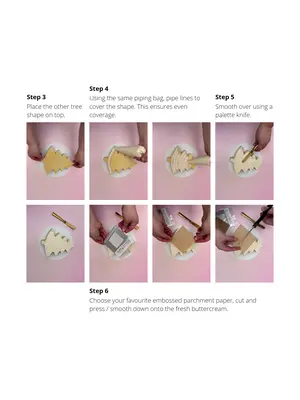
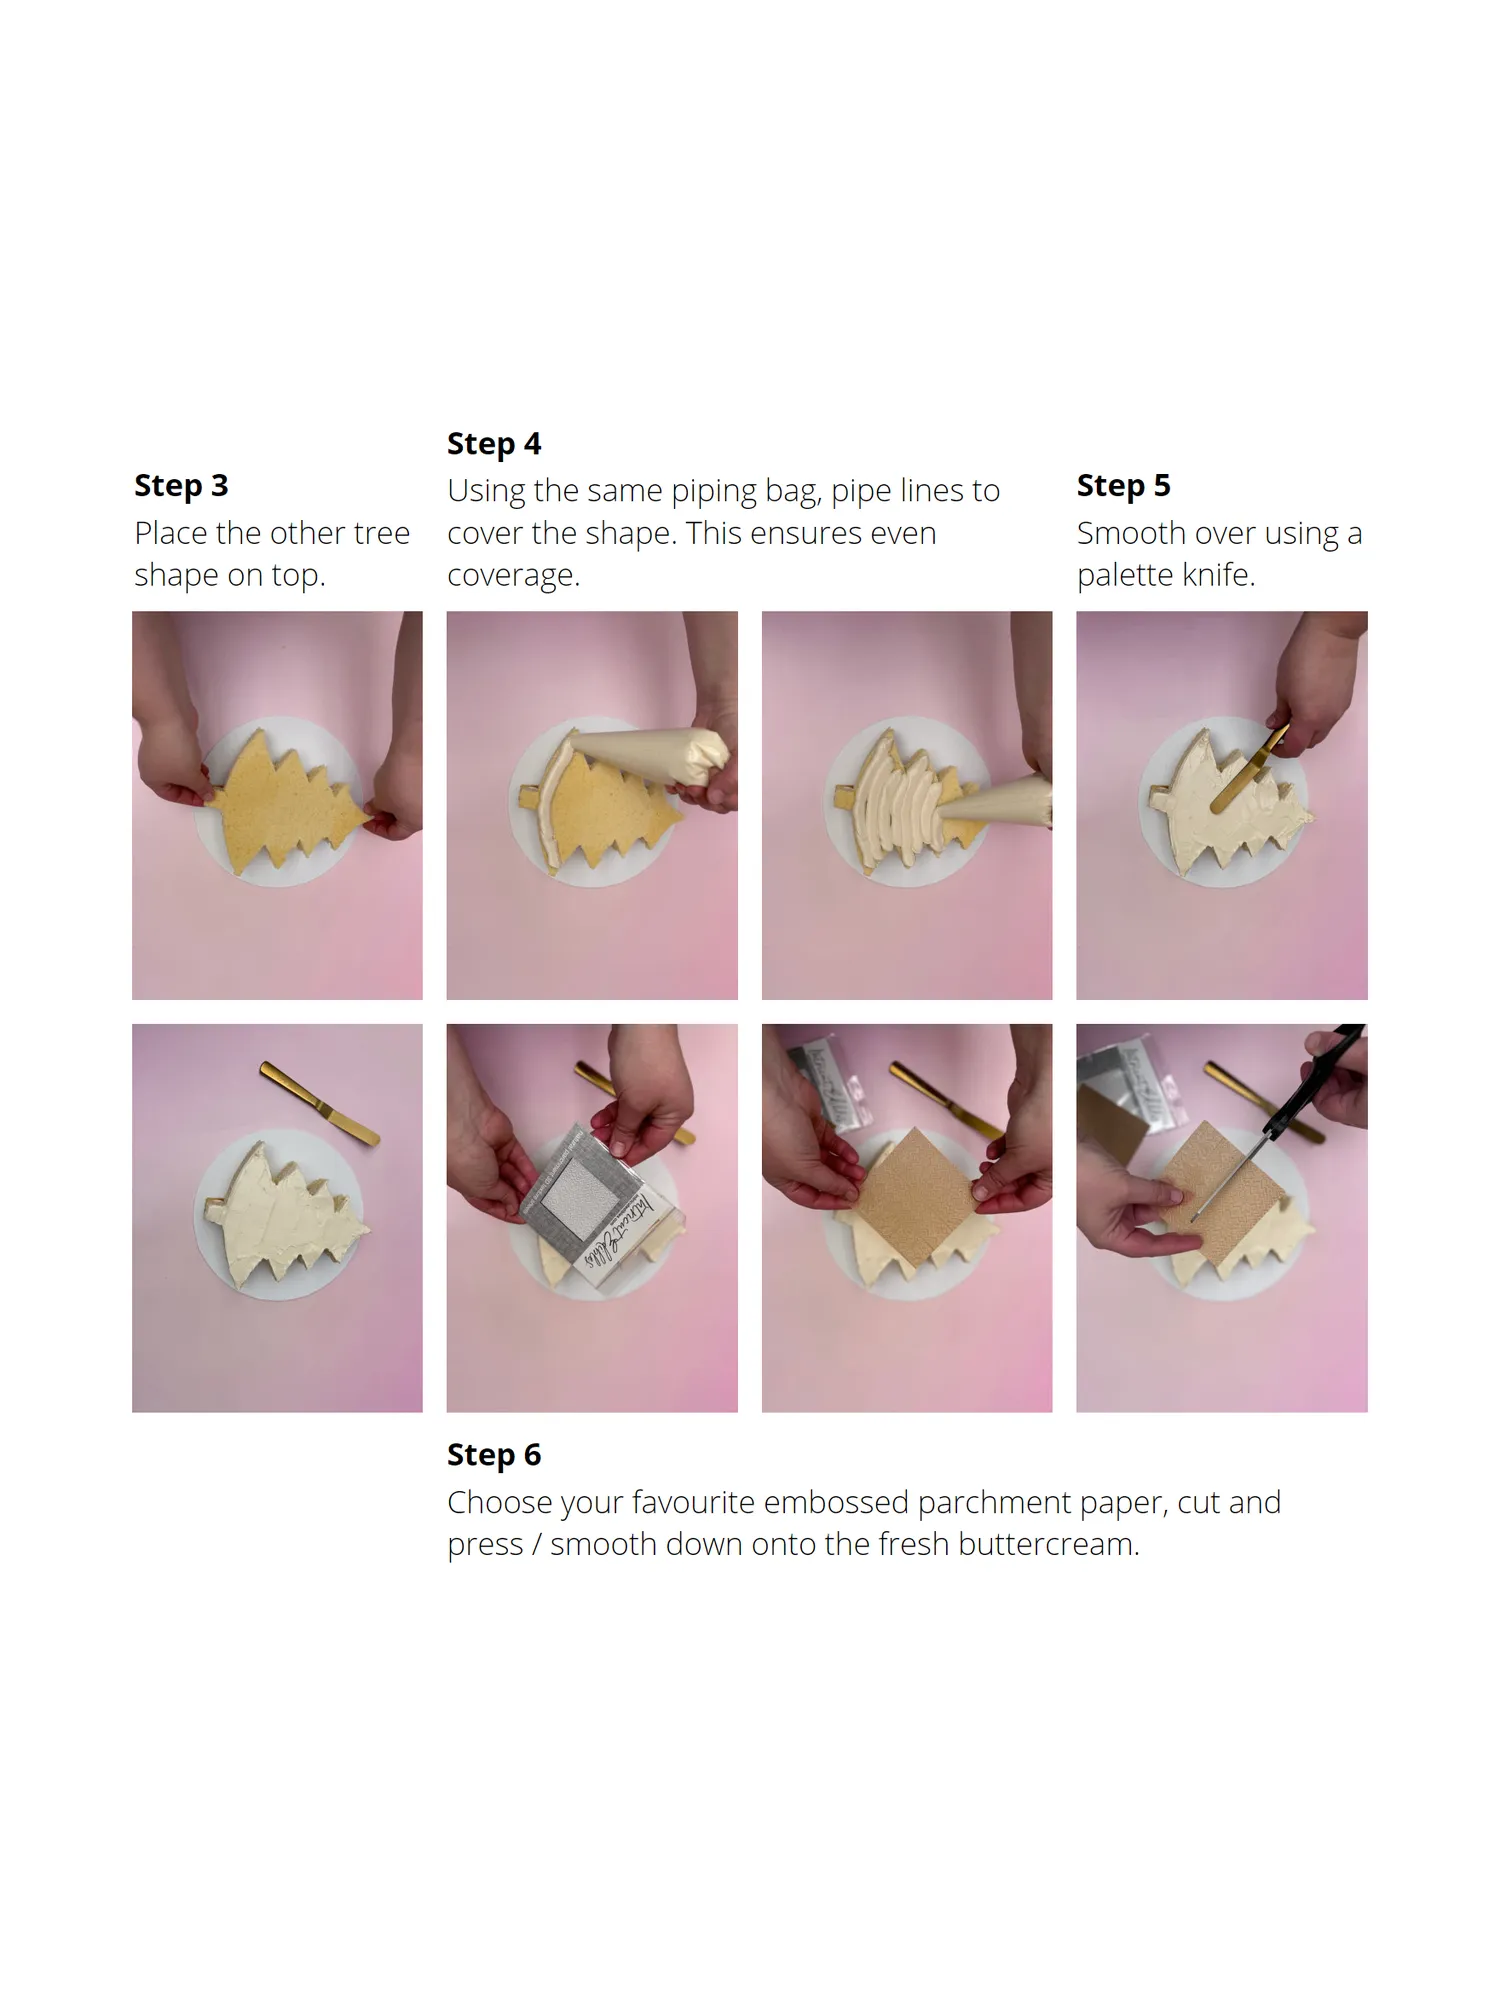
Step 4 Step 3 Using the same piping bag, pipe lines to Step 5 Place the other tree cover the shape. This ensures even Smooth over using a shape on top. coverage. palette knife. Step 6 Choose your favourite embossed parchment paper, cut and press / smooth down onto the fresh buttercream.
Page 48 text
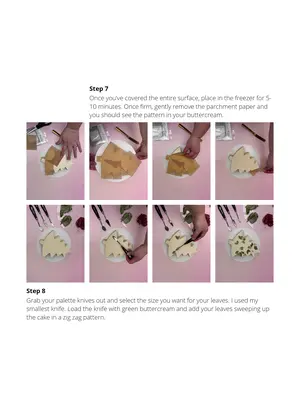
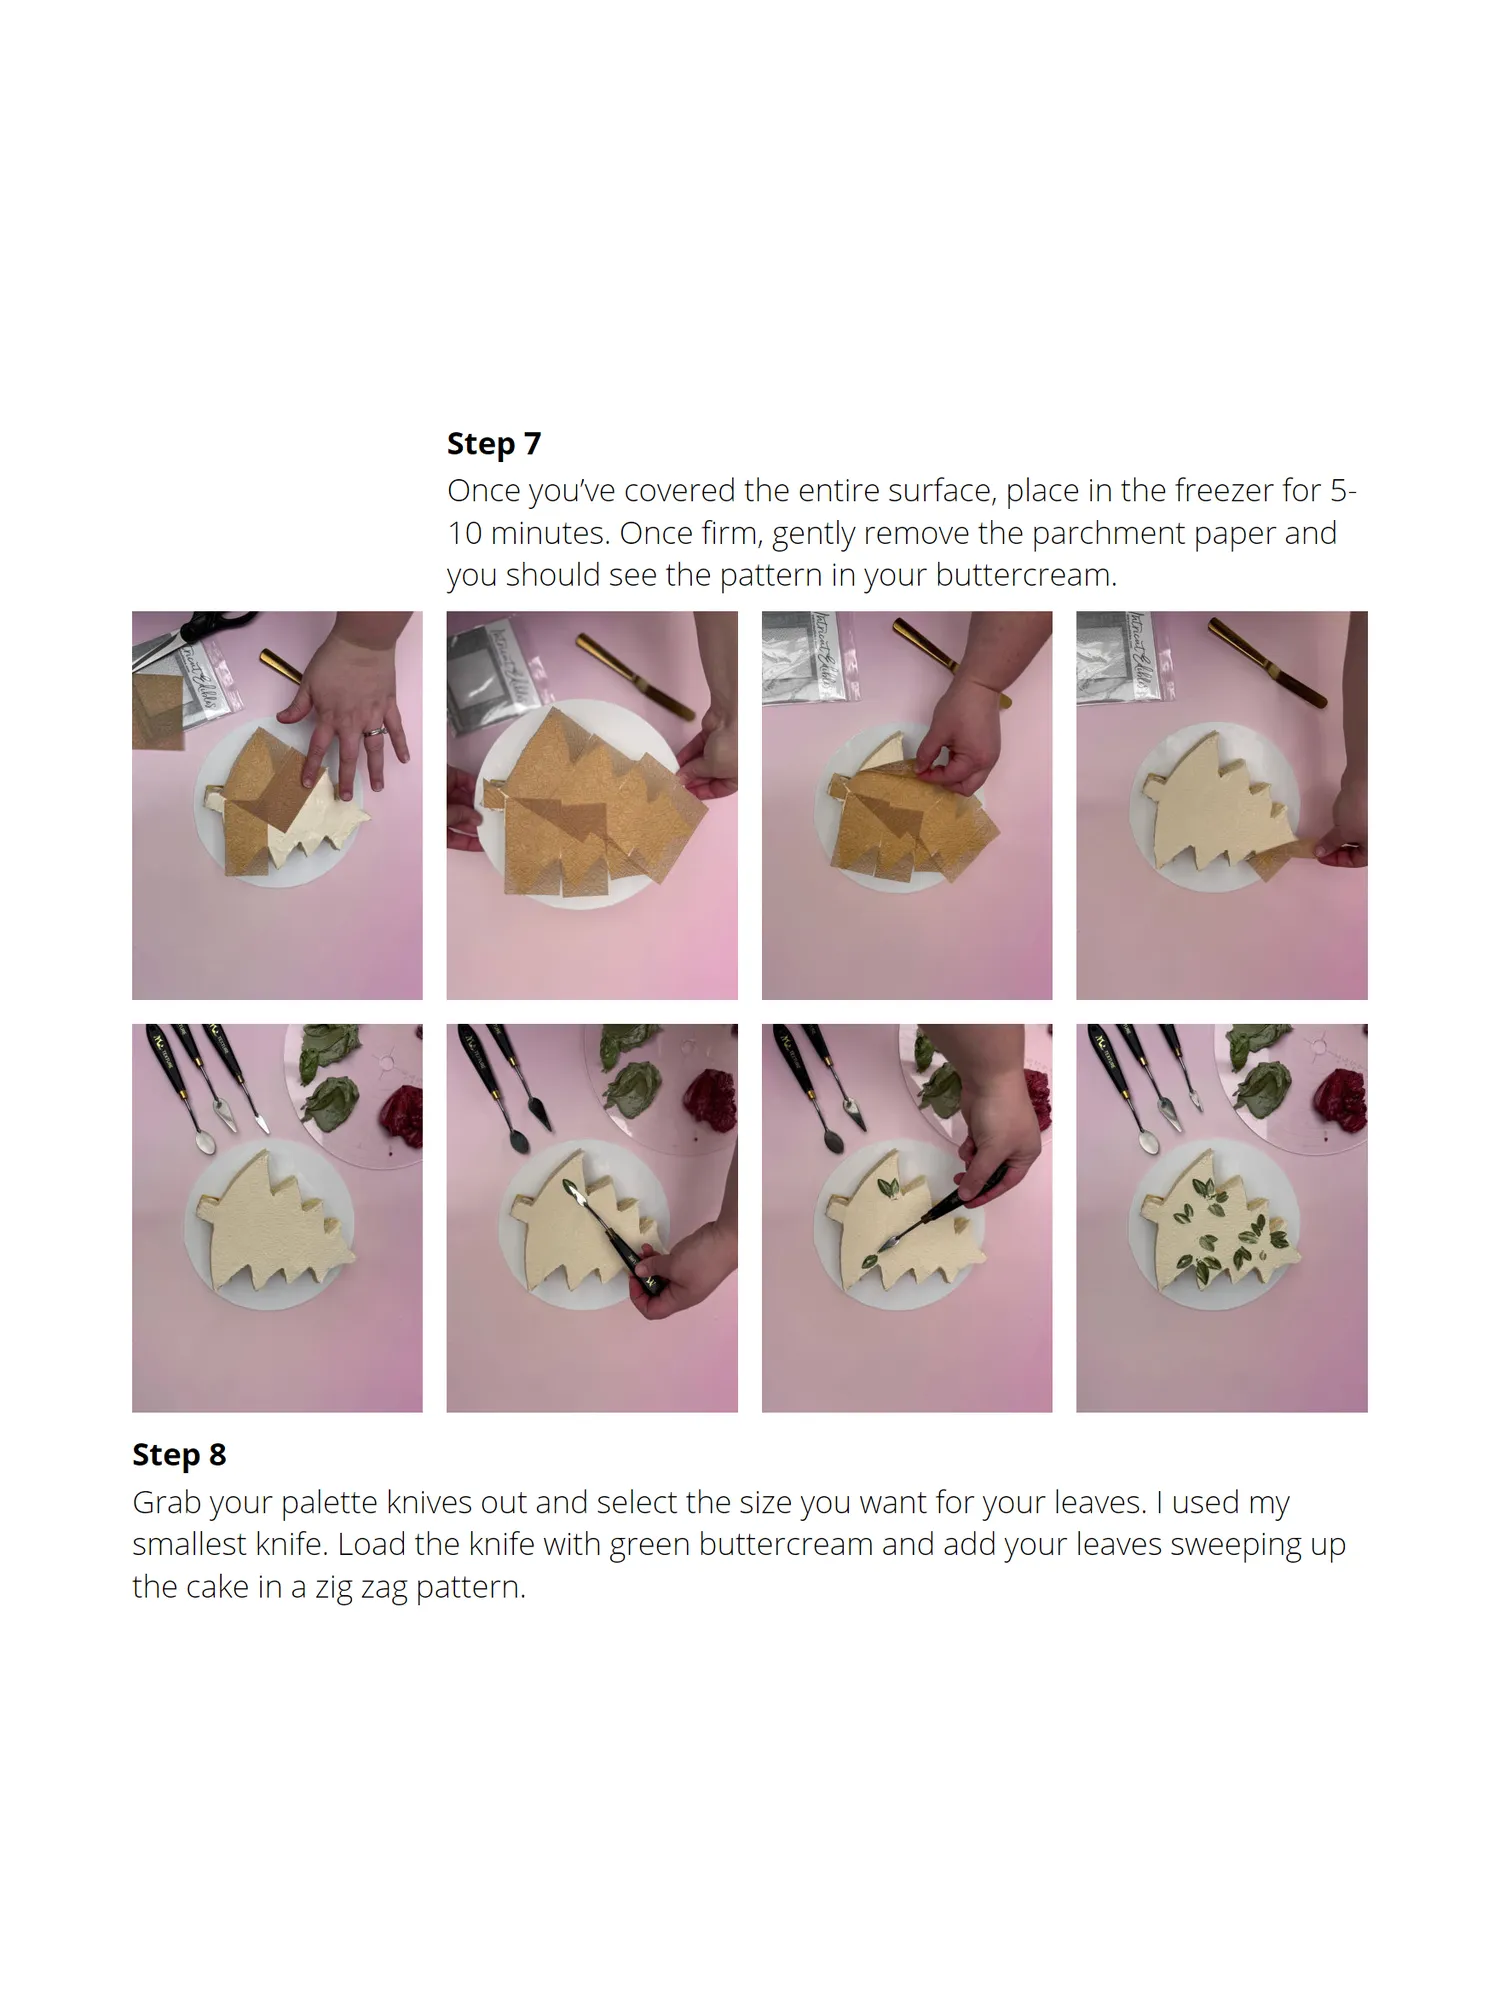
Step 7 Once you’ve covered the entire surface, place in the freezer for 5- 10 minutes. Once firm, gently remove the parchment paper and you should see the pattern in your buttercream. Step 8 Grab your palette knives out and select the size you want for your leaves. I used my smallest knife. Load the knife with green buttercream and add your leaves sweeping up the cake in a zig zag pattern.
Page 49 text
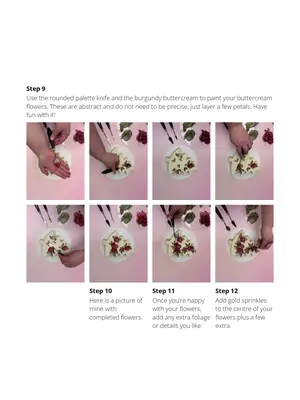
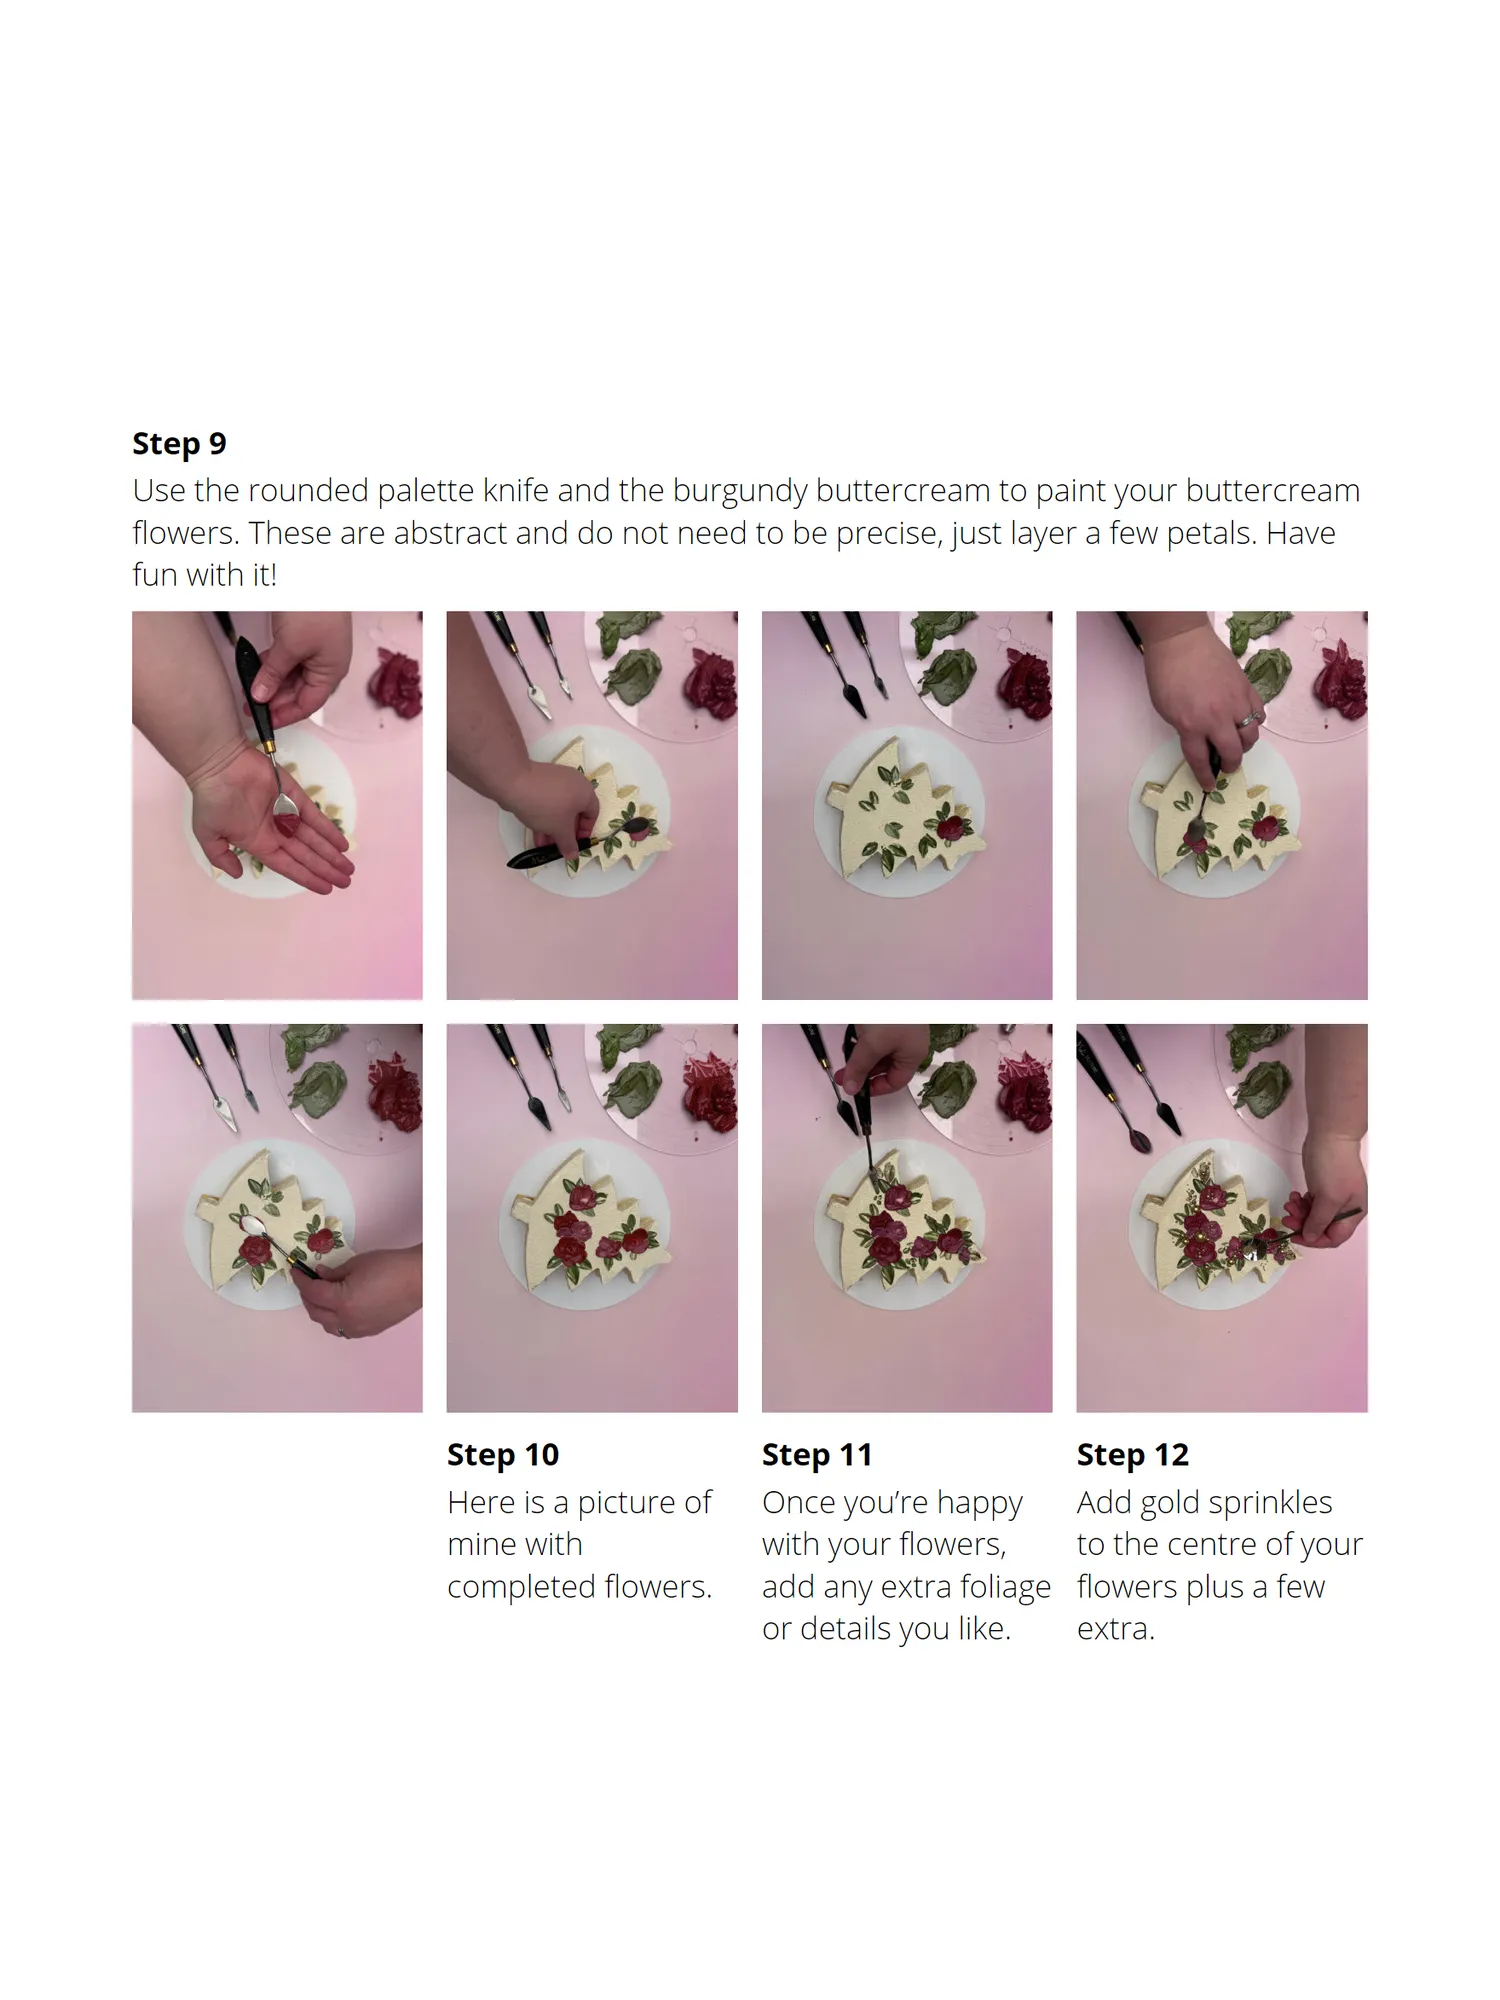
Step 9 Use the rounded palette knife and the burgundy buttercream to paint your buttercream flowers. These are abstract and do not need to be precise, just layer a few petals. Have fun with it! Step 10 Step 11 Step 12 Here is a picture of Once you’re happy Add gold sprinkles mine with with your flowers, to the centre of your completed flowers. add any extra foliage flowers plus a few or details you like. extra.
Page 50 text
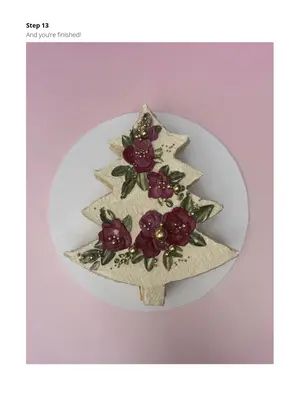
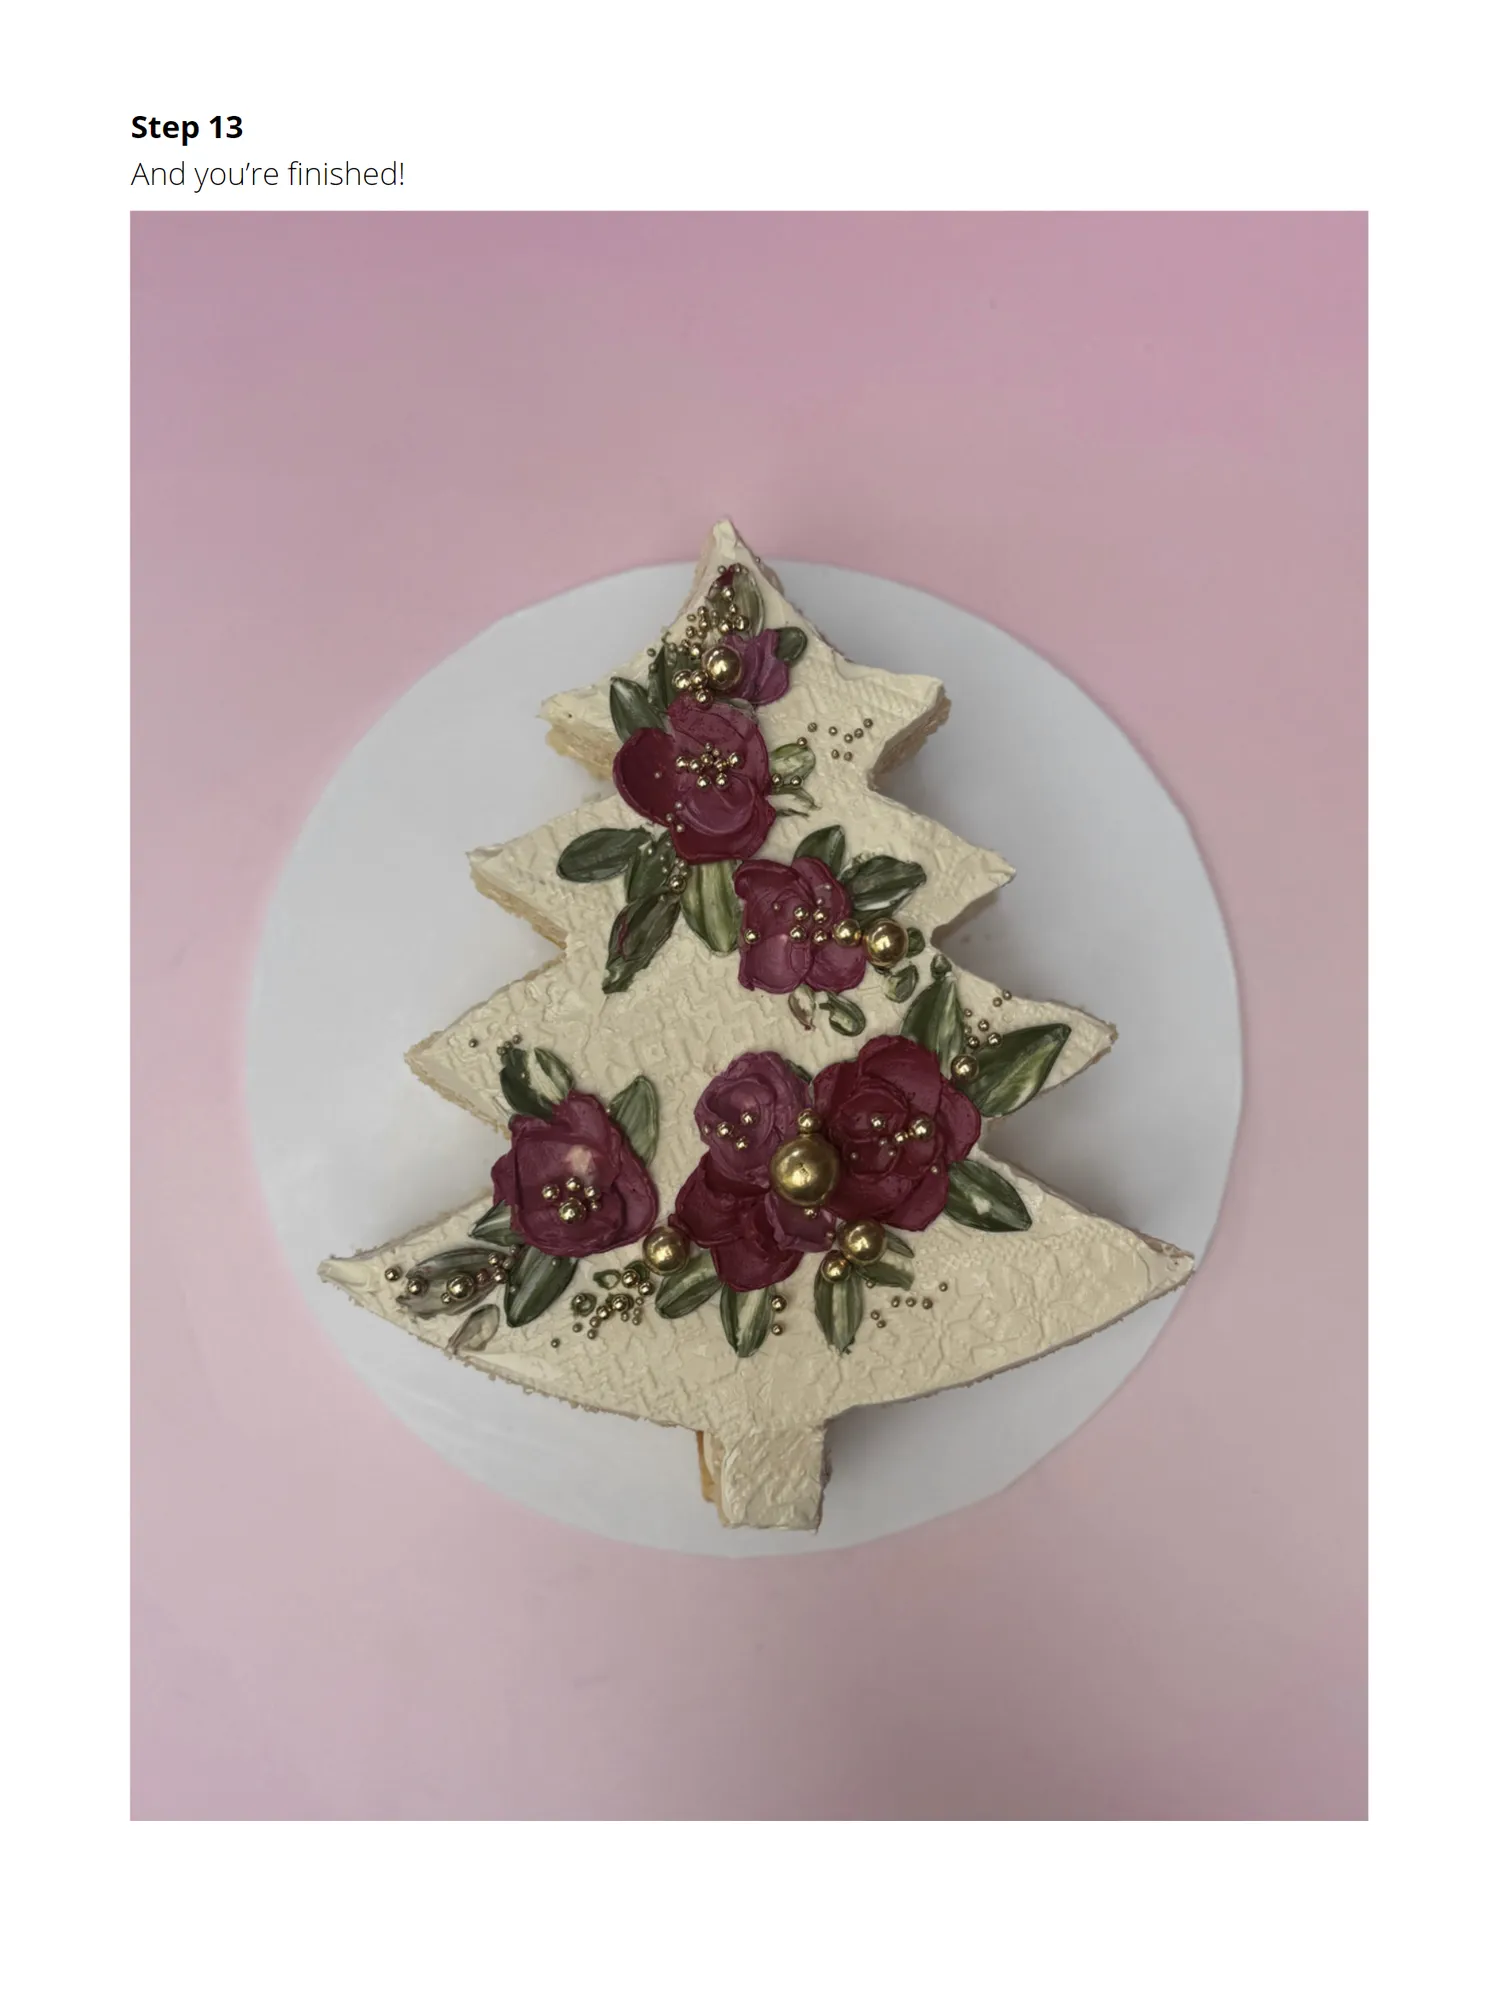
Step 13 And you’re finished!

Page 52 text
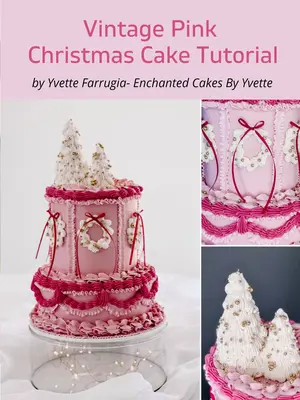
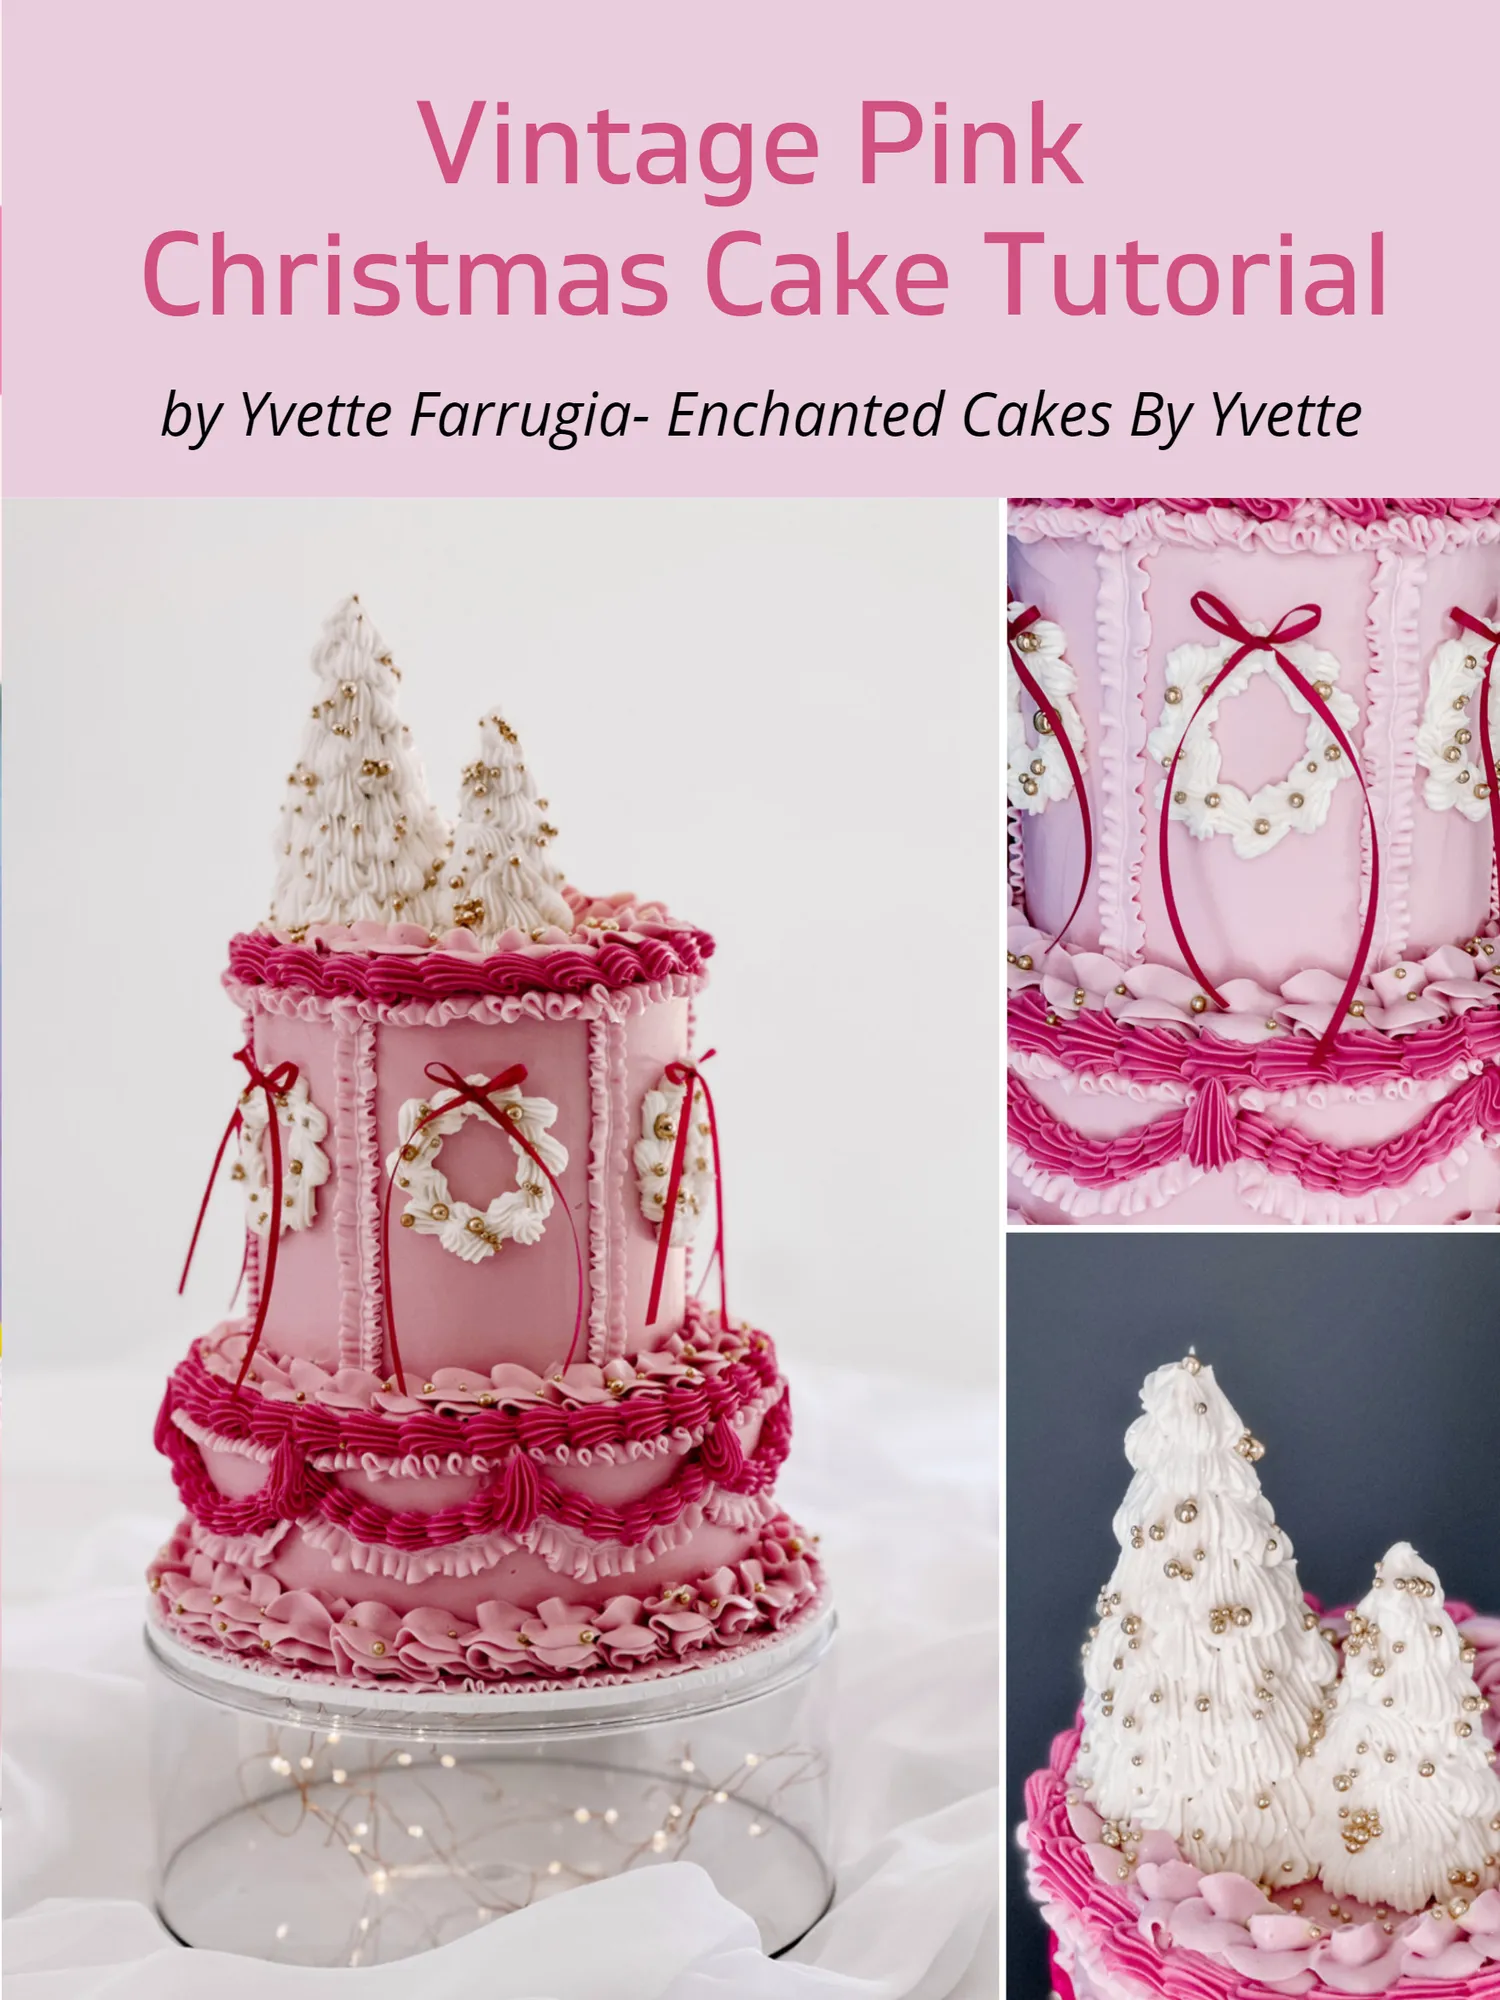
Christmas Cake Tutorial by Yvette Farrugia- Enchanted Cakes By Yvette
Page 53 text
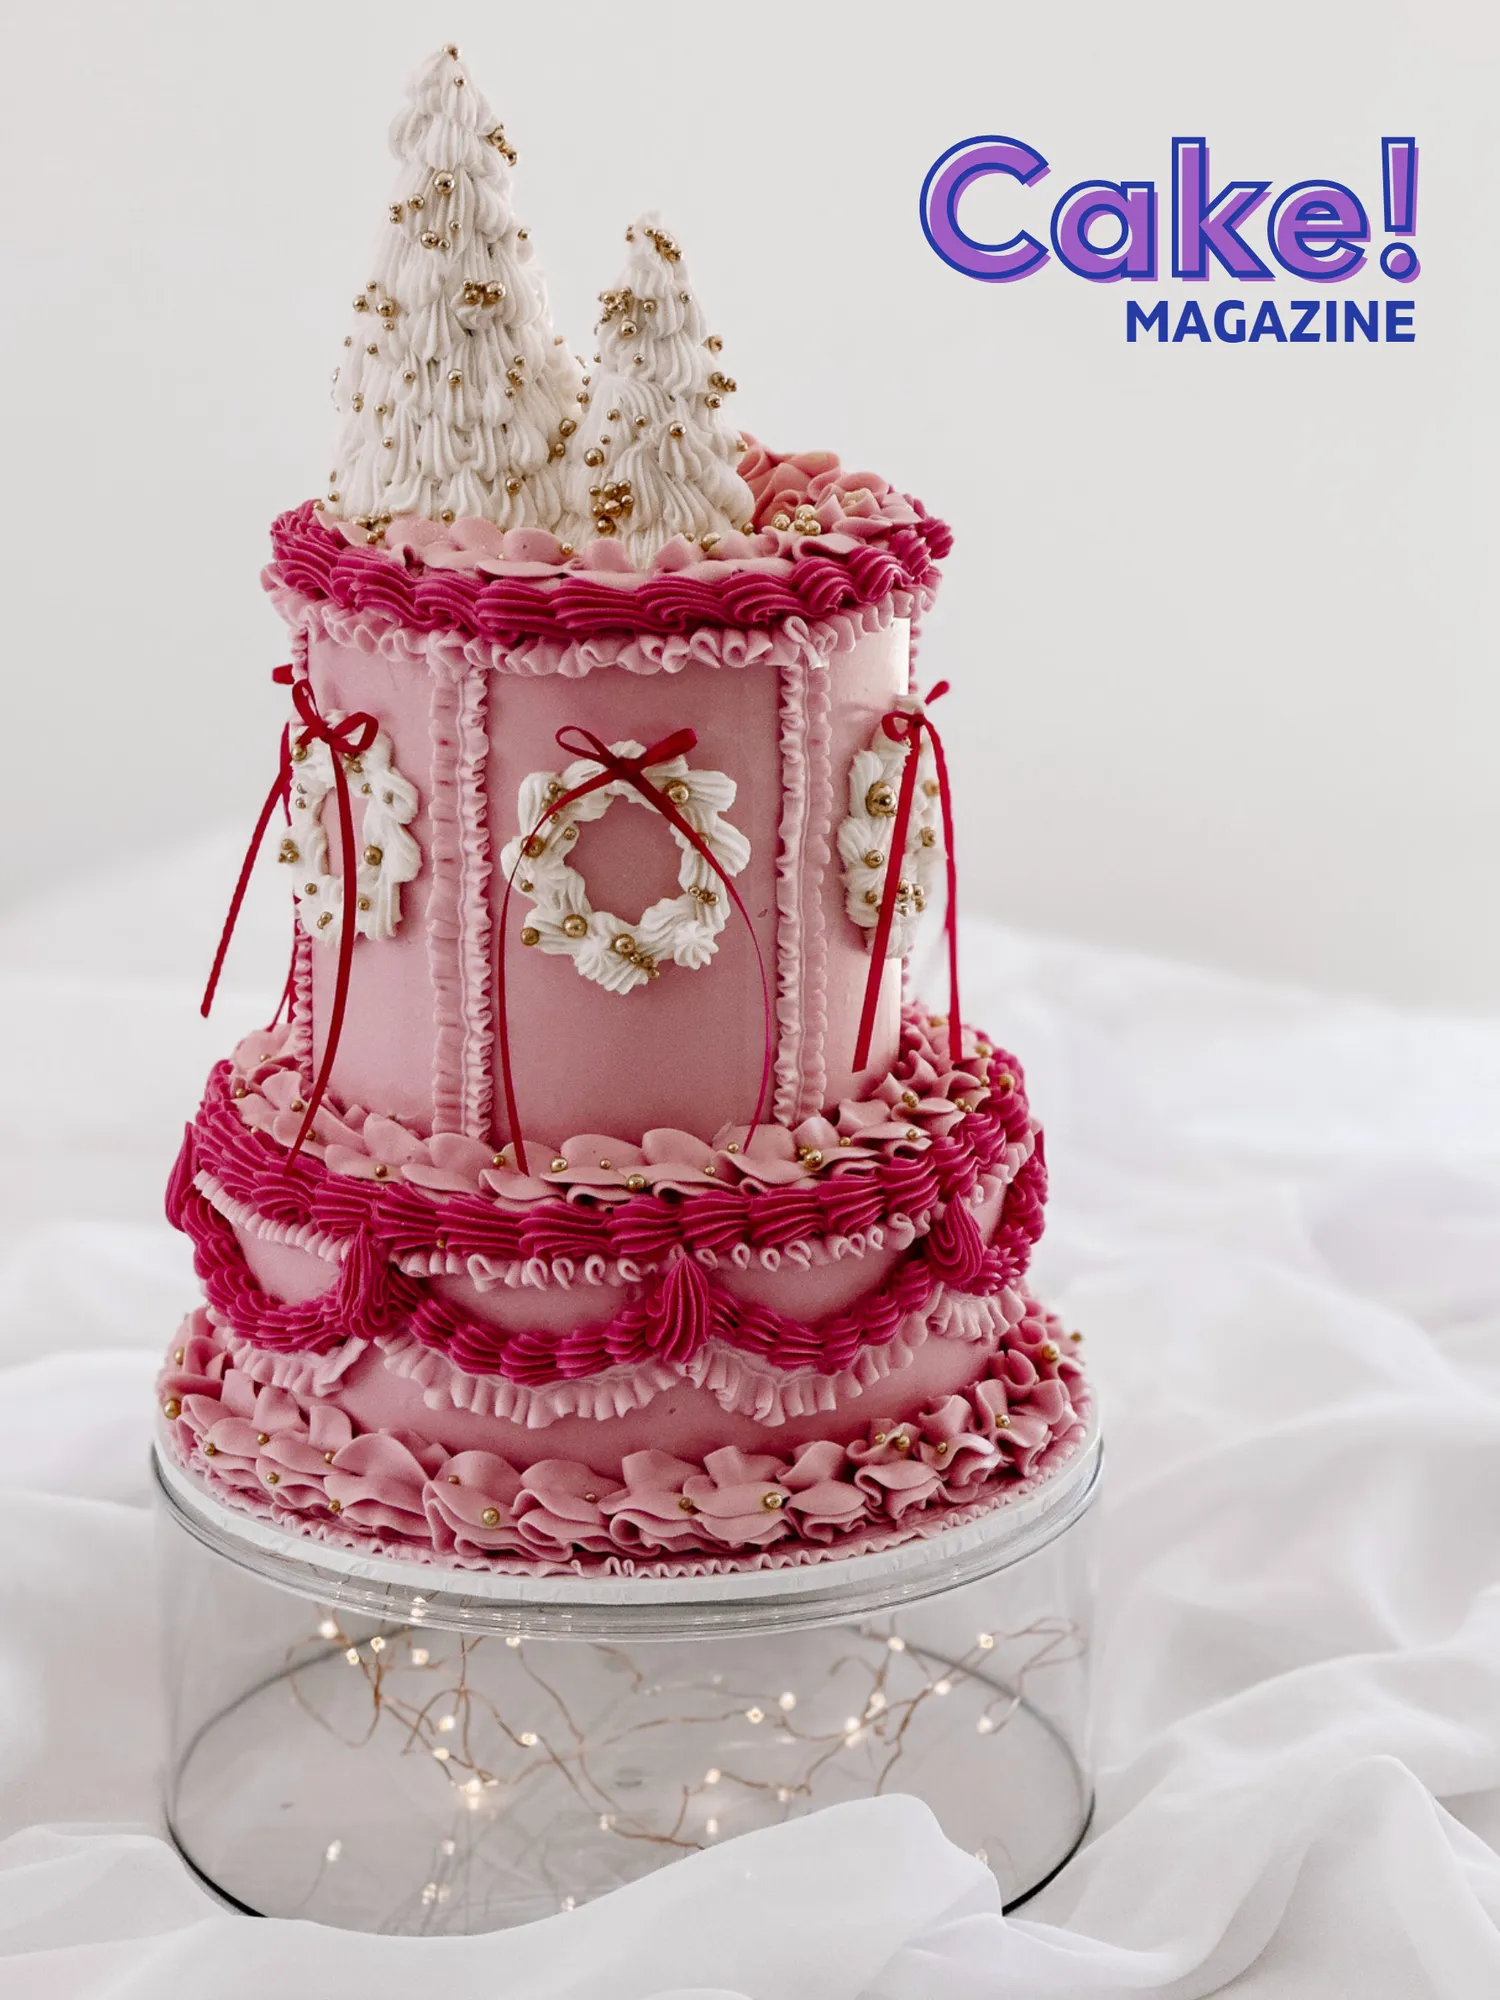
Vintage Pink Christmas Cake Tutorial by Yvette Farrugia- Enchanted Cakes By Yvette
Page 54 text
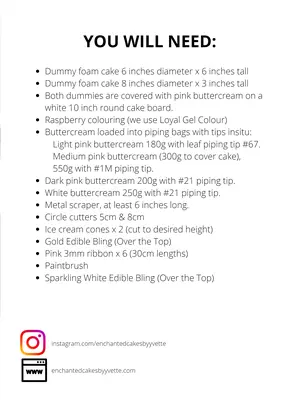
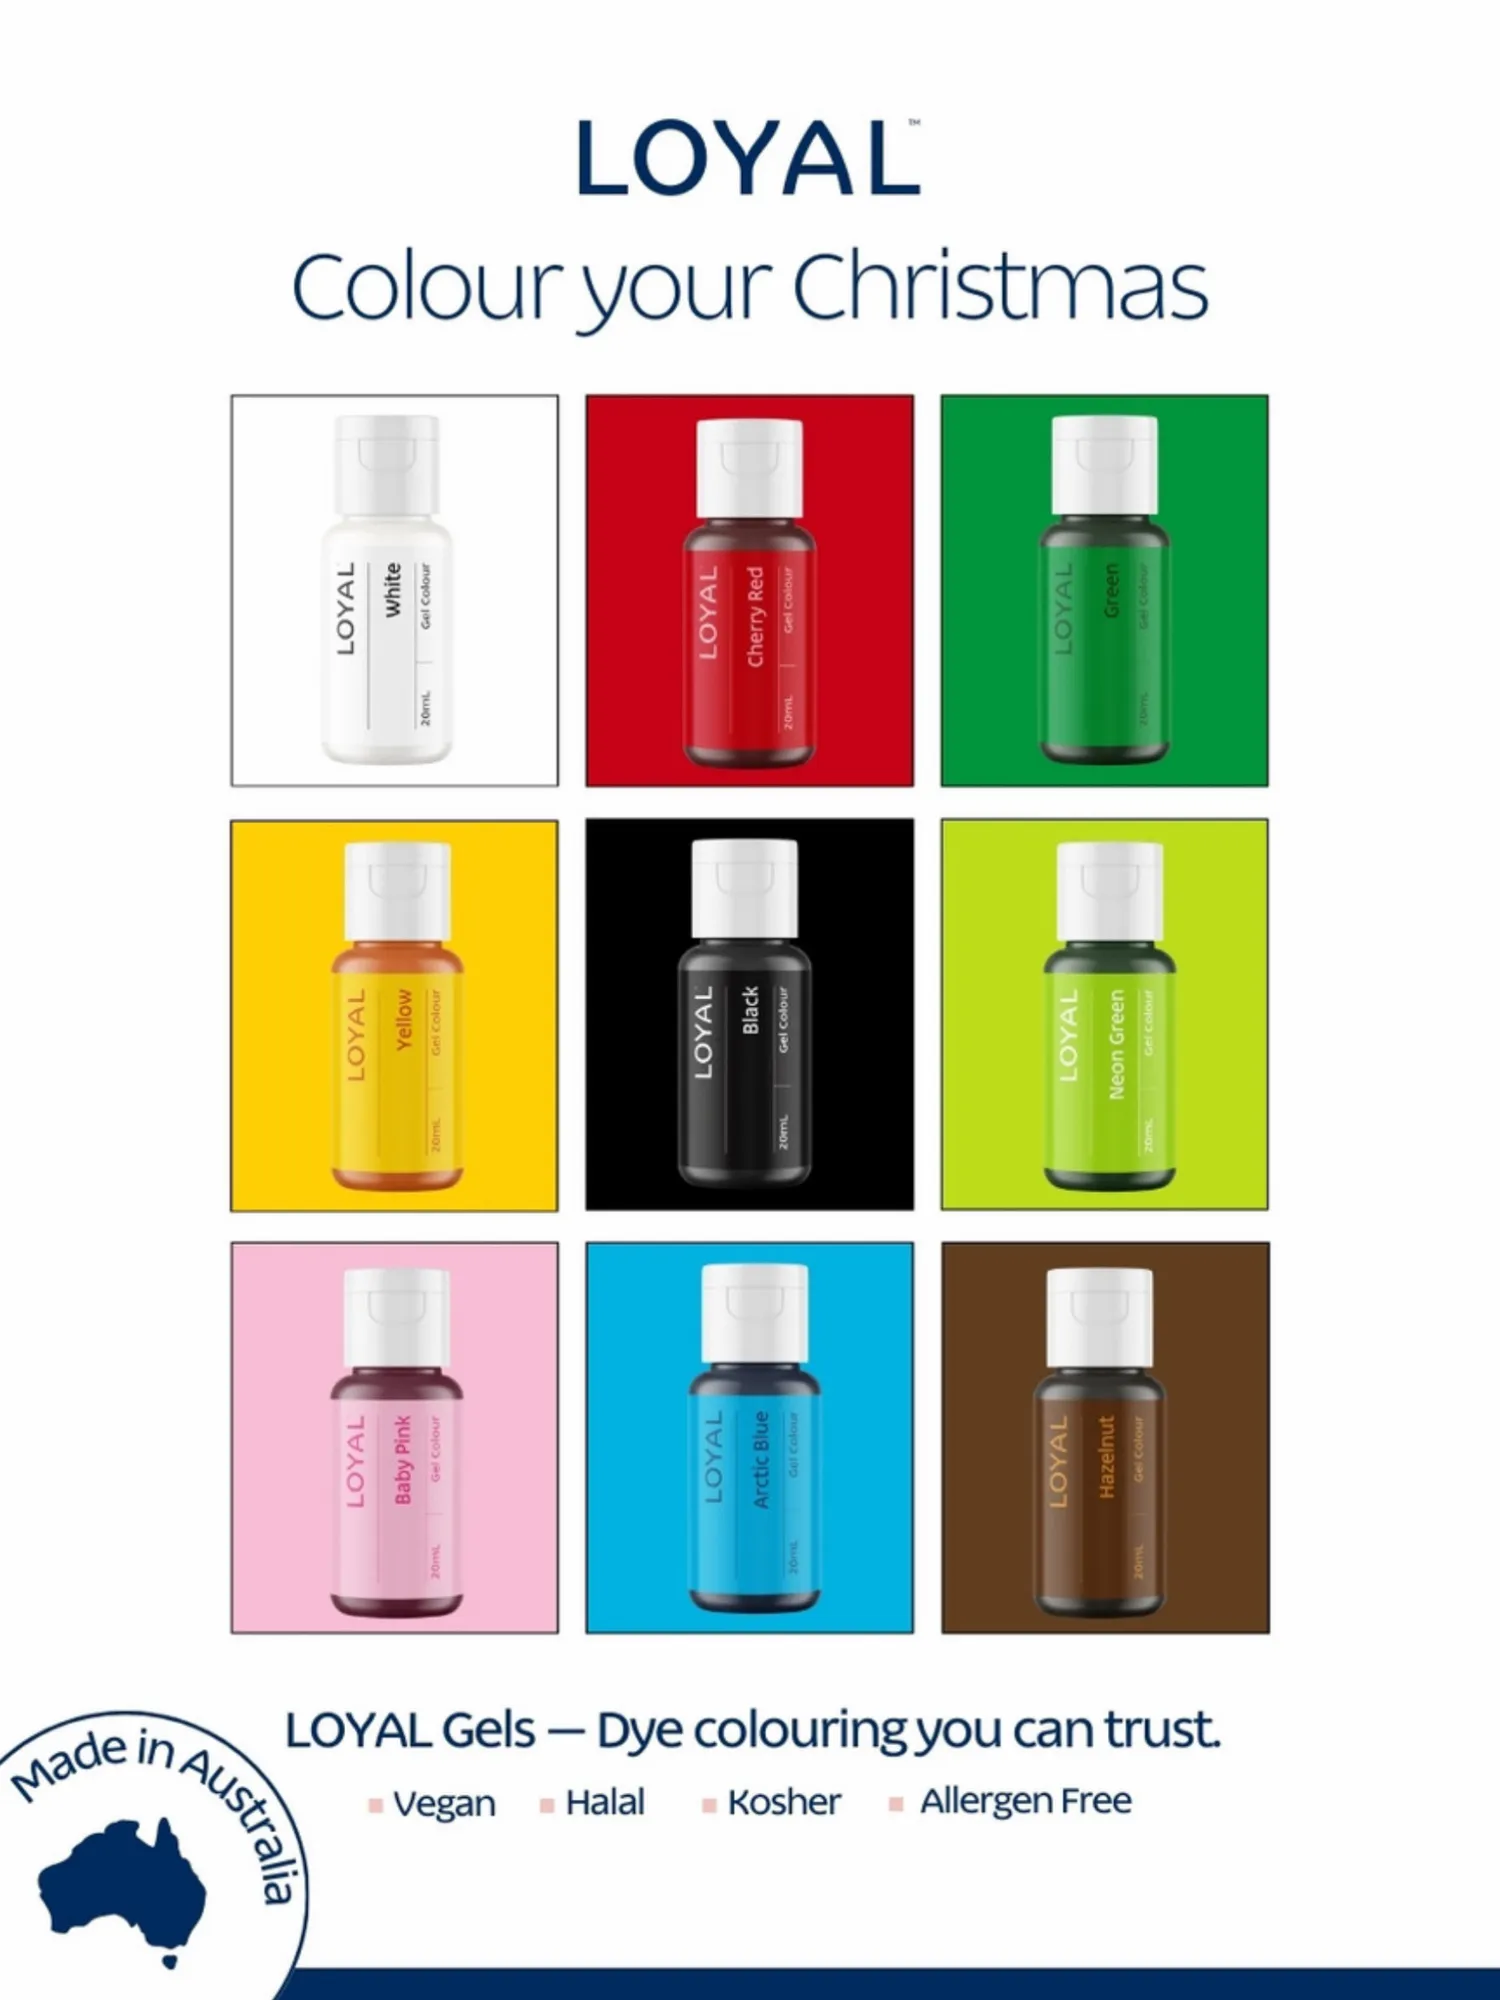
Dummy foam cake 6 inches diameter x 6 inches tall Dummy foam cake 8 inches diameter x 3 inches tall Both dummies are covered with pink buttercream on a white 10 inch round cake board. Raspberry colouring (we use Loyal Gel Colour)
Page 55 text
YOU WILL NEED: Dummy foam cake 6 inches diameter x 6 inches tall Dummy foam cake 8 inches diameter x 3 inches tall Both dummies are covered with pink buttercream on a white 10 inch round cake board. Raspberry colouring (we use Loyal Gel Colour)
Page 56 text
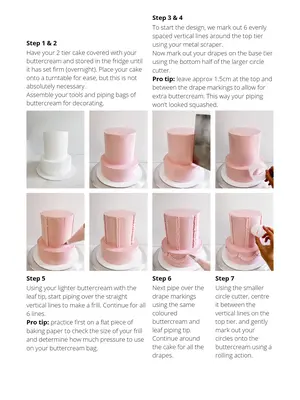
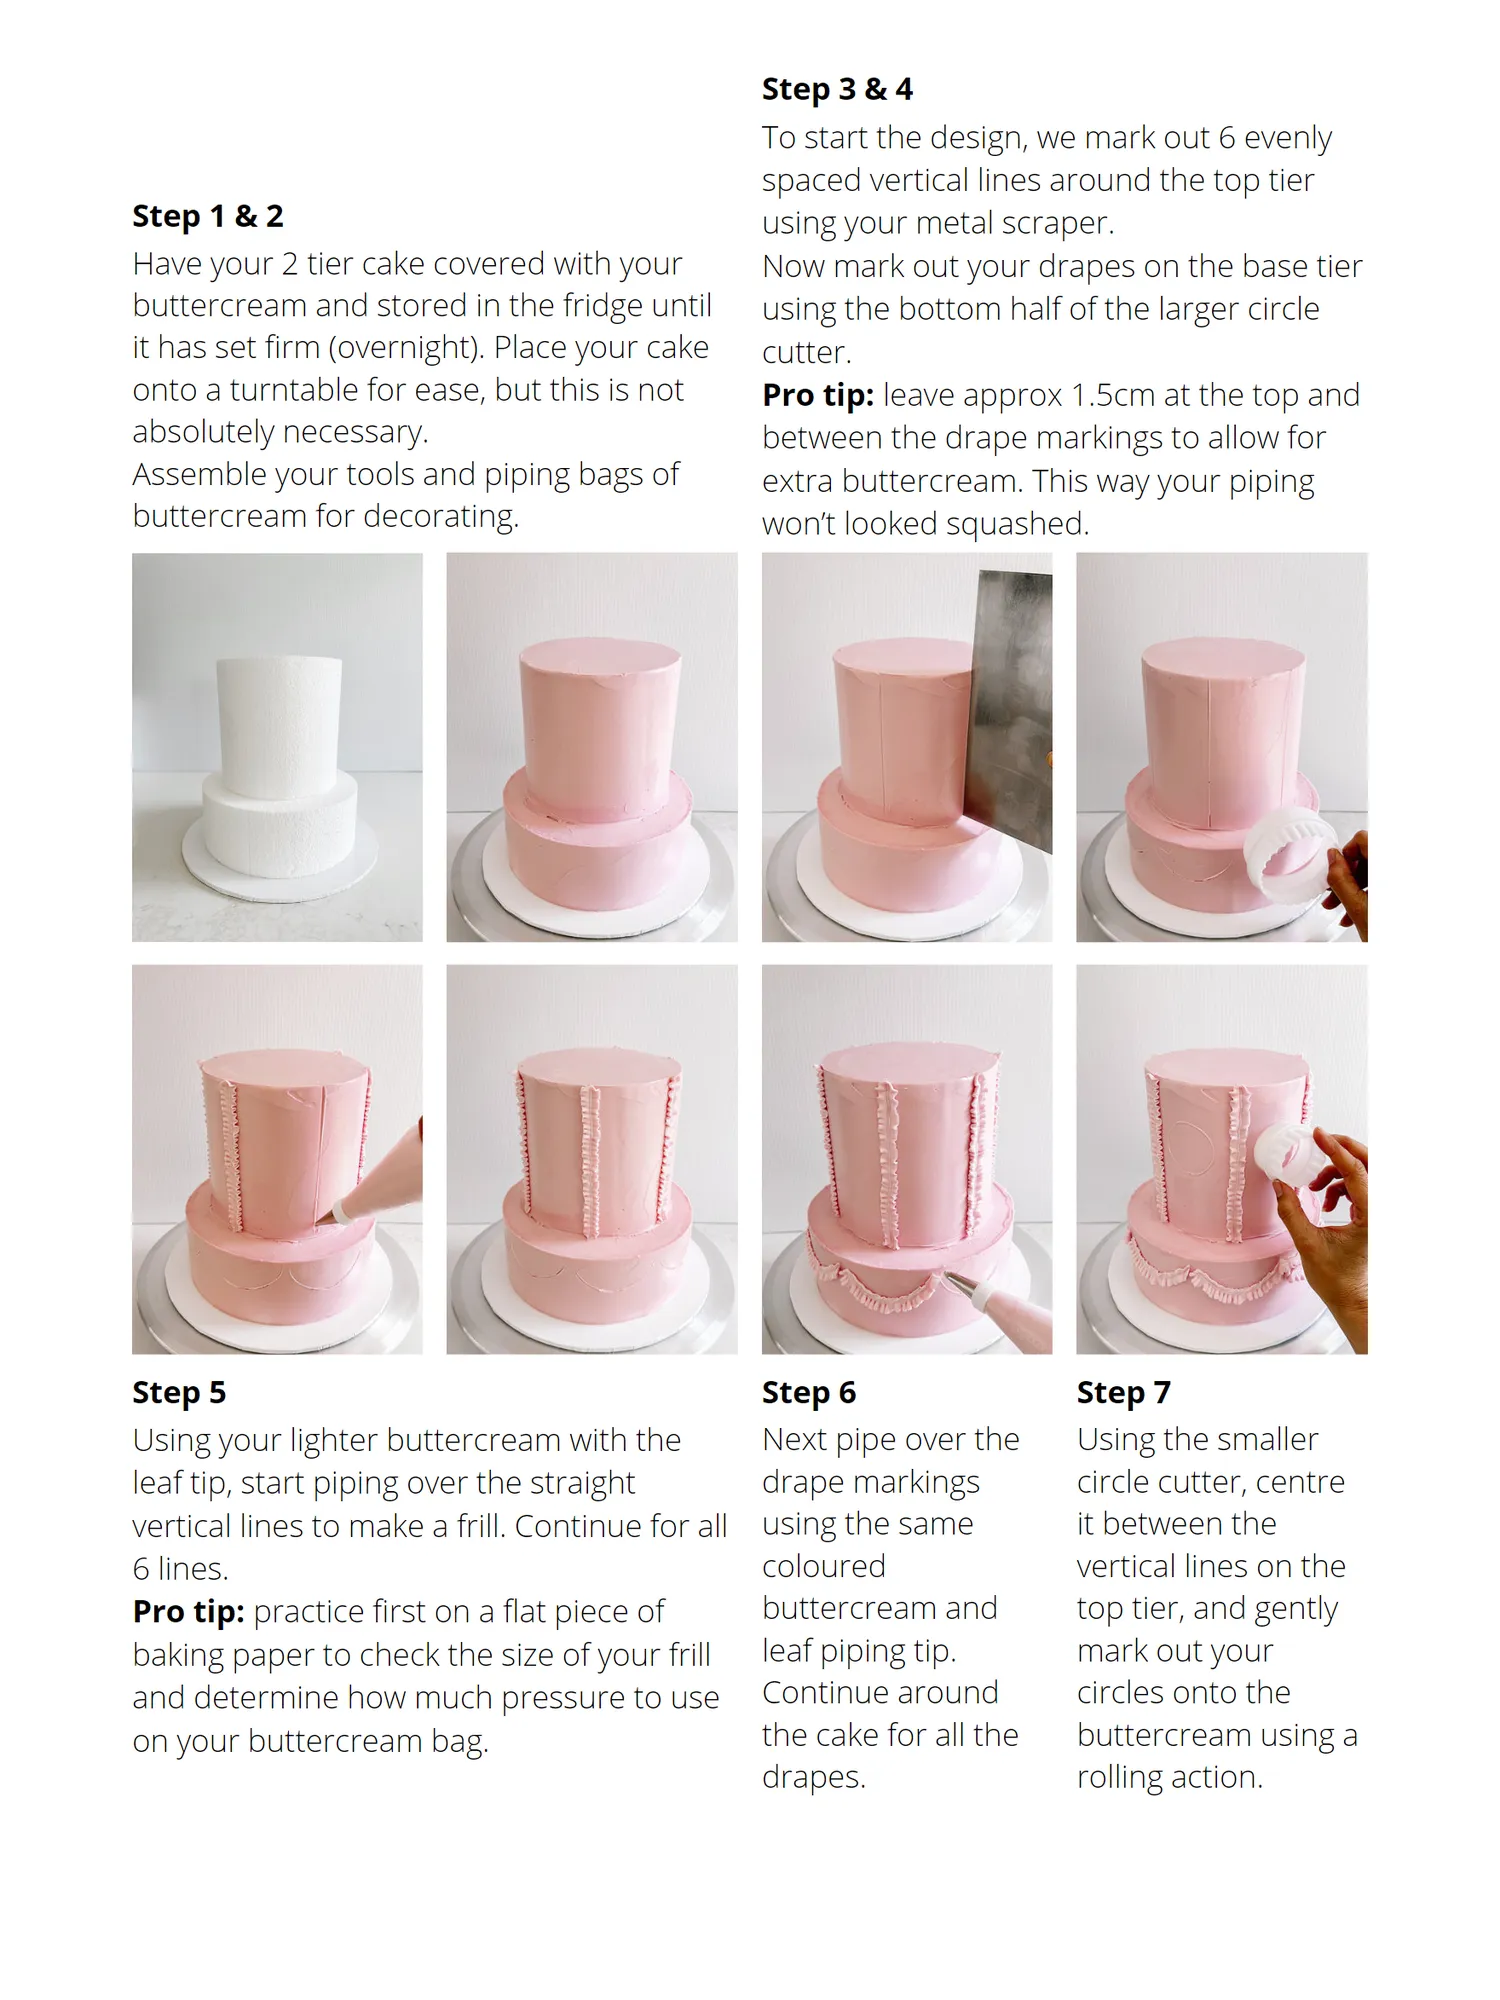
Step 3 & 4 To start the design, we mark out 6 evenly spaced vertical lines around the top tier Step 1 & 2 using your metal scraper. Have your 2 tier cake covered with your Now mark out your drapes on the base tier buttercream and stored in the fridge until using the bottom half of the larger circle it has set firm (overnight). Place your cake cutter. onto a turntable for ease, but this is not Pro tip: leave approx 1.5cm at the top and absolutely necessary. between the drape markings to allow for Assemble your tools and piping bags of extra buttercream. This way your piping buttercream for decorating. won’t looked squashed. Step 5 Step 6 Step 7 Using your lighter buttercream with the Next pipe over the Using the smaller leaf tip, start piping over the straight drape markings circle cutter, centre vertical lines to make a frill. Continue for all using the same it between the 6 lines. coloured vertical lines on the Pro tip: practice first on a flat piece of buttercream and top tier, and gently baking paper to check the size of your frill leaf piping tip. mark out your and determine how much pressure to use Continue around circles onto the on your buttercream bag. the cake for all the buttercream using a drapes. rolling action.
Page 57 text
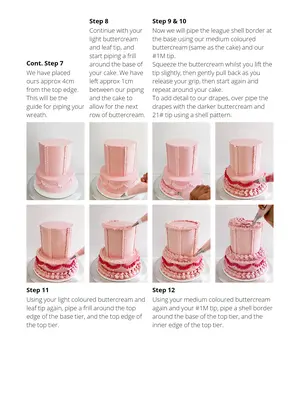
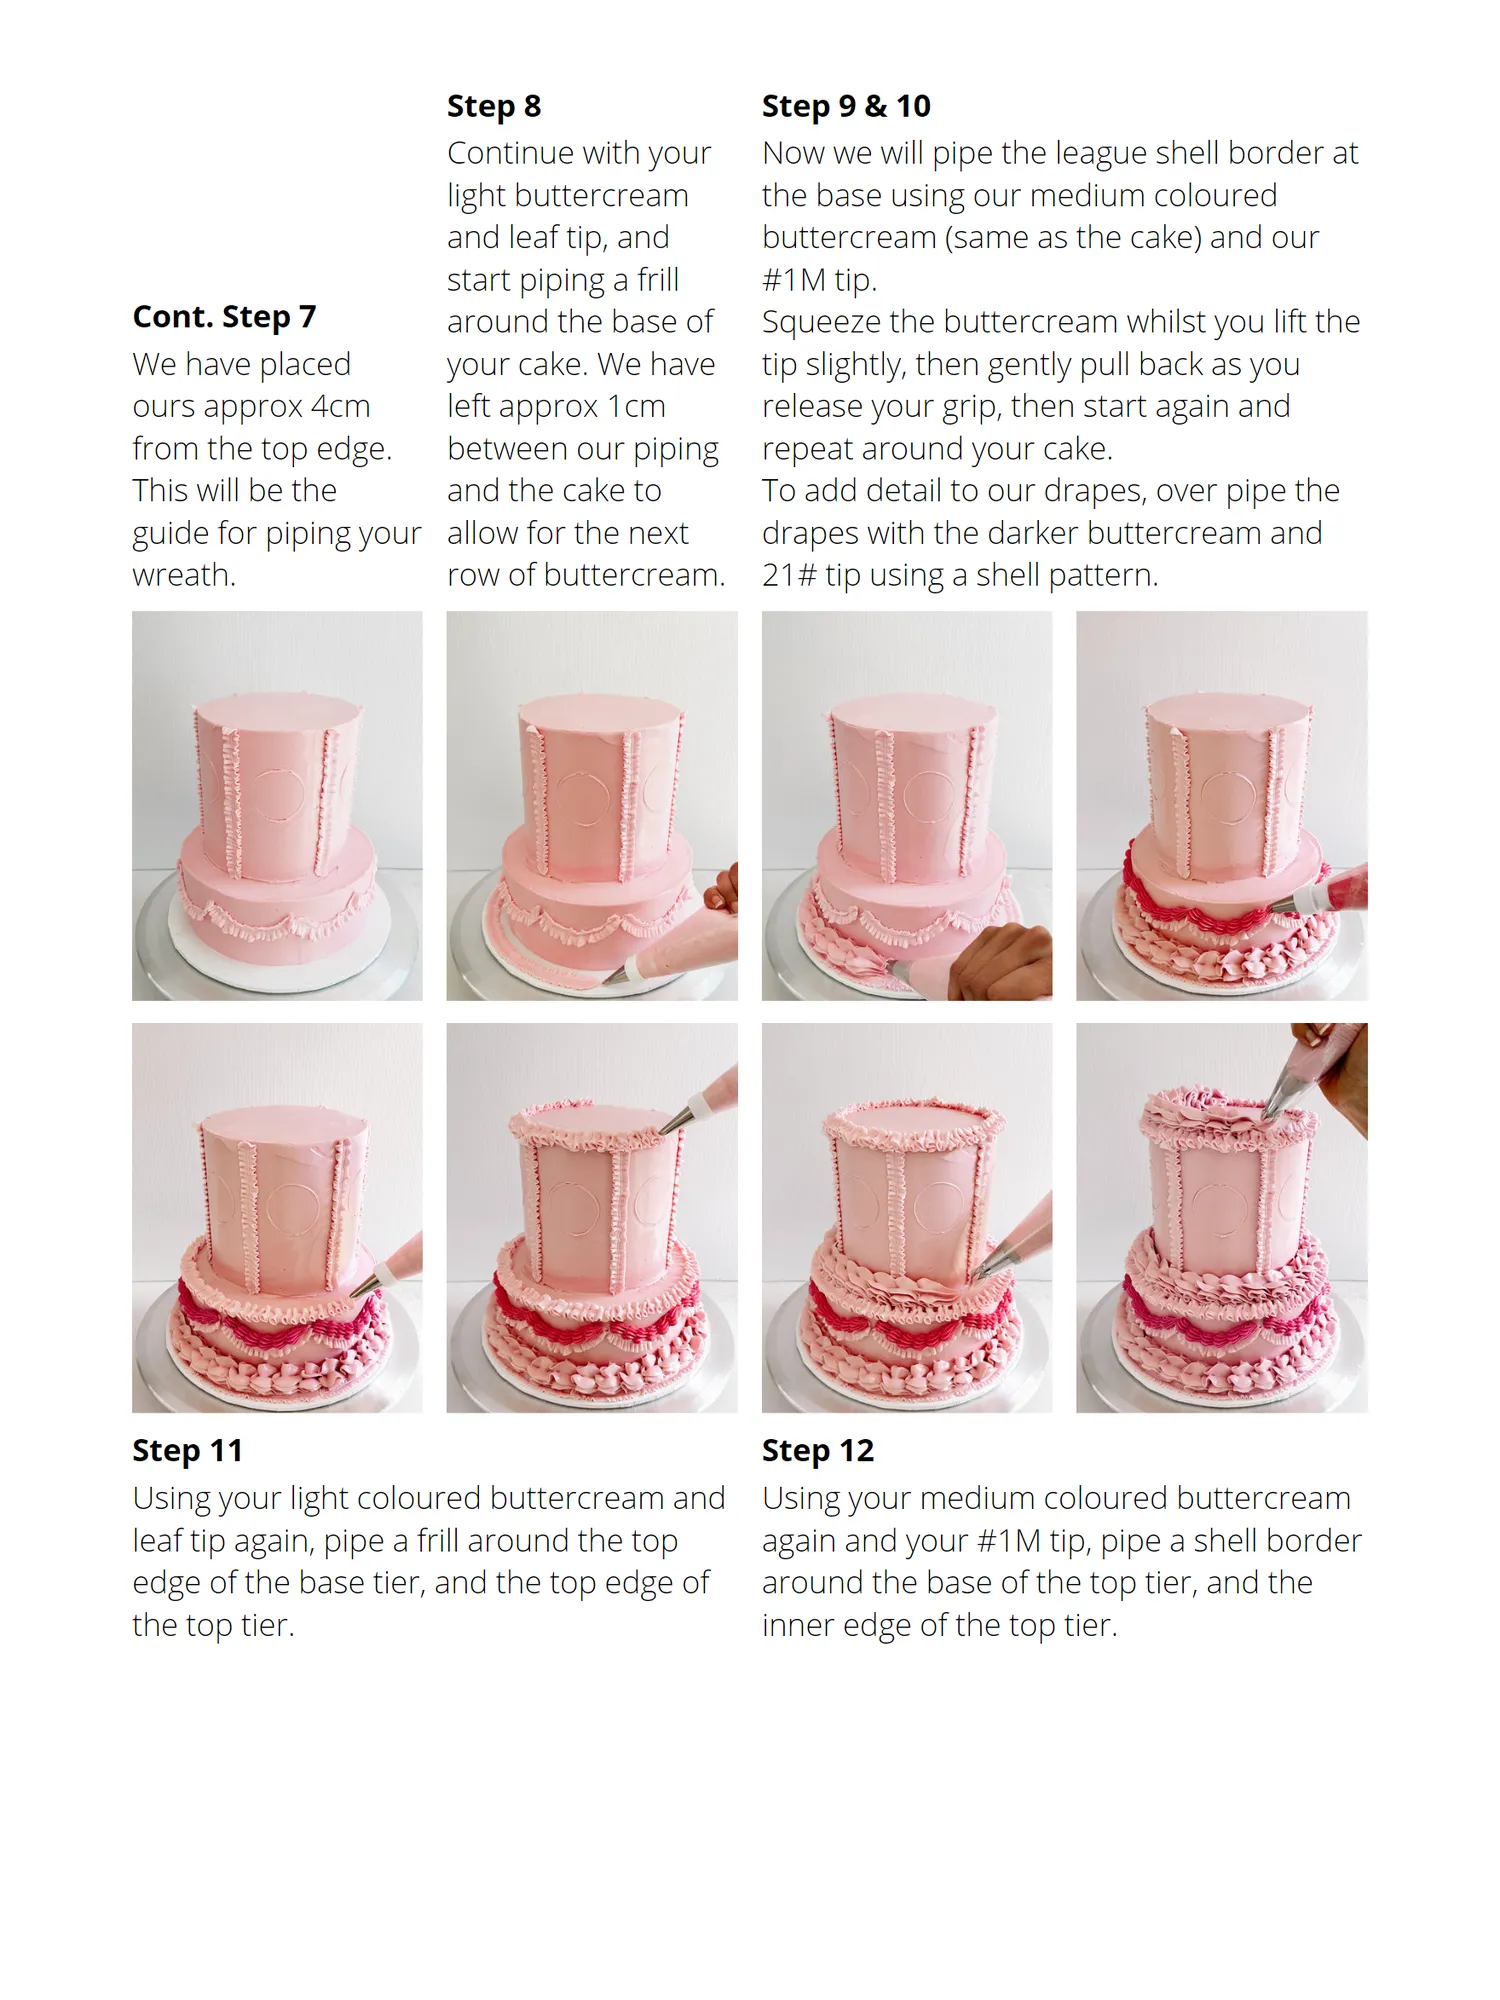
Step 8 Step 9 & 10 Continue with your Now we will pipe the league shell border at light buttercream the base using our medium coloured and leaf tip, and buttercream (same as the cake) and our start piping a frill #1M tip. Cont. Step 7 around the base of Squeeze the buttercream whilst you lift the We have placed your cake. We have tip slightly, then gently pull back as you ours approx 4cm left approx 1cm release your grip, then start again and from the top edge. between our piping repeat around your cake. This will be the and the cake to To add detail to our drapes, over pipe the guide for piping your allow for the next drapes with the darker buttercream and wreath. row of buttercream. 21# tip using a shell pattern. Step 11 Step 12 Using your light coloured buttercream and Using your medium coloured buttercream leaf tip again, pipe a frill around the top again and your #1M tip, pipe a shell border edge of the base tier, and the top edge of around the base of the top tier, and the the top tier. inner edge of the top tier.
Page 58 text
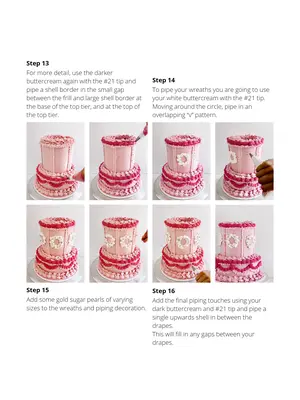
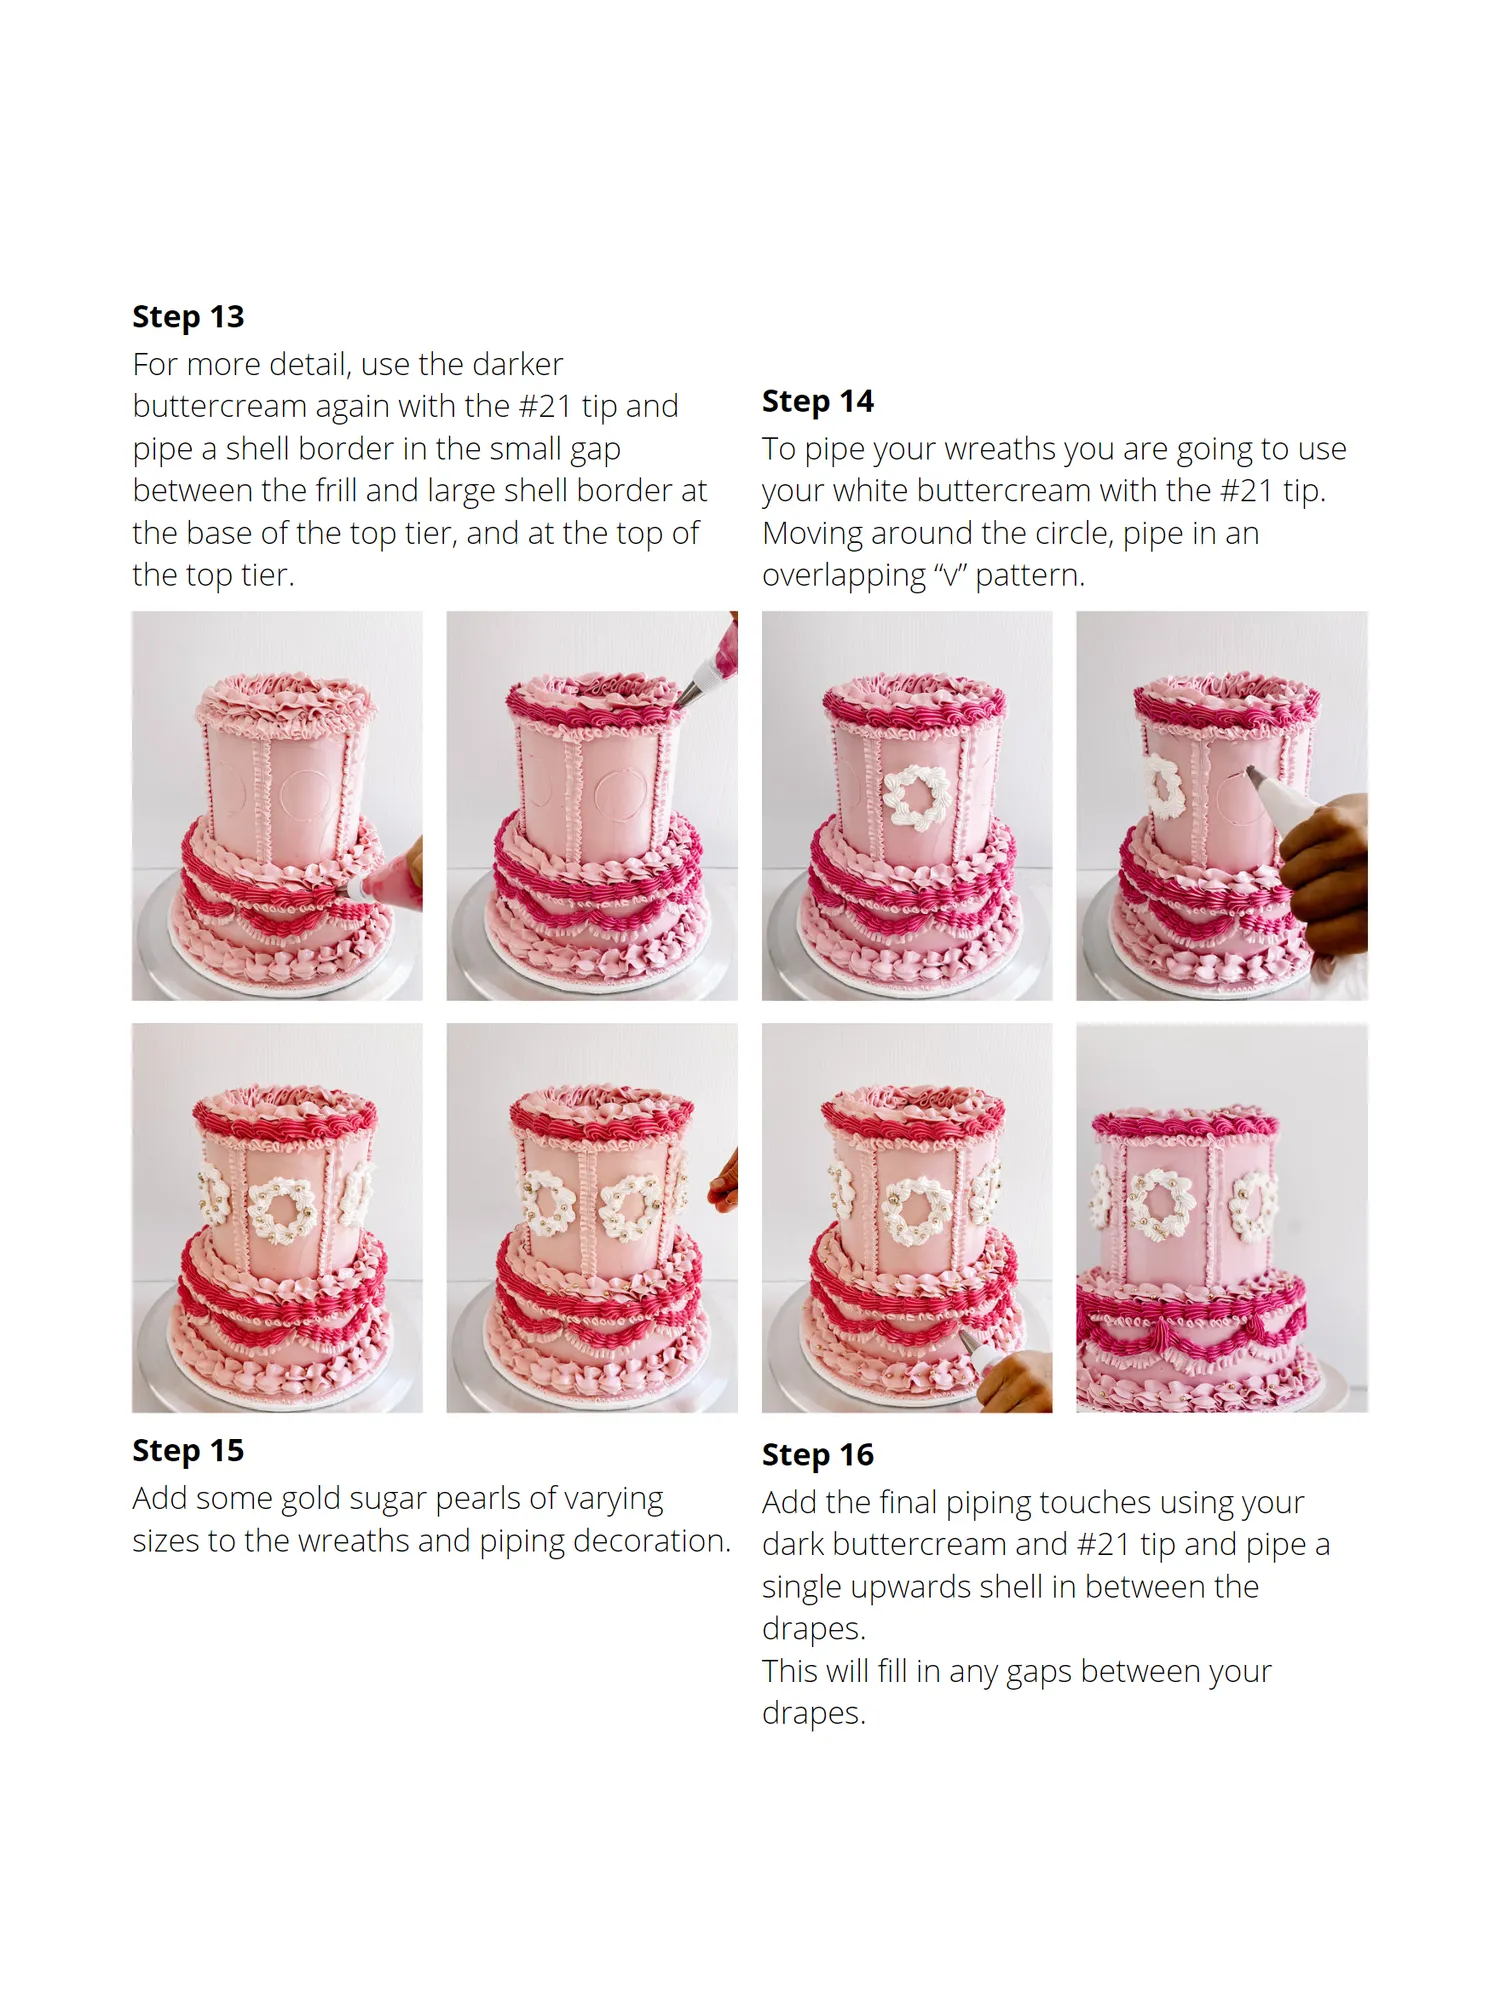
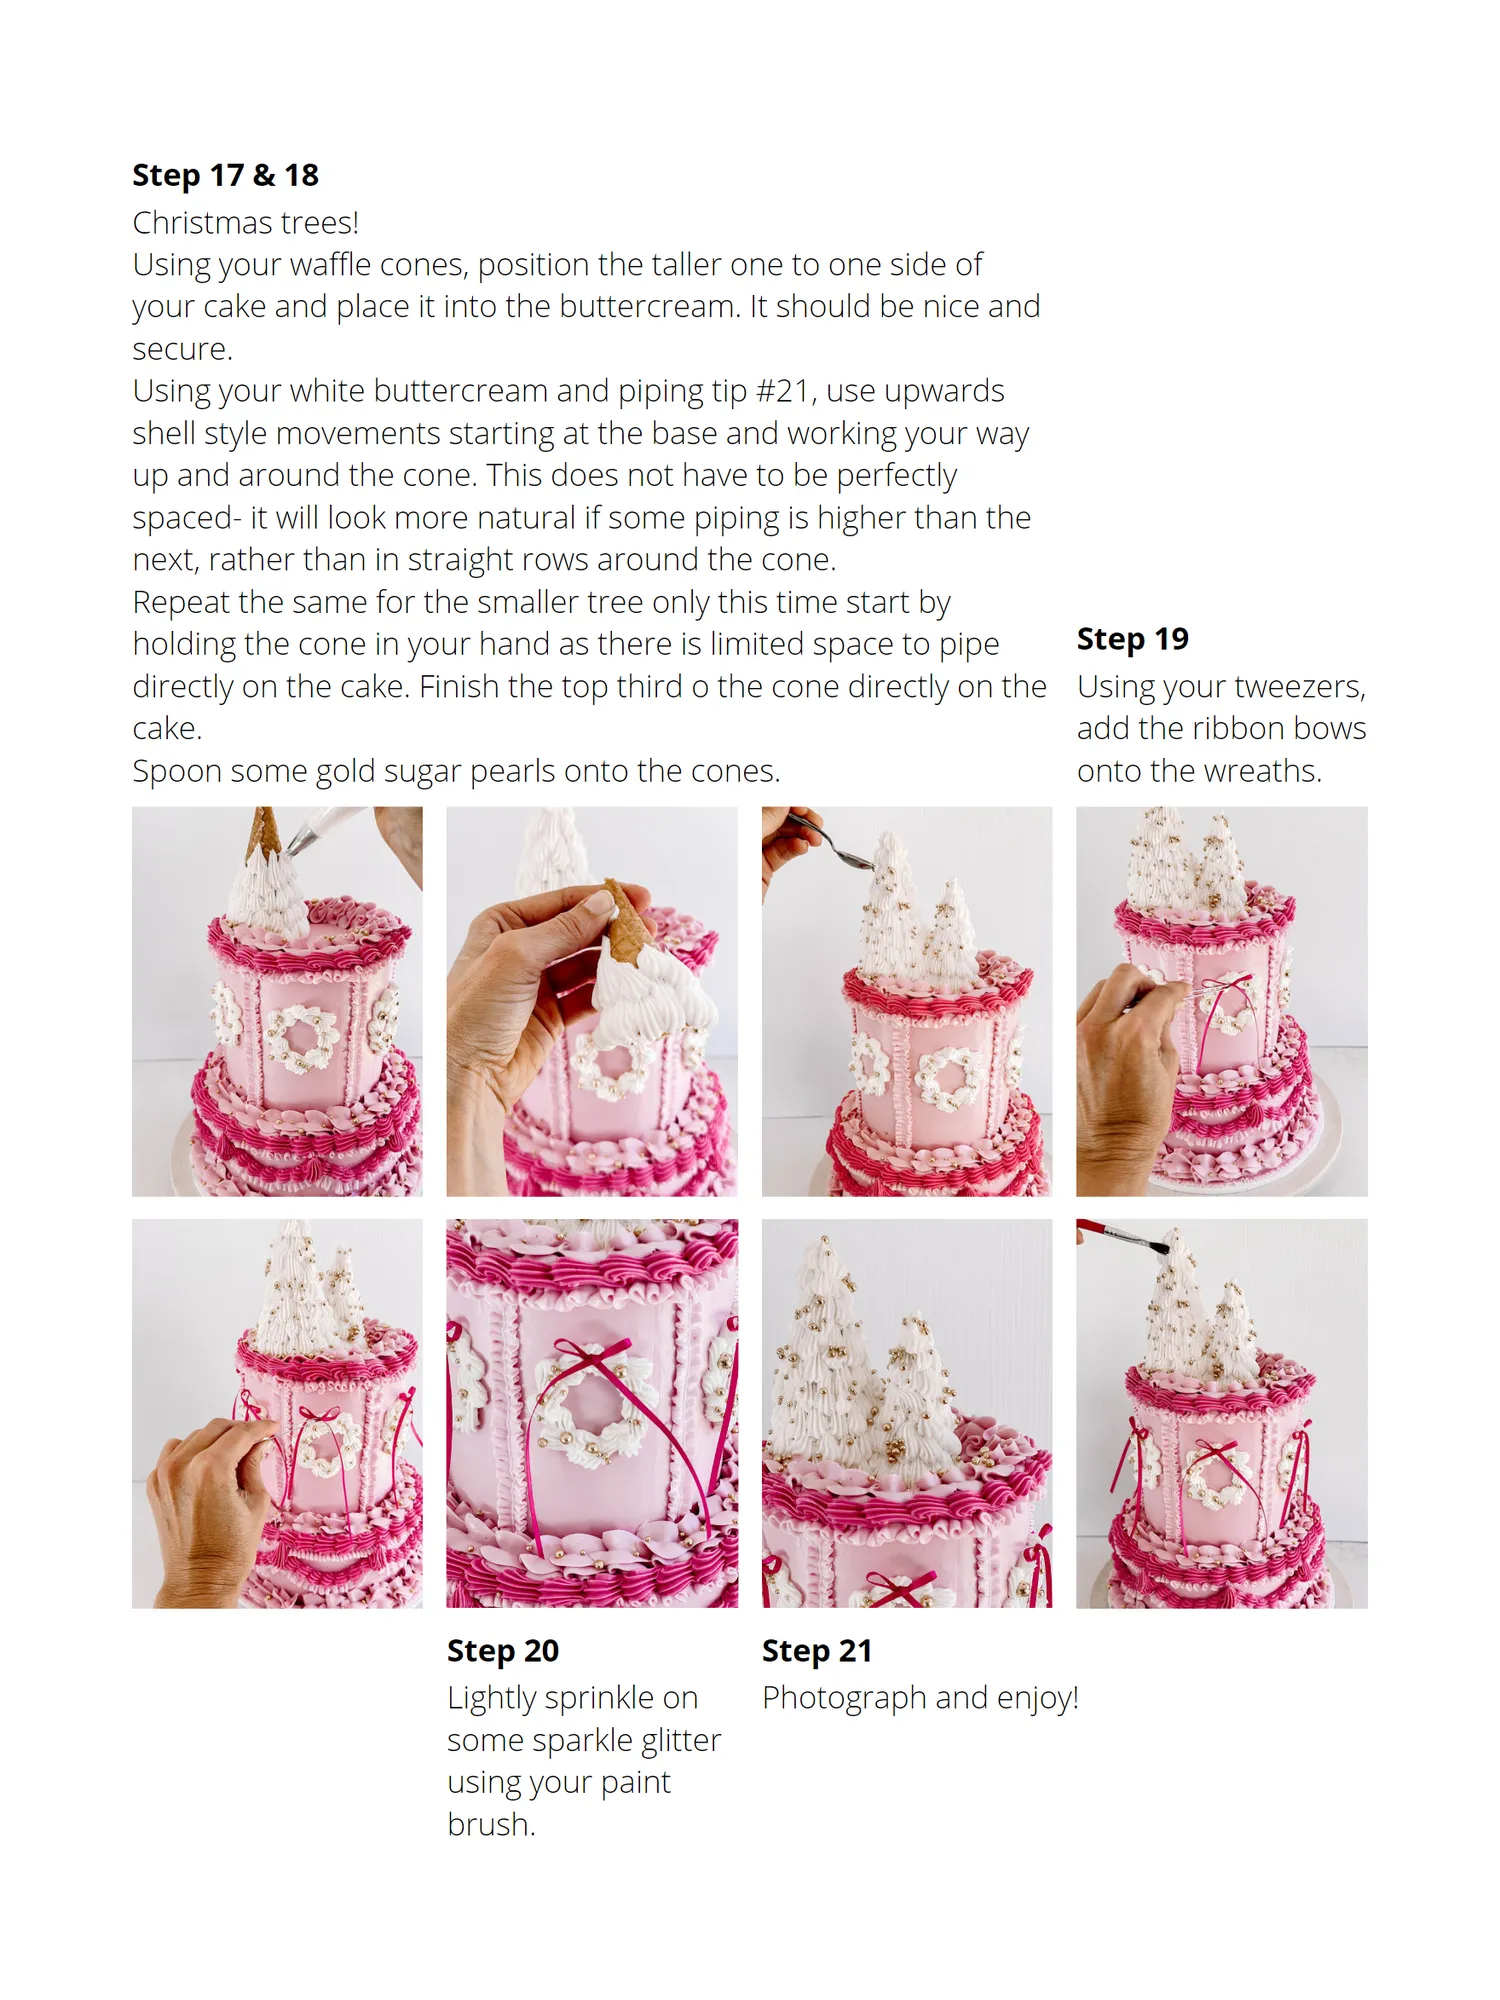
Step 13 For more detail, use the darker buttercream again with the #21 tip and Step 14 pipe a shell border in the small gap To pipe your wreaths you are going to use between the frill and large shell border at your white buttercream with the #21 tip. the base of the top tier, and at the top of Moving around the circle, pipe in an the top tier. overlapping “v” pattern. Step 15 Step 16 Add some gold sugar pearls of varying Add the final piping touches using your sizes to the wreaths and piping decoration. dark buttercream and #21 tip and pipe a single upwards shell in between the drapes. This will fill in any gaps between your drapes.
Page 59 text
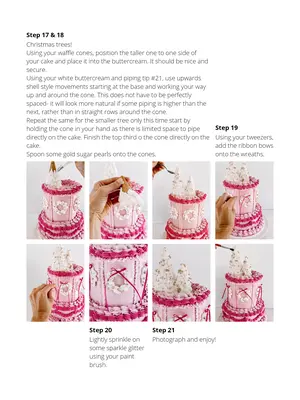
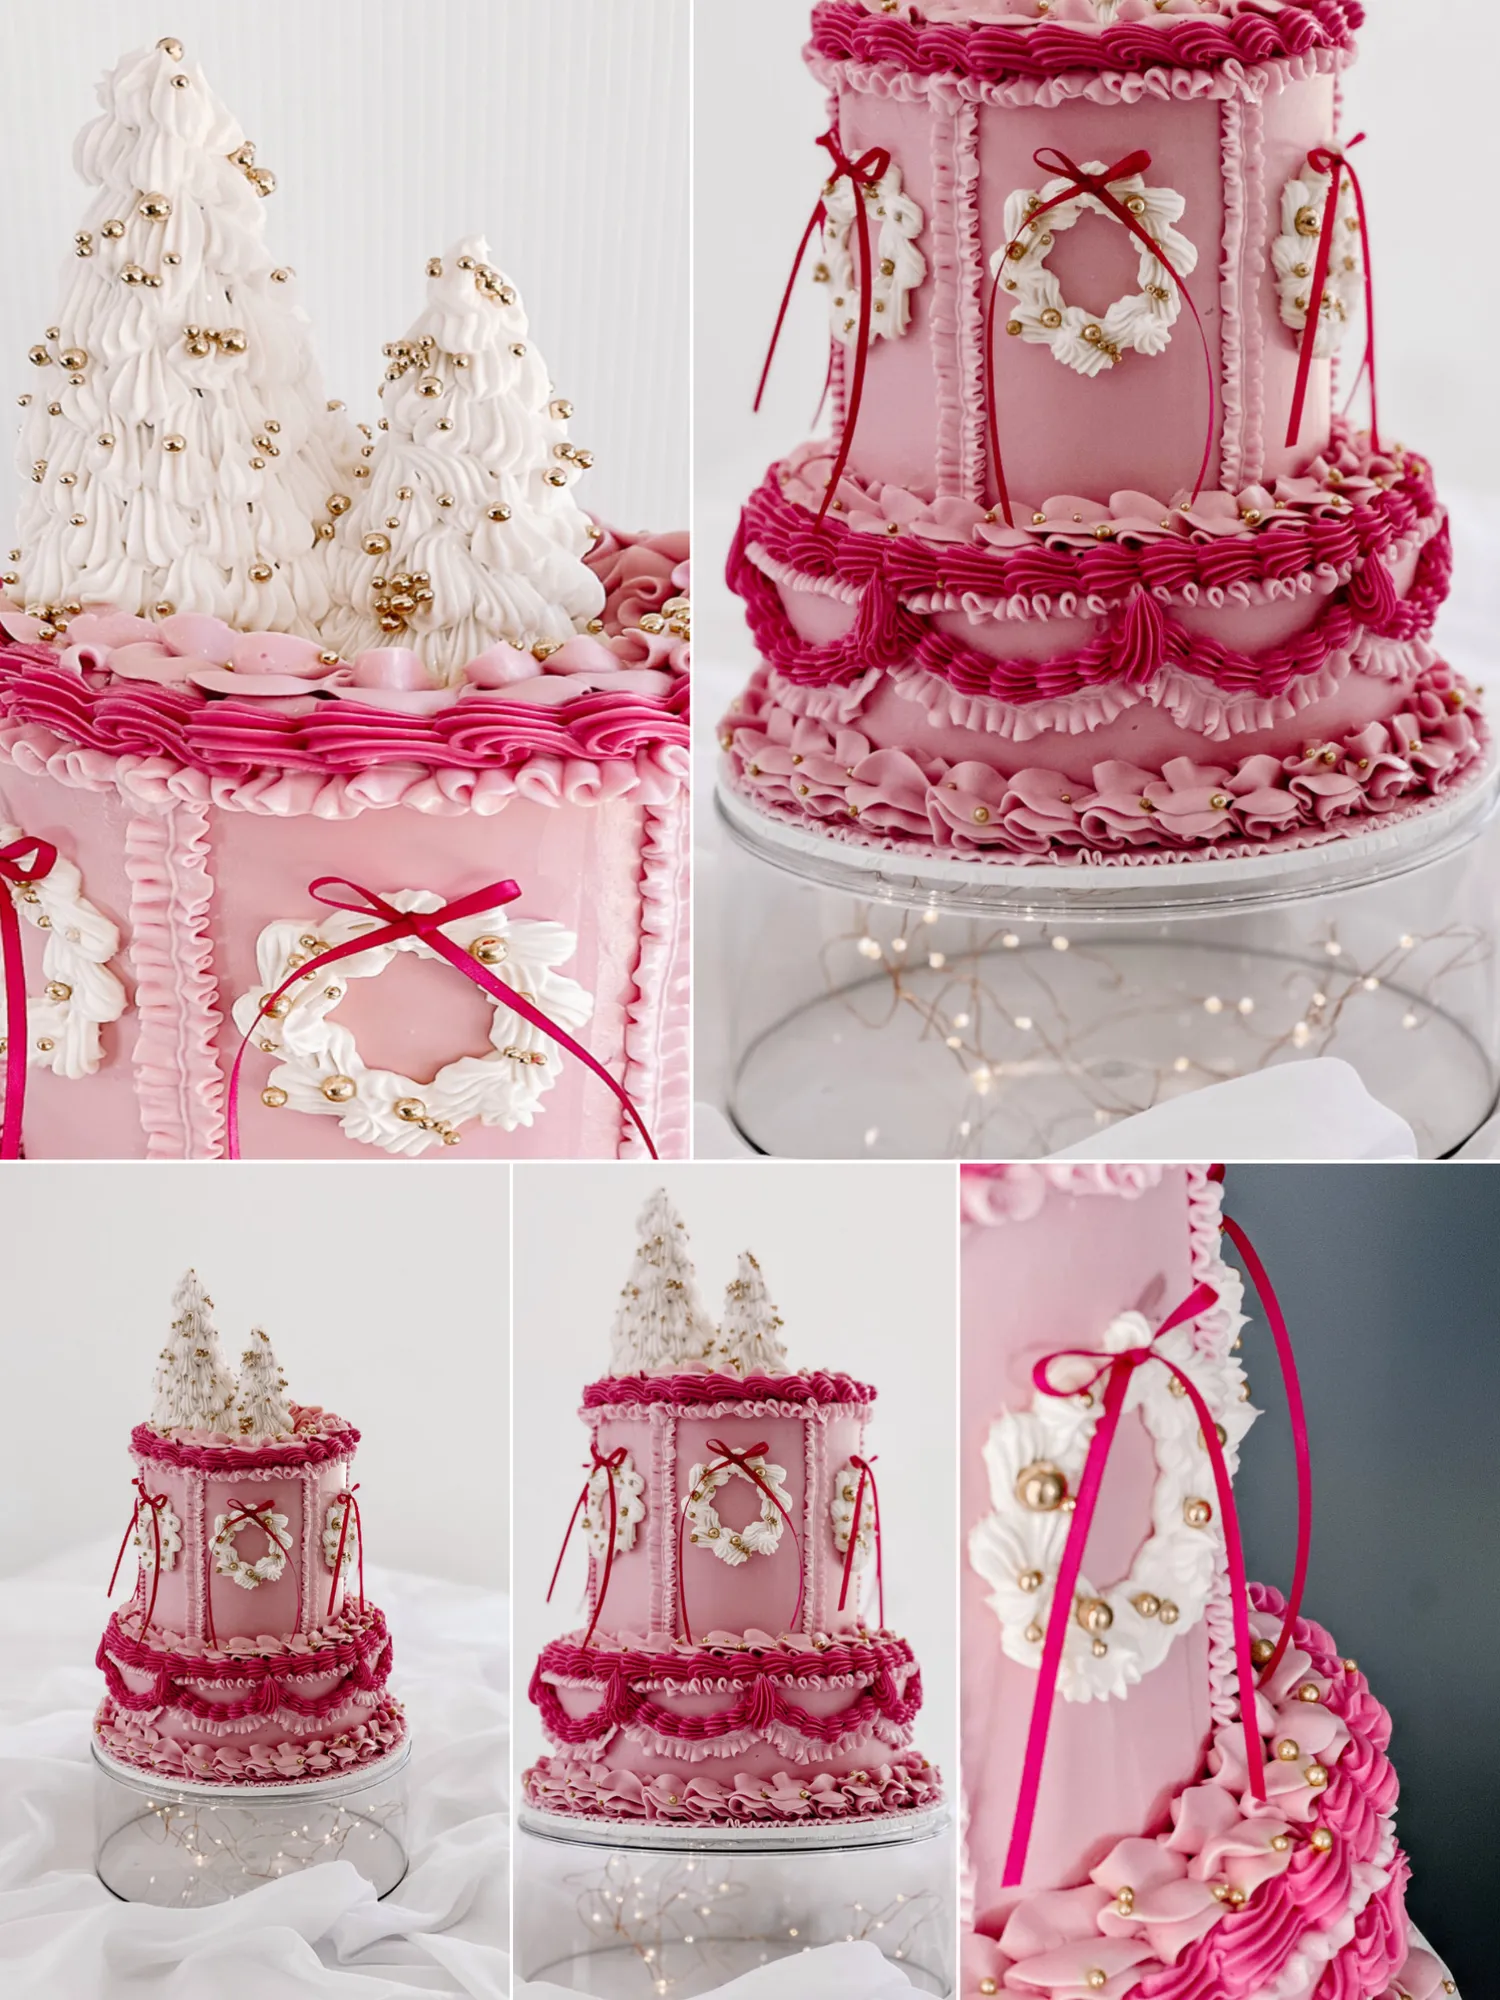
Step 17 & 18 Christmas trees! Using your waffle cones, position the taller one to one side of your cake and place it into the buttercream. It should be nice and secure. Using your white buttercream and piping tip #21, use upwards shell style movements starting at the base and working your way up and around the cone. This does not have to be perfectly spaced- it will look more natural if some piping is higher than the next, rather than in straight rows around the cone. Repeat the same for the smaller tree only this time start by holding the cone in your hand as there is limited space to pipe Step 19 directly on the cake. Finish the top third o the cone directly on the Using your tweezers, cake. add the ribbon bows Spoon some gold sugar pearls onto the cones. onto the wreaths. Step 20 Step 21 Lightly sprinkle on Photograph and enjoy! some sparkle glitter using your paint brush.


Page 62 text
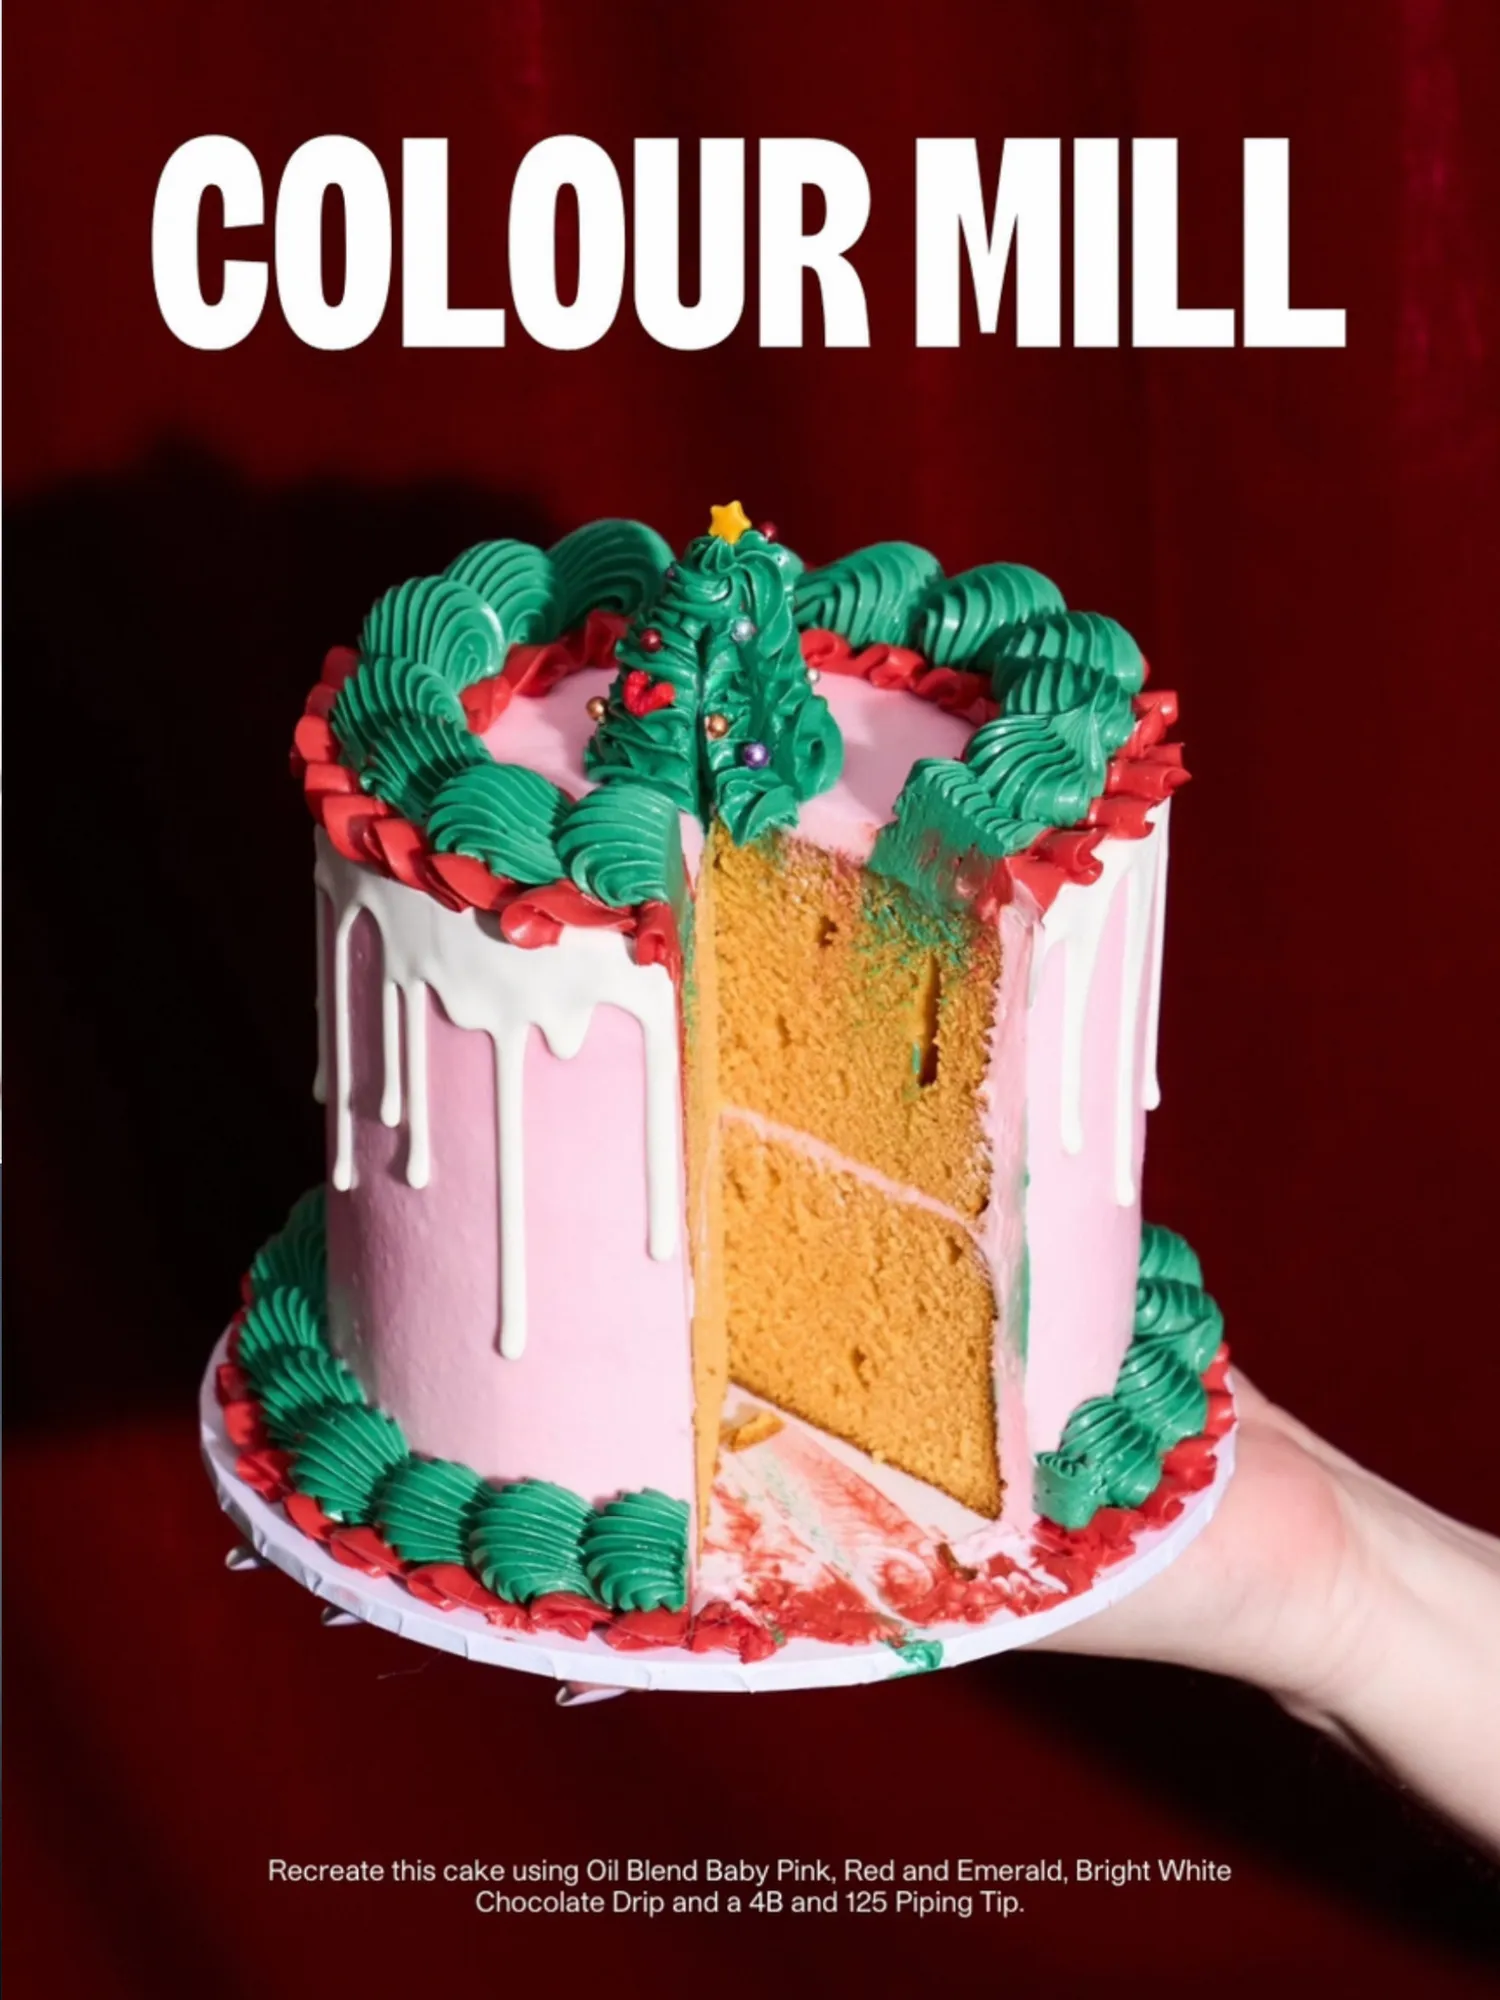
Christmas Cake By Kate Cullinan- Winston & Walt
Page 63 text
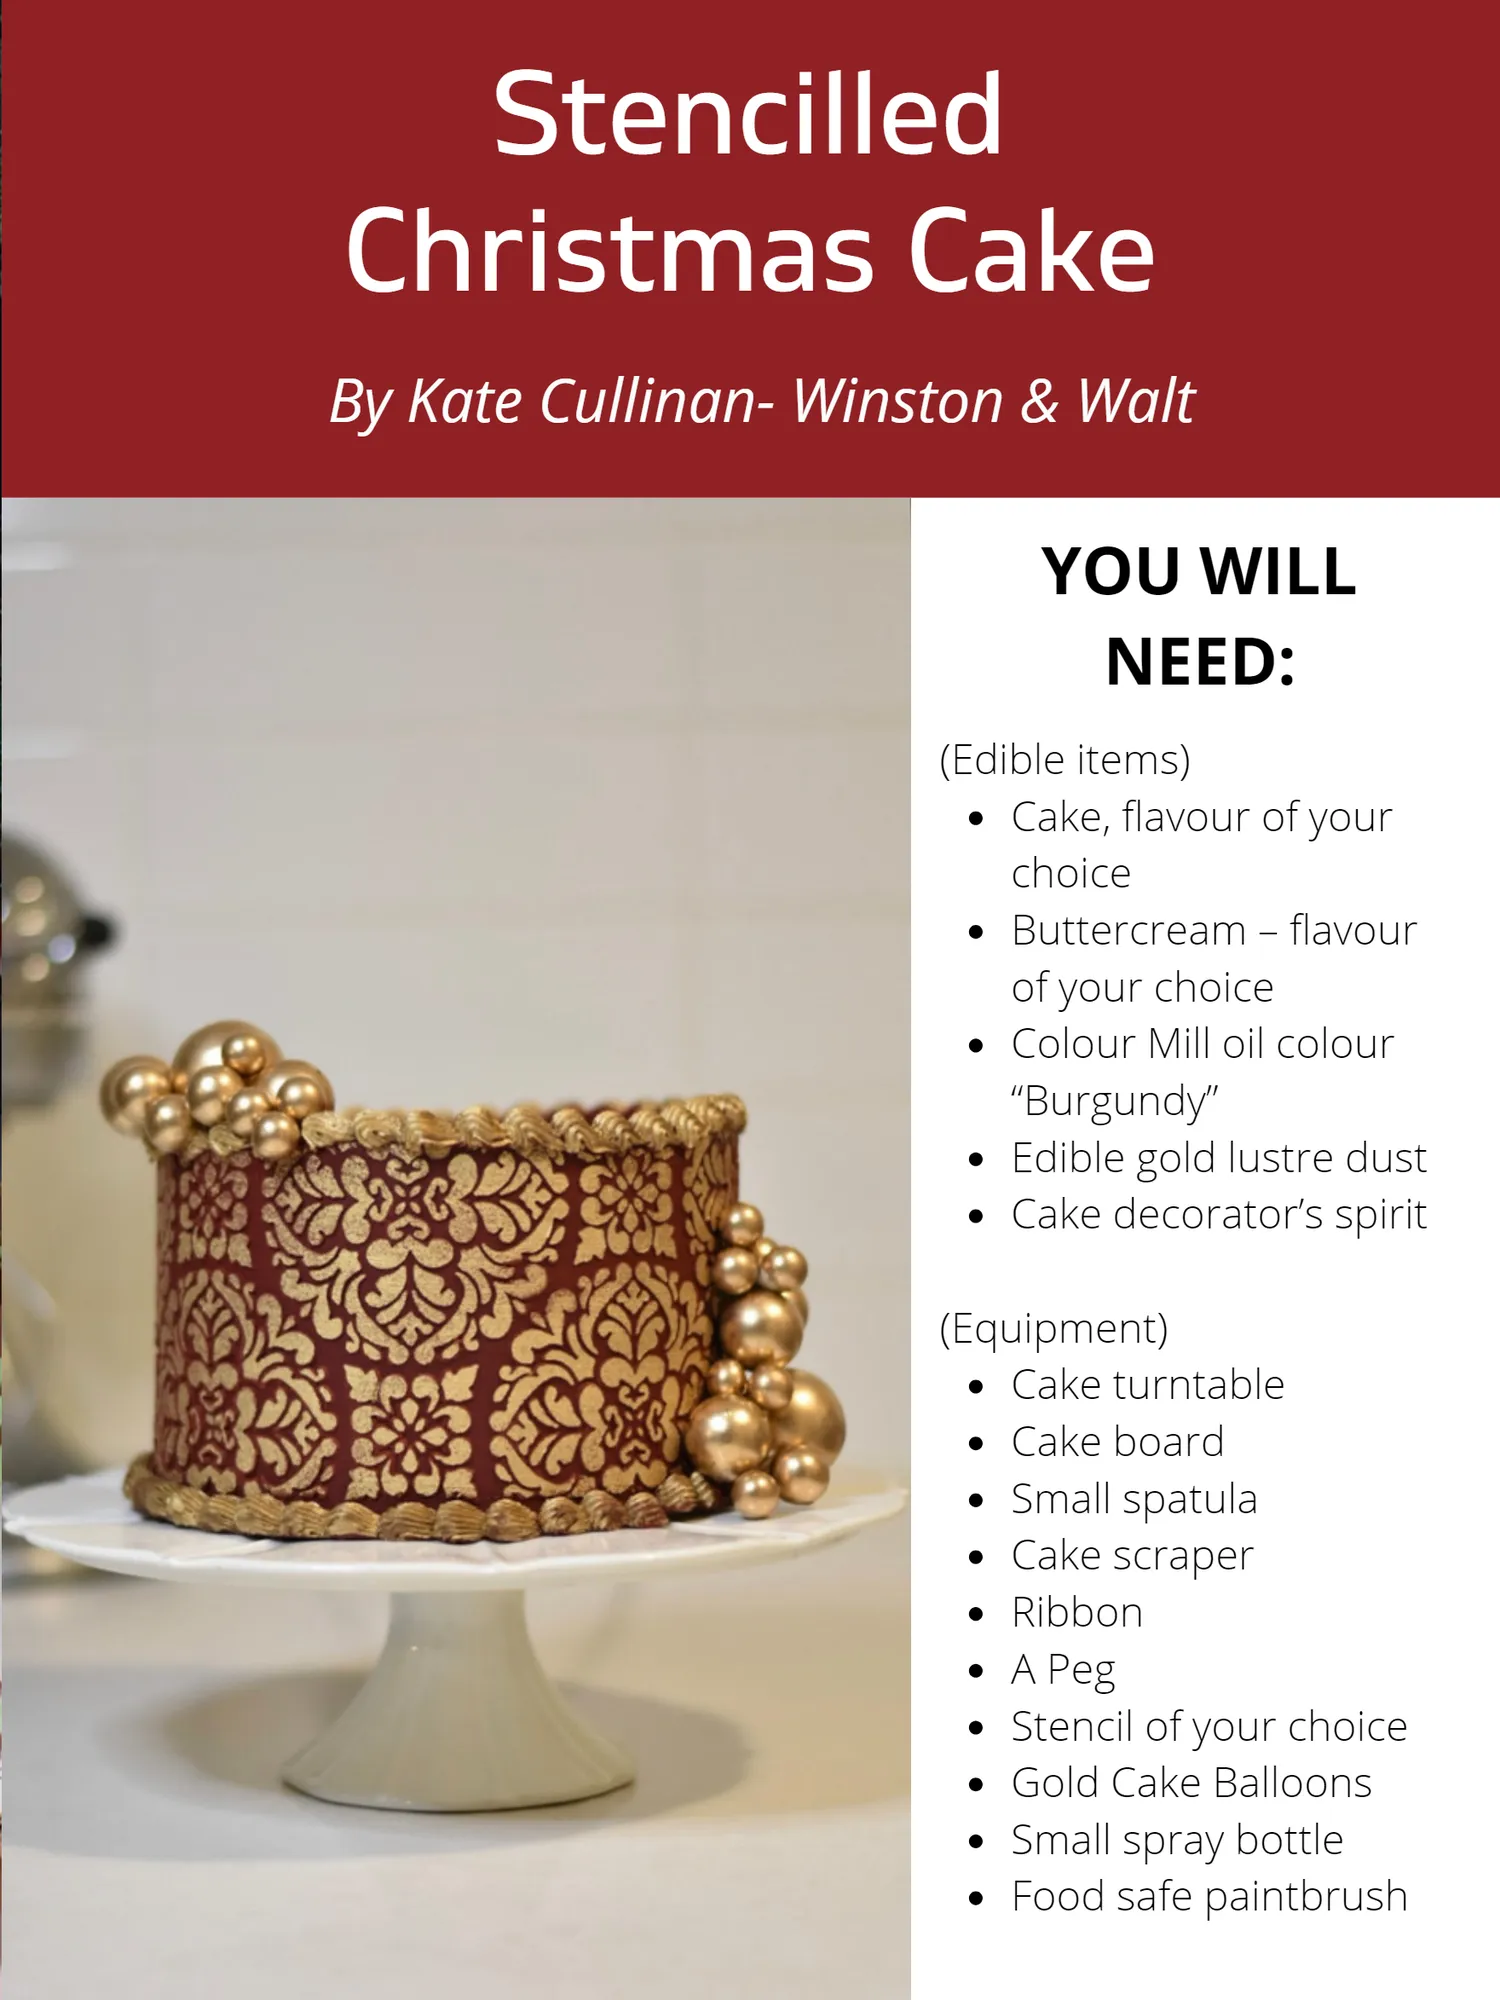
Stencilled Christmas Cake By Kate Cullinan- Winston & Walt
Page 64 text
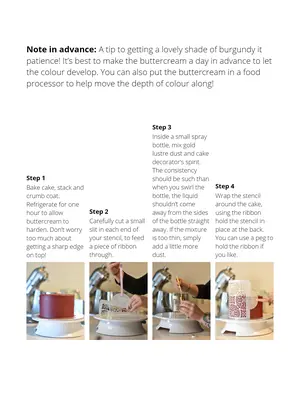
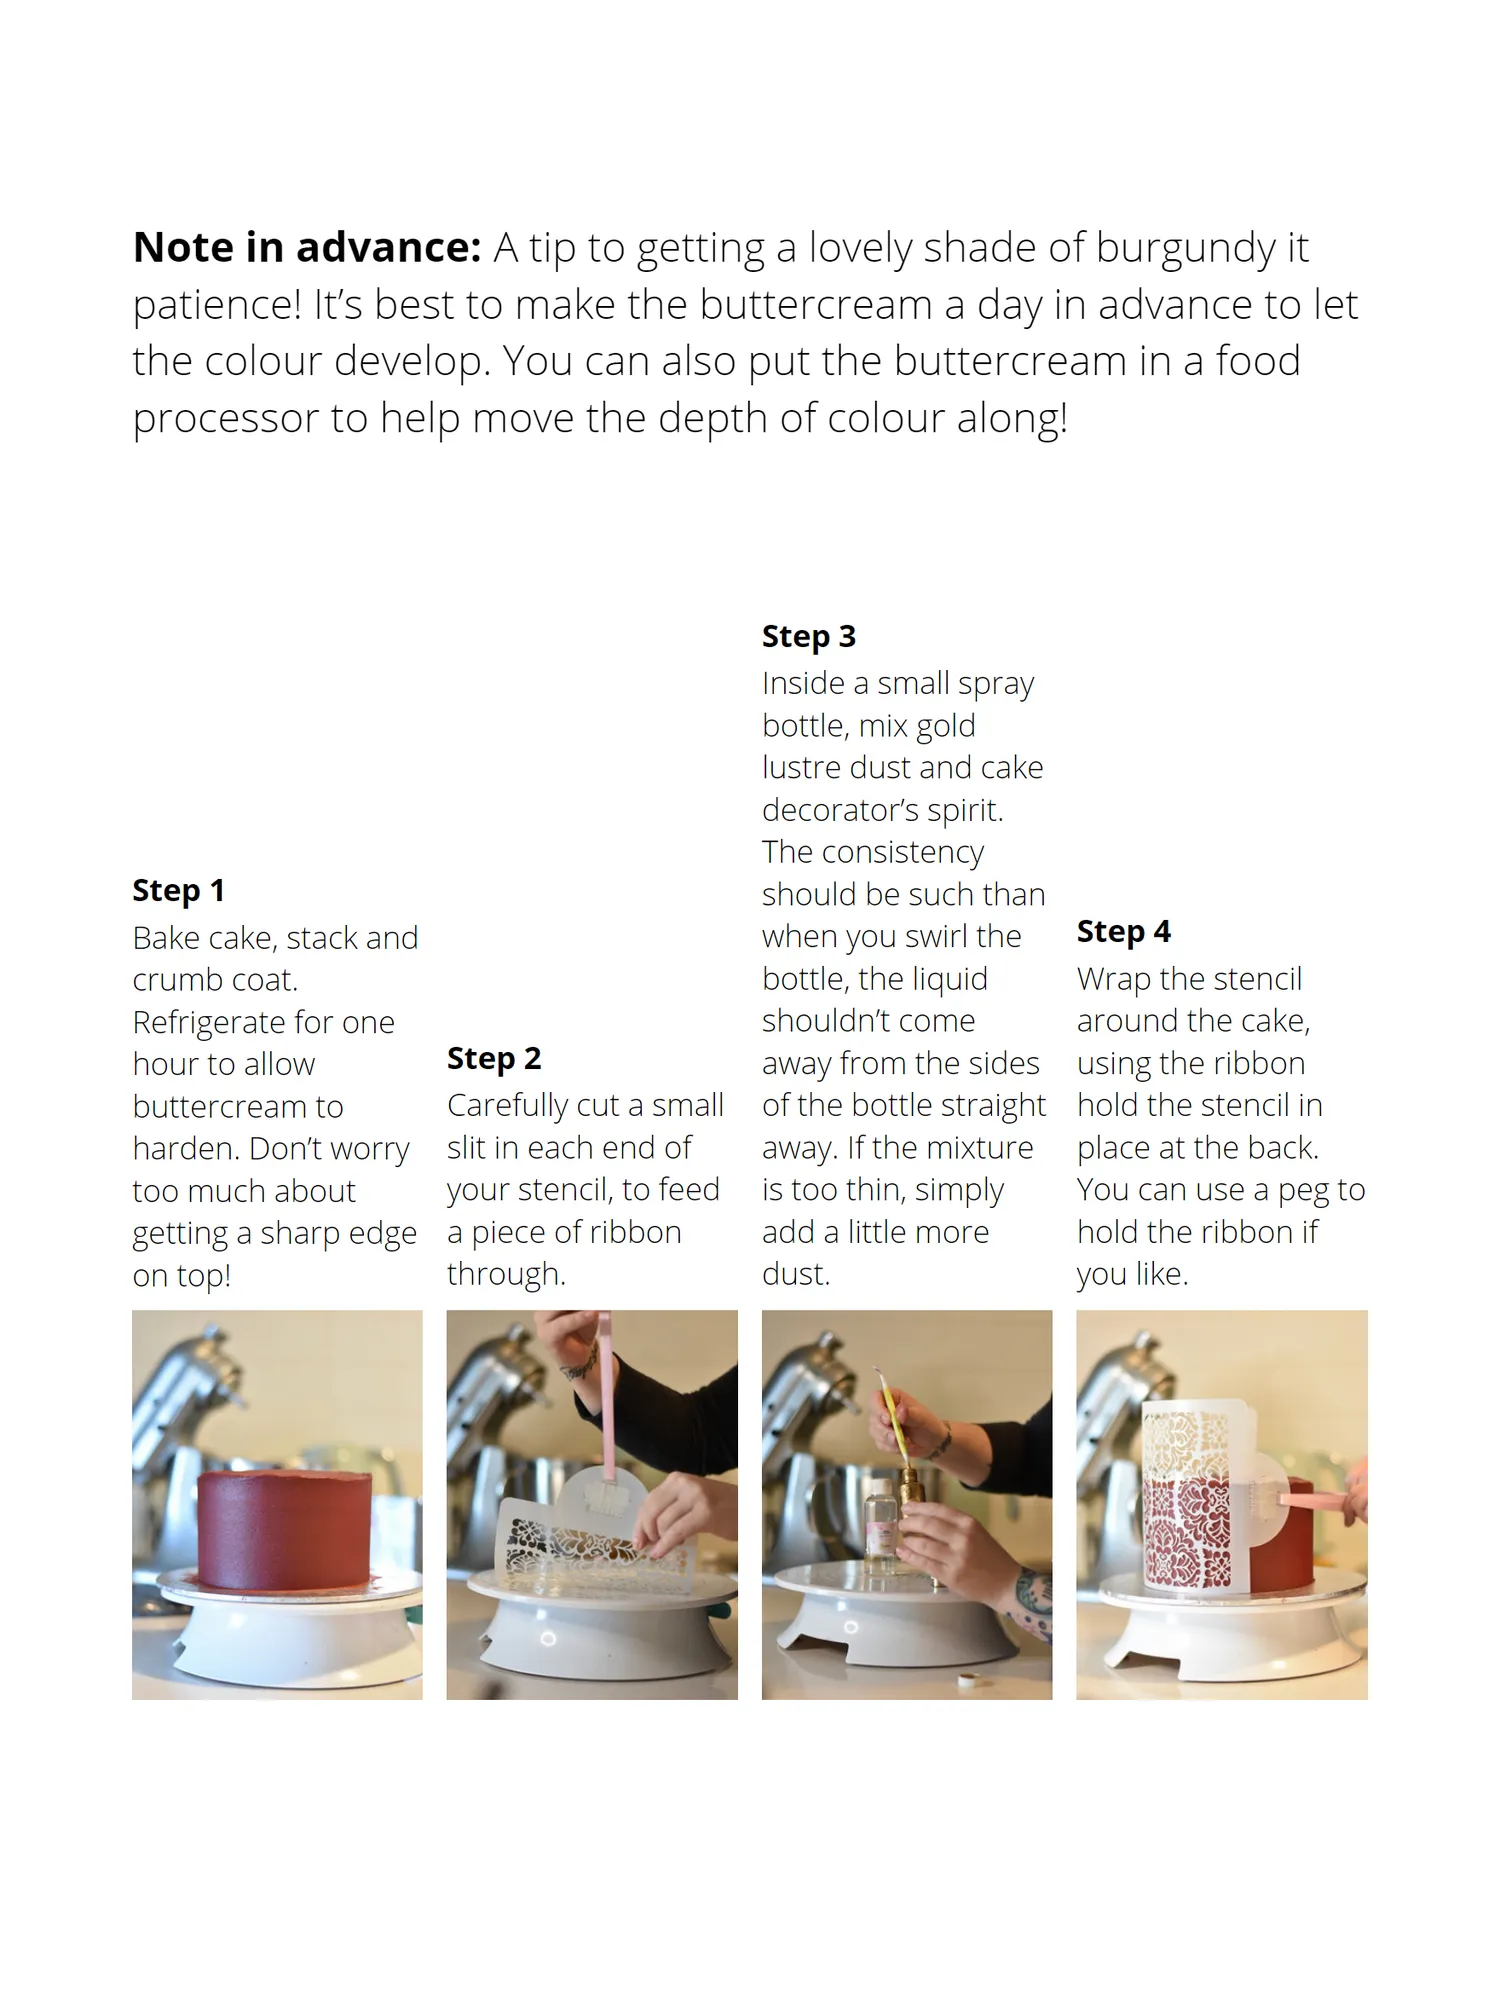
Note in advance: A tip to getting a lovely shade of burgundy it patience! It’s best to make the buttercream a day in advance to let the colour develop. You can also put the buttercream in a food processor to help move the depth of colour along! Step 3 Inside a small spray bottle, mix gold lustre dust and cake decorator’s spirit. The consistency Step 1 should be such than Bake cake, stack and when you swirl the Step 4 crumb coat. bottle, the liquid Wrap the stencil Refrigerate for one shouldn’t come around the cake, hour to allow Step 2 away from the sides using the ribbon buttercream to Carefully cut a small of the bottle straight hold the stencil in harden. Don’t worry slit in each end of away. If the mixture place at the back. too much about your stencil, to feed is too thin, simply You can use a peg to getting a sharp edge a piece of ribbon add a little more hold the ribbon if on top! through. dust. you like.
Page 65 text
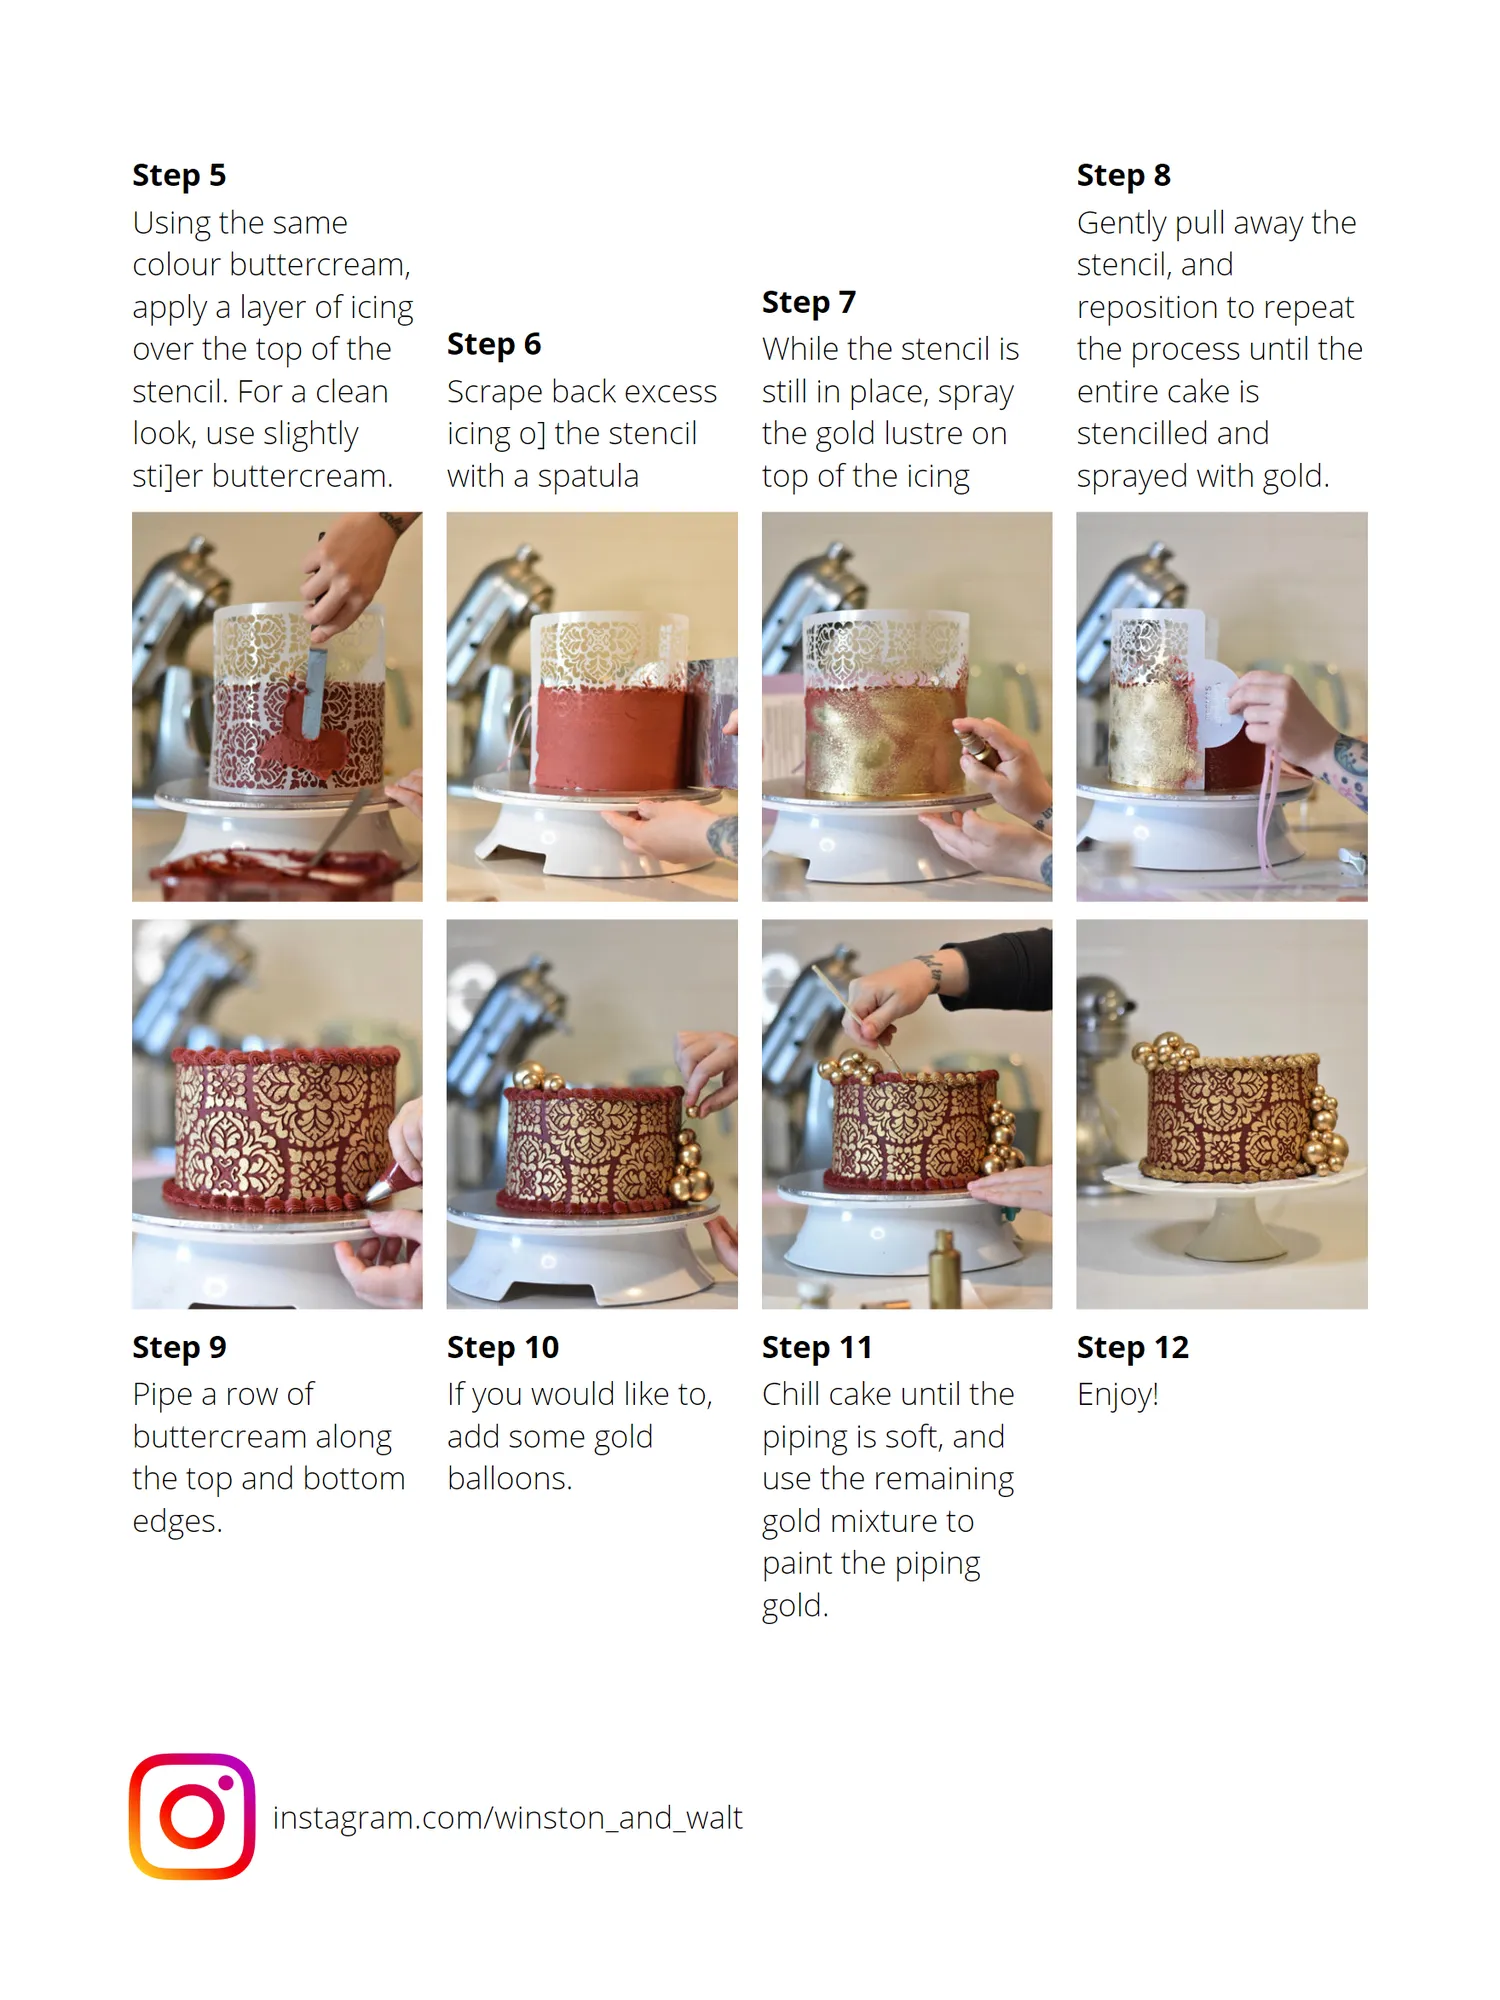
Step 5 Step 8 Using the same Gently pull away the colour buttercream, stencil, and apply a layer of icing Step 7 reposition to repeat over the top of the Step 6 While the stencil is the process until the stencil. For a clean Scrape back excess still in place, spray entire cake is look, use slightly icing o] the stencil the gold lustre on stencilled and sti]er buttercream. with a spatula top of the icing sprayed with gold. Step 9 Step 10 Step 11 Step 12 Pipe a row of If you would like to, Chill cake until the Enjoy! buttercream along add some gold piping is soft, and the top and bottom balloons. use the remaining edges. gold mixture to paint the piping gold. instagram.com/winston_and_walt

Page 67 text
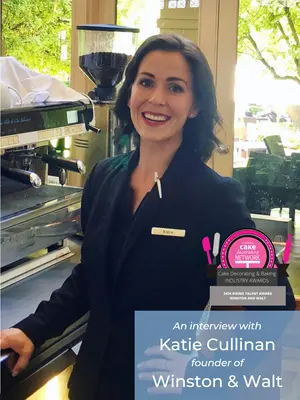
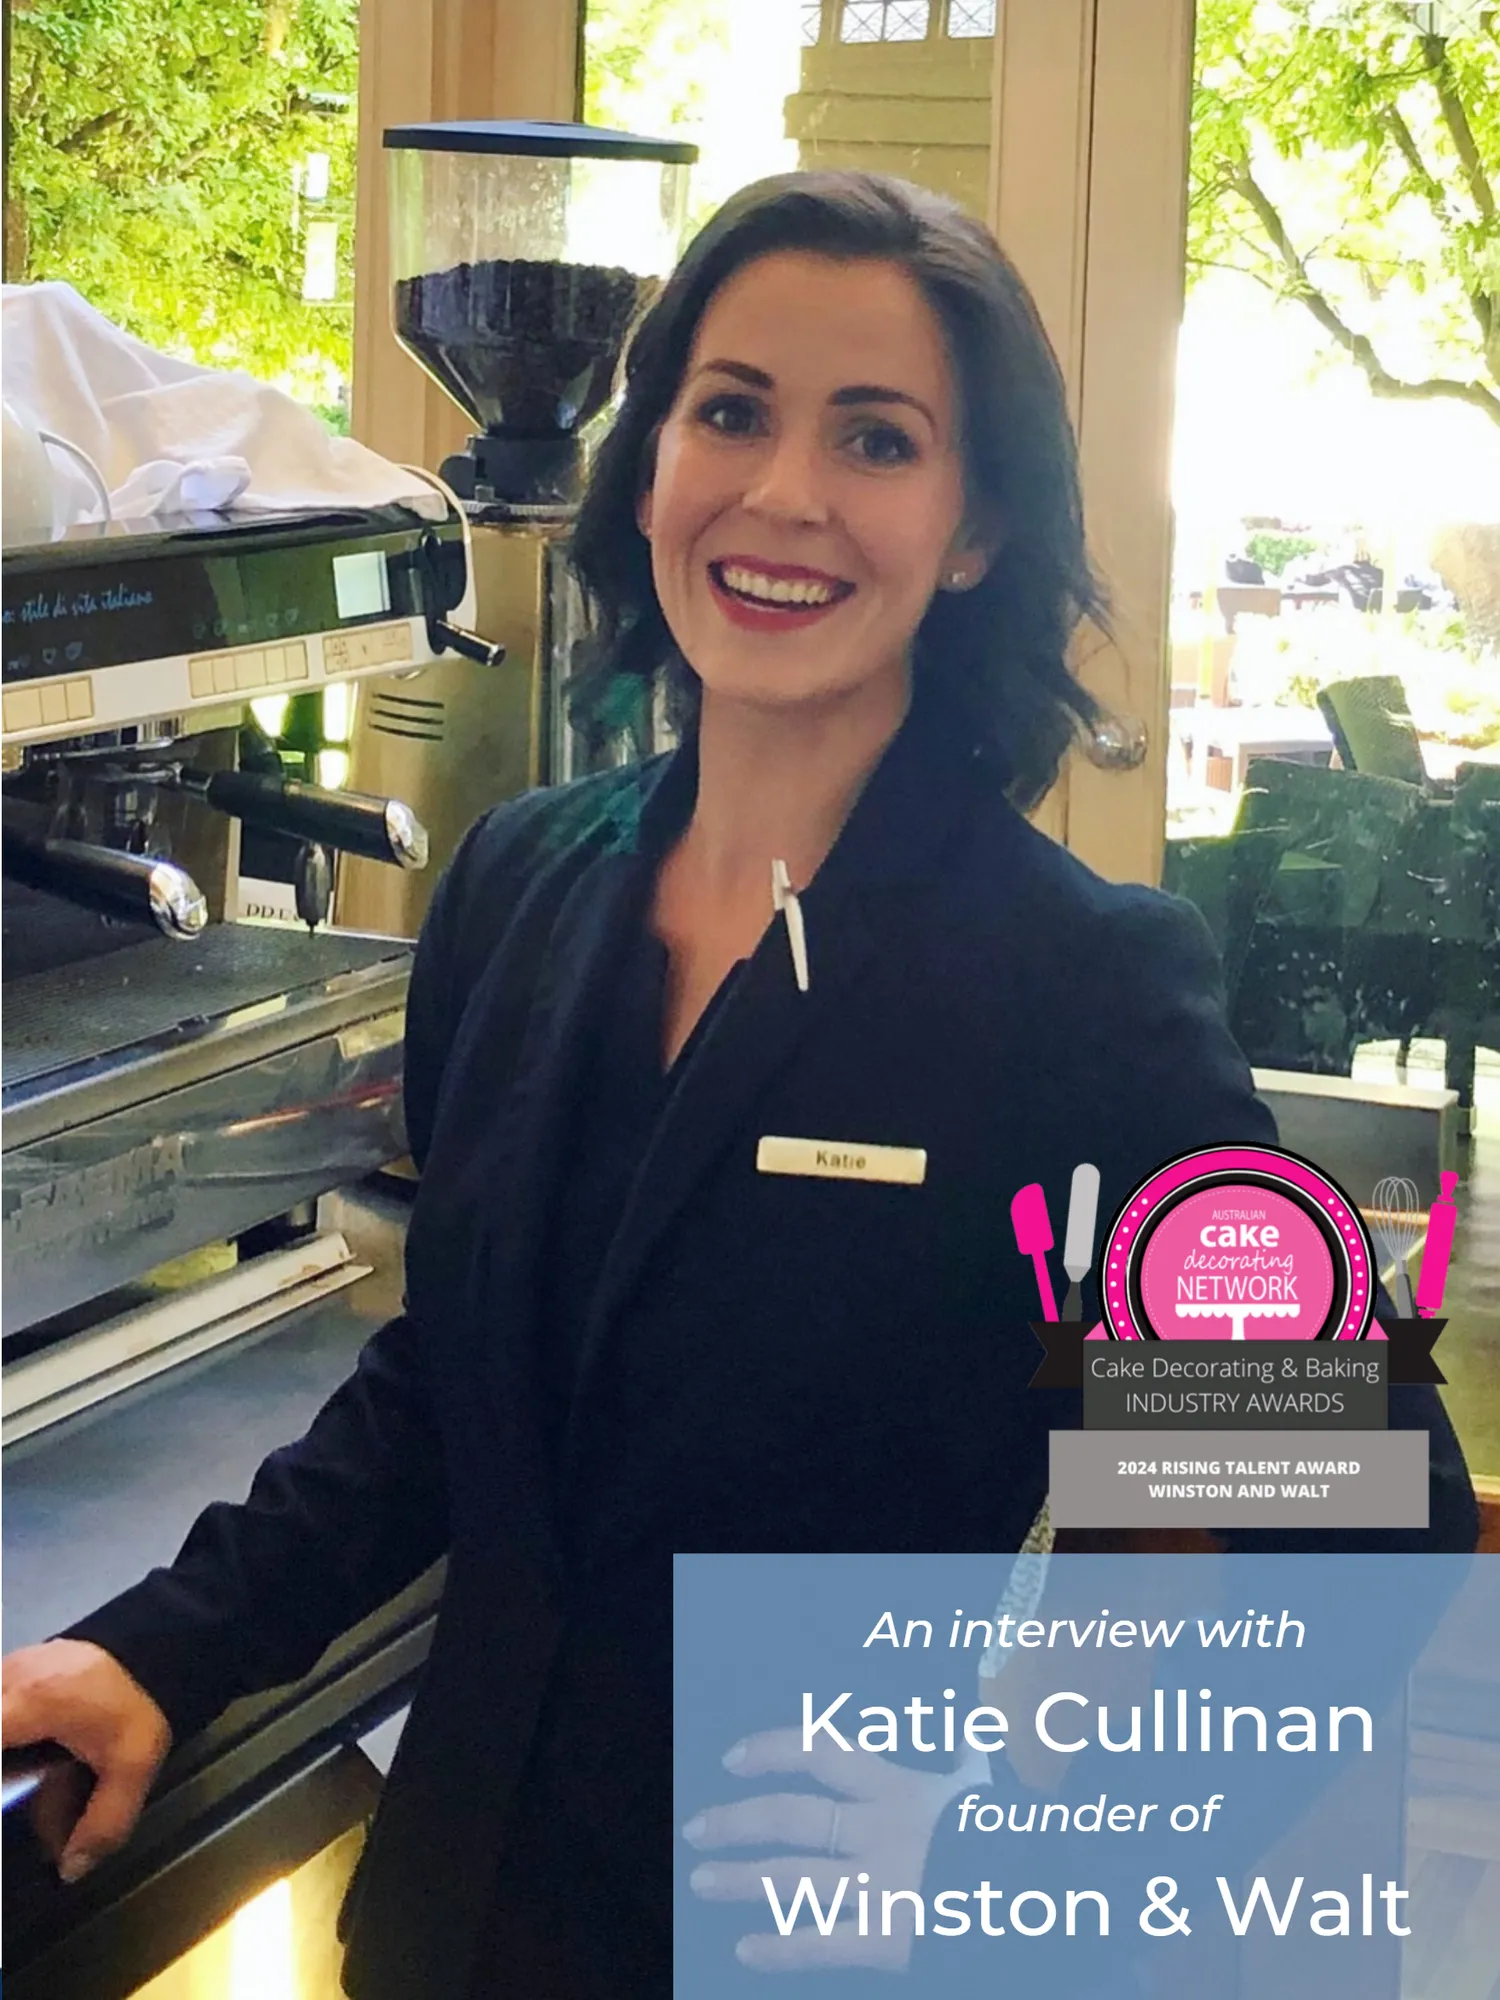
An interview with Katie Cullinan founder of Winston & Walt
Page 68 text
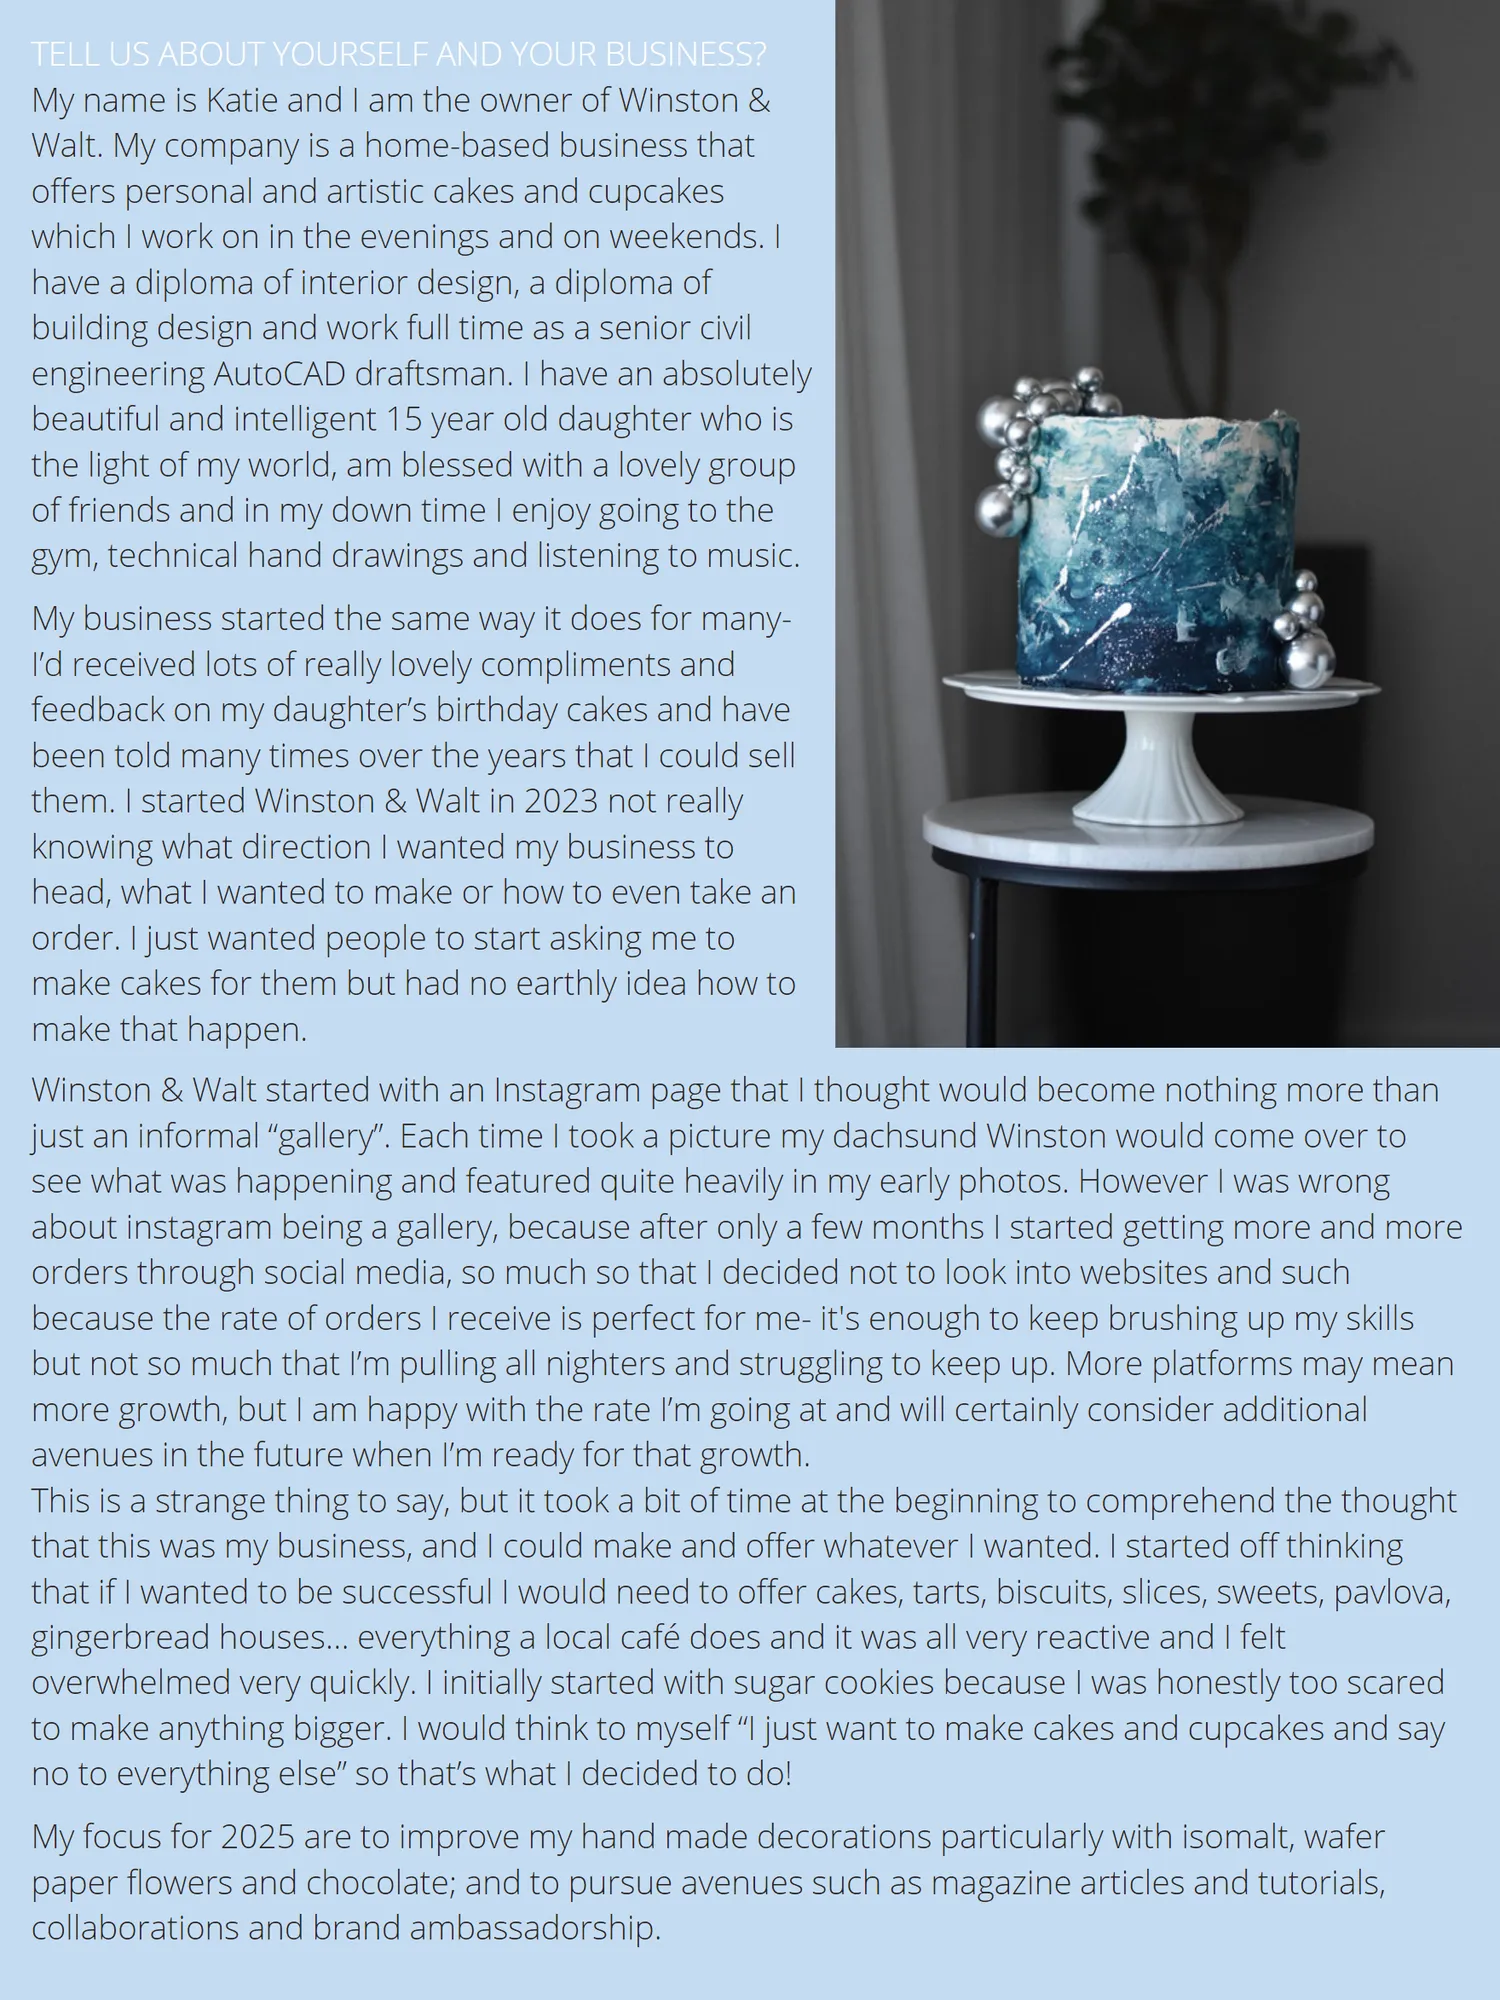
TELL US ABOUT YOURSELF AND YOUR BUSINESS? My name is Katie and I am the owner of Winston & Walt. My company is a home-based business that offers personal and artistic cakes and cupcakes which I work on in the evenings and on weekends. I have a diploma of interior design, a diploma of building design and work full time as a senior civil engineering AutoCAD draftsman. I have an absolutely beautiful and intelligent 15 year old daughter who is the light of my world, am blessed with a lovely group of friends and in my down time I enjoy going to the gym, technical hand drawings and listening to music. My business started the same way it does for many- I’d received lots of really lovely compliments and feedback on my daughter’s birthday cakes and have been told many times over the years that I could sell them. I started Winston & Walt in 2023 not really knowing what direction I wanted my business to head, what I wanted to make or how to even take an order. I just wanted people to start asking me to make cakes for them but had no earthly idea how to make that happen. Winston & Walt started with an Instagram page that I thought would become nothing more than just an informal “gallery”. Each time I took a picture my dachsund Winston would come over to see what was happening and featured quite heavily in my early photos. However I was wrong about instagram being a gallery, because after only a few months I started getting more and more orders through social media, so much so that I decided not to look into websites and such because the rate of orders I receive is perfect for me- it's enough to keep brushing up my skills but not so much that I’m pulling all nighters and struggling to keep up. More platforms may mean more growth, but I am happy with the rate I’m going at and will certainly consider additional avenues in the future when I’m ready for that growth. This is a strange thing to say, but it took a bit of time at the beginning to comprehend the thought that this was my business, and I could make and offer whatever I wanted. I started off thinking that if I wanted to be successful I would need to offer cakes, tarts, biscuits, slices, sweets, pavlova, gingerbread houses… everything a local café does and it was all very reactive and I felt overwhelmed very quickly. I initially started with sugar cookies because I was honestly too scared to make anything bigger. I would think to myself “I just want to make cakes and cupcakes and say no to everything else” so that’s what I decided to do! My focus for 2025 are to improve my hand made decorations particularly with isomalt, wafer paper flowers and chocolate; and to pursue avenues such as magazine articles and tutorials, collaborations and brand ambassadorship.
Page 69 text
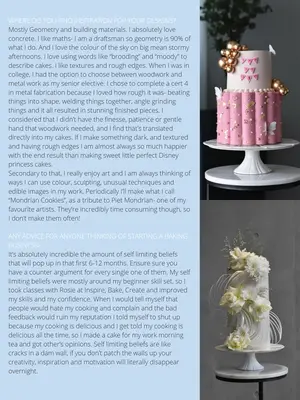
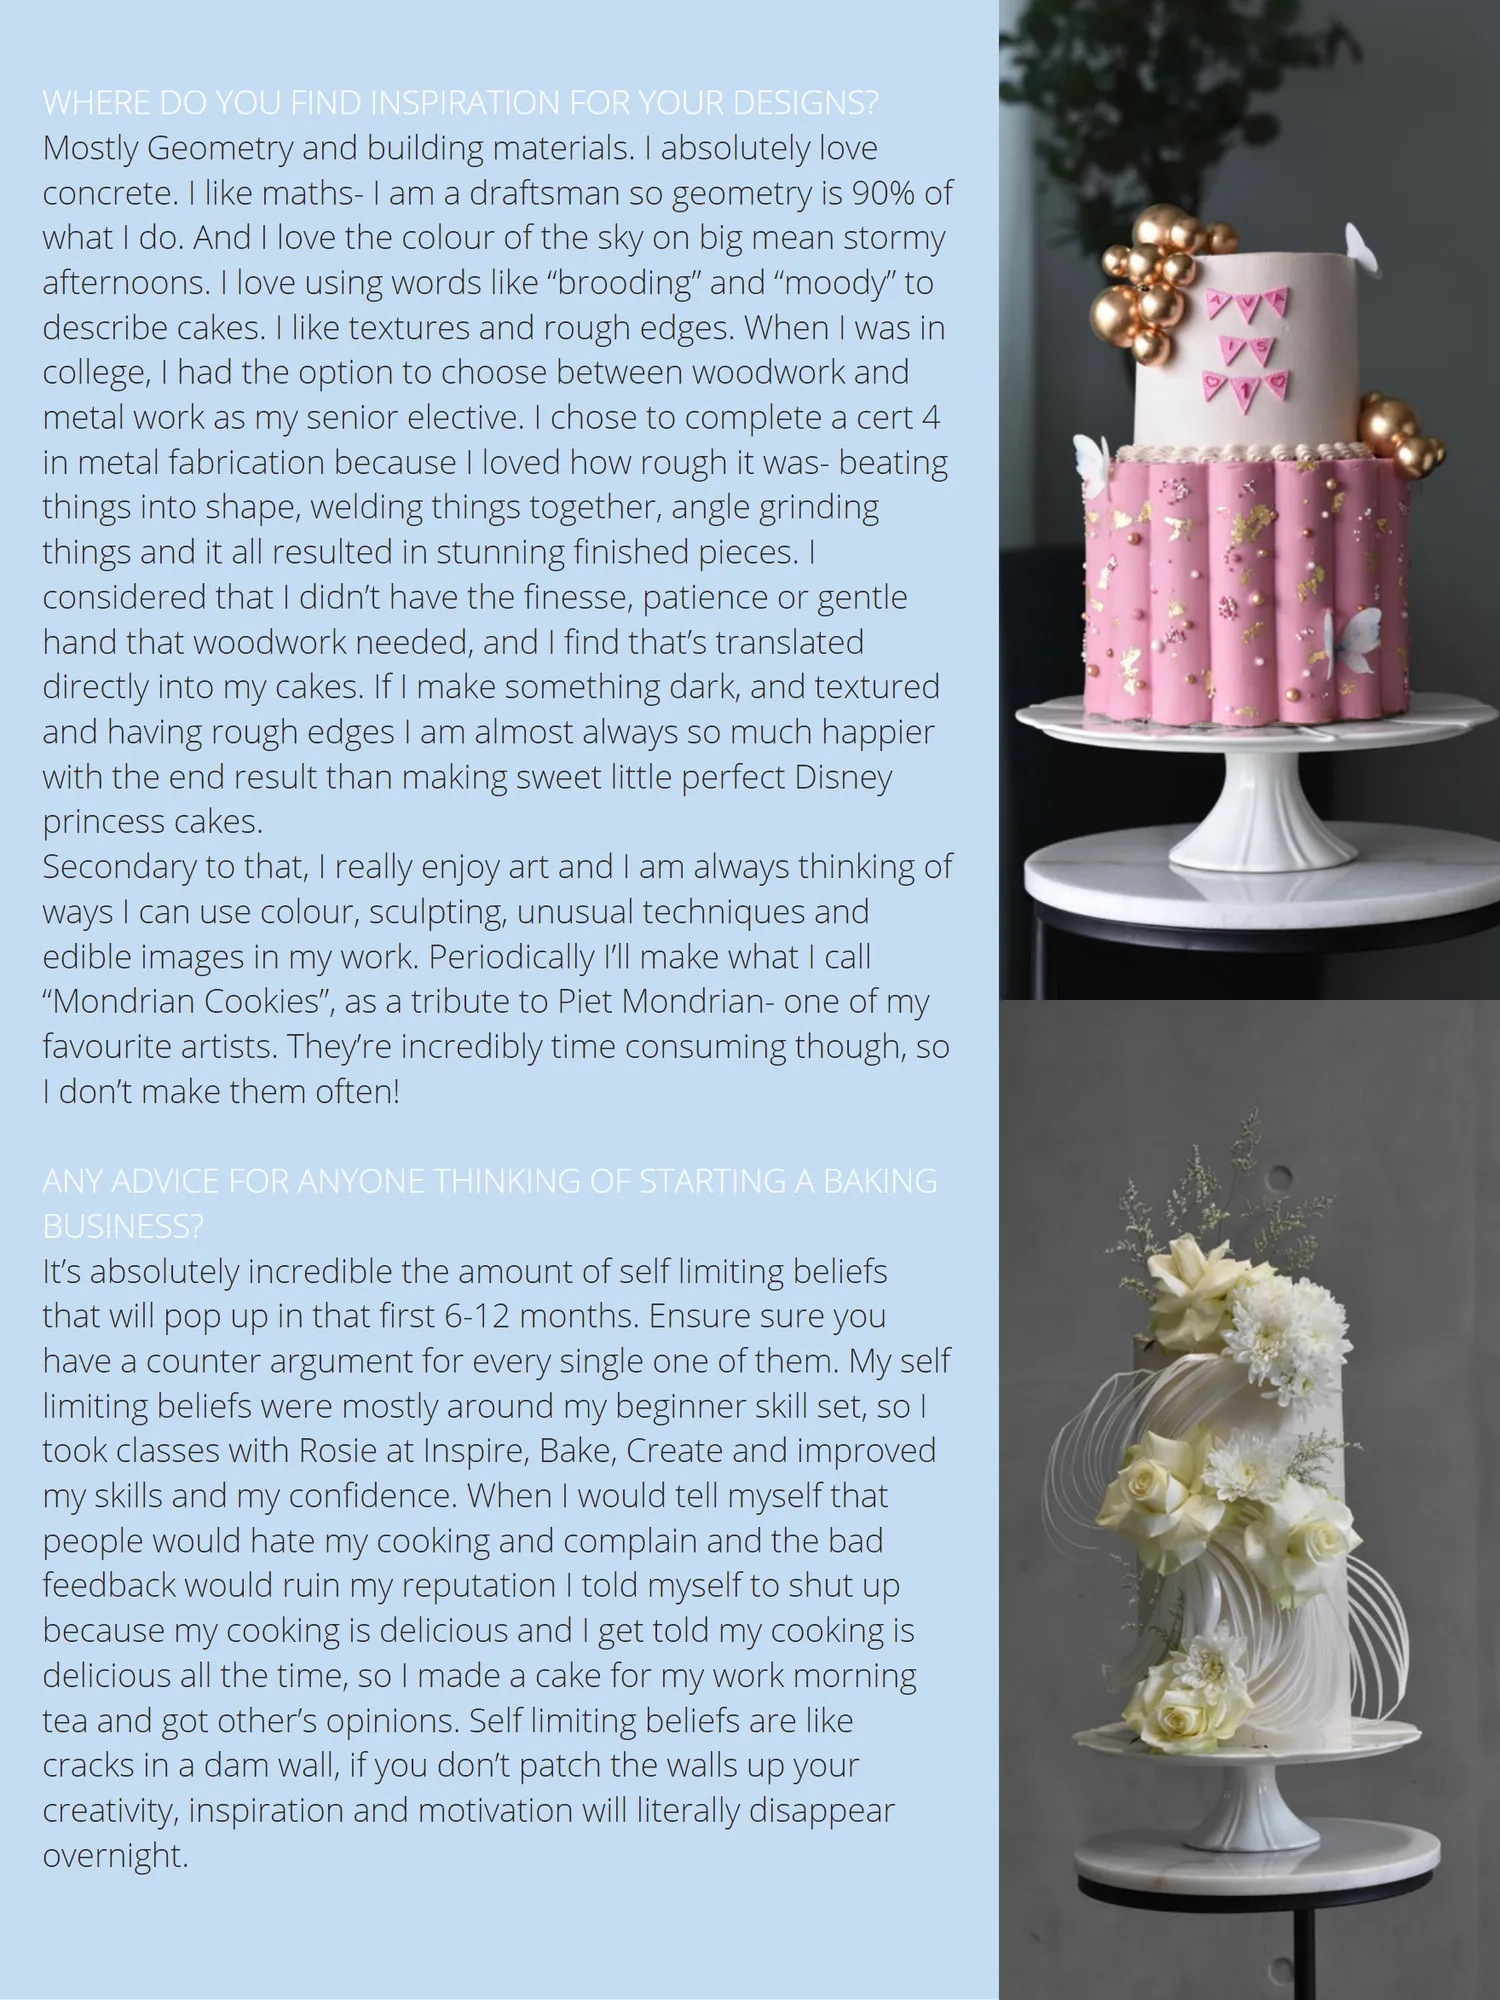
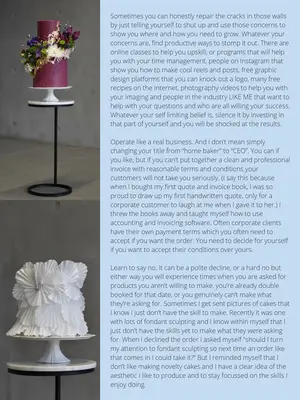
WHERE DO YOU FIND INSPIRATION FOR YOUR DESIGNS? Mostly Geometry and building materials. I absolutely love concrete. I like maths- I am a draftsman so geometry is 90% of what I do. And I love the colour of the sky on big mean stormy afternoons. I love using words like “brooding” and “moody” to describe cakes. I like textures and rough edges. When I was in college, I had the option to choose between woodwork and metal work as my senior elective. I chose to complete a cert 4 in metal fabrication because I loved how rough it was- beating things into shape, welding things together, angle grinding things and it all resulted in stunning finished pieces. I considered that I didn’t have the finesse, patience or gentle hand that woodwork needed, and I find that’s translated directly into my cakes. If I make something dark, and textured and having rough edges I am almost always so much happier with the end result than making sweet little perfect Disney princess cakes. Secondary to that, I really enjoy art and I am always thinking of ways I can use colour, sculpting, unusual techniques and edible images in my work. Period i cally I’ll make what I call “Mondrian Cookies”, as a tribute to Piet Mondrian- one of my favourite artists. They’re incredibly time consuming though, so I don’t make them often! ANY ADVICE FOR ANYONE THINKING OF STARTING A BAKING BUSINESS? It’s absolutely incredible the amount of self limiting beliefs that will pop up in that first 6-12 months. Ensure sure you have a counter argument for every single one of them. My self limiting beliefs were mostly around my beginner skill set, so I took classes with Rosie at Inspire, Bake, Create and improved my skills and my confidence. When I would tell myself that people would hate my cooking and complain and the bad feedback would ruin my reputation I told myself to shut up because my cooking is delicious and I get told my cooking is delicious all the time, so I made a cake for my work morning tea and got other’s opinions. Self limiting beliefs are like cracks in a dam wall, if you don’t patch the walls up your creativity, inspiration and motivation will literally disappear overnight.
Page 70 text
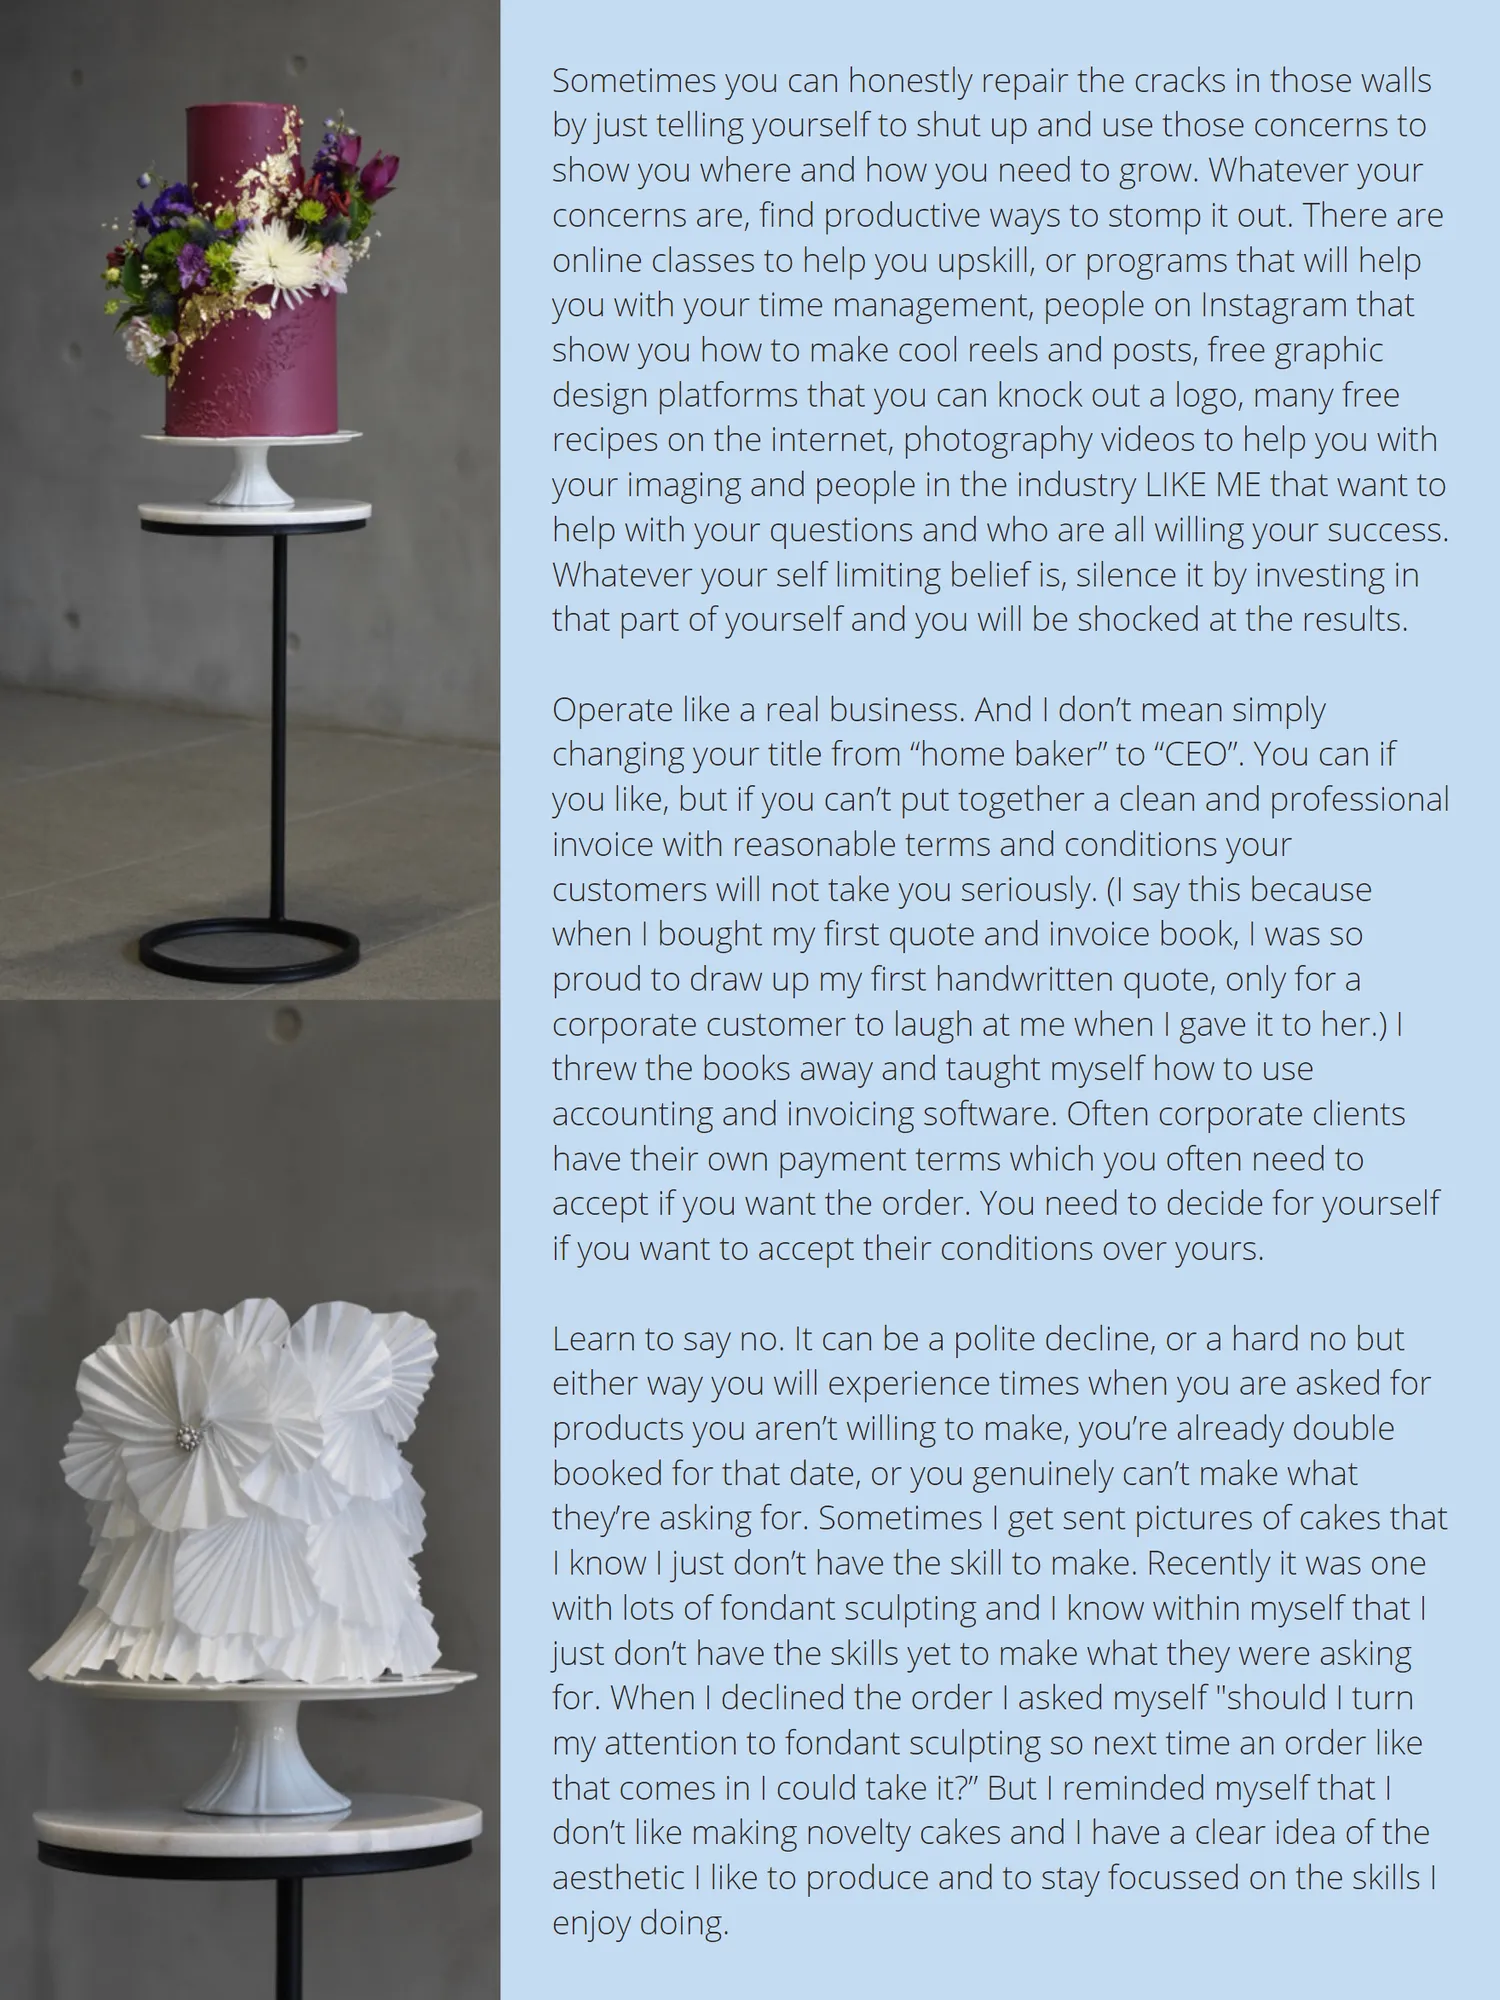
Sometimes you can honestly repair the cracks in those walls by just telling yourself to shut up and use those concerns to show you where and how you need to grow. Whatever your concerns are, find productive ways to stomp it out. There are online classes to help you upskill, or programs that will help you with your time management, people on Instagram that show you how to make cool reels and posts, free graphic design platforms that you can knock out a logo, many free recipes on the internet, photography videos to help you with your imaging and people in the industry LIKE ME that want to help with your questions and who are all willing your success. Whatever your self limiting belief is, silence it by investing in that part of yourself and you will be shocked at the results. Operate like a real business. And I don’t mean simply changing your title from “home baker” to “CEO”. You can if you like, but if you can’t put together a clean and professional invoice with reasonable terms and conditions your customers will not take you seriously. (I say this because when I bought my first quote and invoice book, I was so proud to draw up my first handwritten quote, only for a corporate customer to laugh at me when I gave it to her.) I threw the books away and taught myself how to use accounting and invoicing software. Often corporate clients have their own payment terms which you often need to accept if you want the order. You need to decide for yourself if you want to accept their conditions over yours. Learn to say no. It can be a polite decline, or a hard no but either way you will experience times when you are asked for products you aren’t willing to make, you’re already double booked for that date, or you genuinely can’t make what they’re asking for. Sometimes I get sent pictures of cakes that I know I just don’t have the skill to make. Recently it was one with lots of fondant sculpting and I know within myself that I just don’t have the skills yet to make what they were asking for. When I declined the order I asked myself "should I turn my attention to fondant sculpting so next time an order like that comes in I could take it?” But I reminded myself that I don’t like making novelty cakes and I have a clear idea of the aesthetic I like to produce and to stay focussed on the skills I enjoy doing.
Page 71 text
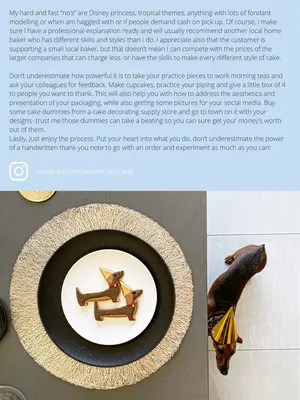
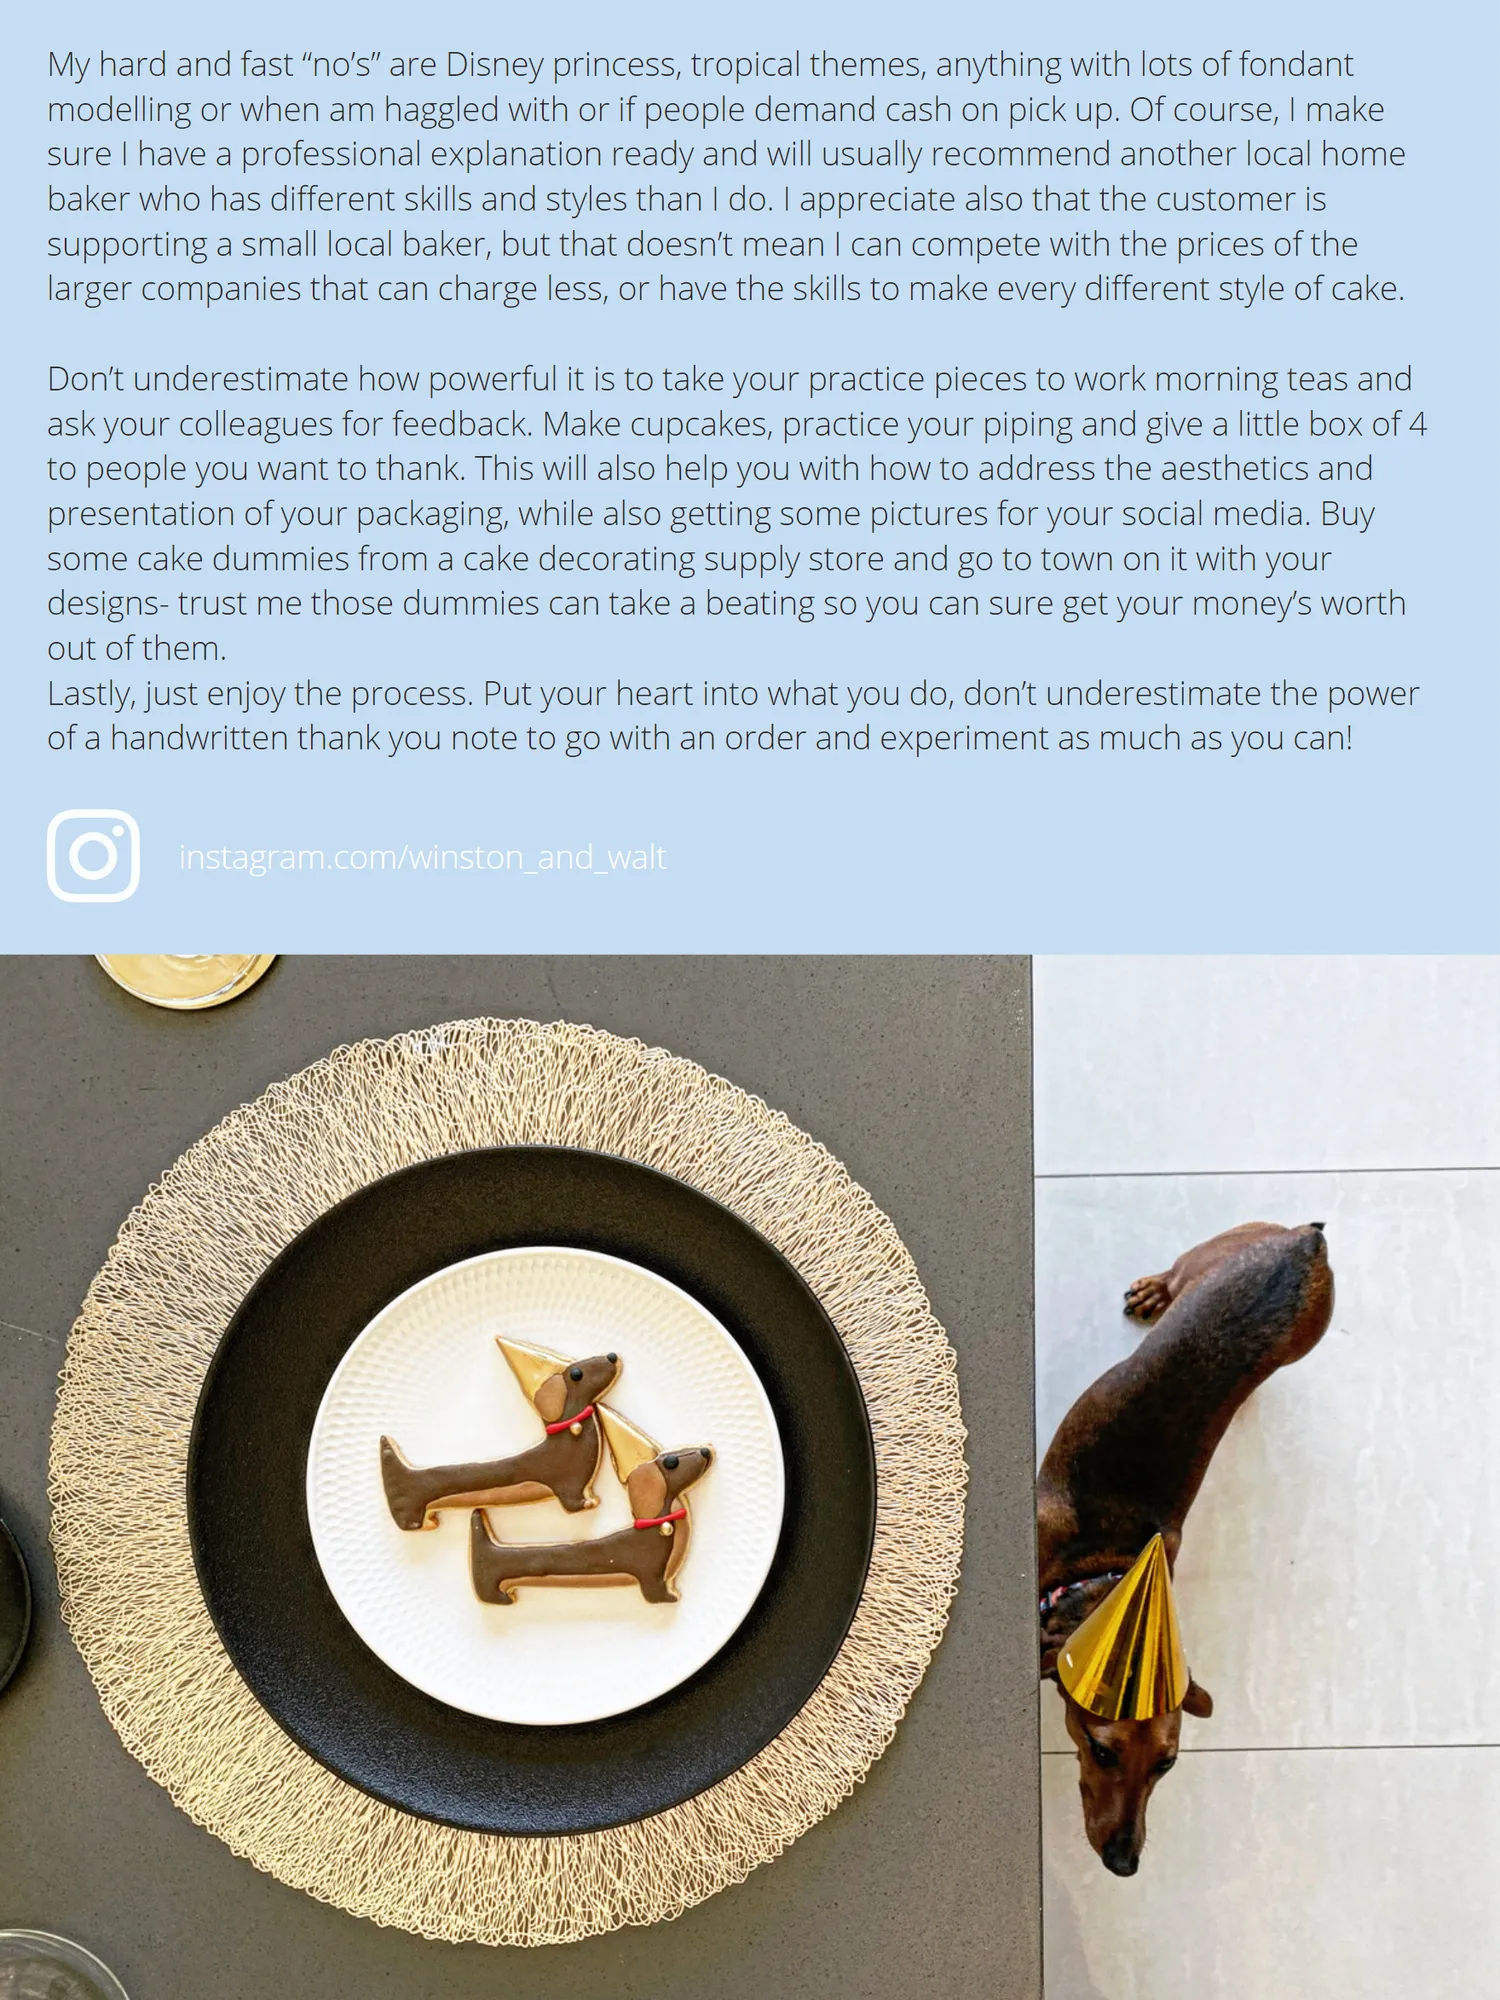
My hard and fast “no’s” are Disney princess, tropical themes, anything with lots of fondant modelling or when am haggled with or if people demand cash on pick up. Of course, I make sure I have a professional explanation ready and will usually recommend another local home baker who has different skills and styles than I do. I appreciate also that the customer is supporting a small local baker, but that doesn’t mean I can compete with the prices of the larger companies that can charge less, or have the skills to make every different style of cake. Don’t underestimate how powerful it is to take your practice pieces to work morning teas and ask your colleagues for feedback. Make cupcakes, practice your piping and give a little box of 4 to people you want to thank. This will also help you with how to address the aesthetics and presentation of your packaging, while also getting some pictures for your social media. Buy some cake dummies from a cake decorating supply store and go to town on it with your designs- trust me those dummies can take a beating so you can sure get your money’s worth out of them. Lastly, just enjoy the process. Put your heart into what you do, don’t underestimate the power of a handwritten thank you note to go with an order and experiment as much as you can! instagram.com/winston_and_walt
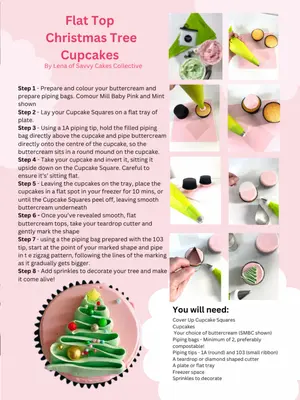
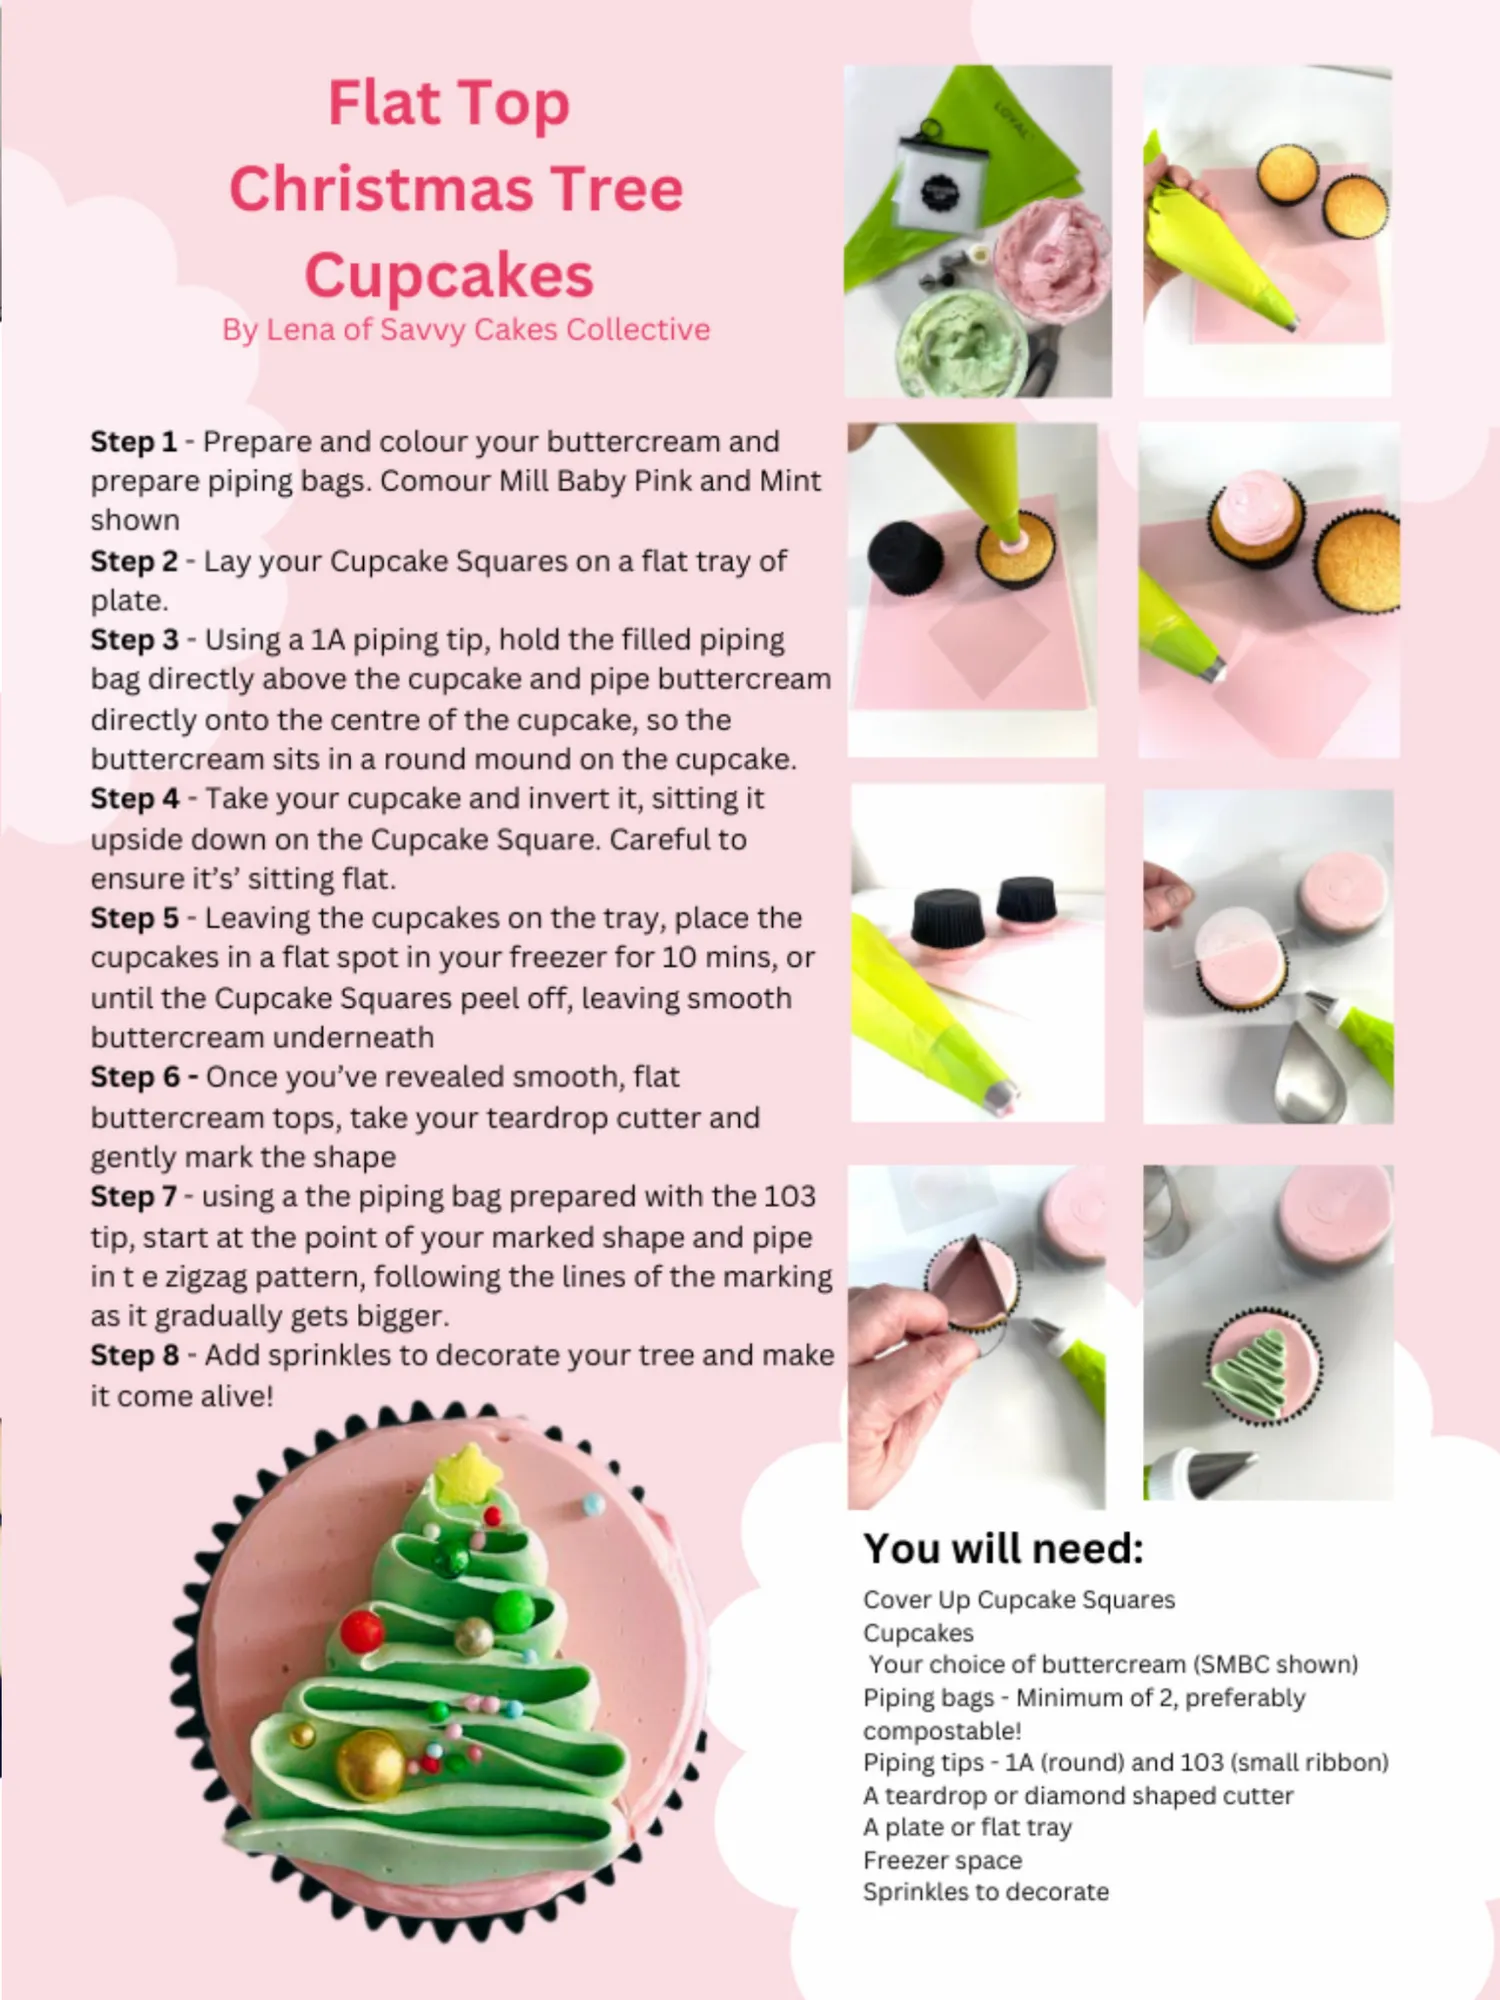
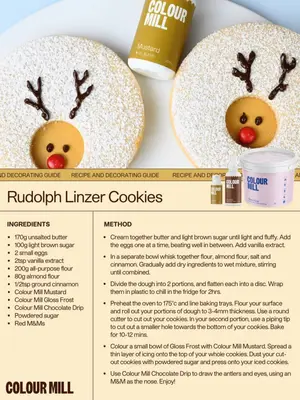
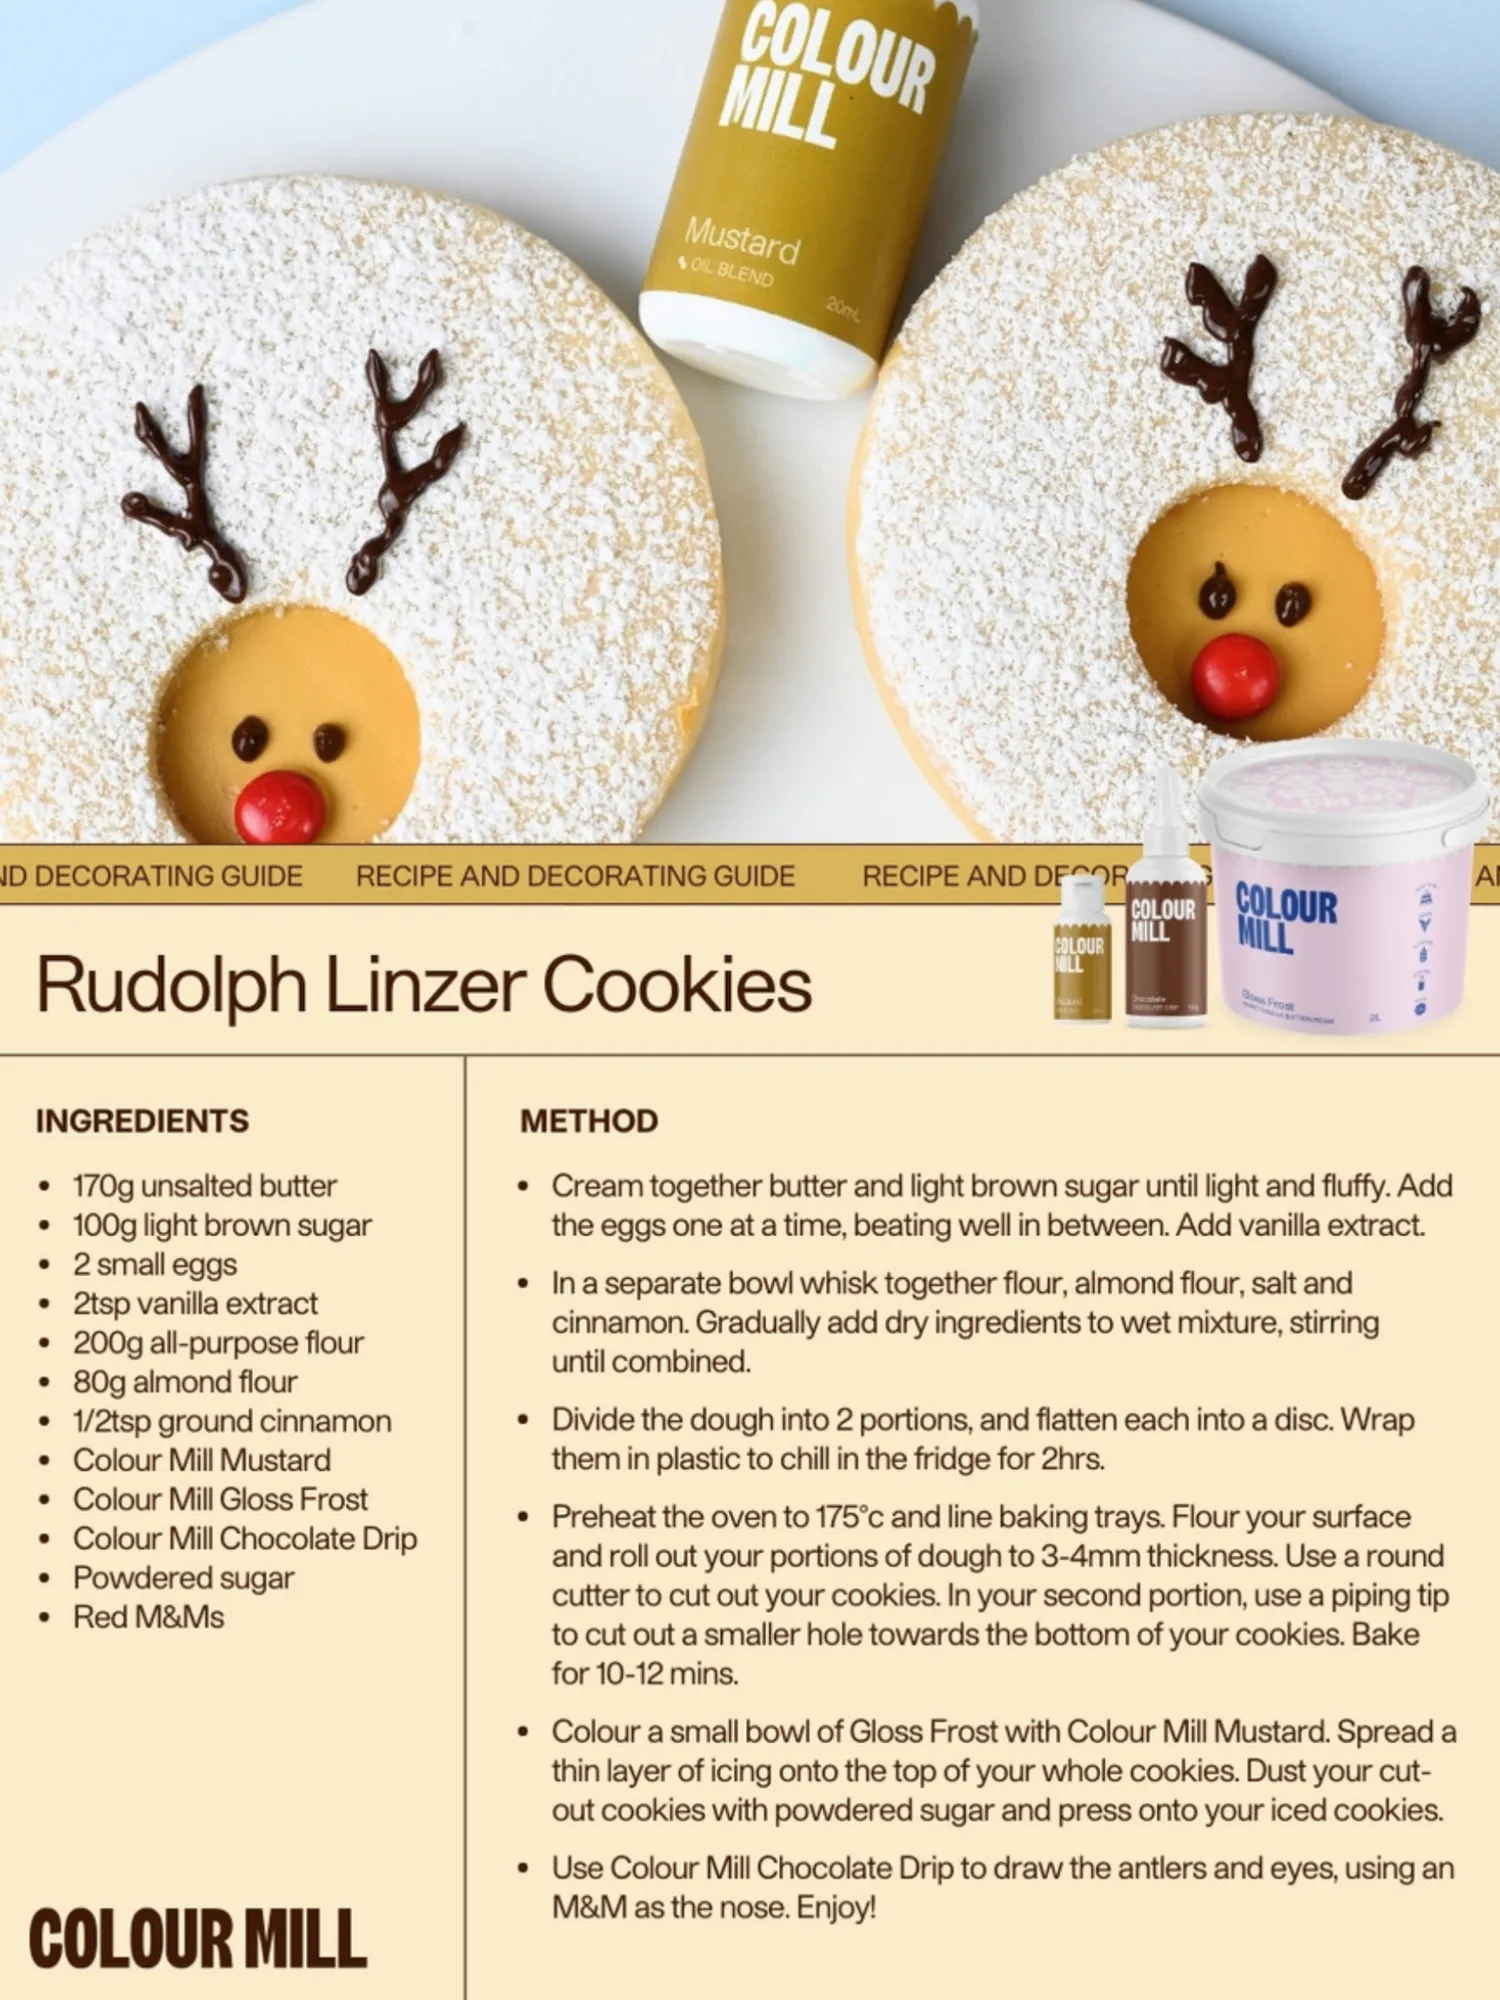


Page 77 text
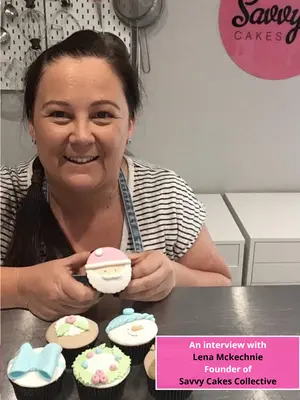
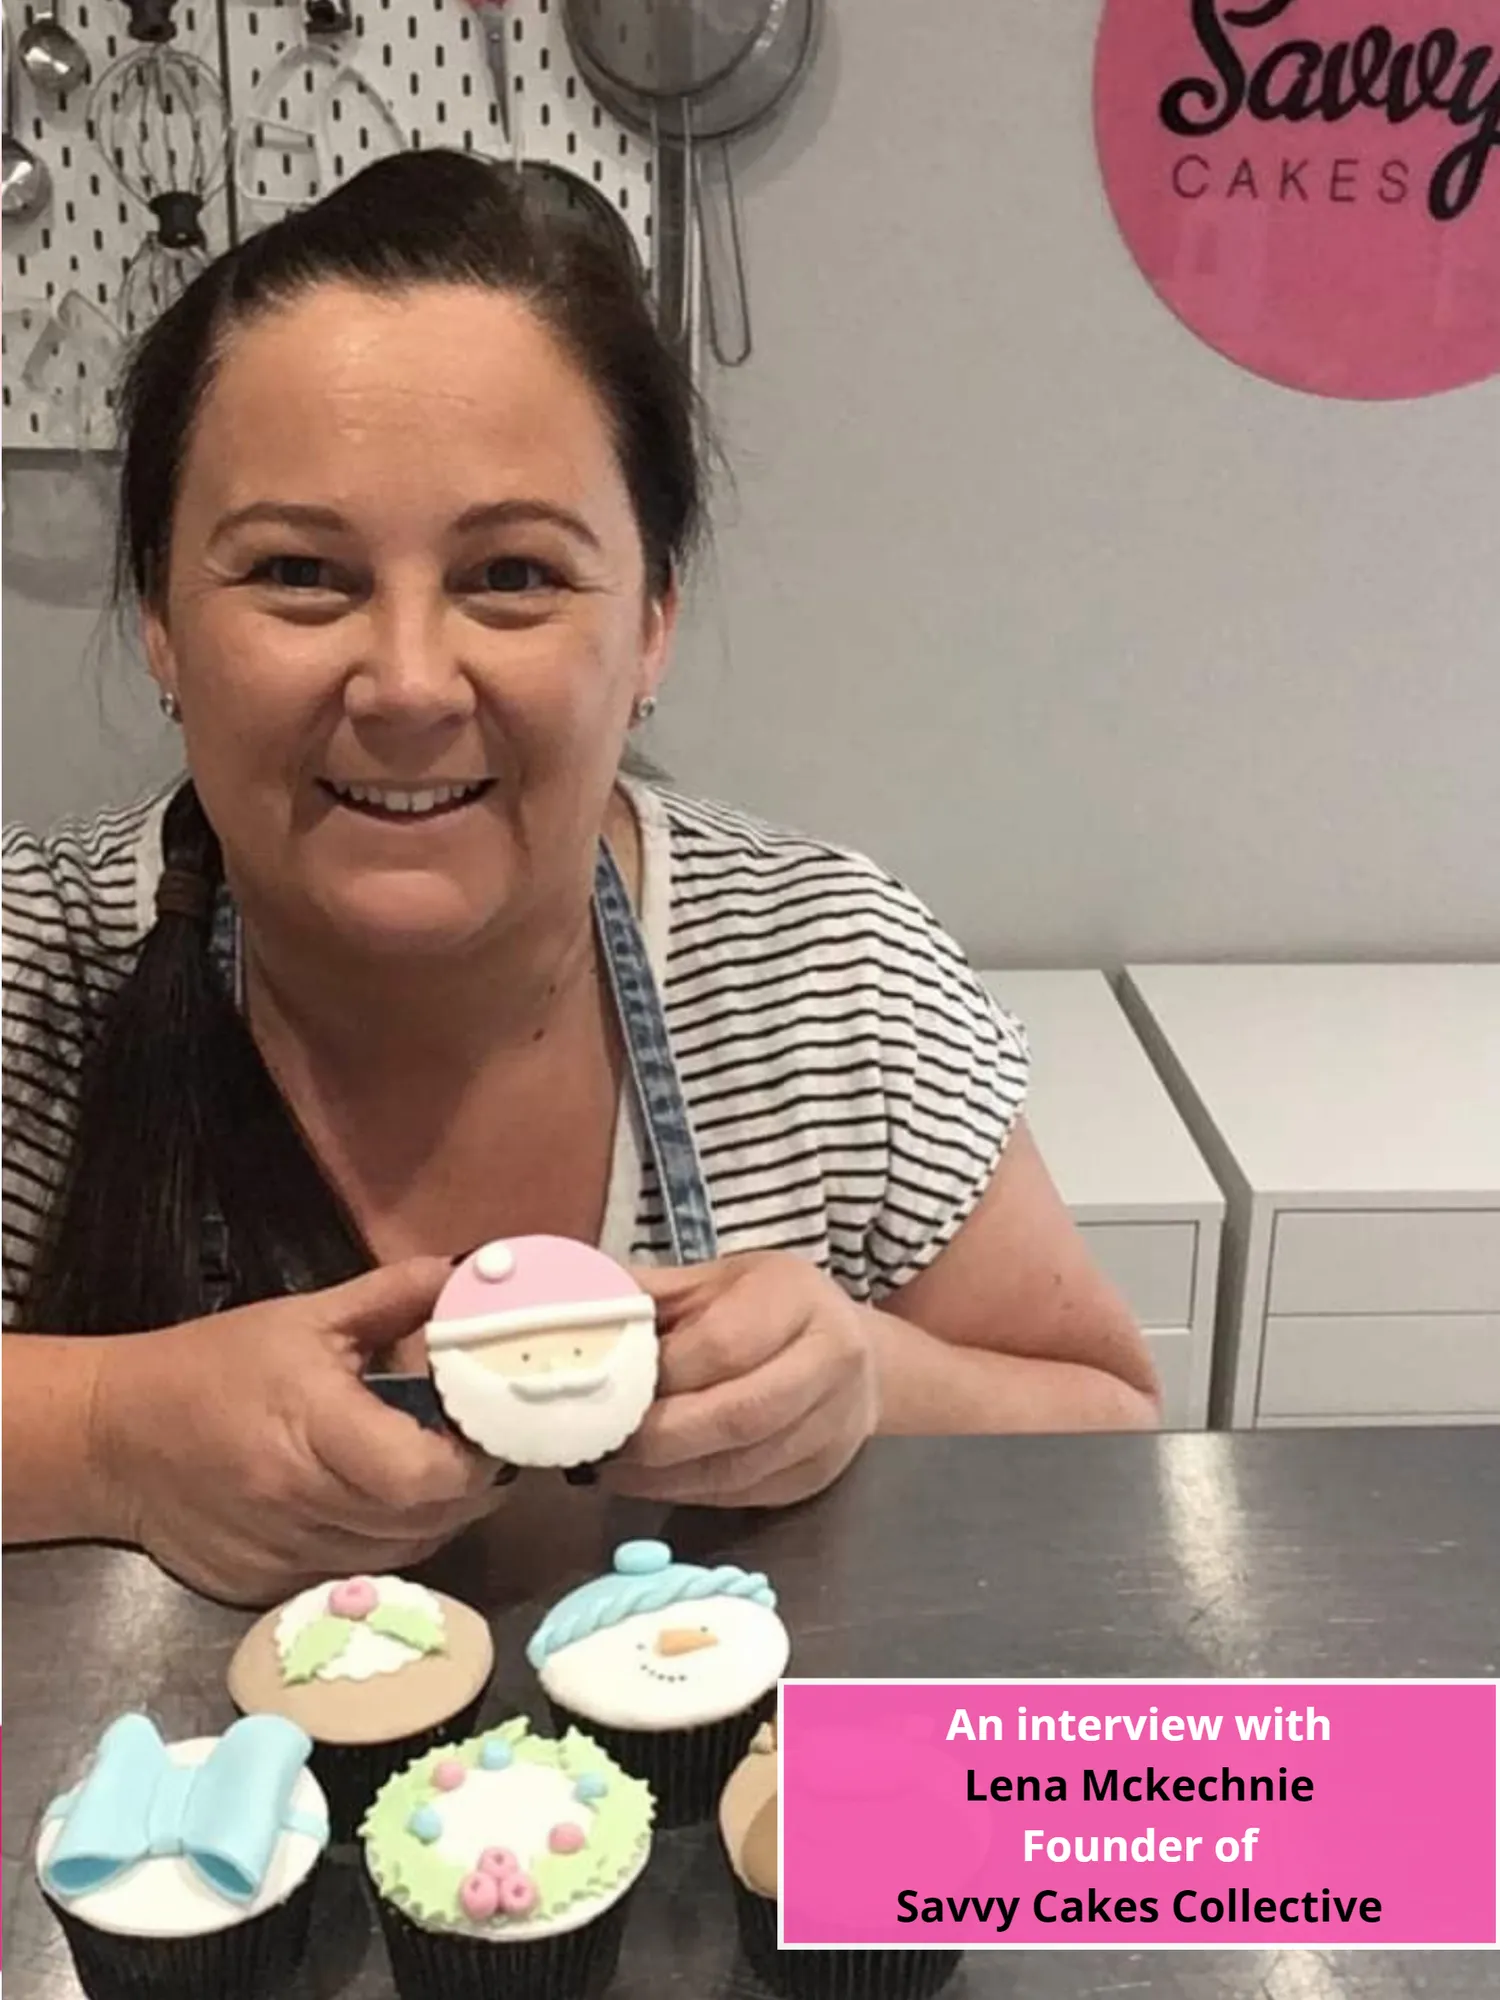
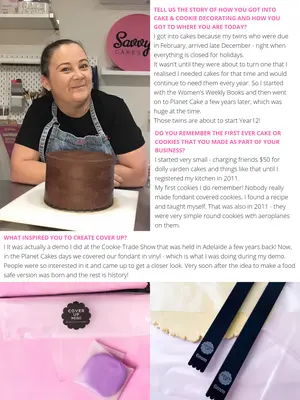
An interview with Lena Mckechnie Founder of Savvy Cakes Collective
Page 78 text
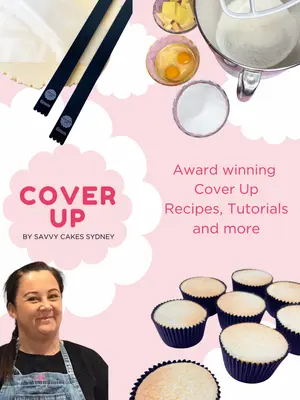
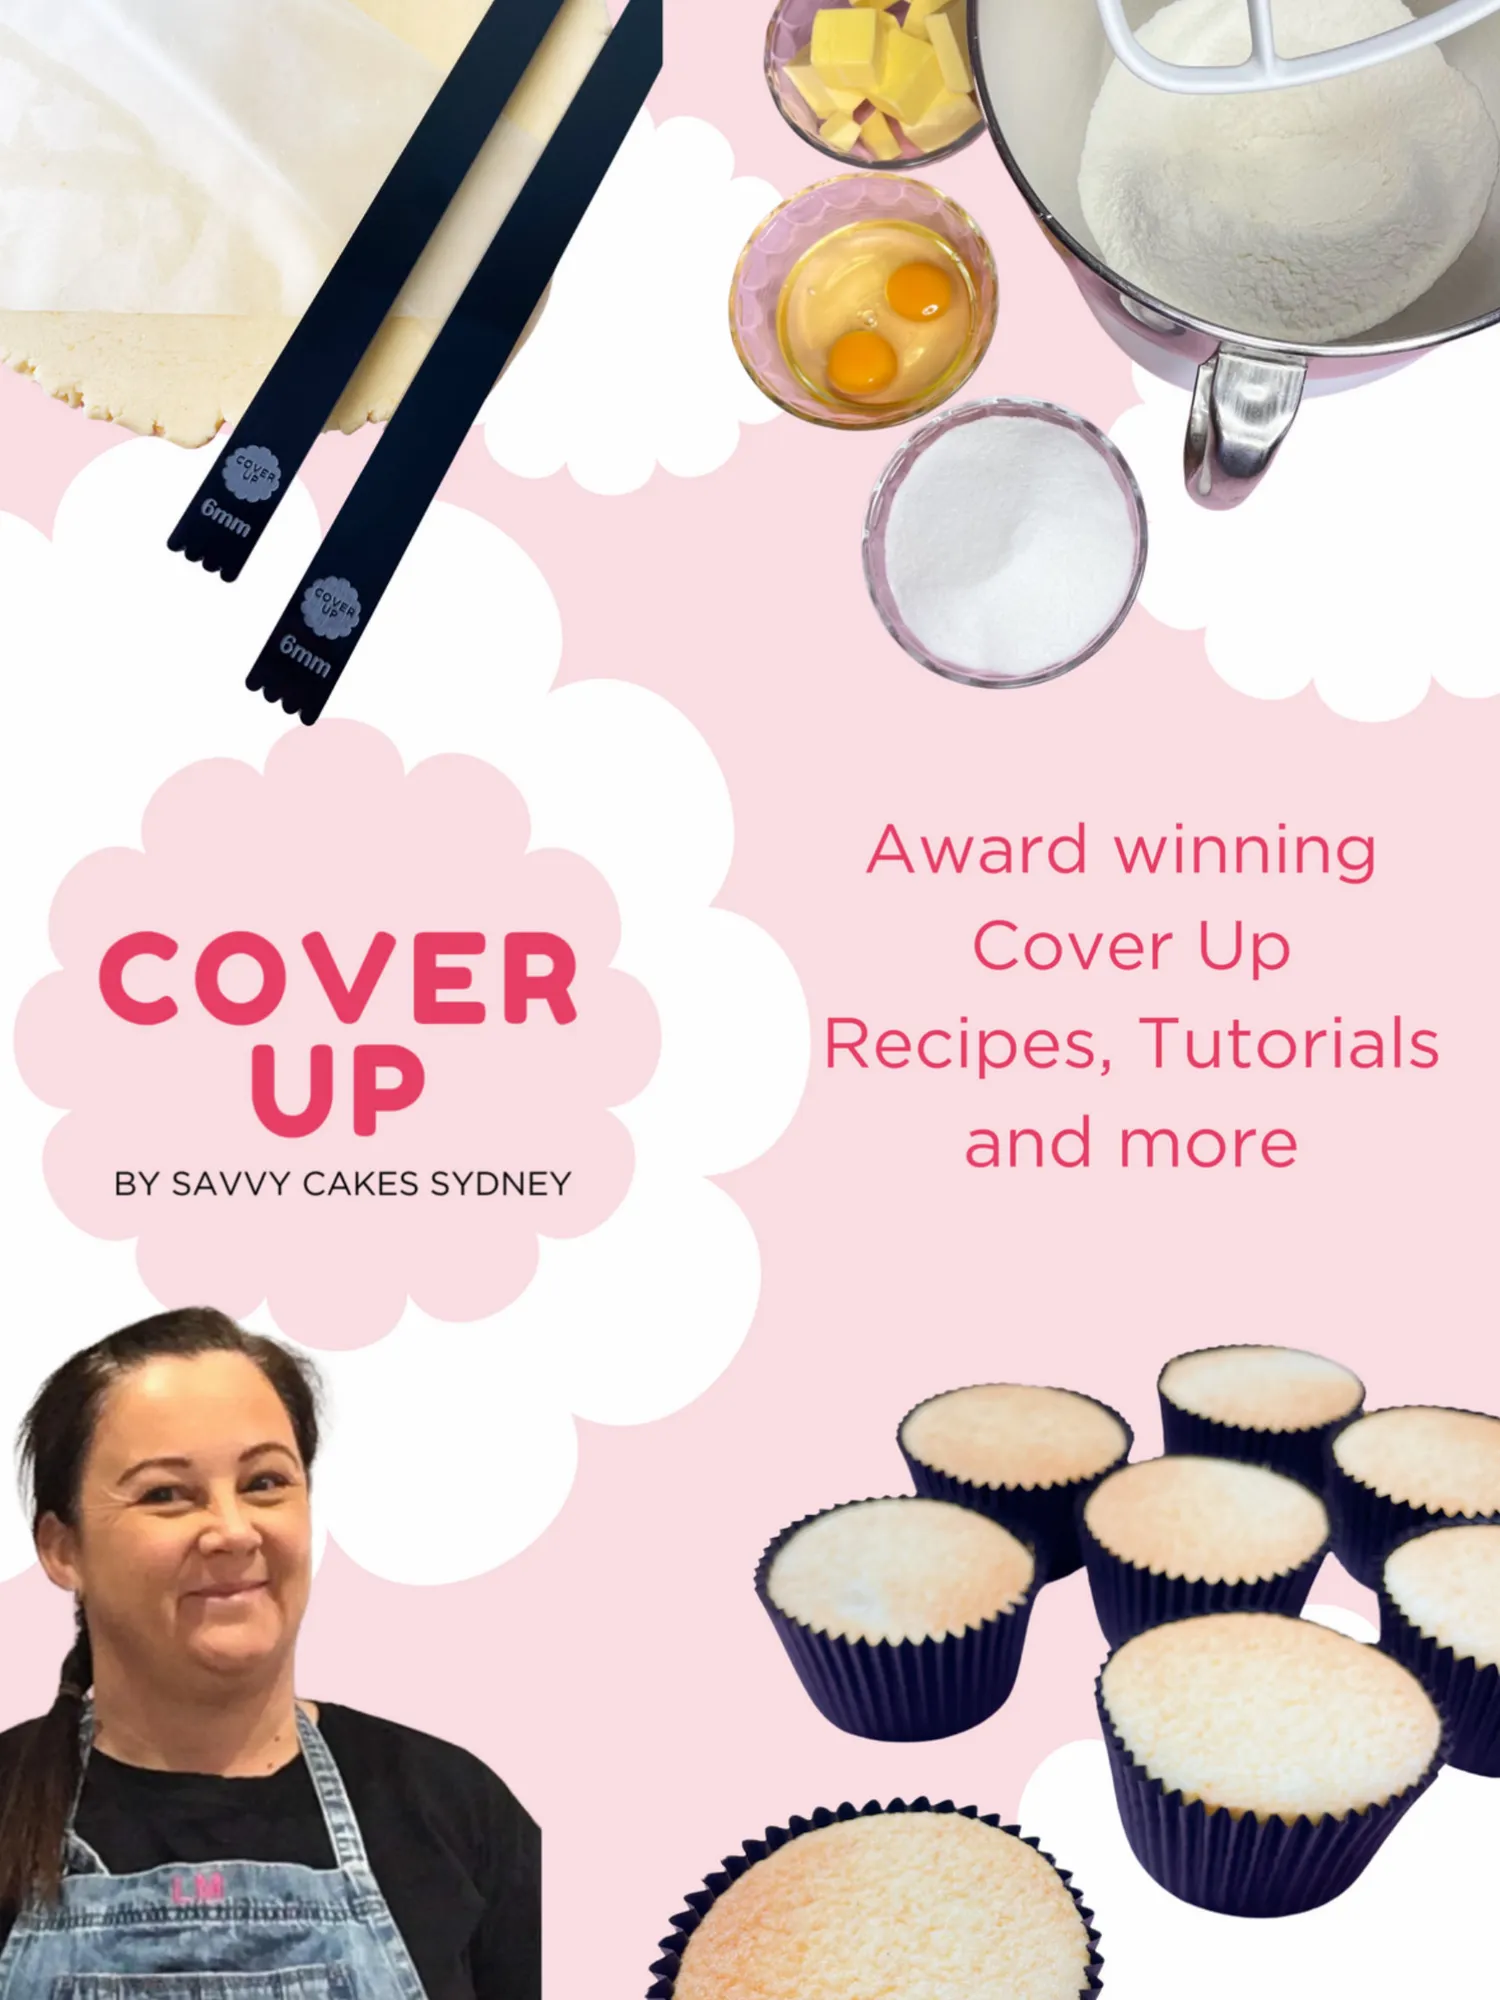
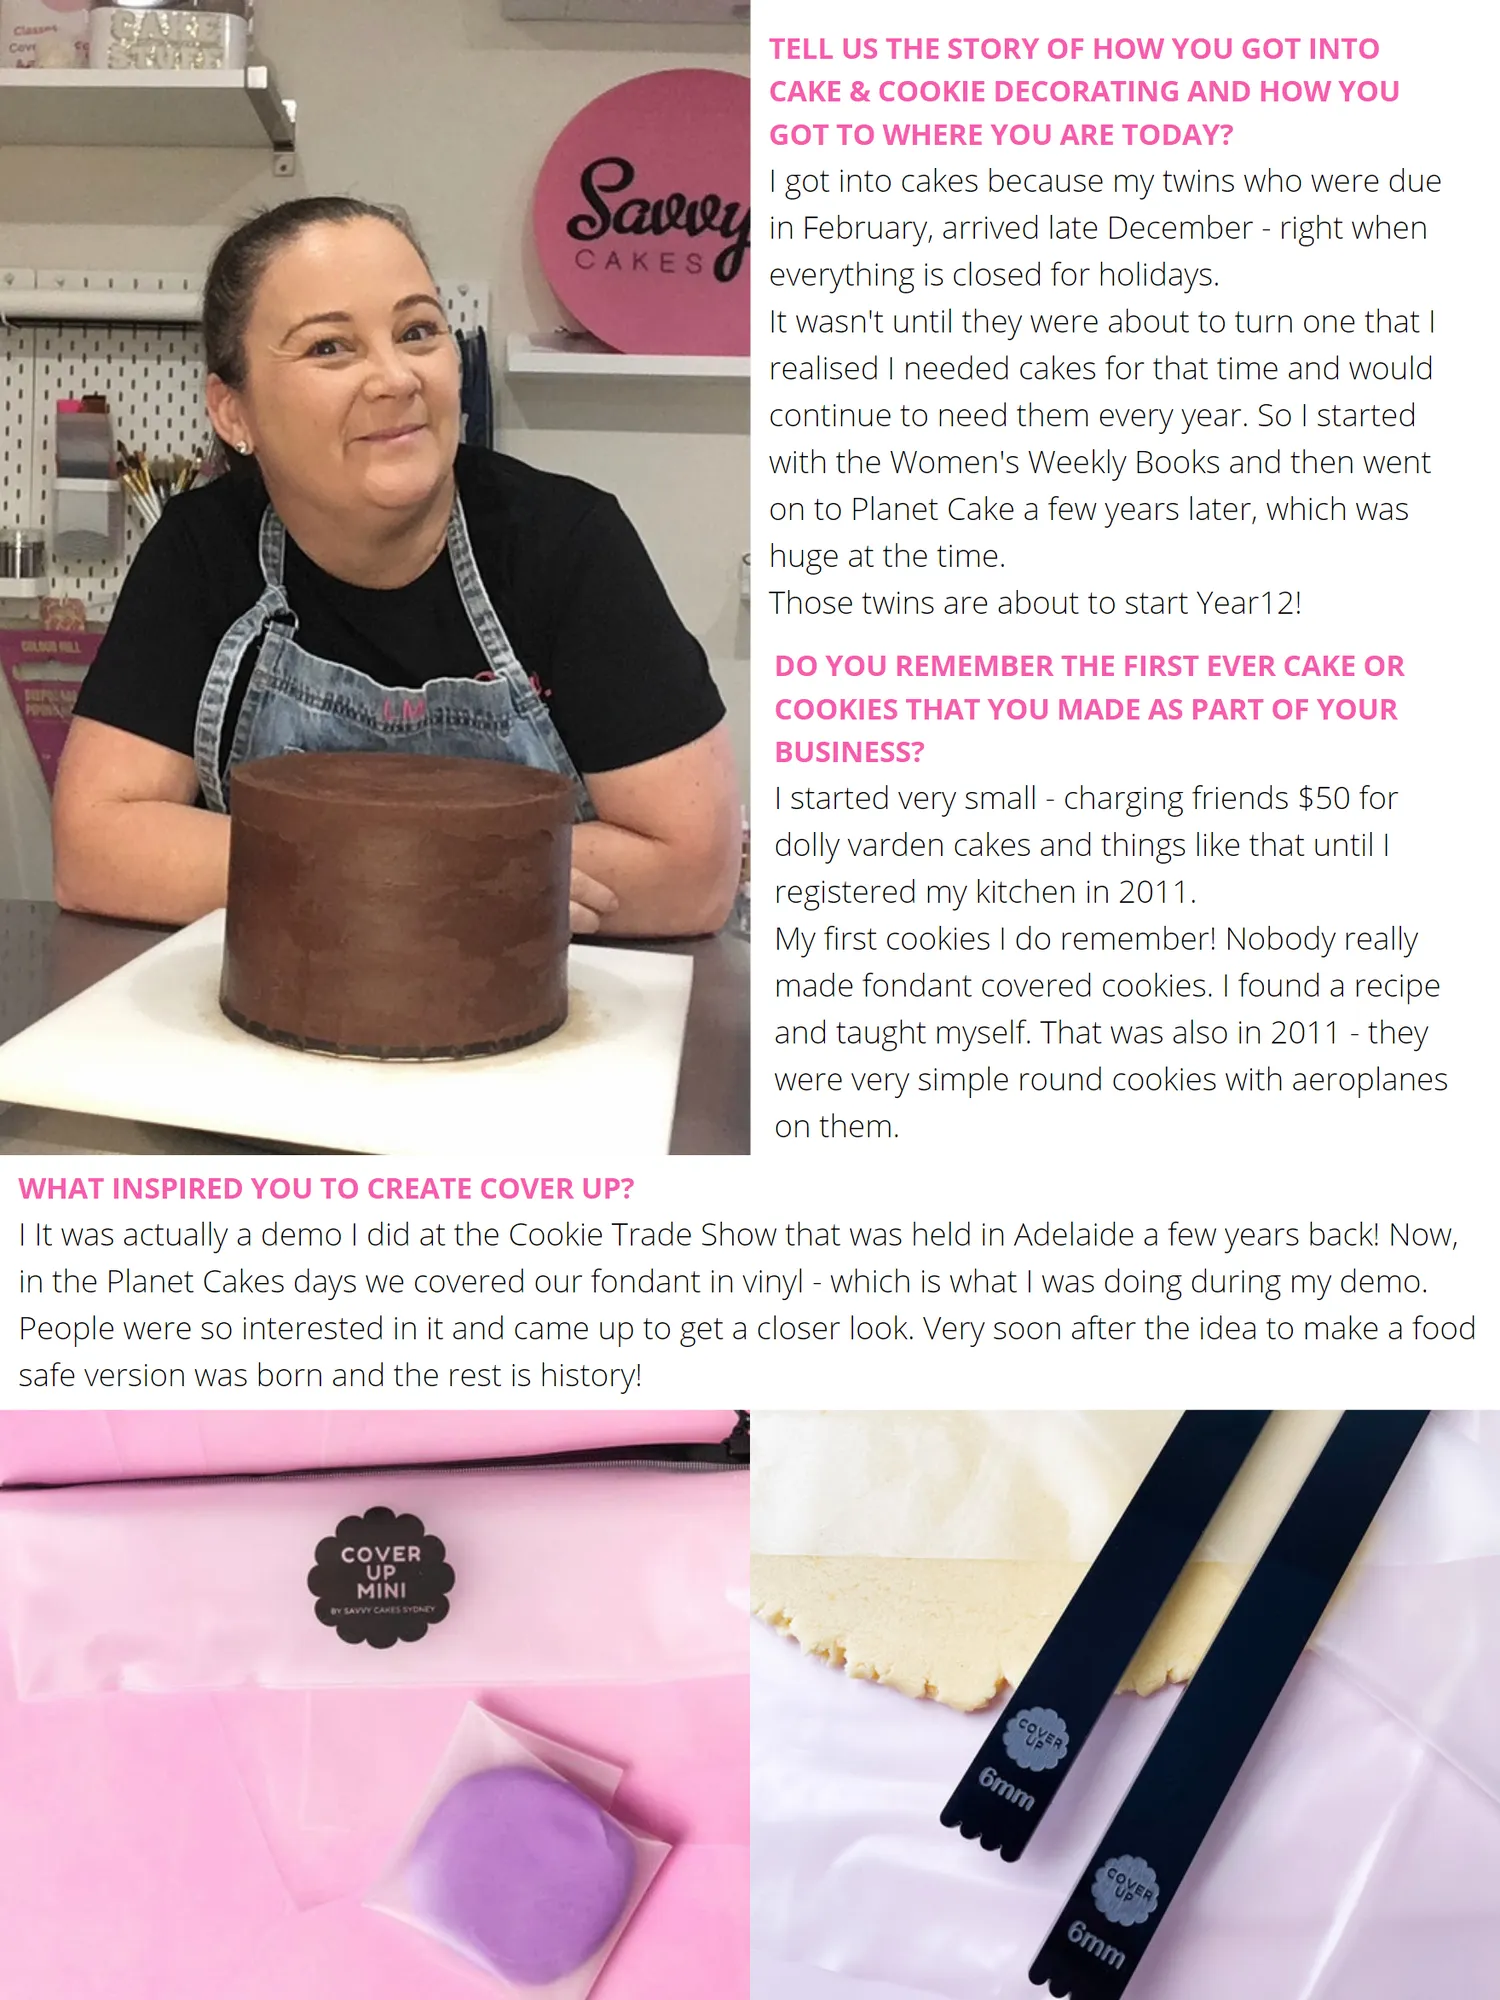
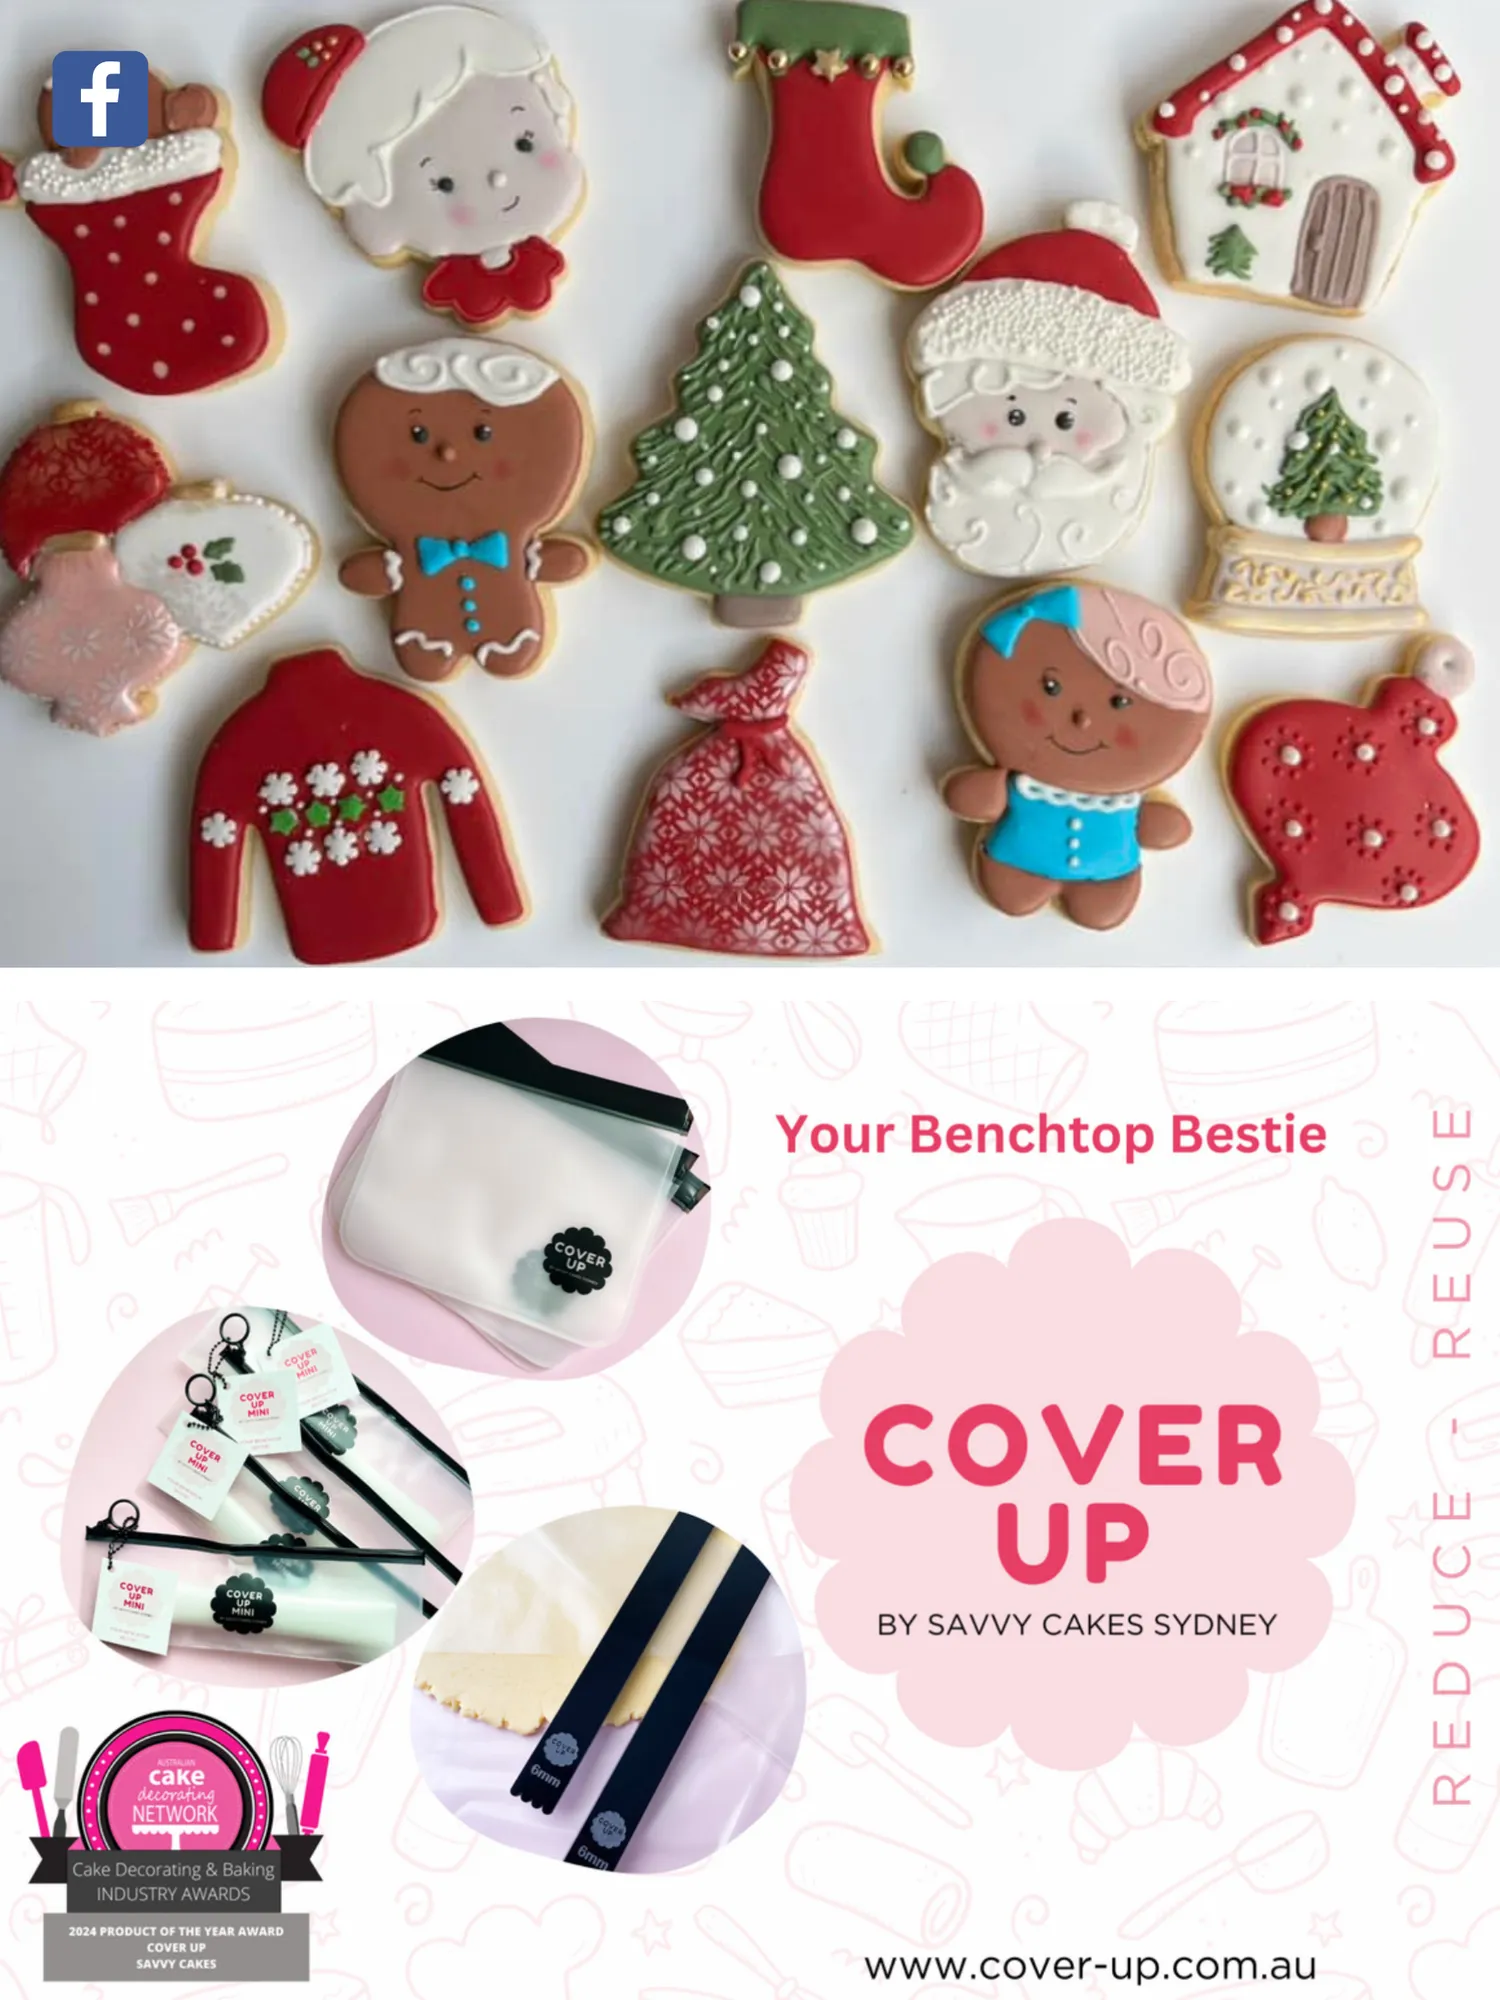
TELL US THE STORY OF HOW YOU GOT INTO CAKE & COOKIE DECORATING AND HOW YOU GOT TO WHERE YOU ARE TODAY? I got into cakes because my twins who were due in February, arrived late December - right when everything is closed for holidays. It wasn't until they were about to turn one that I realised I needed cakes for that time and would continue to need them every year. So I started with the Women's Weekly Books and then went on to Planet Cake a few years later, which was huge at the time. Those twins are about to start Year12! DO YOU REMEMBER THE FIRST EVER CAKE OR COOKIES THAT YOU MADE AS PART OF YOUR BUSINESS? I started very small - charging friends $50 for dolly varden cakes and things like that until I registered my kitchen in 2011. My first cookies I do remember! Nobody really made fondant covered cookies. I found a recipe and taught myself. That was also in 2011 - they were very simple round cookies with aeroplanes on them. WHAT INSPIRED YOU TO CREATE COVER UP? I It was actually a demo I did at the Cookie Trade Show that was held in Adelaide a few years back! Now, in the Planet Cakes days we covered our fondant in vinyl - which is what I was doing during my demo. People were so interested in it and came up to get a closer look. Very soon after the idea to make a food safe version was born and the rest is history!
Page 79 text
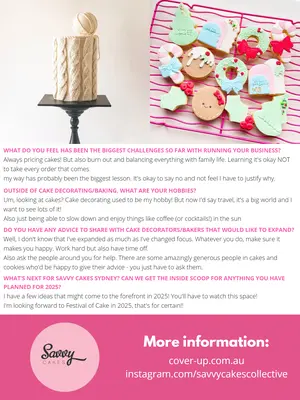
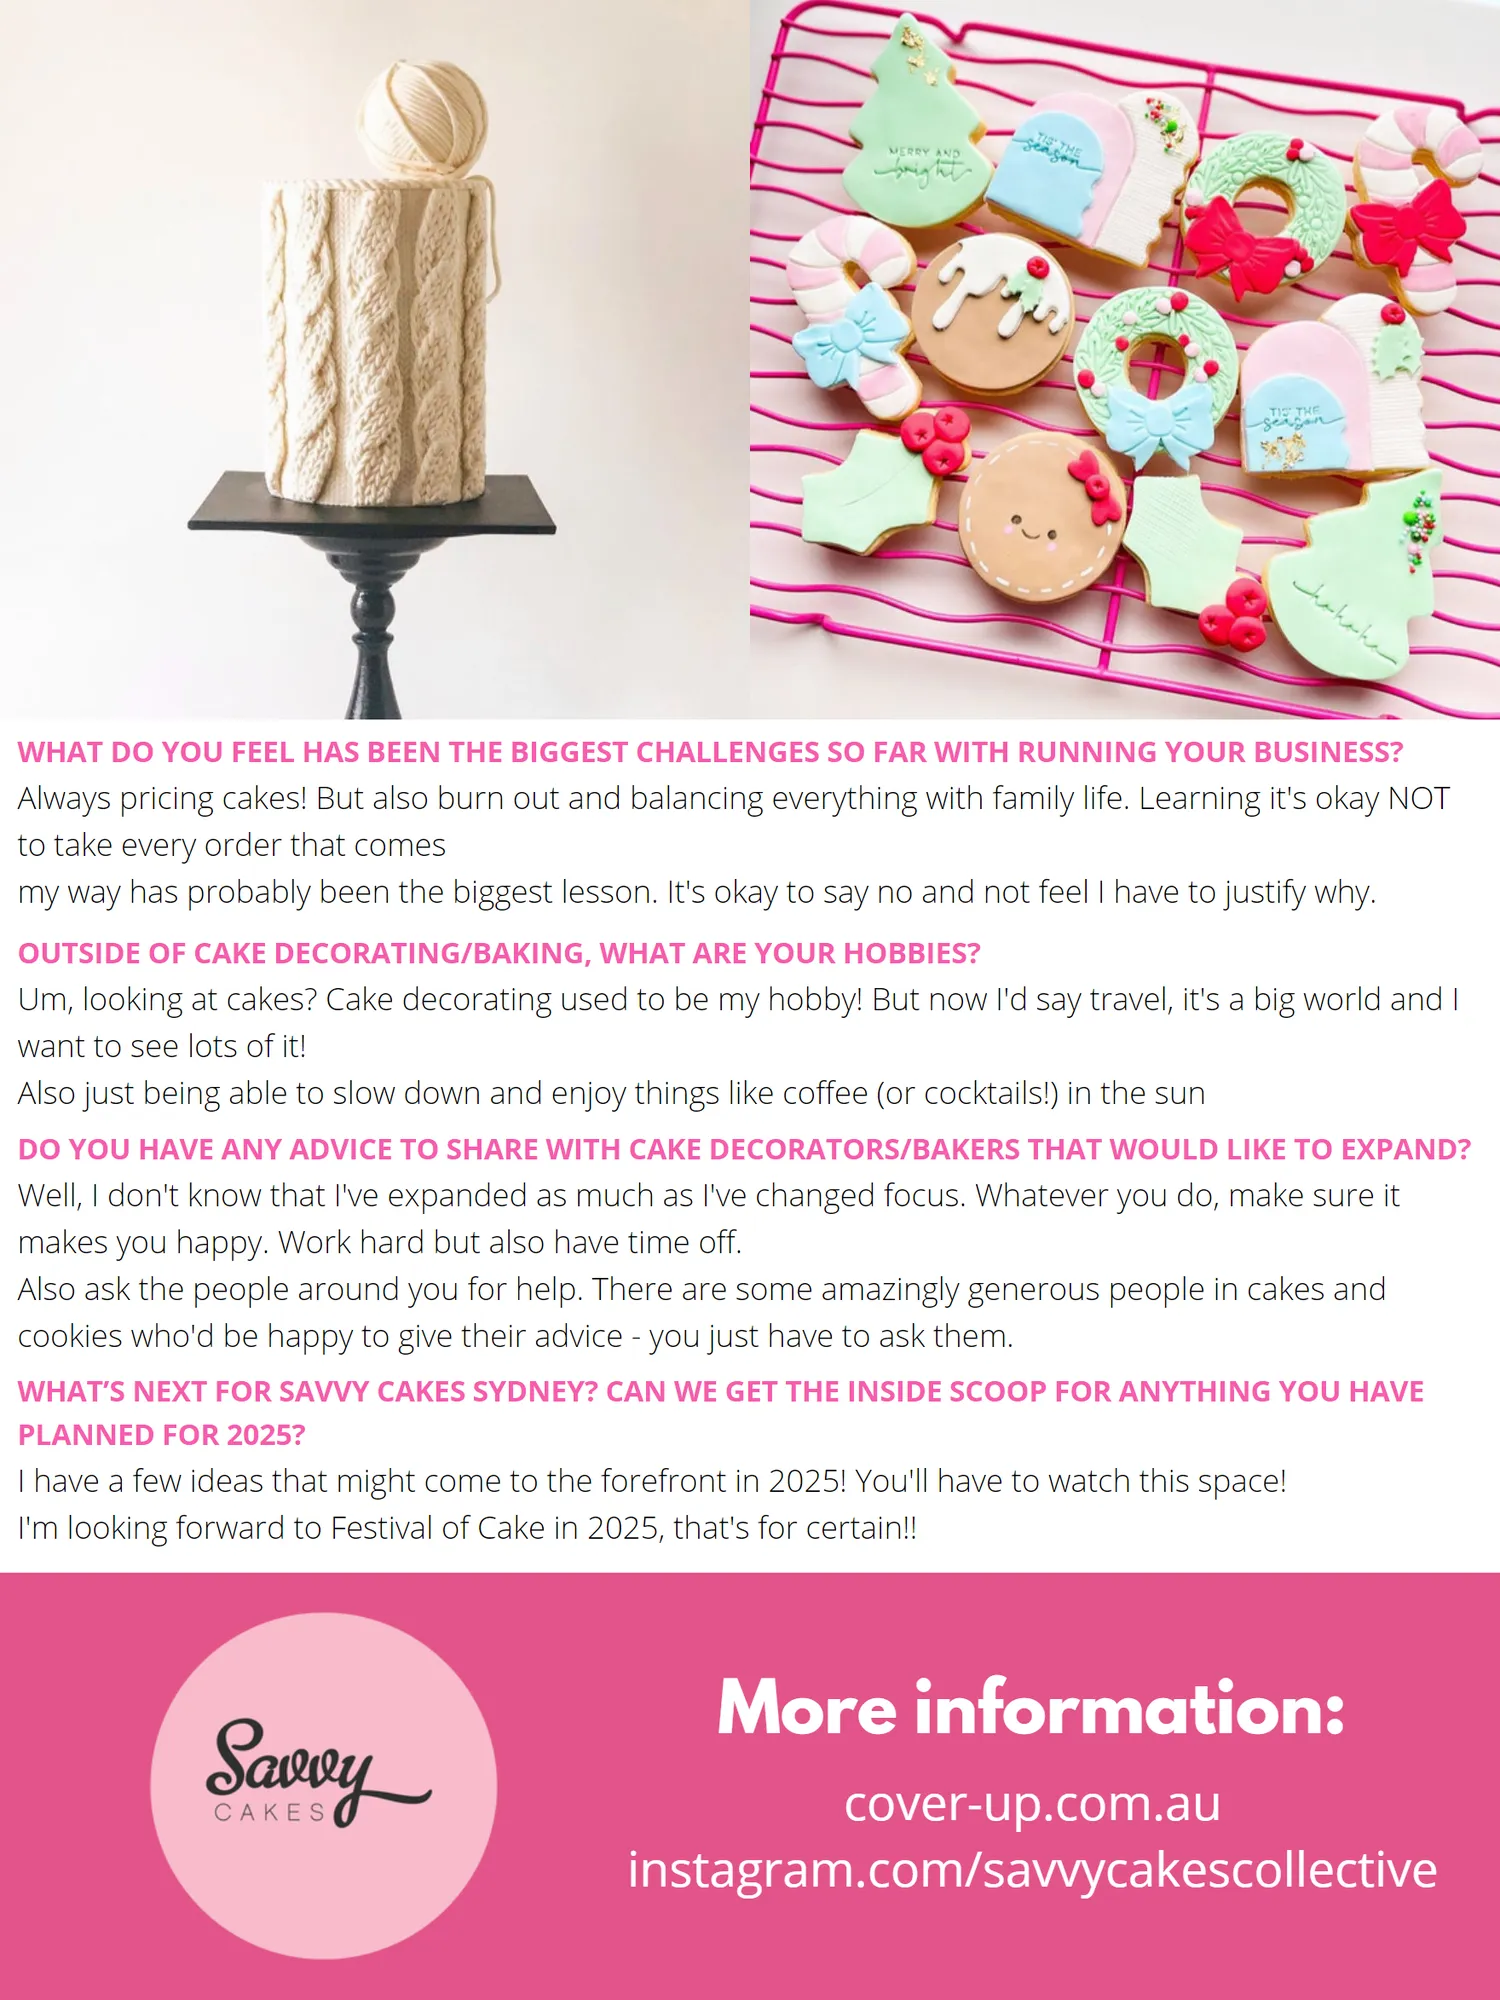
WHAT DO YOU FEEL HAS BEEN THE BIGGEST CHALLENGES SO FAR WITH RUNNING YOUR BUSINESS? Always pricing cakes! But also burn out and balancing everything with family life. Learning it's okay NOT to take every order that comes my way has probably been the biggest lesson. It's okay to say no and not feel I have to justify why. OUTSIDE OF CAKE DECORATING/BAKING, WHAT ARE YOUR HOBBIES? Um, looking at cakes? Cake decorating used to be my hobby! But now I'd say travel, it's a big world and I want to see lots of it! Also just being able to slow down and enjoy things like coffee (or cocktails!) in the sun DO YOU HAVE ANY ADVICE TO SHARE WITH CAKE DECORATORS/BAKERS THAT WOULD LIKE TO EXPAND? Well, I don't know that I've expanded as much as I've changed focus. Whatever you do, make sure it makes you happy. Work hard but also have time off. Also ask the people around you for help. There are some amazingly generous people in cakes and cookies who'd be happy to give their advice - you just have to ask them. WHAT’S NEXT FOR SAVVY CAKES SYDNEY? CAN WE GET THE INSIDE SCOOP FOR ANYTHING YOU HAVE PLANNED FOR 2025? I have a few ideas that might come to the forefront in 2025! You'll have to watch this space! I'm looking forward to Festival of Cake in 2025, that's for certain!! More information: cover-up.com.au instagram.com/savvycakescollective
Page 81 text
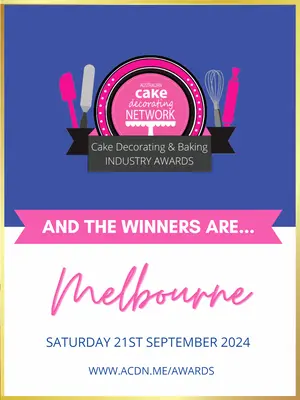
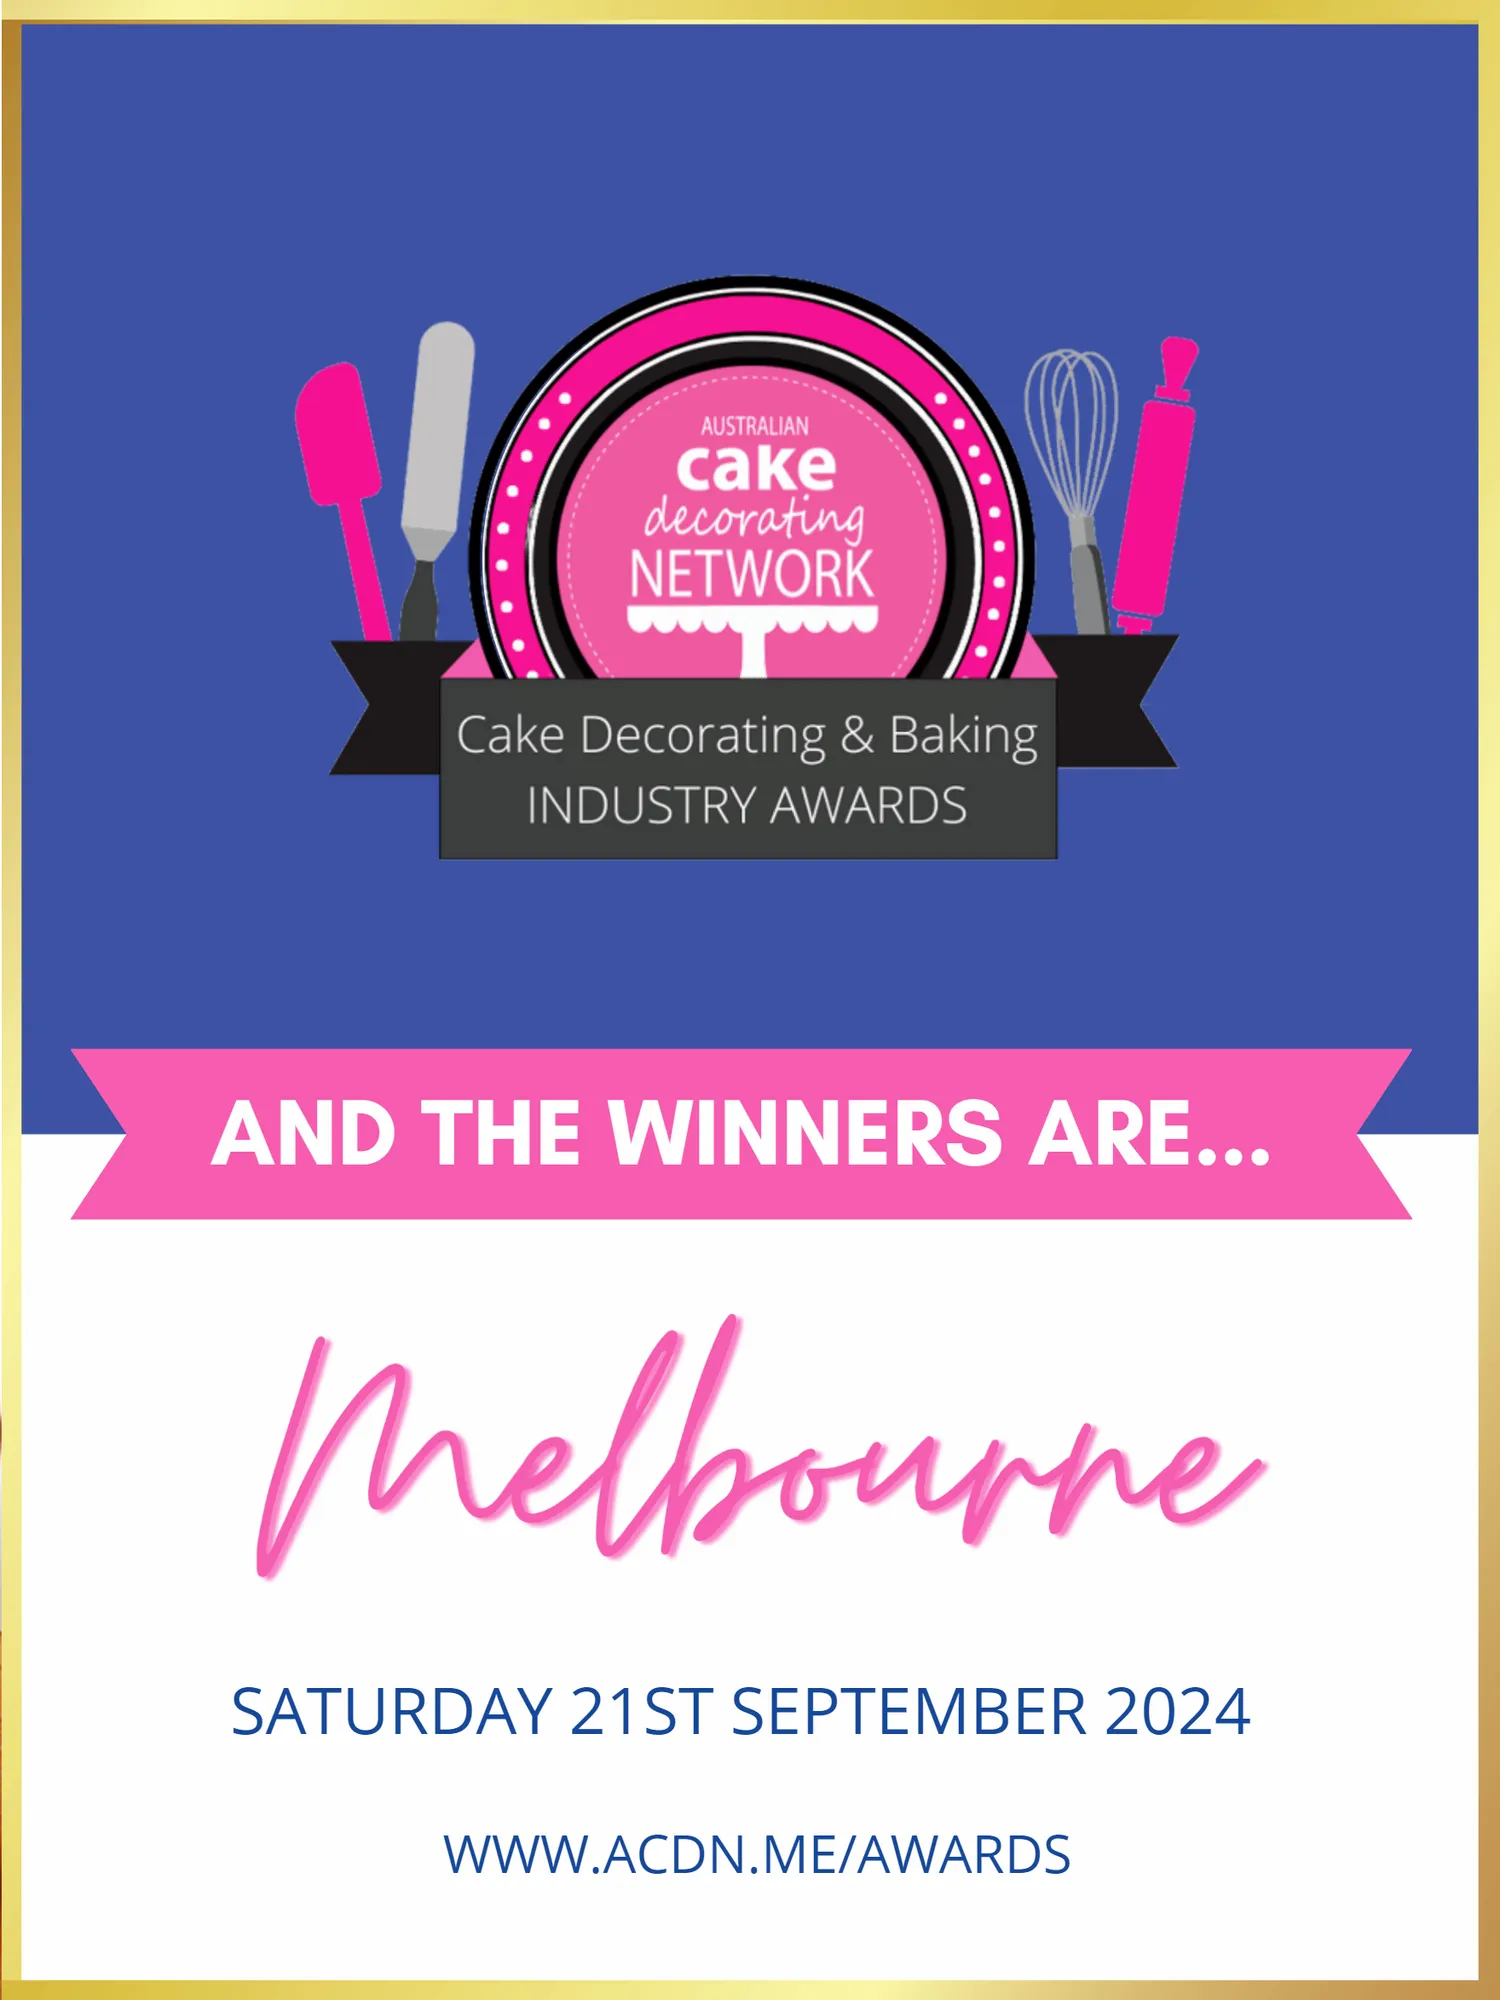
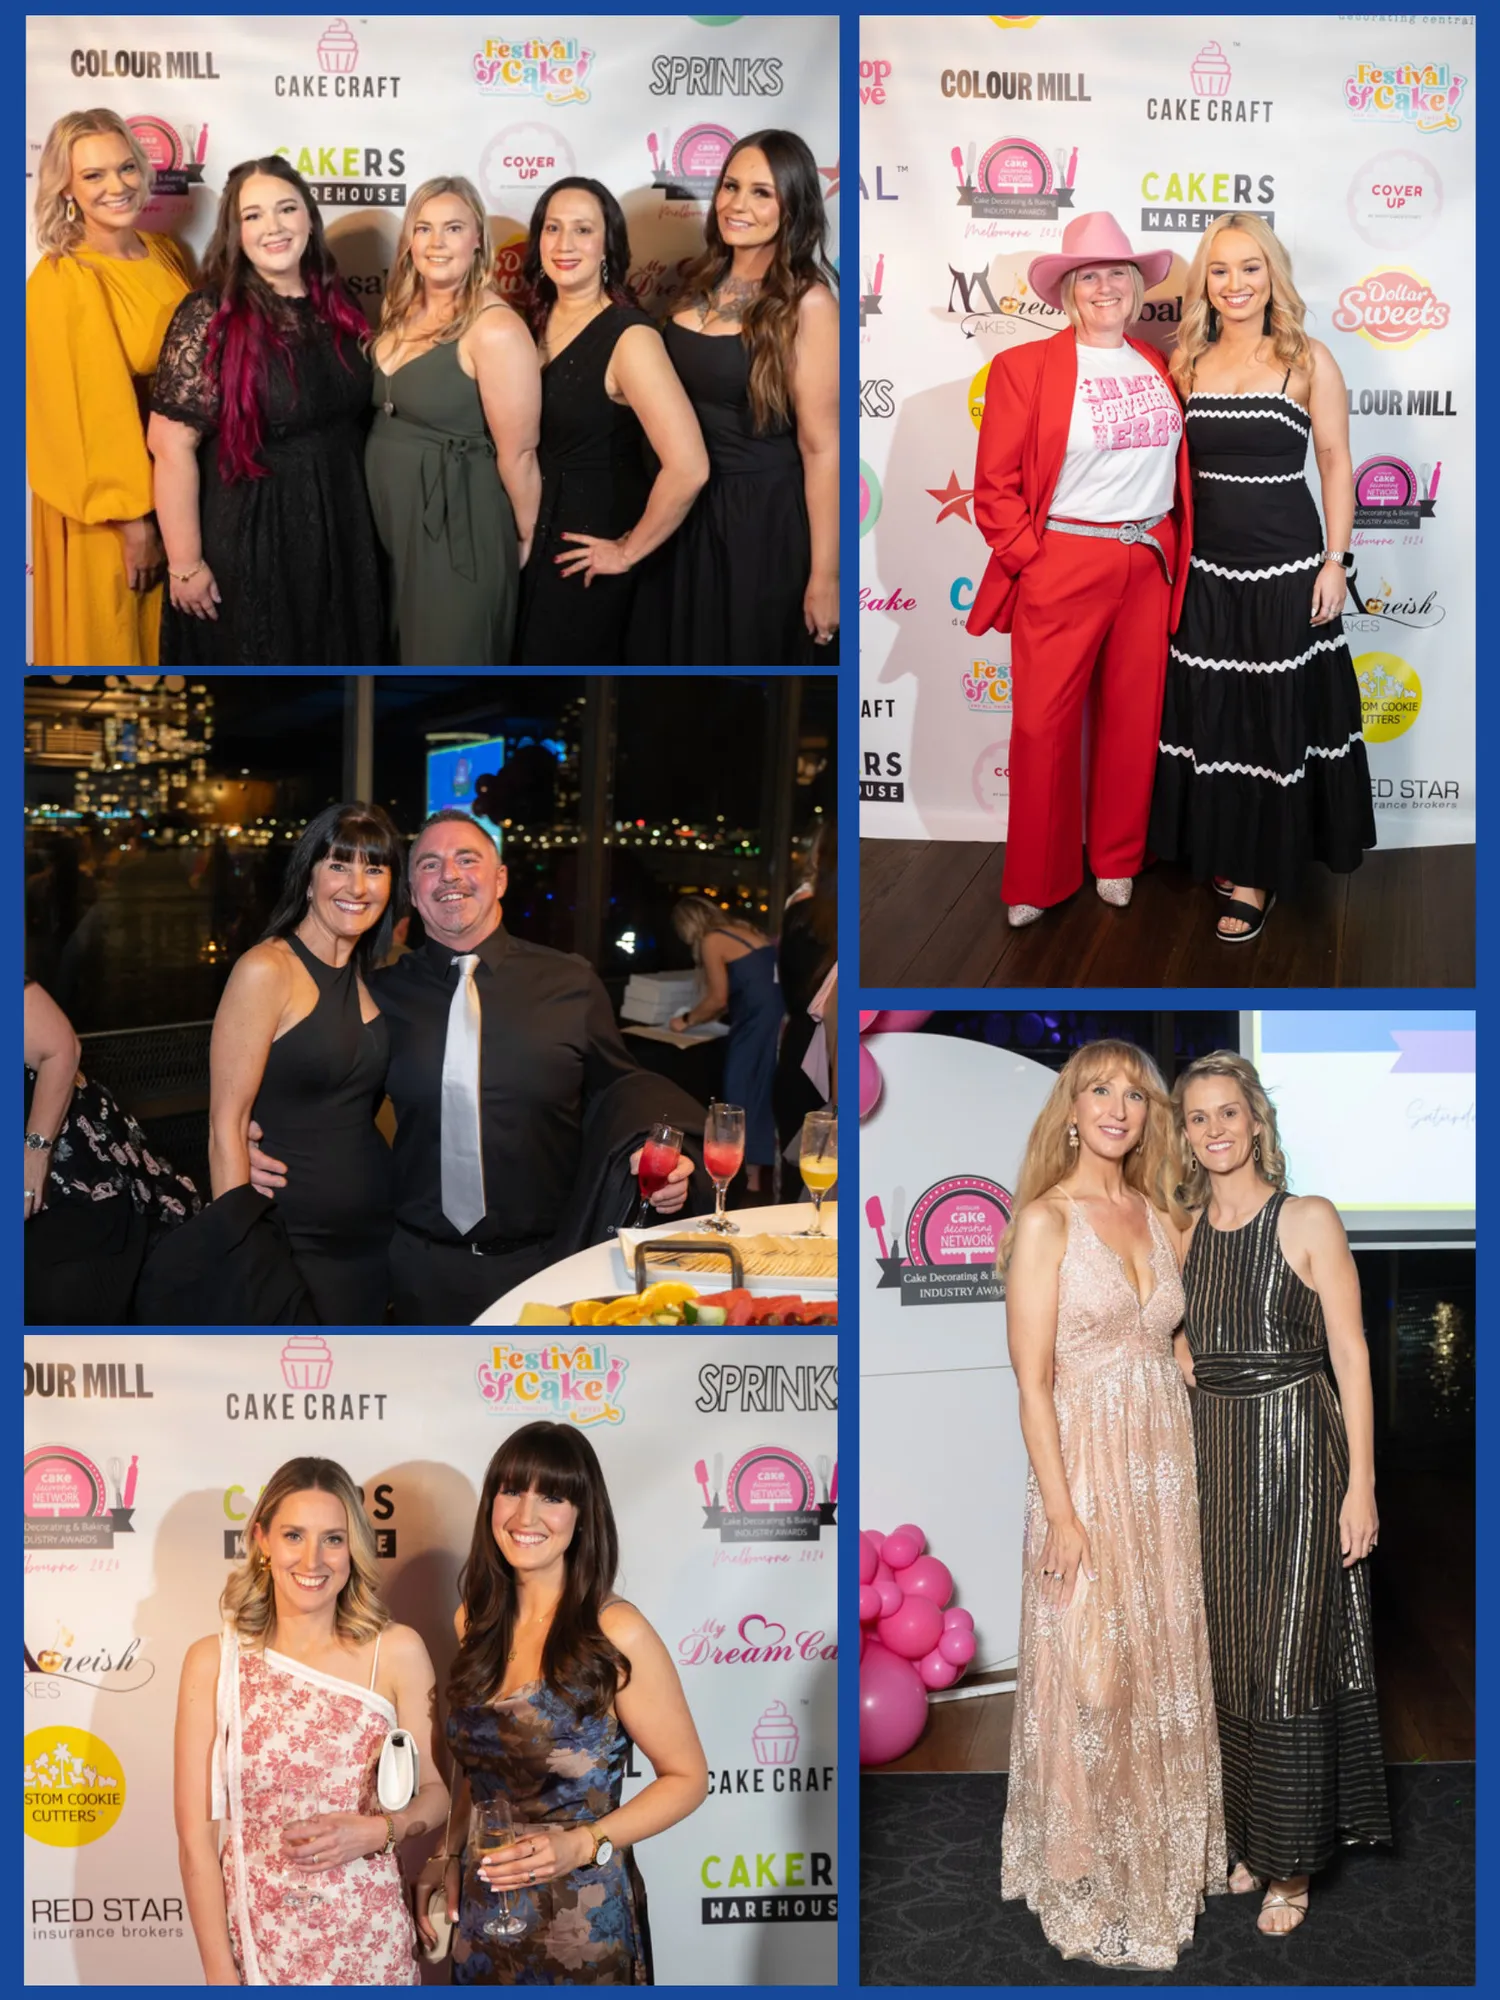
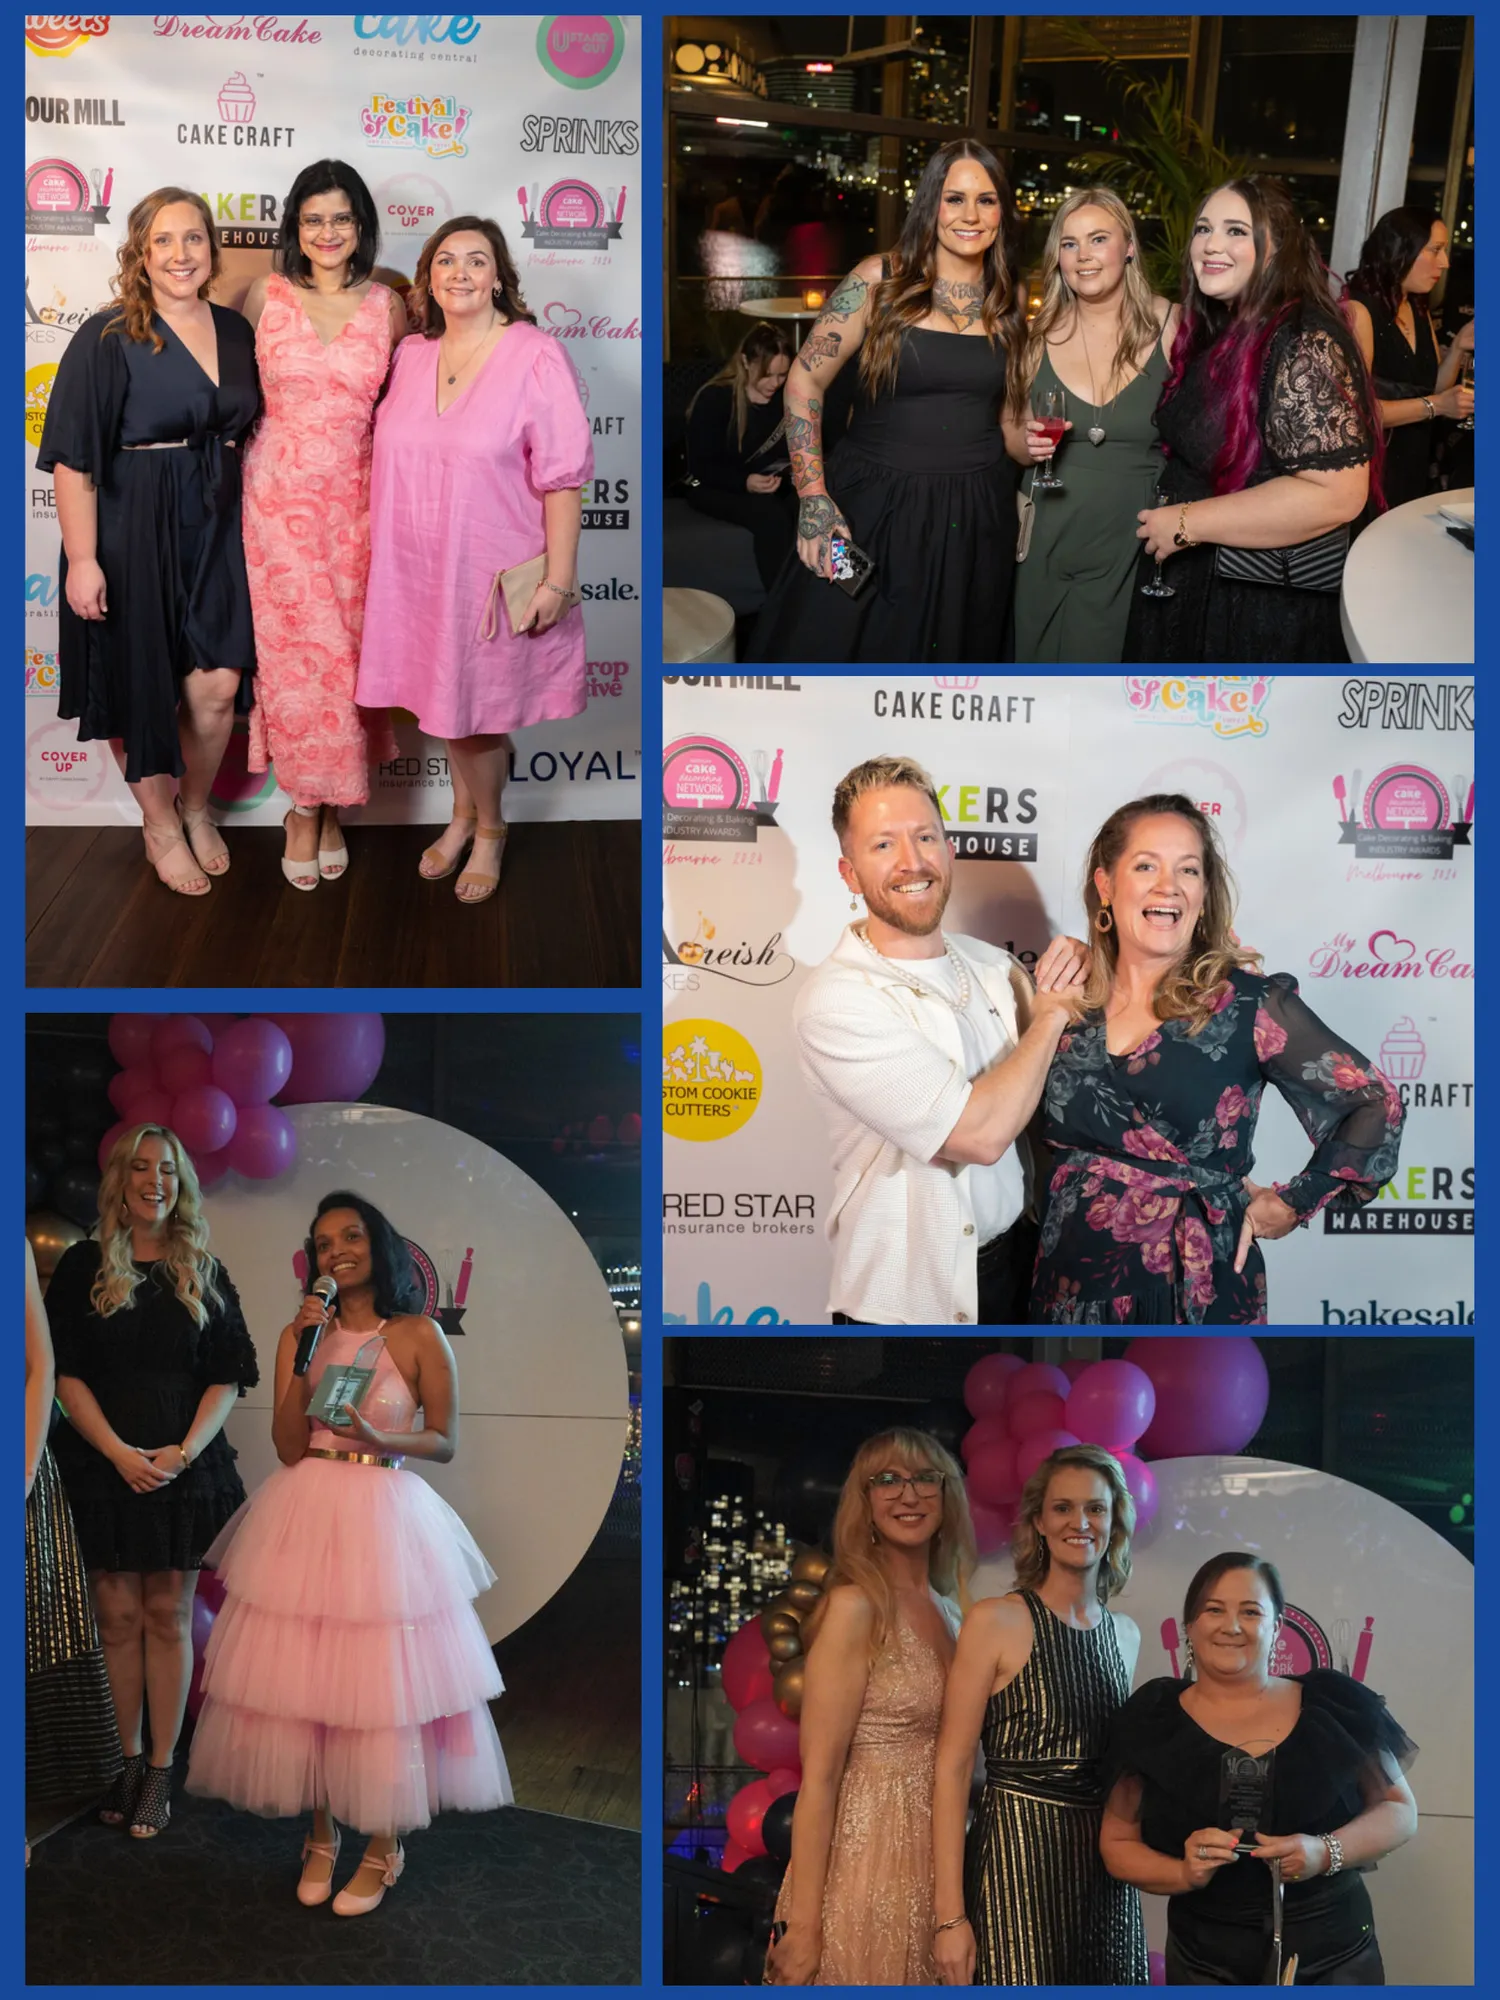
AND THE WINNERS ARE ... SATURDAY 21ST SEPTEMBER 2024 WWW . ACDN . ME / AWARDS
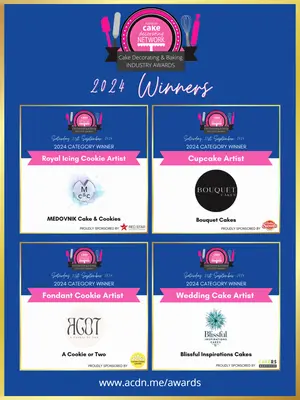
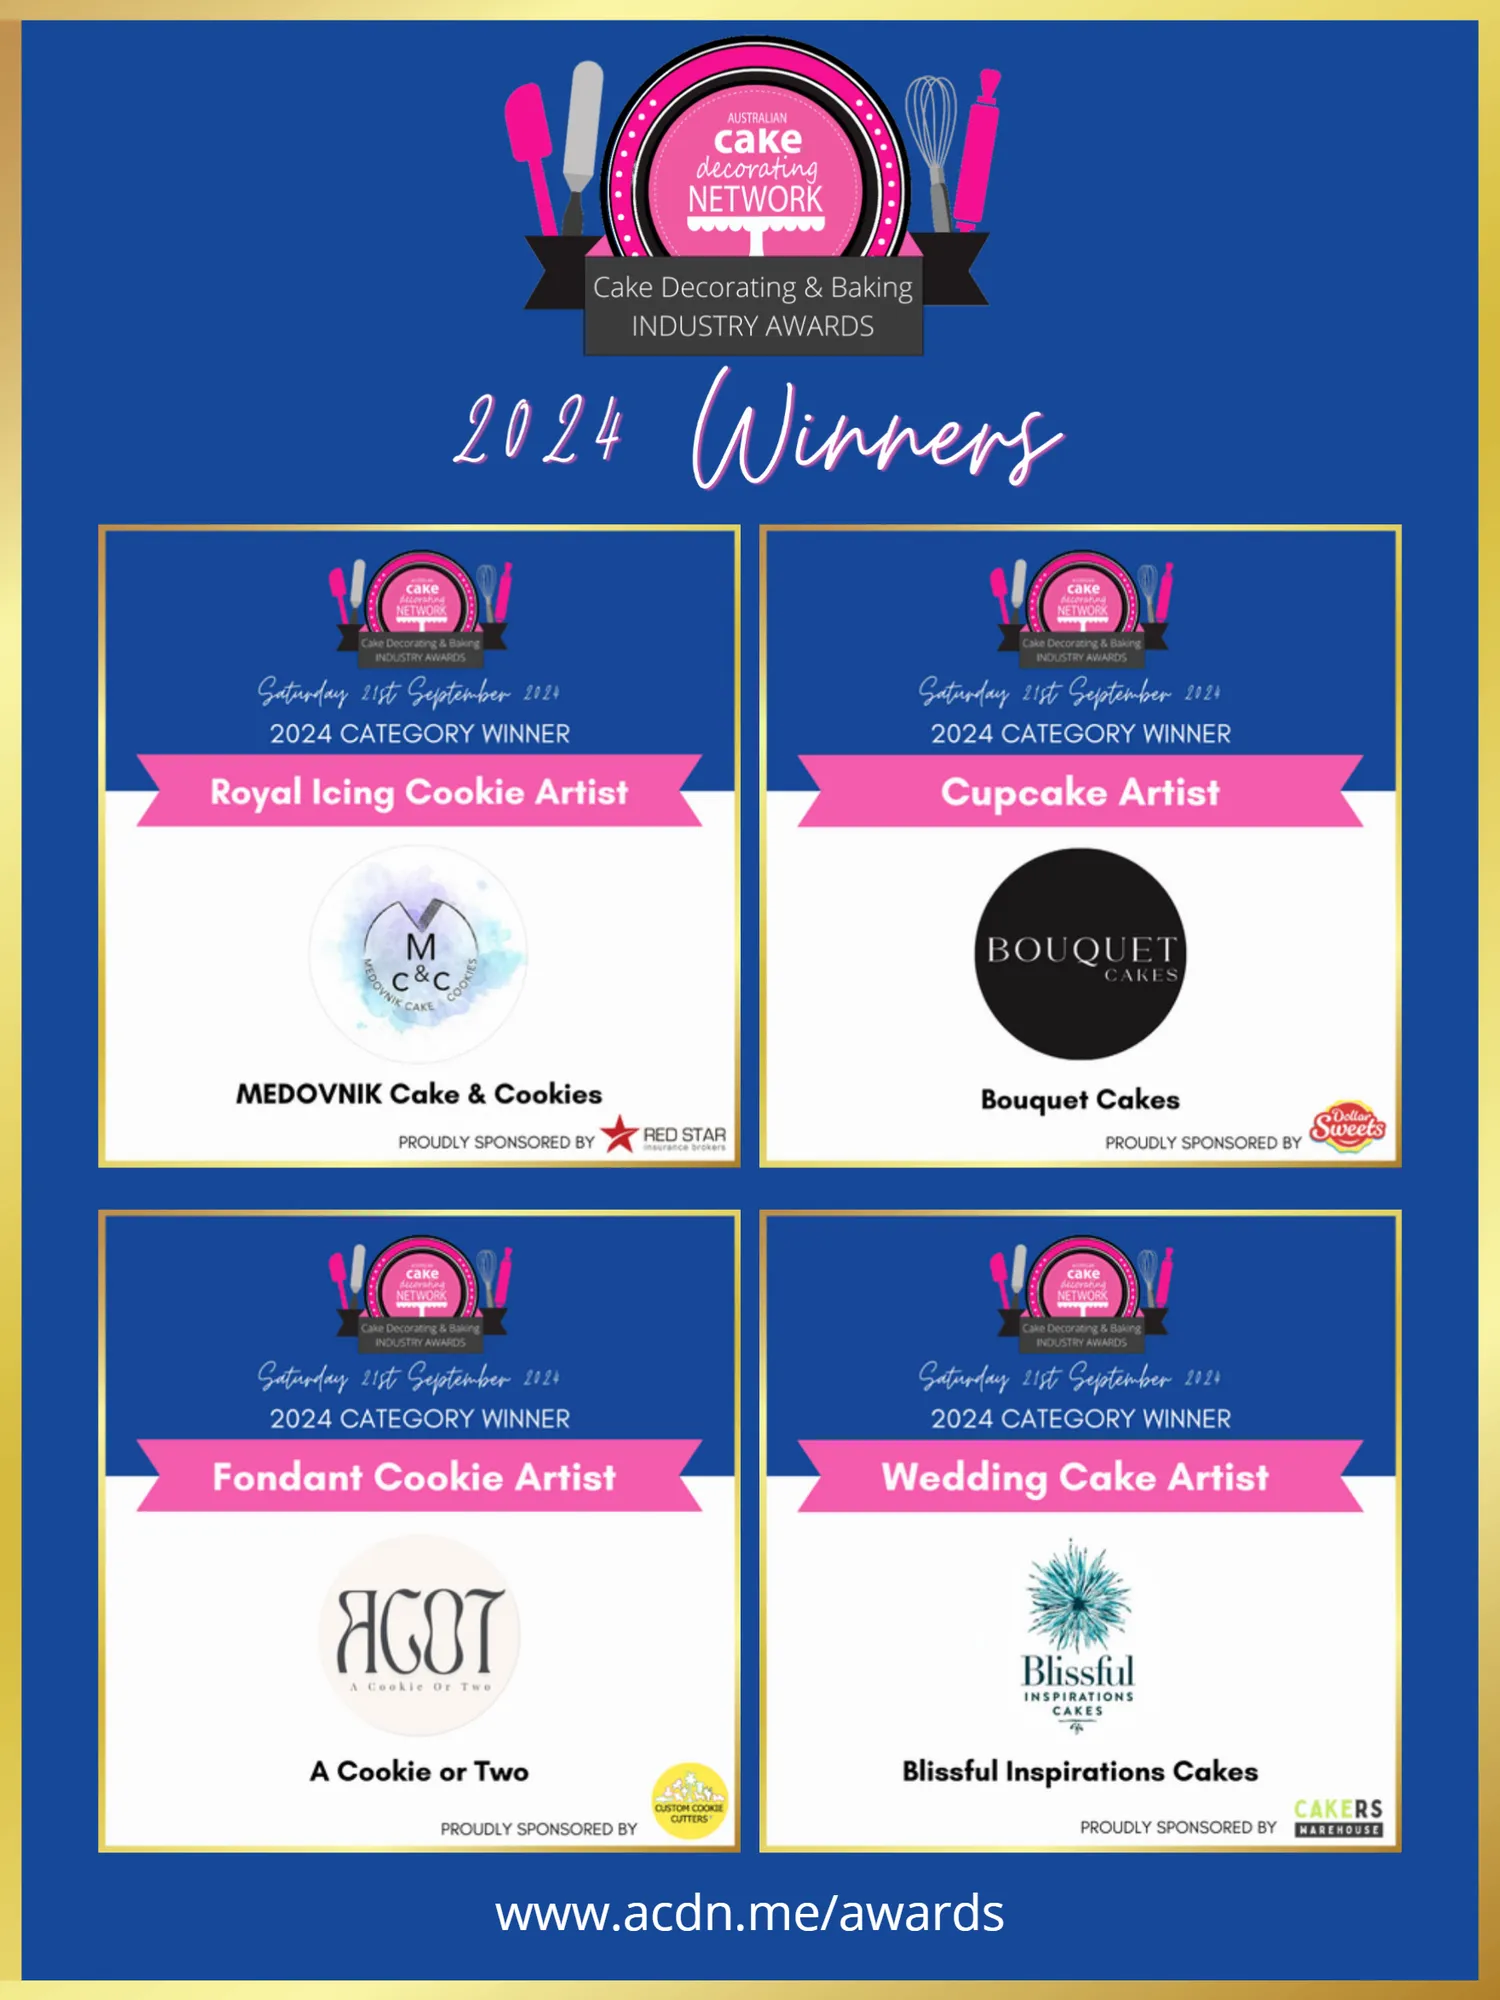
Page 82 text
www . acdn . me / awards
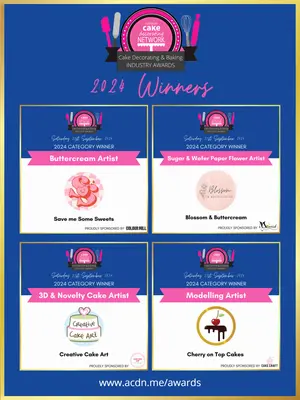
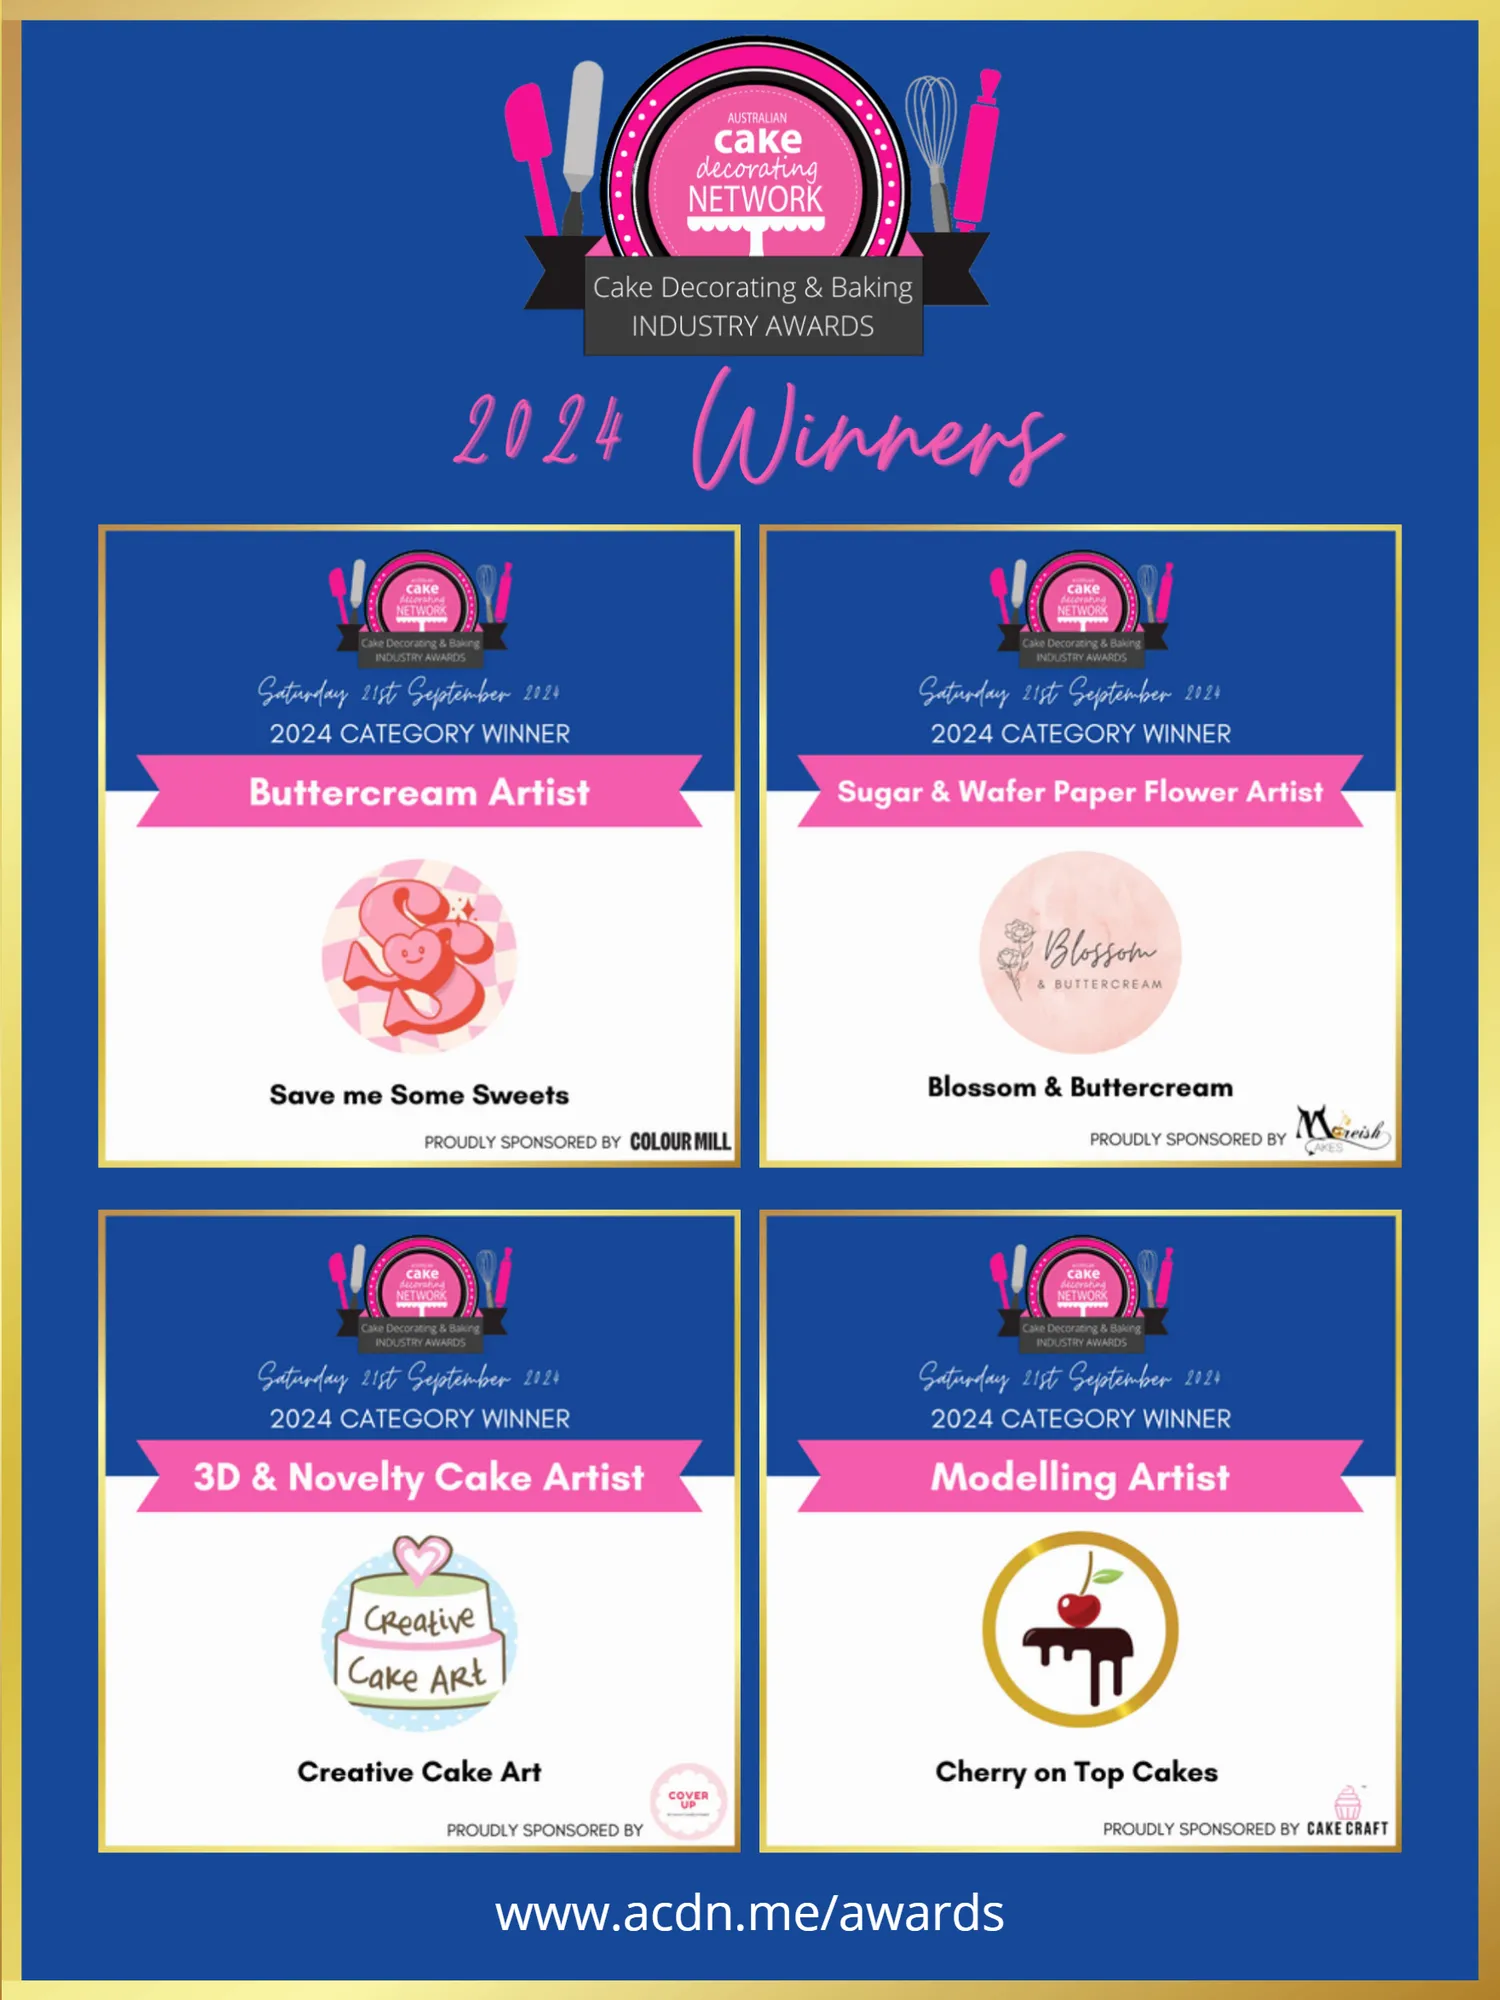
Page 83 text
www . acdn . me / awards
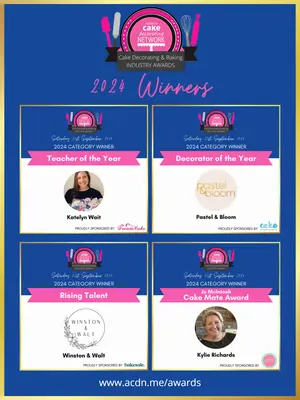
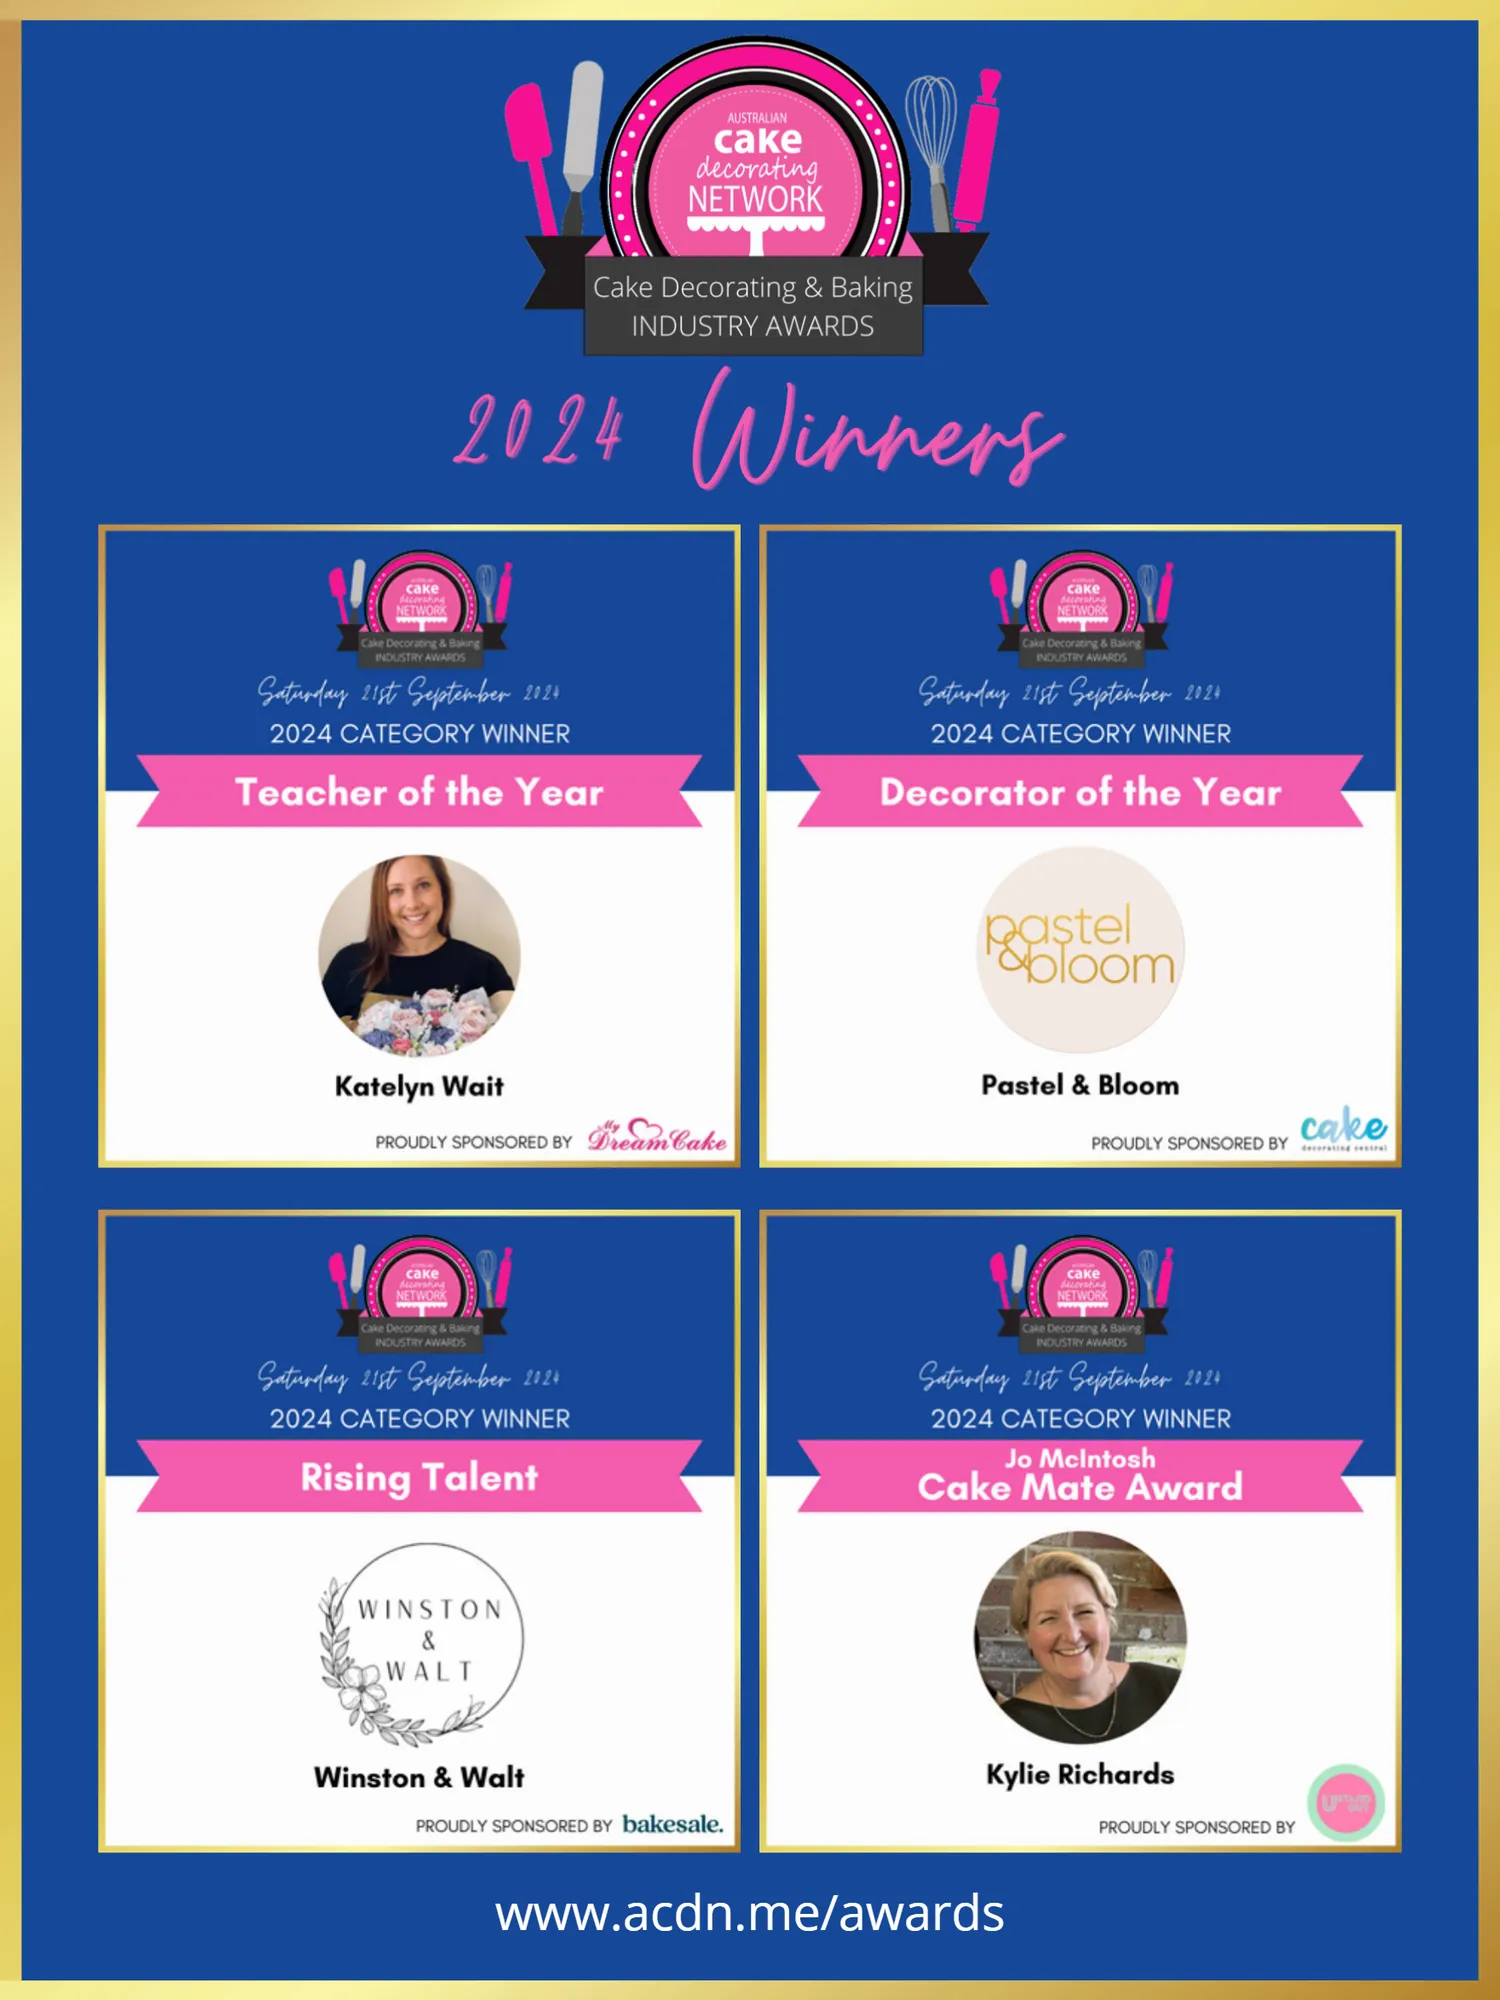
Page 84 text
www . acdn . me / awards
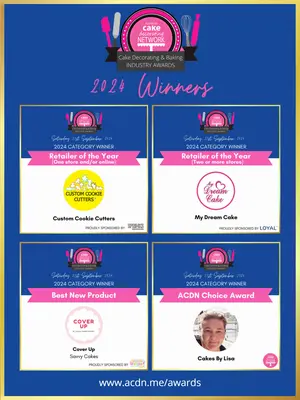
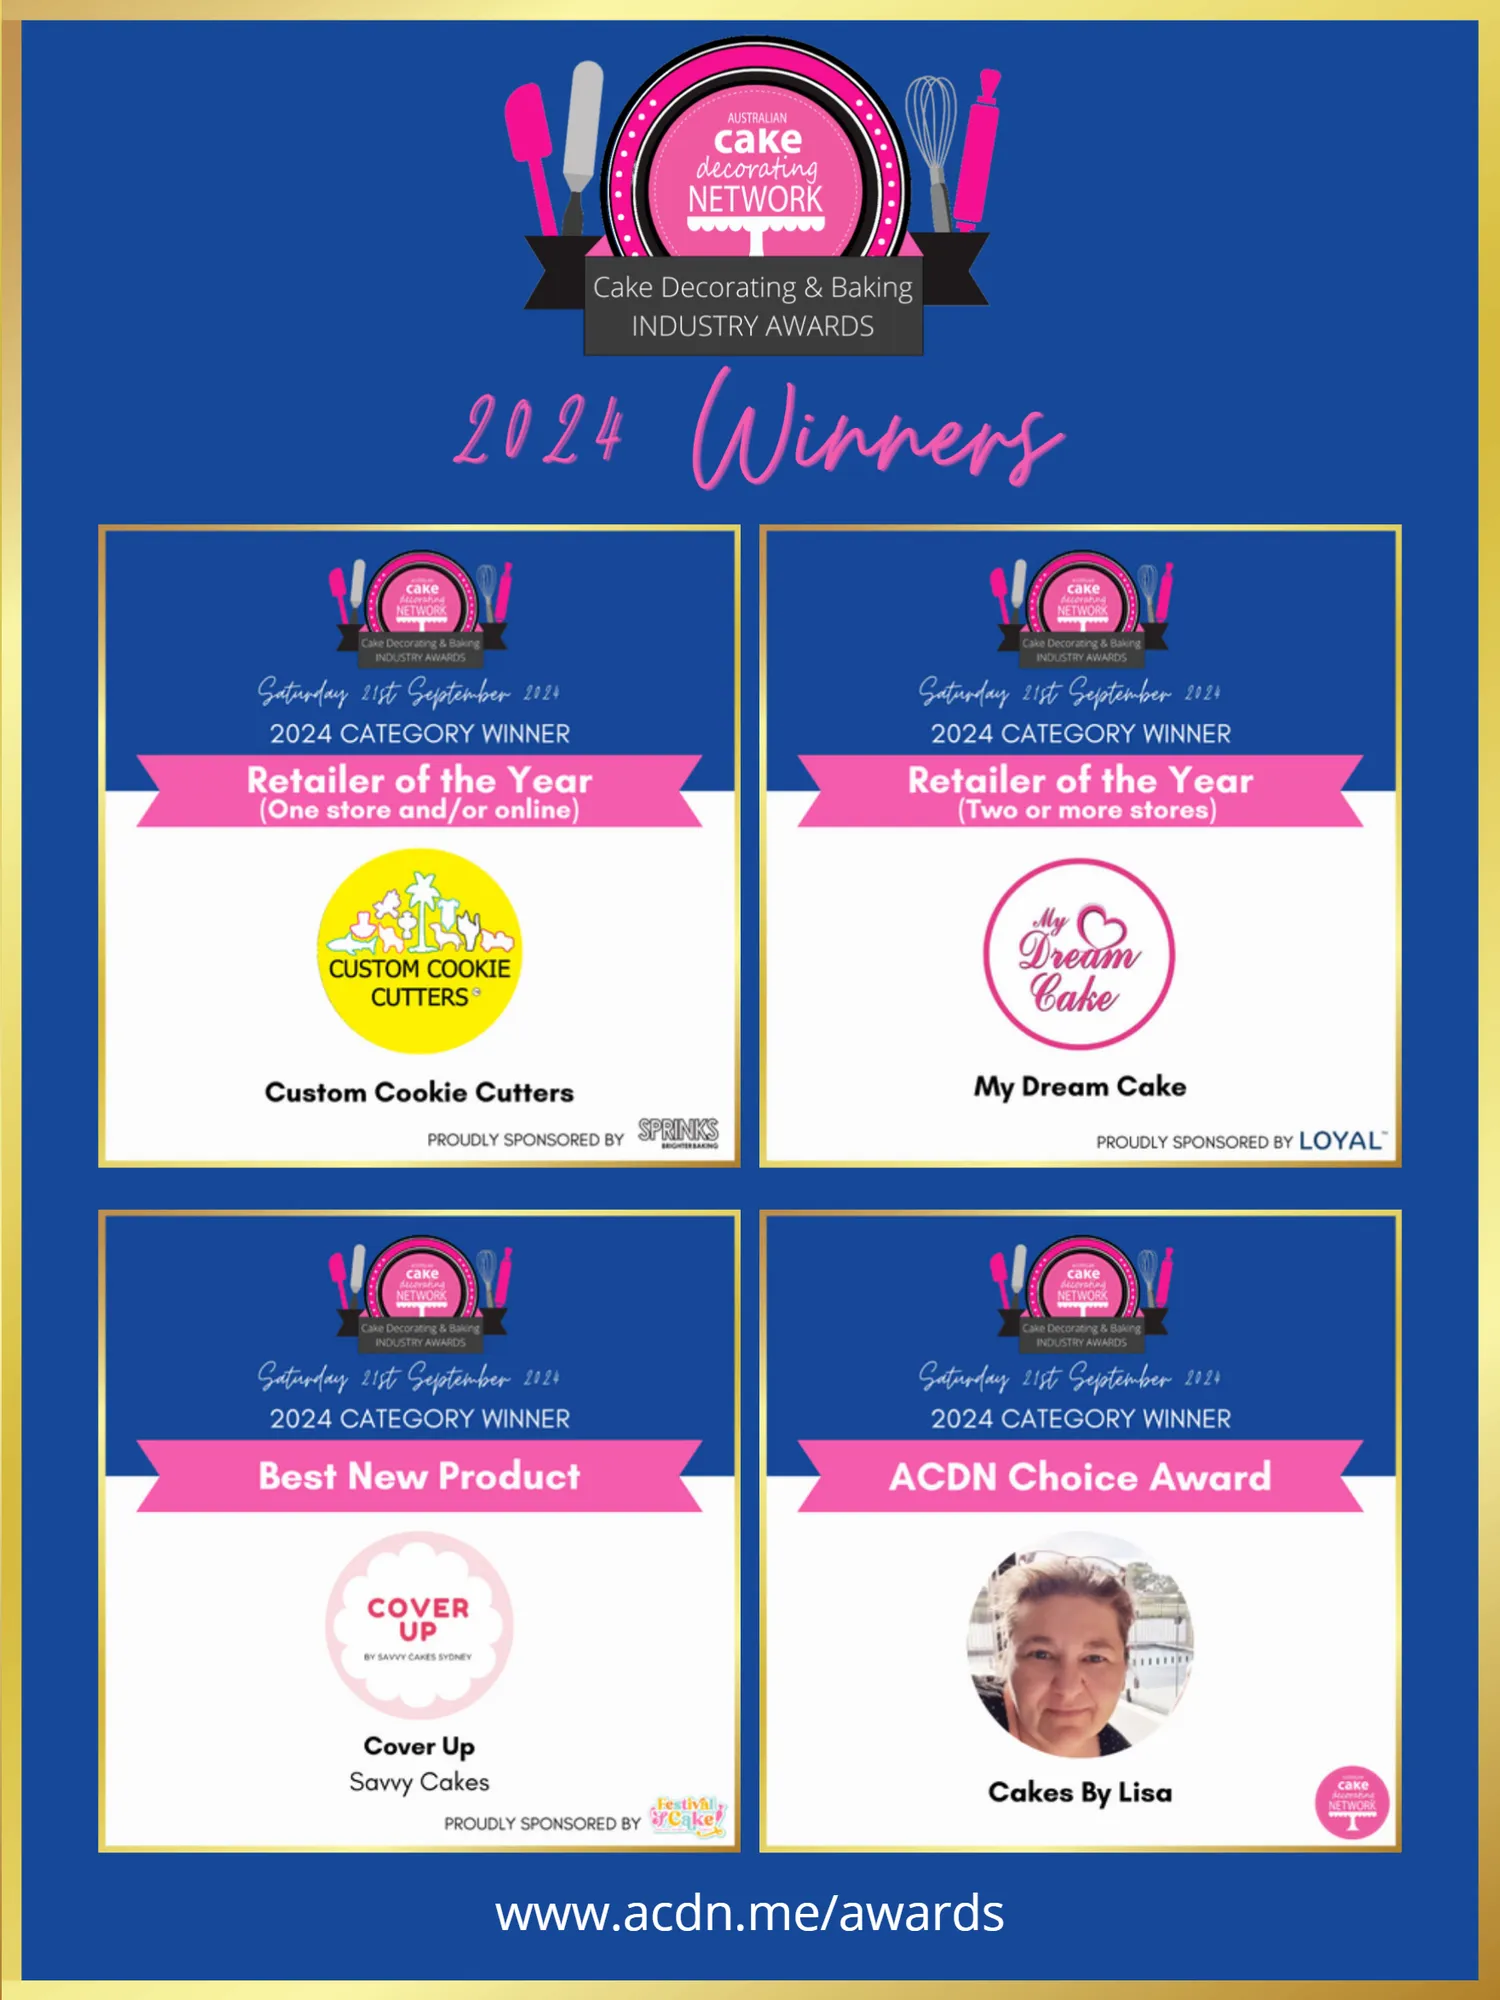
Page 85 text
www . acdn . me / awards

Page 88 text
Saturday 21st September 2024
Page 89 text
Saturday 21st September 2024
Page 91 text
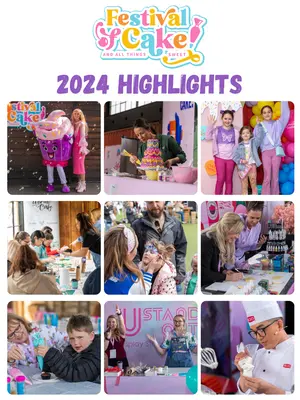
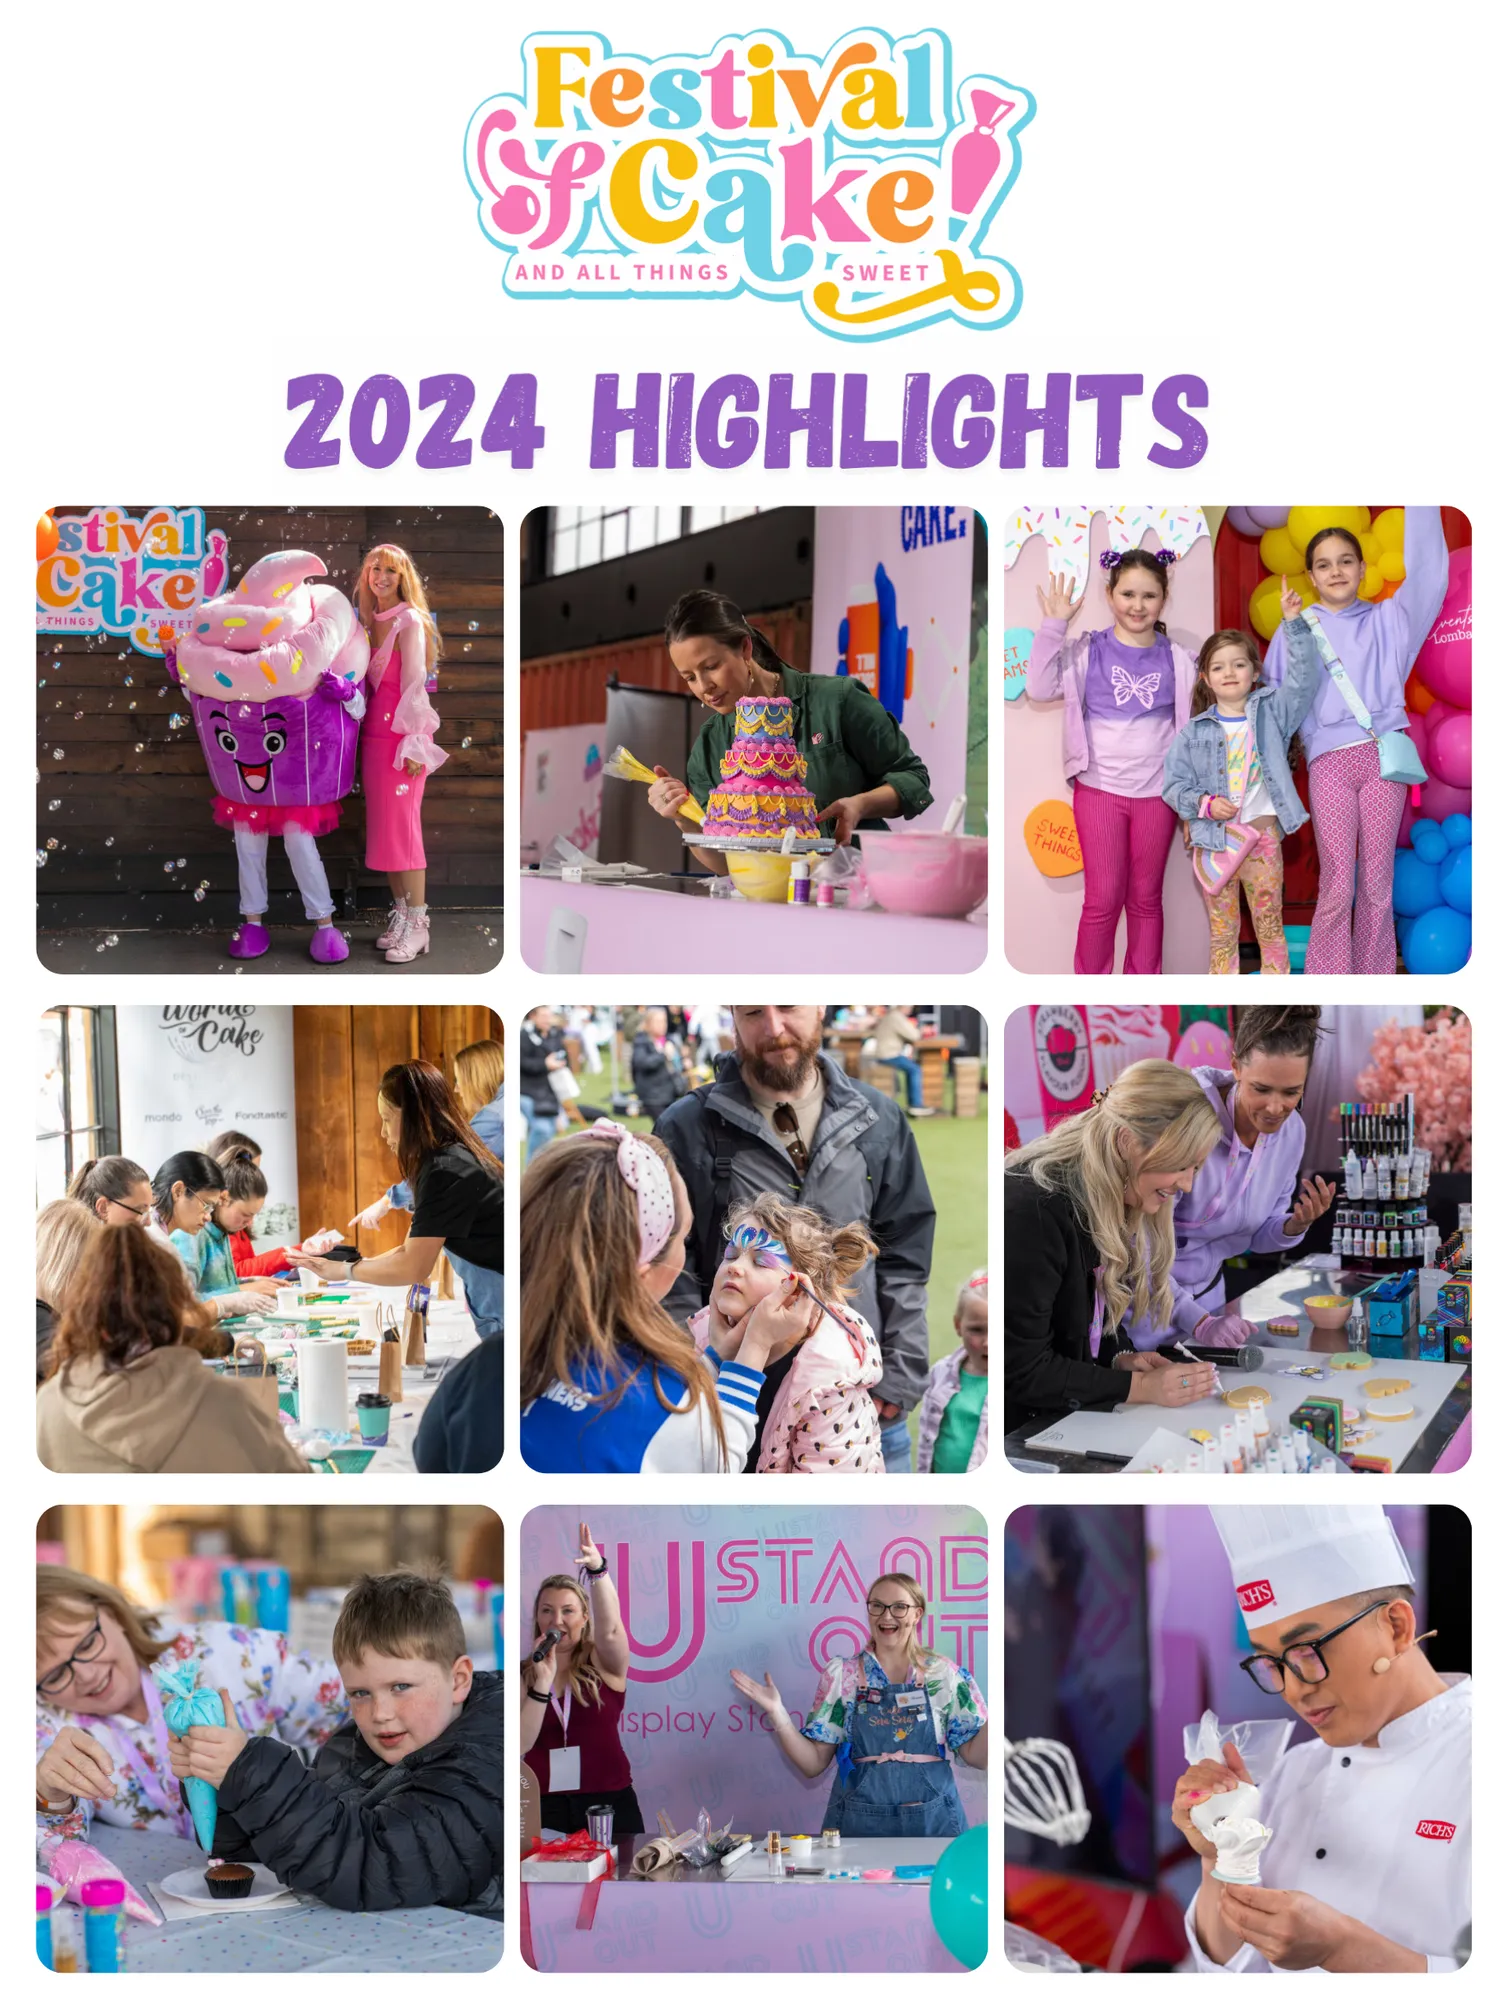
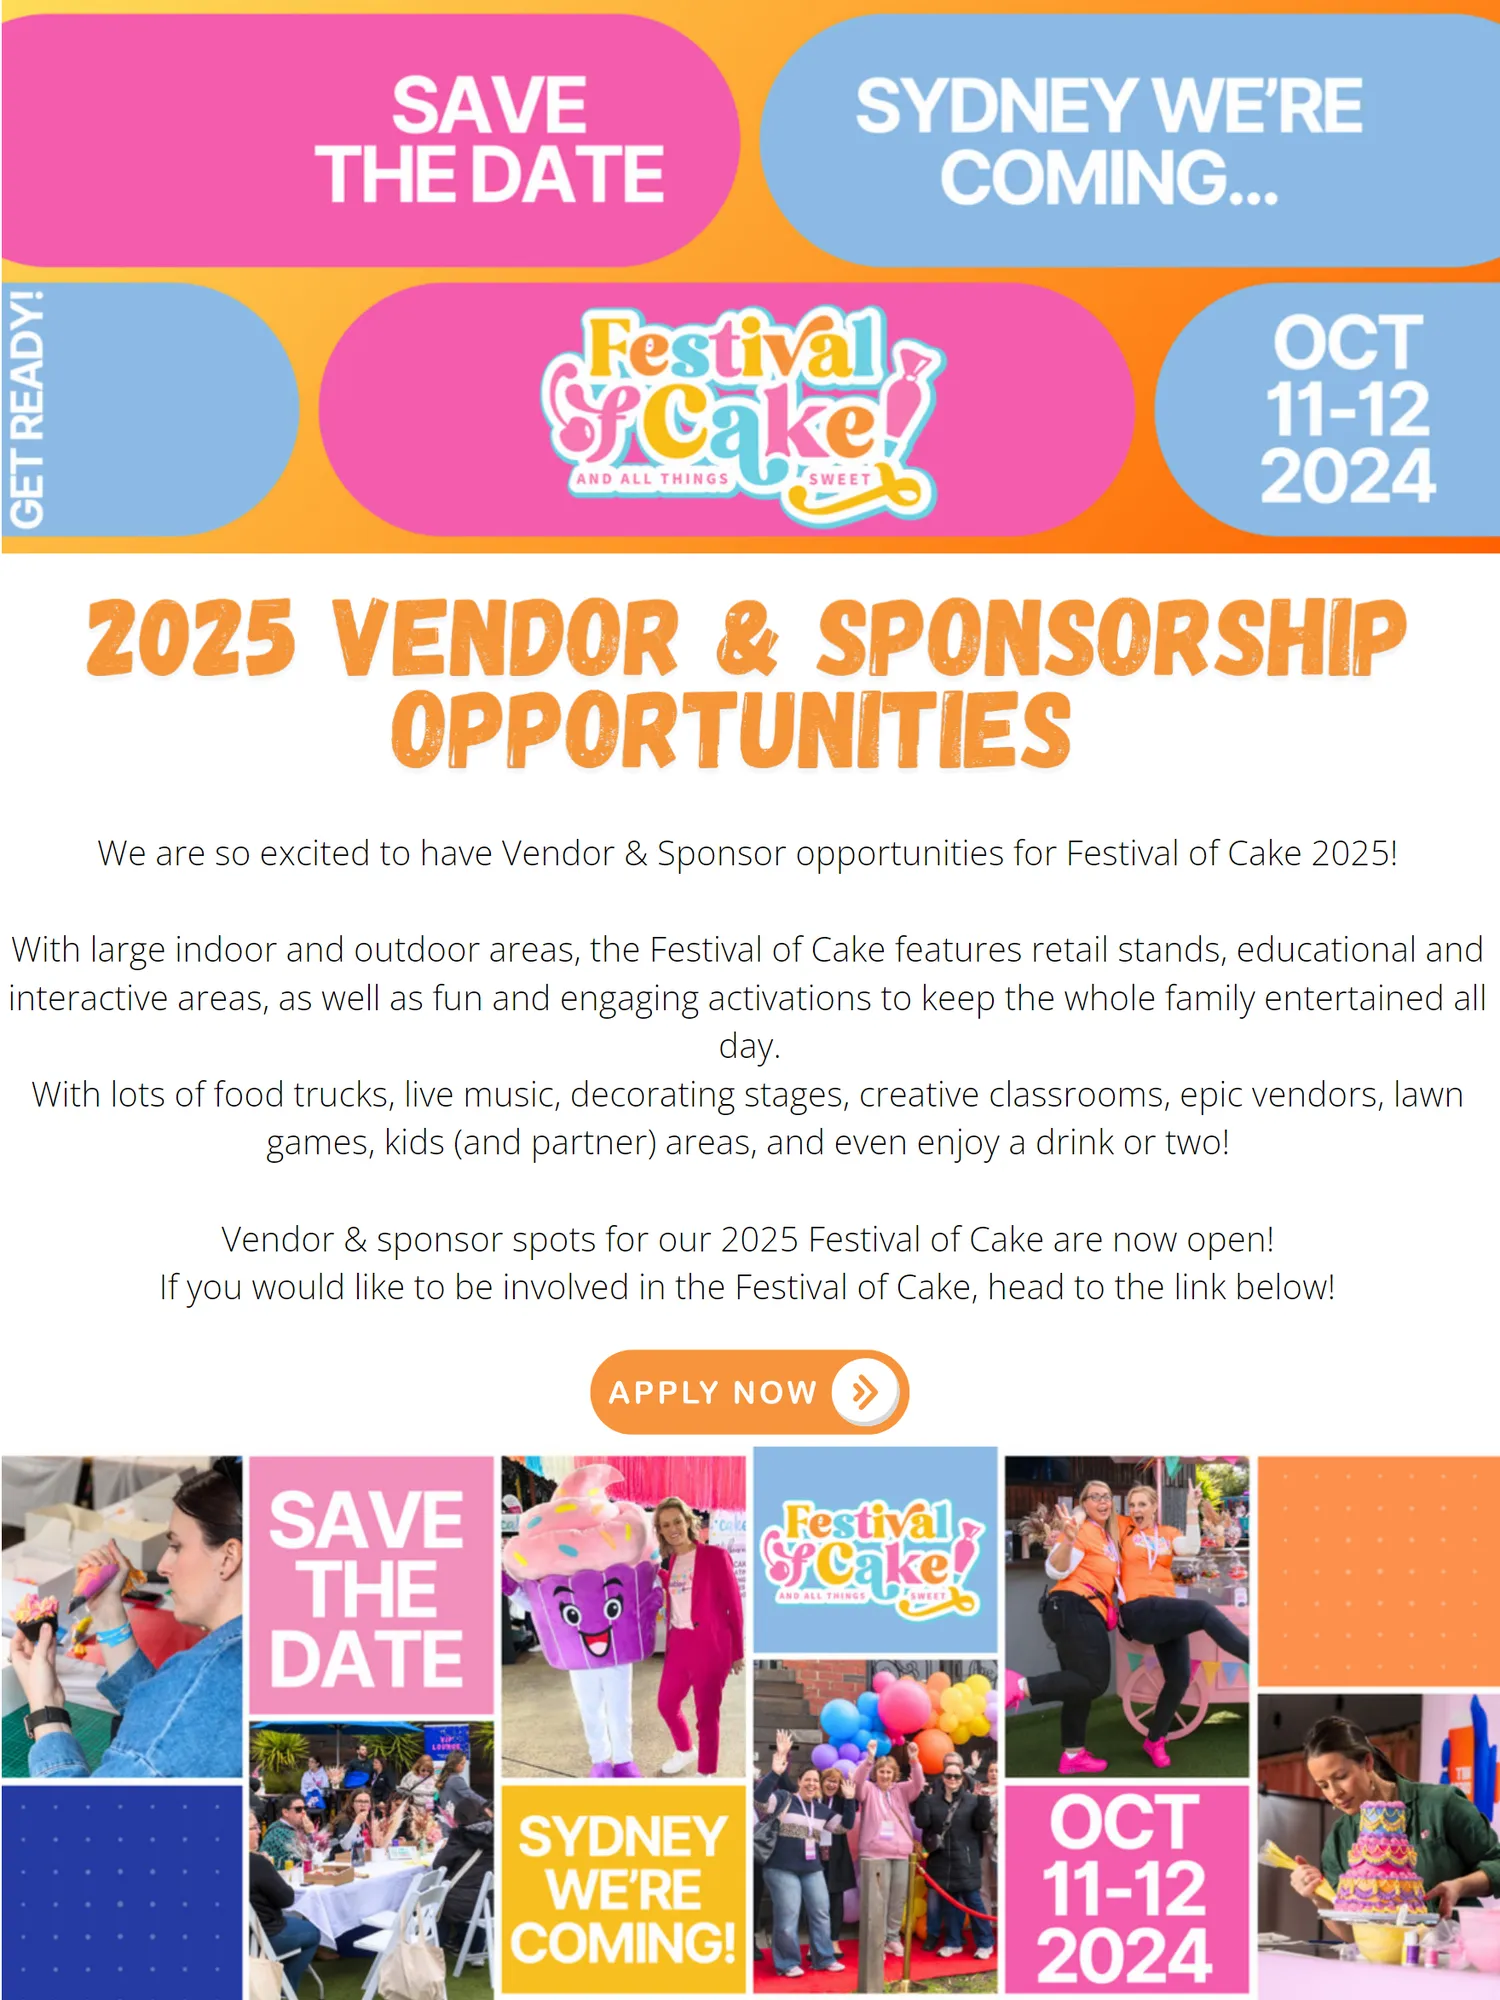
We are so excited to have Vendor & Sponsor opportunities for Festival of Cake 2025 ! With large indoor and outdoor areas , the Festival of Cake features retail stands , educational and interactive areas , as well as fun and engaging activations to keep the whole family entertained all day . With lots of food trucks , live music , decorating stages , creative classrooms , epic vendors , lawn games , kids ( and partner ) areas , and even enjoy a drink or two ! Vendor & sponsor spots for our 2025 Festival of Cake are now open ! If you would like to be involved in the Festival of Cake , head to the link below !
Page 92 text
CHEERS TO PROGRESS - CELEBRATE, REFLECT AND SET YOUR GOALS FOR THE NEW YEAR Gosh, who can believe that another year is coming to a close? It’s the perfect time to press
Page 93 text
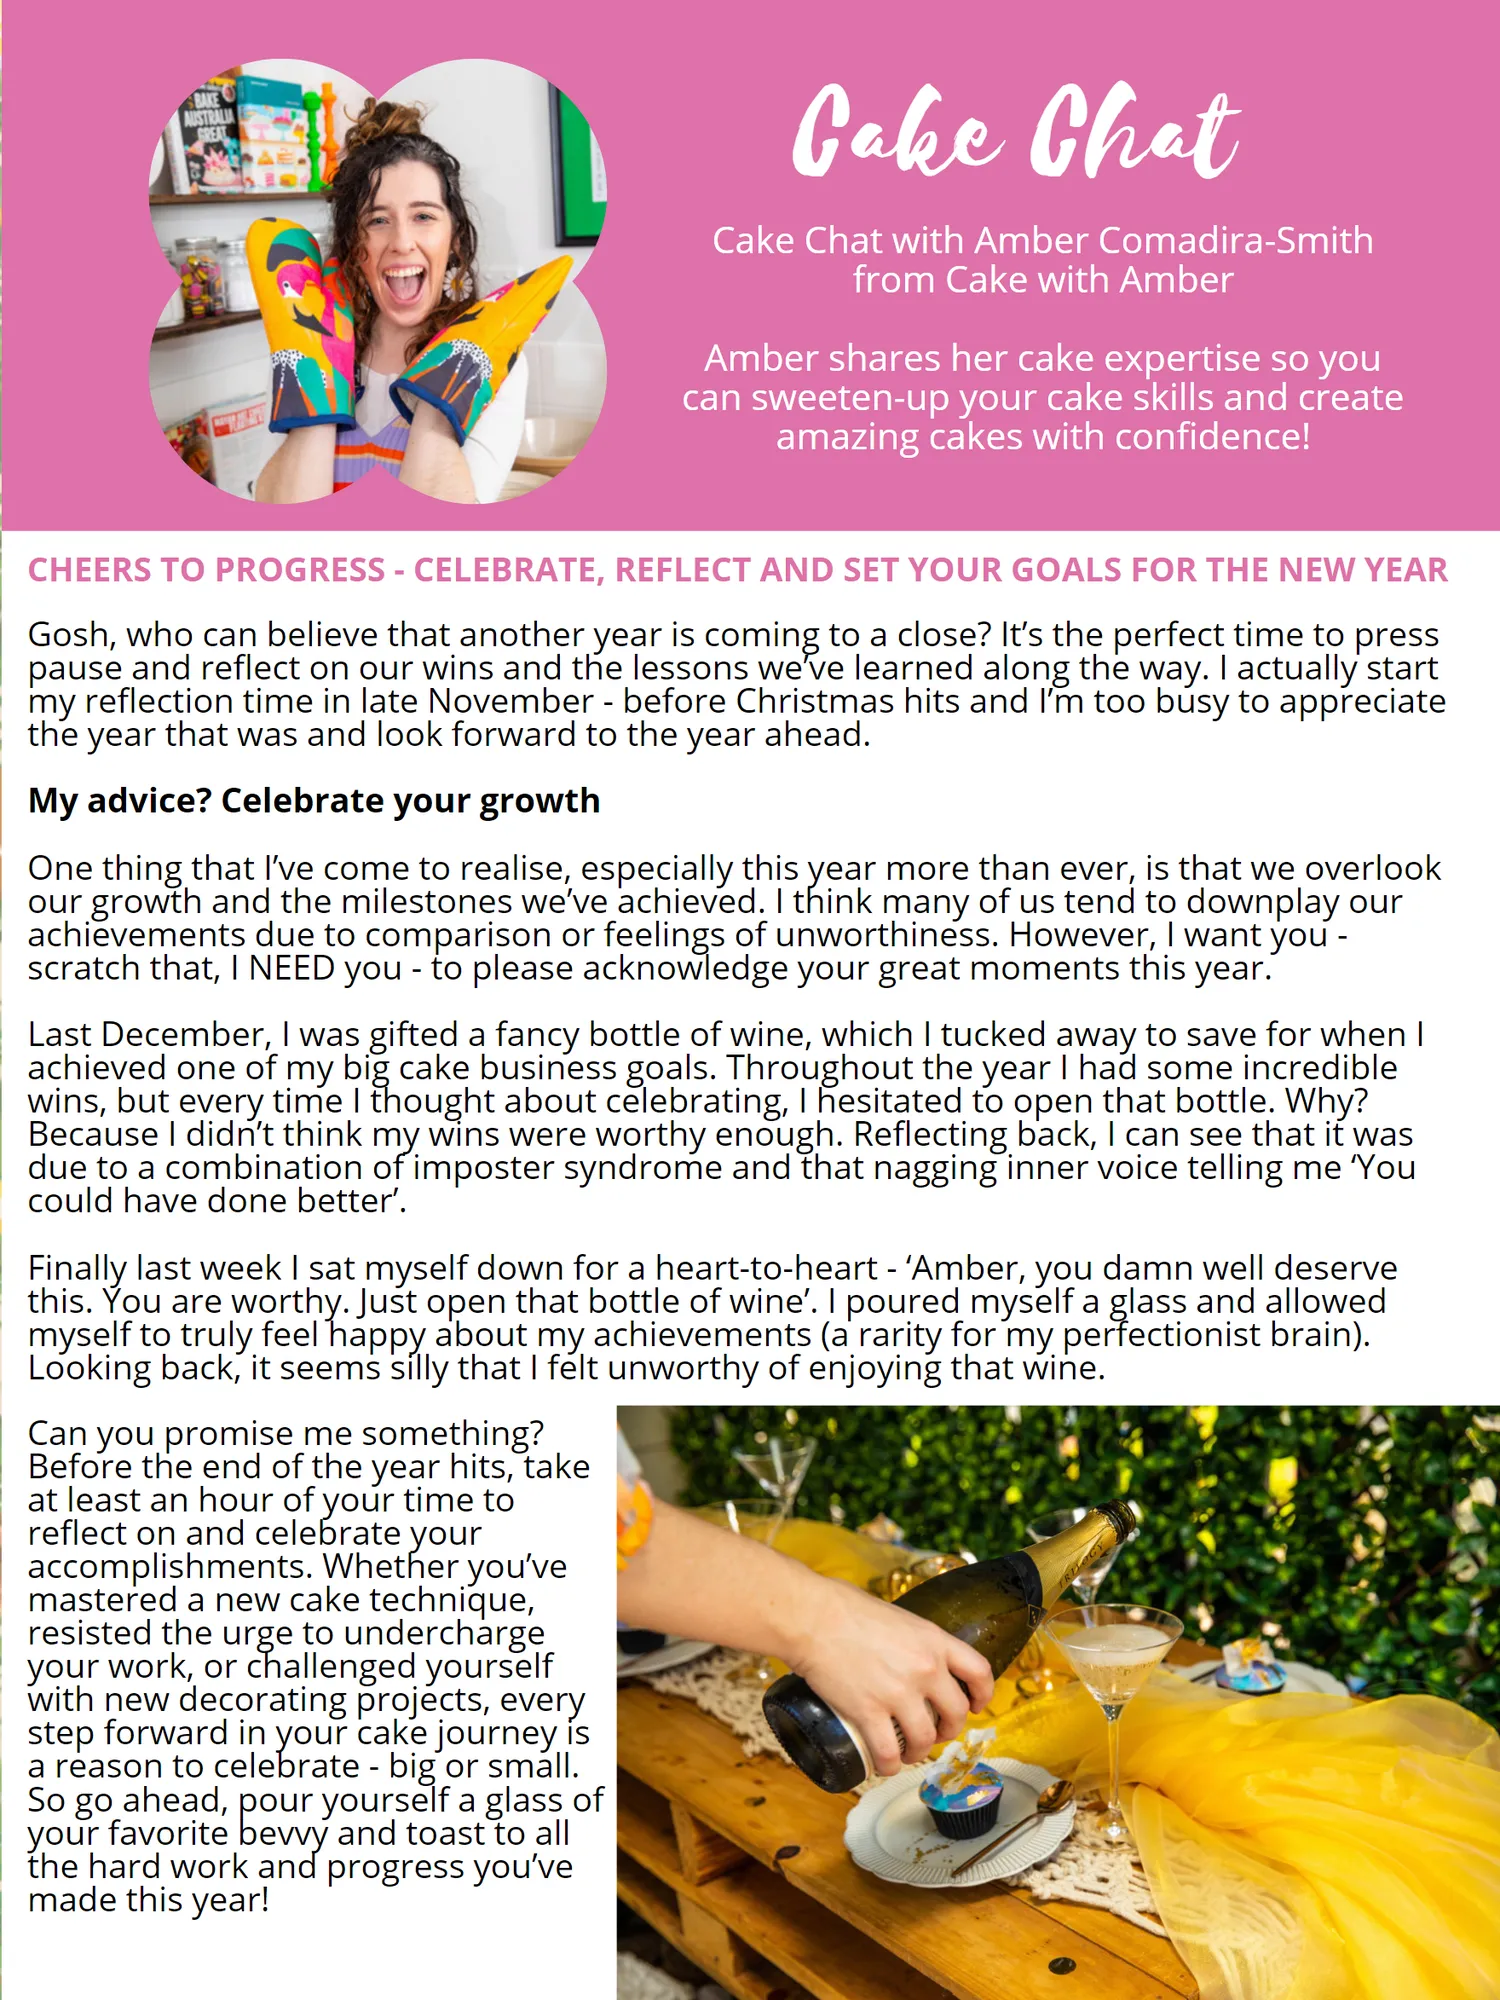
Cake Chat Cake Chat with Amber Comadira-Smith from Cake with Amber can sweeten-up your cake skills and create amazing cakes with confidence! CHEERS TO PROGRESS - CELEBRATE, REFLECT AND SET YOUR GOALS FOR THE NEW YEAR Gosh, who can believe that another year is coming to a close? It’s the perfect time to press
Page 94 text
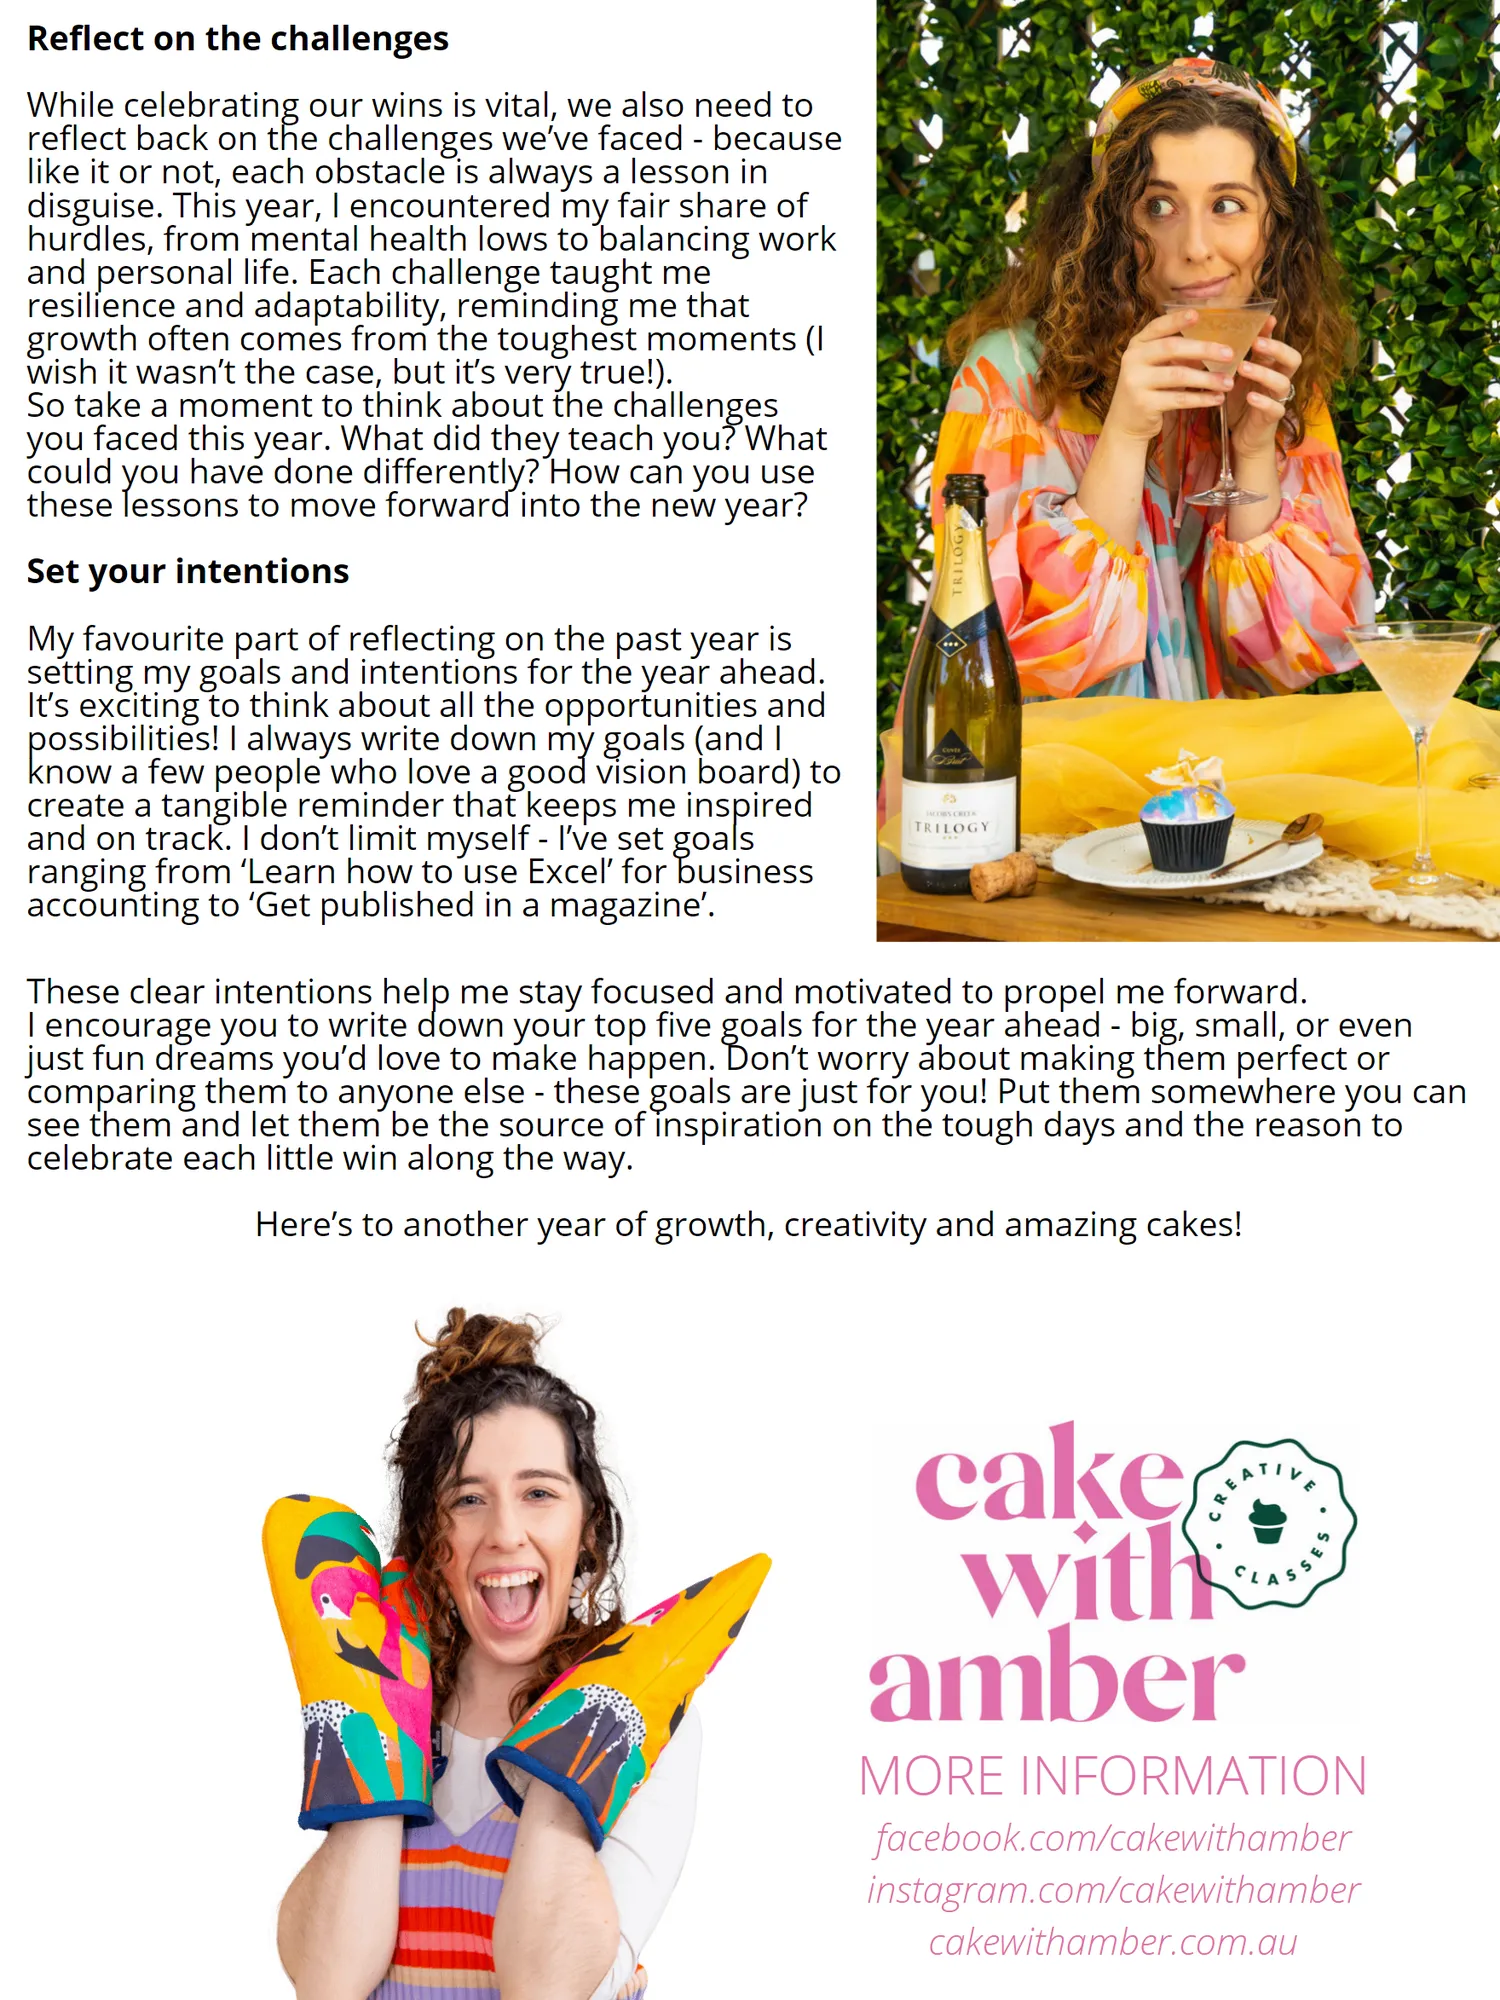
Reflect on the challenges While celebrating our wins is vital, we also need to reflect back on the challenges we’ve faced - because like it or not, each obstacle is always a lesson in disguise. This year, I encountered my fair share of hurdles, from mental health lows to balancing work and personal life. Each challenge taught me resilience and adaptability, reminding me that wish it wasn’t the case, but it’s very true!). So take a moment to think about the challenges you faced this year. What did they teach you? What could you have done differently? How can you use these lessons to move forward into the new year? Set your intentions My favourite part of reflecting on the past year is
Page 95 text
While celebrating our wins is vital, we also need to reflect back on the challenges we’ve faced - because like it or not, each obstacle is always a lesson in disguise. This year, I encountered my fair share of hurdles, from mental health lows to balancing work and personal life. Each challenge taught me resilience and adaptability, reminding me that growth often comes from the toughest moments (I wish it wasn’t the case, but it’s very true!). So take a moment to think about the challenges you faced this year. What did they teach you? What could you have done differently? How can you use these lessons to move forward into the new year? My favourite part of reflecting on the past year is
Page 96 text
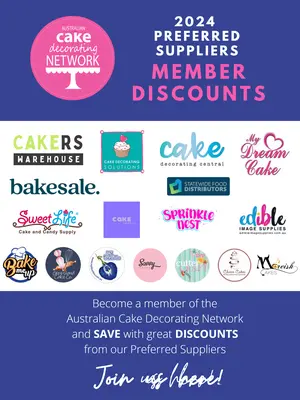
2 0 2 4 P R E F E R R E D S U P P L I E R S M E M B E R D I S C O U N T S Become a member of the Australian Cake Decorating Network and SAVE with great DISCOUNTS from our Preferred Suppliers Join us here !


Page 97 text
2024 PREFERRED SUPPLIERS MEMBER DISCOUNTS
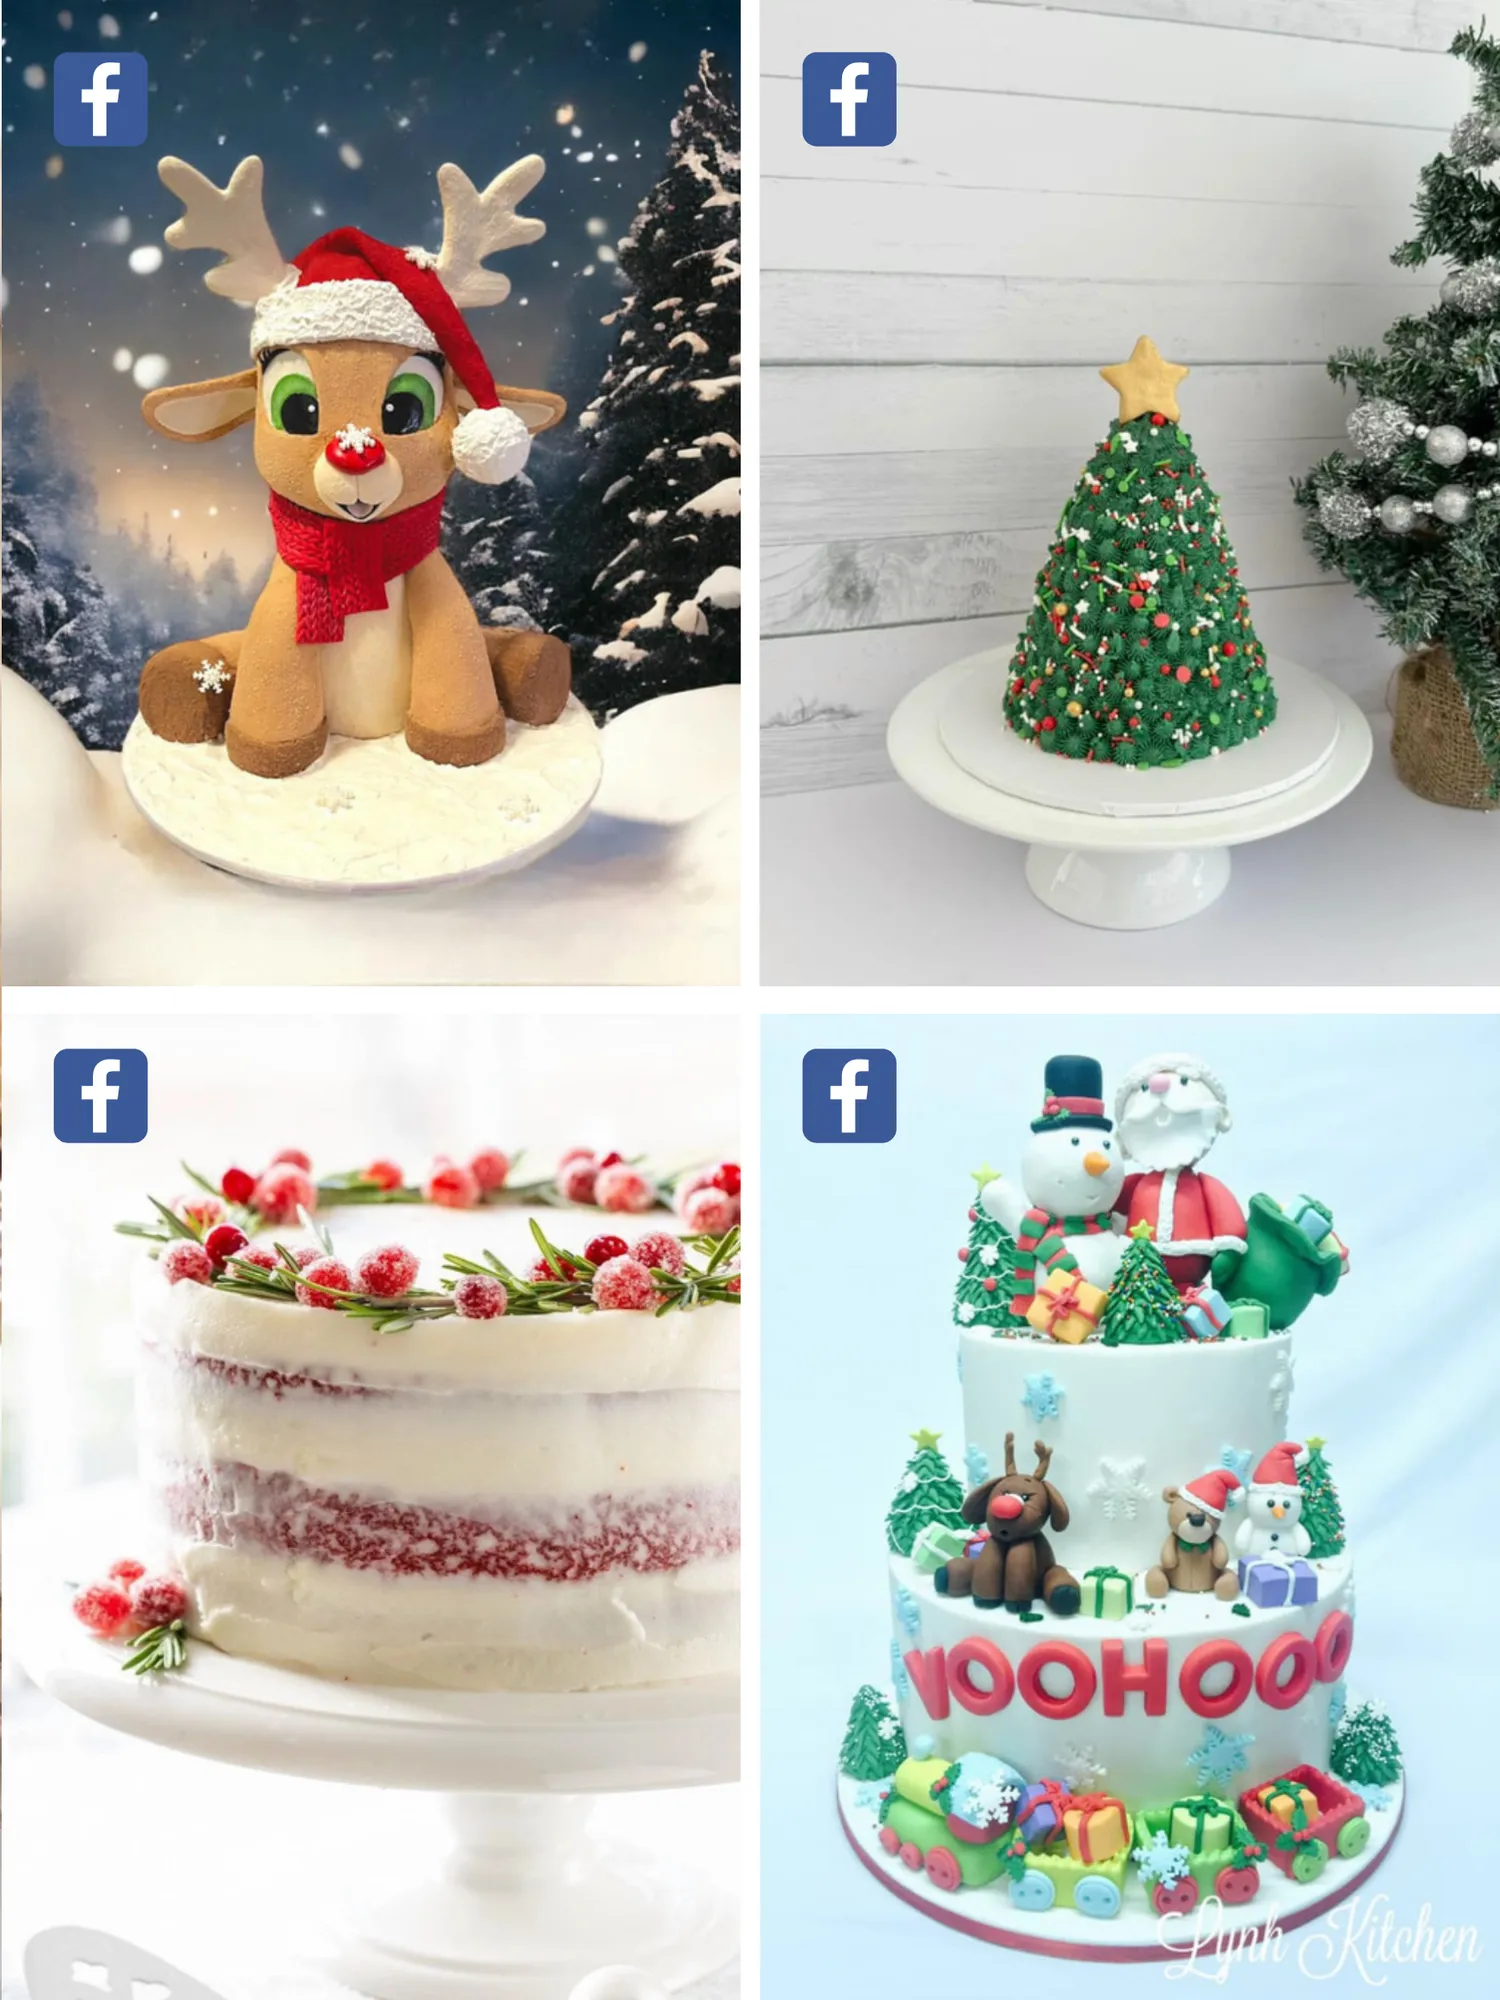
Page 116 text
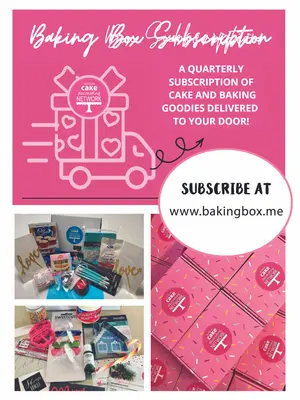
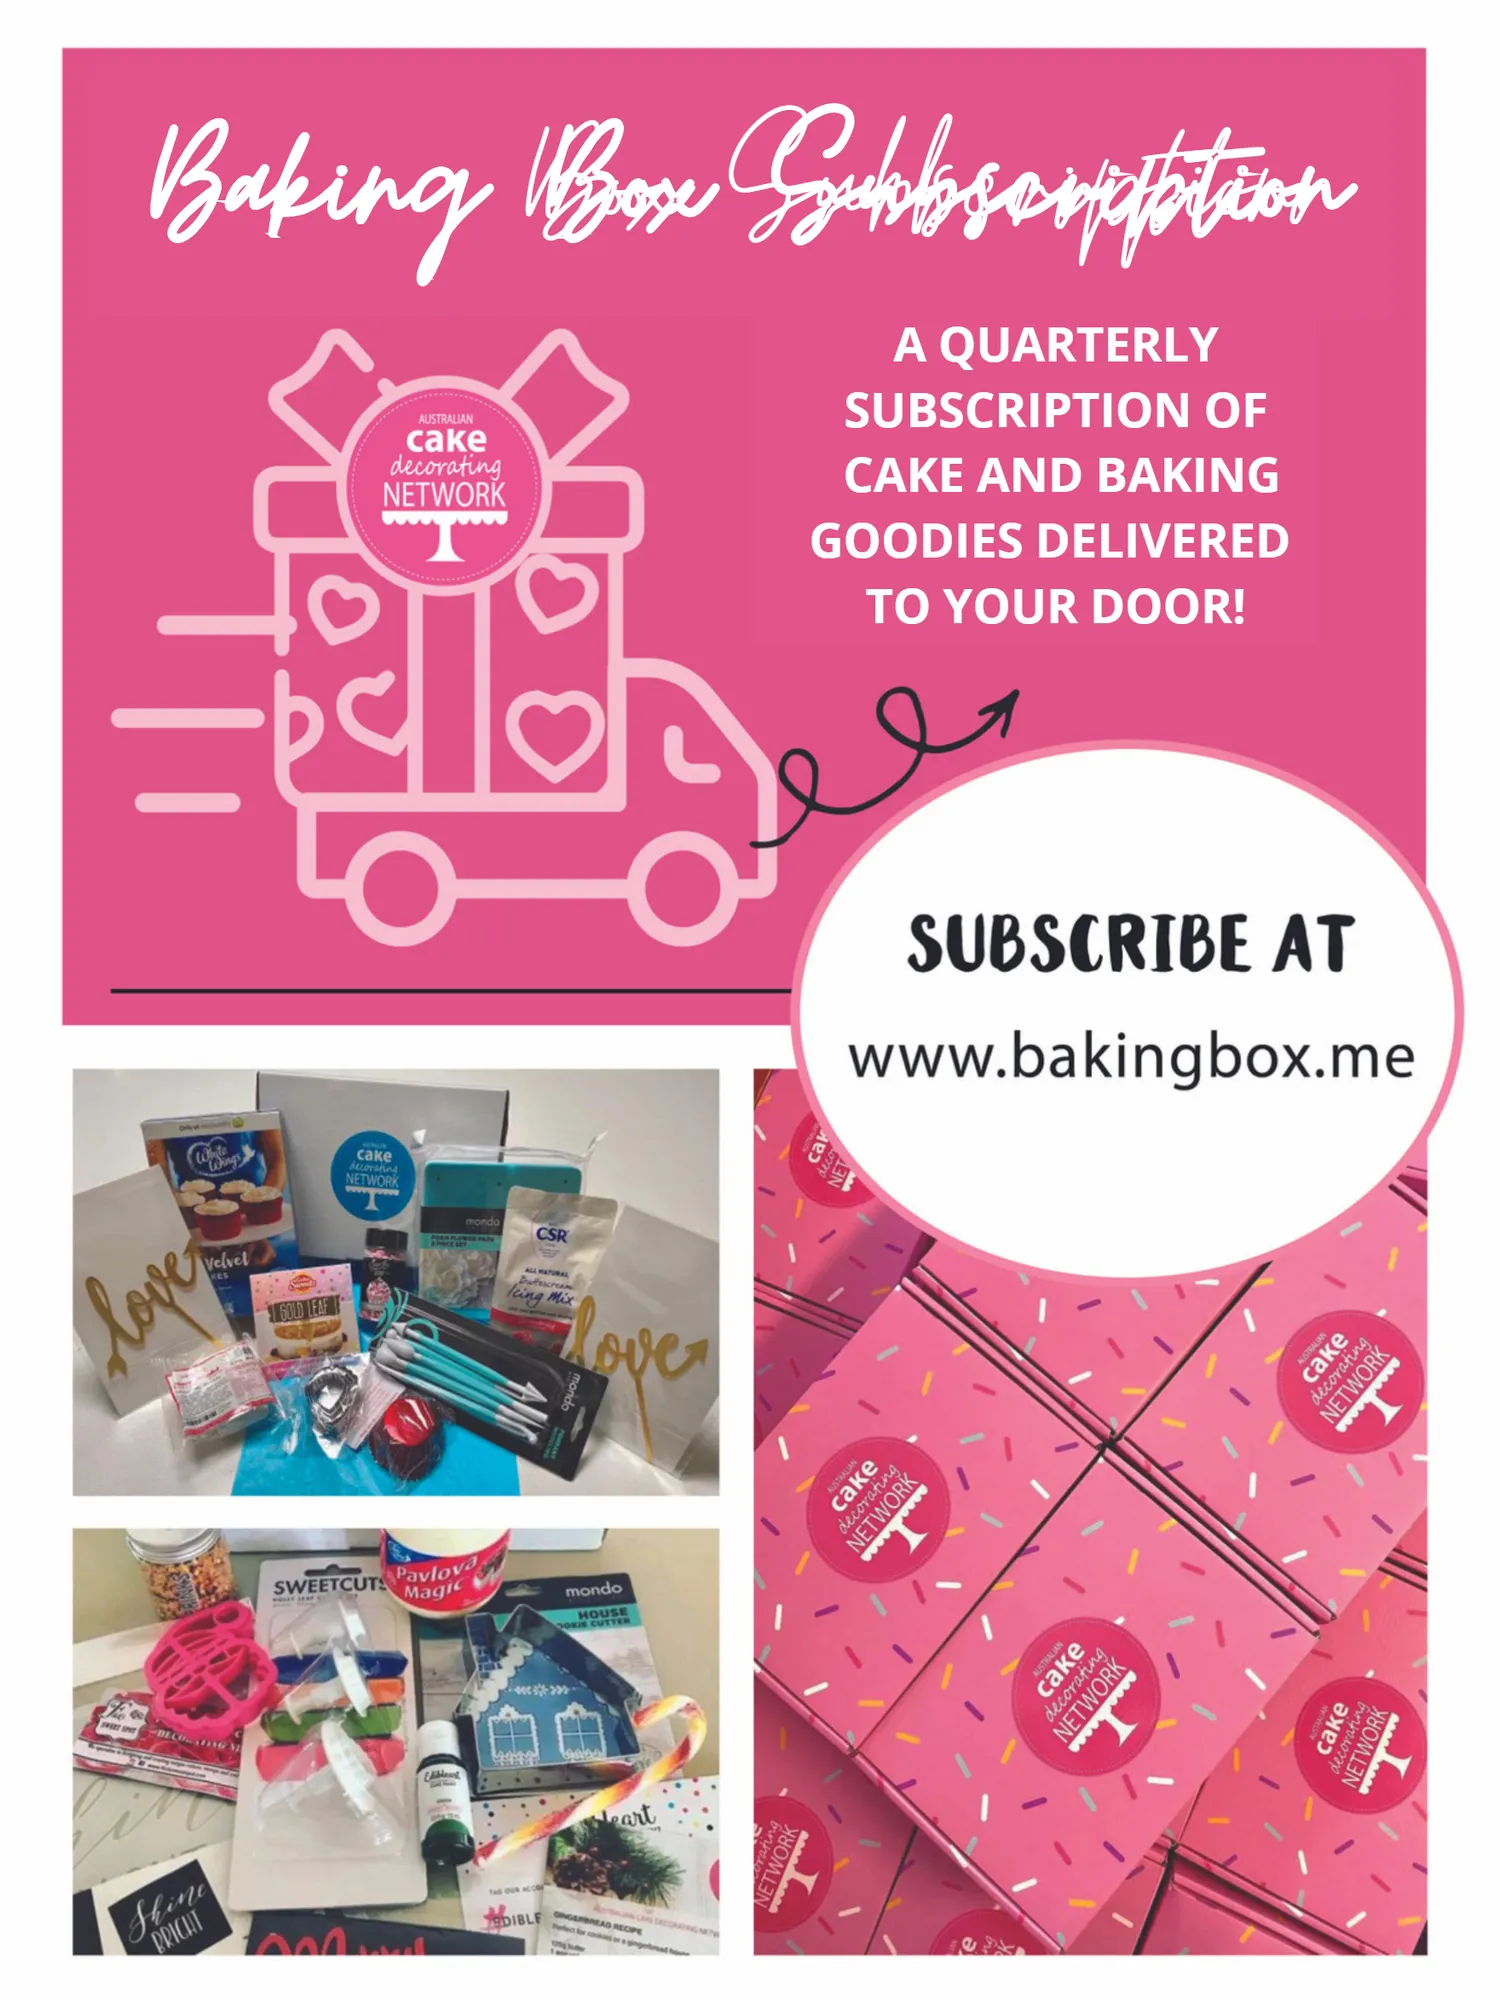
Baking Box Subscription Baking Box Subscription $199


Page 117 text
Baking Box Subscription Baking Box Subscription A QUARTERLY SUBSCRIPTION OF CAKE AND BAKING GOODIES DELIVERED TO YOUR DOOR!
Page 119 text
2024 PREFERRED SUPPLIERS MEMBER DISCOUNTS