Page 16 of 68


Page 1 text
Cake! MAGAZINE
Page 2 text
PUBLISHER: Cake! Magazine is published by the Australian Cake Decorating Network Pty Ltd. ACN: 91 164 927 584. © All content copyright 2022 Australian Cake Decorating Network Pty Ltd. All rights reserved. Reproduction any part of the magazine without written permission is prohibited. All prices included in Cake! Magazine are approximate and are in AUD unless otherwise stated. Prices quoted are correct at the time of publishing and may vary or be subject to change. The Australian Cake Decorating Network Pty Ltd accepts no responsibility for damage or loss as a result of material submitted for, published in or as a result of this publication. The Australian Cake Decorating Network does not have an affiliation with any other magazine. The views and opinions expressed within this publication are not necessarily the views of the publisher or it ' s affiliates. While every effort has been made to ensure the accuracy of the information contained within Cake! Magazine the publisher and Cake! Magazine hold no responsibility for any errors, omissions, or consequences subsequent or otherwise, including loss or damage arising from reliance on information in this publication. Content is supplied for publication in Cake! Magazine by parties external to the Australian Cake Decorating Network and it is the external party ' s responsibility to ensure content and credits are accurate. Cake! Magazine contains advertising through individual arrangements, which may include paid affiliate arrangements. Cake! Magazine may also contain affiliate links. The agreements are held between the advertiser or affiliate and the Australian Cake Decorating Network Ptd Ltd. To advertise in Cake! magazine, contact: liz @ acdn. me
Page 3 text
letter from the editor Welcome to the Sport Edition of Cake! And while we’re in full prep mode for Camp, we’re also looking ahead to our This issue, we’re turning up the energy and biggest celebration of the year—the celebrating the spirit of sport—through Australian Cake Decorating & Baking sugar, of course! Whether it’s footballs, Industry Awards, returning later in 2025. sneakers or podium-worthy cookies, our Start dusting off your gowns and
Page 4 text
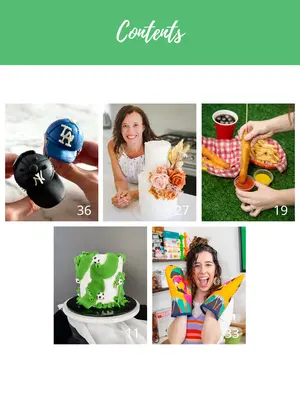
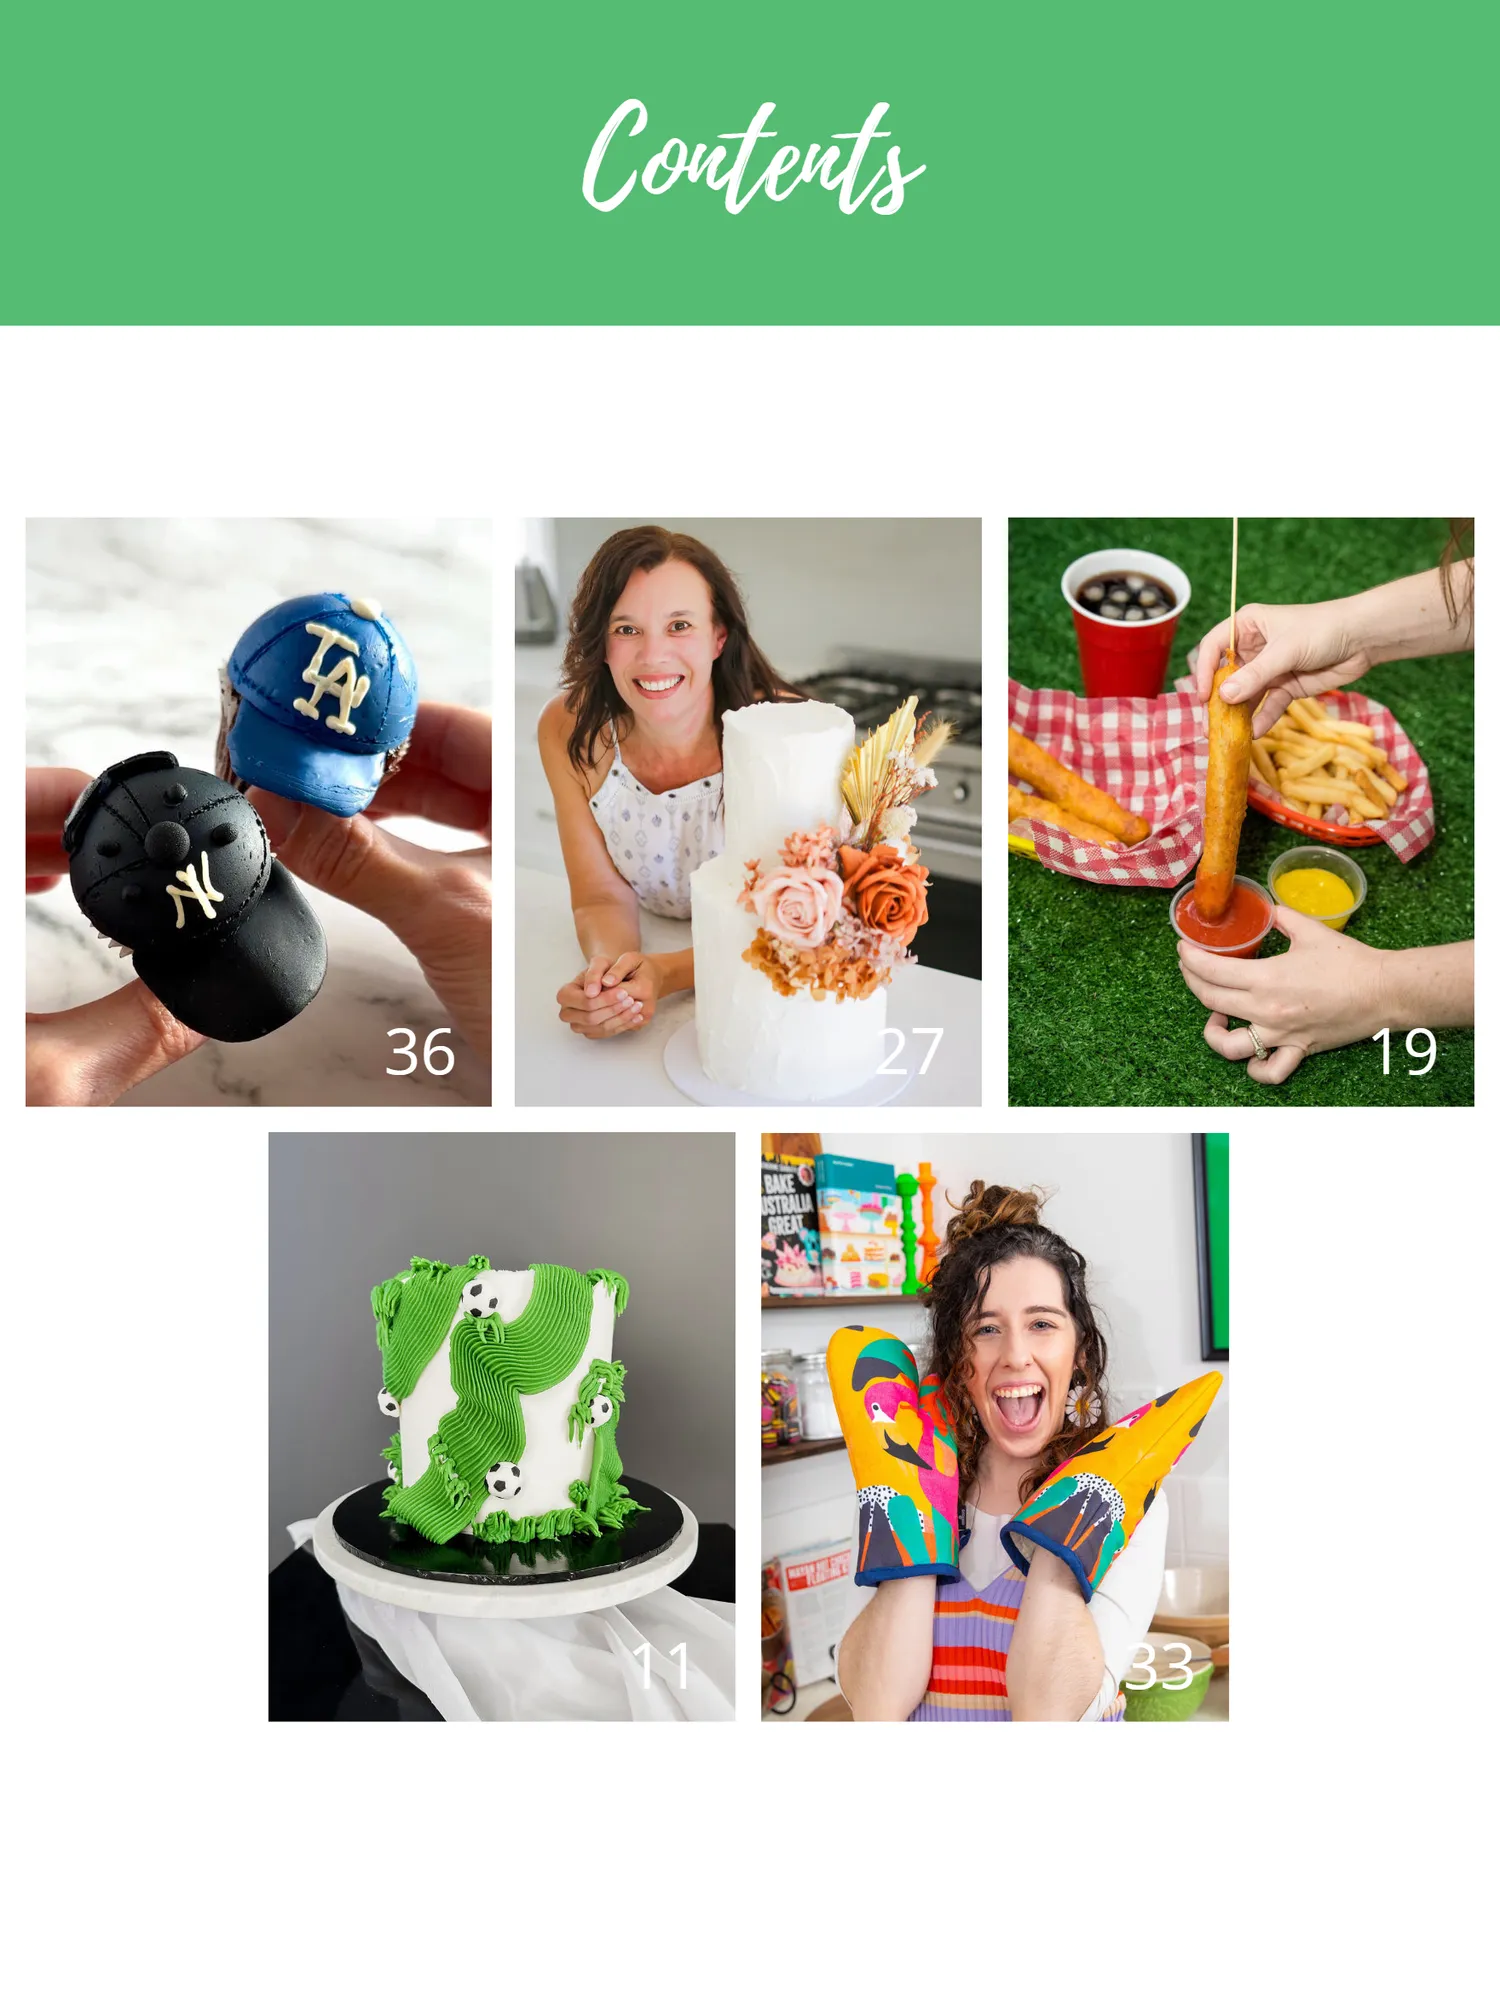
Contents 36 27 19 11 33
Page 5 text
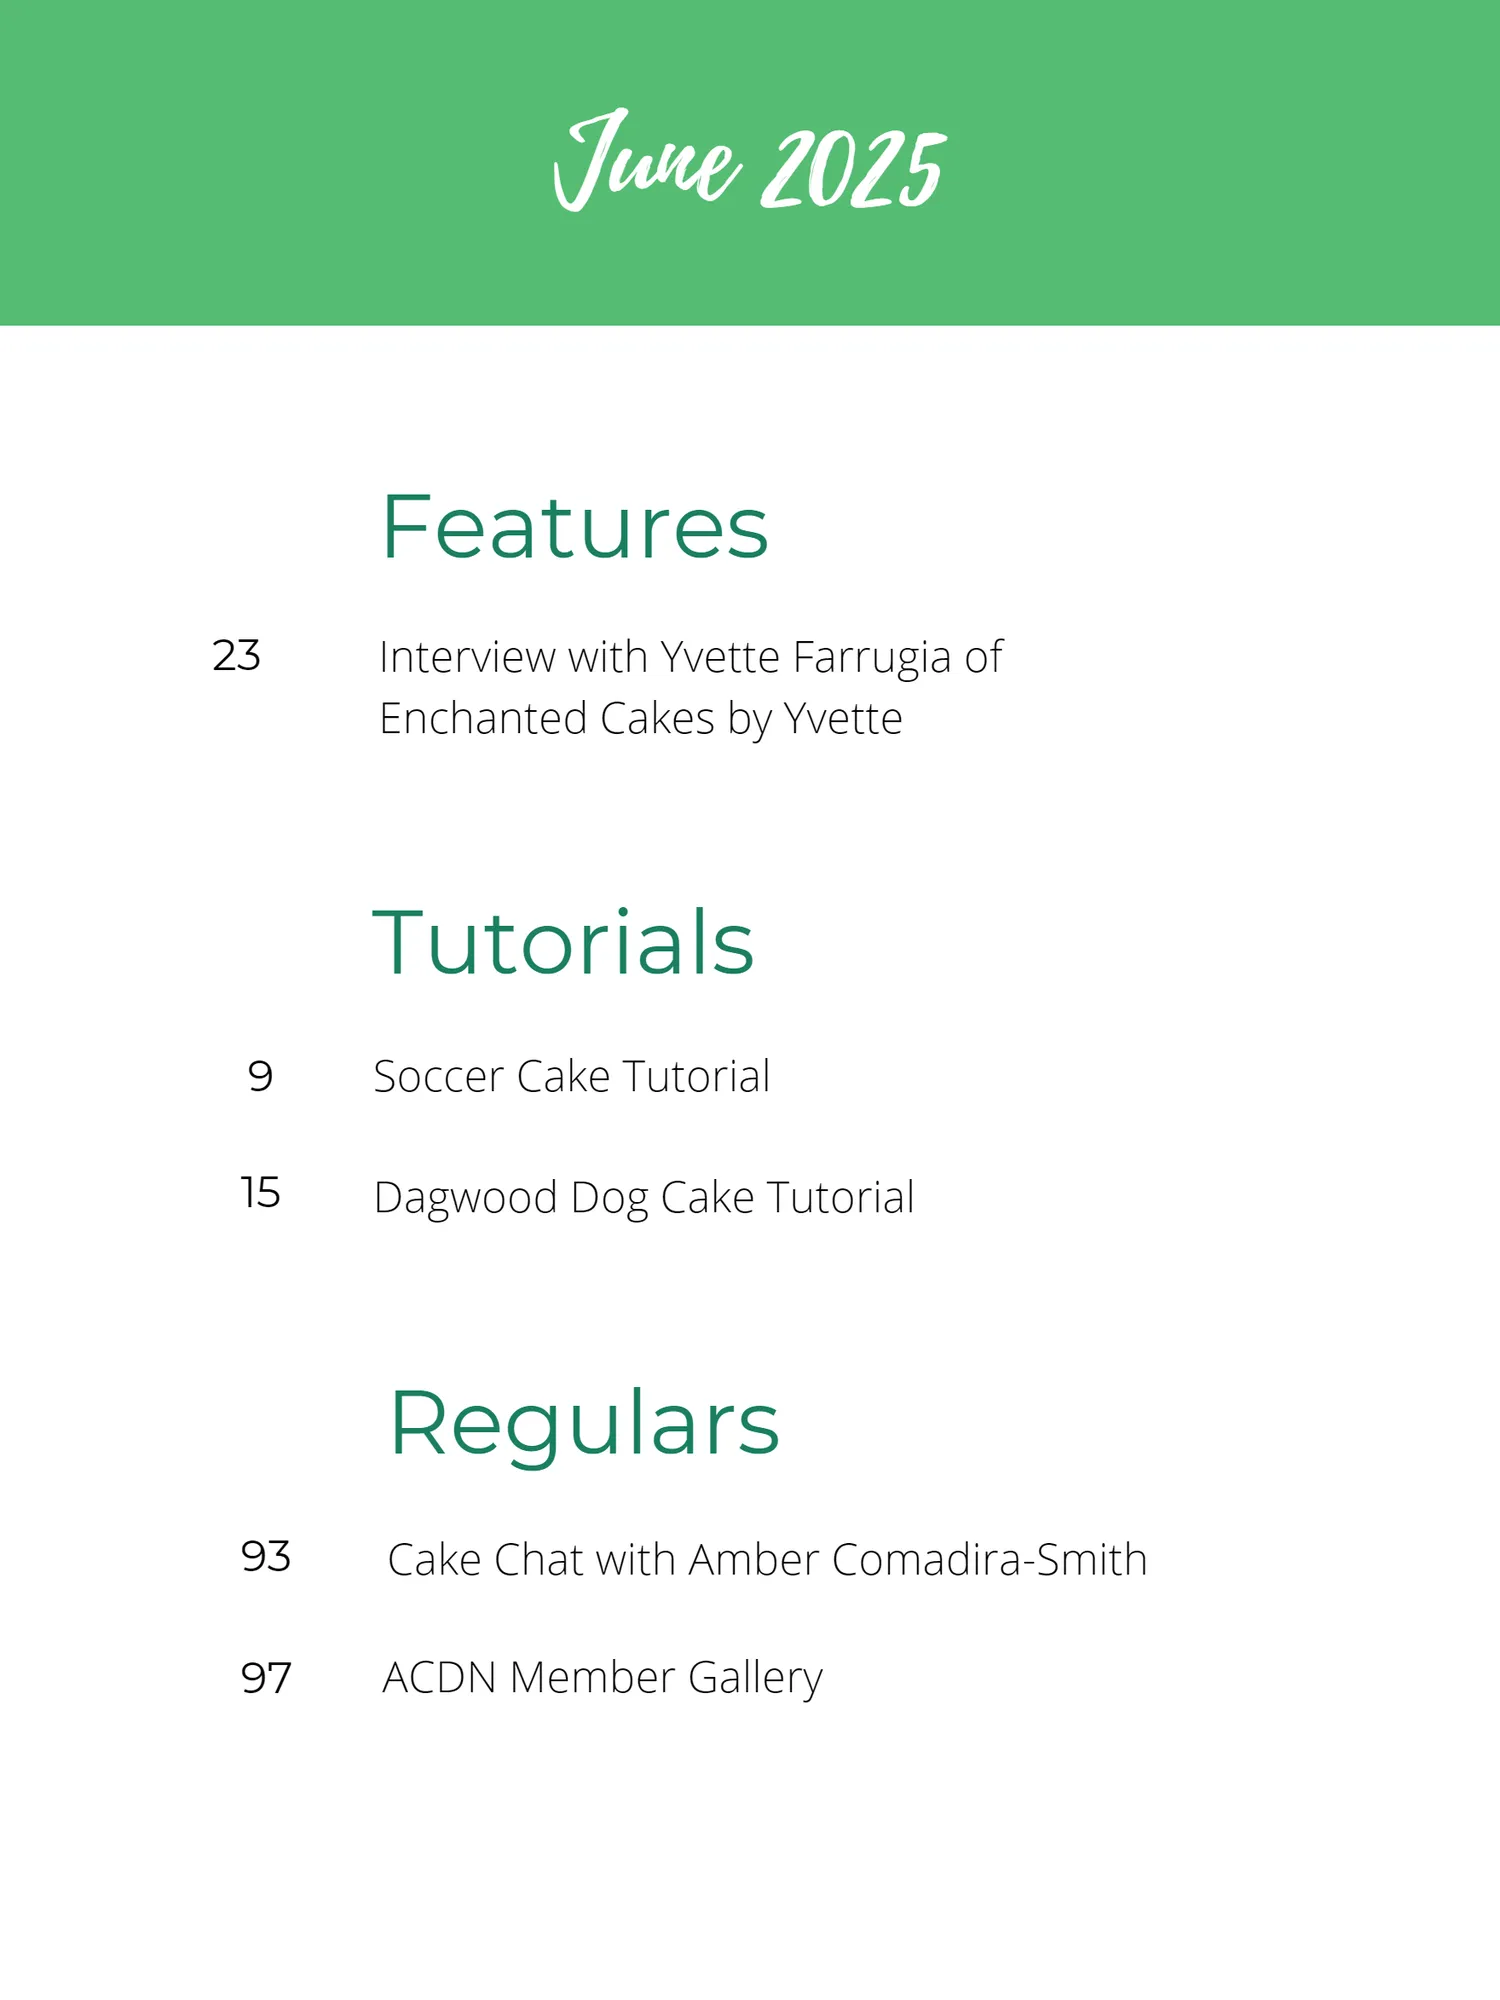
June 2025 Features 23 Interview with Yvette Farrugia of Enchanted Cakes by Yvette Tutorials 9 Soccer Cake Tutorial 15 Dagwood Dog Cake Tutorial Regulars 93 Cake Chat with Amber Comadira-Smith 97 ACDN Member Gallery


Page 7 text
2025 PREFERRED SUPPLIERS MEMBER DISCOUNTS


Page 9 text
SPORT TUTORIALS

Page 11 text
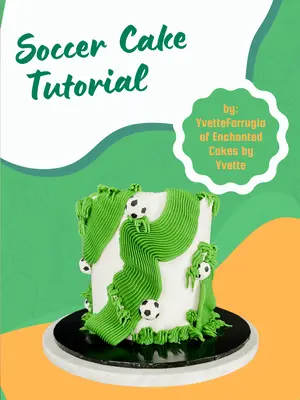
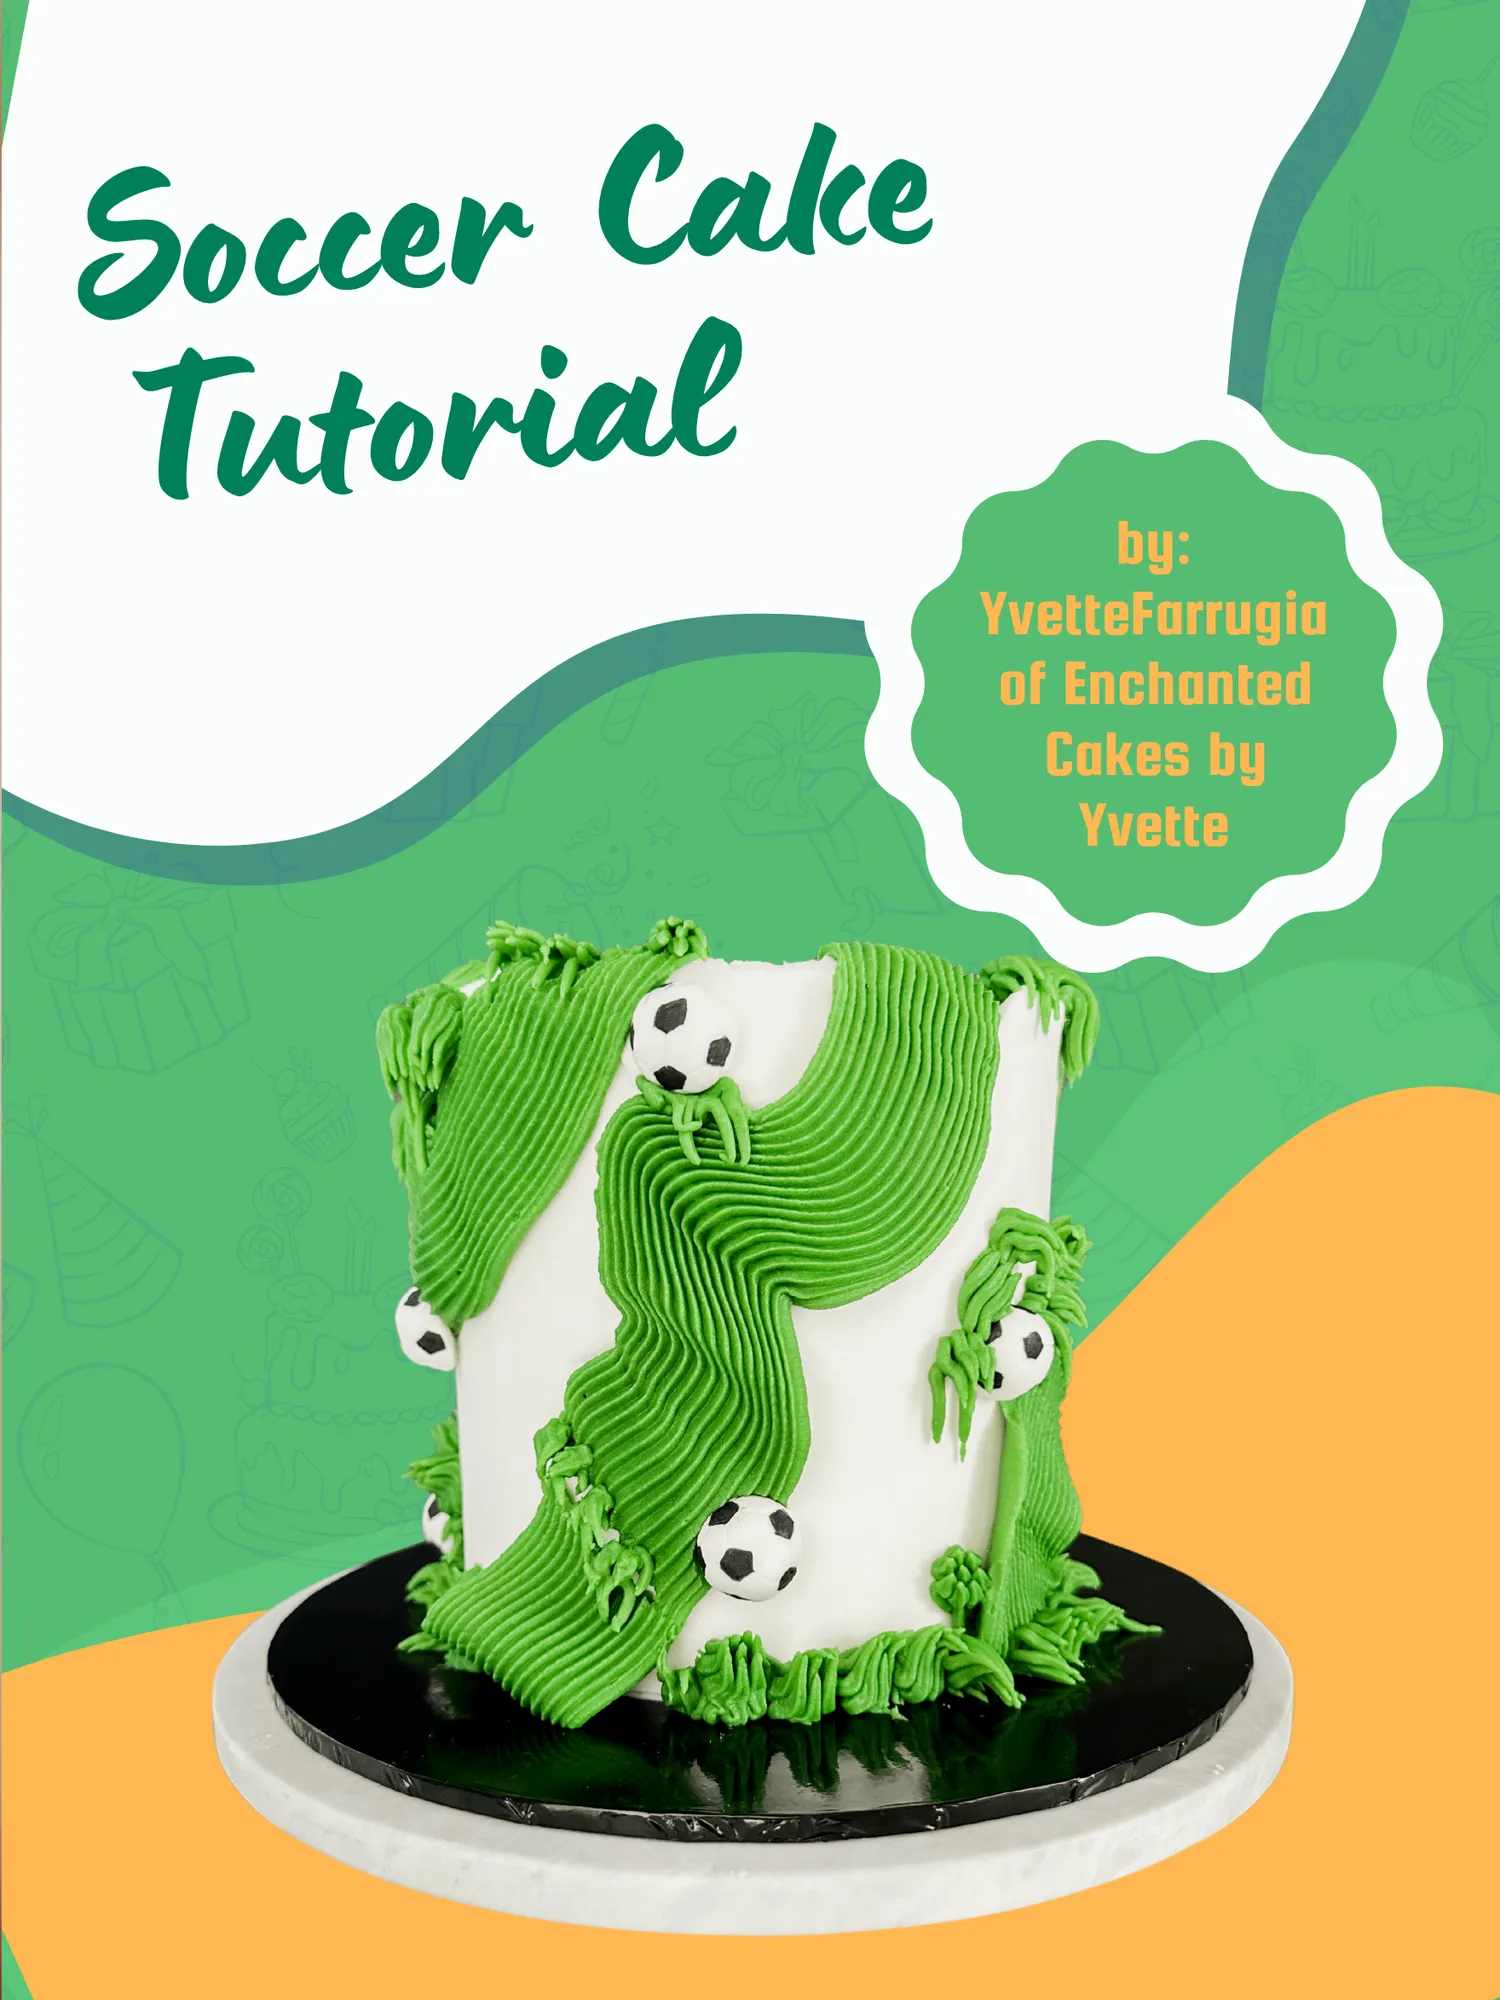
Soccer Cake Tutorial by: YvetteFarrugia of Enchanted Cakes by Yvette
Page 12 text
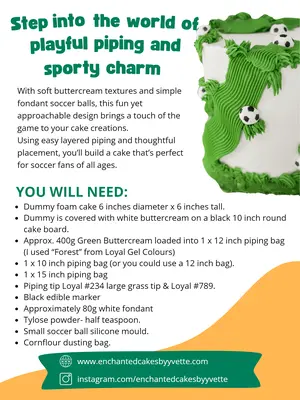
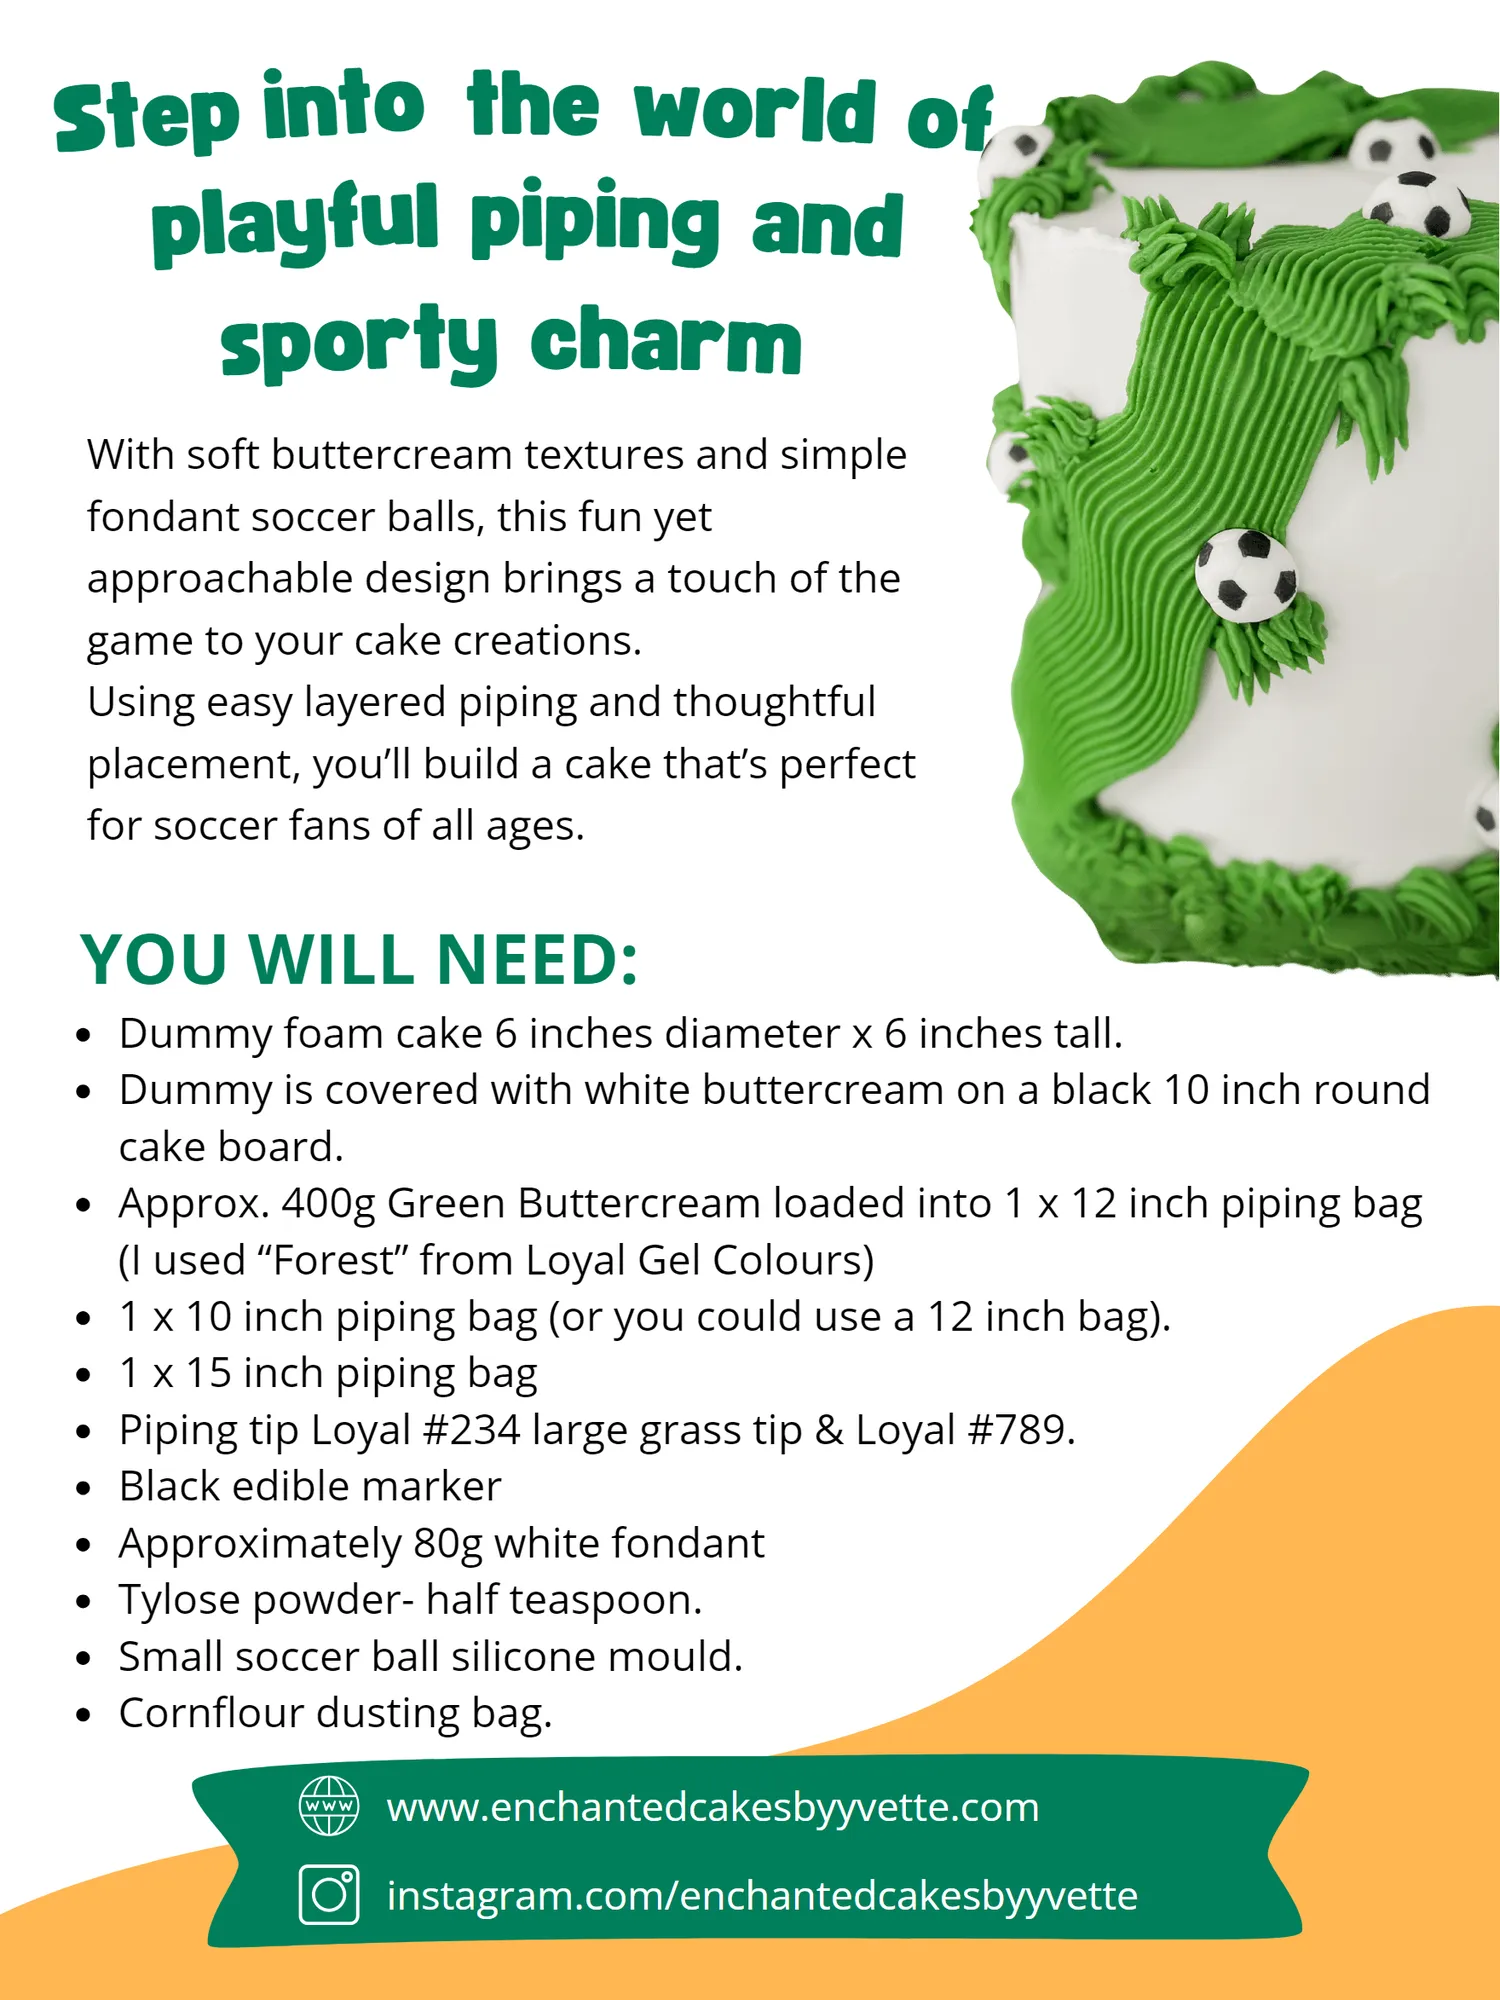
ep into St t he wor l d o f p layfu l pi pi n g a nd sp or ty cha r m With soft buttercream textures and simple fondant soccer balls, this fun yet approachable design brings a touch of the game to your cake creations. Using easy layered piping and thoughtful placement, you’ll build a cake that’s perfect for soccer fans of all ages. YOU WILL NEED: Dummy foam cake 6 inches diameter x 6 inches tall. Dummy is covered with white buttercream on a black 10 inch round cake board. Approx. 400g Green Buttercream loaded into 1 x 12 inch piping bag (I used “Forest” from Loyal Gel Colours) 1 x 10 inch piping bag (or you could use a 12 inch bag). 1 x 15 inch piping bag Piping tip Loyal #234 large grass tip & Loyal #789. Black edible marker Approximately 80g white fondant Tylose powder- half teaspoon. Small soccer ball silicone mould. Cornflour dusting bag. www.enchantedcakesbyyvette.com instagram.com/enchantedcakesbyyvette
Page 13 text
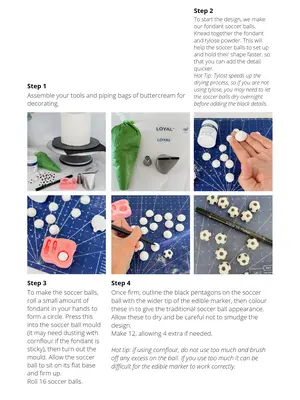
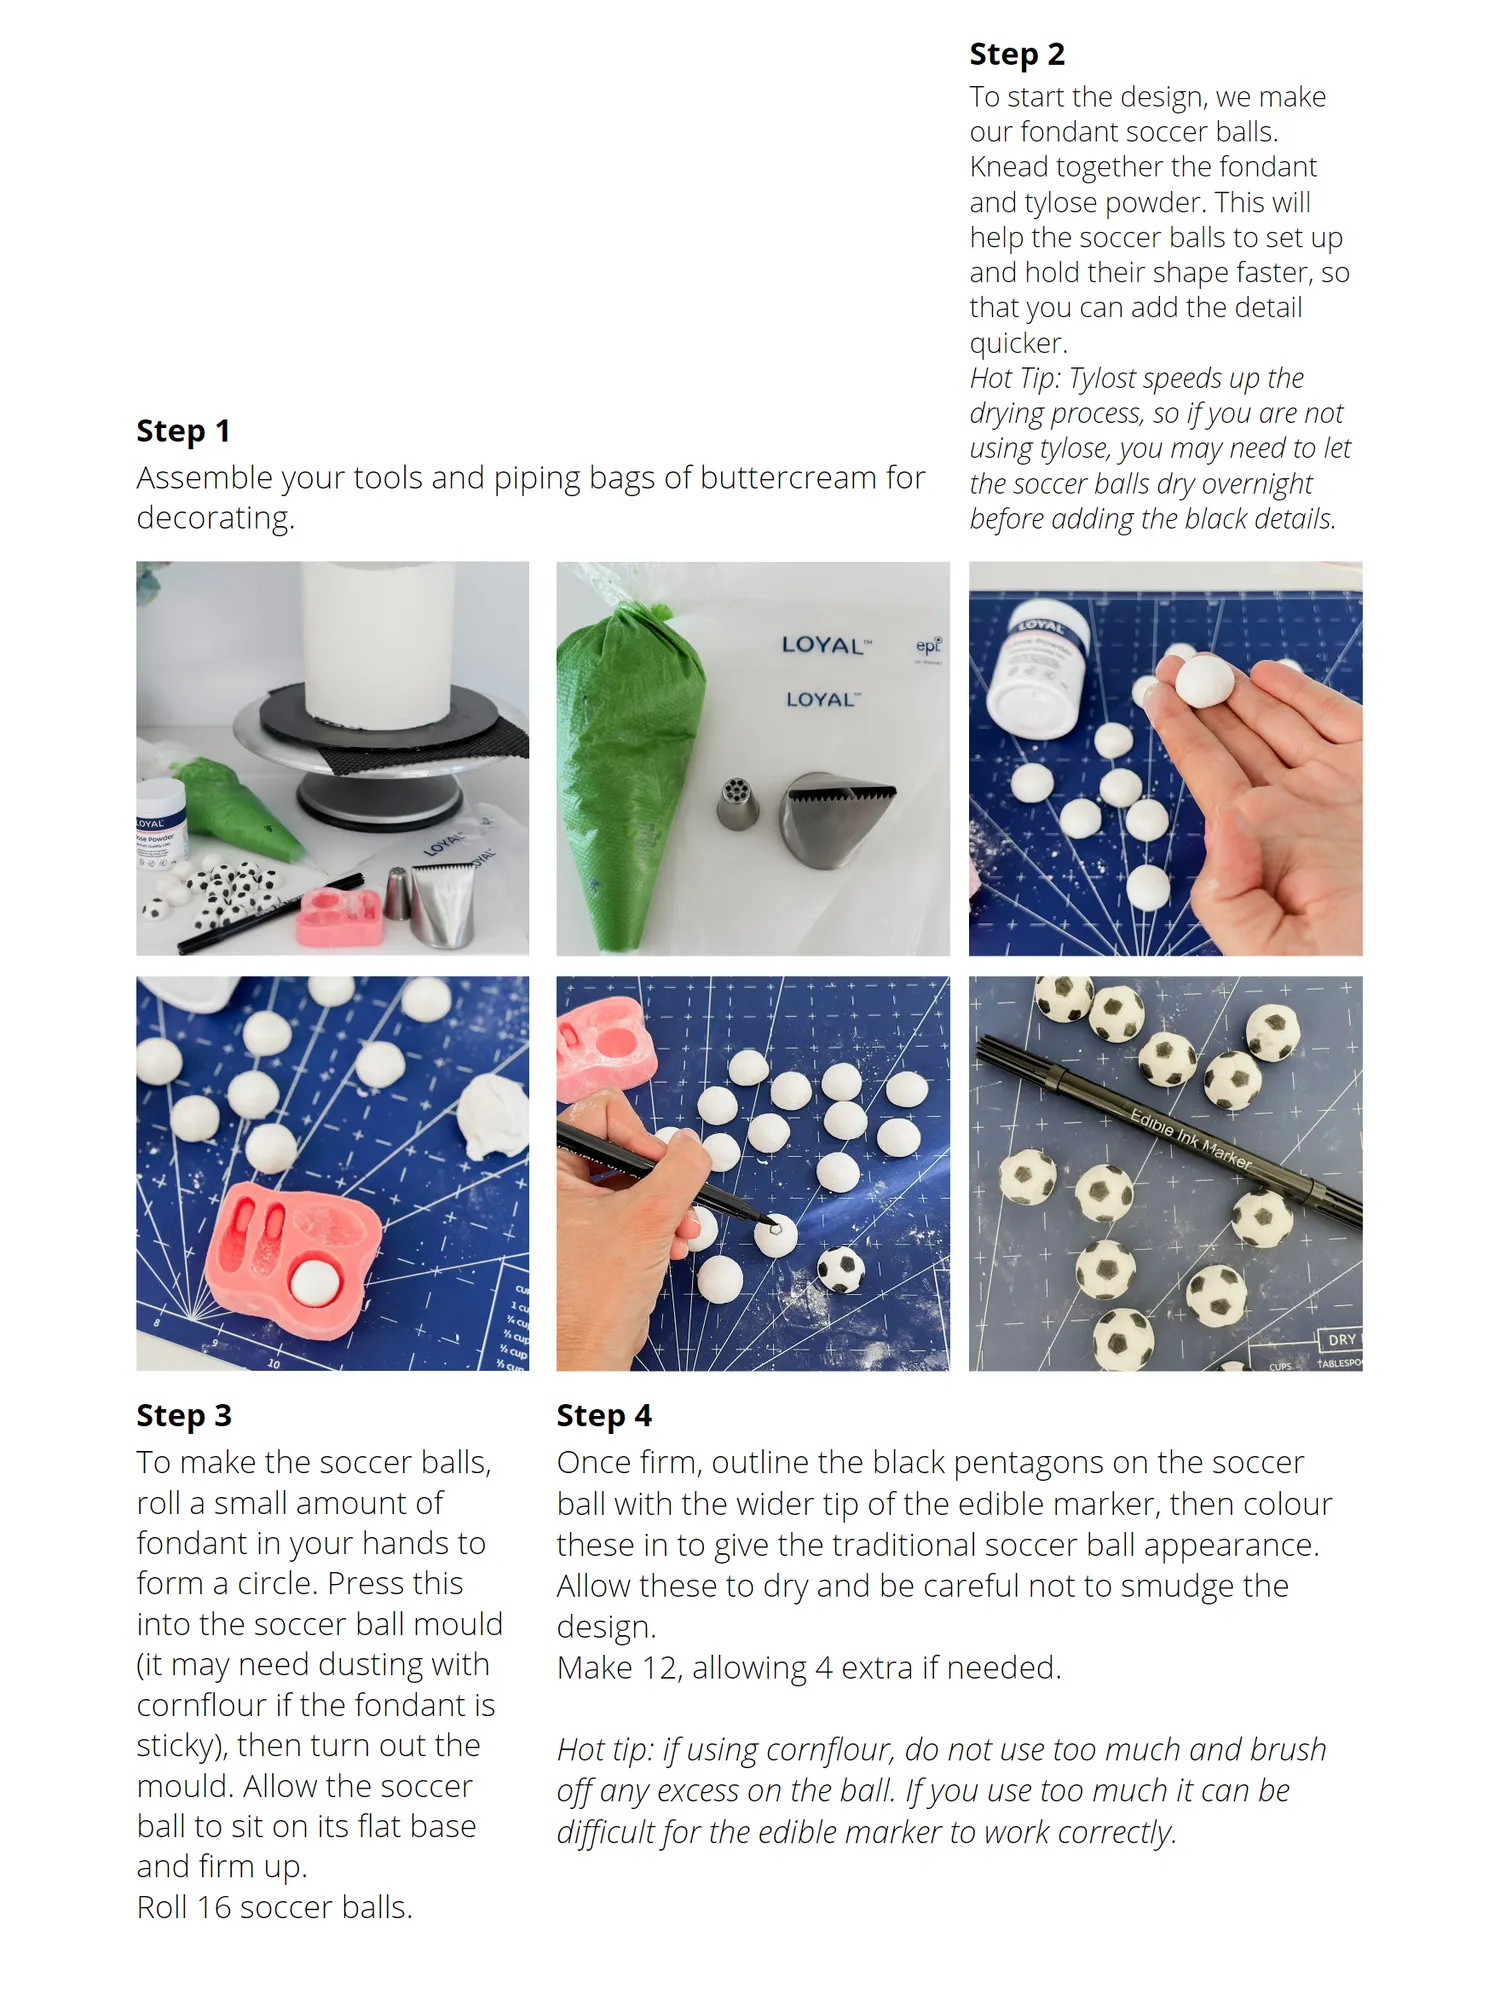
Step 2 To start the design, we make our fondant soccer balls. Knead together the fondant and tylose powder. This will help the soccer balls to set up and hold their shape faster, so that you can add the detail quicker. Hot Tip: Tylost speeds up the drying process, so if you are not Step 1 using tylose, you may need to let Assemble your tools and piping bags of buttercream for the soccer balls dry overnight decorating. before adding the black details. Step 3 Step 4 To make the soccer balls, Once firm, outline the black pentagons on the soccer roll a small amount of ball with the wider tip of the edible marker, then colour fondant in your hands to these in to give the traditional soccer ball appearance. form a circle. Press this Allow these to dry and be careful not to smudge the into the soccer ball mould design. (it may need dusting with Make 12, allowing 4 extra if needed. cornflour if the fondant is sticky), then turn out the Hot tip: if using cornflour, do not use too much and brush mould. Allow the soccer off any excess on the ball. If you use too much it can be ball to sit on its flat base difficult for the edible marker to work correctly. and firm up. Roll 16 soccer balls.
Page 14 text
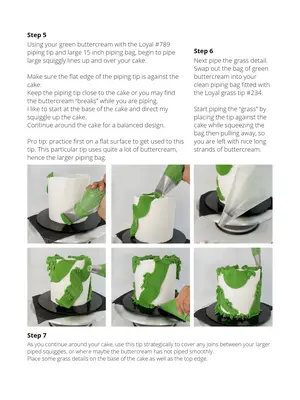
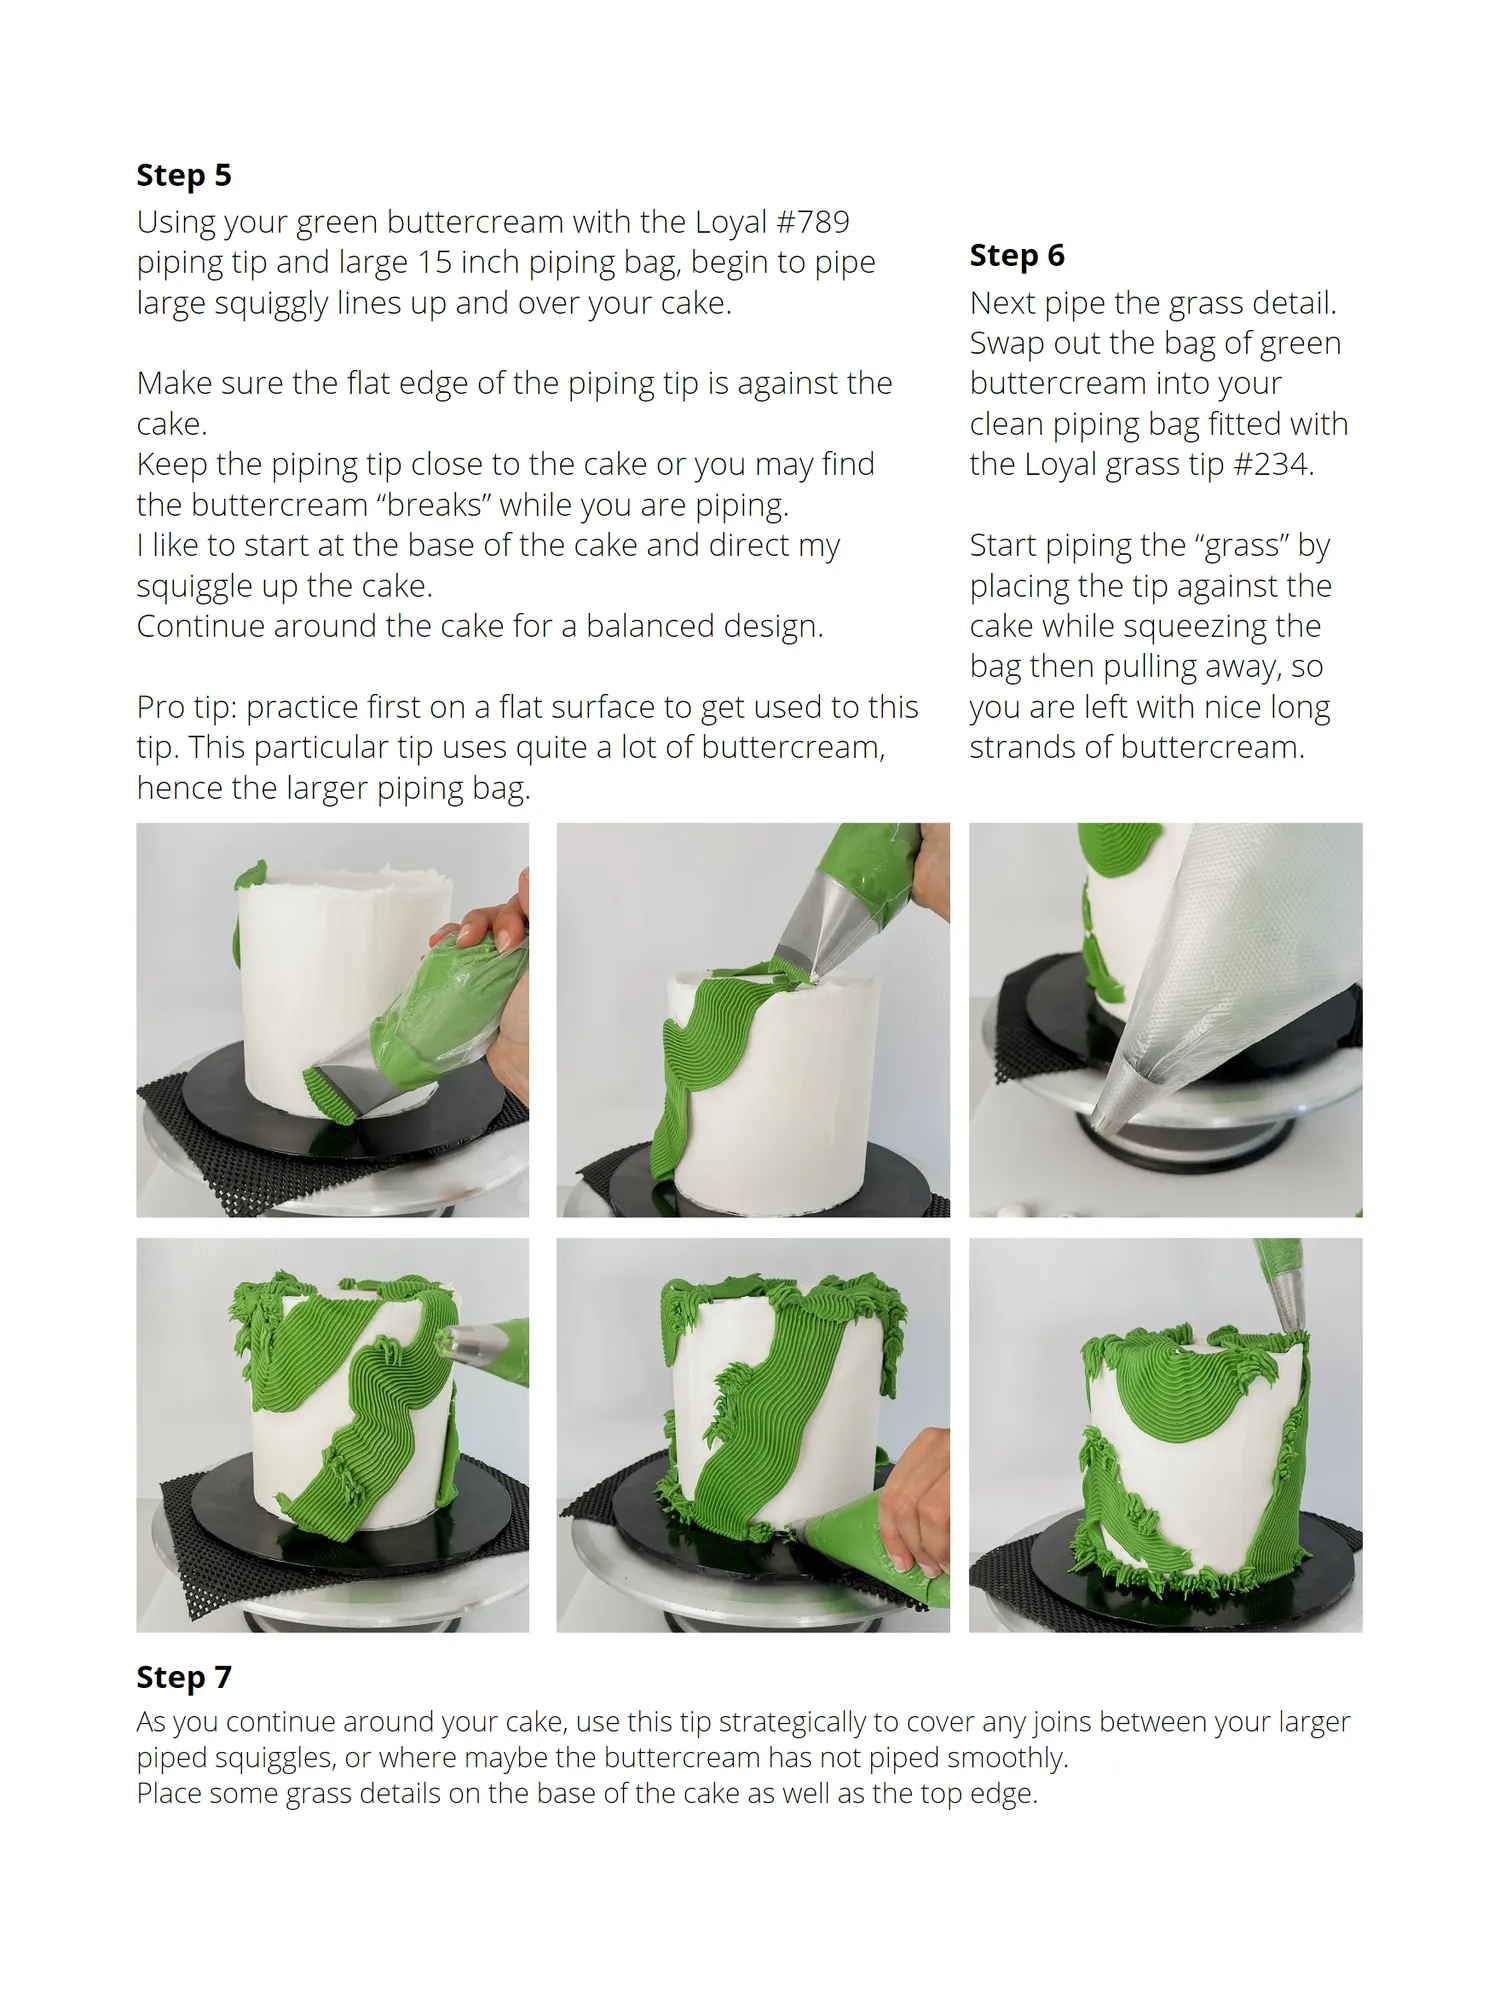
Step 5 Using your green buttercream with the Loyal #789 piping tip and large 15 inch piping bag, begin to pipe Step 6 large squiggly lines up and over your cake. Next pipe the grass detail. Swap out the bag of green Make sure the flat edge of the piping tip is against the buttercream into your cake. clean piping bag fitted with Keep the piping tip close to the cake or you may find the Loyal grass tip #234. the buttercream “breaks” while you are piping. I like to start at the base of the cake and direct my Start piping the “grass” by squiggle up the cake. placing the tip against the Continue around the cake for a balanced design. cake while squeezing the bag then pulling away, so Pro tip: practice first on a flat surface to get used to this you are left with nice long tip. This particular tip uses quite a lot of buttercream, strands of buttercream. hence the larger piping bag. Step 7 As you continue around your cake, use this tip strategically to cover any joins between your larger piped squiggles, or where maybe the buttercream has not piped smoothly. Place some grass details on the base of the cake as well as the top edge.
Page 15 text
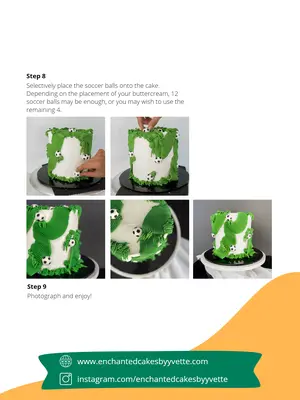
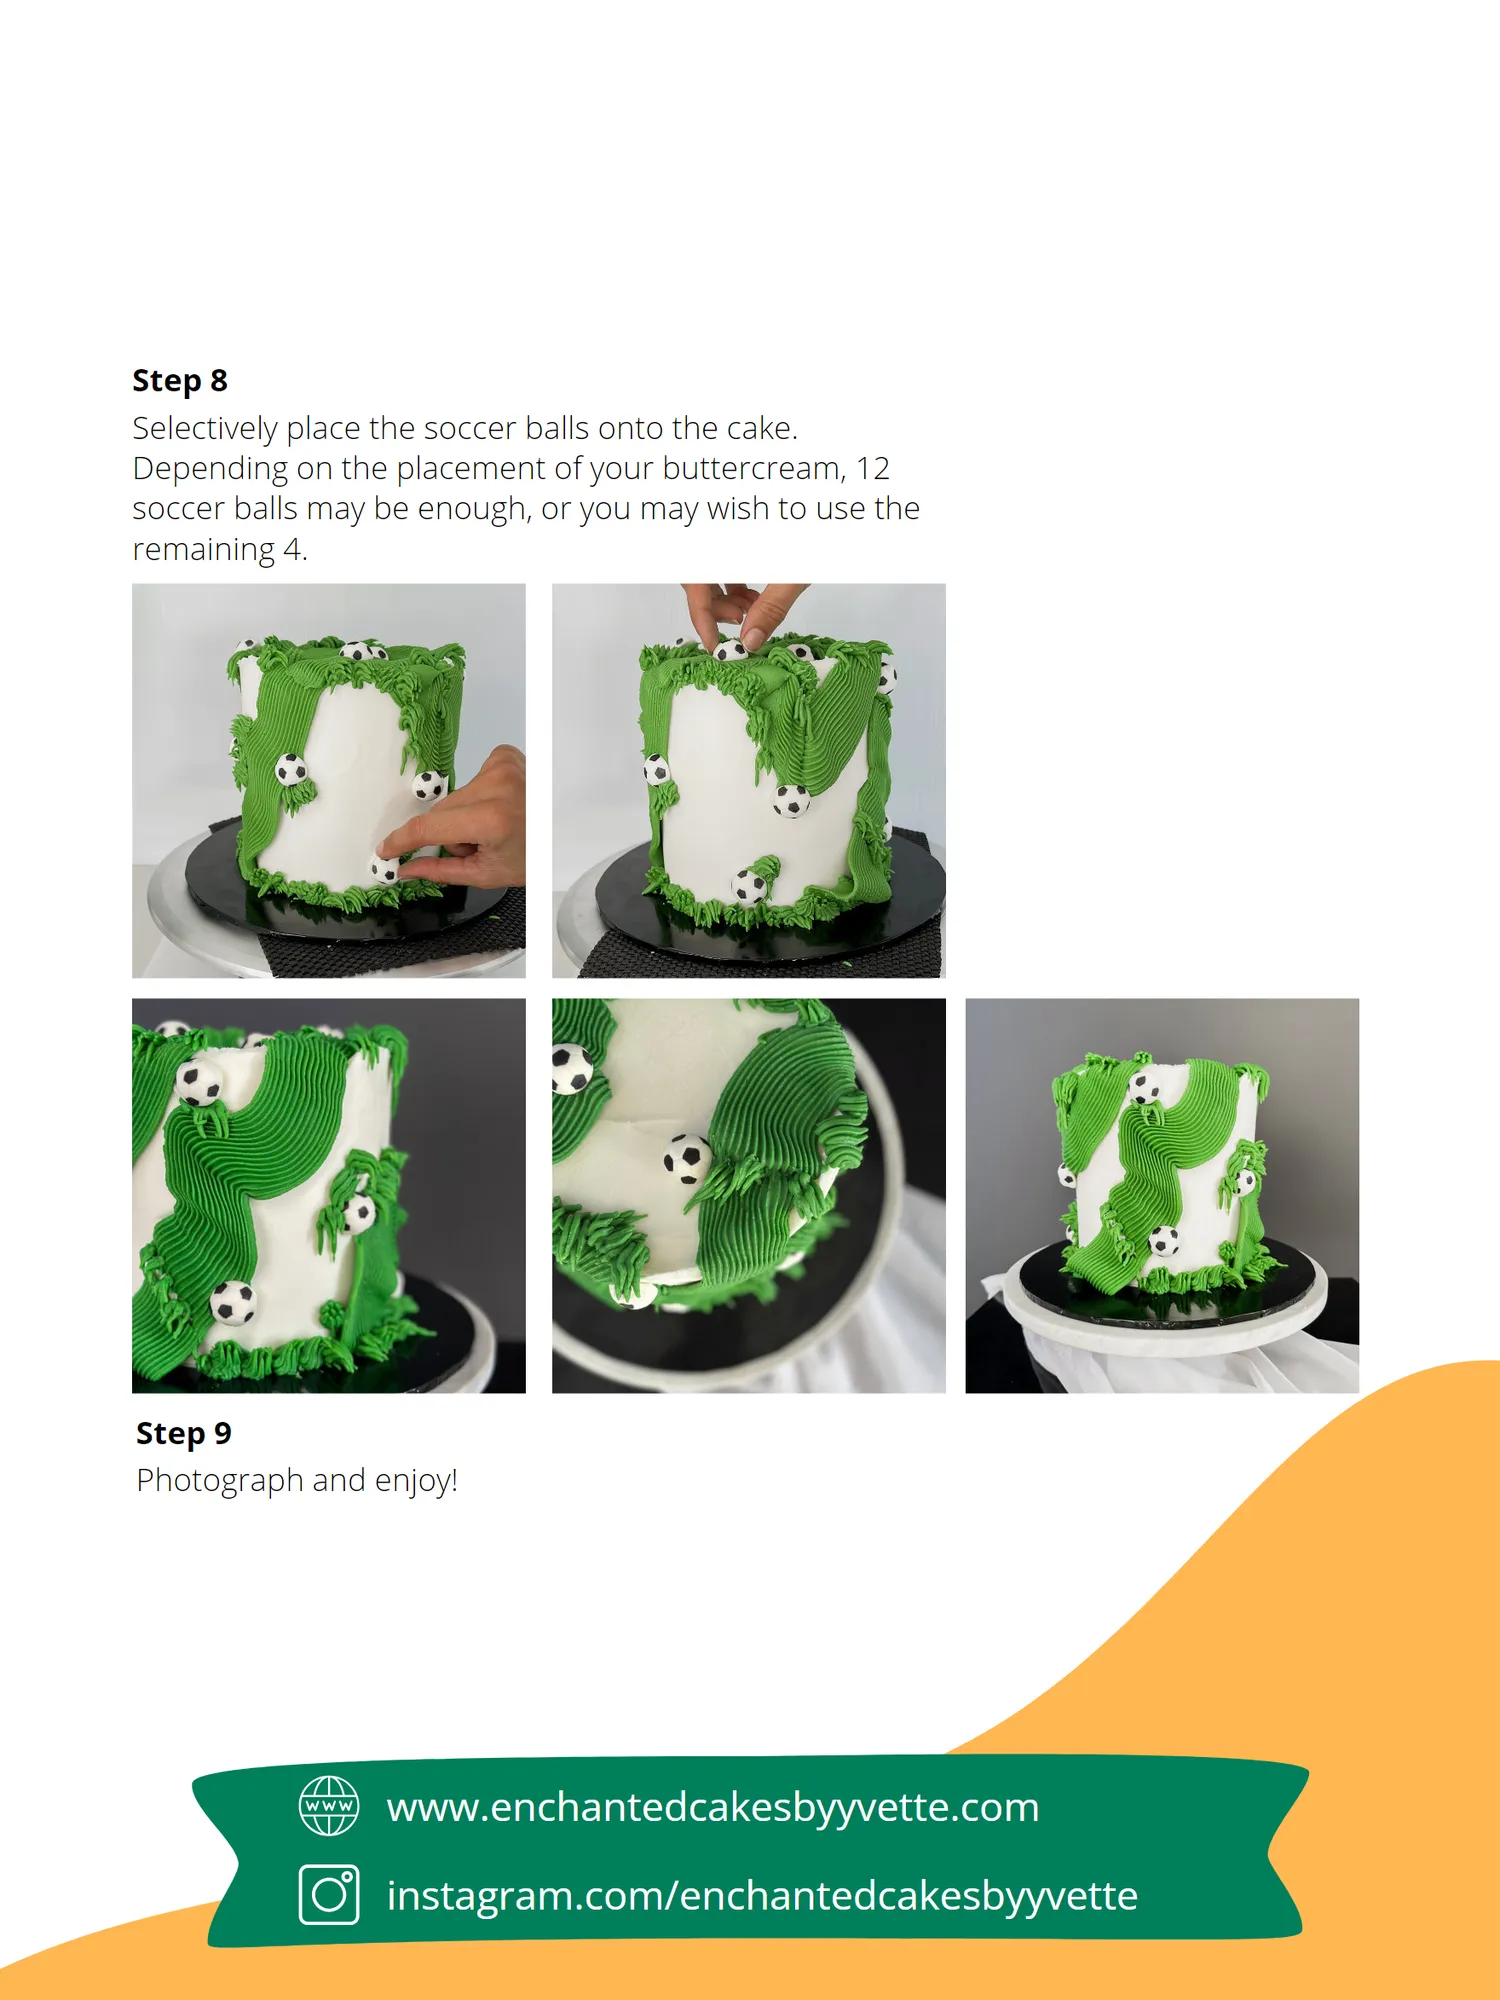
Step 8 Selectively place the soccer balls onto the cake. Depending on the placement of your buttercream, 12 soccer balls may be enough, or you may wish to use the remaining 4. Step 9 Photograph and enjoy! www.enchantedcakesbyyvette.com instagram.com/enchantedcakesbyyvette




Page 19 text
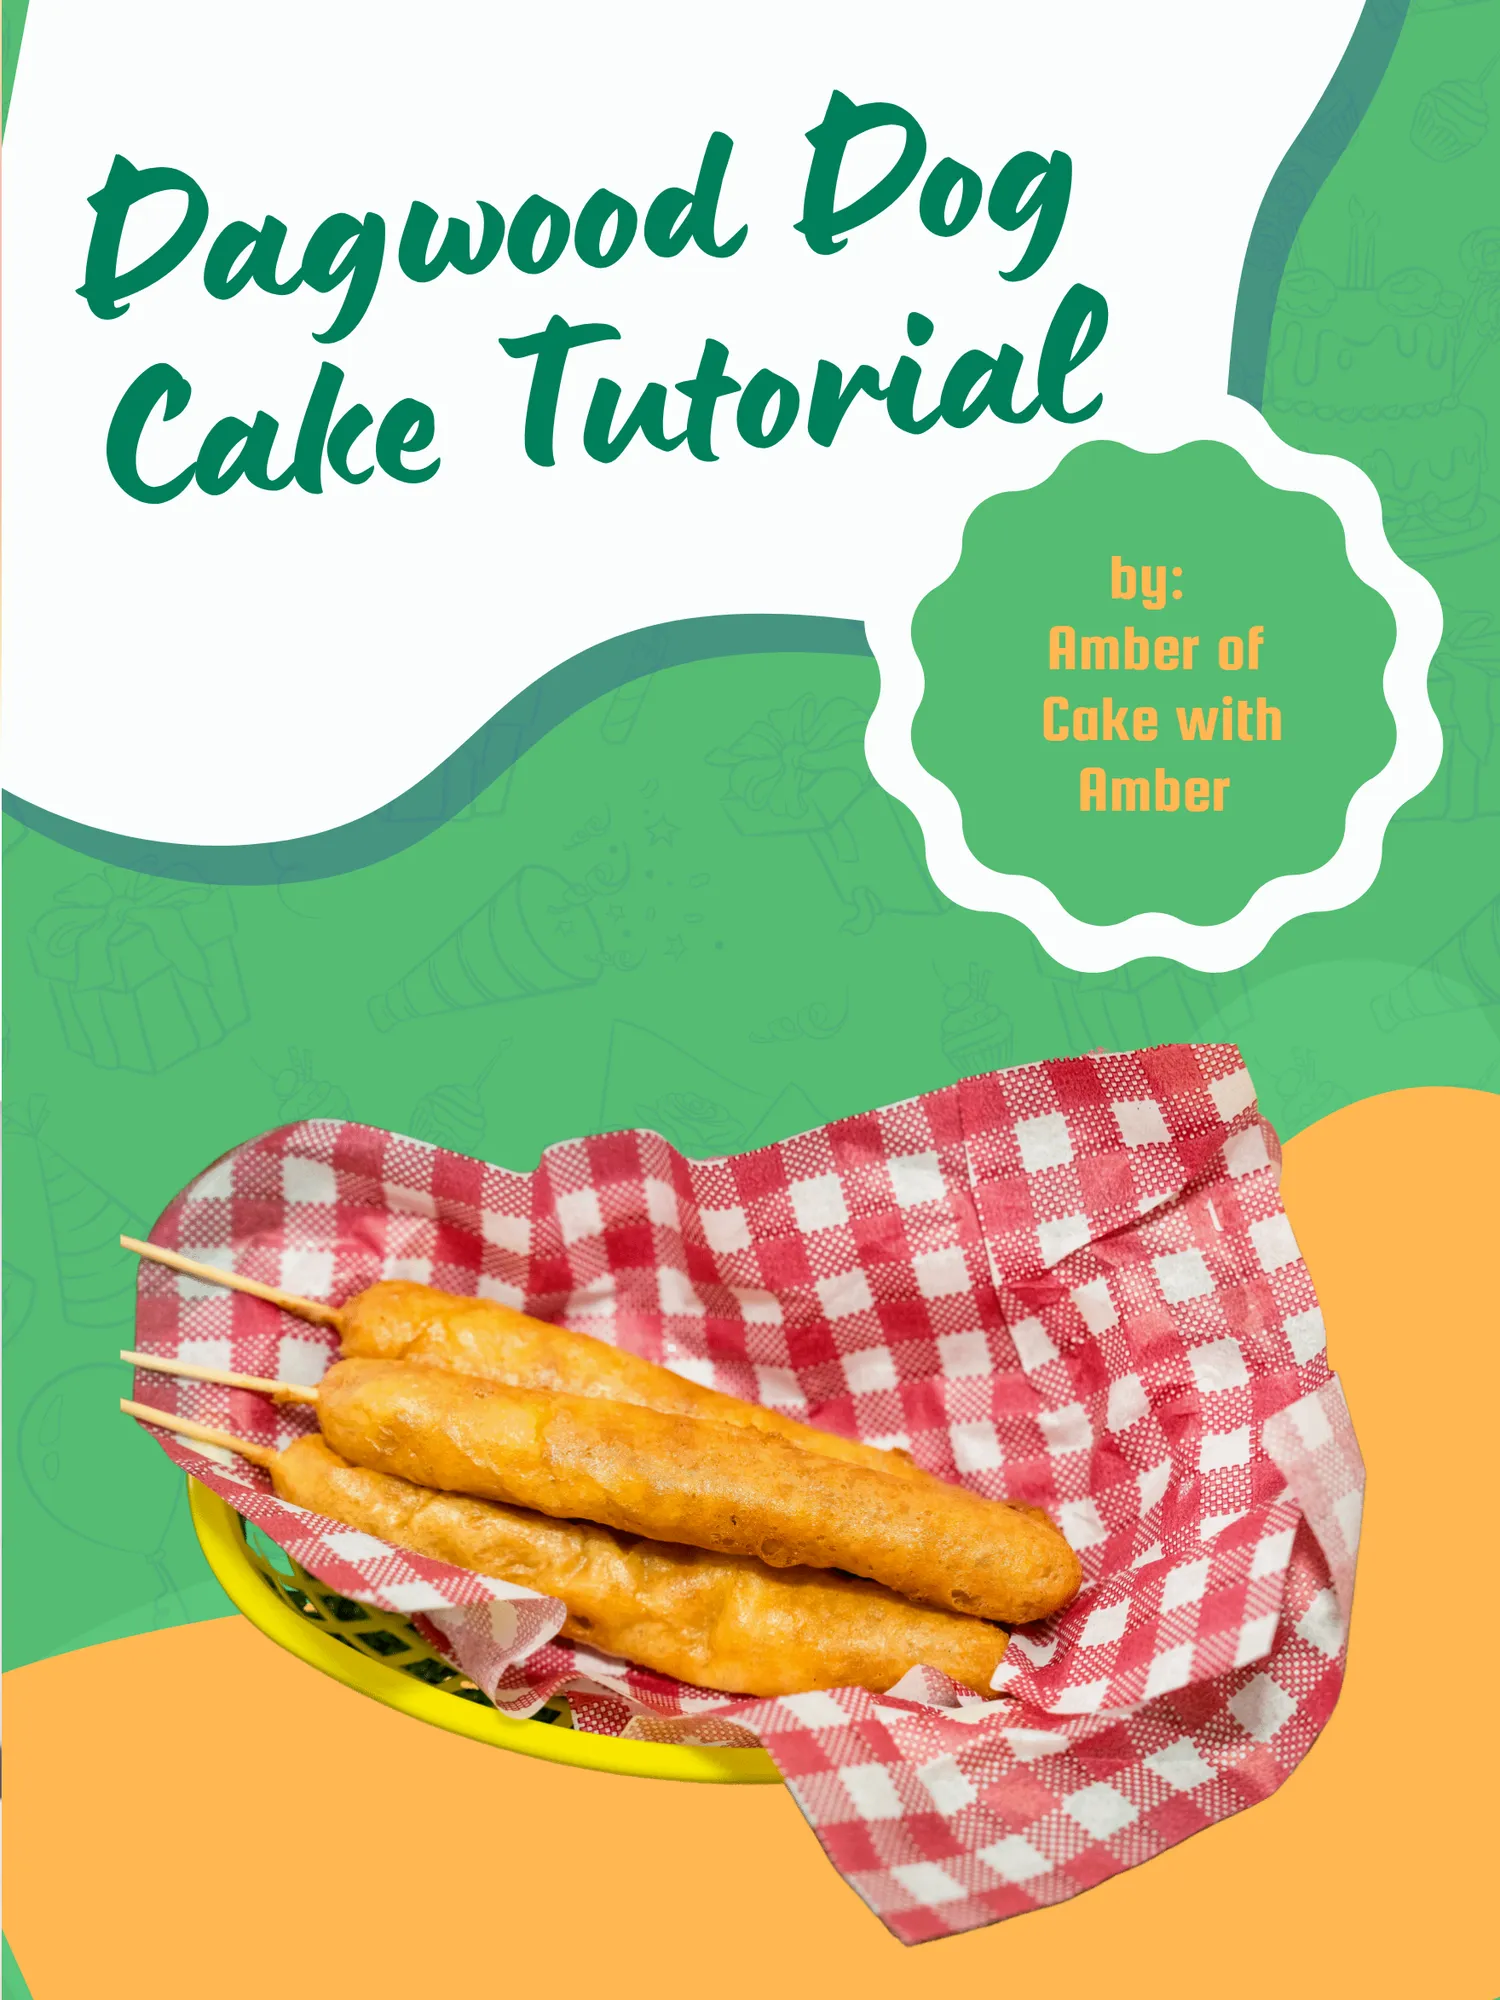
Dagwood Dog Cake Tutorial by: Amber of Cake with Amber


Page 21 text
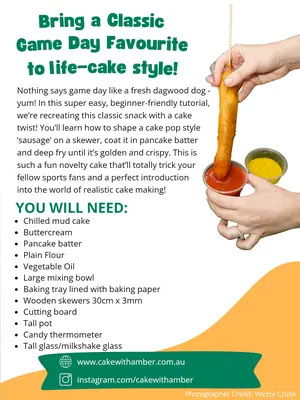
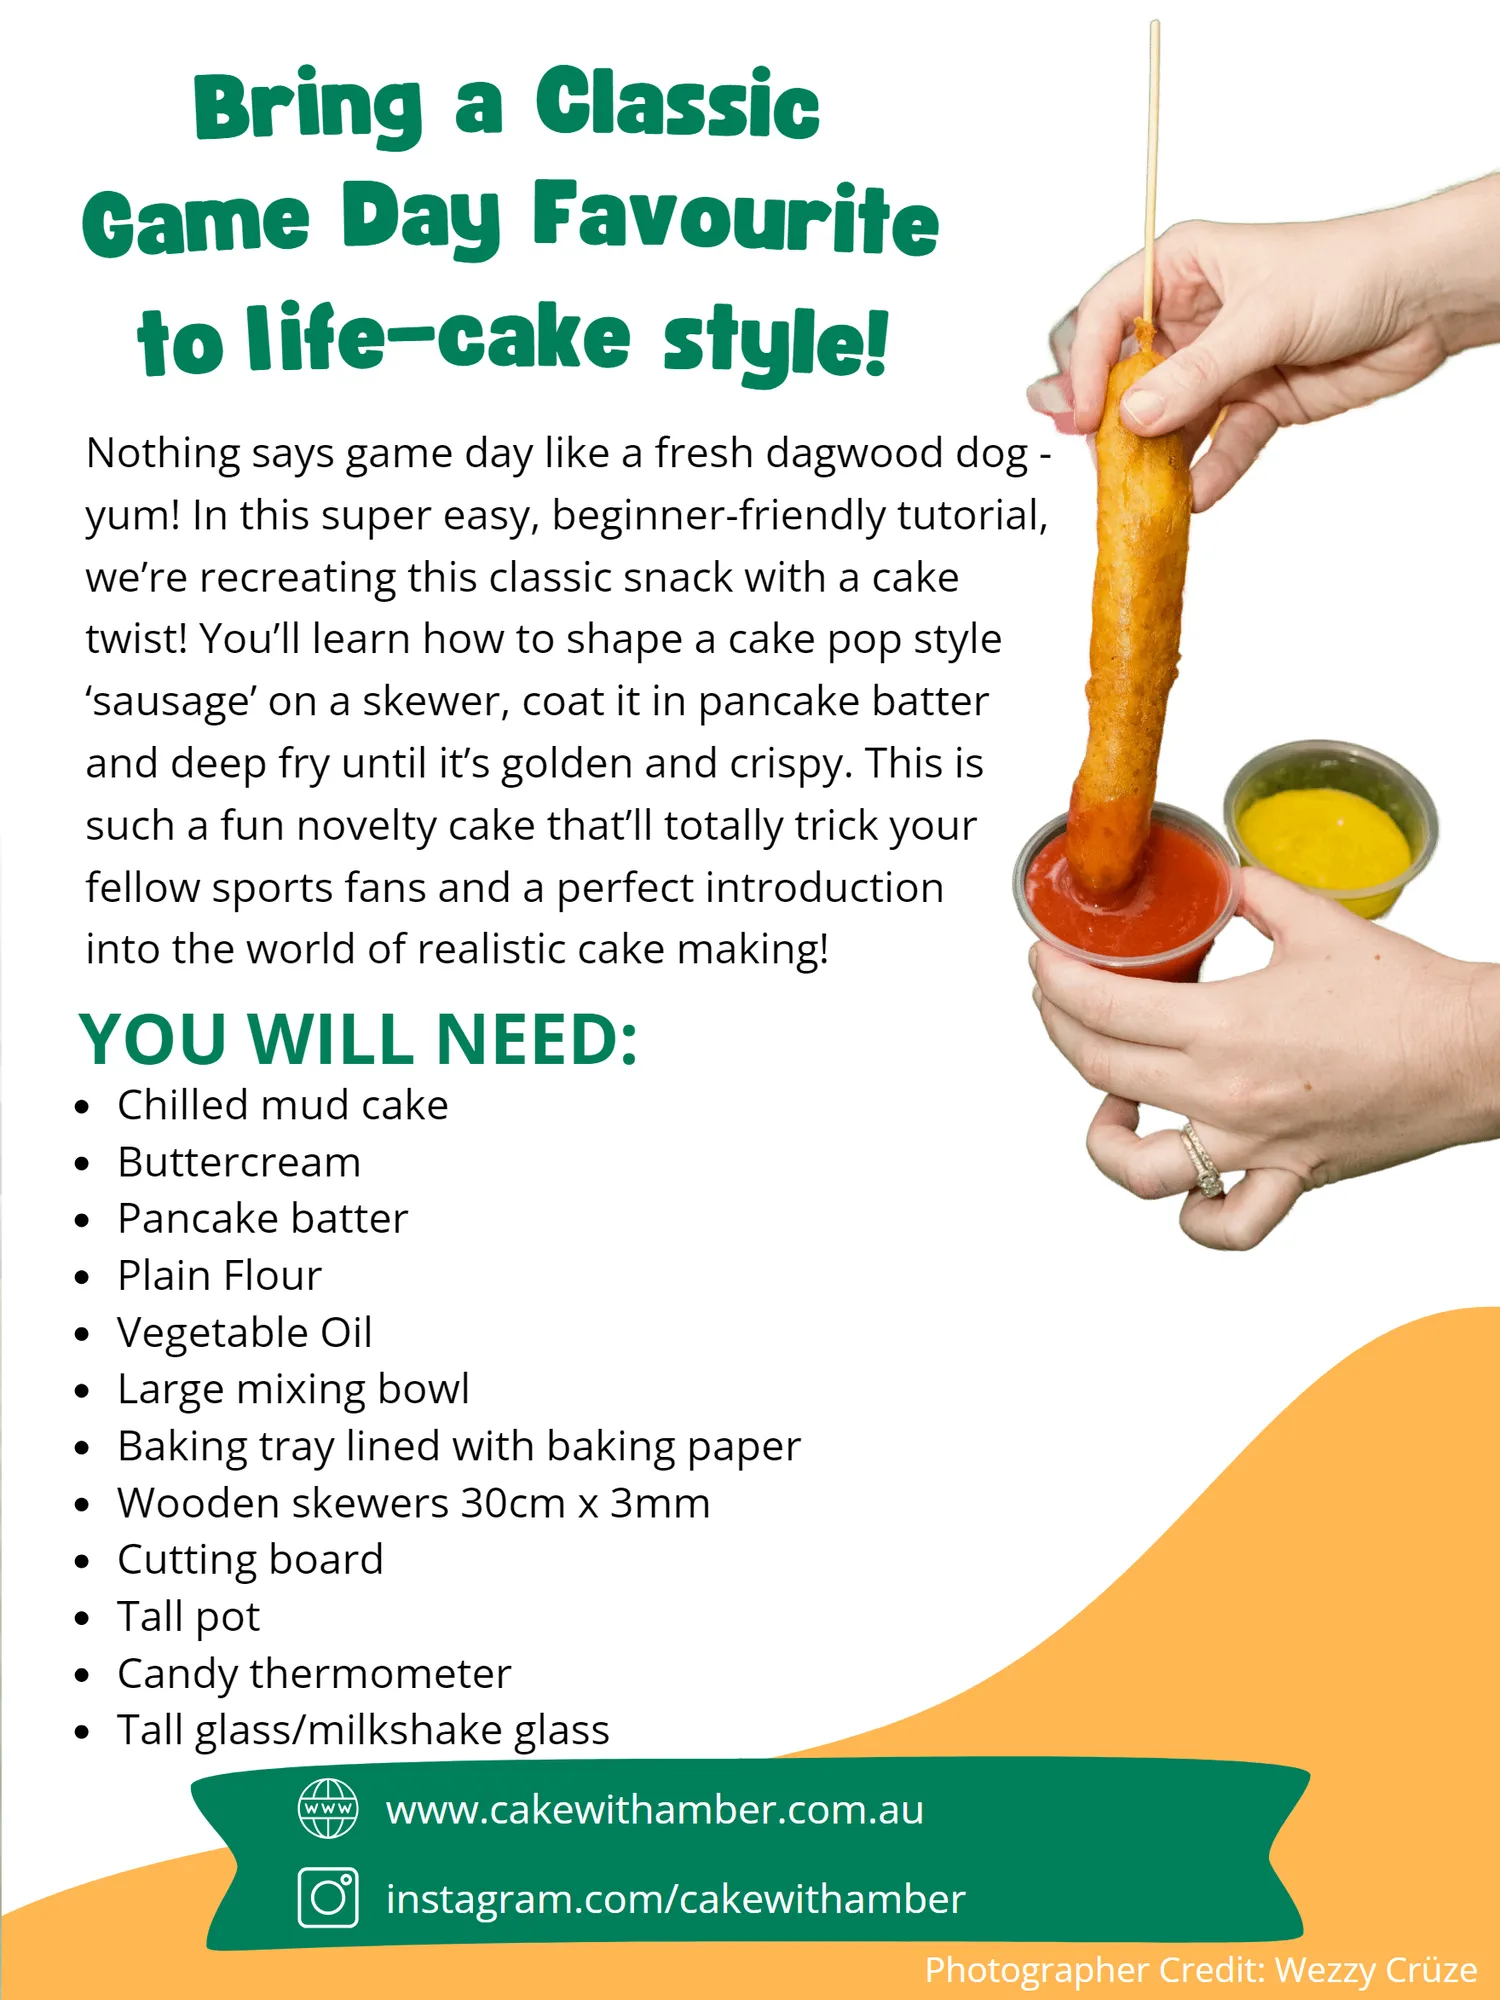
Bring a Classic Game Day Favourite to life— cake style! Nothing says game day like a fresh dagwood dog- yum! In this super easy, beginner-friendly tutorial, we’ re recreating this classic snack with a cake twist! You’ ll learn how to shape a cake pop style‘ sausage’ on a skewer, coat it in pancake batter and deep fry until it’ s golden and crispy. This is such a fun novelty cake that’ ll totally trick your fellow sports fans and a perfect introduction into the world of realistic cake making! YOU WILL NEED: Chilled mud cake Buttercream Pancake batter Plain Flour Vegetable Oil Large mixing bowl Baking tray lined with baking paper Wooden skewers 30cm x 3mm Cutting board Tall pot Candy thermometer Tall glass / milkshake glass www. cakewithamber. com. au instagram. com / cakewithamber Photographer Credit: Wezzy Crüze
Page 22 text
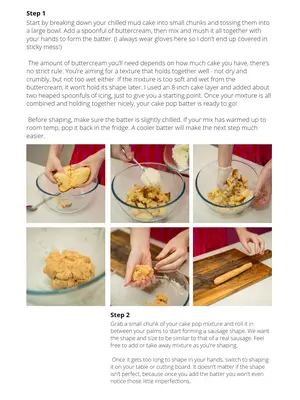
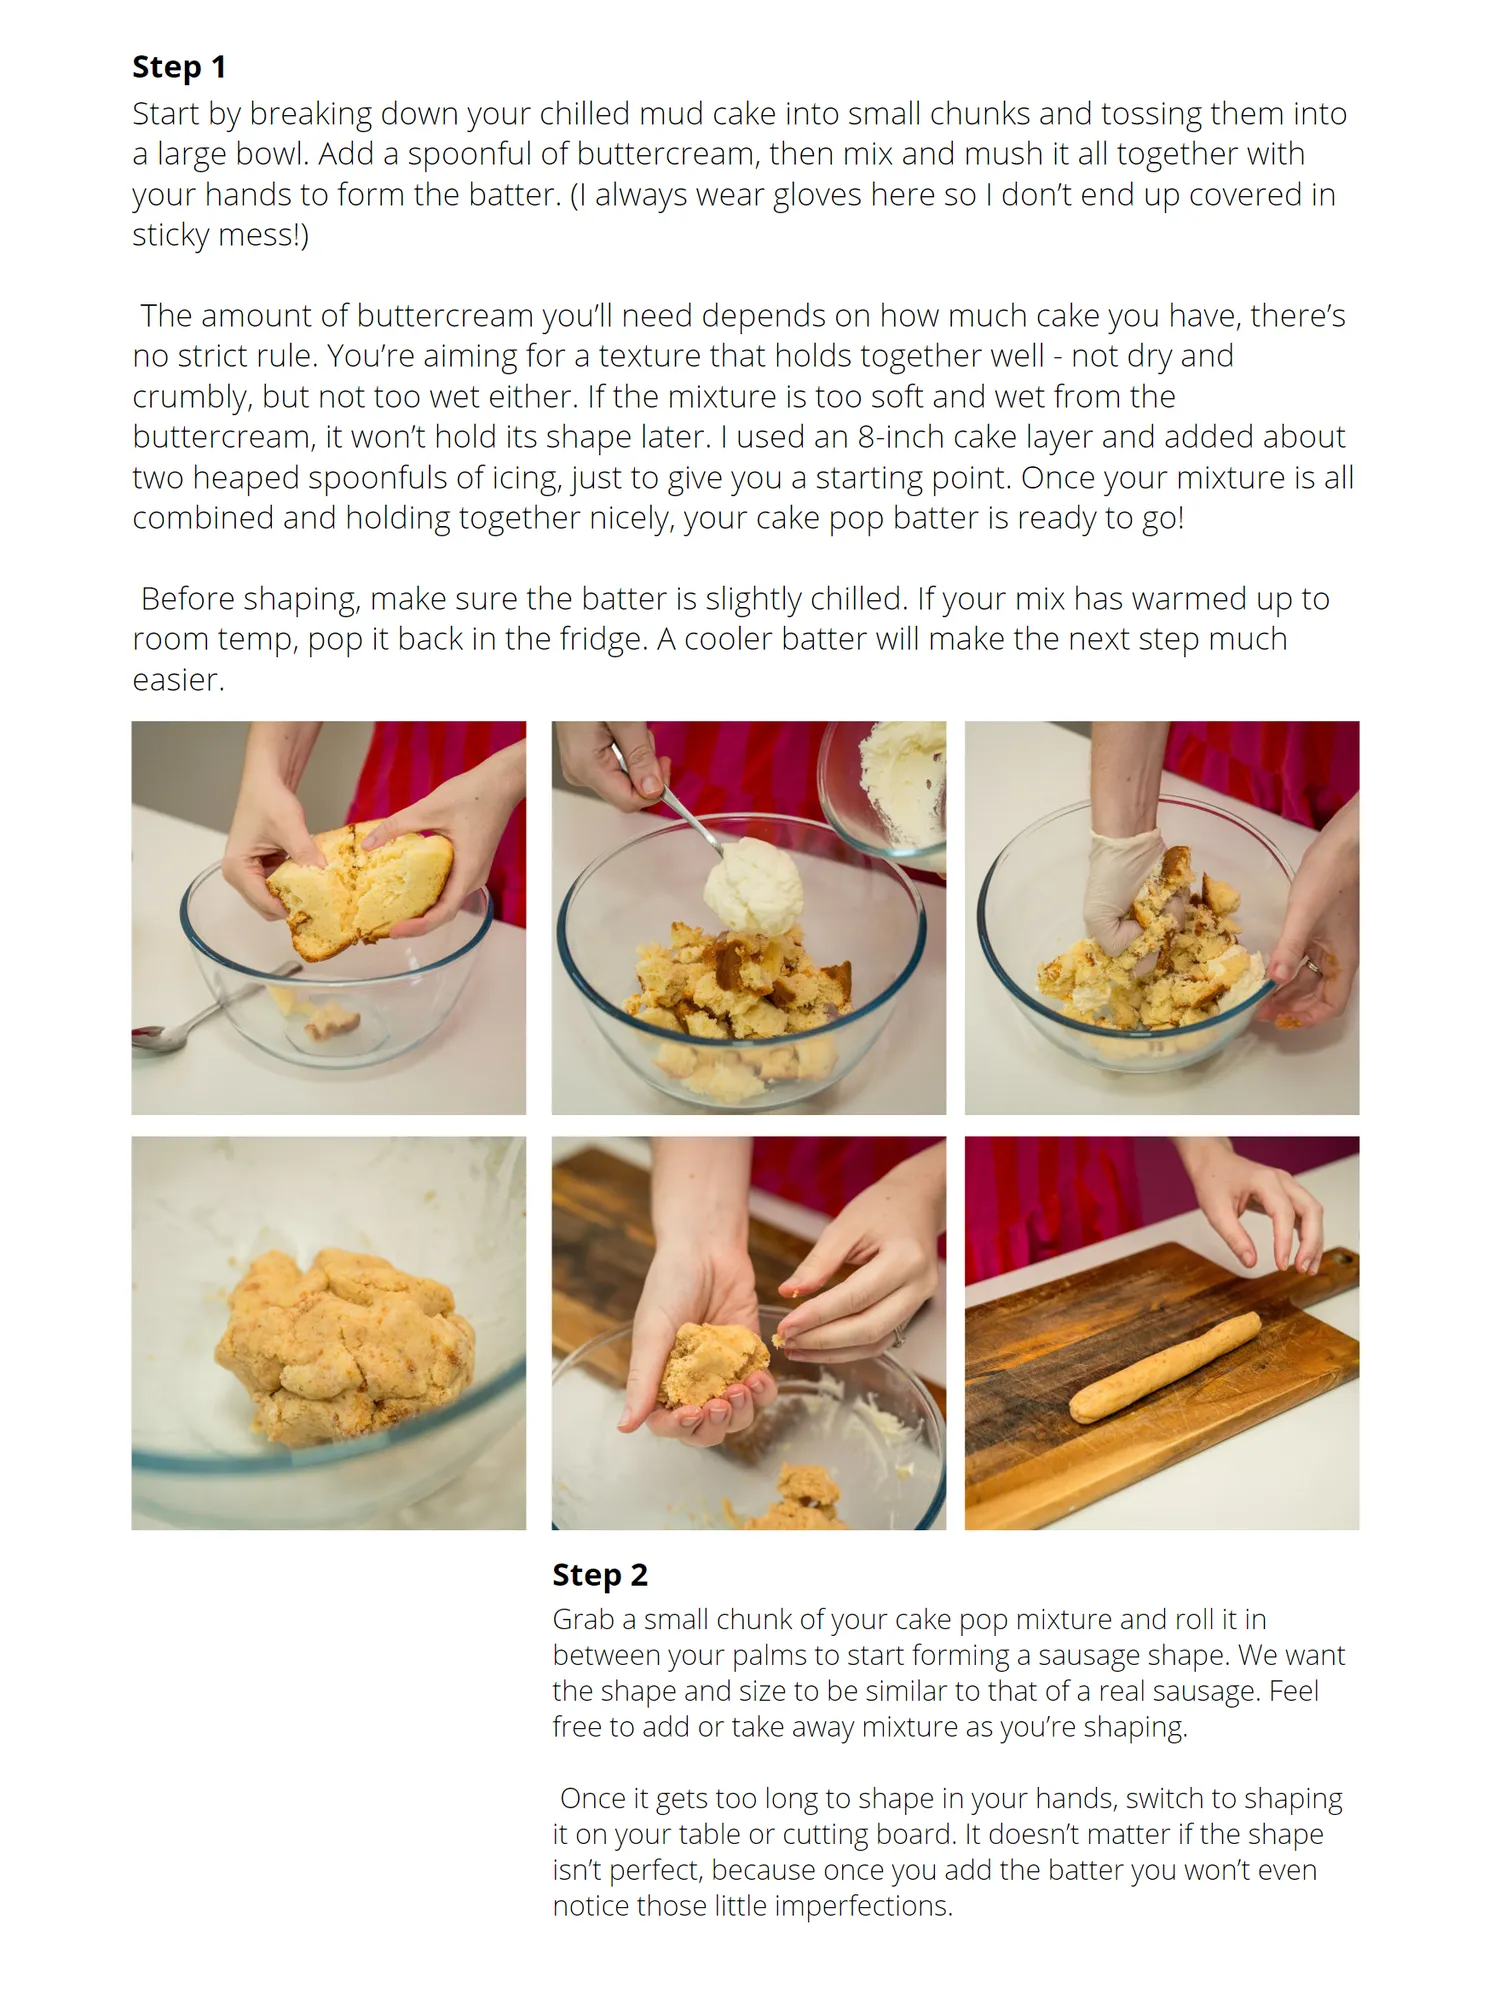
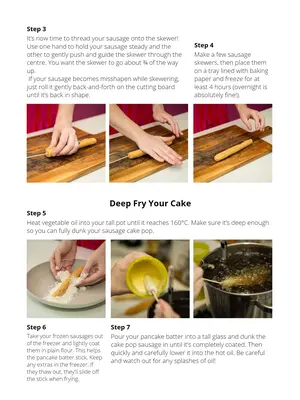
Step 1 Start by breaking down your chilled mud cake into small chunks and tossing them into a large bowl. Add a spoonful of buttercream, then mix and mush it all together with your hands to form the batter. (I always wear gloves here so I don’t end up covered in sticky mess!) The amount of buttercream you’ll need depends on how much cake you have, there’s no strict rule. You’re aiming for a texture that holds together well - not dry and crumbly, but not too wet either. If the mixture is too soft and wet from the buttercream, it won’t hold its shape later. I used an 8-inch cake layer and added about two heaped spoonfuls of icing, just to give you a starting point. Once your mixture is all combined and holding together nicely, your cake pop batter is ready to go! Before shaping, make sure the batter is slightly chilled. If your mix has warmed up to room temp, pop it back in the fridge. A cooler batter will make the next step much easier. Step 2 Grab a small chunk of your cake pop mixture and roll it in between your palms to start forming a sausage shape. We want the shape and size to be similar to that of a real sausage. Feel free to add or take away mixture as you’re shaping. Once it gets too long to shape in your hands, switch to shaping it on your table or cutting board. It doesn’t matter if the shape isn’t perfect, because once you add the batter you won’t even notice those little imperfections.
Page 23 text
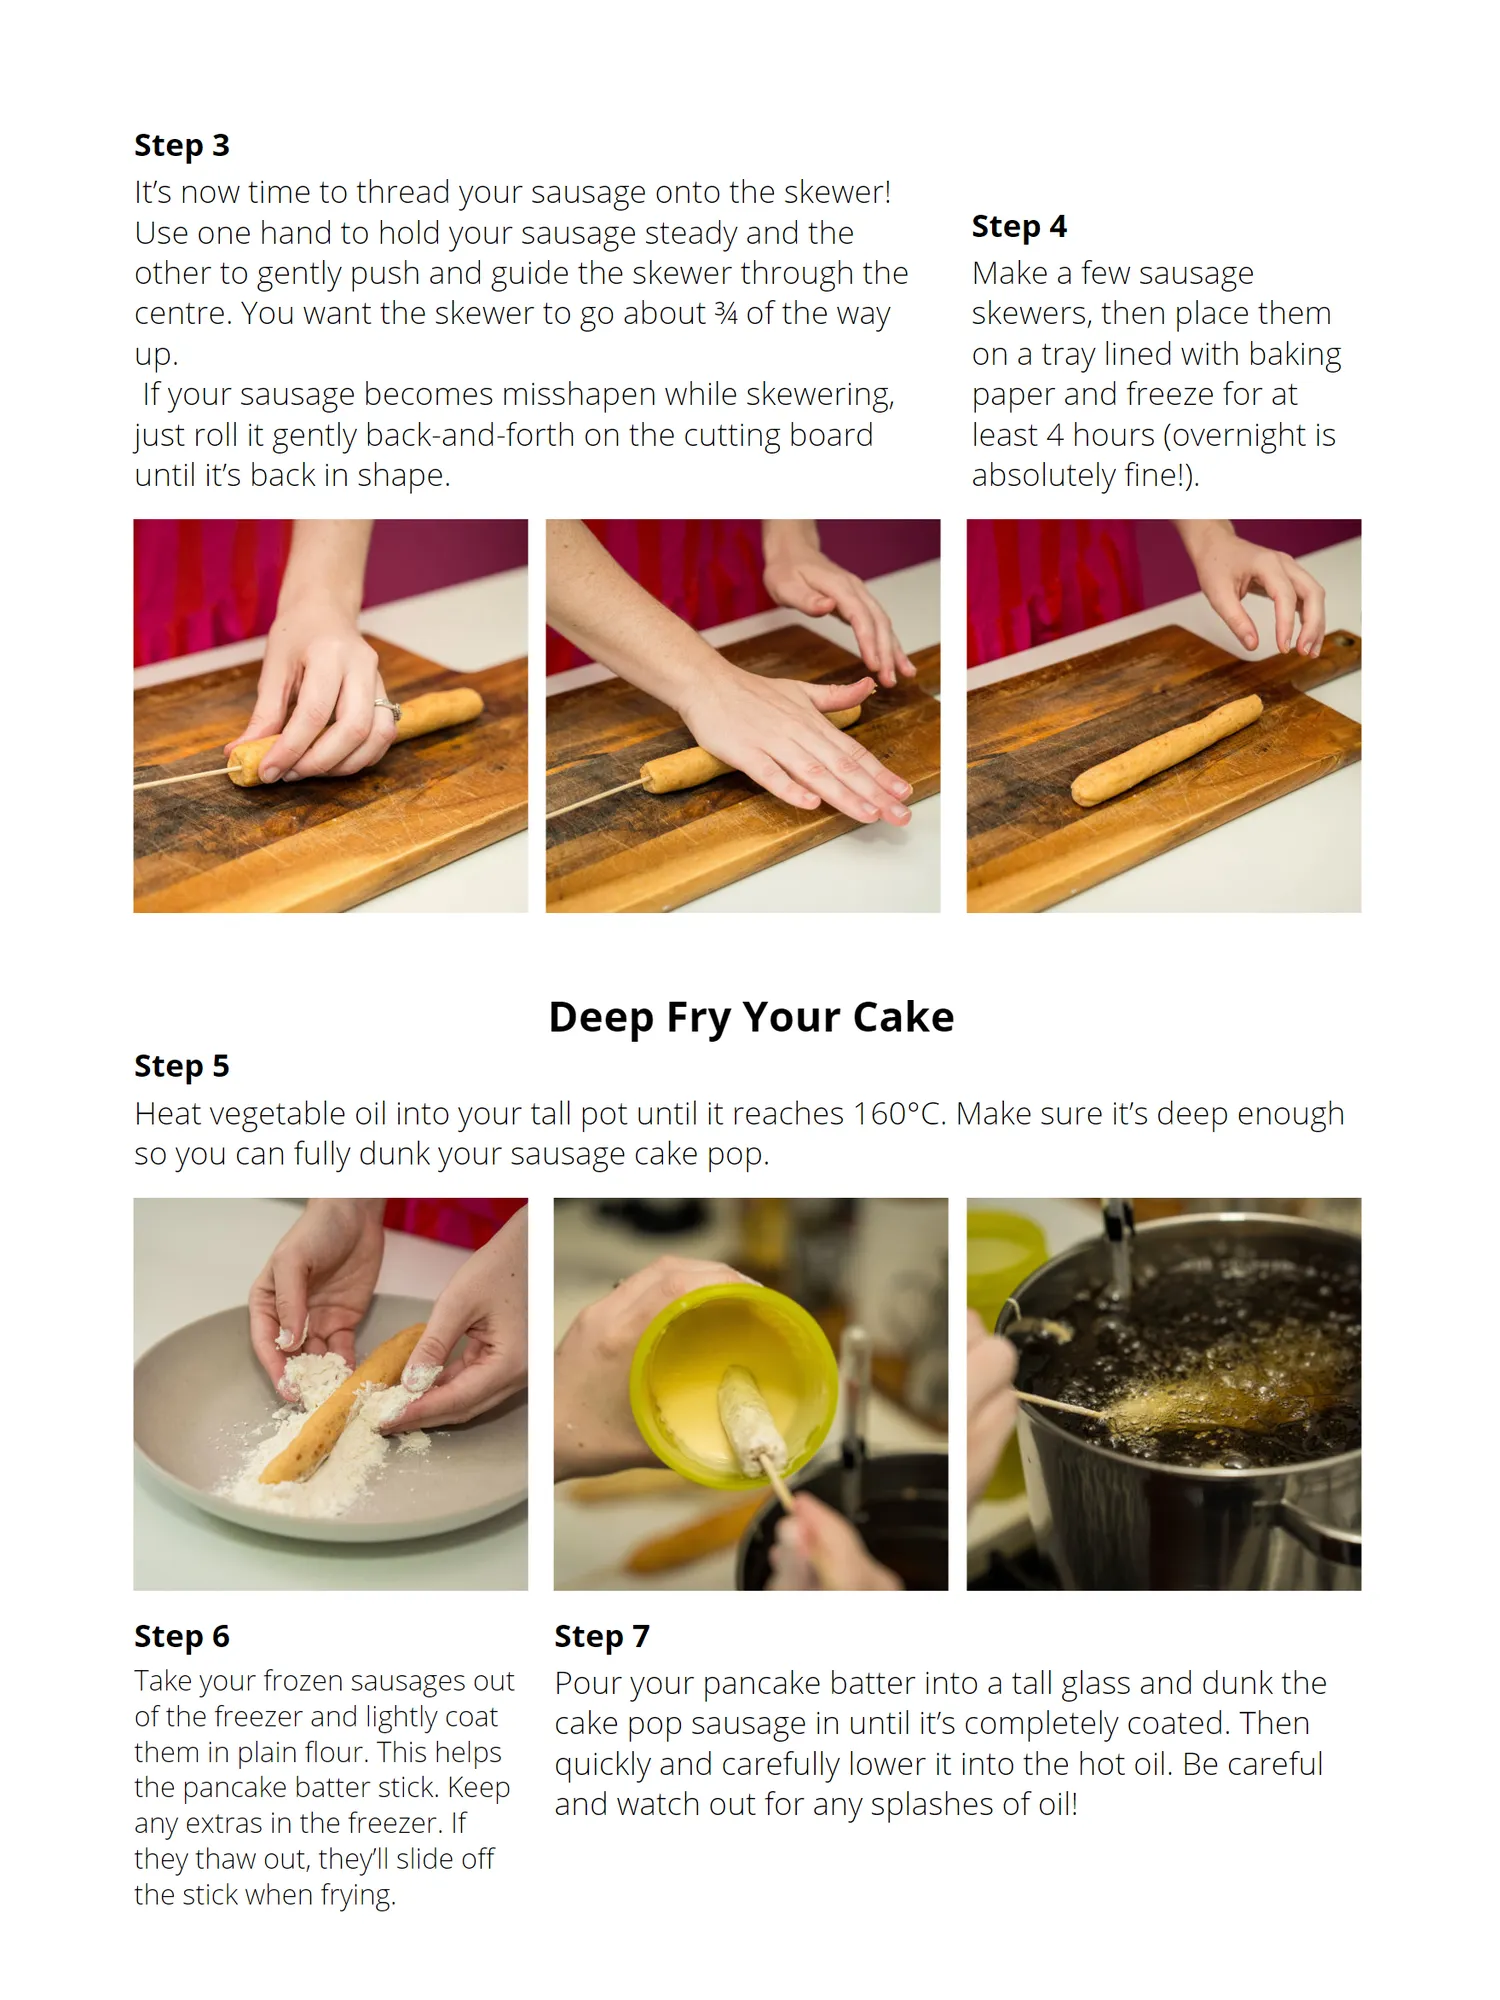
Step 3 It’s now time to thread your sausage onto the skewer! Use one hand to hold your sausage steady and the Step 4 other to gently push and guide the skewer through the Make a few sausage centre. You want the skewer to go about ¾ of the way skewers, then place them up. on a tray lined with baking If your sausage becomes misshapen while skewering, paper and freeze for at just roll it gently back-and-forth on the cutting board least 4 hours (overnight is until it’s back in shape. absolutely fine!). Deep Fry Your Cake Step 5 Heat vegetable oil into your tall pot until it reaches 160°C. Make sure it’s deep enough so you can fully dunk your sausage cake pop. Step 6 Step 7 Take your frozen sausages out Pour your pancake batter into a tall glass and dunk the of the freezer and lightly coat cake pop sausage in until it’s completely coated. Then them in plain flour. This helps quickly and carefully lower it into the hot oil. Be careful the pancake batter stick. Keep and watch out for any splashes of oil! any extras in the freezer. If they thaw out, they’ll slide off the stick when frying.
Page 24 text
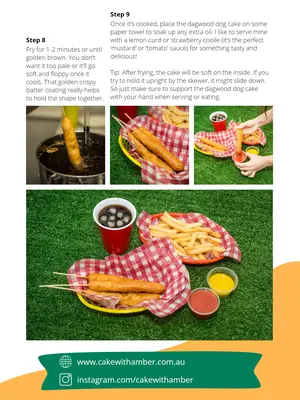
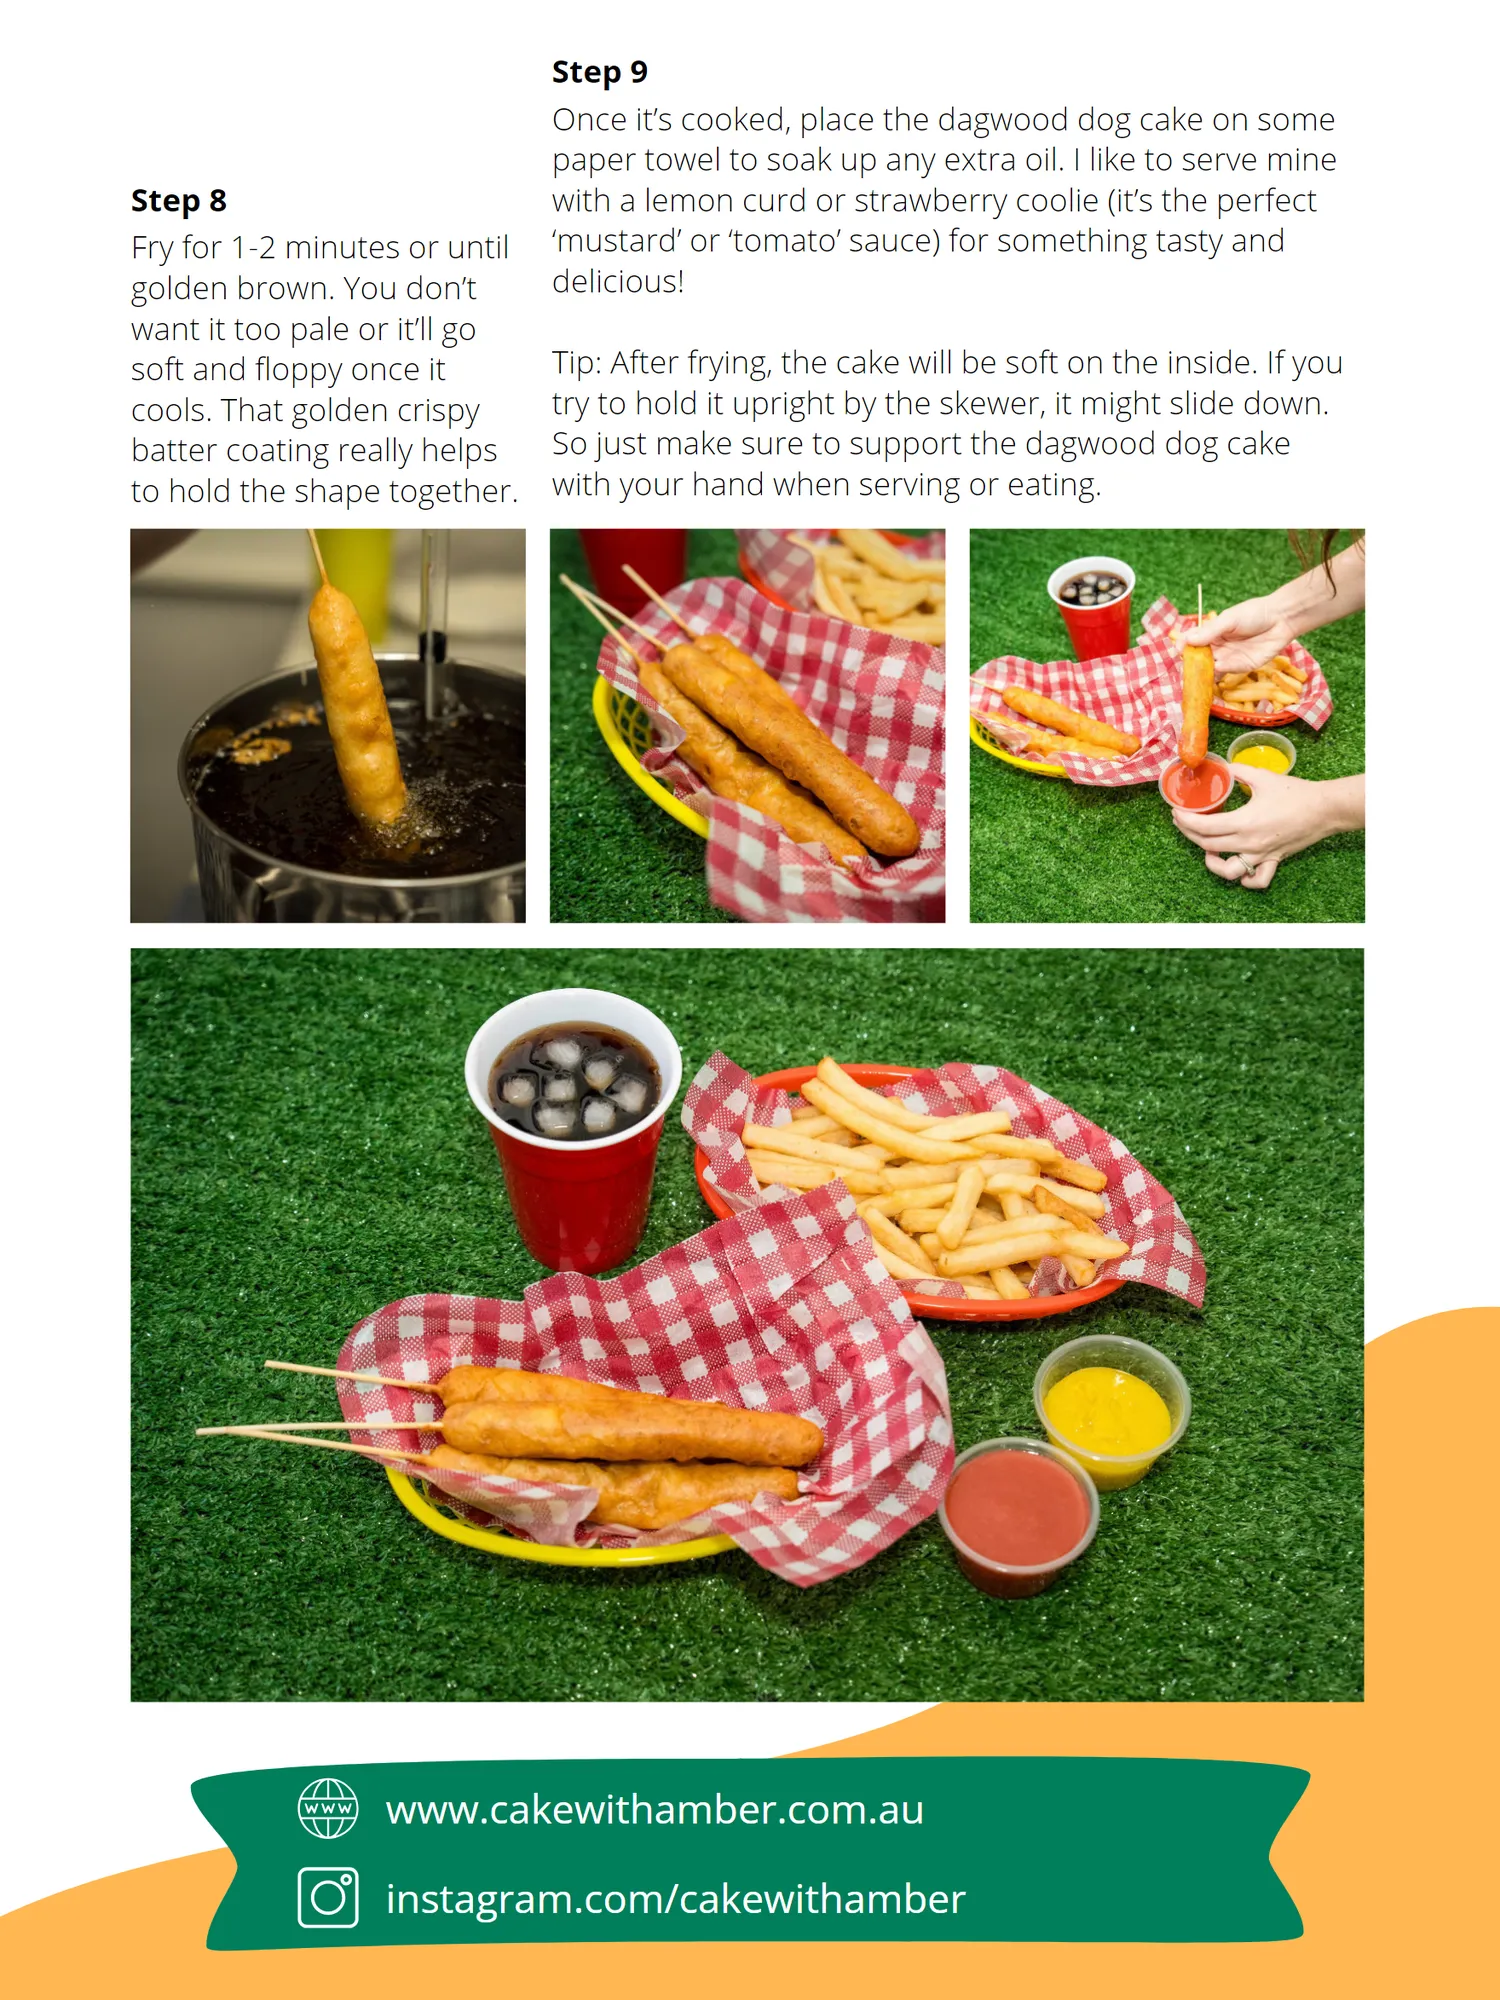
Step 8 Fry for 1-2 minutes or until golden brown. You don’t want it too pale or it’ll go soft and floppy once it cools. That golden crispy batter coating really helps to hold the shape together.


Page 28 text
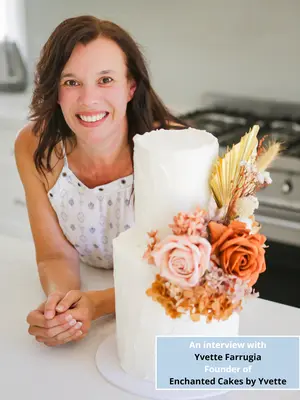
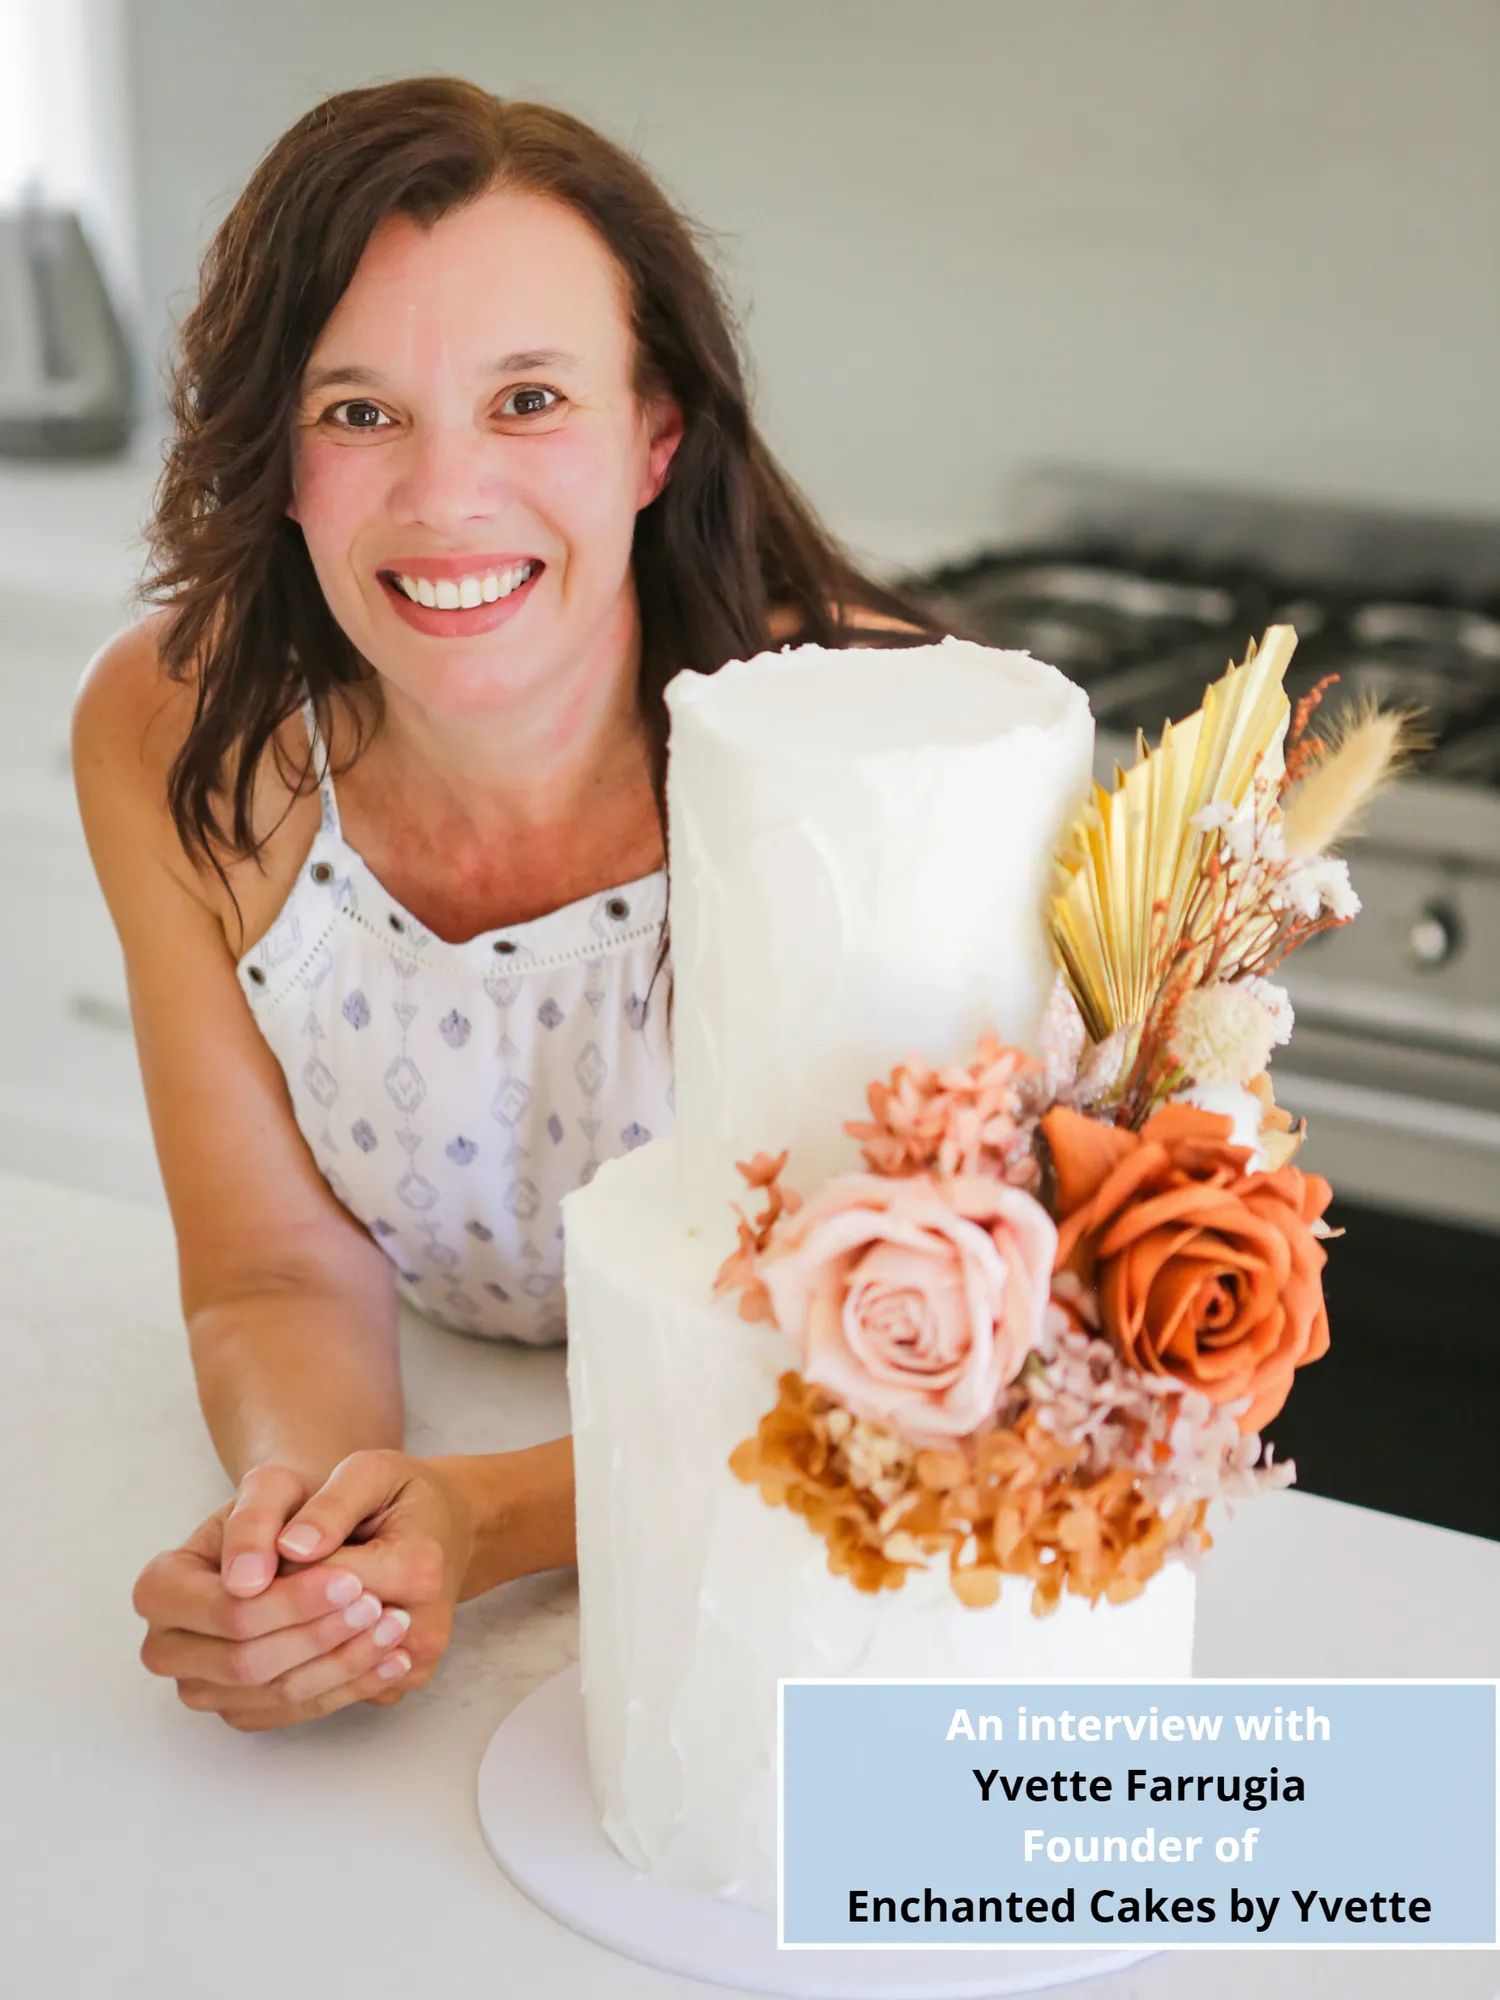
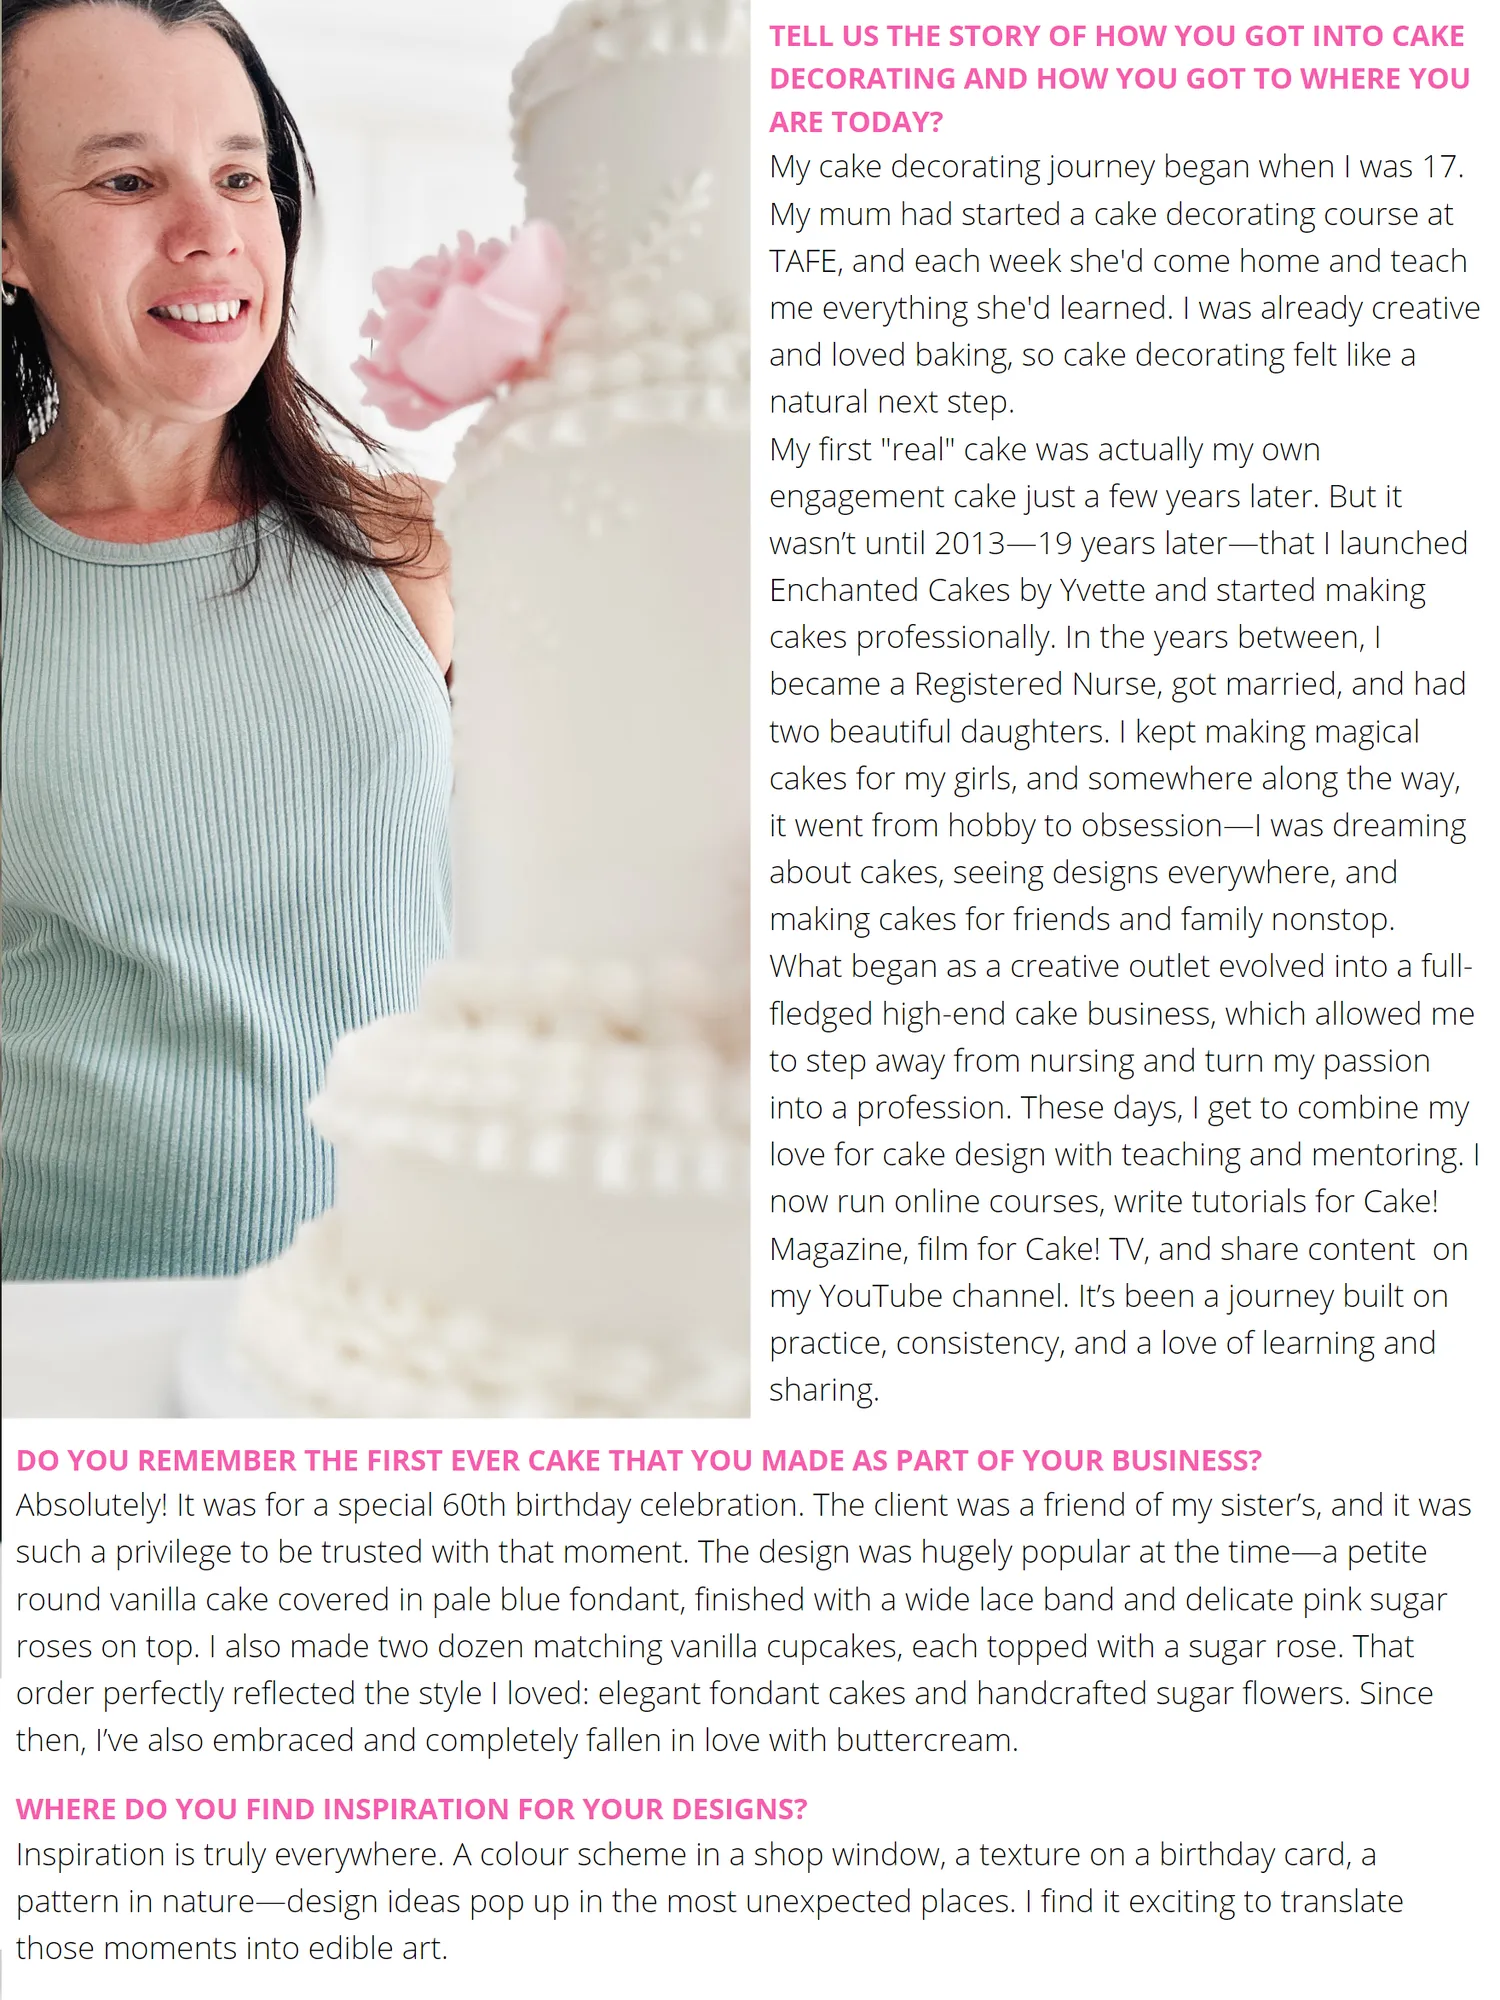
An interview with Yvette Farrugia Founder of Enchanted Cakes by Yvette
Page 29 text
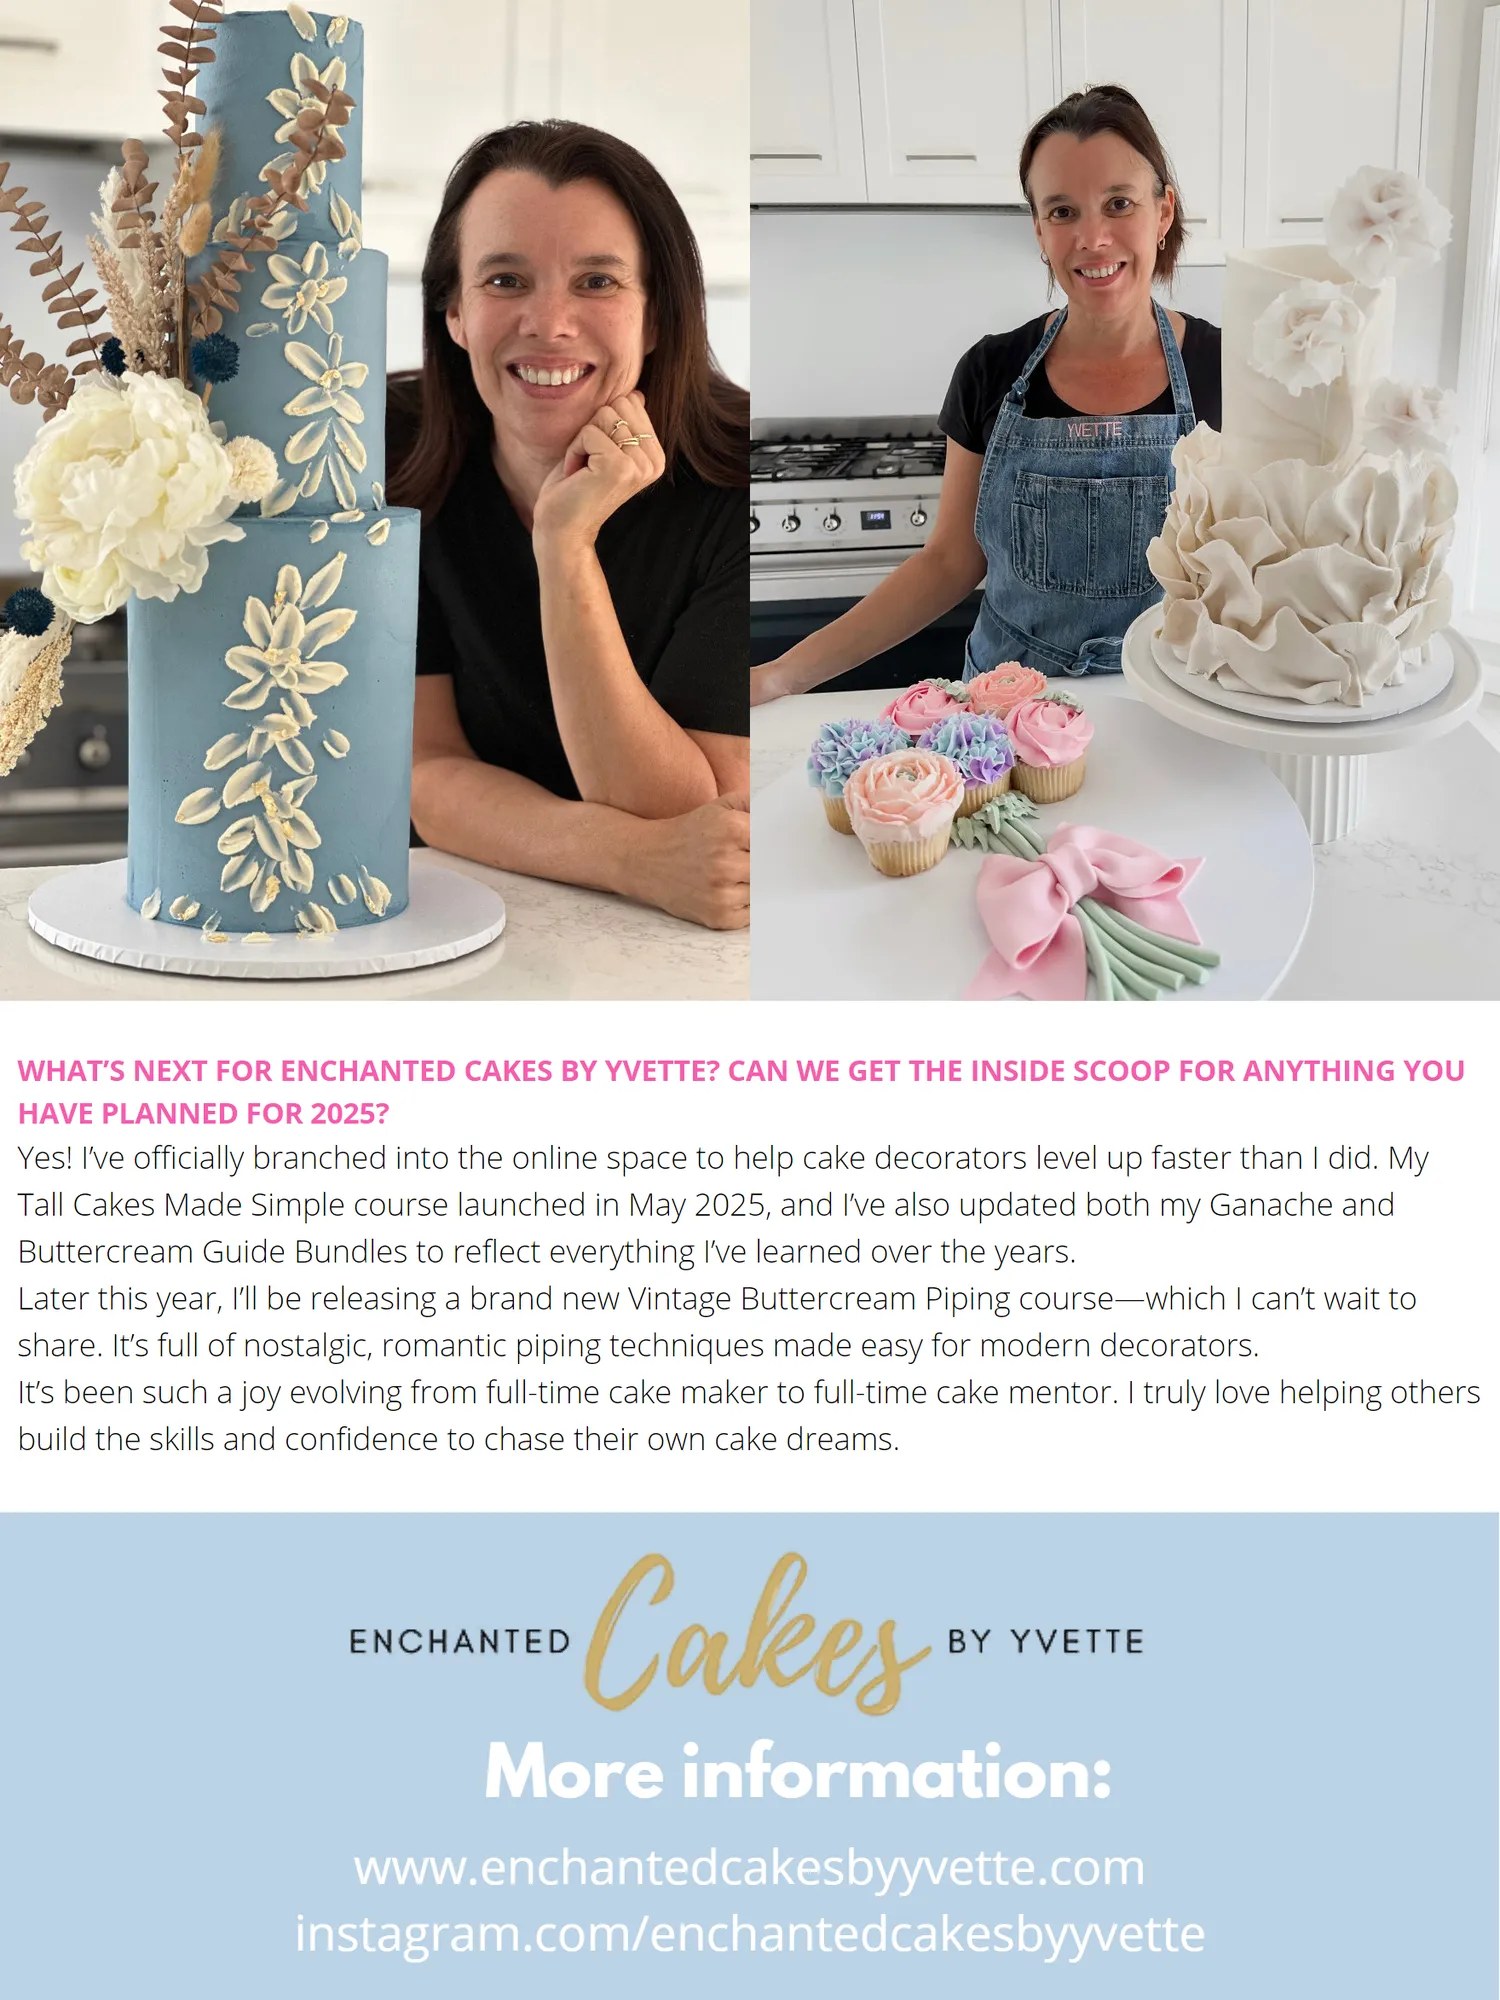
TELL US THE STORY OF HOW YOU GOT INTO CAKE DECORATING AND HOW YOU GOT TO WHERE YOU ARE TODAY? My cake decorating journey began when I was 17. My mum had started a cake decorating course at TAFE, and each week she'd come home and teach me everything she'd learned. I was already creative and loved baking, so cake decorating felt like a natural next step. My first "real" cake was actually my own engagement cake just a few years later. But it wasn’t until 2013—19 years later—that I launched Enchanted Cakes by Yvette and started making cakes professionally. In the years between, I
Page 30 text
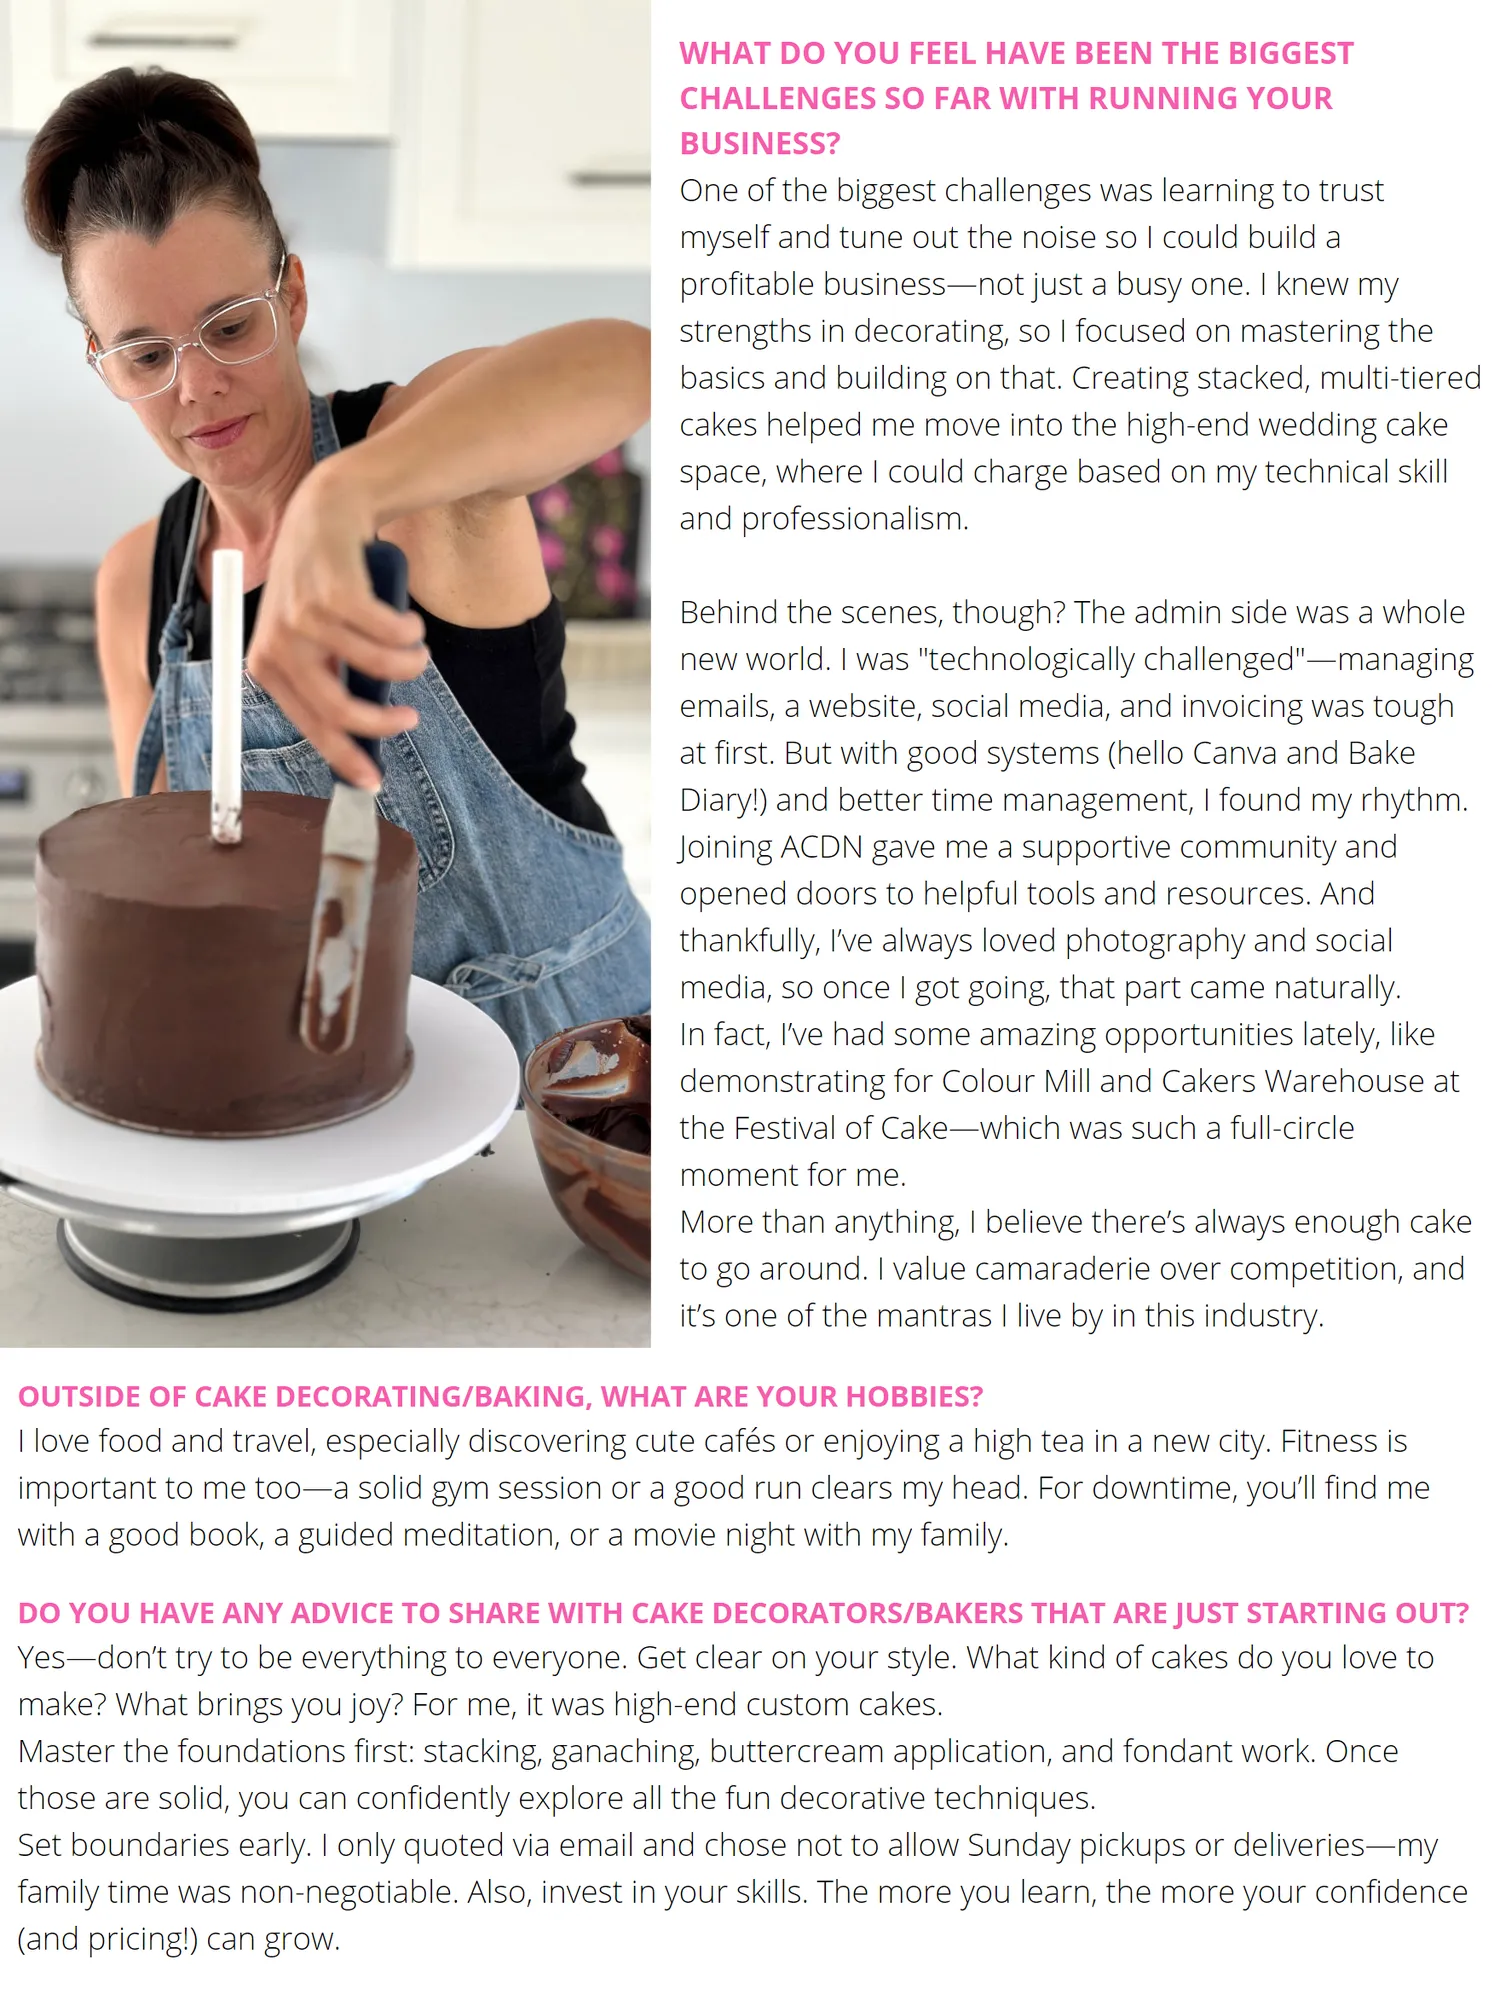
WHAT DO YOU FEEL HAVE BEEN THE BIGGEST CHALLENGES SO FAR WITH RUNNING YOUR BUSINESS? One of the biggest challenges was learning to trust myself and tune out the noise so I could build a profitable business—not just a busy one. I knew my strengths in decorating, so I focused on mastering the basics and building on that. Creating stacked, multi-tiered cakes helped me move into the high-end wedding cake space, where I could charge based on my technical skill and professionalism. Behind the scenes, though? The admin side was a whole new world. I was "technologically challenged"—managing emails, a website, social media, and invoicing was tough at first. But with good systems (hello Canva and Bake Diary!) and better time management, I found my rhythm. Joining ACDN gave me a supportive community and opened doors to helpful tools and resources. And thankfully, I’ve always loved photography and social media, so once I got going, that part came naturally. In fact, I’ve had some amazing opportunities lately, like demonstrating for Colour Mill and Cakers Warehouse at the Festival of Cake—which was such a full-circle moment for me. More than anything, I believe there’s always enough cake to go around. I value camaraderie over competition, and it’s one of the mantras I live by in this industry. OUTSIDE OF CAKE DECORATING/BAKING, WHAT ARE YOUR HOBBIES? I love food and travel, especially discovering cute cafés or enjoying a high tea in a new city. Fitness is important to me too—a solid gym session or a good run clears my head. For downtime, you’ll find me with a good book, a guided meditation, or a movie night with my family. DO YOU HAVE ANY ADVICE TO SHARE WITH CAKE DECORATORS/BAKERS THAT ARE JUST STARTING OUT? Yes—don’t try to be everything to everyone. Get clear on your style. What kind of cakes do you love to make? What brings you joy? For me, it was high-end custom cakes. Master the foundations first: stacking, ganaching, buttercream application, and fondant work. Once those are solid, you can confidently explore all the fun decorative techniques. Set boundaries early. I only quoted via email and chose not to allow Sunday pickups or deliveries—my family time was non-negotiable. Also, invest in your skills. The more you learn, the more your confidence (and pricing!) can grow.
Page 31 text
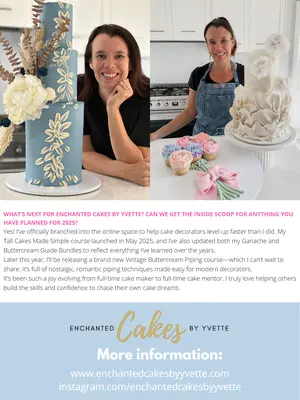
WHAT’S NEXT FOR ENCHANTED CAKES BY YVETTE? CAN WE GET THE INSIDE SCOOP FOR ANYTHING YOU HAVE PLANNED FOR 2025? Yes! I’ve officially branched into the online space to help cake decorators level up faster than I did. My Tall Cakes Made Simple course launched in May 2025, and I’ve also updated both my Ganache and Buttercream Guide Bundles to reflect everything I’ve learned over the years. Later this year, I’ll be releasing a brand new Vintage Buttercream Piping course—which I can’t wait to share. It’s full of nostalgic, romantic piping techniques made easy for modern decorators. It’s been such a joy evolving from full-time cake maker to full-time cake mentor. I truly love helping others build the skills and confidence to chase their own cake dreams. More information: www.enchantedcakesbyyvette.com instagram.com/enchantedcakesbyyvette

Page 32 text
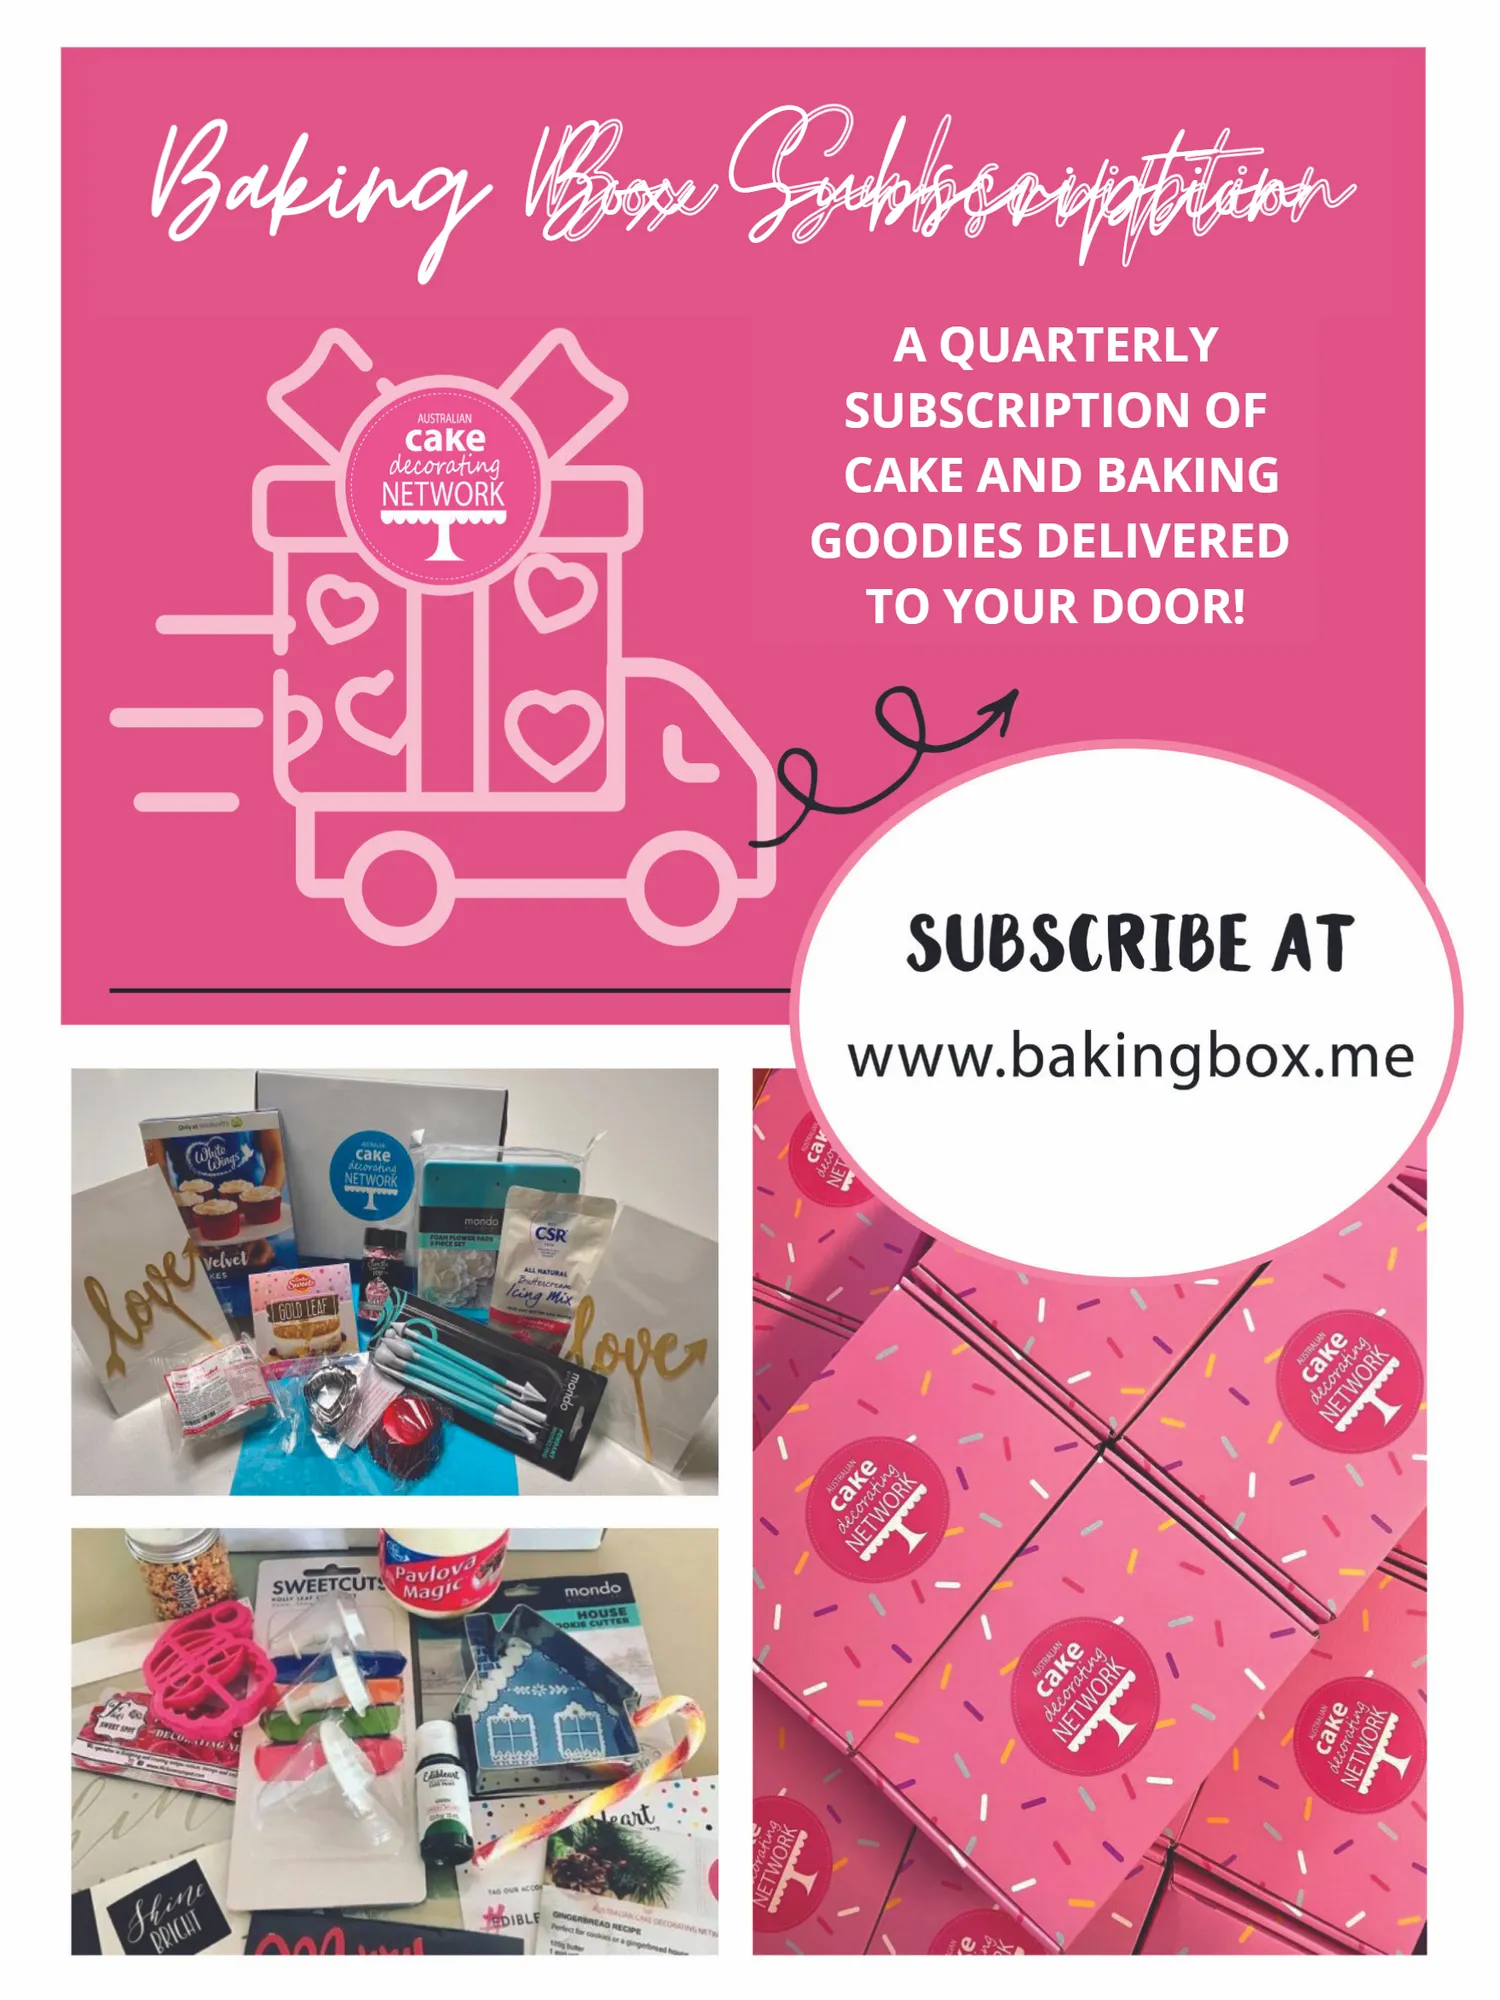
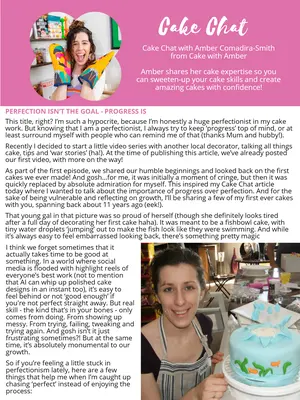
Baking Box Subscription A QUARTERLY SUBSCRIPTION OF CAKE AND BAKING GOODIES DELIVERED TO YOUR DOOR!
Page 33 text
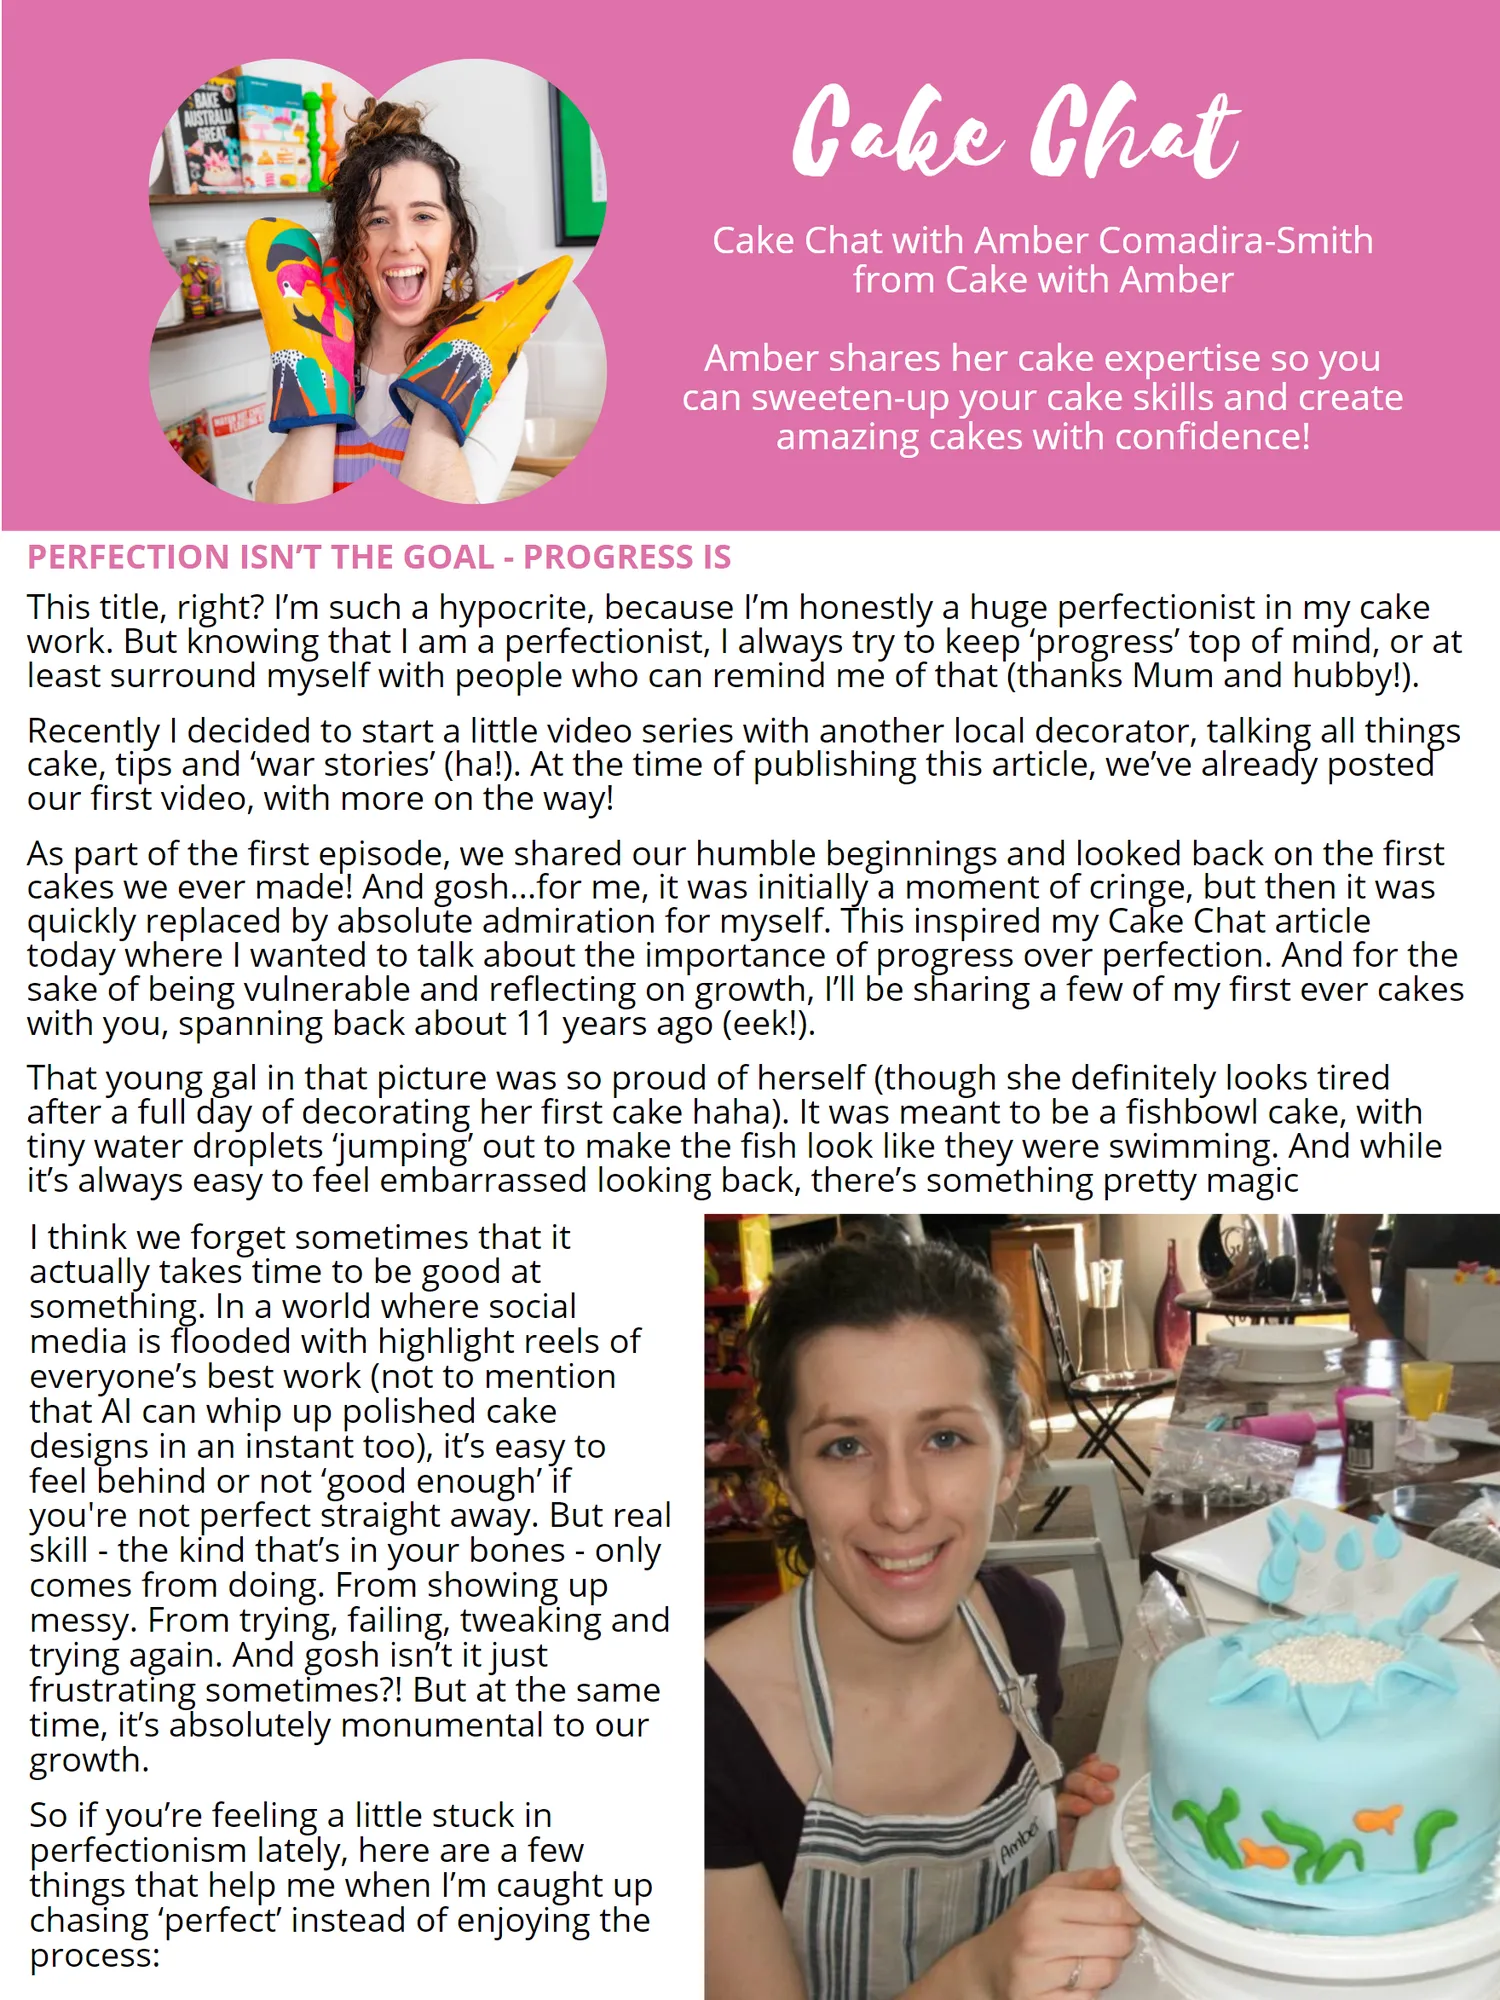
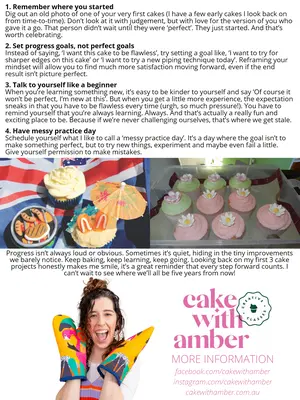
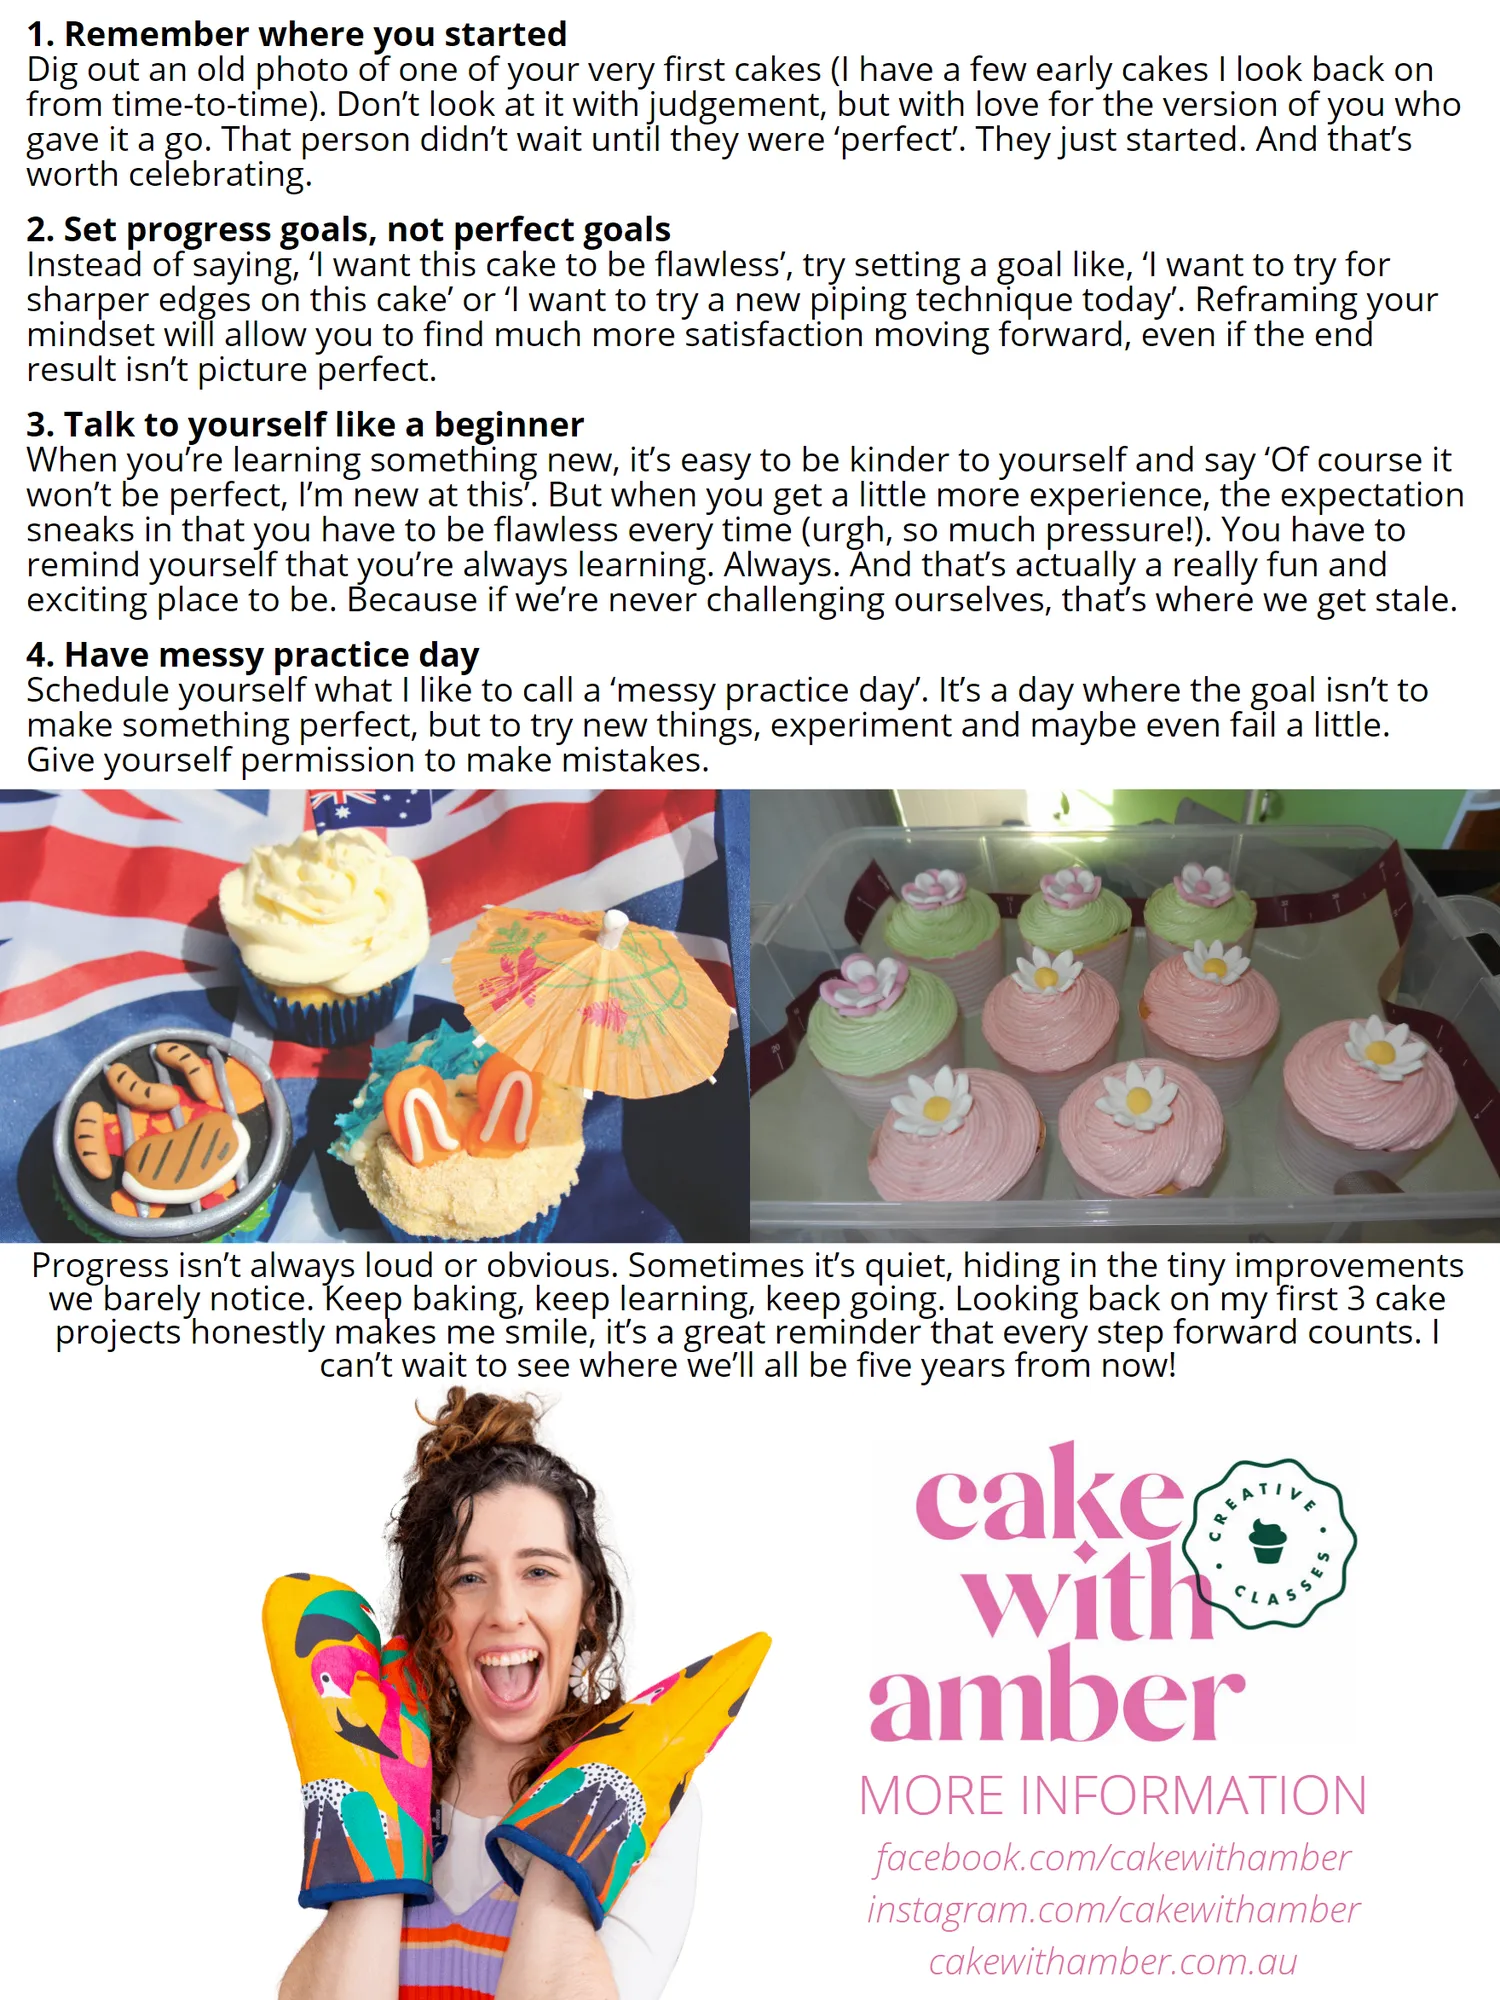
Cake Chat Cake Chat with Amber Comadira-Smith from Cake with Amber Amber shares her cake expertise so you can sweeten-up your cake skills and create amazing cakes with confidence! PERFECTION ISN’ T THE GOAL- PROGRESS IS This title, right? I’ m such a hypocrite, because I’ m honestly a huge perfectionist in my cake work. But knowing that I am a perfectionist, I always try to keep‘ progress’ top of mind, or at least surround myself with people who can remind me of that( thanks Mum and hubby!). Recently I decided to start a little video series with another local decorator, talking all things cake, tips and‘ war stories’( ha!). At the time of publishing this article, we’ ve already posted our first video, with more on the way! As part of the first episode, we shared our humble beginnings and looked back on the first cakes we ever made! And gosh … for me, it was initially a moment of cringe, but then it was quickly replaced by absolute admiration for myself. This inspired my Cake Chat article today where I wanted to talk about the importance of progress over perfection. And for the sake of being vulnerable and reflecting on growth, I’ ll be sharing a few of my first ever cakes with you, spanning back about 11 years ago( eek!). That young gal in that picture was so proud of herself( though she definitely looks tired after a full day of decorating her first cake haha). It was meant to be a fishbowl cake, with tiny water droplets‘ jumping’ out to make the fish look like they were swimming. And while it’ s always easy to feel embarrassed looking back, there’ s something pretty magic I think we forget sometimes that it actually takes time to be good at something. In a world where social media is flooded with highlight reels of everyone’ s best work( not to mention that AI can whip up polished cake designs in an instant too), it’ s easy to feel behind or not‘ good enough’ if you ' re not perfect straight away. But real skill- the kind that’ s in your bones- only comes from doing. From showing up messy. From trying, failing, tweaking and trying again. And gosh isn’ t it just frustrating sometimes?! But at the same time, it’ s absolutely monumental to our growth. So if you’ re feeling a little stuck in perfectionism lately, here are a few things that help me when I’ m caught up chasing‘ perfect’ instead of enjoying the process:
Page 34 text
1. Remember where you started Dig out an old photo of one of your very first cakes (I have a few early cakes I look back on from time-to-time). Don’t look at it with judgement, but with love for the version of you who gave it a go. That person didn’t wait until they were ‘perfect’. They just started. And that’s worth celebrating. 2. Set progress goals, not perfect goals Instead of saying, ‘I want this cake to be flawless’, try setting a goal like, ‘I want to try for sharper edges on this cake’ or ‘I want to try a new piping technique today’. Reframing your mindset will allow you to find much more satisfaction moving forward, even if the end result isn’t picture perfect. 3. Talk to yourself like a beginner When you’re learning something new, it’s easy to be kinder to yourself and say ‘Of course it won’t be perfect, I’m new at this’. But when you get a little more experience, the expectation sneaks in that you have to be flawless every time (urgh, so much pressure!). You have to remind yourself that you’re always learning. Always. And that’s actually a really fun and exciting place to be. Because if we’re never challenging ourselves, that’s where we get stale. 4. Have messy practice day

Page 35 text
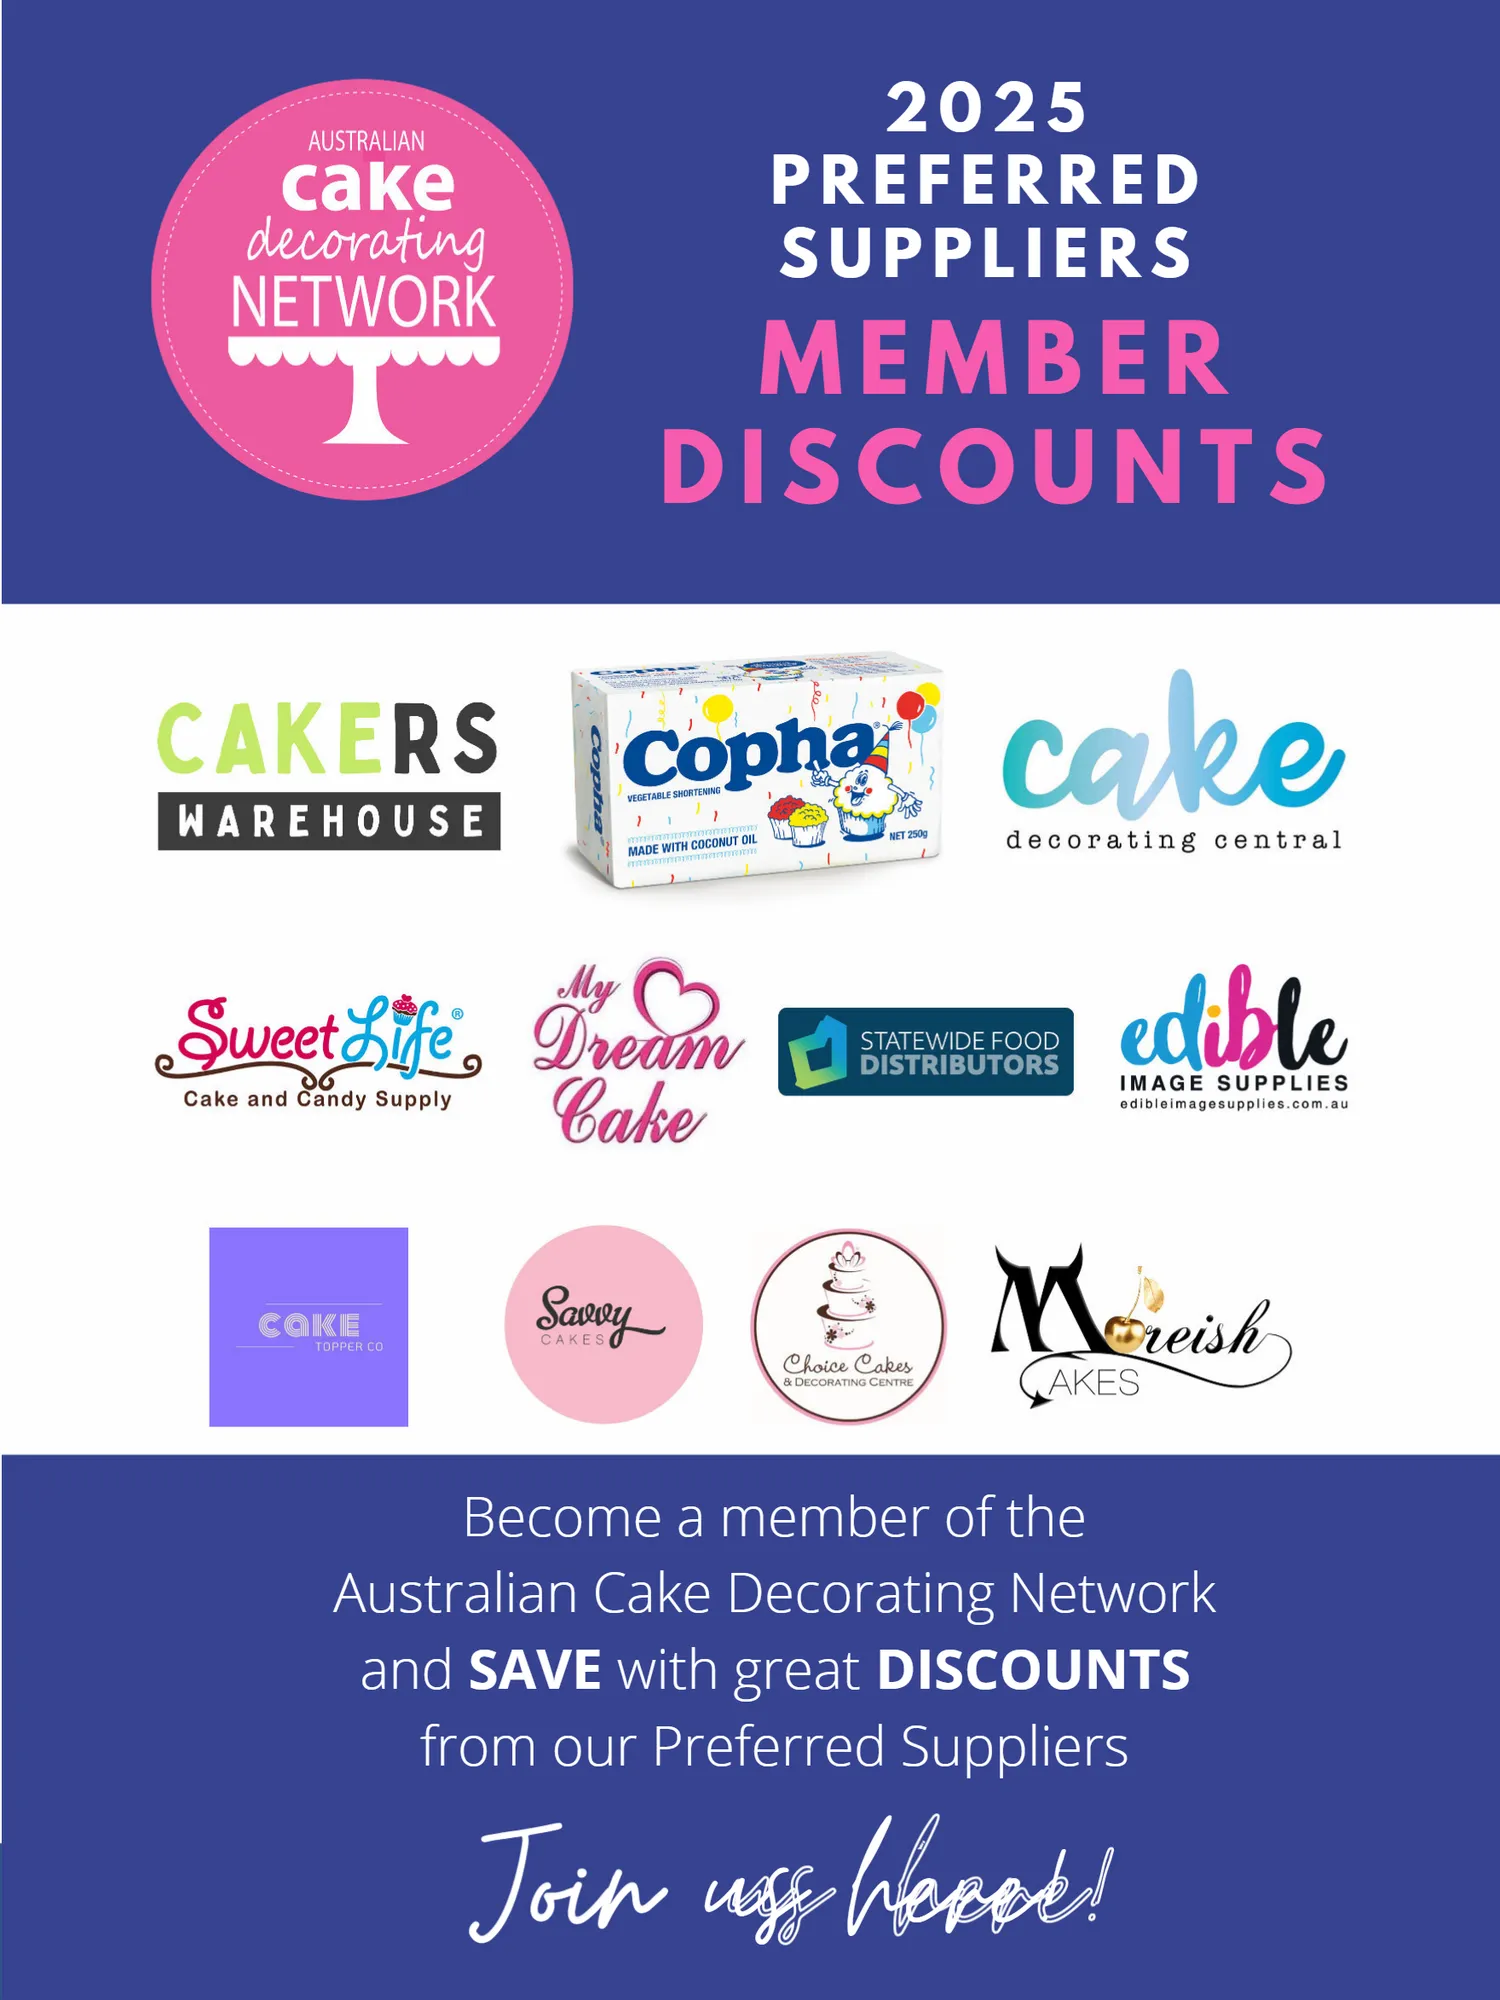
2 0 2 5 P R E F E R R E D S U P P L I E R S M E M B E R D I S C O U N T S Become a member of the Australian Cake Decorating Network and SAVE with great DISCOUNTS from our Preferred Suppliers Join us here!











Page 65 text
2025 PREFERRED SUPPLIERS MEMBER DISCOUNTS