Page 19 of 125
Page 1 text
Cake! MAGAZINE
Page 2 text
PUBLISHER: Cake! Magazine is published by the Australian Cake Decorating Network Pty Ltd. ACN: 91 164 927 584. © All content copyright 2022 Australian Cake Decorating Network Pty Ltd. All rights reserved. Reproduction any part of the magazine without written permission is prohibited. All prices included in Cake! Magazine are approximate and are in AUD unless otherwise stated. Prices quoted are correct at the time of publishing and may vary or be subject to change. The Australian Cake Decorating Network Pty Ltd accepts no responsibility for damage or loss as a result of material submitted for, published in or as a result of this publication. The Australian Cake Decorating Network does not have an affiliation with any other magazine. The views and opinions expressed within this publication are not necessarily the views of the publisher or it ' s affiliates. While every effort has been made to ensure the accuracy of the information contained within Cake! Magazine the publisher and Cake! Magazine hold no responsibility for any errors, omissions, or consequences subsequent or otherwise, including loss or damage arising from reliance on information in this publication. Content is supplied for publication in Cake! Magazine by parties external to the Australian Cake Decorating Network and it is the external party ' s responsibility to ensure content and credits are accurate. Cake! Magazine contains advertising through individual arrangements, which may include paid affiliate arrangements. Cake! Magazine may also contain affiliate links. The agreements are held between the advertiser or affiliate and the Australian Cake Decorating Network Ptd Ltd. To advertise in Cake! magazine, contact: liz @ acdn. me
Page 3 text
letter from the editor Hello and welcome to the Wedding Edition Inside, you’ll also find an exclusive interview with Maria Racovalis, founder of This issue, we’re all about romance, Bouquet Cakes, plus Amber Comadira- elegance, and those timeless designs that Smith’s regular column where she shares make wedding cakes so unforgettable. From the confessions of a cake decorator. And delicate wafer paper florals to stencilling don’t miss our Member Gallery, packed
Page 4 text
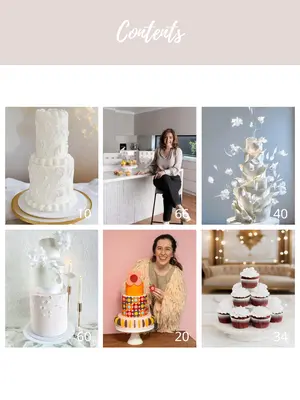
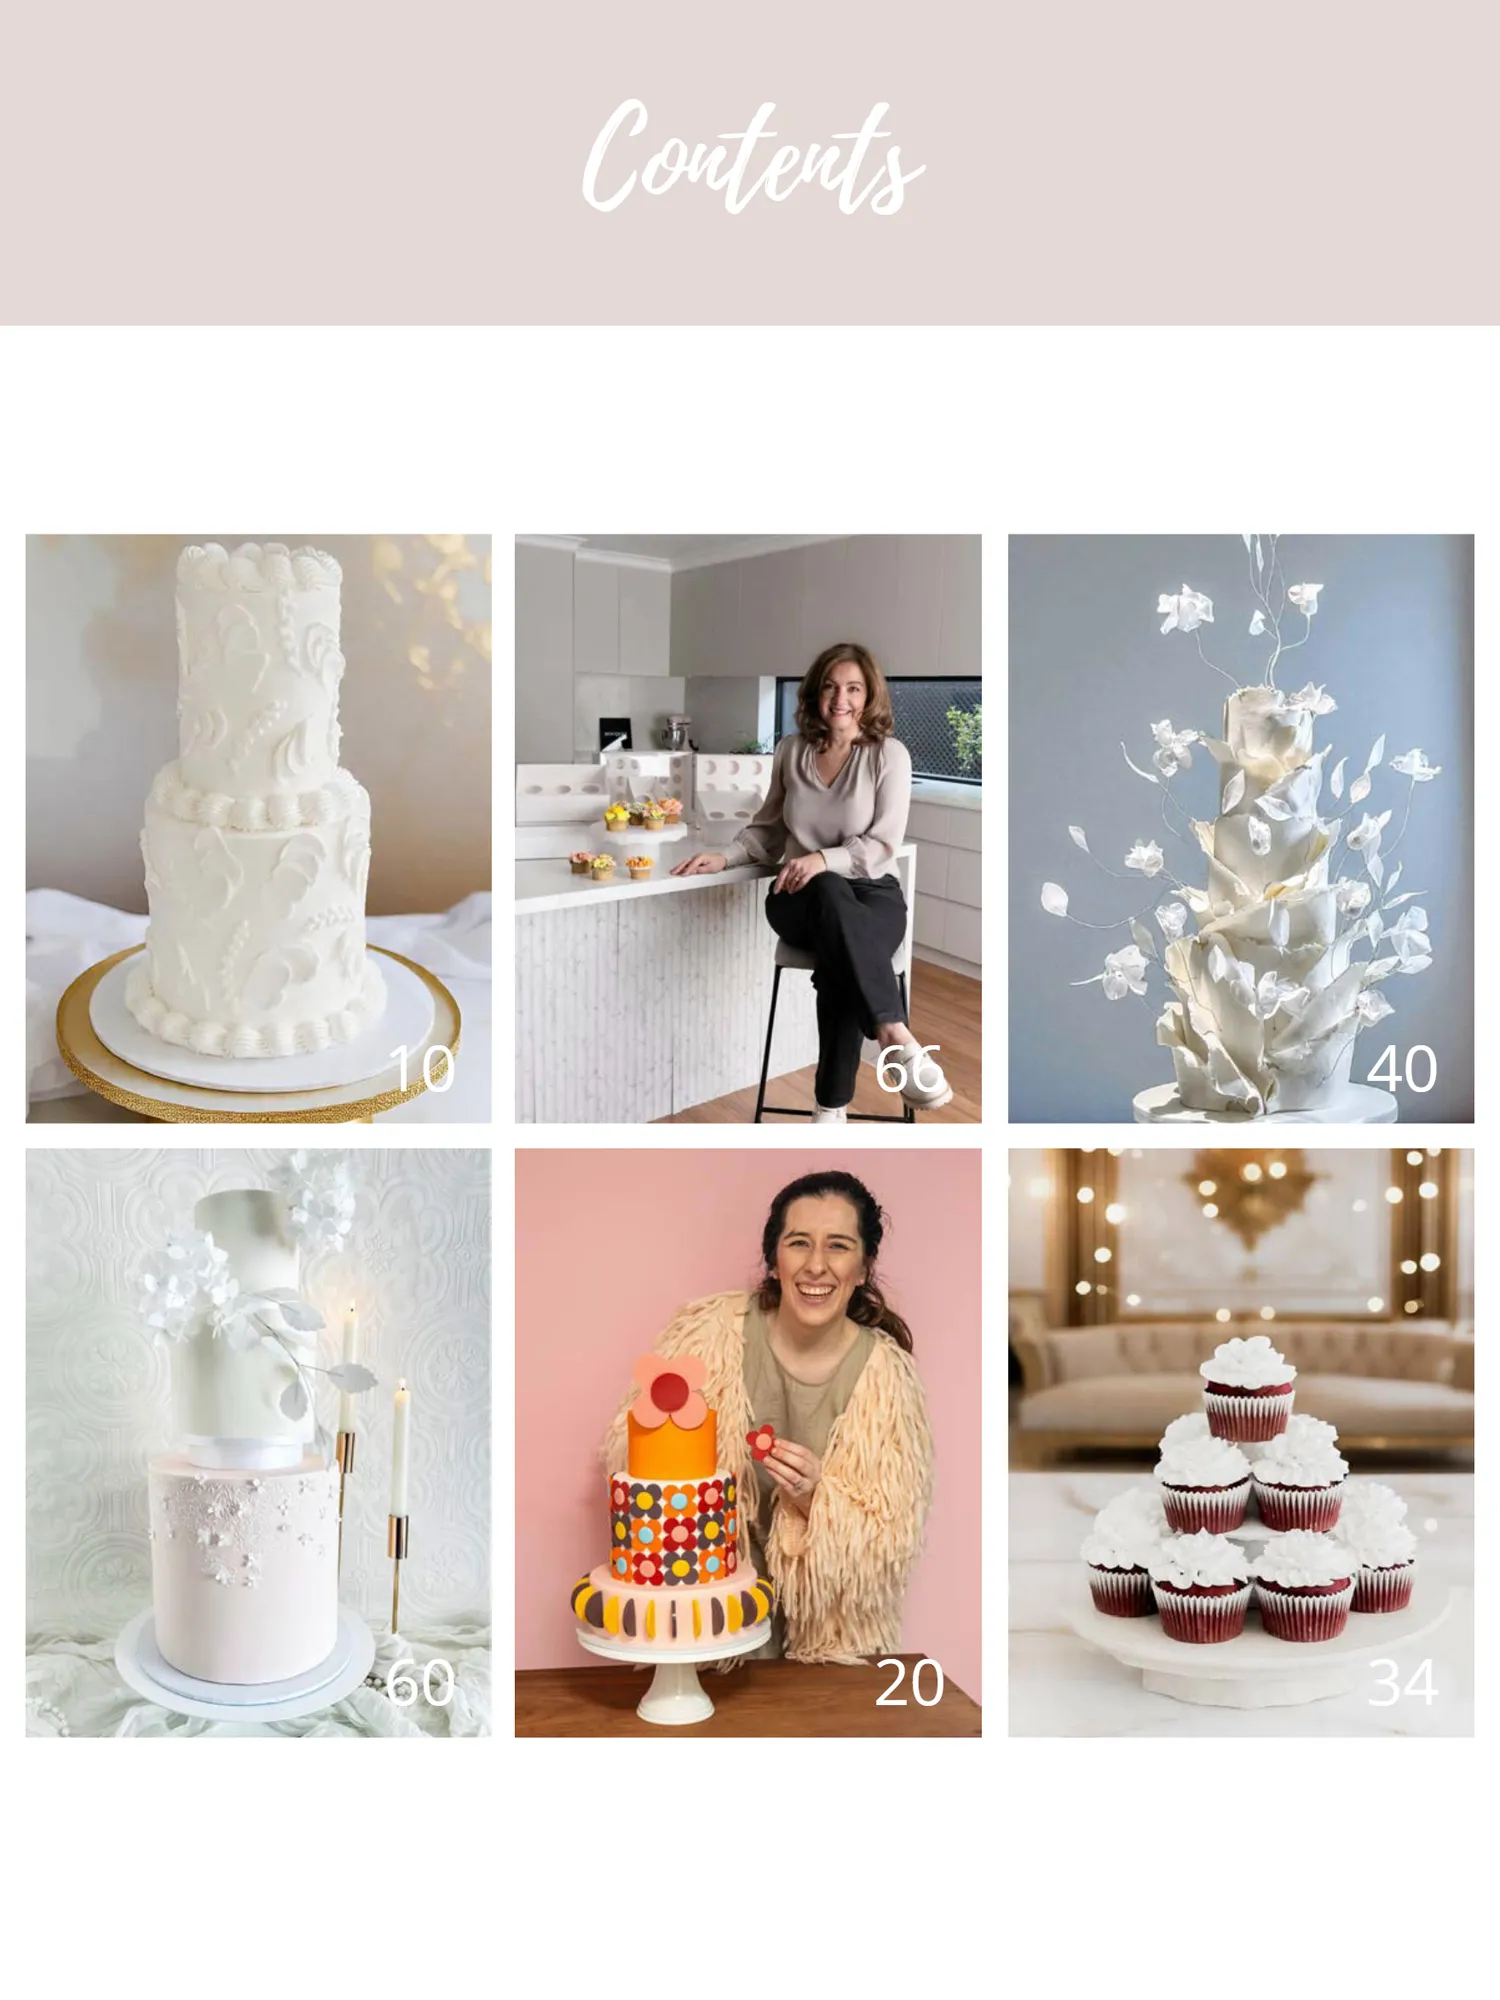
Contents 10 66 40 60 20 34
Page 5 text
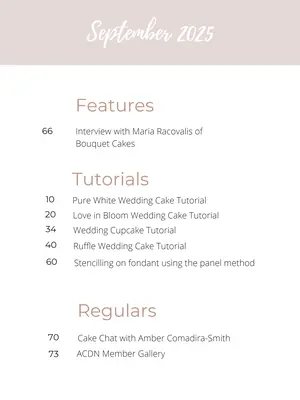
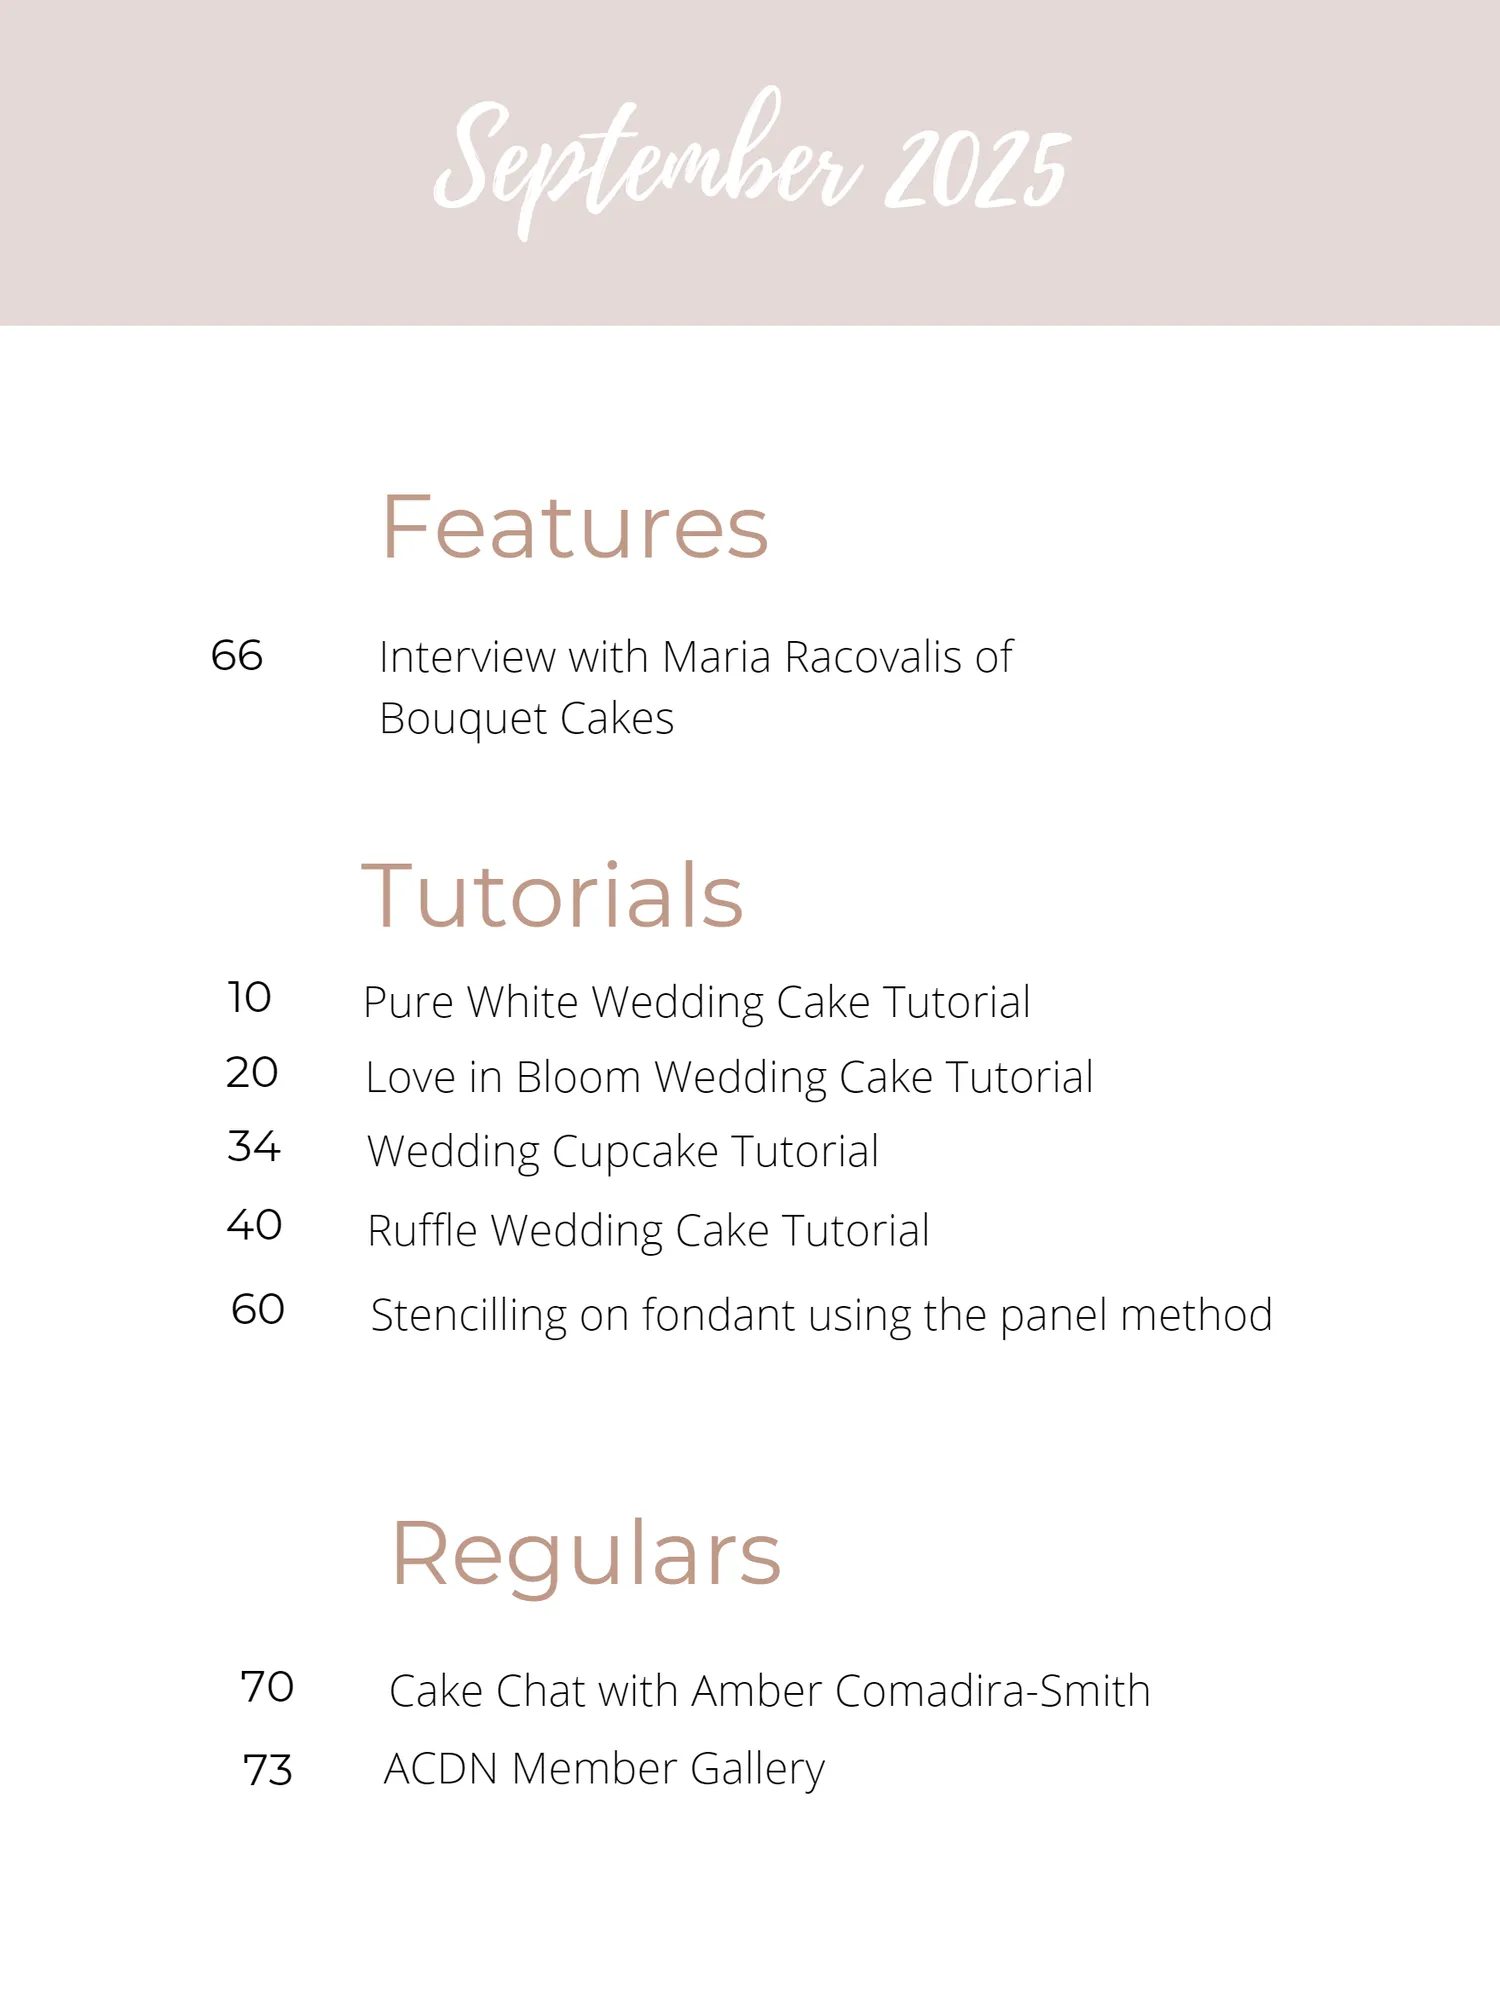
September 2025 Features 66 Interview with Maria Racovalis of Bouquet Cakes Tutorials 10 Pure White Wedding Cake Tutorial 20 Love in Bloom Wedding Cake Tutorial 34 Wedding Cupcake Tutorial 40 Ruffle Wedding Cake Tutorial 60 Stencilling on fondant using the panel method Regulars 70 Cake Chat with Amber Comadira-Smith 73 ACDN Member Gallery


Page 7 text
2025 PREFERRED SUPPLIERS MEMBER DISCOUNTS
Page 8 text
WEDDING Tutorials
Page 10 text
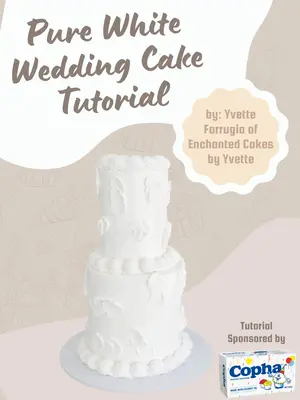
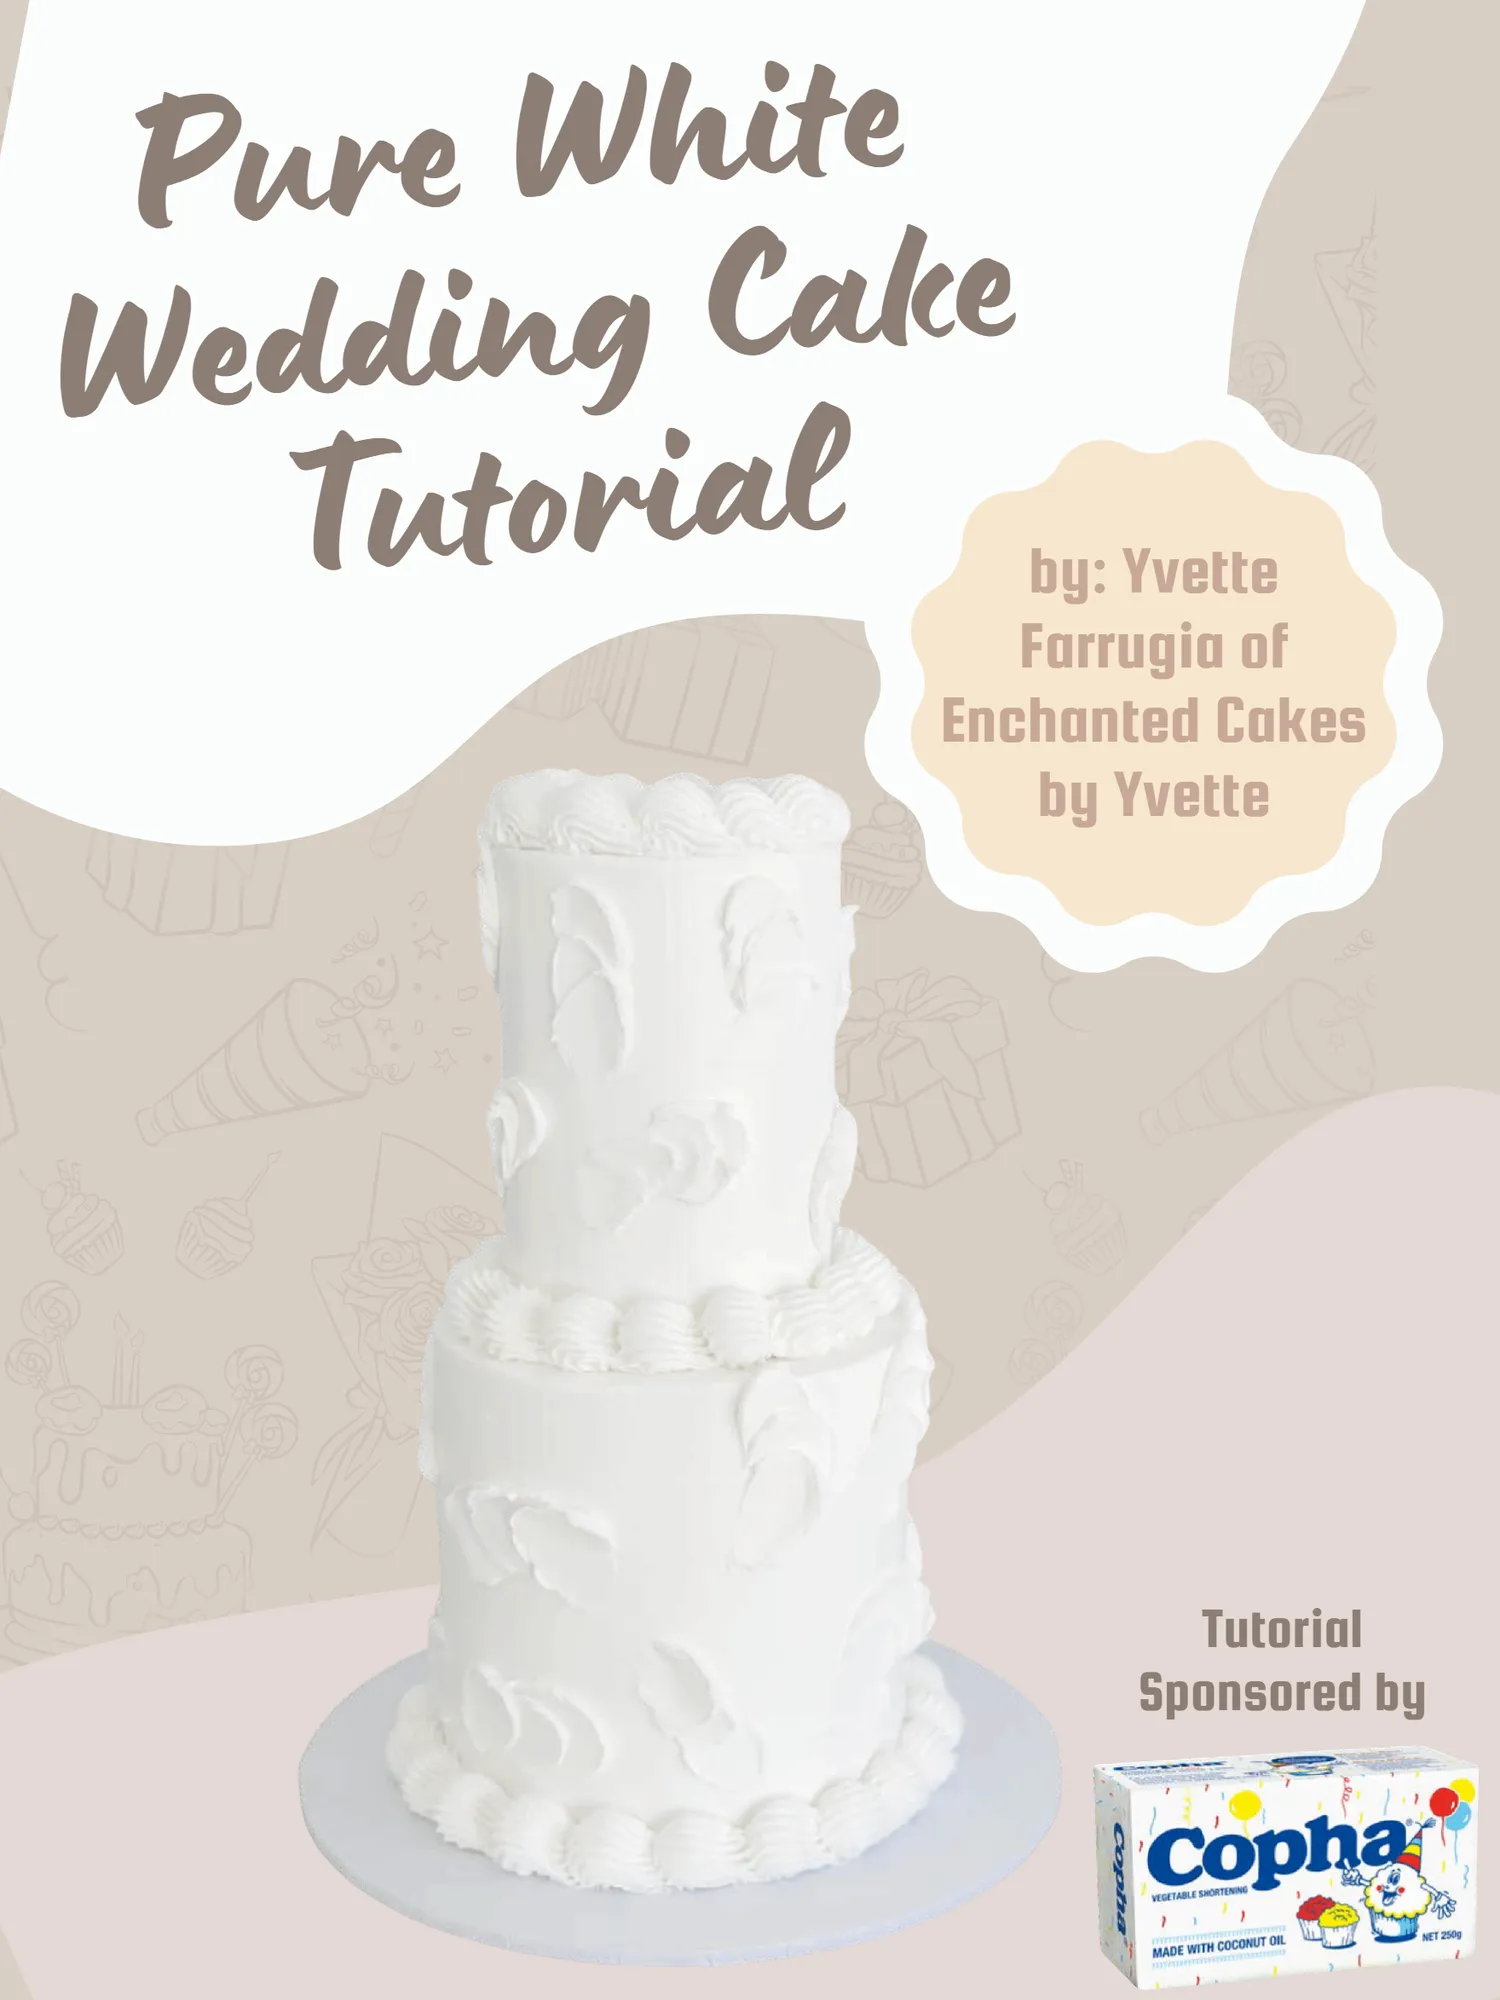
Pure White Wedding Cake Tutorial by: Yvette Farrugia of Enchanted Cakes by Yvette Tutorial Sponsored by
Page 11 text
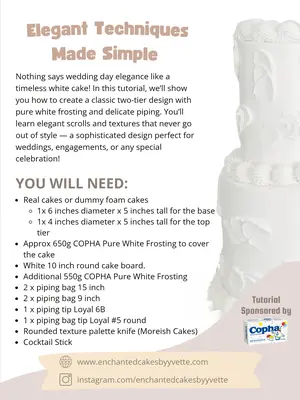
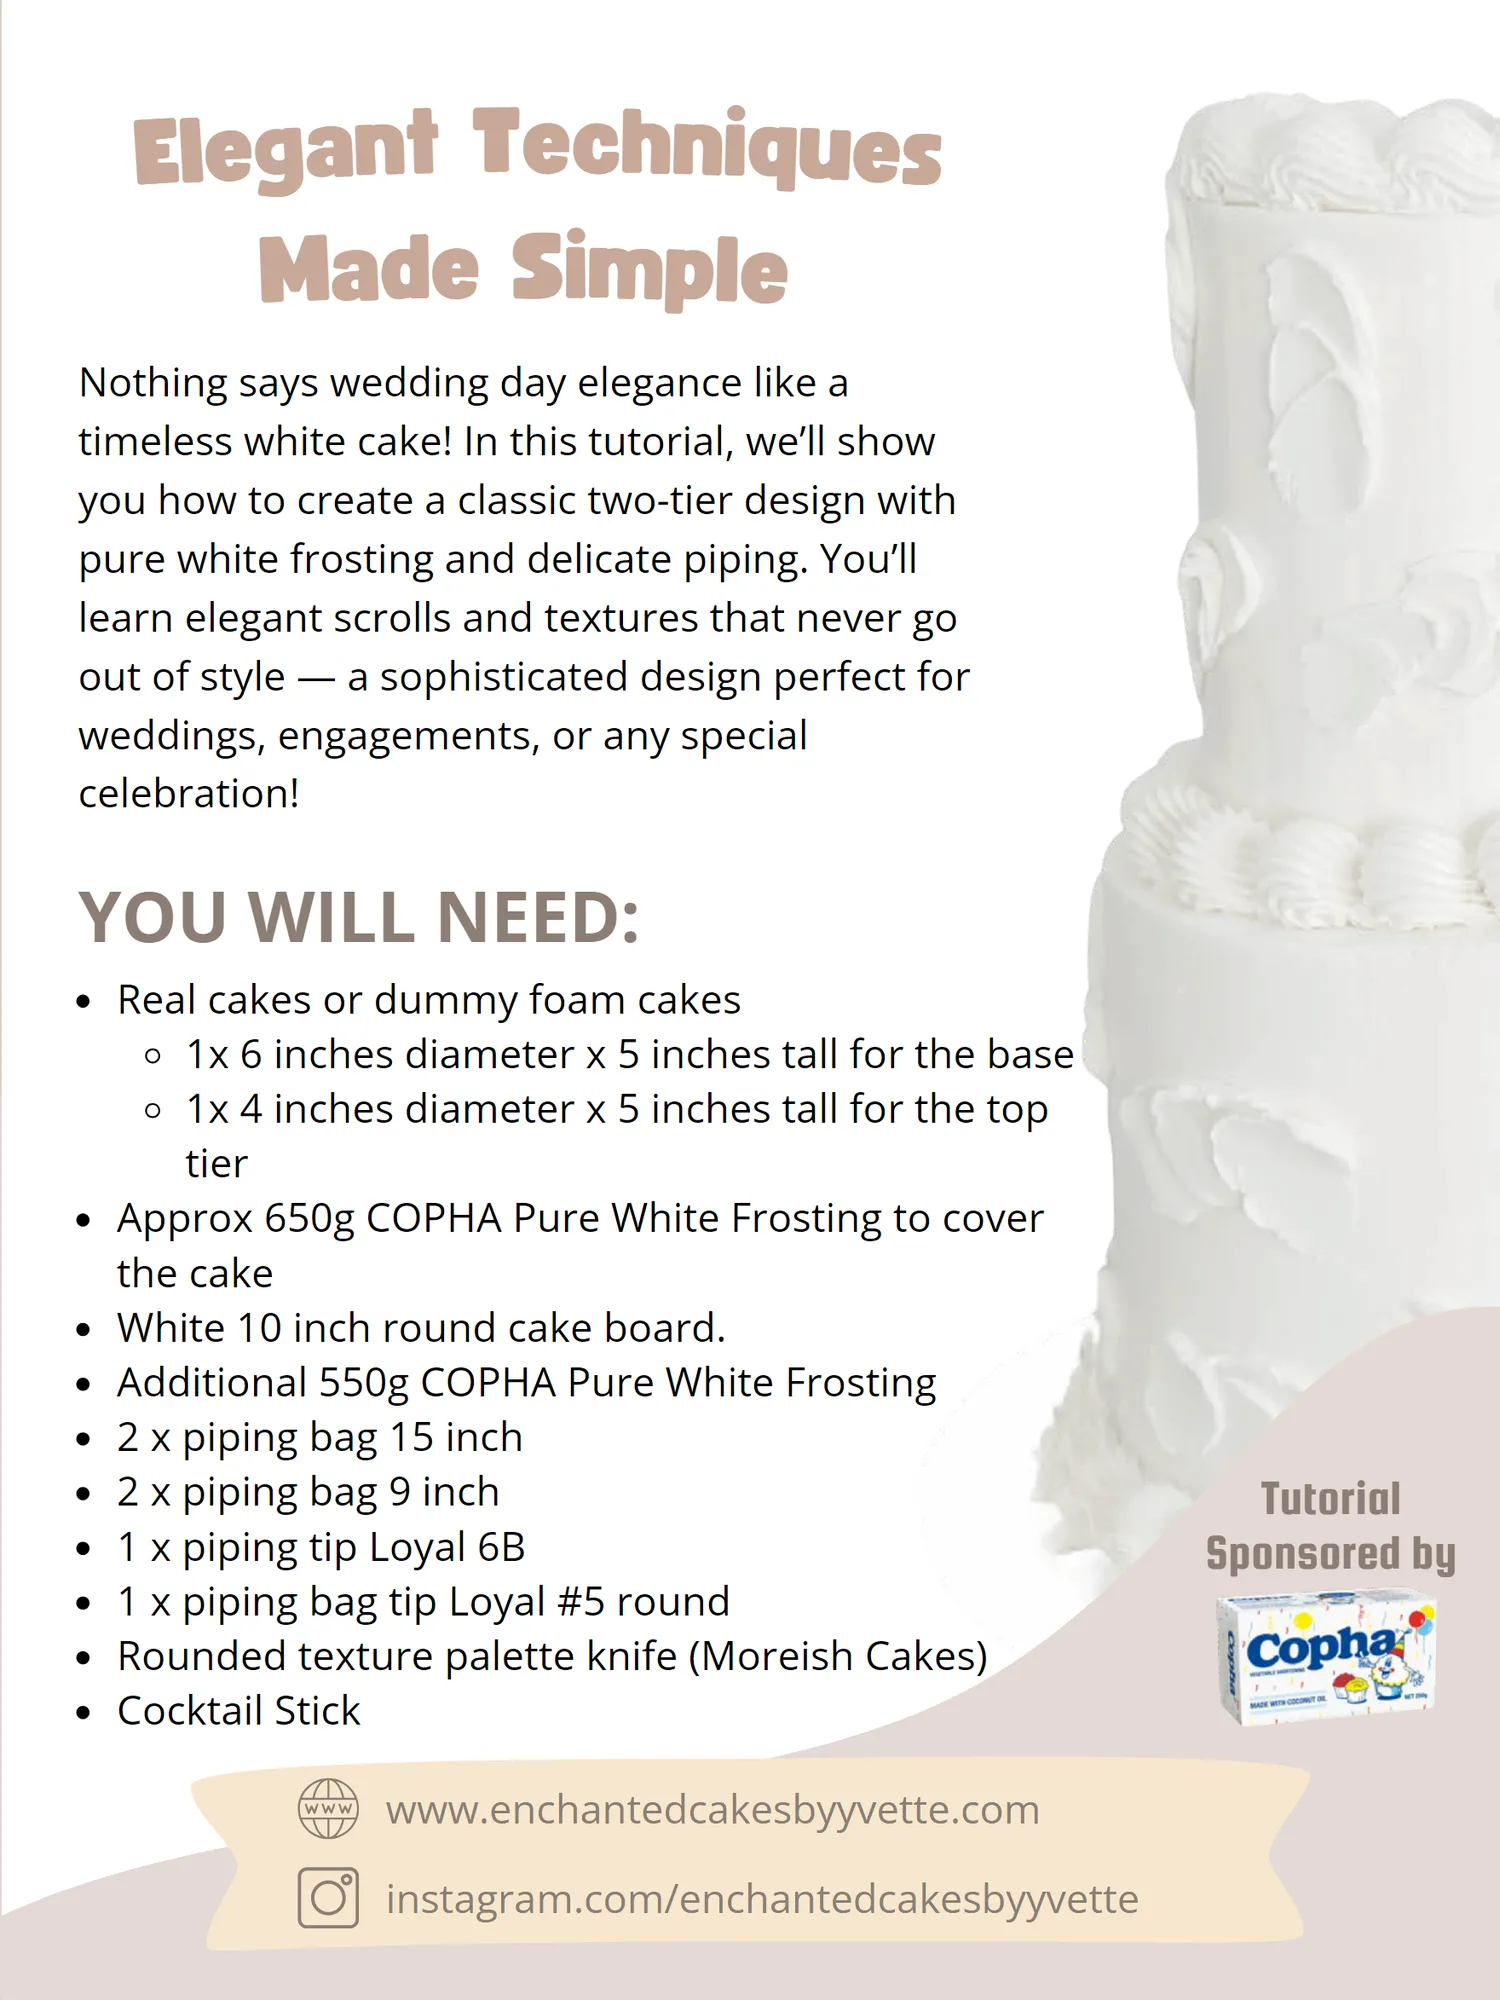
Pure White T e c h n i q u e s Wedding Cake e S i m p l e Tutorial Nothing says wedding day elegance like a timeless white cake! In this tutorial, we’ll show you how to create a classic two-tier design with pure white frosting and delicate piping. You’ll learn elegant scrolls and textures that never go
Page 13 text
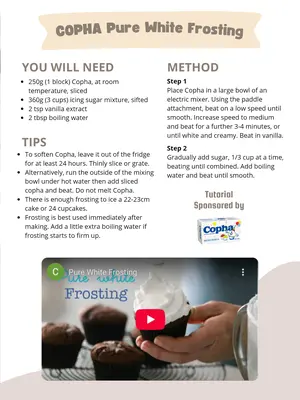
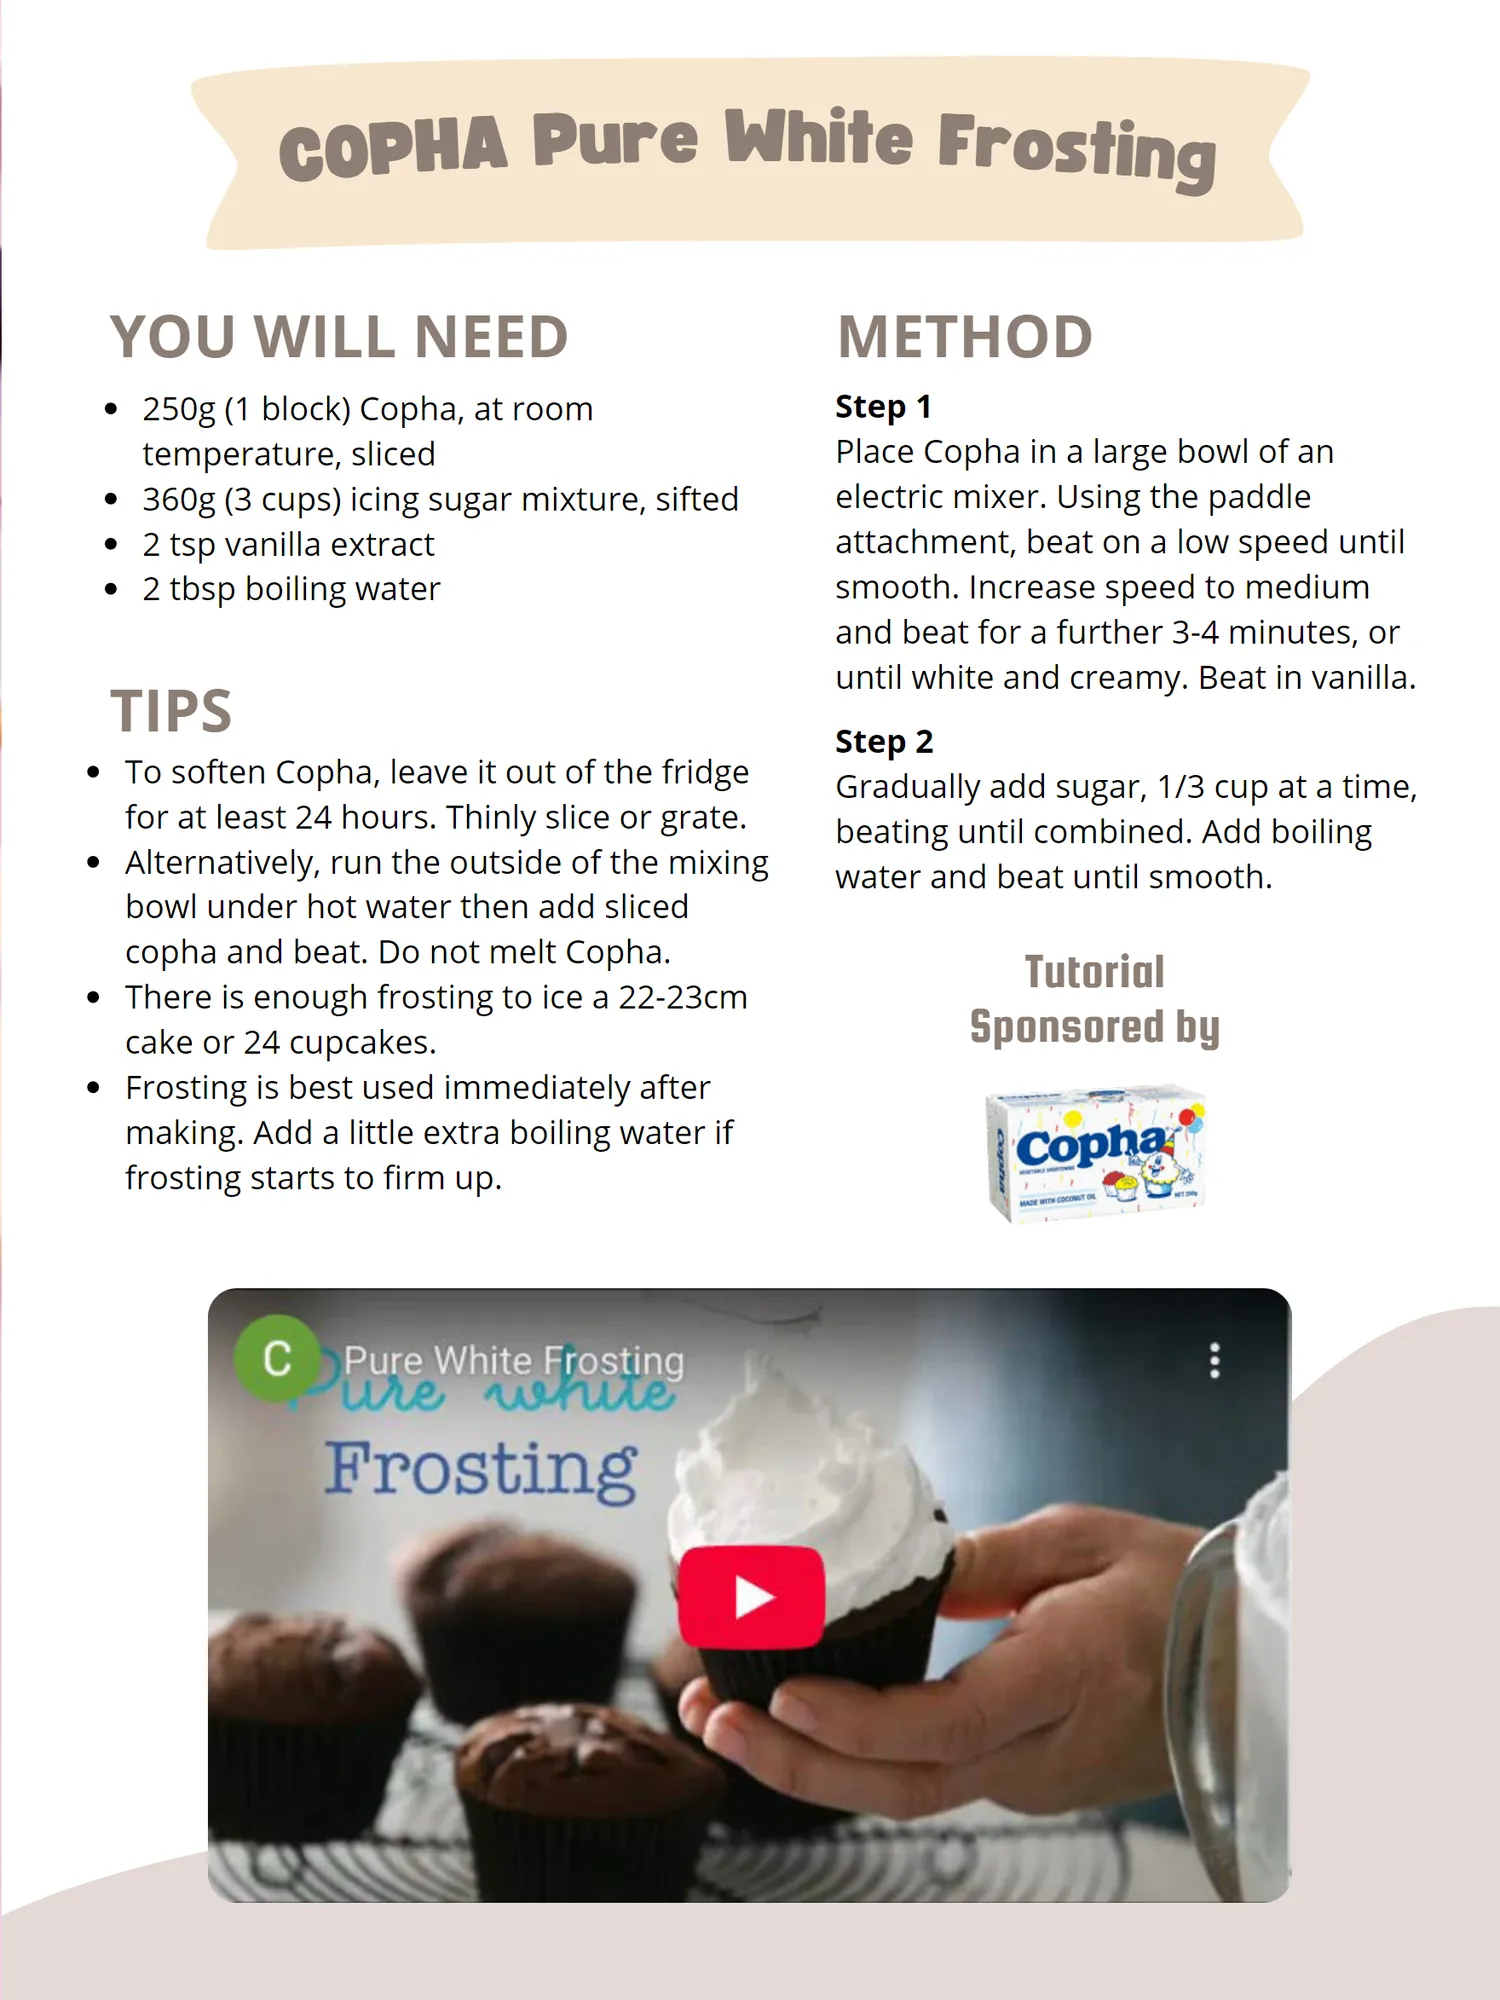
COPHA Pure White Frosting YOU WILL NEED 250g( 1 block) Copha, at room temperature, sliced 360g( 3 cups) icing sugar mixture, sifted 2 tsp vanilla extract 2 tbsp boiling water TIPS To soften Copha, leave it out of the fridge for at least 24 hours. Thinly slice or grate. Alternatively, run the outside of the mixing bowl under hot water then add sliced copha and beat. Do not melt Copha. There is enough frosting to ice a 22-23cm cake or 24 cupcakes. Frosting is best used immediately after making. Add a little extra boiling water if frosting starts to firm up. METHOD Step 1 Place Copha in a large bowl of an electric mixer. Using the paddle attachment, beat on a low speed until smooth. Increase speed to medium and beat for a further 3-4 minutes, or until white and creamy. Beat in vanilla. Step 2 Gradually add sugar, 1 / 3 cup at a time, beating until combined. Add boiling water and beat until smooth. Tutorial Sponsored by
Page 14 text
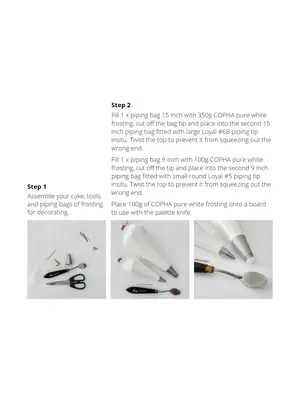
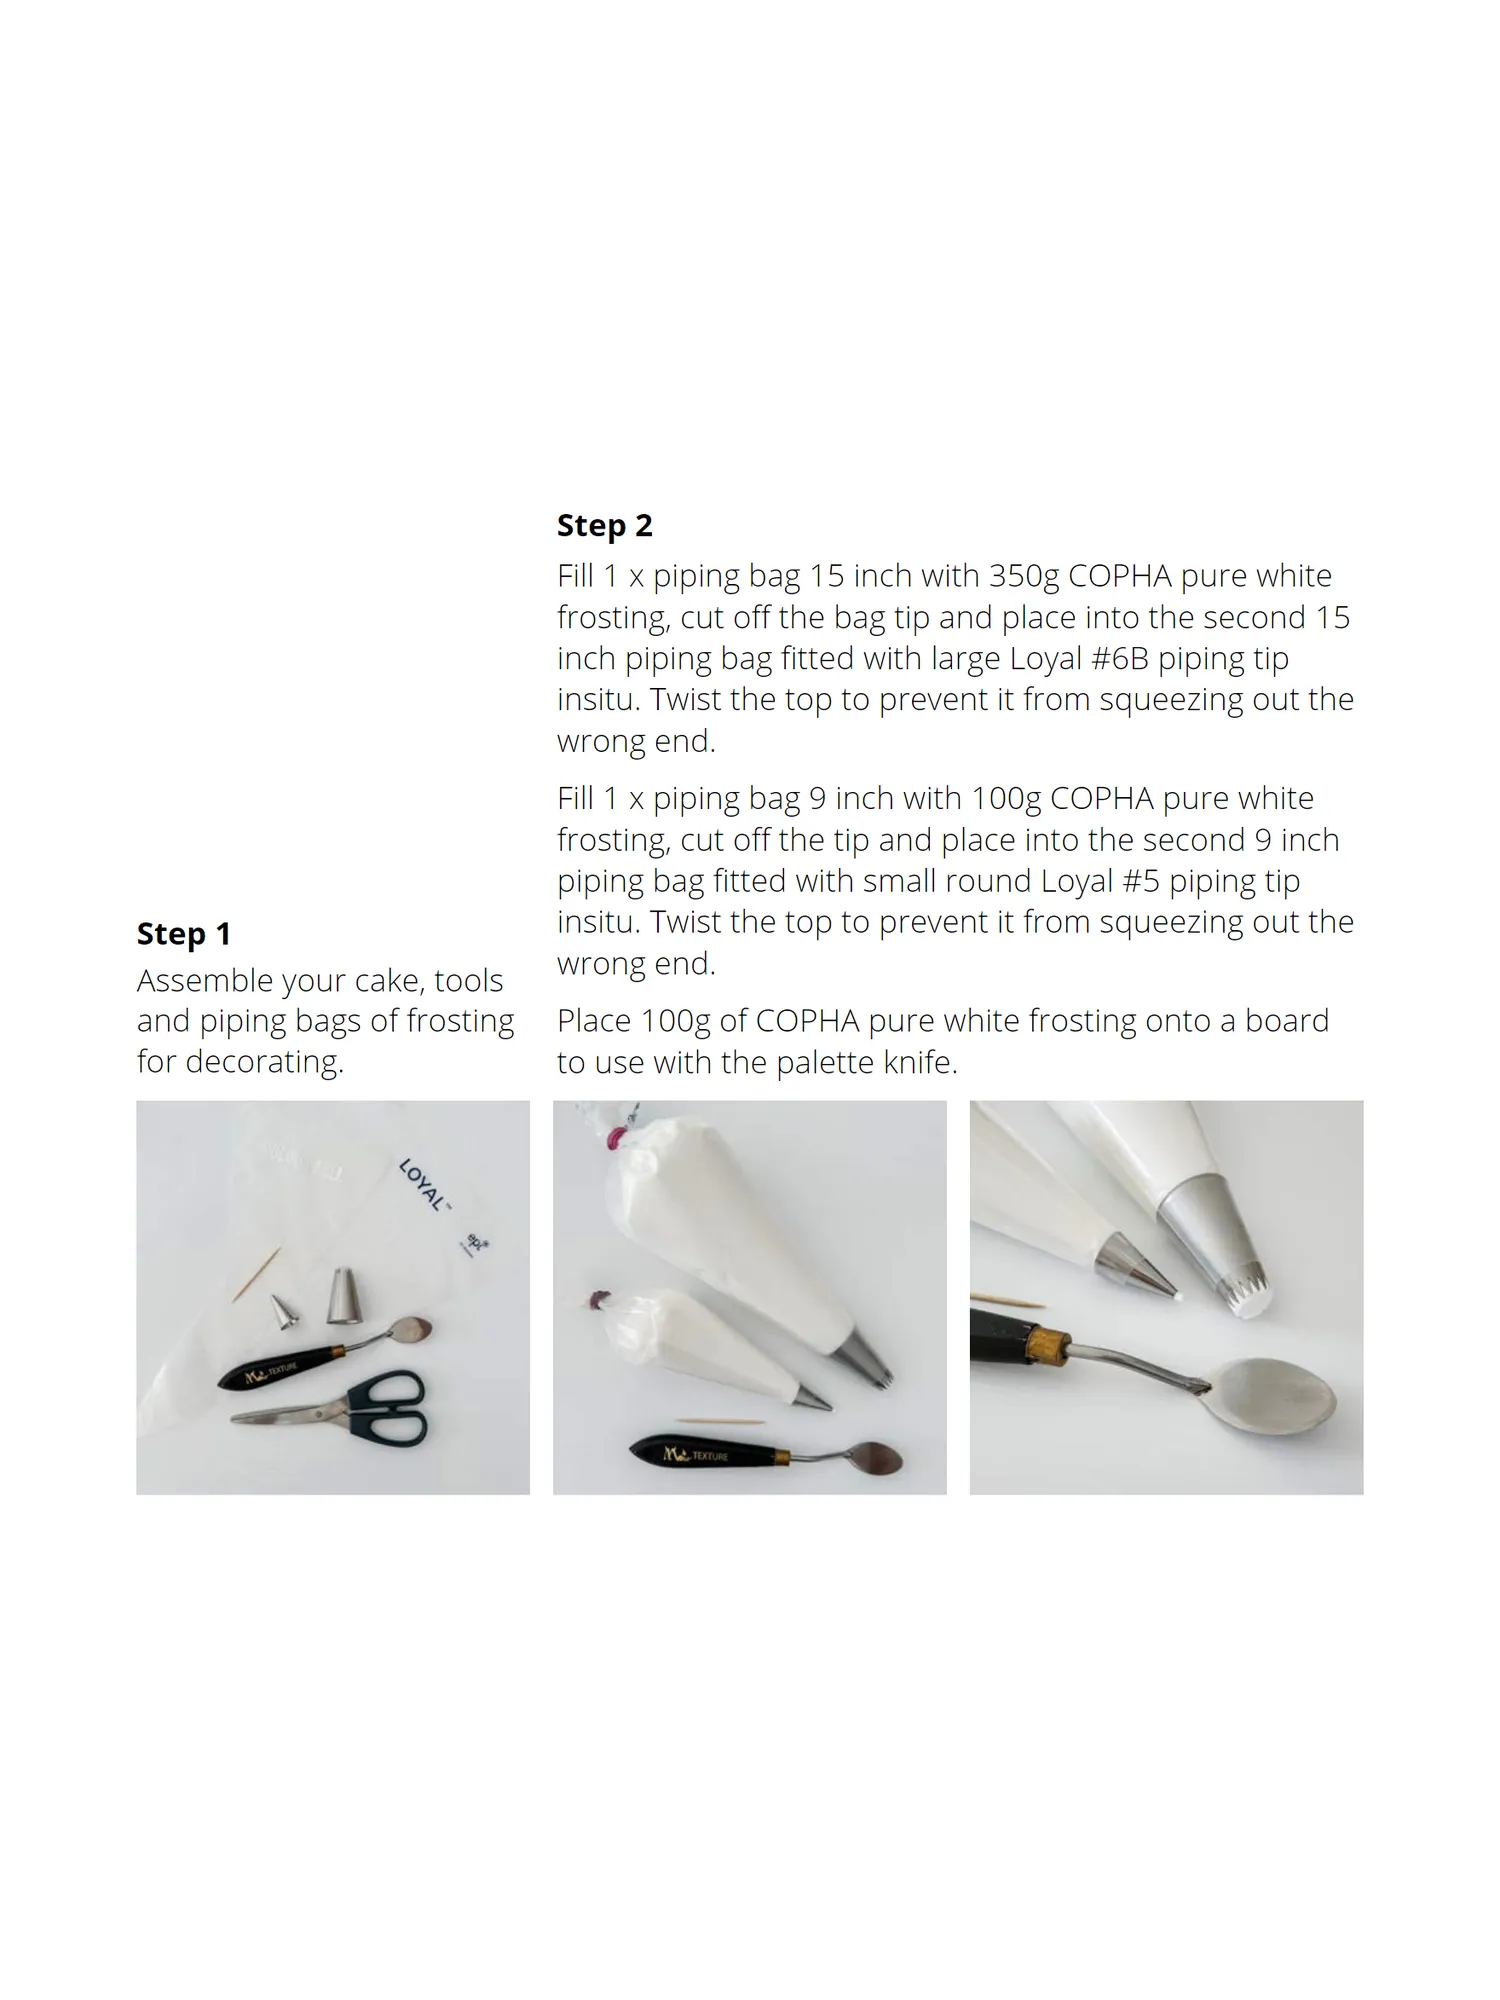
Step 2 Fill 1 x piping bag 15 inch with 350g COPHA pure white frosting, cut off the bag tip and place into the second 15 inch piping bag fitted with large Loyal #6B piping tip insitu. Twist the top to prevent it from squeezing out the wrong end. Fill 1 x piping bag 9 inch with 100g COPHA pure white frosting, cut off the tip and place into the second 9 inch piping bag fitted with small round Loyal #5 piping tip Step 1 insitu. Twist the top to prevent it from squeezing out the wrong end. Assemble your cake, tools and piping bags of frosting Place 100g of COPHA pure white frosting onto a board for decorating. to use with the palette knife.
Page 15 text
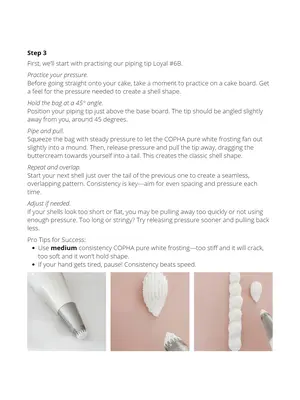
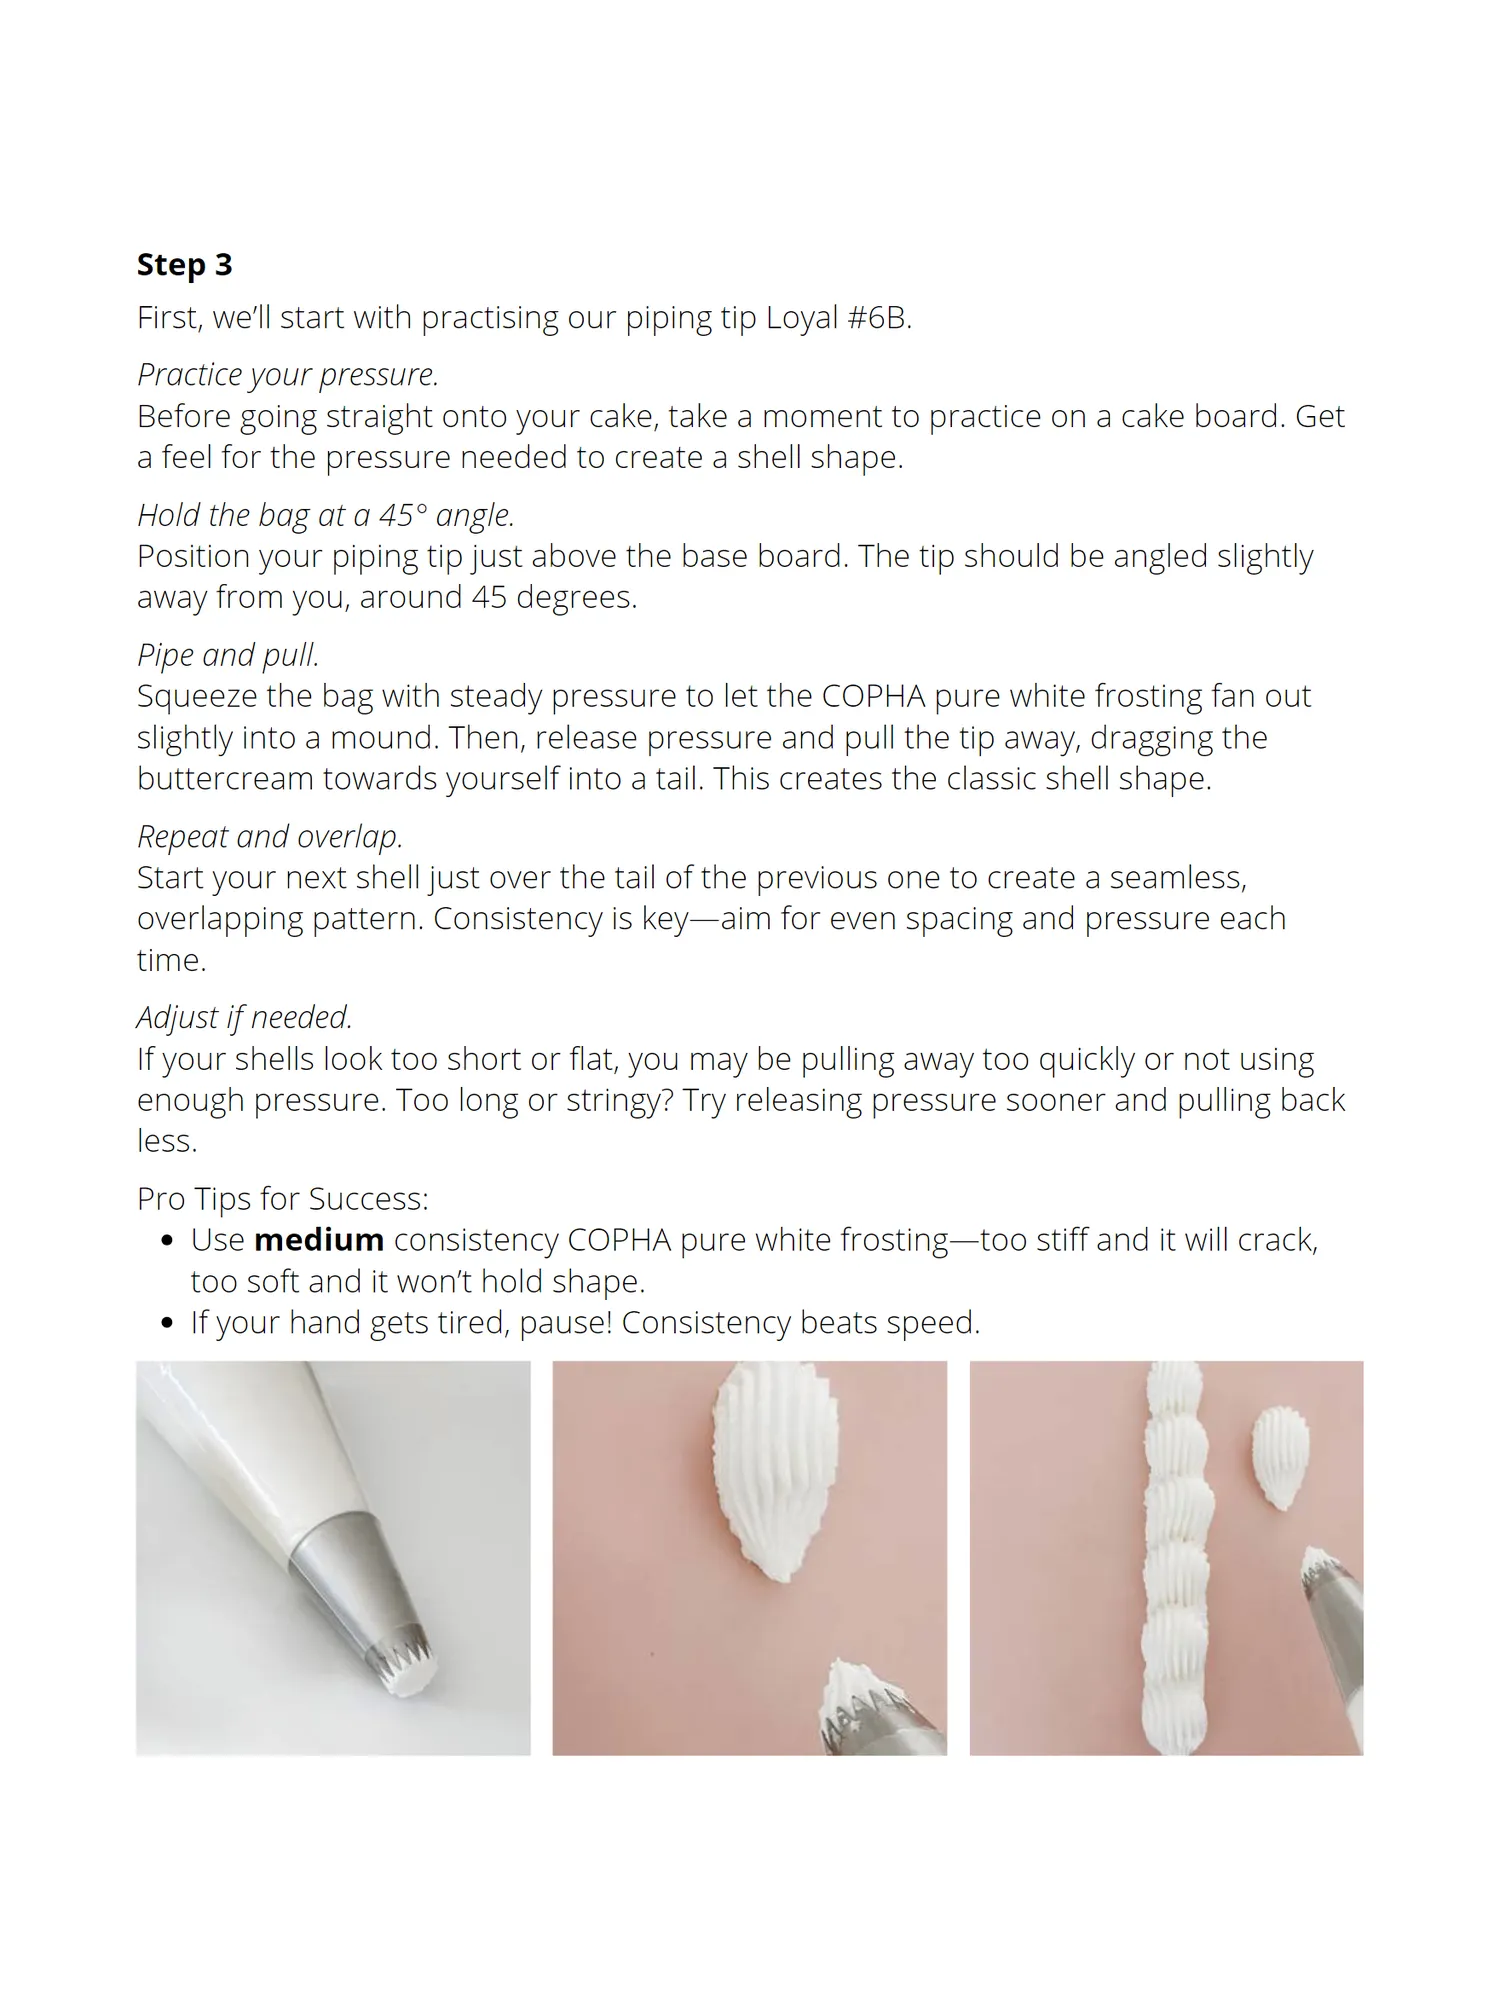
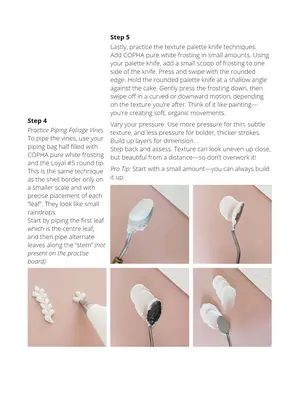
Step 3 First, we’ll start with practising our piping tip Loyal #6B. Practice your pressure. Before going straight onto your cake, take a moment to practice on a cake board. Get a feel for the pressure needed to create a shell shape. Hold the bag at a 45° angle. Position your piping tip just above the base board. The tip should be angled slightly away from you, around 45 degrees. Pipe and pull. Squeeze the bag with steady pressure to let the COPHA pure white frosting fan out slightly into a mound. Then, release pressure and pull the tip away, dragging the buttercream towards yourself into a tail. This creates the classic shell shape. Repeat and overlap. Start your next shell just over the tail of the previous one to create a seamless, overlapping pattern. Consistency is key—aim for even spacing and pressure each time. Adjust if needed. If your shells look too short or flat, you may be pulling away too quickly or not using enough pressure. Too long or stringy? Try releasing pressure sooner and pulling back less. Pro Tips for Success: Use medium consistency COPHA pure white frosting—too stiff and it will crack, too soft and it won’t hold shape. If your hand gets tired, pause! Consistency beats speed.
Page 16 text
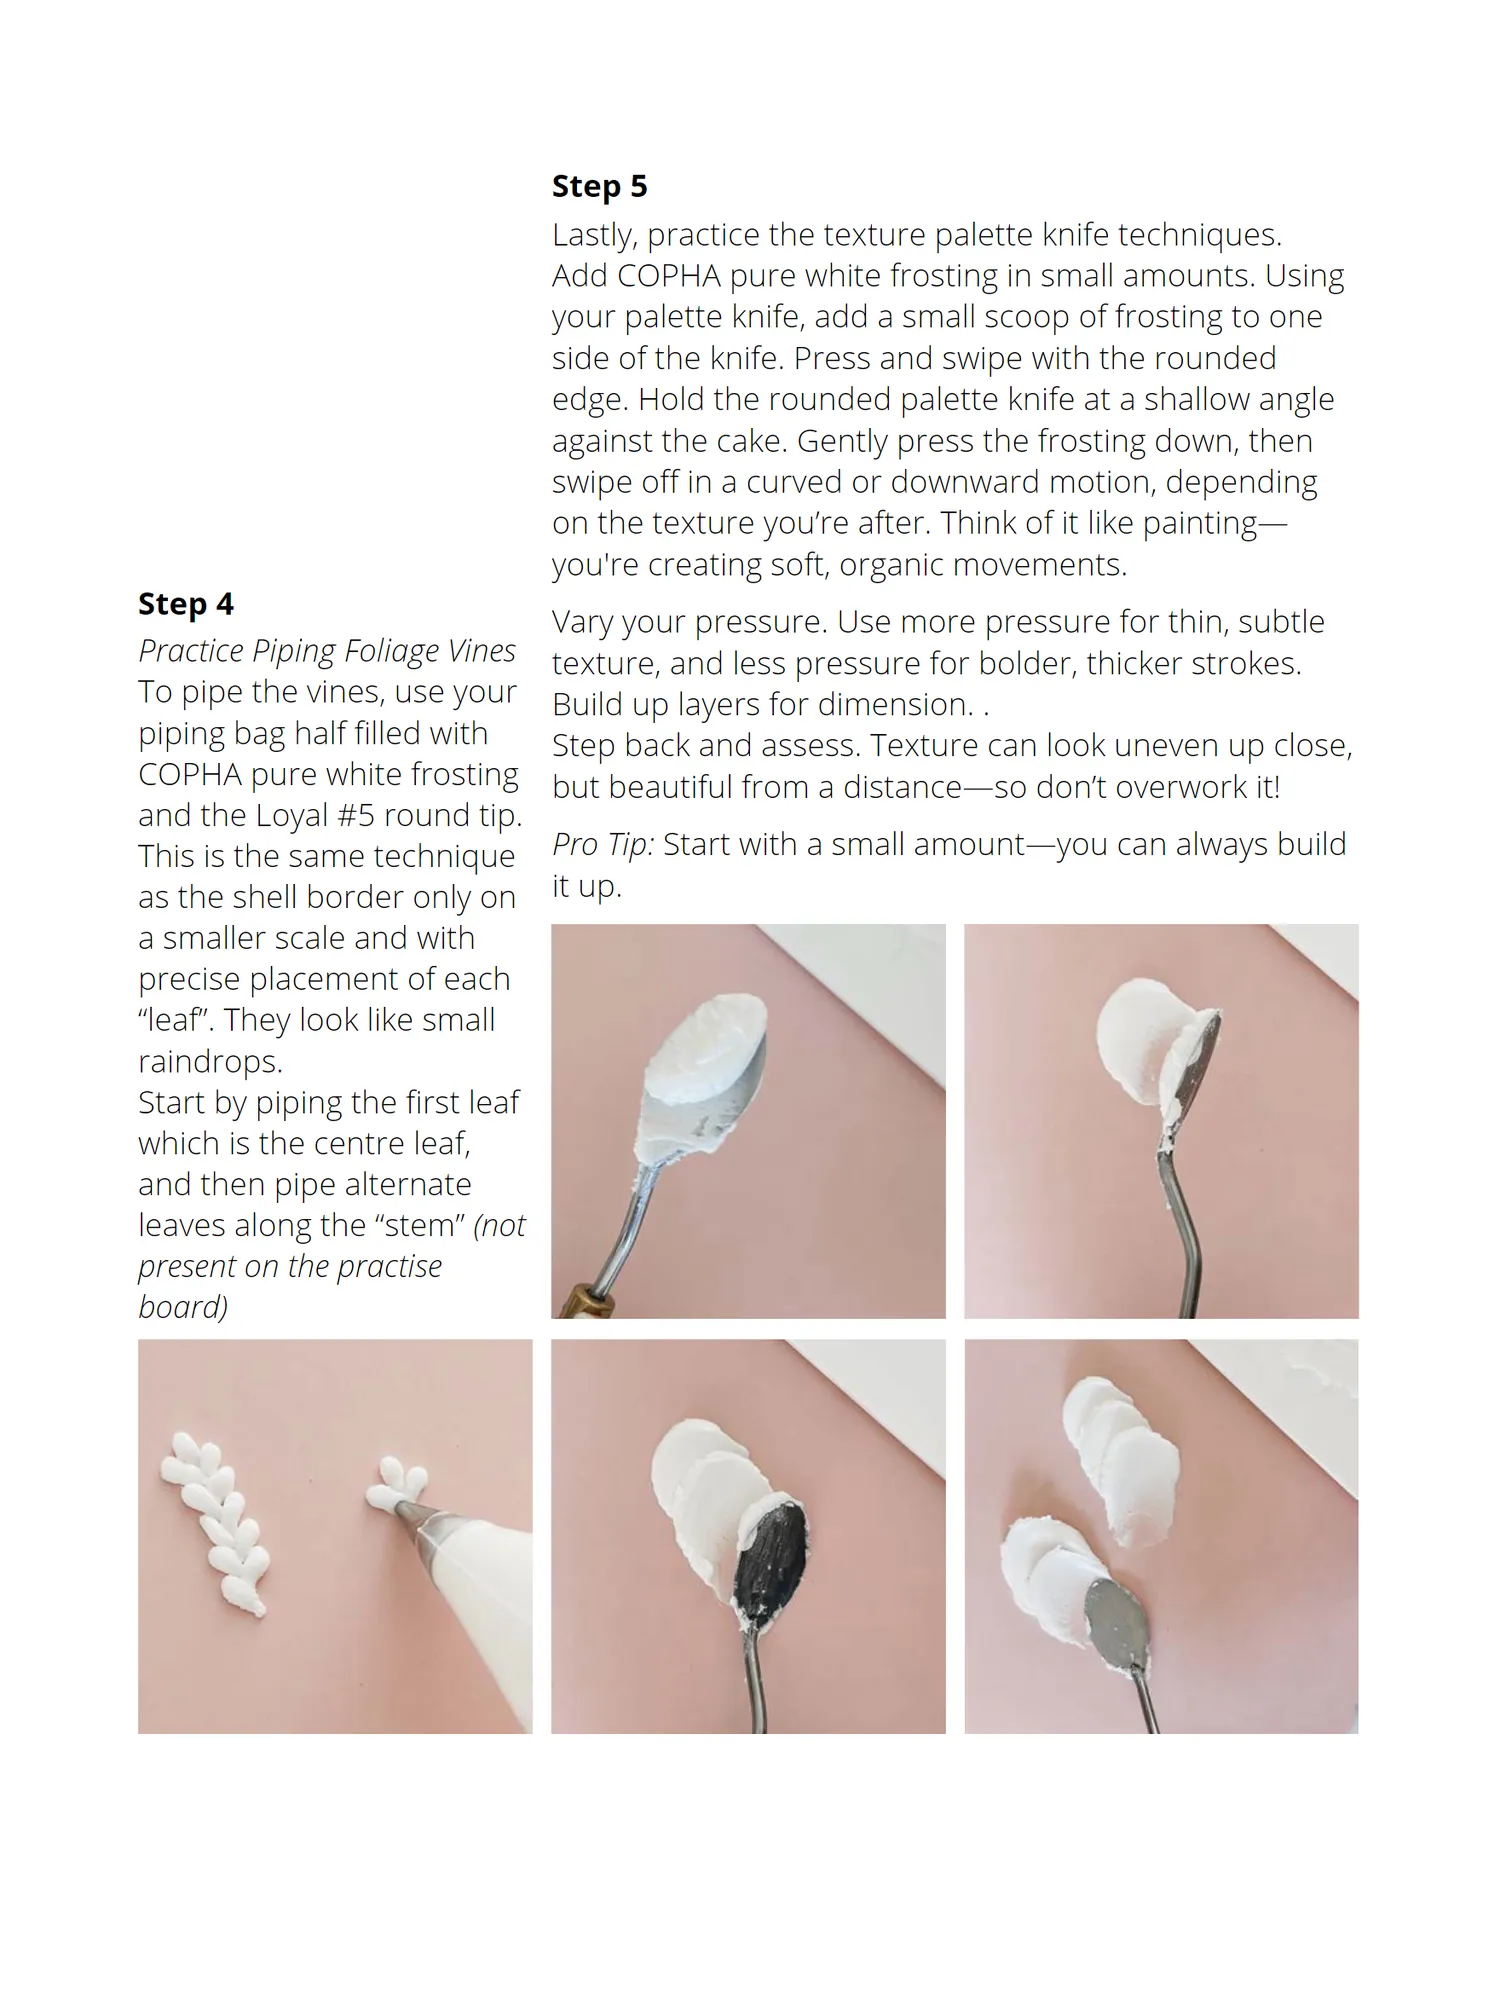
Step 5 Lastly, practice the texture palette knife techniques. Add COPHA pure white frosting in small amounts. Using your palette knife, add a small scoop of frosting to one side of the knife. Press and swipe with the rounded edge. Hold the rounded palette knife at a shallow angle against the cake. Gently press the frosting down, then swipe off in a curved or downward motion, depending on the texture you’re after. Think of it like painting— you're creating soft, organic movements. Step 4 Vary your pressure. Use more pressure for thin, subtle Practice Piping Foliage Vines texture, and less pressure for bolder, thicker strokes. To pipe the vines, use your Build up layers for dimension. . piping bag half filled with Step back and assess. Texture can look uneven up close, COPHA pure white frosting but beautiful from a distance—so don’t overwork it! and the Loyal #5 round tip. This is the same technique Pro Tip: Start with a small amount—you can always build as the shell border only on it up. a smaller scale and with precise placement of each “leaf”. They look like small raindrops. Start by piping the first leaf which is the centre leaf, and then pipe alternate leaves along the “stem” (not present on the practise board)
Page 17 text
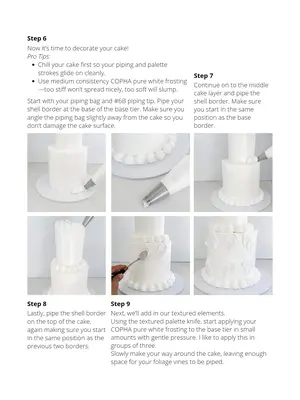
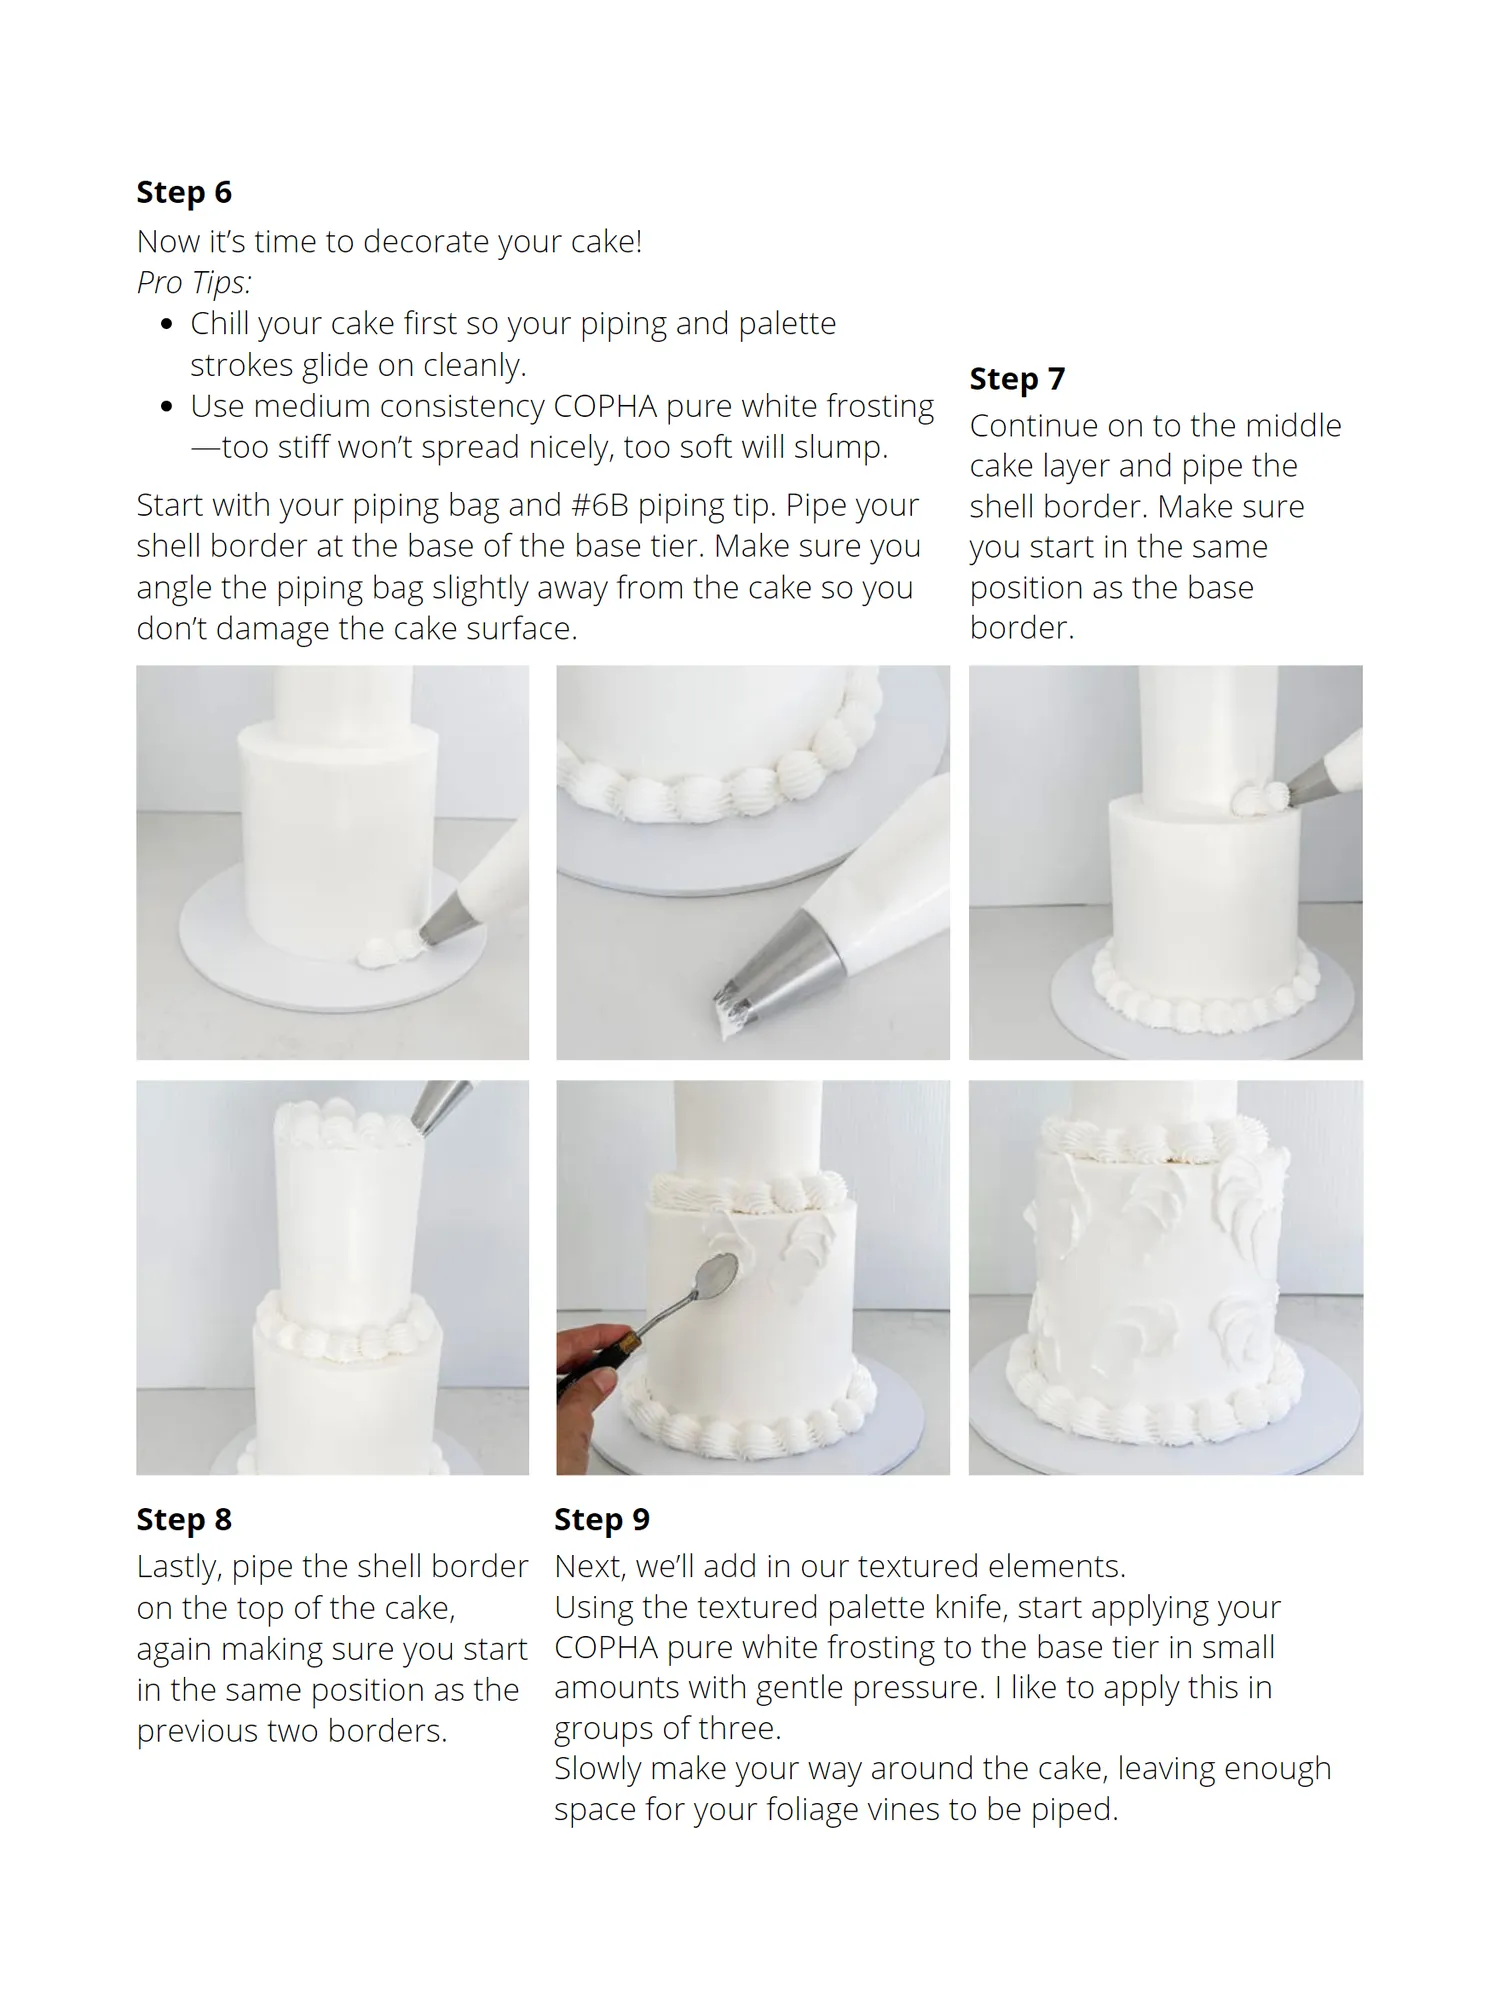
Step 6 Now it’s time to decorate your cake! Pro Tips: Chill your cake first so your piping and palette strokes glide on cleanly. Step 7 Use medium consistency COPHA pure white frosting Continue on to the middle —too stiff won’t spread nicely, too soft will slump. cake layer and pipe the Start with your piping bag and #6B piping tip. Pipe your shell border. Make sure shell border at the base of the base tier. Make sure you you start in the same angle the piping bag slightly away from the cake so you position as the base don’t damage the cake surface. border. Step 8 Step 9 Lastly, pipe the shell border Next, we’ll add in our textured elements. on the top of the cake, Using the textured palette knife, start applying your again making sure you start COPHA pure white frosting to the base tier in small in the same position as the amounts with gentle pressure. I like to apply this in previous two borders. groups of three. Slowly make your way around the cake, leaving enough space for your foliage vines to be piped.
Page 18 text
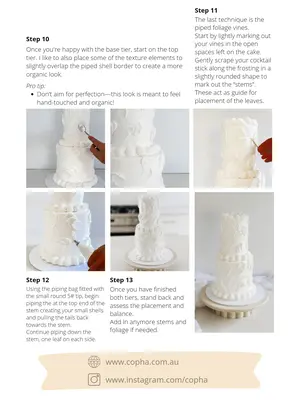
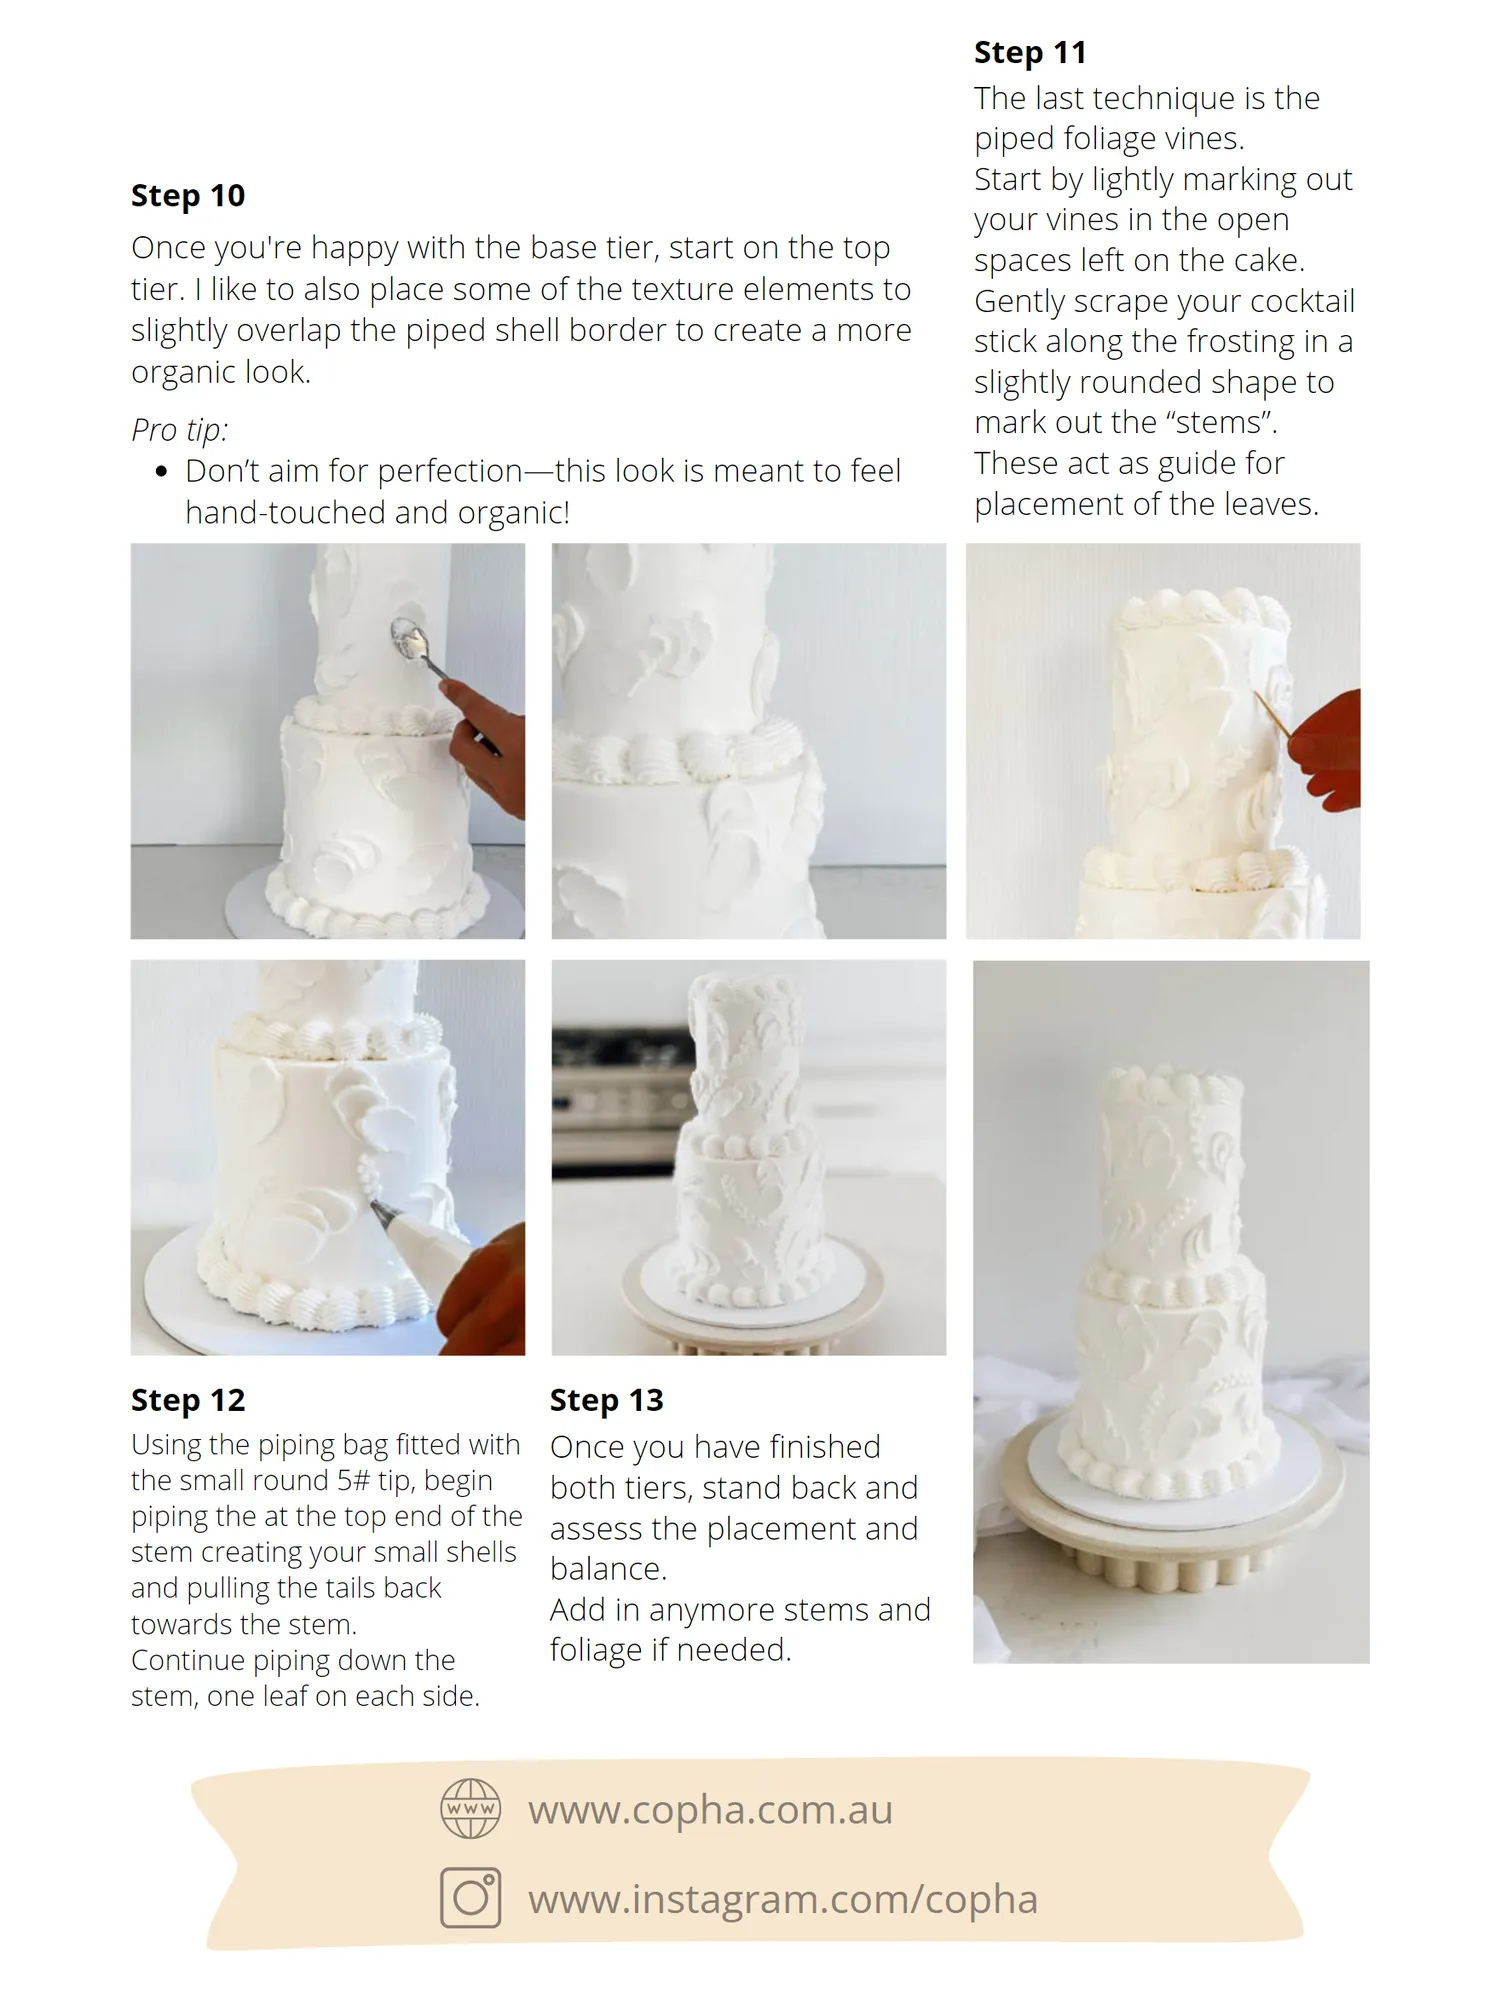
Step 10 Once you ' re happy with the base tier, start on the top tier. I like to also place some of the texture elements to slightly overlap the piped shell border to create a more organic look. Pro tip: Don’ t aim for perfection— this look is meant to feel hand-touched and organic! Step 11 The last technique is the piped foliage vines. Start by lightly marking out your vines in the open spaces left on the cake. Gently scrape your cocktail stick along the frosting in a slightly rounded shape to mark out the“ stems”. These act as guide for placement of the leaves. Step 12 Using the piping bag fitted with the small round 5 # tip, begin piping the at the top end of the stem creating your small shells and pulling the tails back towards the stem. Continue piping down the stem, one leaf on each side. Step 13 Once you have finished both tiers, stand back and assess the placement and balance. Add in anymore stems and foliage if needed. www. copha. com. au www. instagram. com / copha


Page 19 text
Shh.. ACDN Exclusive
Page 20 text
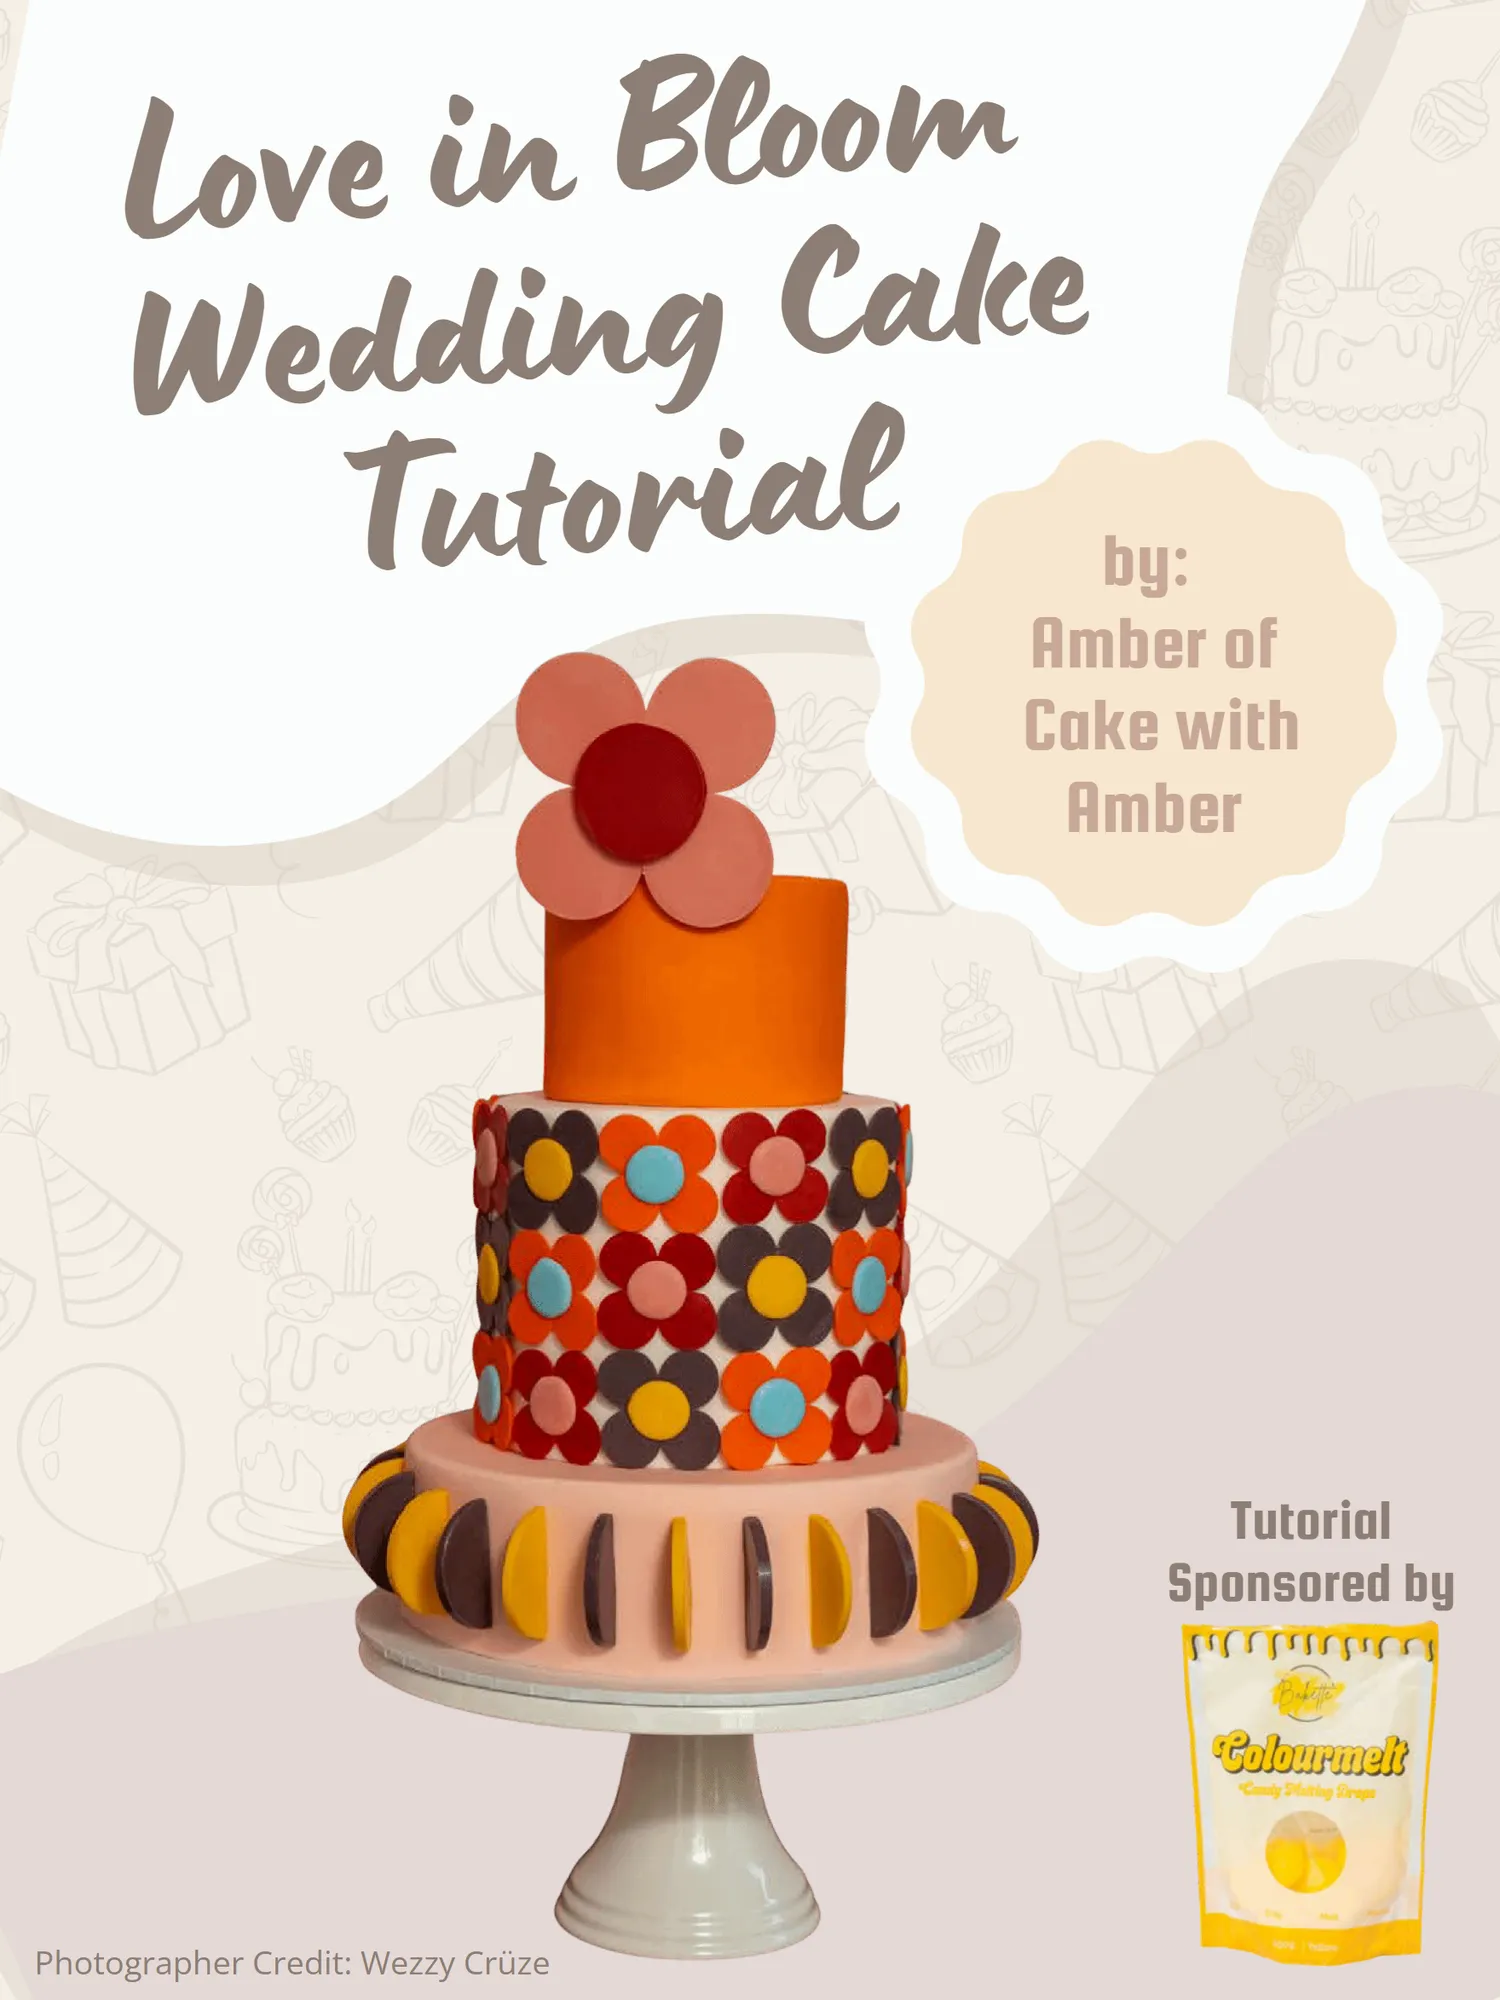
Love in Bloom Wedding Cake Tutorial by: Amber of Cake with Amber Tutorial Sponsored by Photographer Credit: Wezzy Crüze
Page 21 text
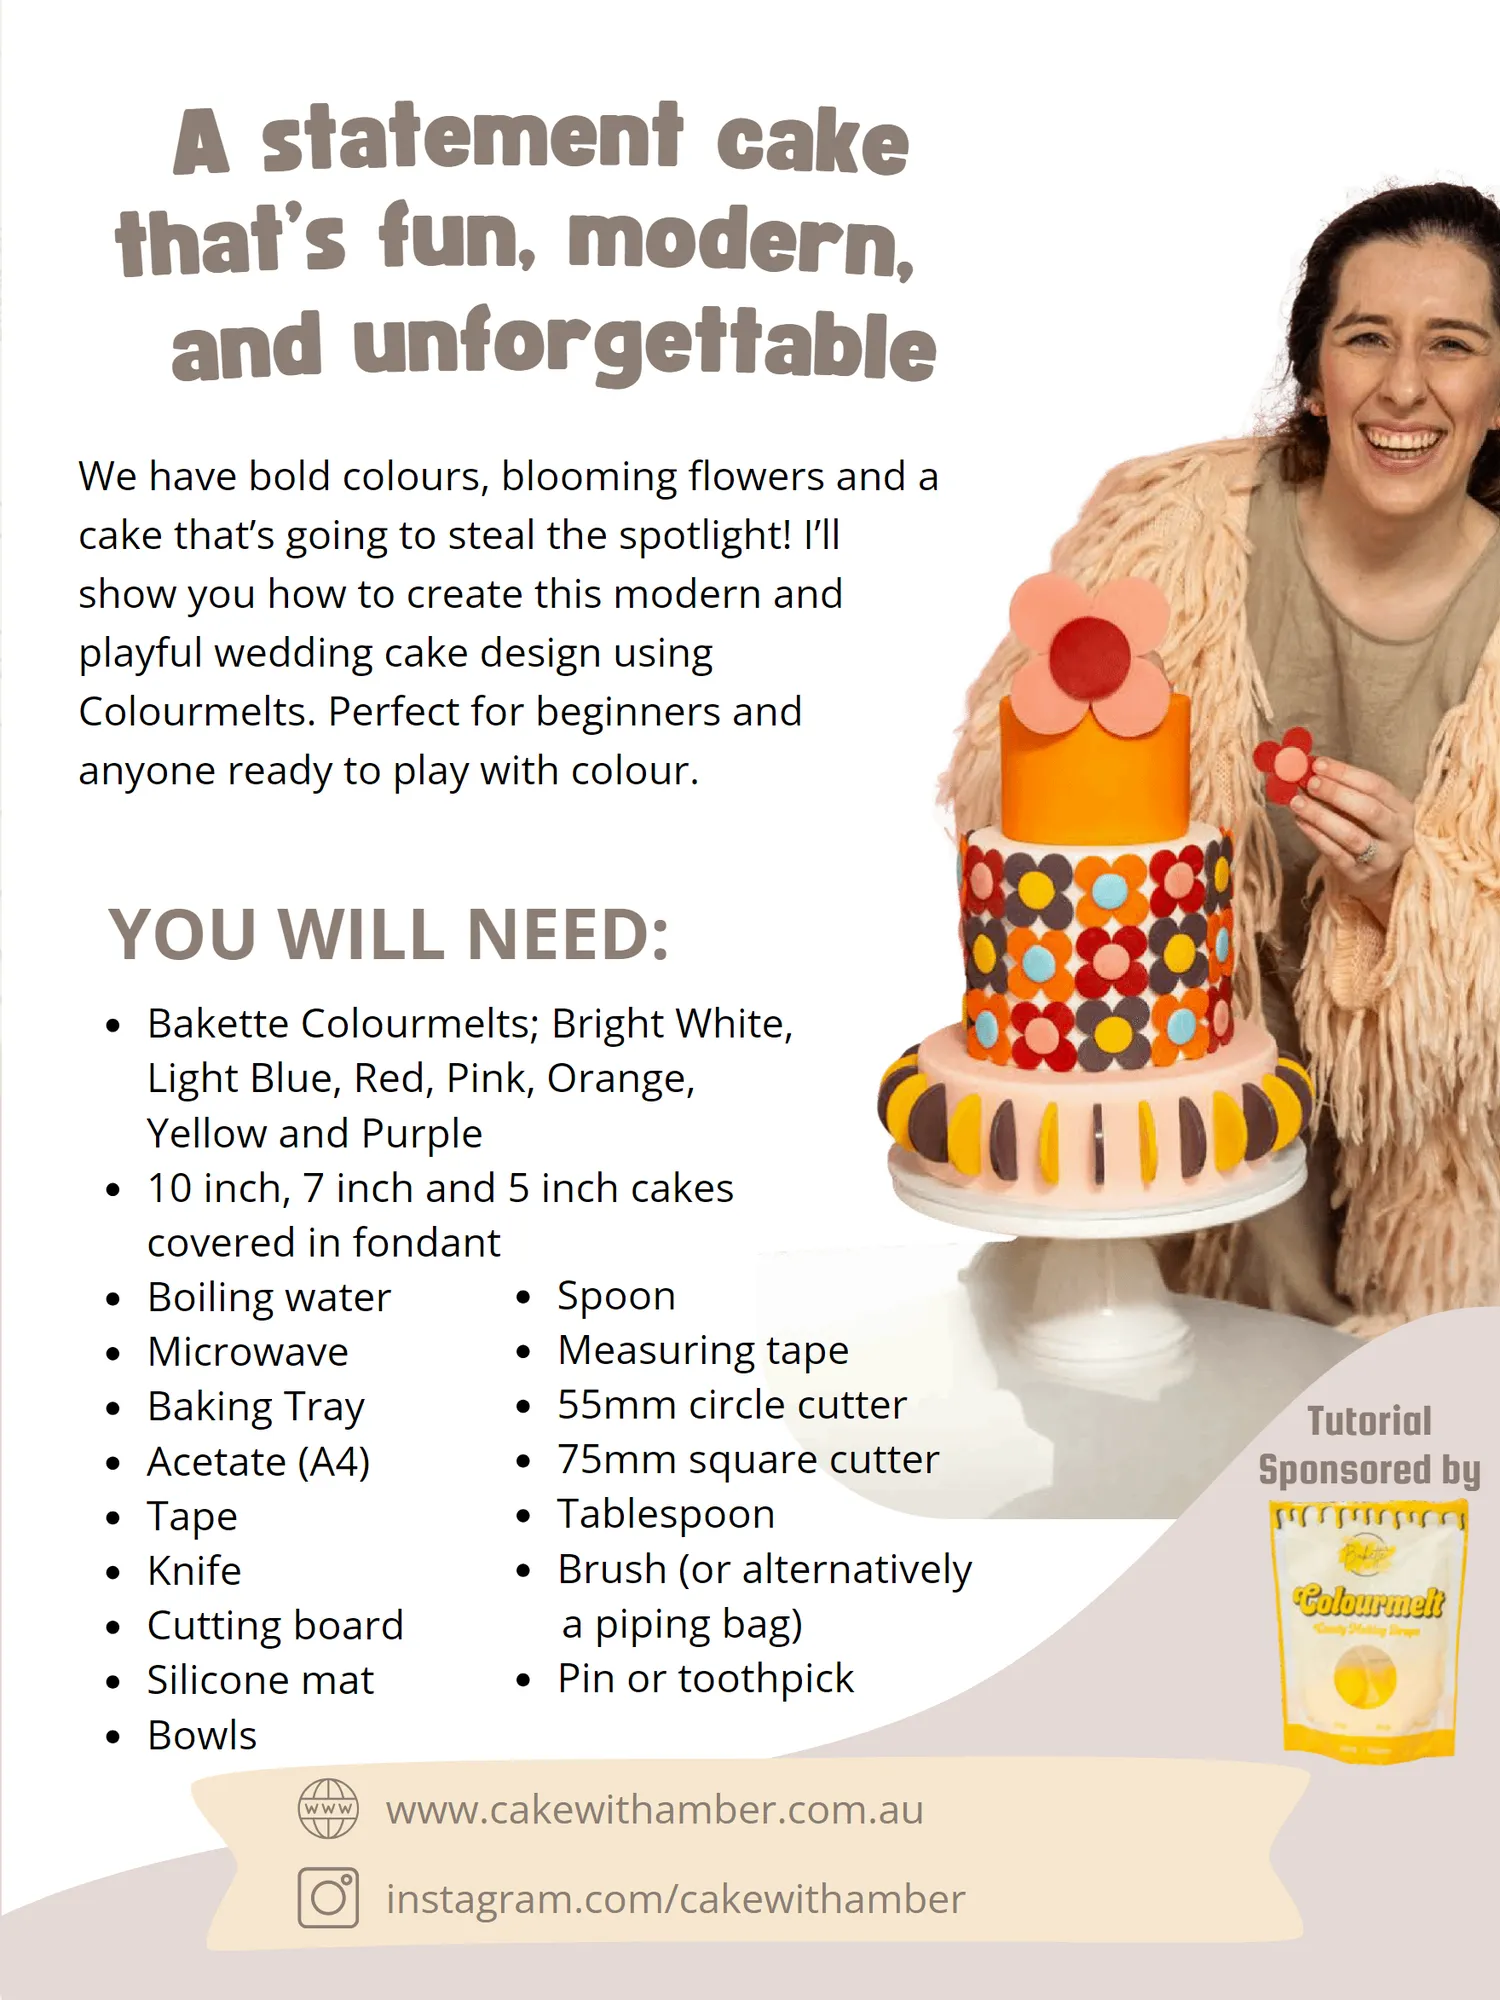
Tutorial Sponsored by instagram. com / cakewithamber A statement cake that’ s fun, modern, and unforgettable We have bold colours, blooming flowers and a cake that’ s going to steal the spotlight! I’ ll show you how to create this modern and playful wedding cake design using Colourmelts. Perfect for beginners and anyone ready to play with colour. YOU WILL NEED: Bakette Colourmelts; Bright White, Light Blue, Red, Pink, Orange, Yellow and Purple 10 inch, 7 inch and 5 inch cakes covered in fondant Boiling water Microwave Baking Tray Acetate( A4) Tape Knife Cutting board Silicone mat Bowls Spoon Measuring tape 55mm circle cutter 75mm square cutter Tablespoon Brush( or alternatively a piping bag) Pin or toothpick www. cakewithamber. com. au Tutorial Sponsored by instagram. com / cakewithamber
Page 22 text
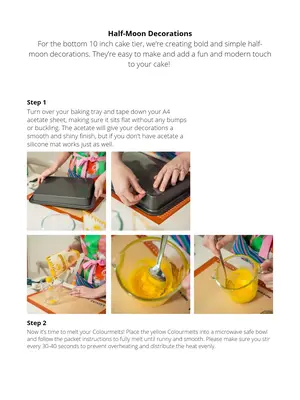
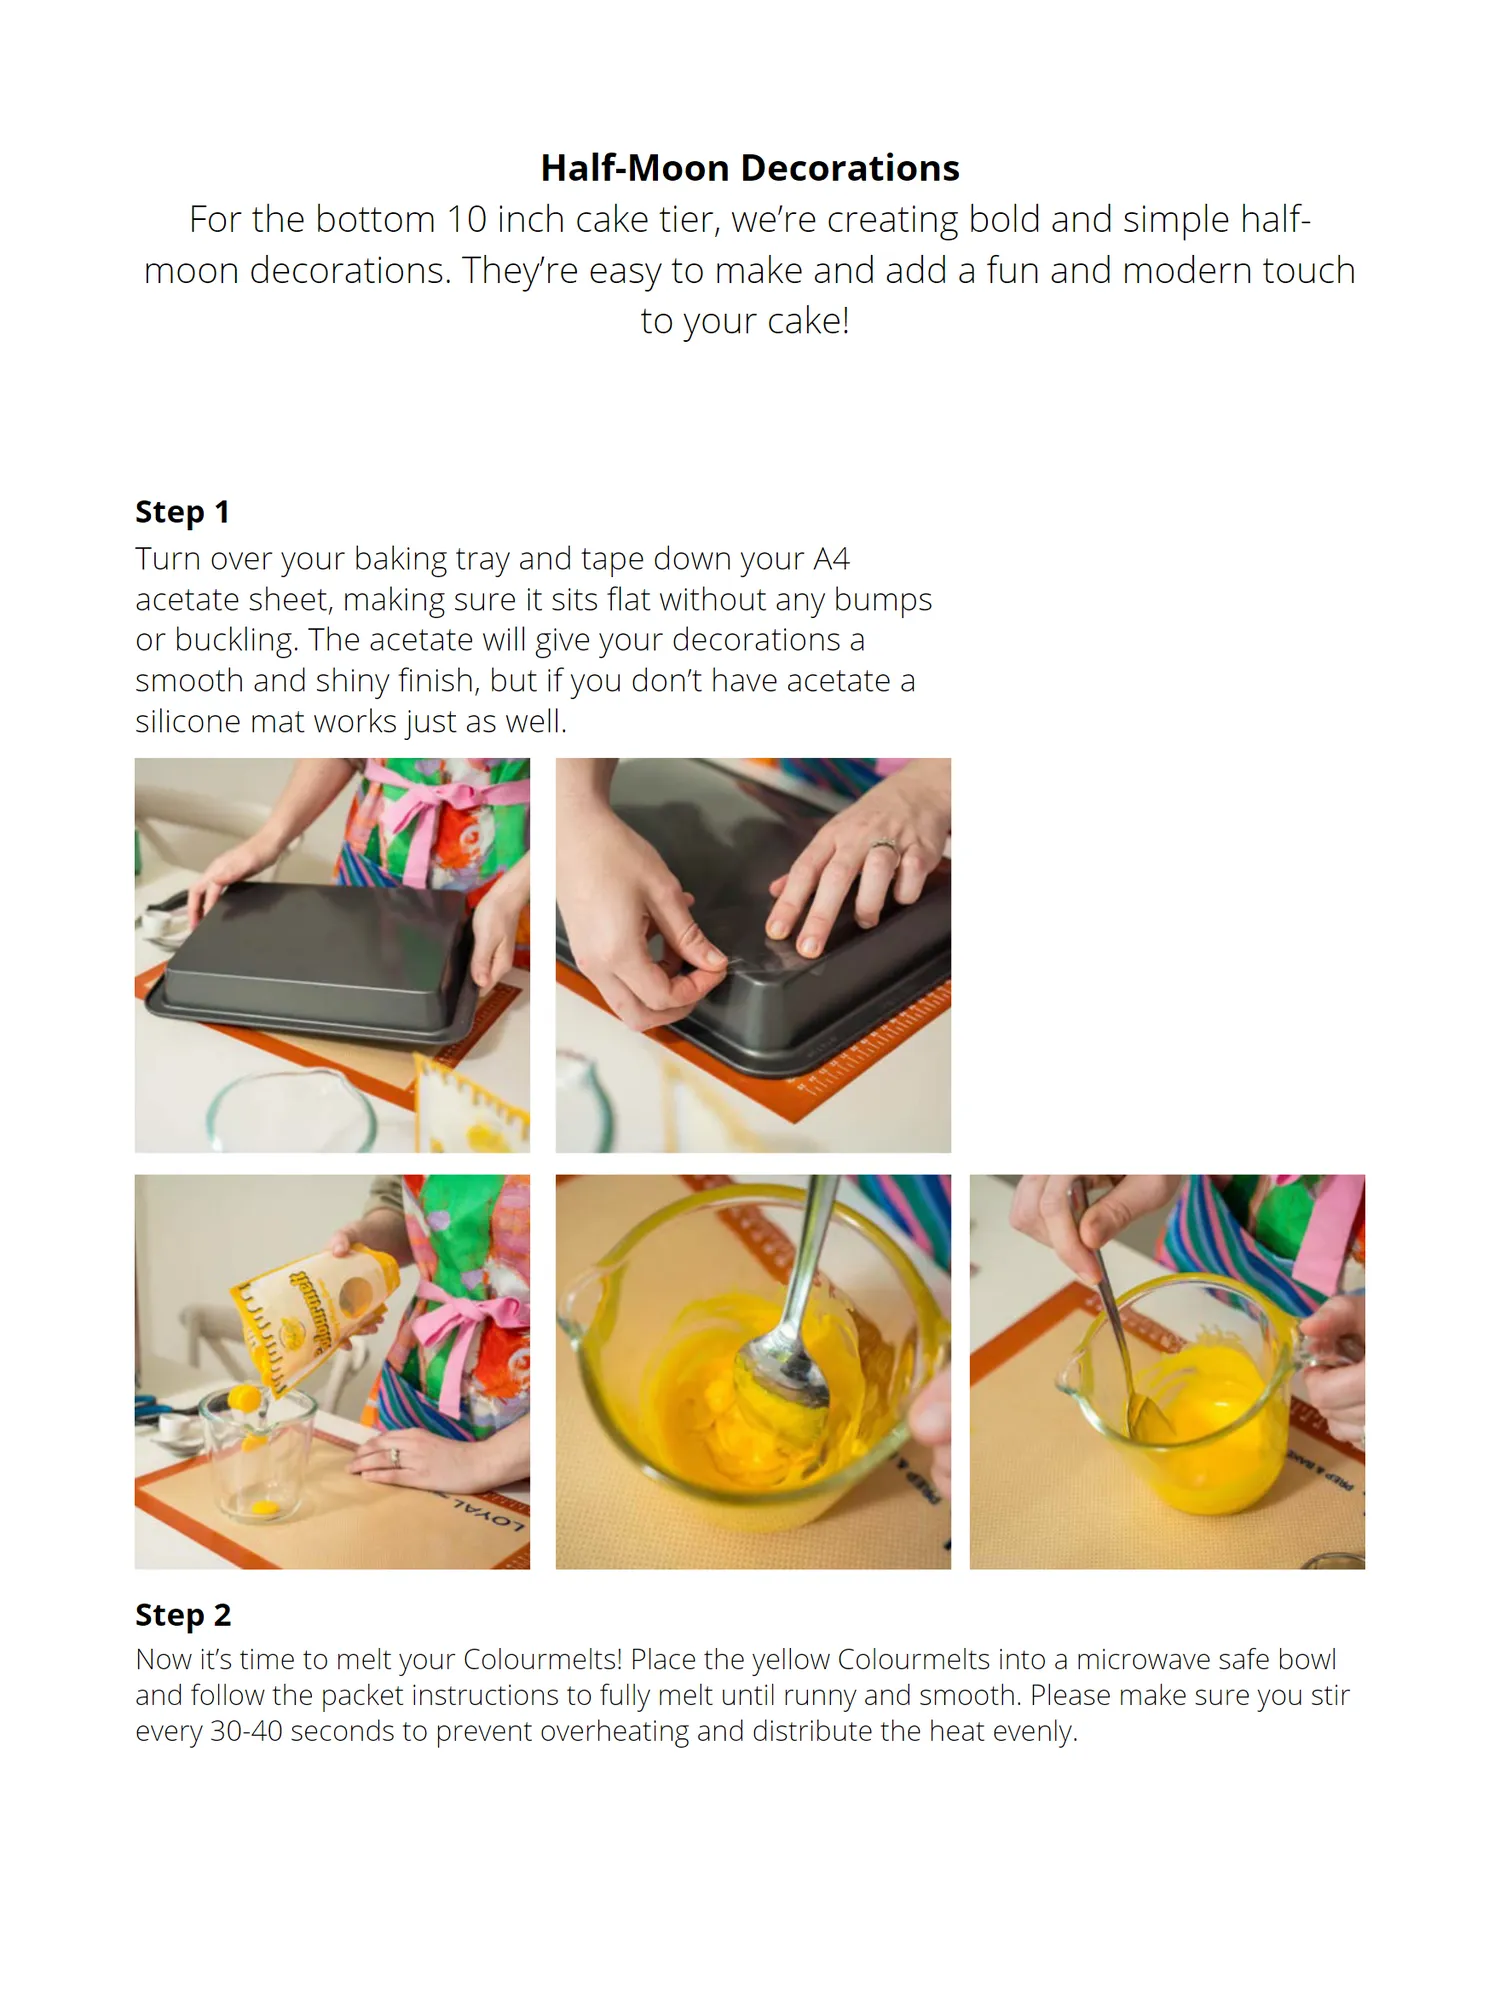
Half-Moon Decorations For the bottom 10 inch cake tier, we’ re creating bold and simple halfmoon decorations. They’ re easy to make and add a fun and modern touch to your cake! Step 1 Turn over your baking tray and tape down your A4 acetate sheet, making sure it sits flat without any bumps or buckling. The acetate will give your decorations a smooth and shiny finish, but if you don’ t have acetate a silicone mat works just as well. Step 2 Now it’ s time to melt your Colourmelts! Place the yellow Colourmelts into a microwave safe bowl and follow the packet instructions to fully melt until runny and smooth. Please make sure you stir every 30-40 seconds to prevent overheating and distribute the heat evenly.
Page 23 text
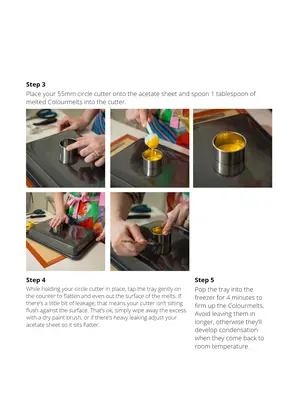
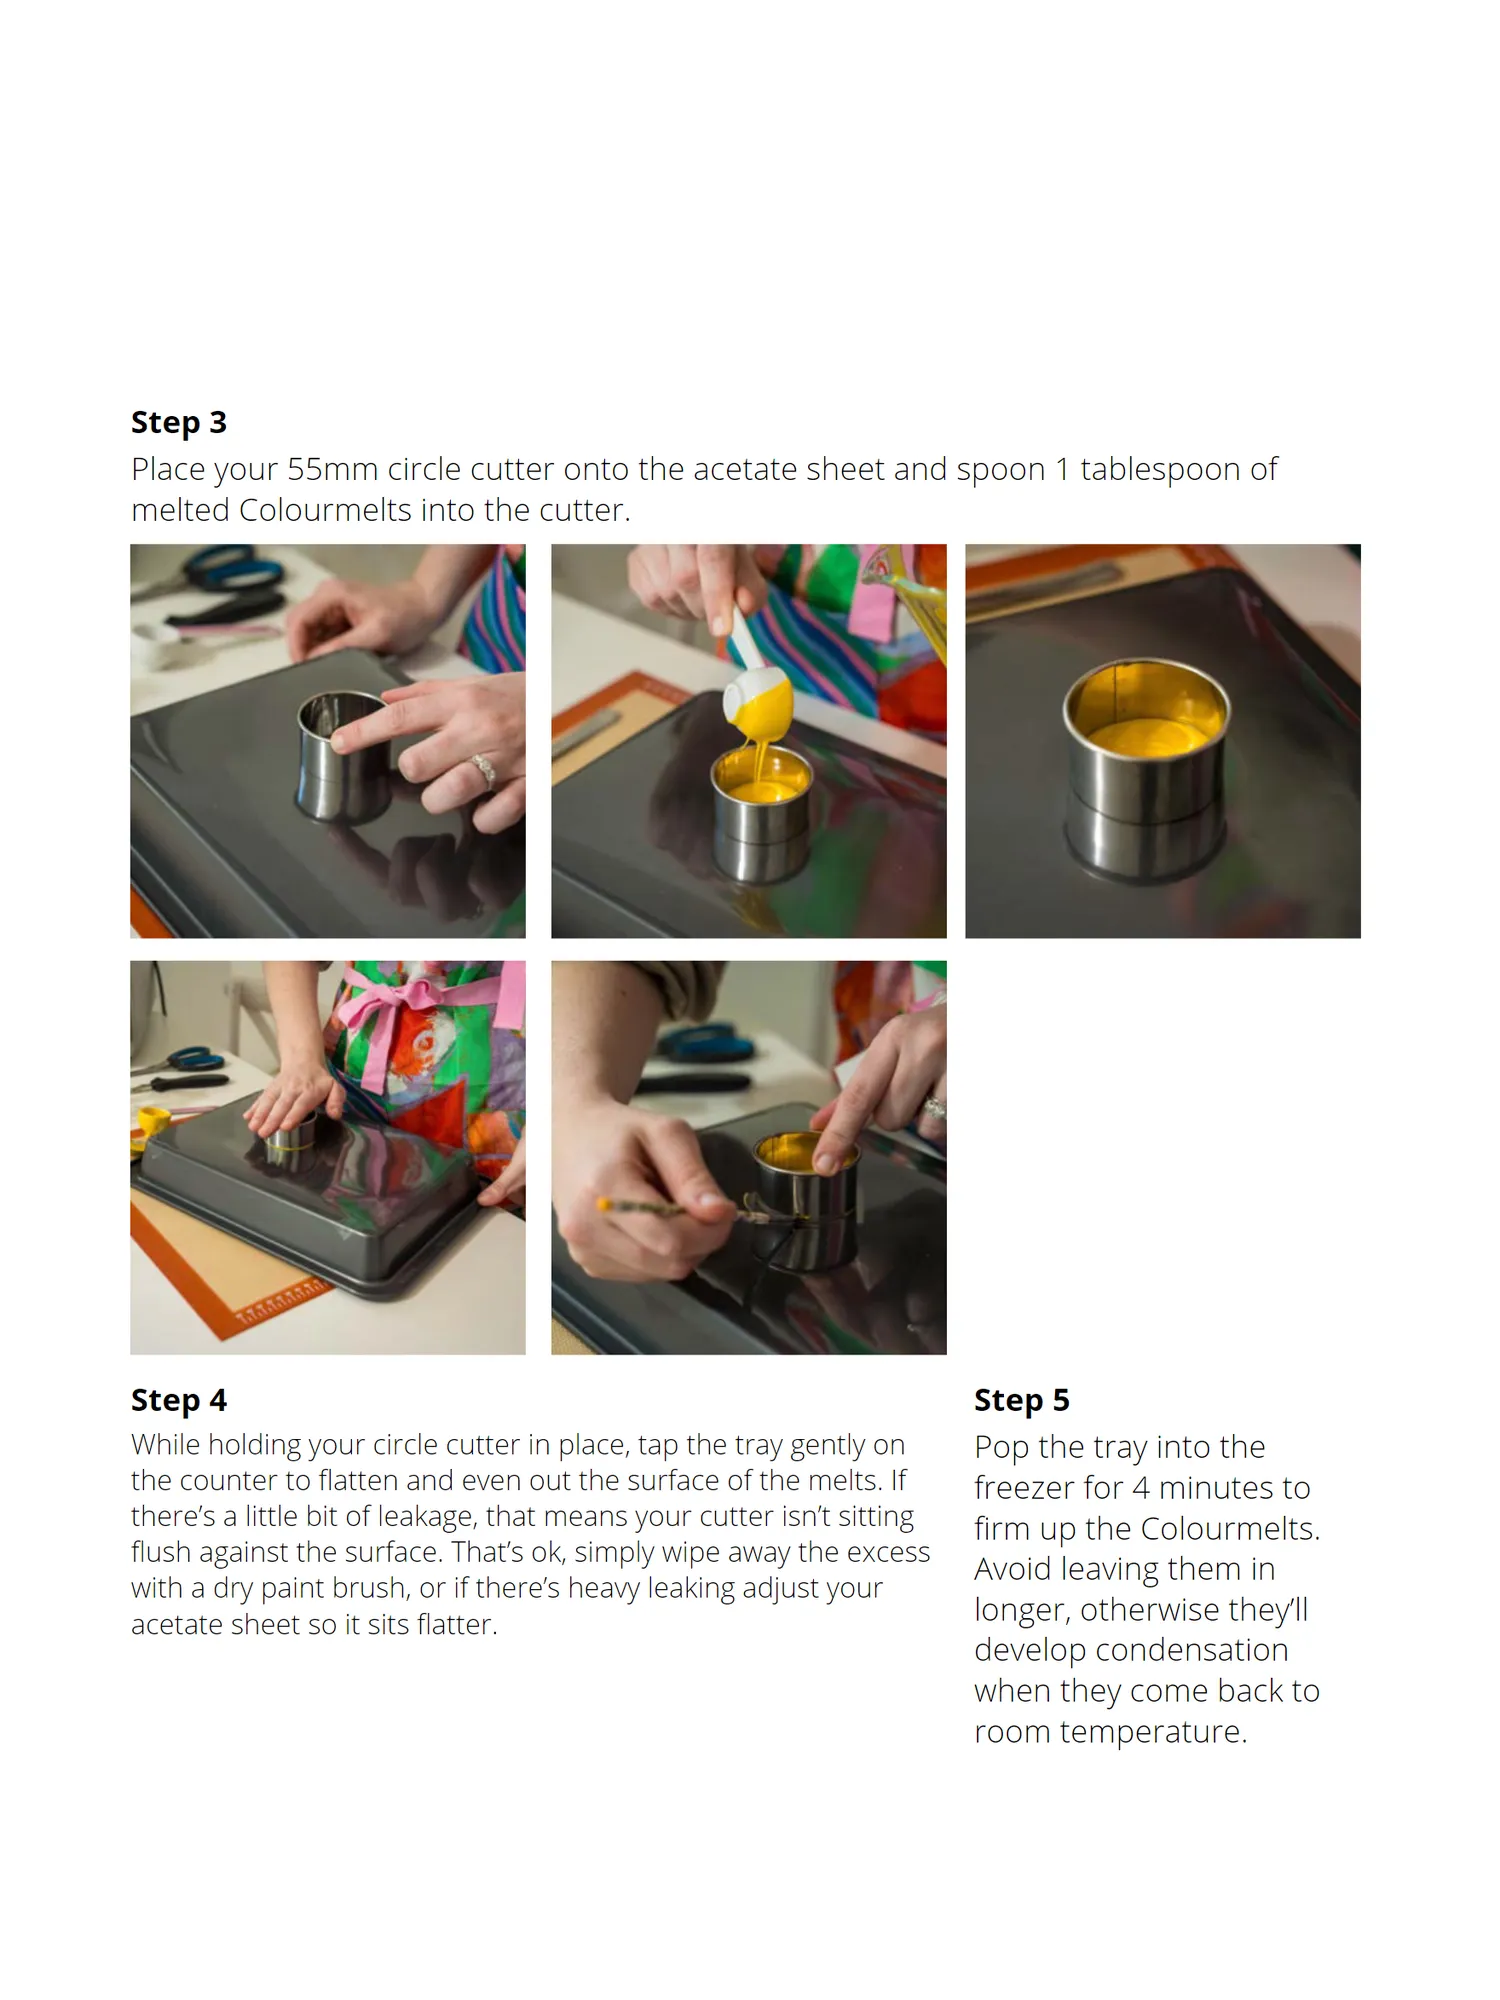
Step 3 Place your 55mm circle cutter onto the acetate sheet and spoon 1 tablespoon of melted Colourmelts into the cutter. Step 4 While holding your circle cutter in place, tap the tray gently on the counter to flatten and even out the surface of the melts. If there’ s a little bit of leakage, that means your cutter isn’ t sitting flush against the surface. That’ s ok, simply wipe away the excess with a dry paint brush, or if there’ s heavy leaking adjust your acetate sheet so it sits flatter. Step 5 Pop the tray into the freezer for 4 minutes to firm up the Colourmelts. Avoid leaving them in longer, otherwise they’ ll develop condensation when they come back to room temperature.
Page 24 text
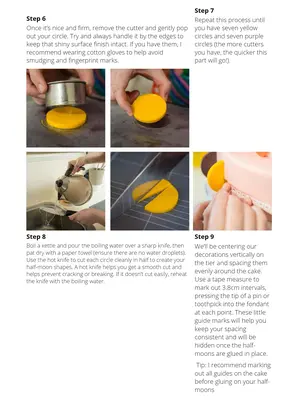
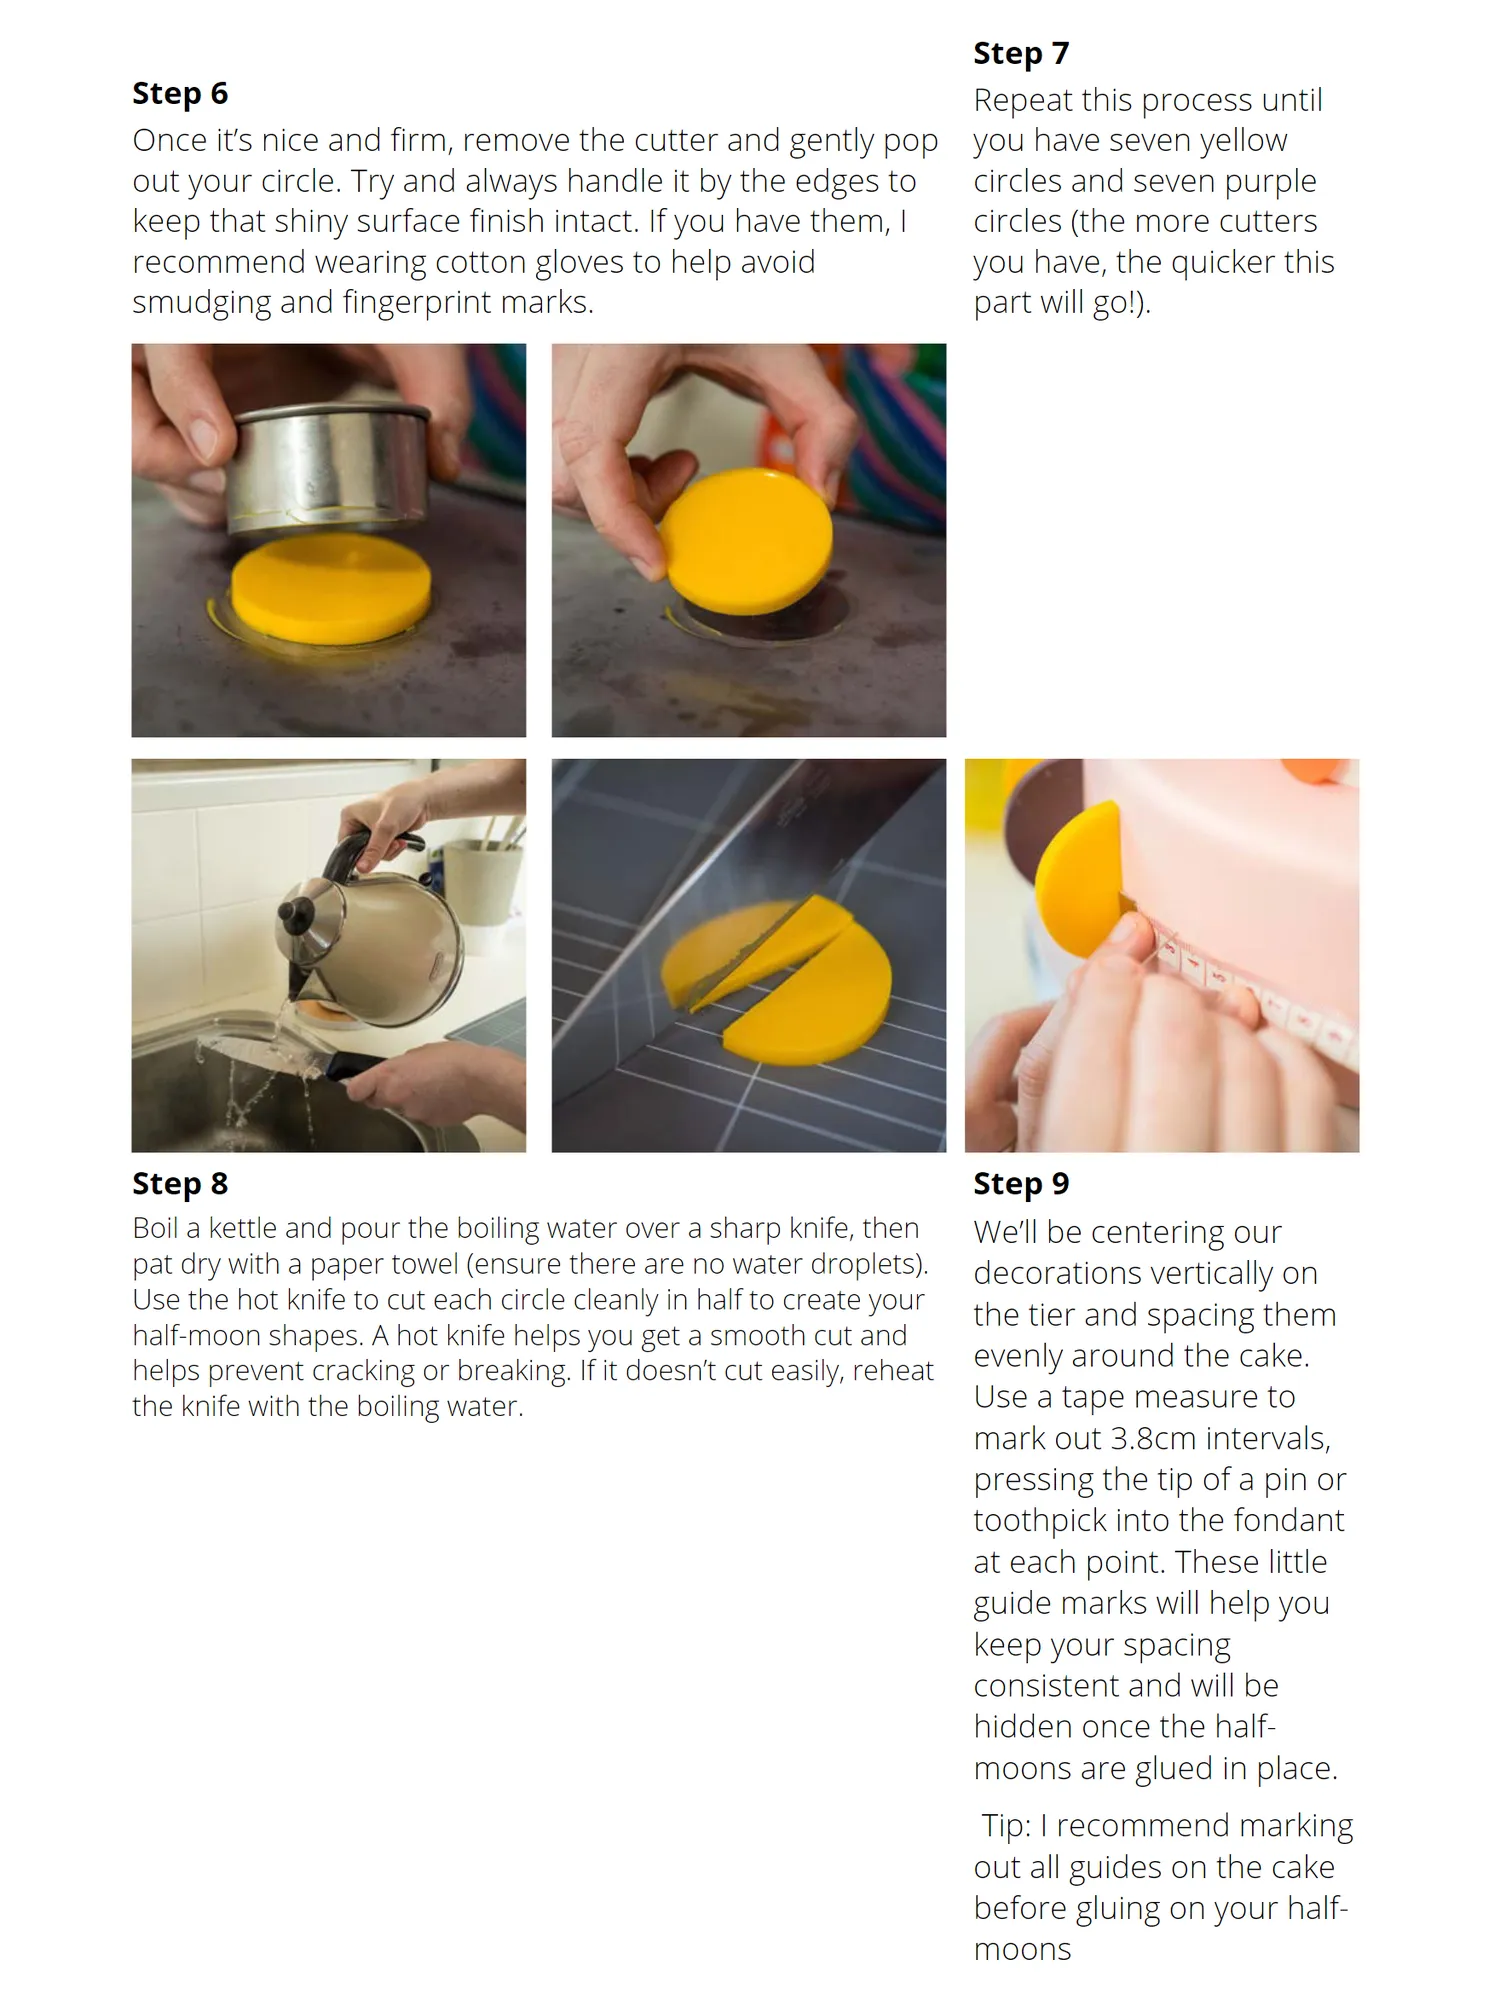
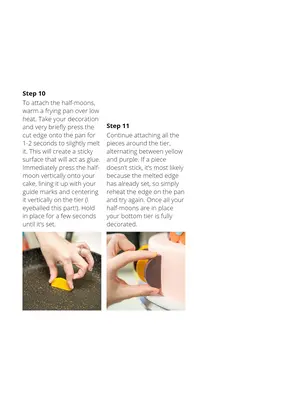
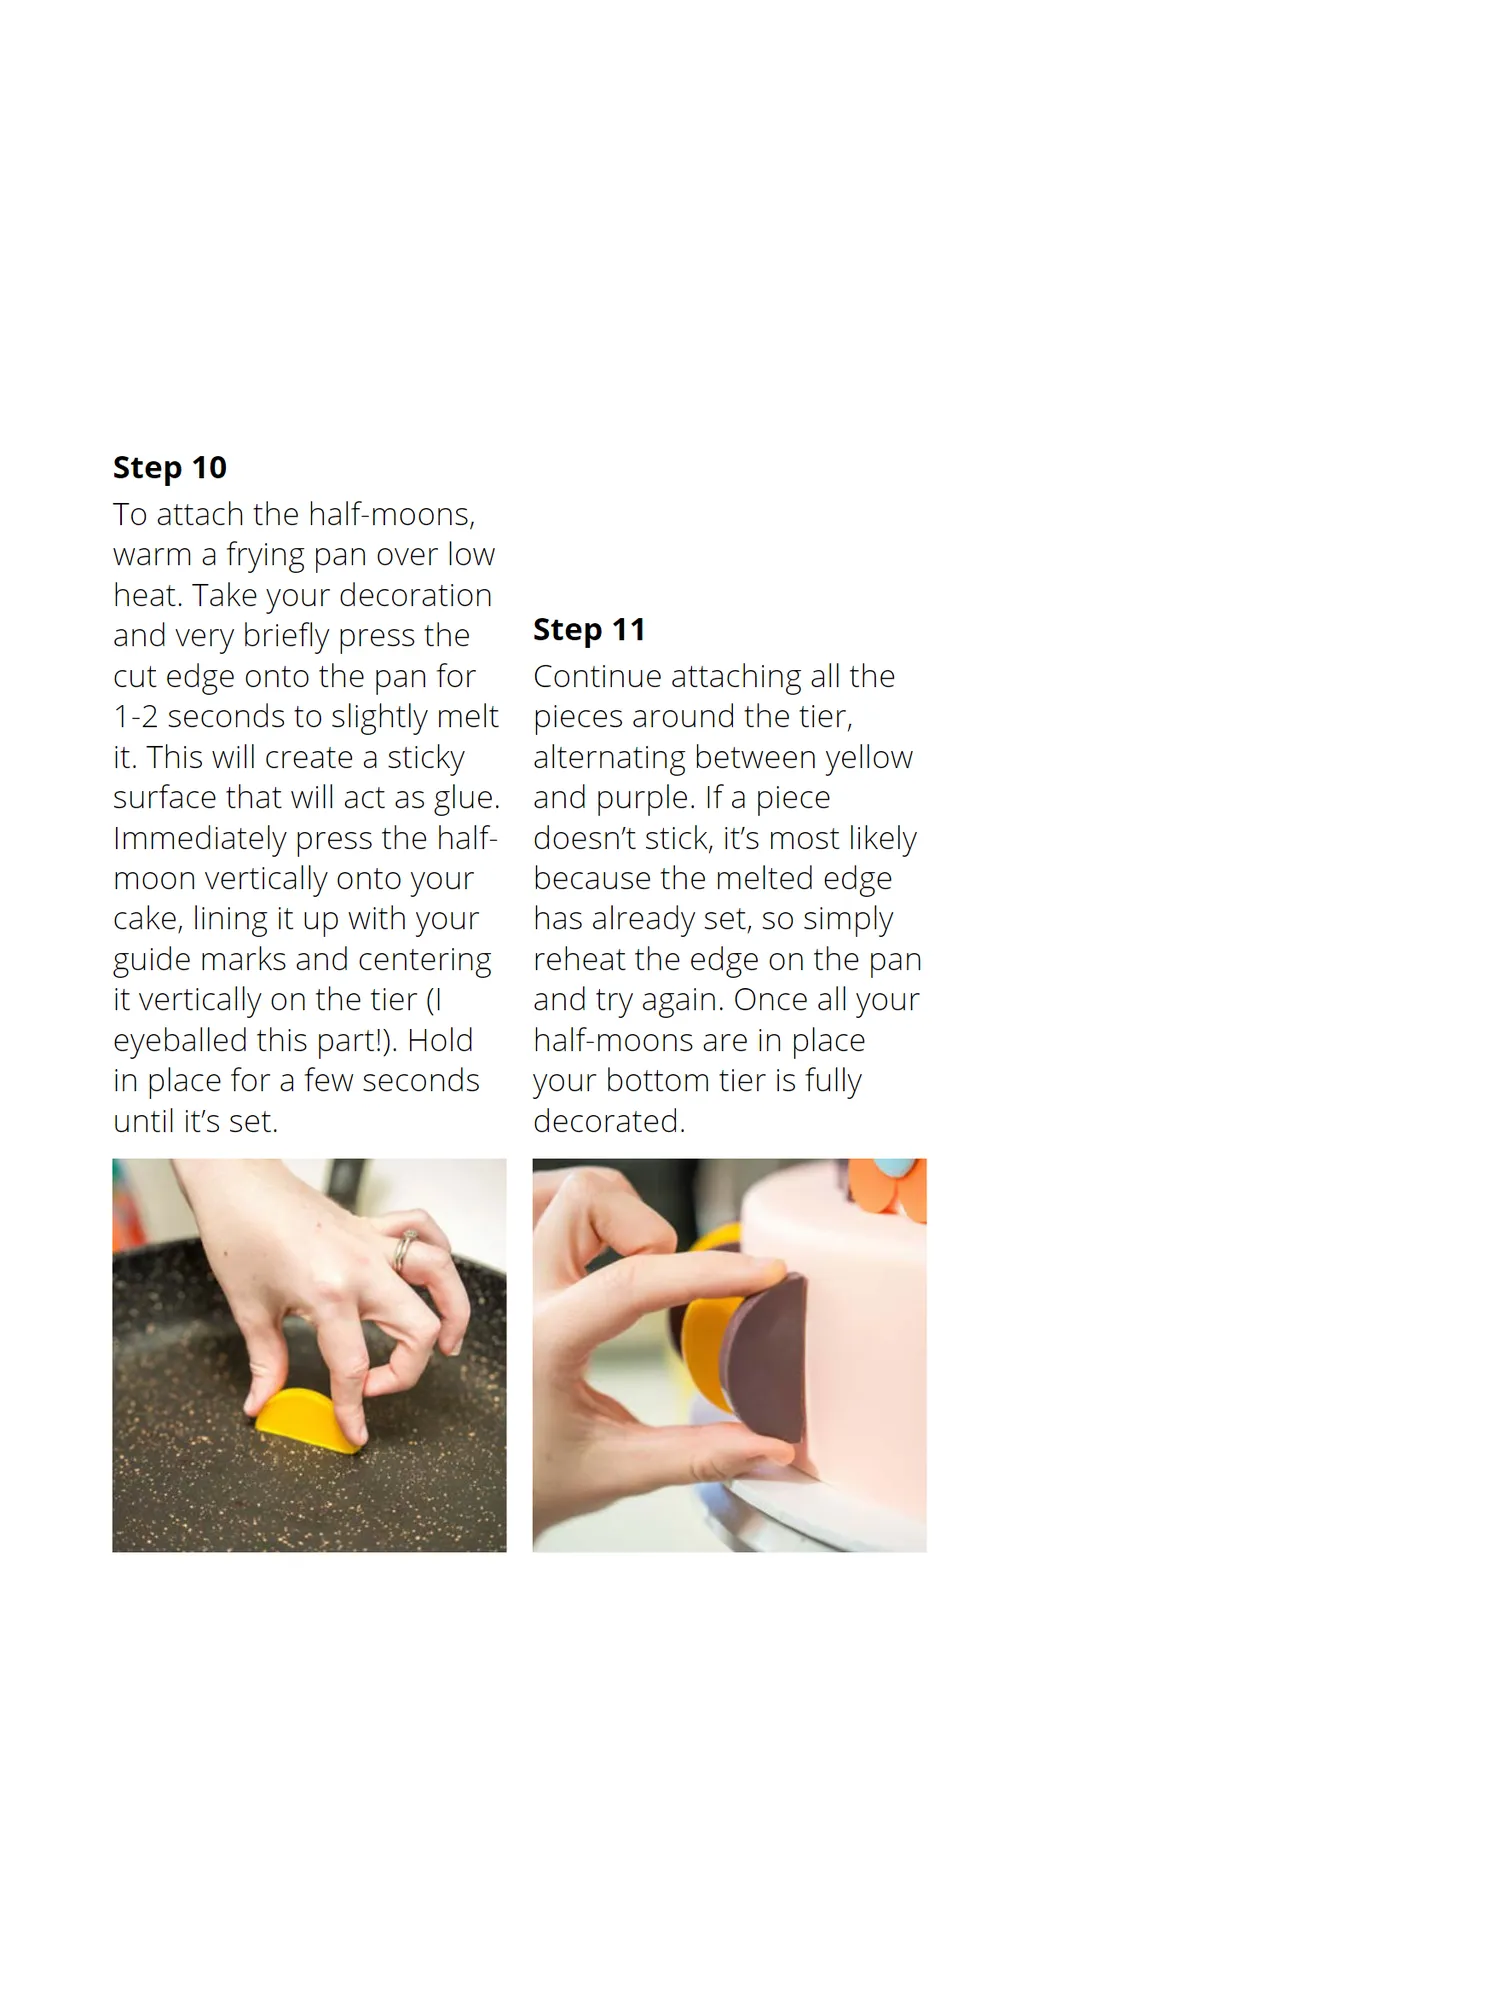
Step 7 Step 6 Repeat this process until Once it’s nice and firm, remove the cutter and gently pop you have seven yellow out your circle. Try and always handle it by the edges to circles and seven purple keep that shiny surface finish intact. If you have them, I circles (the more cutters recommend wearing cotton gloves to help avoid you have, the quicker this smudging and fingerprint marks. part will go!). Step 8 Step 9 Boil a kettle and pour the boiling water over a sharp knife, then We’ll be centering our pat dry with a paper towel (ensure there are no water droplets). decorations vertically on Use the hot knife to cut each circle cleanly in half to create your the tier and spacing them half-moon shapes. A hot knife helps you get a smooth cut and evenly around the cake. helps prevent cracking or breaking. If it doesn’t cut easily, reheat the knife with the boiling water. Use a tape measure to mark out 3.8cm intervals, pressing the tip of a pin or toothpick into the fondant at each point. These little guide marks will help you keep your spacing consistent and will be hidden once the half- moons are glued in place. Tip: I recommend marking out all guides on the cake before gluing on your half- moons
Page 25 text
Step 10 To attach the half-moons, warm a frying pan over low heat. Take your decoration and very briefly press the Step 11 cut edge onto the pan for Continue attaching all the 1-2 seconds to slightly melt pieces around the tier, it. This will create a sticky alternating between yellow surface that will act as glue. and purple. If a piece Immediately press the half- doesn’t stick, it’s most likely moon vertically onto your because the melted edge cake, lining it up with your has already set, so simply guide marks and centering reheat the edge on the pan it vertically on the tier (I and try again. Once all your eyeballed this part!). Hold half-moons are in place in place for a few seconds your bottom tier is fully until it’s set. decorated.
Page 26 text
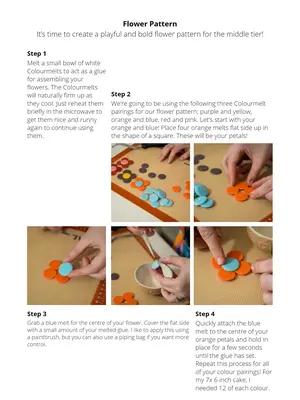
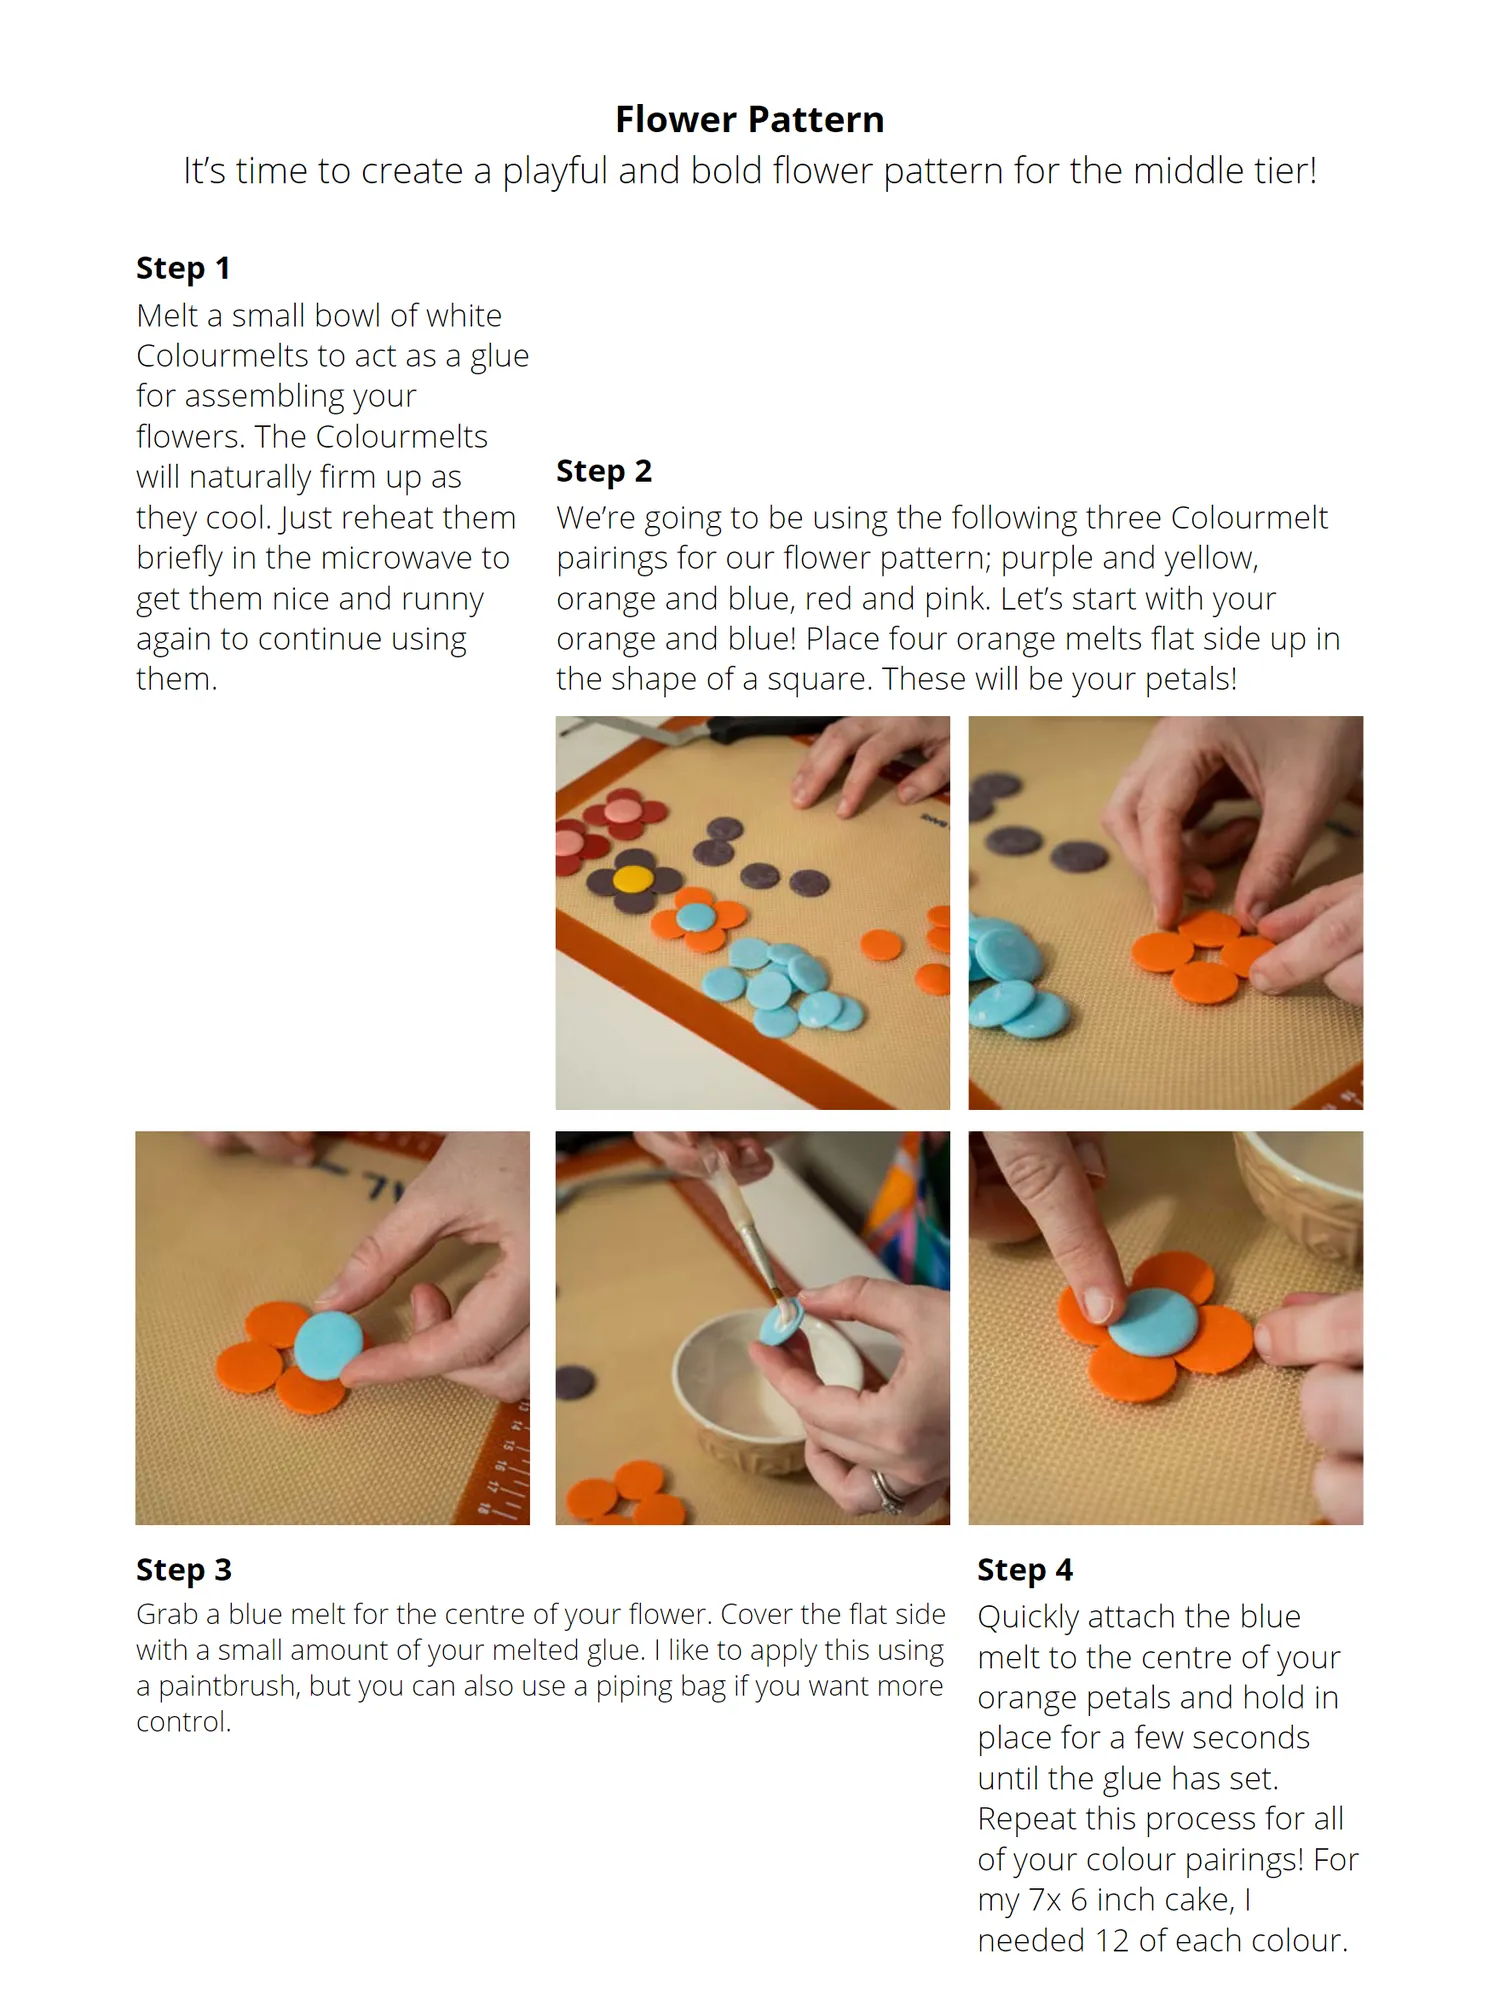
Flower Pattern It’s time to create a playful and bold flower pattern for the middle tier! Step 1 Melt a small bowl of white Colourmelts to act as a glue for assembling your flowers. The Colourmelts will naturally firm up as Step 2 they cool. Just reheat them We’re going to be using the following three Colourmelt briefly in the microwave to pairings for our flower pattern; purple and yellow, get them nice and runny orange and blue, red and pink. Let’s start with your again to continue using orange and blue! Place four orange melts flat side up in them. the shape of a square. These will be your petals! Step 3 Step 4 Grab a blue melt for the centre of your flower. Cover the flat side Quickly attach the blue with a small amount of your melted glue. I like to apply this using melt to the centre of your a paintbrush, but you can also use a piping bag if you want more orange petals and hold in control. place for a few seconds until the glue has set. Repeat this process for all of your colour pairings! For my 7x 6 inch cake, I needed 12 of each colour.
Page 27 text
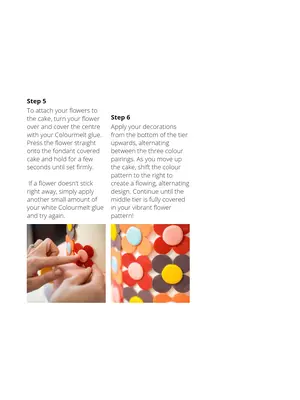
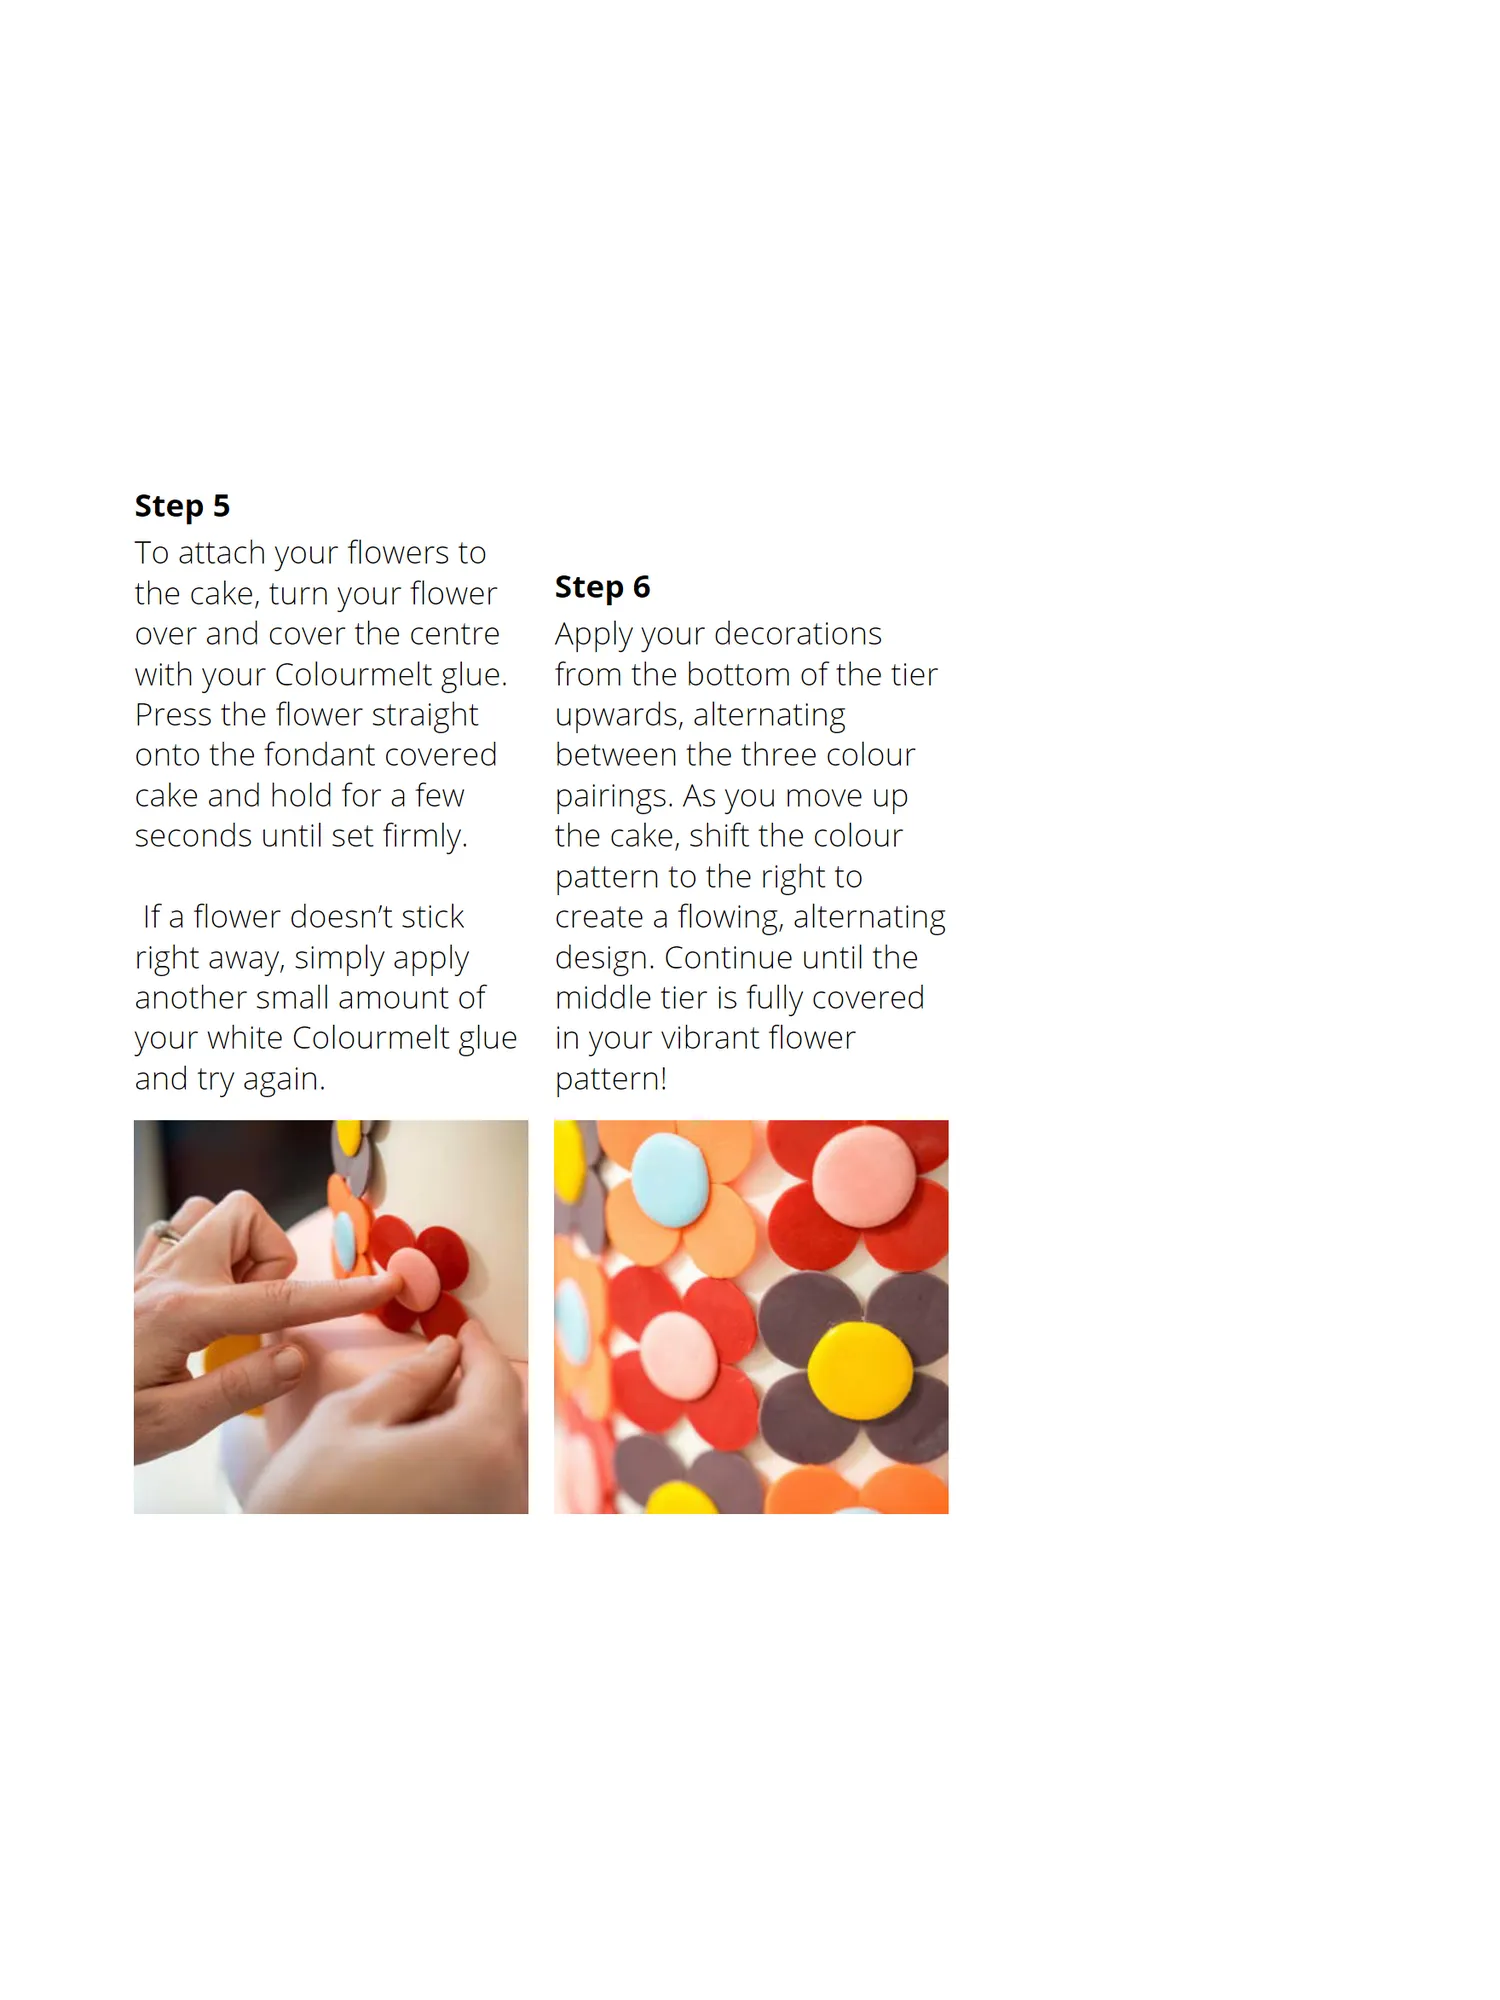
Step 5 To attach your flowers to the cake, turn your flower Step 6 over and cover the centre Apply your decorations with your Colourmelt glue. from the bottom of the tier Press the flower straight upwards, alternating onto the fondant covered between the three colour cake and hold for a few pairings. As you move up seconds until set firmly. the cake, shift the colour pattern to the right to If a flower doesn’t stick create a flowing, alternating right away, simply apply design. Continue until the another small amount of middle tier is fully covered your white Colourmelt glue in your vibrant flower and try again. pattern!
Page 28 text
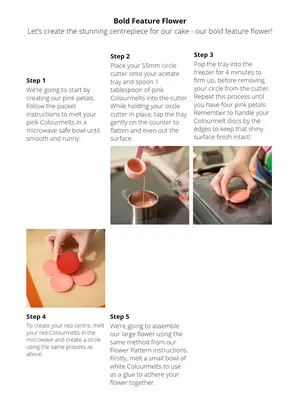
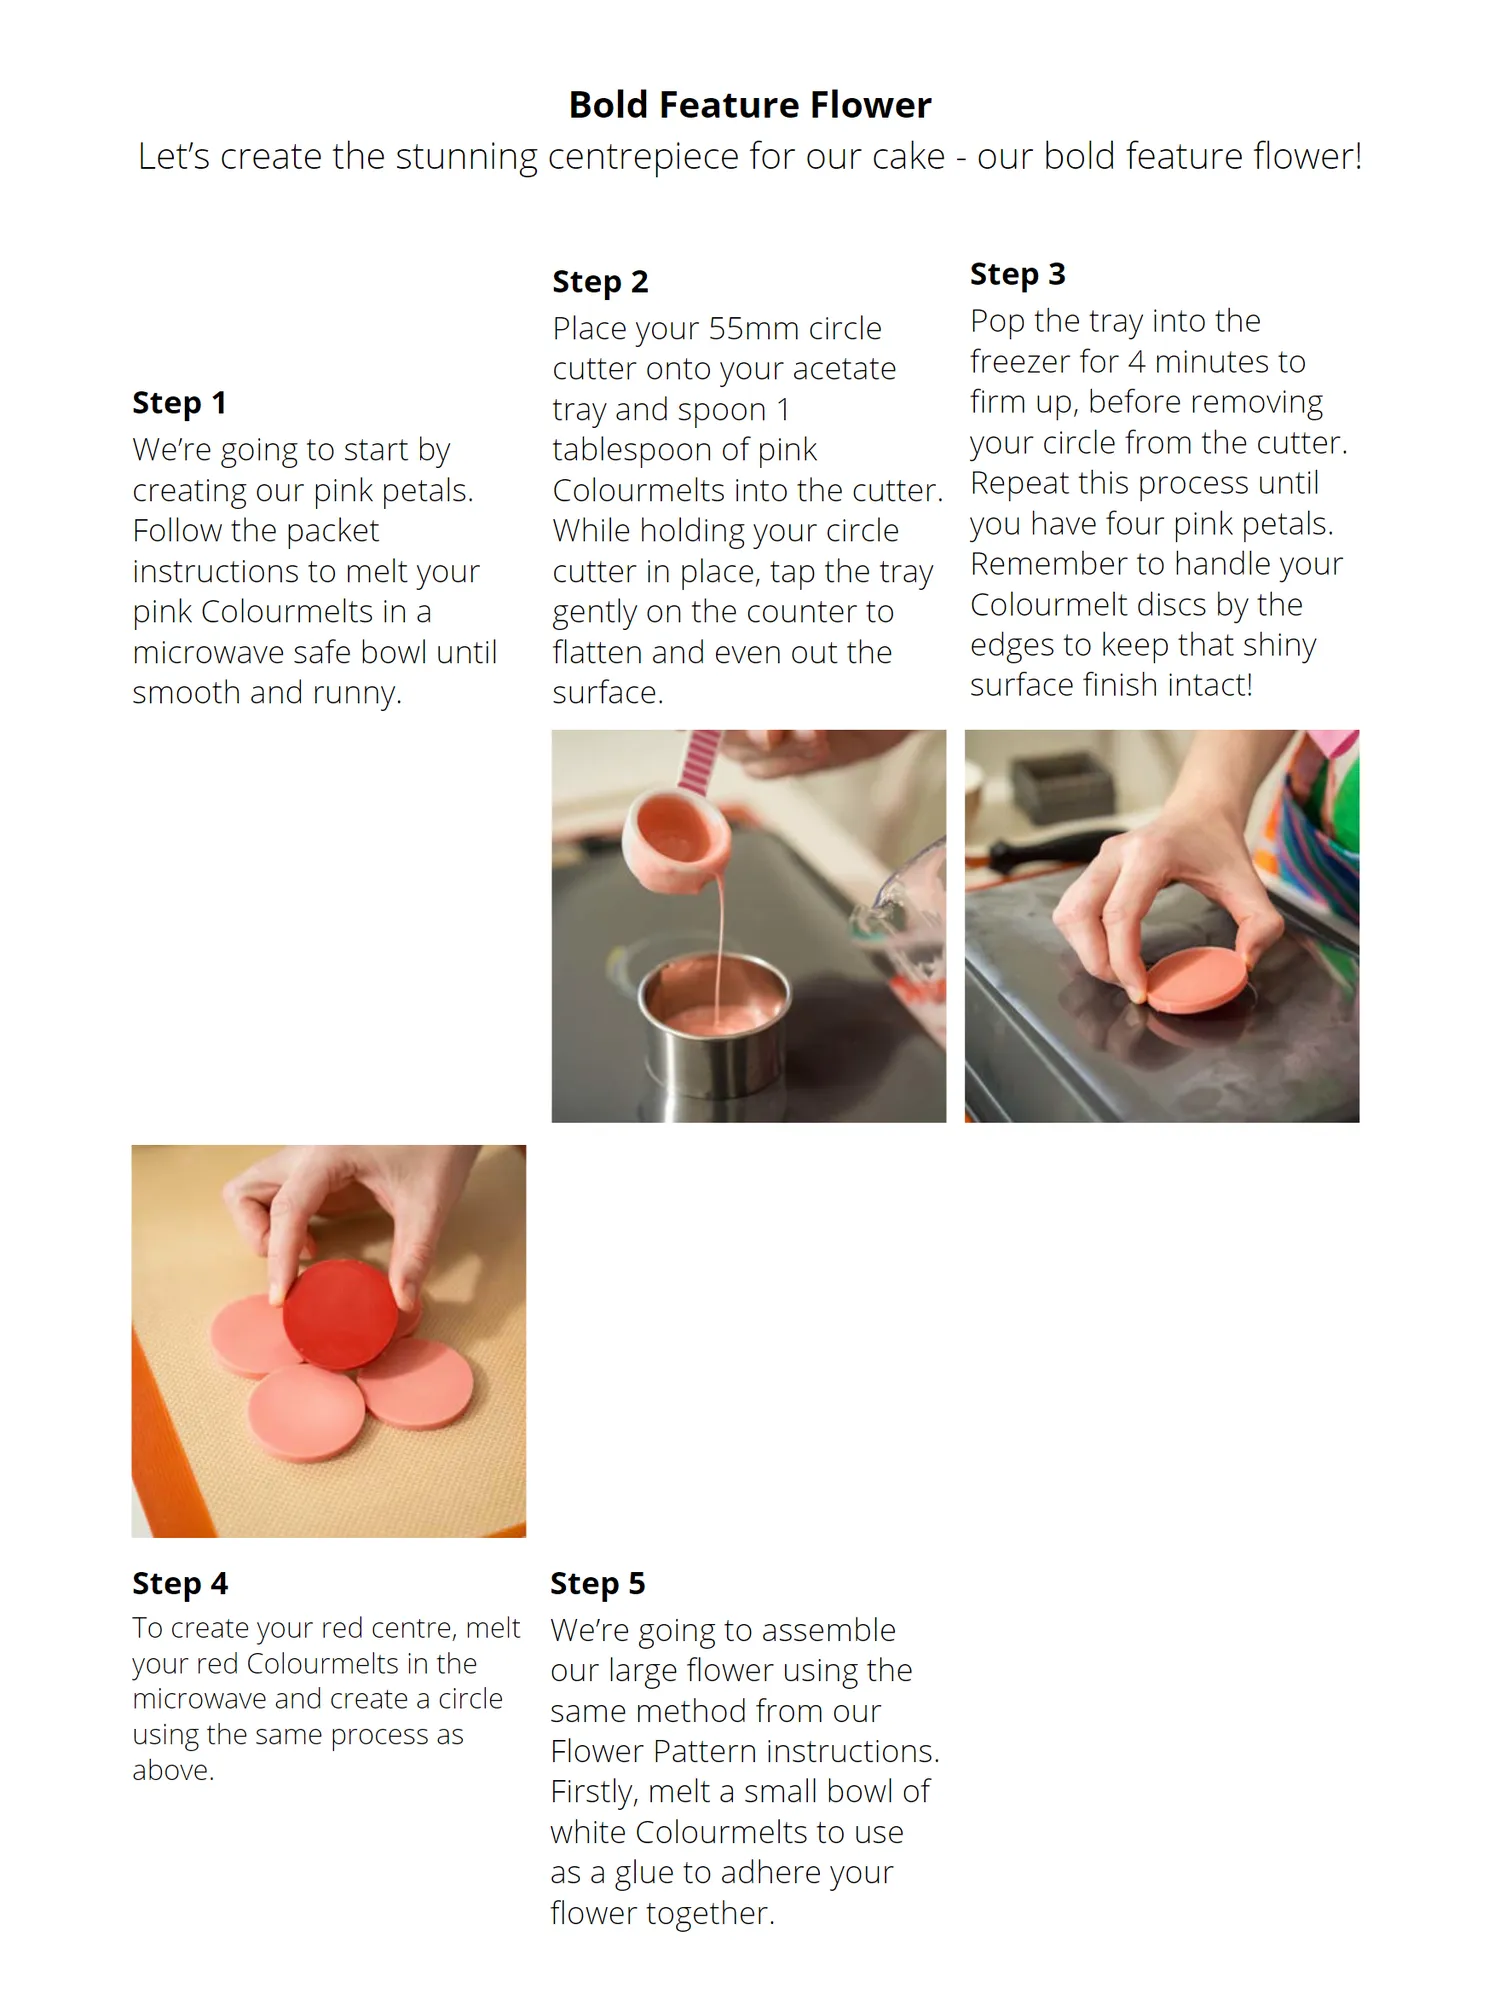
Bold Feature Flower Let’s create the stunning centrepiece for our cake - our bold feature flower! Step 2 Step 3 Place your 55mm circle Pop the tray into the cutter onto your acetate freezer for 4 minutes to Step 1 tray and spoon 1 firm up, before removing We’re going to start by tablespoon of pink your circle from the cutter. creating our pink petals. Colourmelts into the cutter. Repeat this process until Follow the packet While holding your circle you have four pink petals. instructions to melt your cutter in place, tap the tray Remember to handle your pink Colourmelts in a gently on the counter to Colourmelt discs by the microwave safe bowl until flatten and even out the edges to keep that shiny smooth and runny. surface. surface finish intact! Step 4 Step 5 To create your red centre, melt We’re going to assemble your red Colourmelts in the our large flower using the microwave and create a circle same method from our using the same process as Flower Pattern instructions. above. Firstly, melt a small bowl of white Colourmelts to use as a glue to adhere your flower together.
Page 29 text
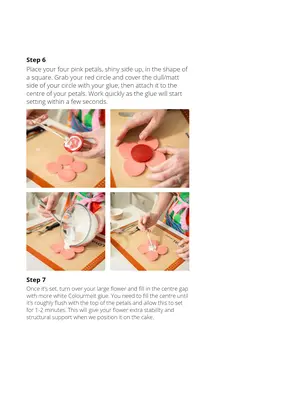
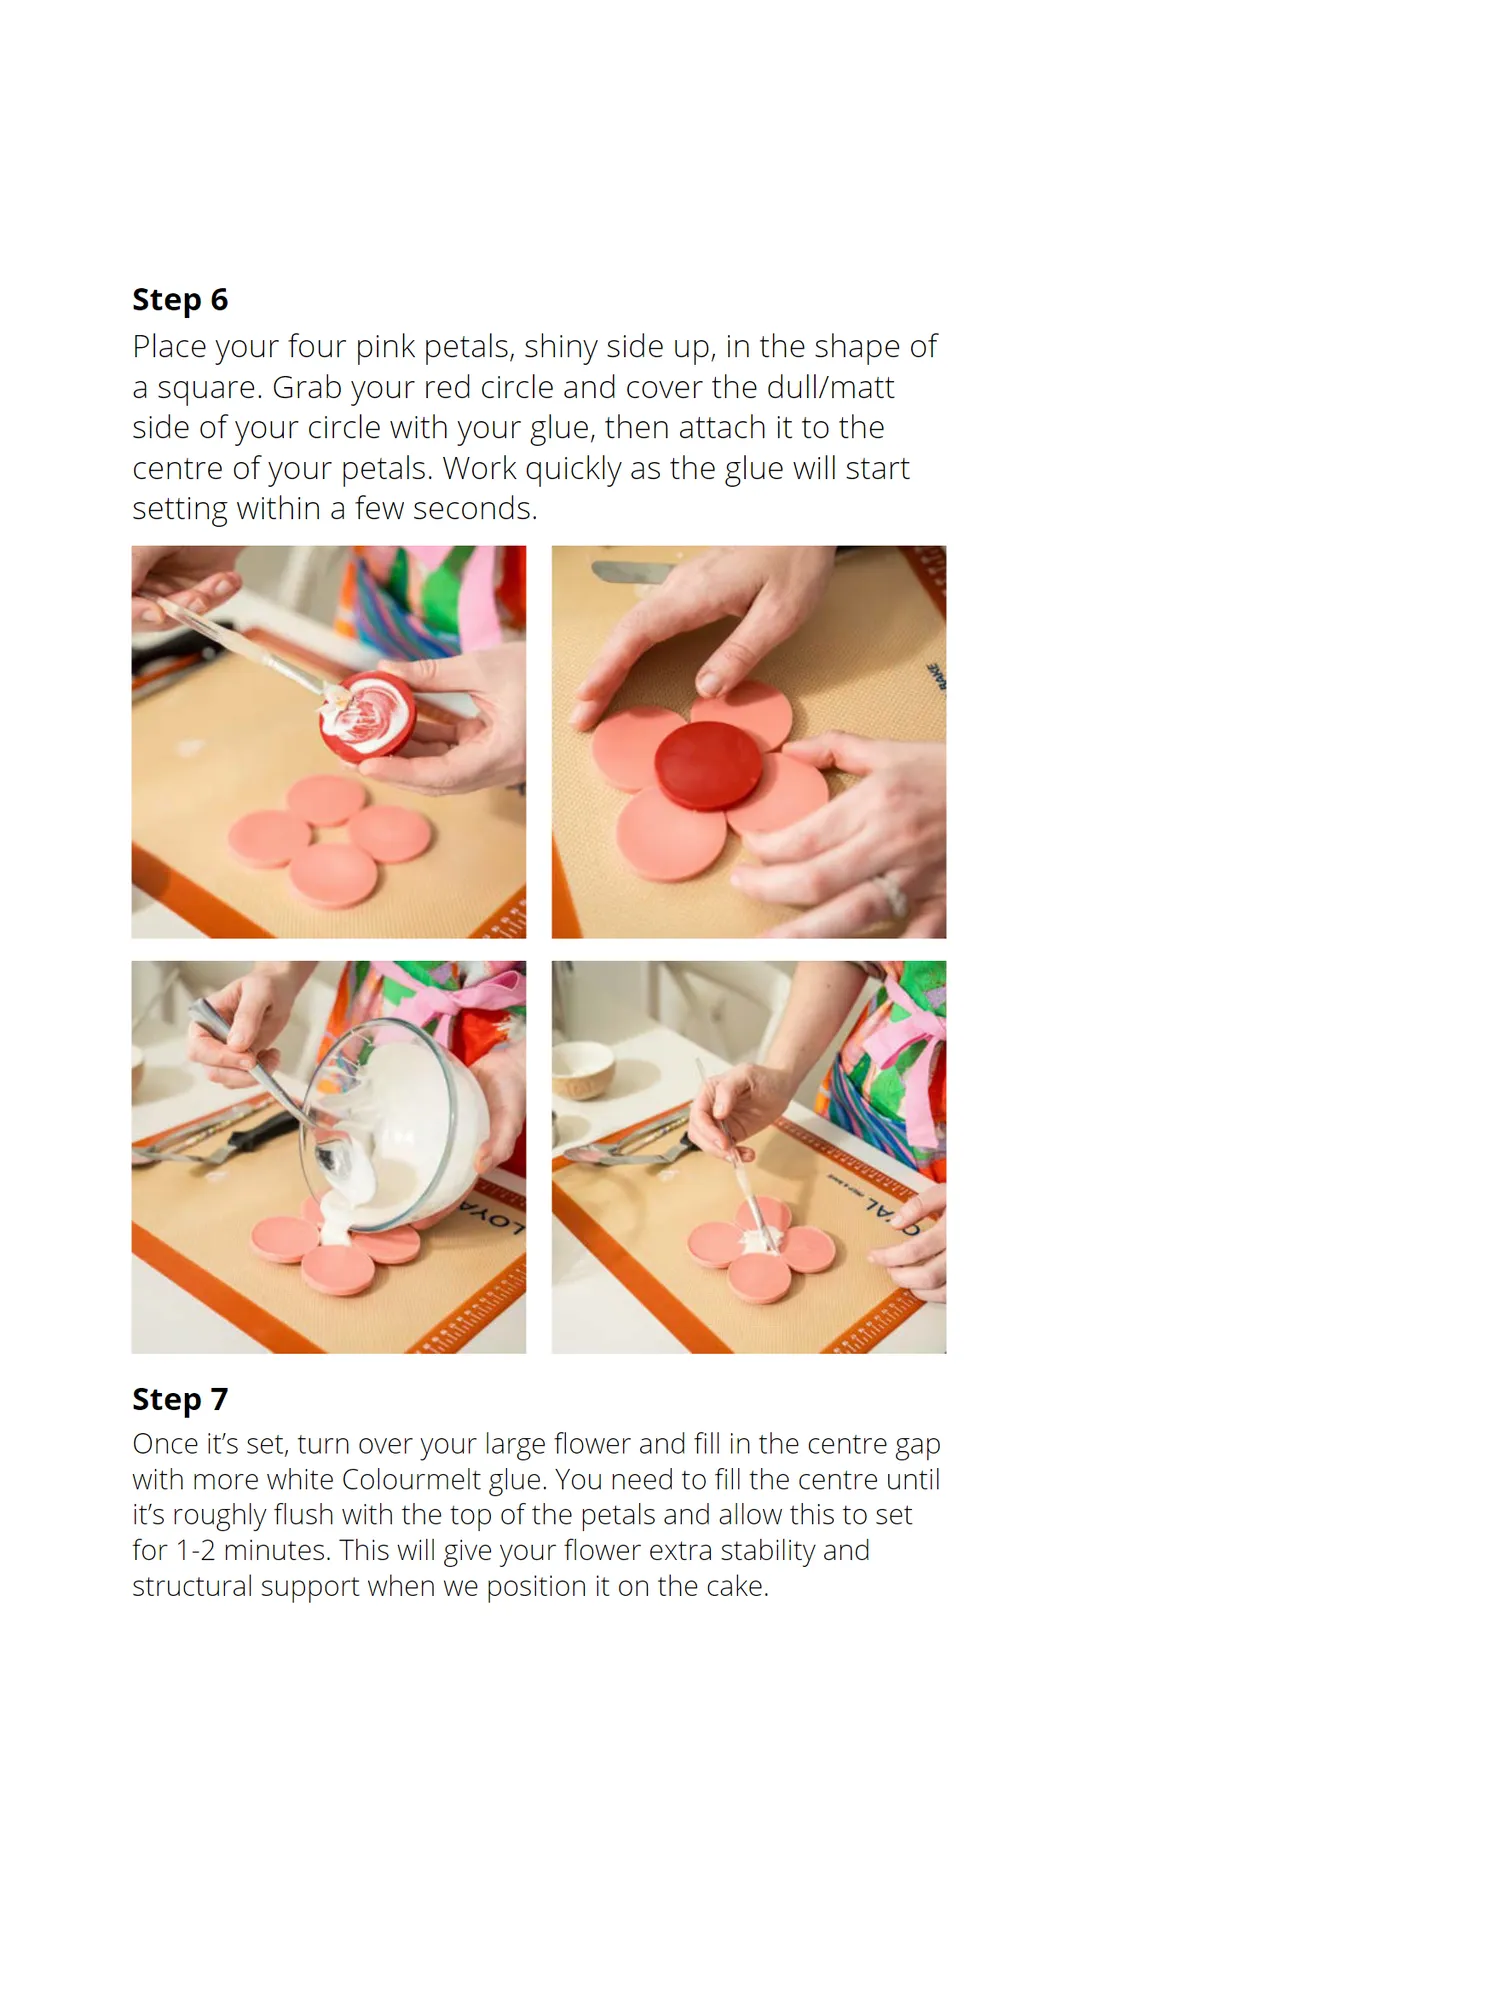
Step 6 Place your four pink petals, shiny side up, in the shape of a square. Grab your red circle and cover the dull/matt side of your circle with your glue, then attach it to the centre of your petals. Work quickly as the glue will start setting within a few seconds. Step 7 Once it’s set, turn over your large flower and fill in the centre gap with more white Colourmelt glue. You need to fill the centre until it’s roughly flush with the top of the petals and allow this to set for 1-2 minutes. This will give your flower extra stability and structural support when we position it on the cake.
Page 30 text
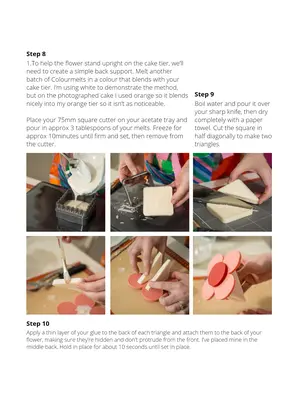
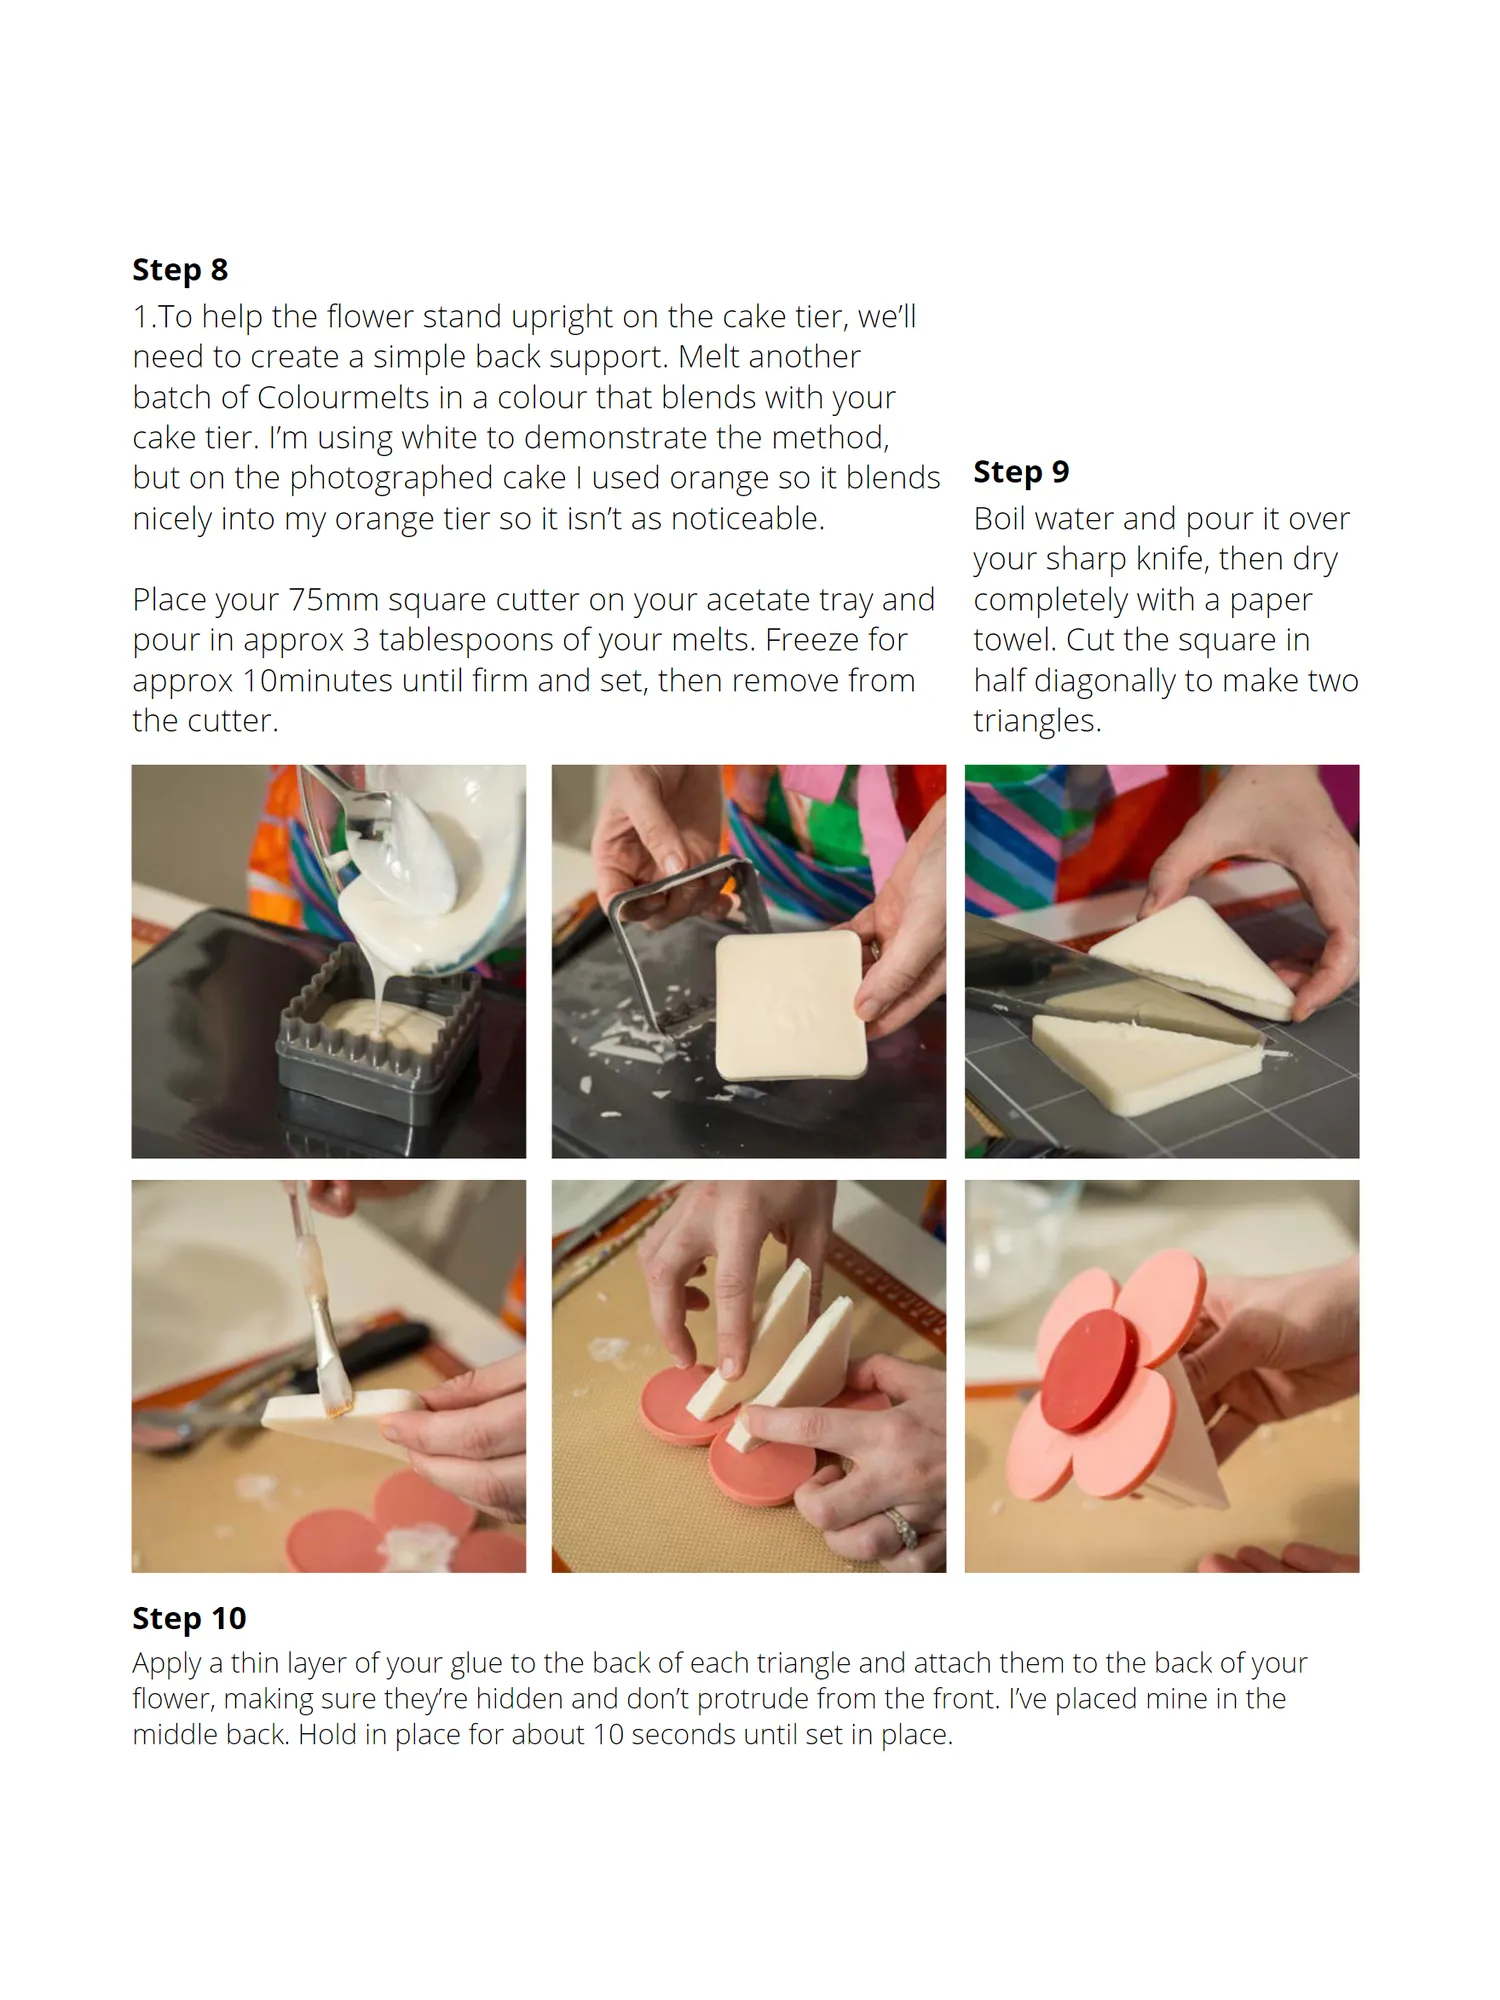
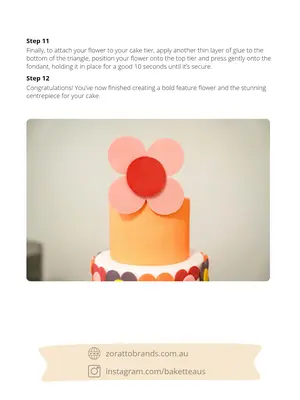
Step 8 1.To help the flower stand upright on the cake tier, we’ll need to create a simple back support. Melt another batch of Colourmelts in a colour that blends with your cake tier. I’m using white to demonstrate the method, but on the photographed cake I used orange so it blends Step 9 nicely into my orange tier so it isn’t as noticeable. Boil water and pour it over your sharp knife, then dry Place your 75mm square cutter on your acetate tray and completely with a paper pour in approx 3 tablespoons of your melts. Freeze for towel. Cut the square in approx 10minutes until firm and set, then remove from half diagonally to make two the cutter. triangles. Step 10 Apply a thin layer of your glue to the back of each triangle and attach them to the back of your flower, making sure they’re hidden and don’t protrude from the front. I’ve placed mine in the middle back. Hold in place for about 10 seconds until set in place.
Page 31 text
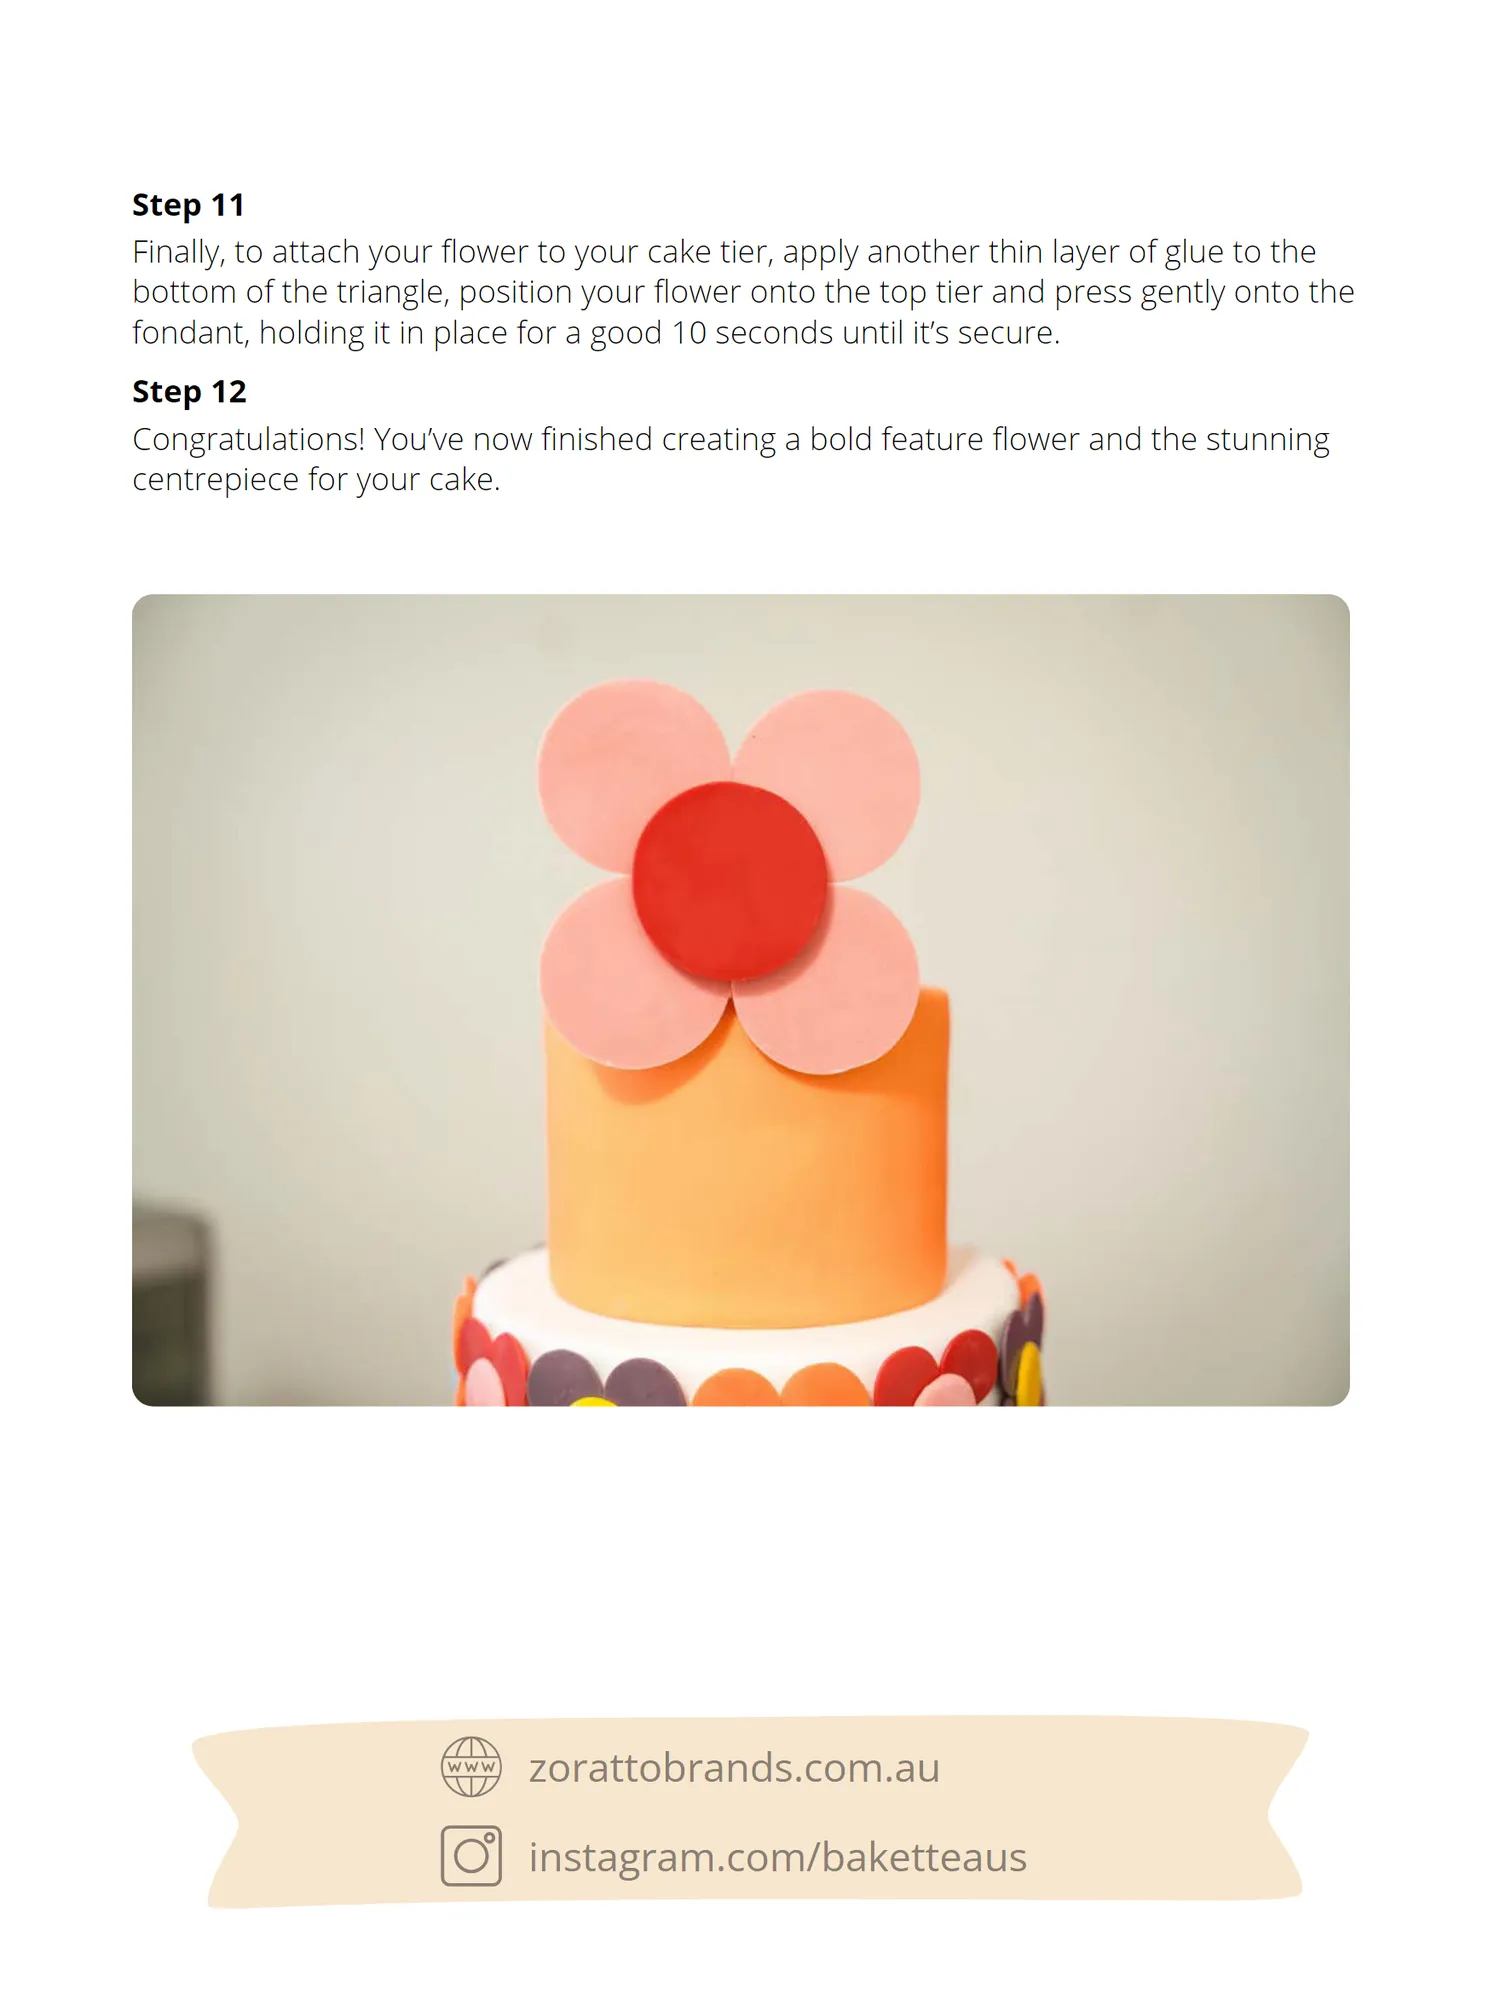
Step 11 Finally, to attach your flower to your cake tier, apply another thin layer of glue to the bottom of the triangle, position your flower onto the top tier and press gently onto the fondant, holding it in place for a good 10 seconds until it’s secure. Step 12 Congratulations! You’ve now finished creating a bold feature flower and the stunning centrepiece for your cake. zorattobrands.com.au instagram.com/baketteaus


Page 34 text
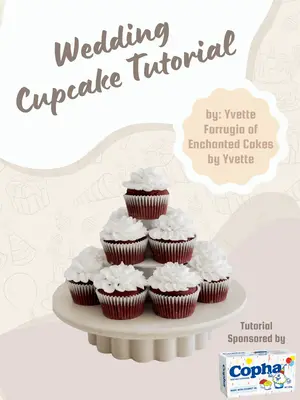
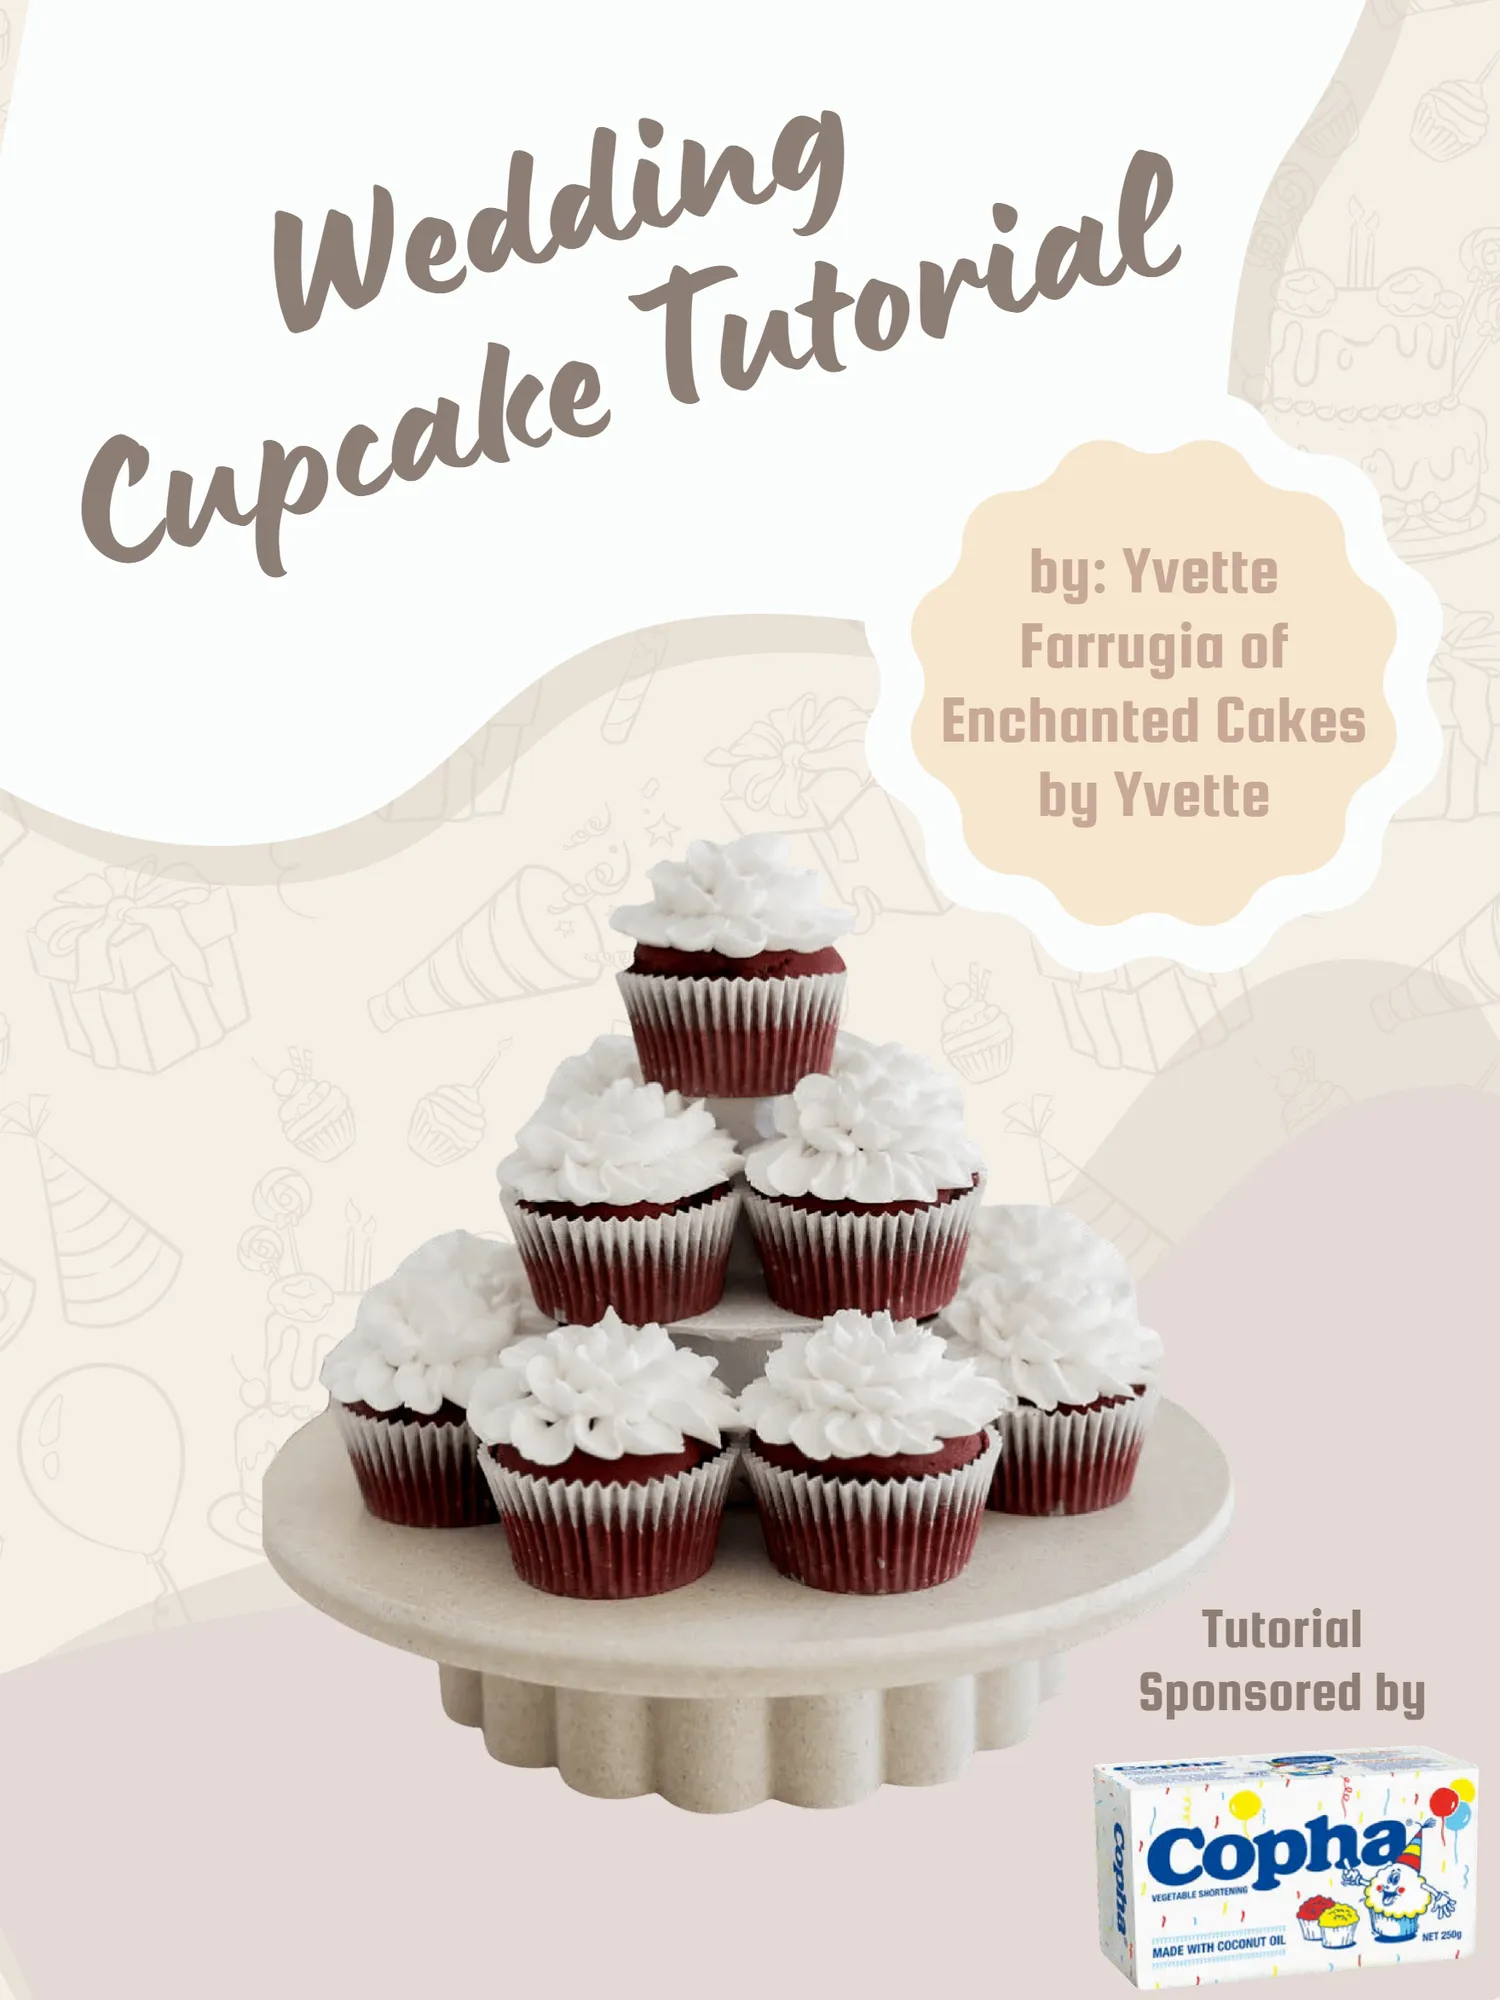
Wedding Cupcake Tutorial by: Yvette Farrugia of Enchanted Cakes by Yvette Tutorial Sponsored by
Page 35 text
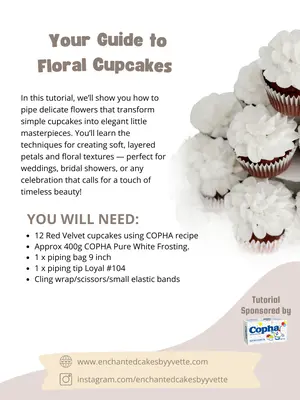
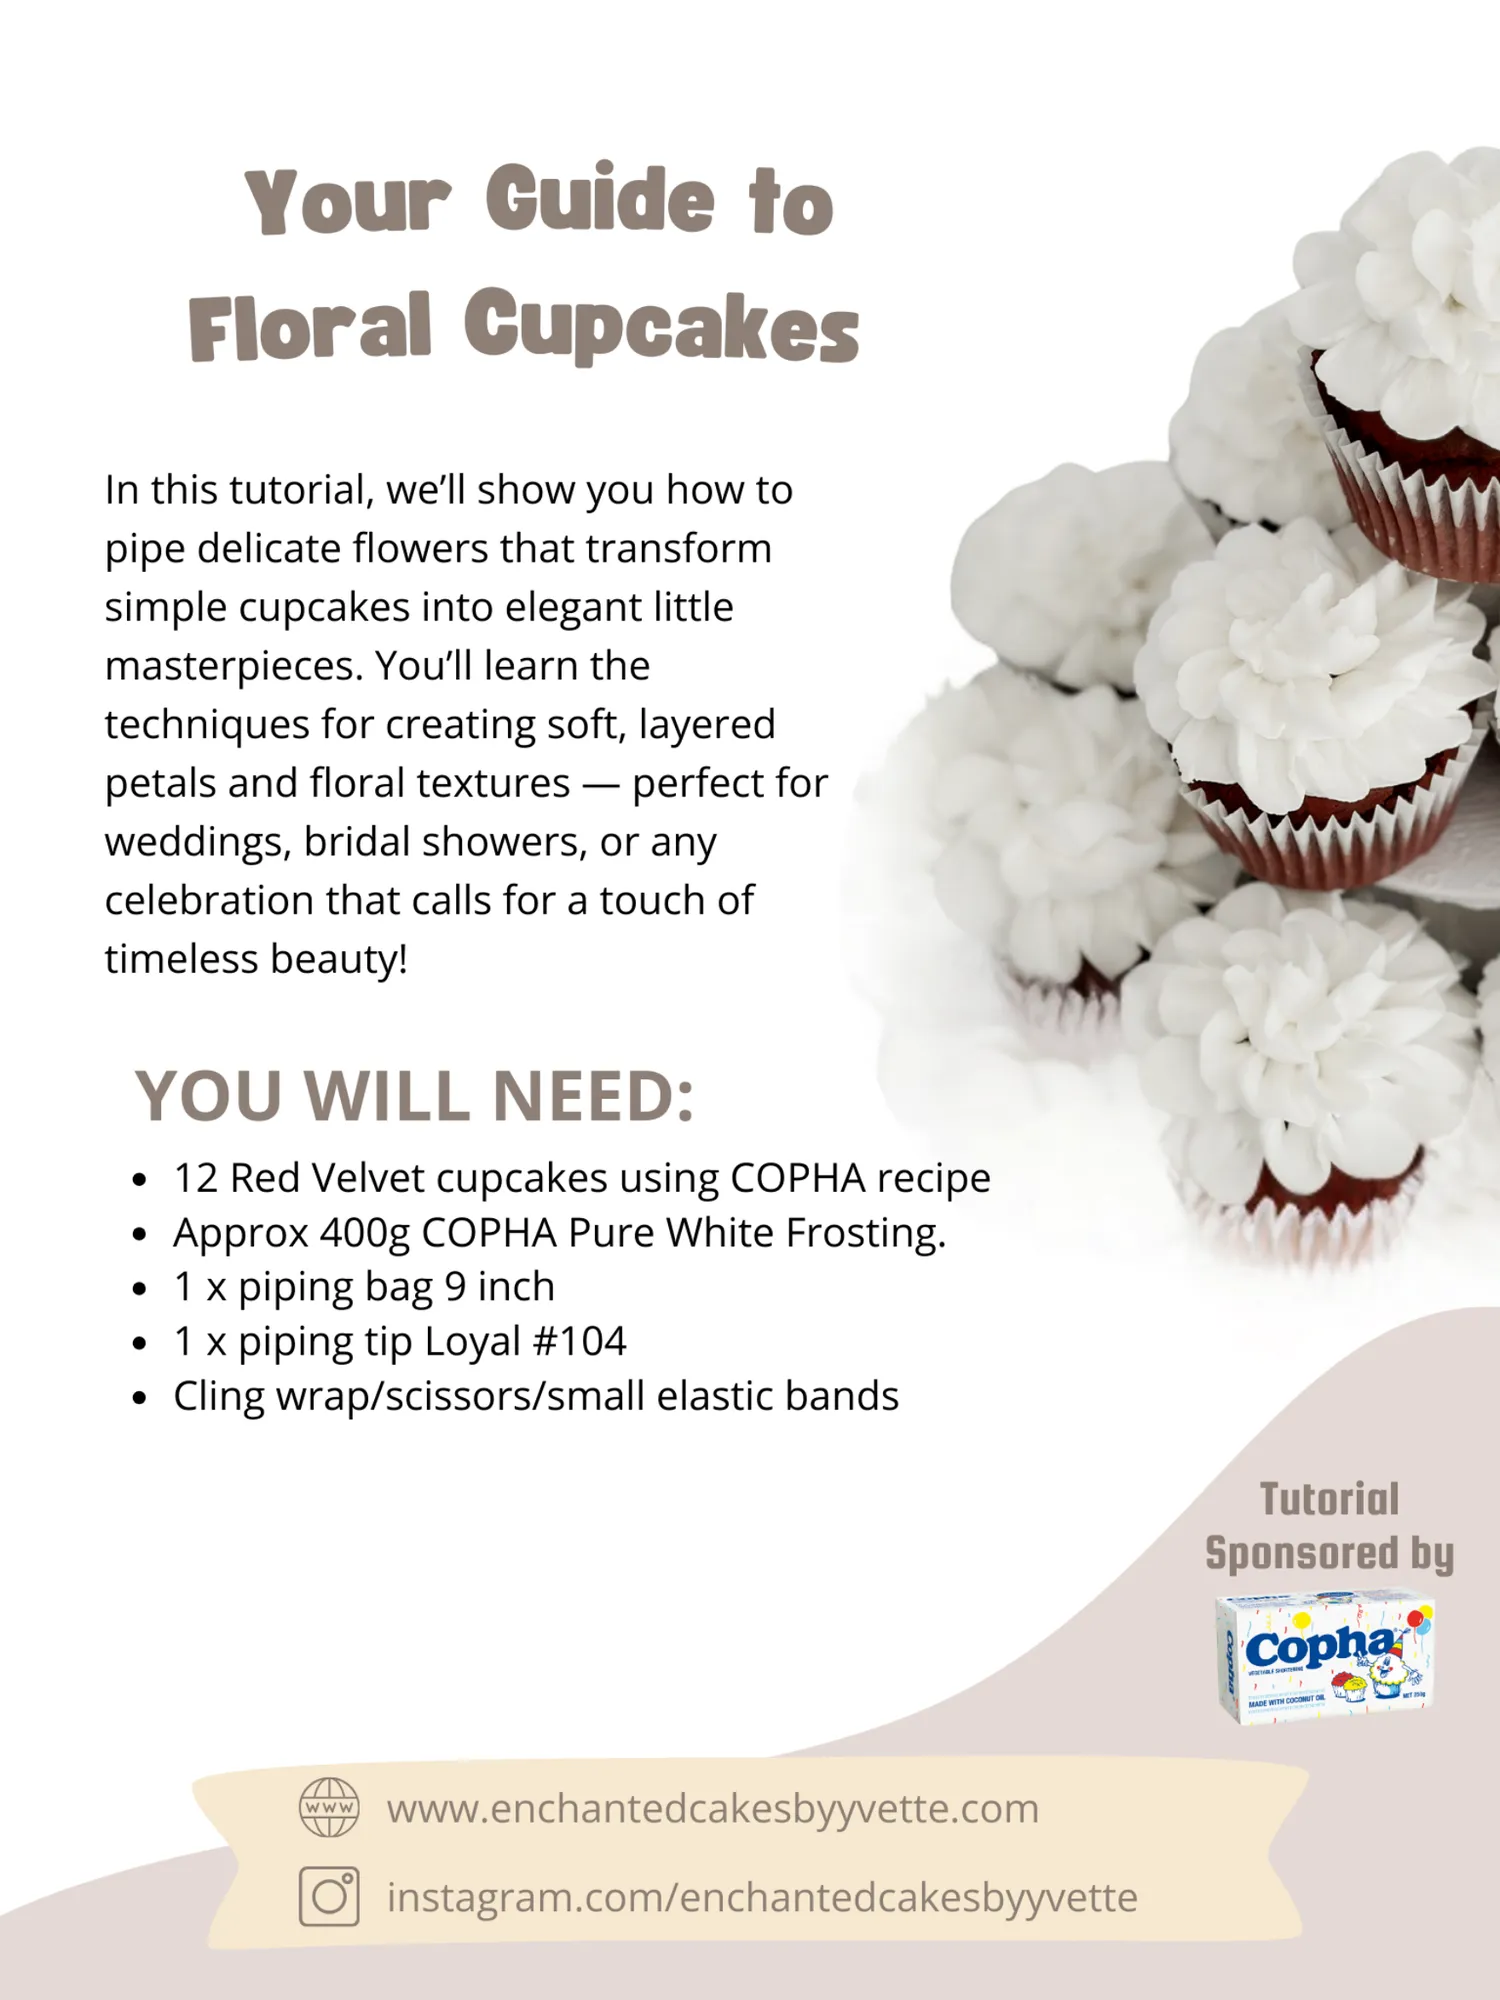
Your Guide to Floral Cupcakes In this tutorial, we’ ll show you how to pipe delicate flowers that transform simple cupcakes into elegant little masterpieces. You’ ll learn the techniques for creating soft, layered petals and floral textures— perfect for weddings, bridal showers, or any celebration that calls for a touch of timeless beauty! YOU WILL NEED: 12 Red Velvet cupcakes using COPHA recipe Approx 400g COPHA Pure White Frosting. 1 x piping bag 9 inch 1 x piping tip Loyal # 104 Cling wrap / scissors / small elastic bands Tutorial Sponsored by www. cakewithamber. com. au instagram. com / cakewithamber
Page 36 text
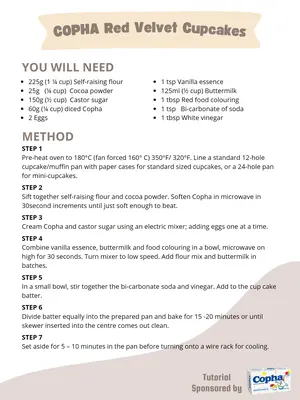
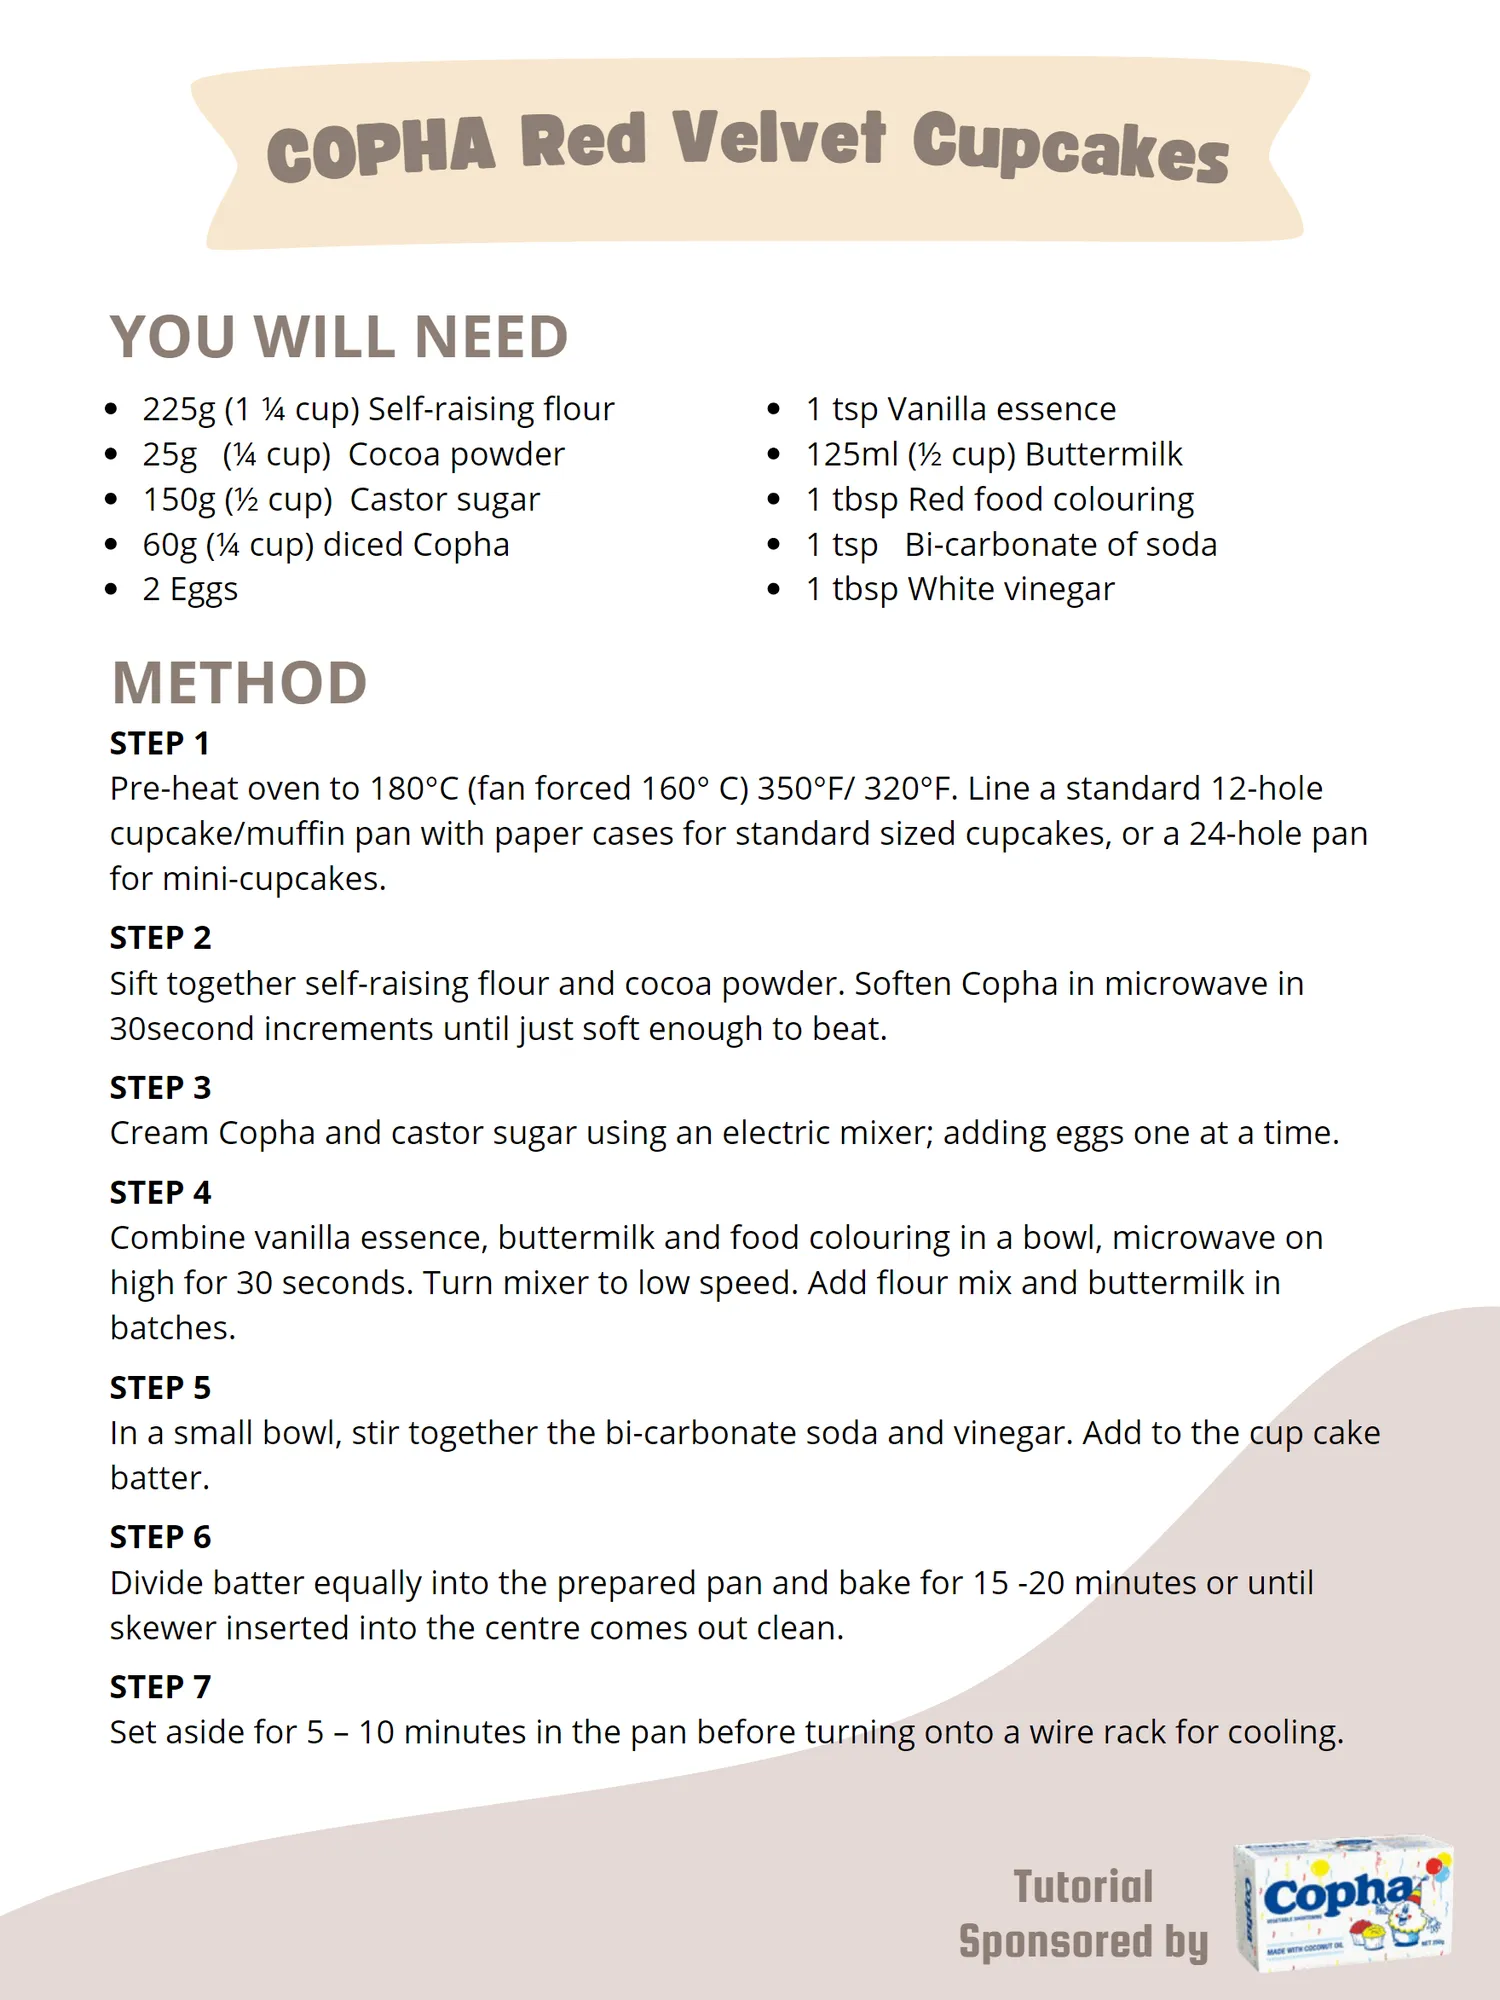
COPHA Red Velvet Cupcakes YOU WILL NEED 225g( 1 ¼ cup) Self-raising flour 25g( ¼ cup) Cocoa powder 150g( ½ cup) Castor sugar 60g( ¼ cup) diced Copha 2 Eggs 1 tsp Vanilla essence 125ml( ½ cup) Buttermilk 1 tbsp Red food colouring 1 tsp Bi-carbonate of soda 1 tbsp White vinegar METHOD STEP 1 Pre-heat oven to 180 ° C( fan forced 160 ° C) 350 ° F / 320 ° F. Line a standard 12-hole cupcake / muffin pan with paper cases for standard sized cupcakes, or a 24-hole pan for mini-cupcakes. STEP 2 Sift together self-raising flour and cocoa powder. Soften Copha in microwave in 30second increments until just soft enough to beat. STEP 3 Cream Copha and castor sugar using an electric mixer; adding eggs one at a time. STEP 4 Combine vanilla essence, buttermilk and food colouring in a bowl, microwave on high for 30 seconds. Turn mixer to low speed. Add flour mix and buttermilk in batches. STEP 5 In a small bowl, stir together the bi-carbonate soda and vinegar. Add to the cup cake batter. STEP 6 Divide batter equally into the prepared pan and bake for 15-20 minutes or until skewer inserted into the centre comes out clean. STEP 7 Set aside for 5 – 10 minutes in the pan before turning onto a wire rack for cooling. Tutorial Sponsored by
Page 37 text
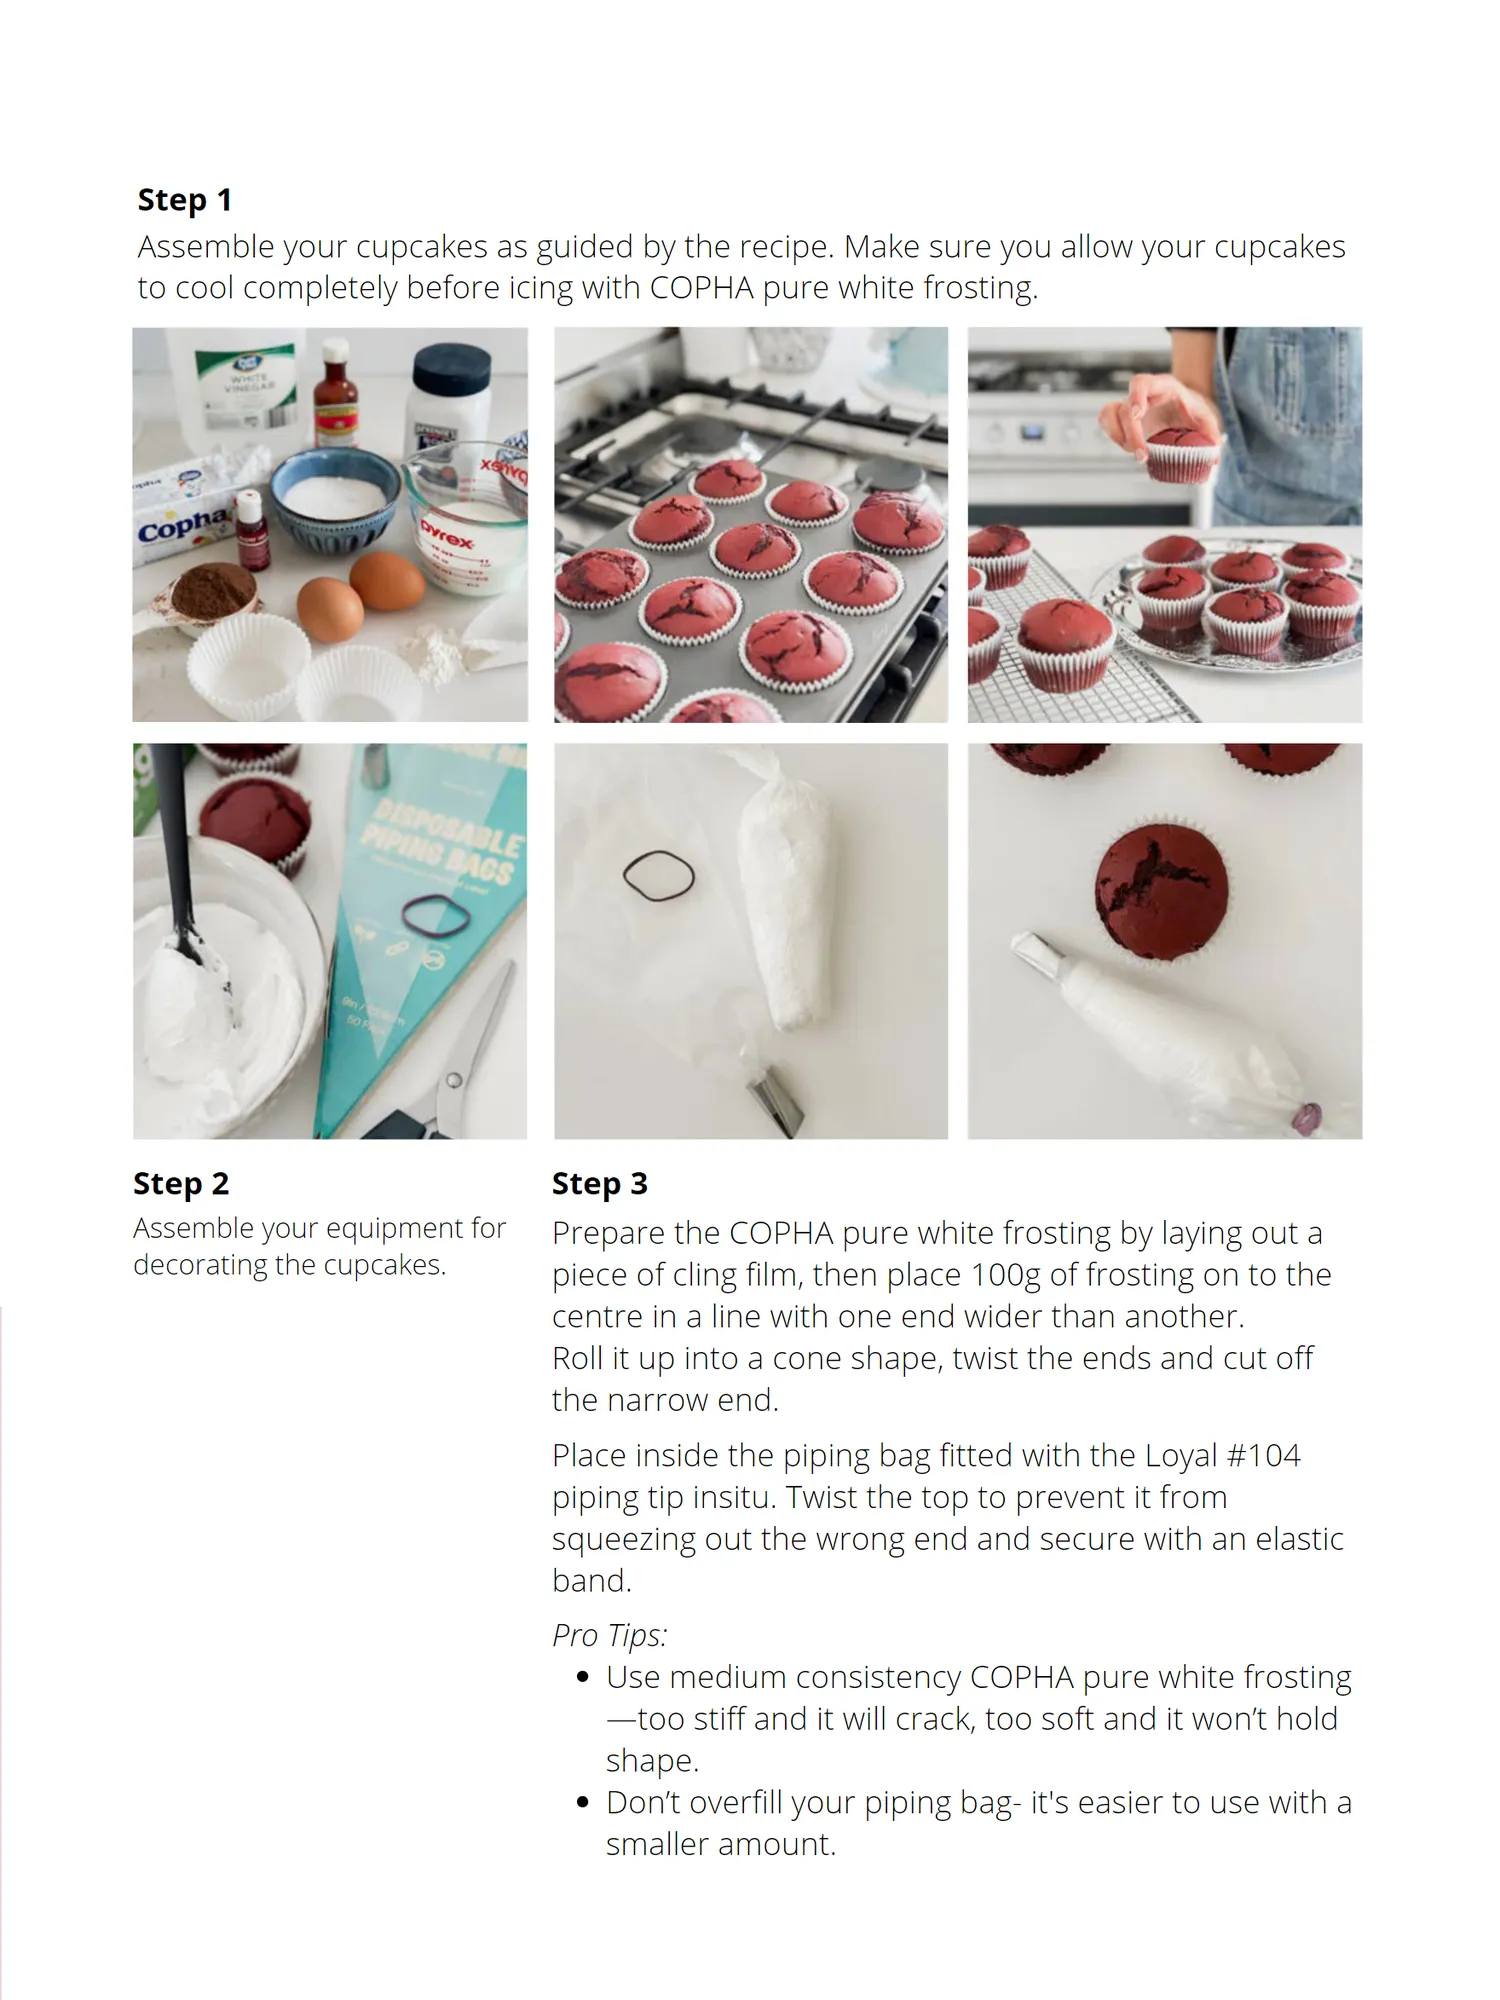
Step 1 Assemble your cupcakes as guided by the recipe. Make sure you allow your cupcakes to cool completely before icing with COPHA pure white frosting. Step 2 Assemble your equipment for decorating the cupcakes. Step 3 Prepare the COPHA pure white frosting by laying out a piece of cling film, then place 100g of frosting on to the centre in a line with one end wider than another. Roll it up into a cone shape, twist the ends and cut off the narrow end. Place inside the piping bag fitted with the Loyal # 104 piping tip insitu. Twist the top to prevent it from squeezing out the wrong end and secure with an elastic band. Pro Tips: Use medium consistency COPHA pure white frosting— too stiff and it will crack, too soft and it won’ t hold shape. Don’ t overfill your piping bag- it ' s easier to use with a smaller amount.
Page 38 text
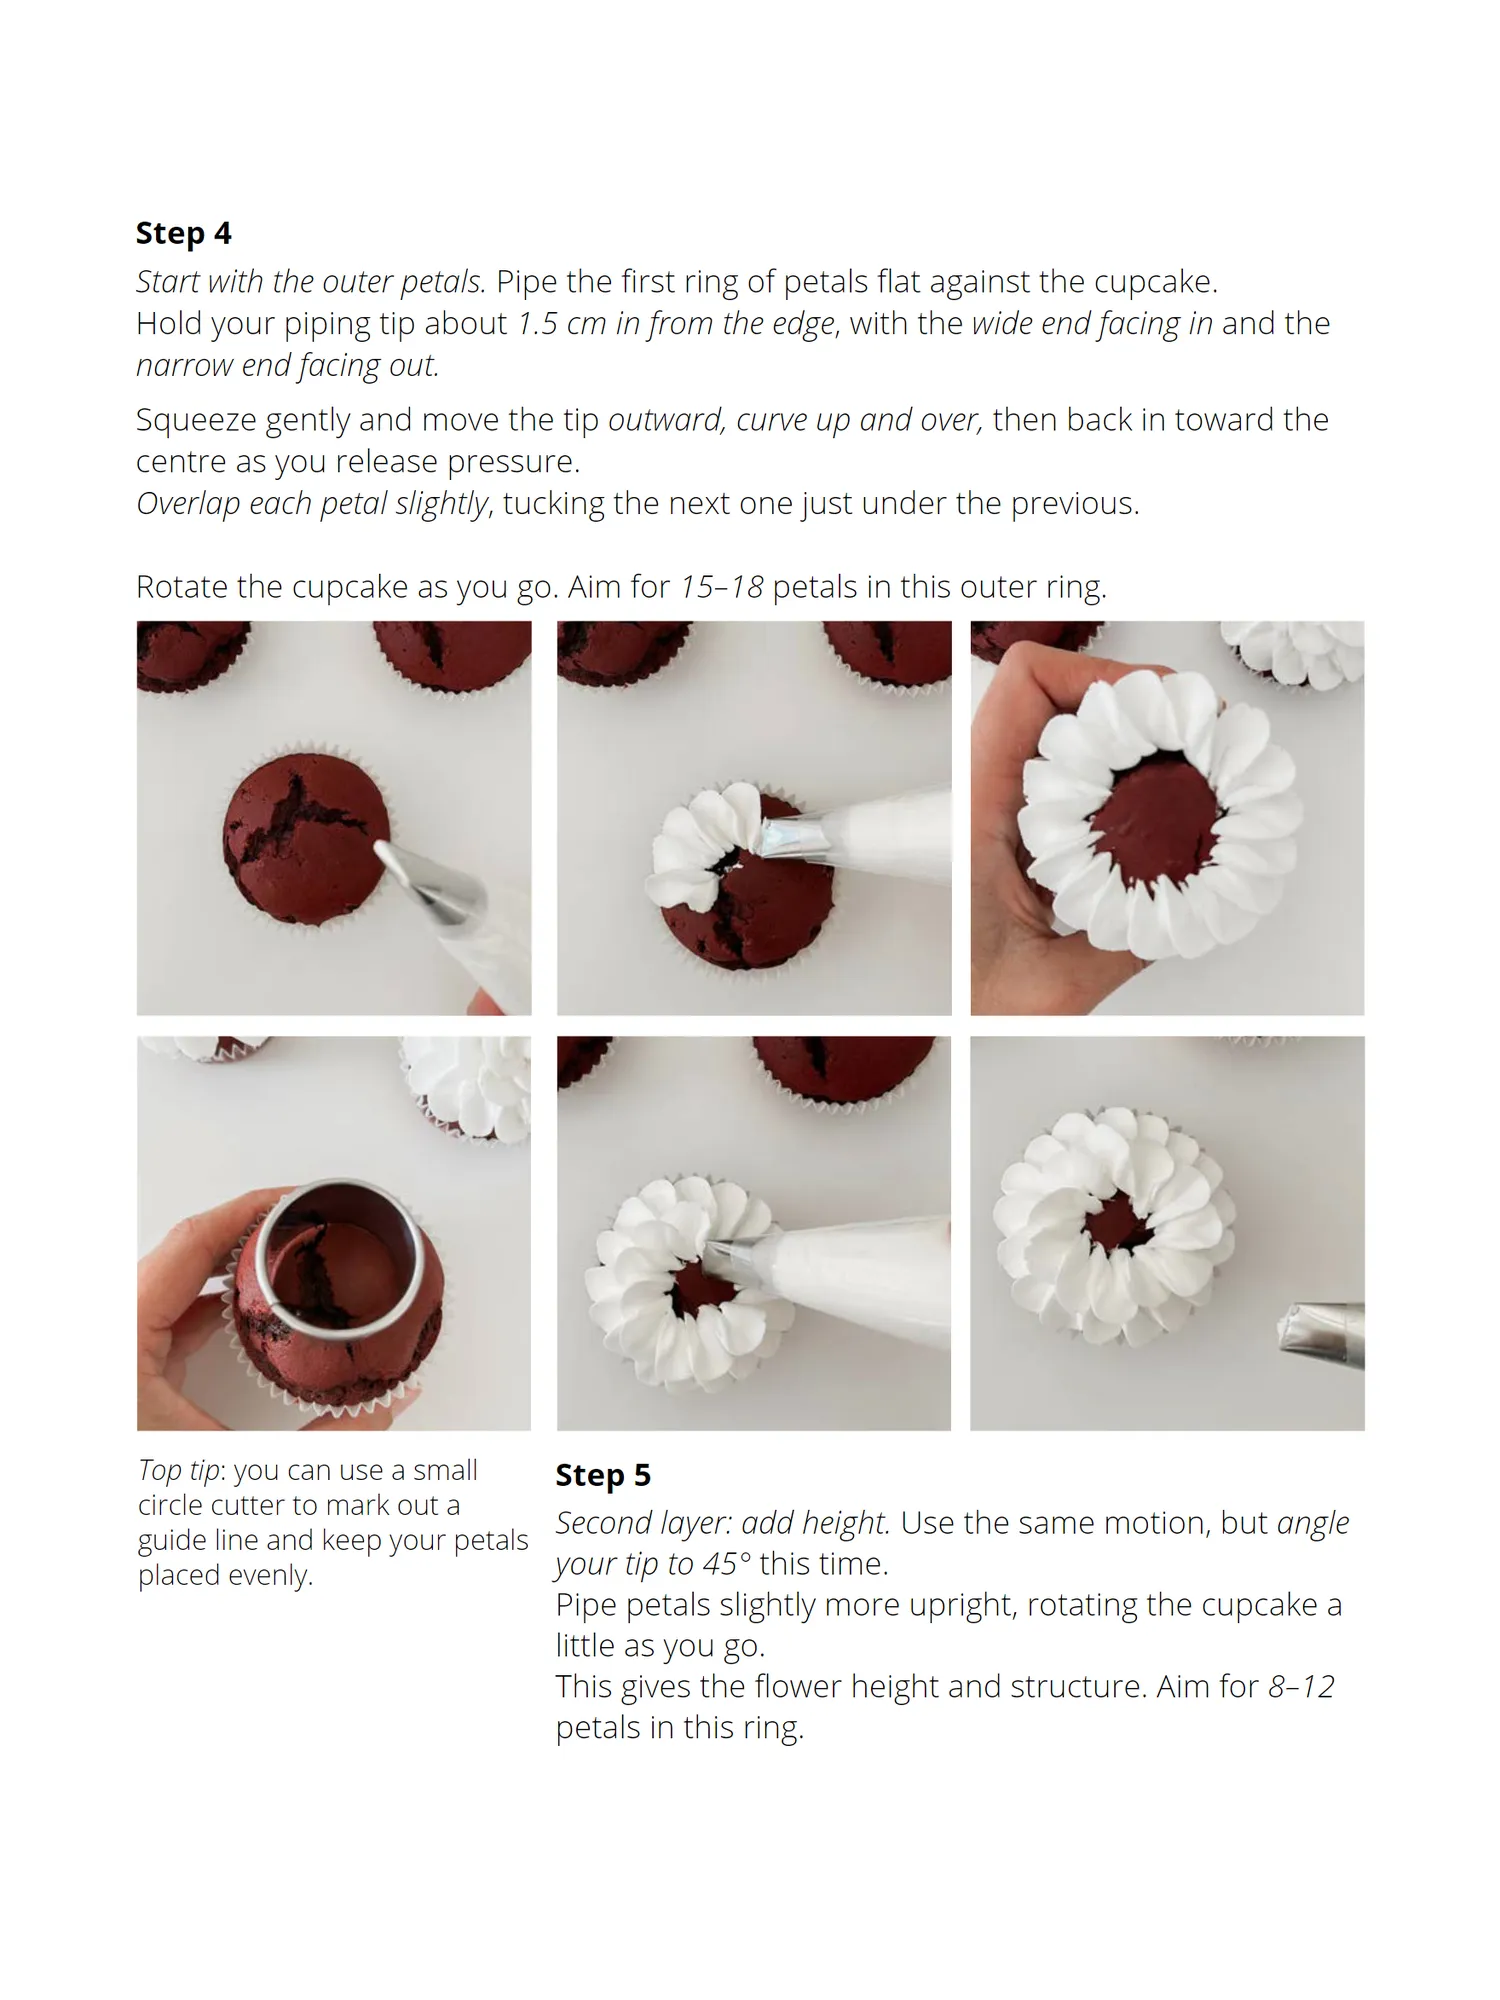
Step 4 Start with the outer petals. Pipe the first ring of petals flat against the cupcake. Hold your piping tip about 1.5 cm in from the edge , with the wide end facing in and the narrow end facing out. Squeeze gently and move the tip outward, curve up and over, then back in toward the centre as you release pressure. Overlap each petal slightly , tucking the next one just under the previous. Rotate the cupcake as you go. Aim for 15–18 petals in this outer ring. Top tip : you can use a small Step 5 circle cutter to mark out a Second layer: add height. Use the same motion, but angle guide line and keep your petals placed evenly. your tip to 45° this time. Pipe petals slightly more upright, rotating the cupcake a little as you go. This gives the flower height and structure. Aim for 8–12 petals in this ring.
Page 39 text
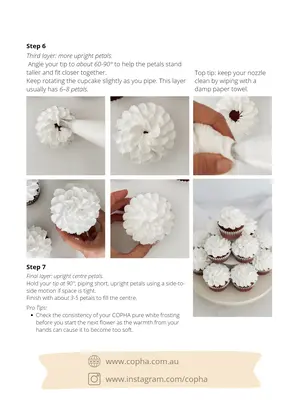
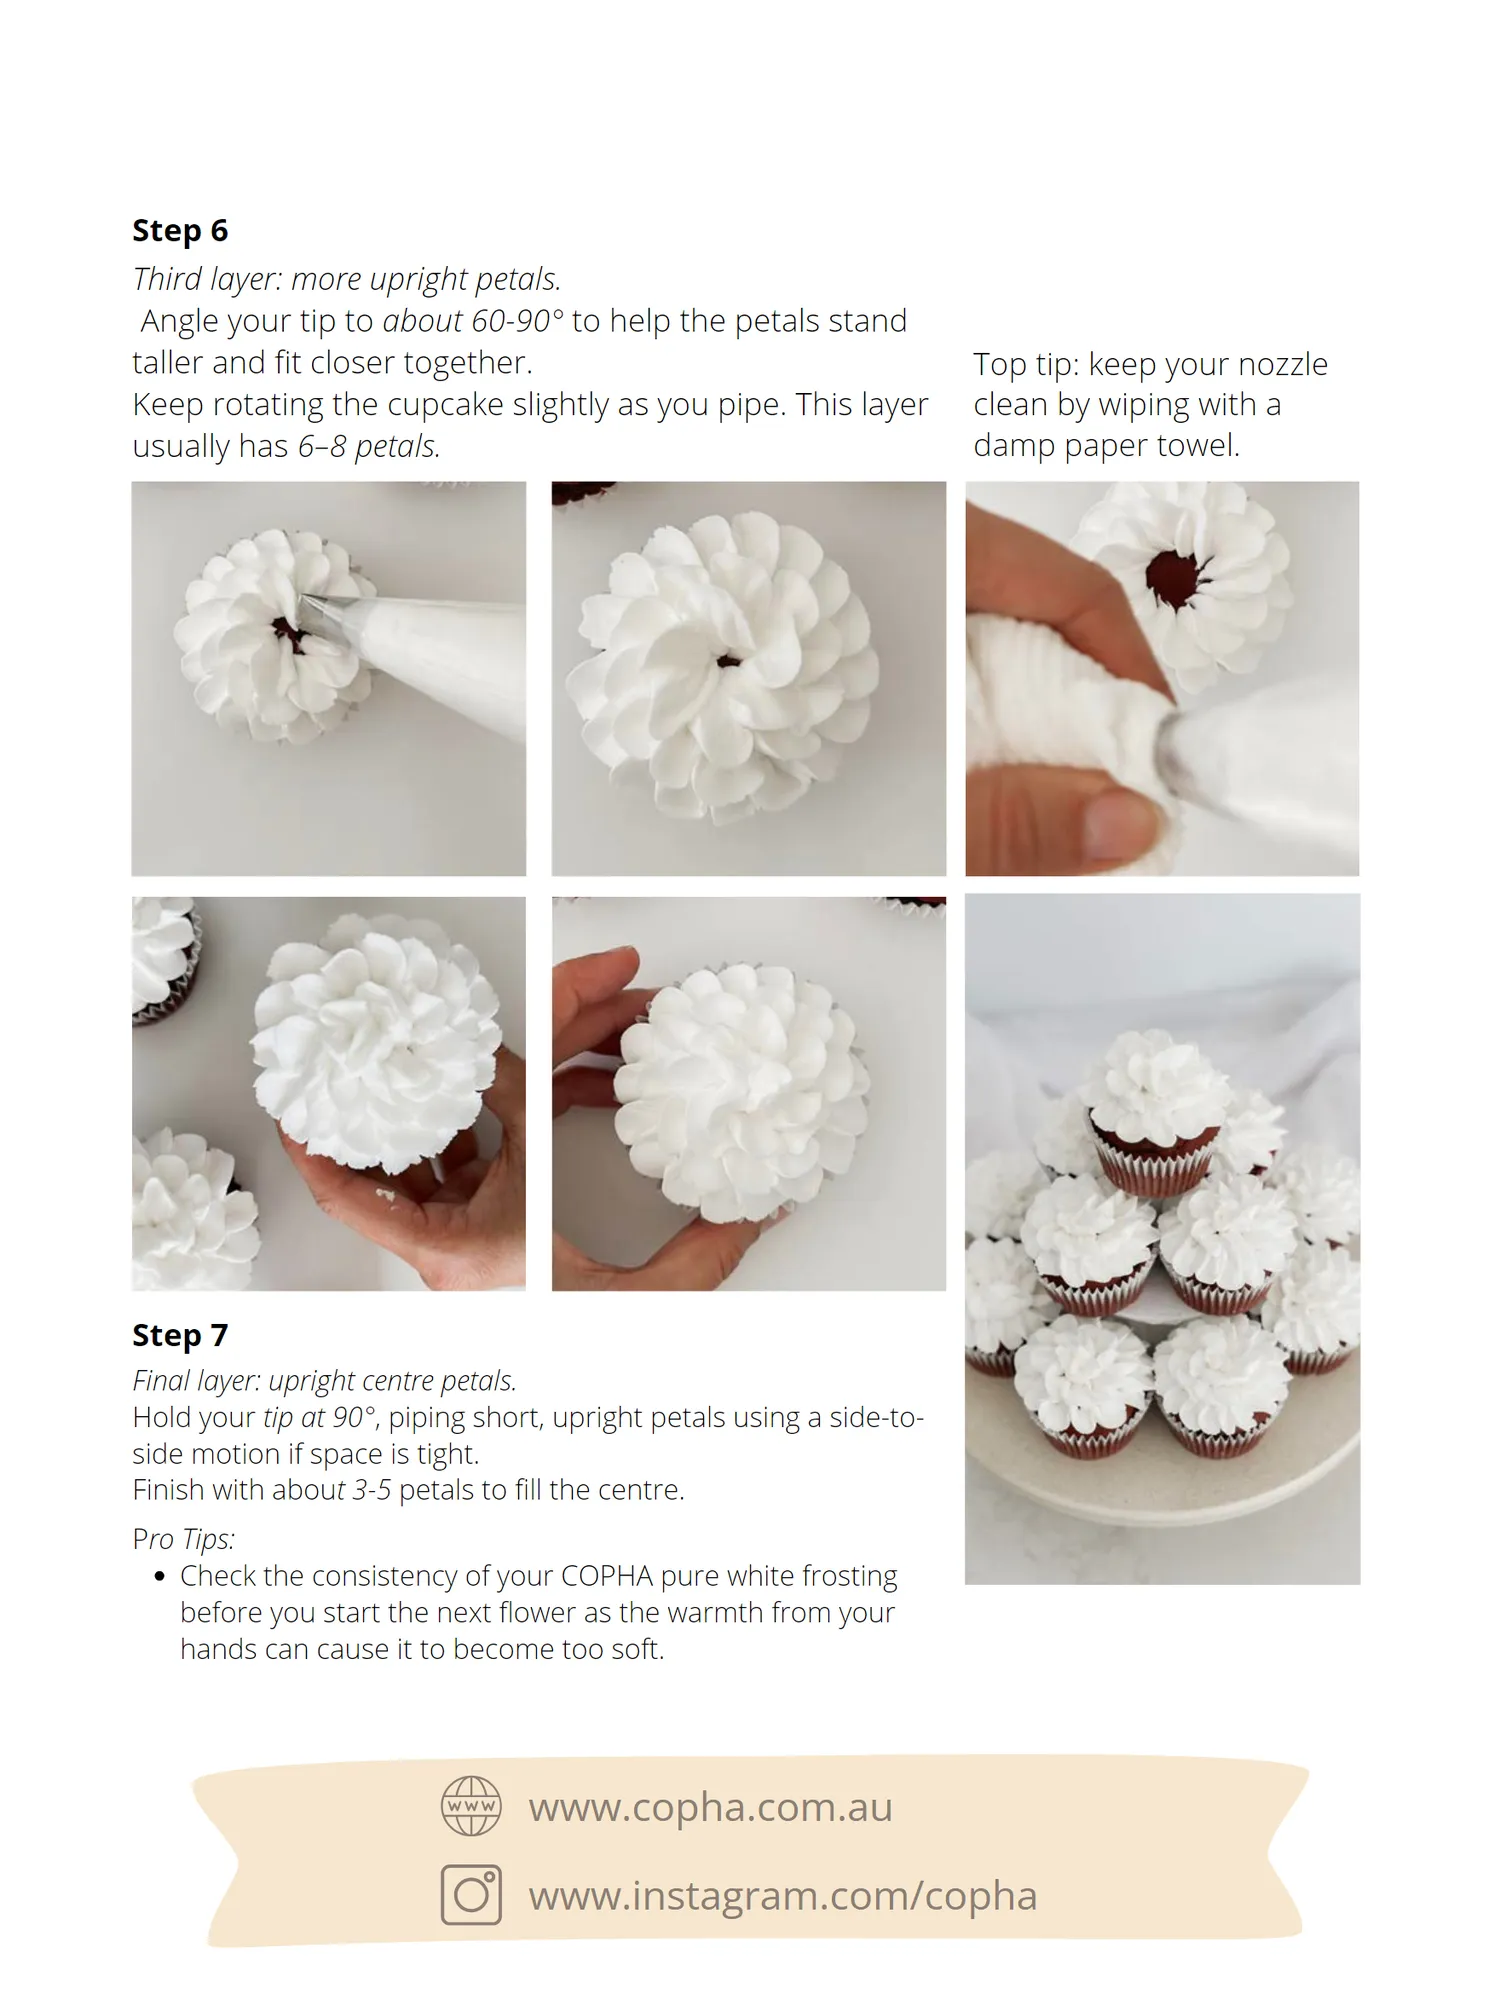
Step 6 Third layer: more upright petals. Angle your tip to about 60-90° to help the petals stand taller and fit closer together. Top tip: keep your nozzle Keep rotating the cupcake slightly as you pipe. This layer clean by wiping with a usually has 6–8 petals. damp paper towel. Step 7 Final layer: upright centre petals. Hold your tip at 90° , piping short, upright petals using a side-to- side motion if space is tight. Finish with abou t 3-5 petals to fill the centre. P ro Tips: Check the consistency of your COPHA pure white frosting before you start the next flower as the warmth from your hands can cause it to become too soft. www.copha.com.au www.instagram.com/copha
Page 40 text
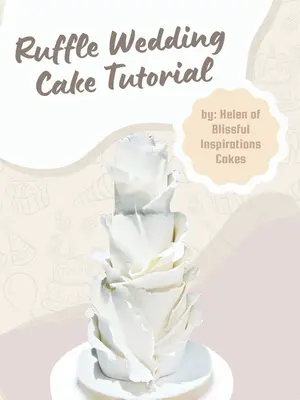
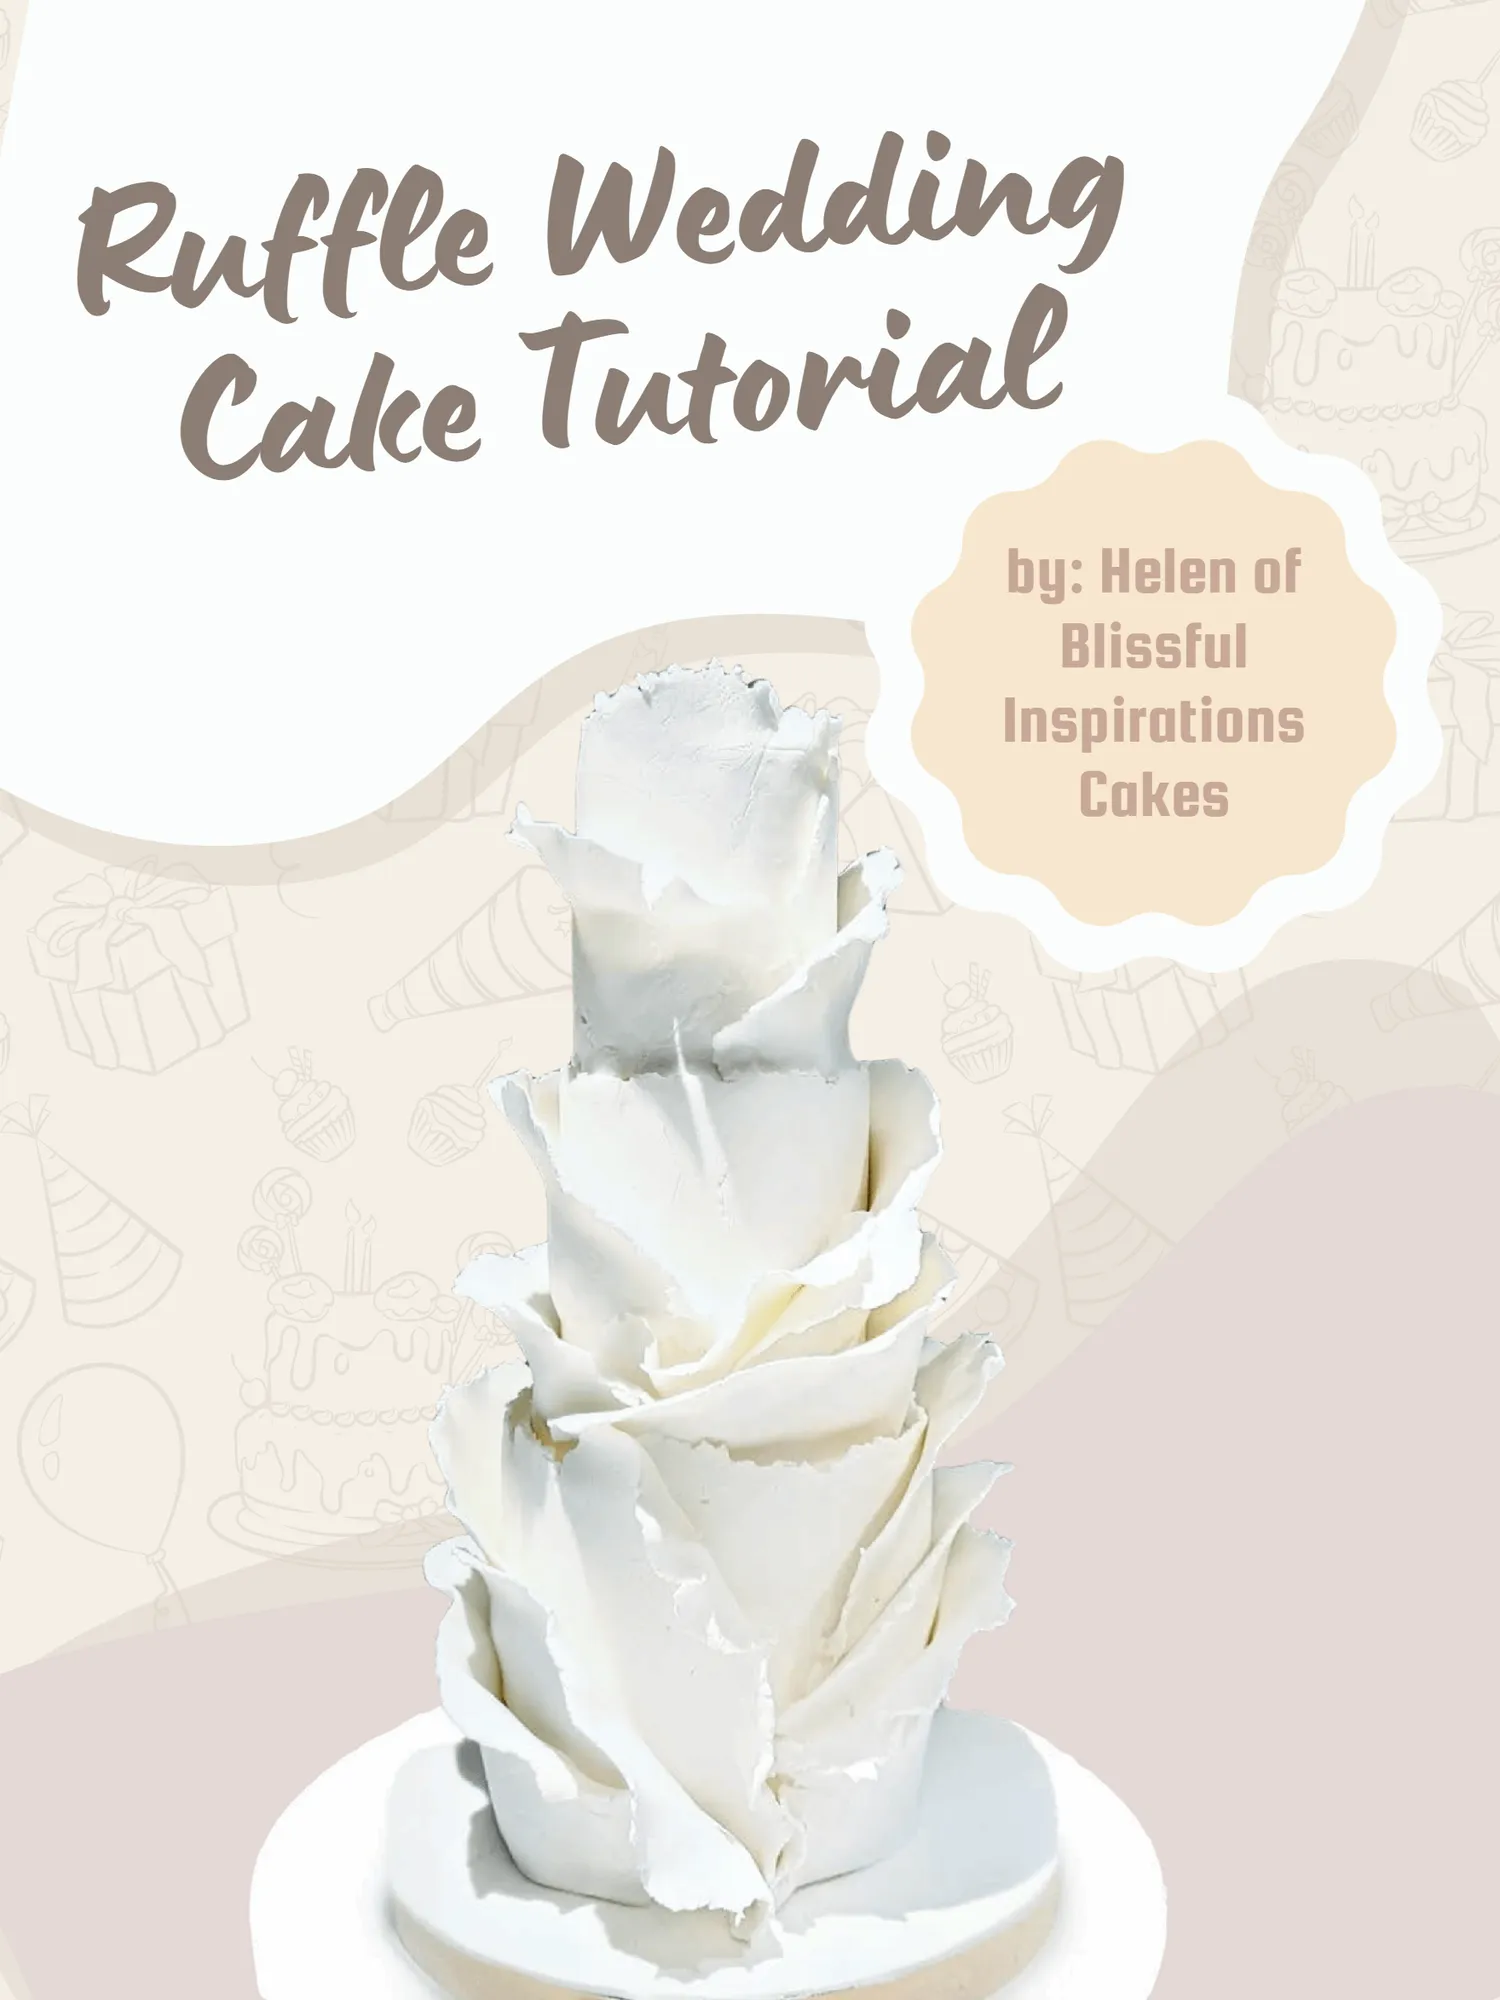
Ruffle Wedding Cake Tutorial by: Helen of Blissful Inspirations Cakes
Page 41 text
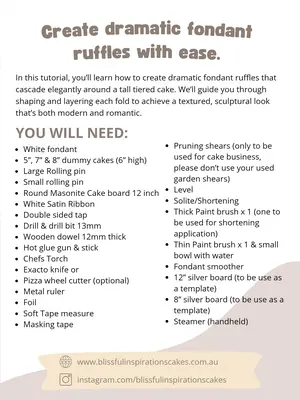
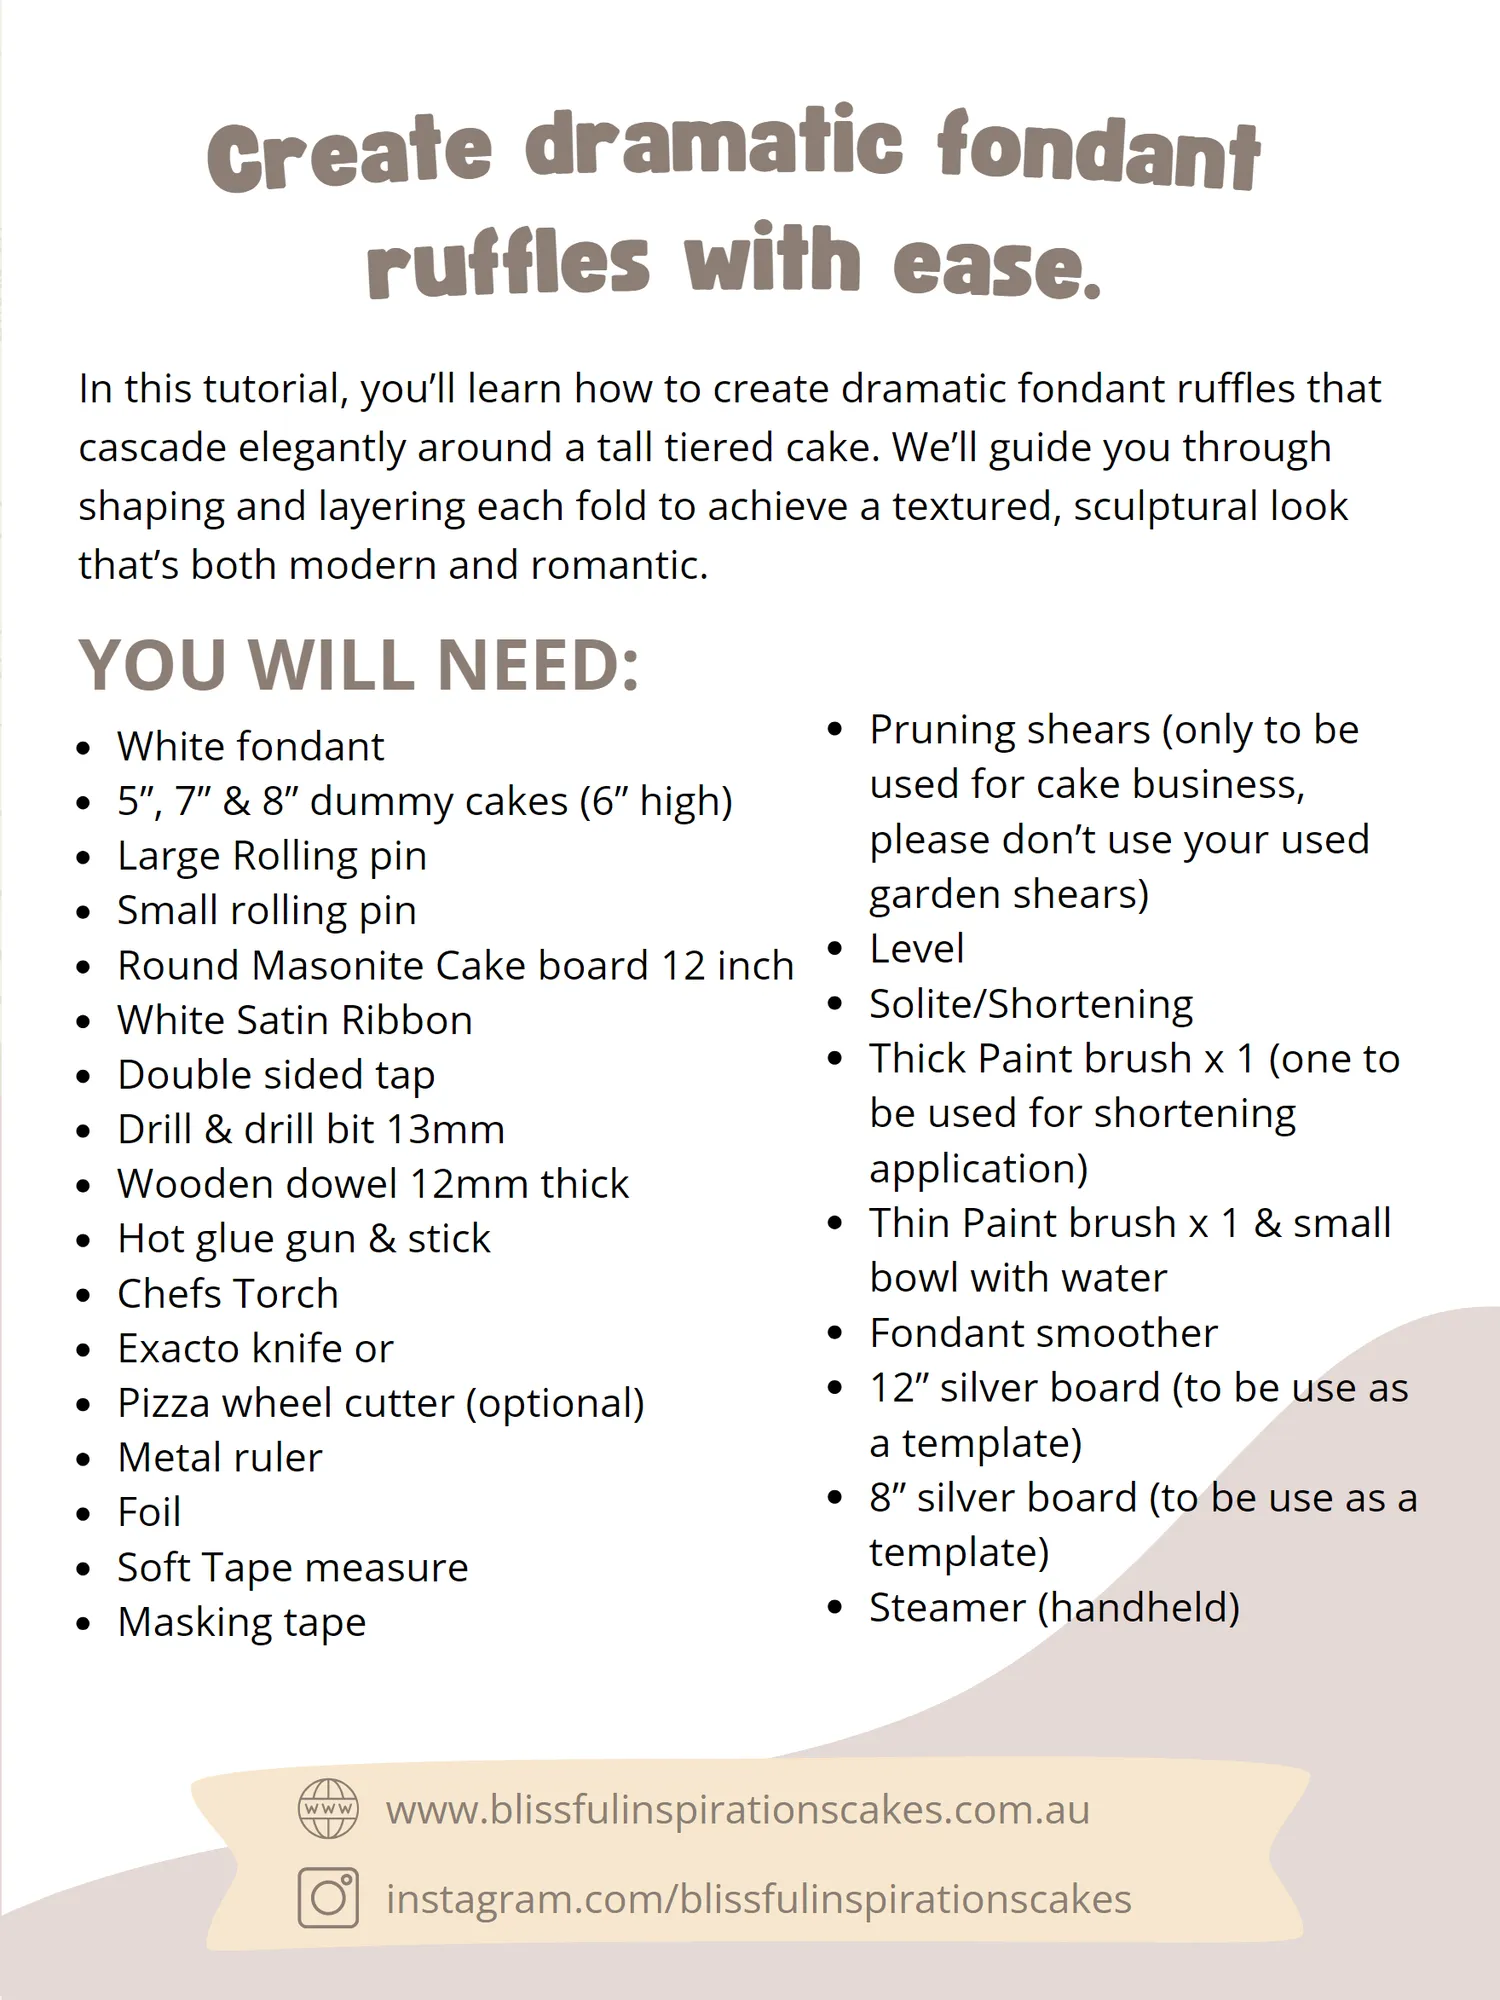
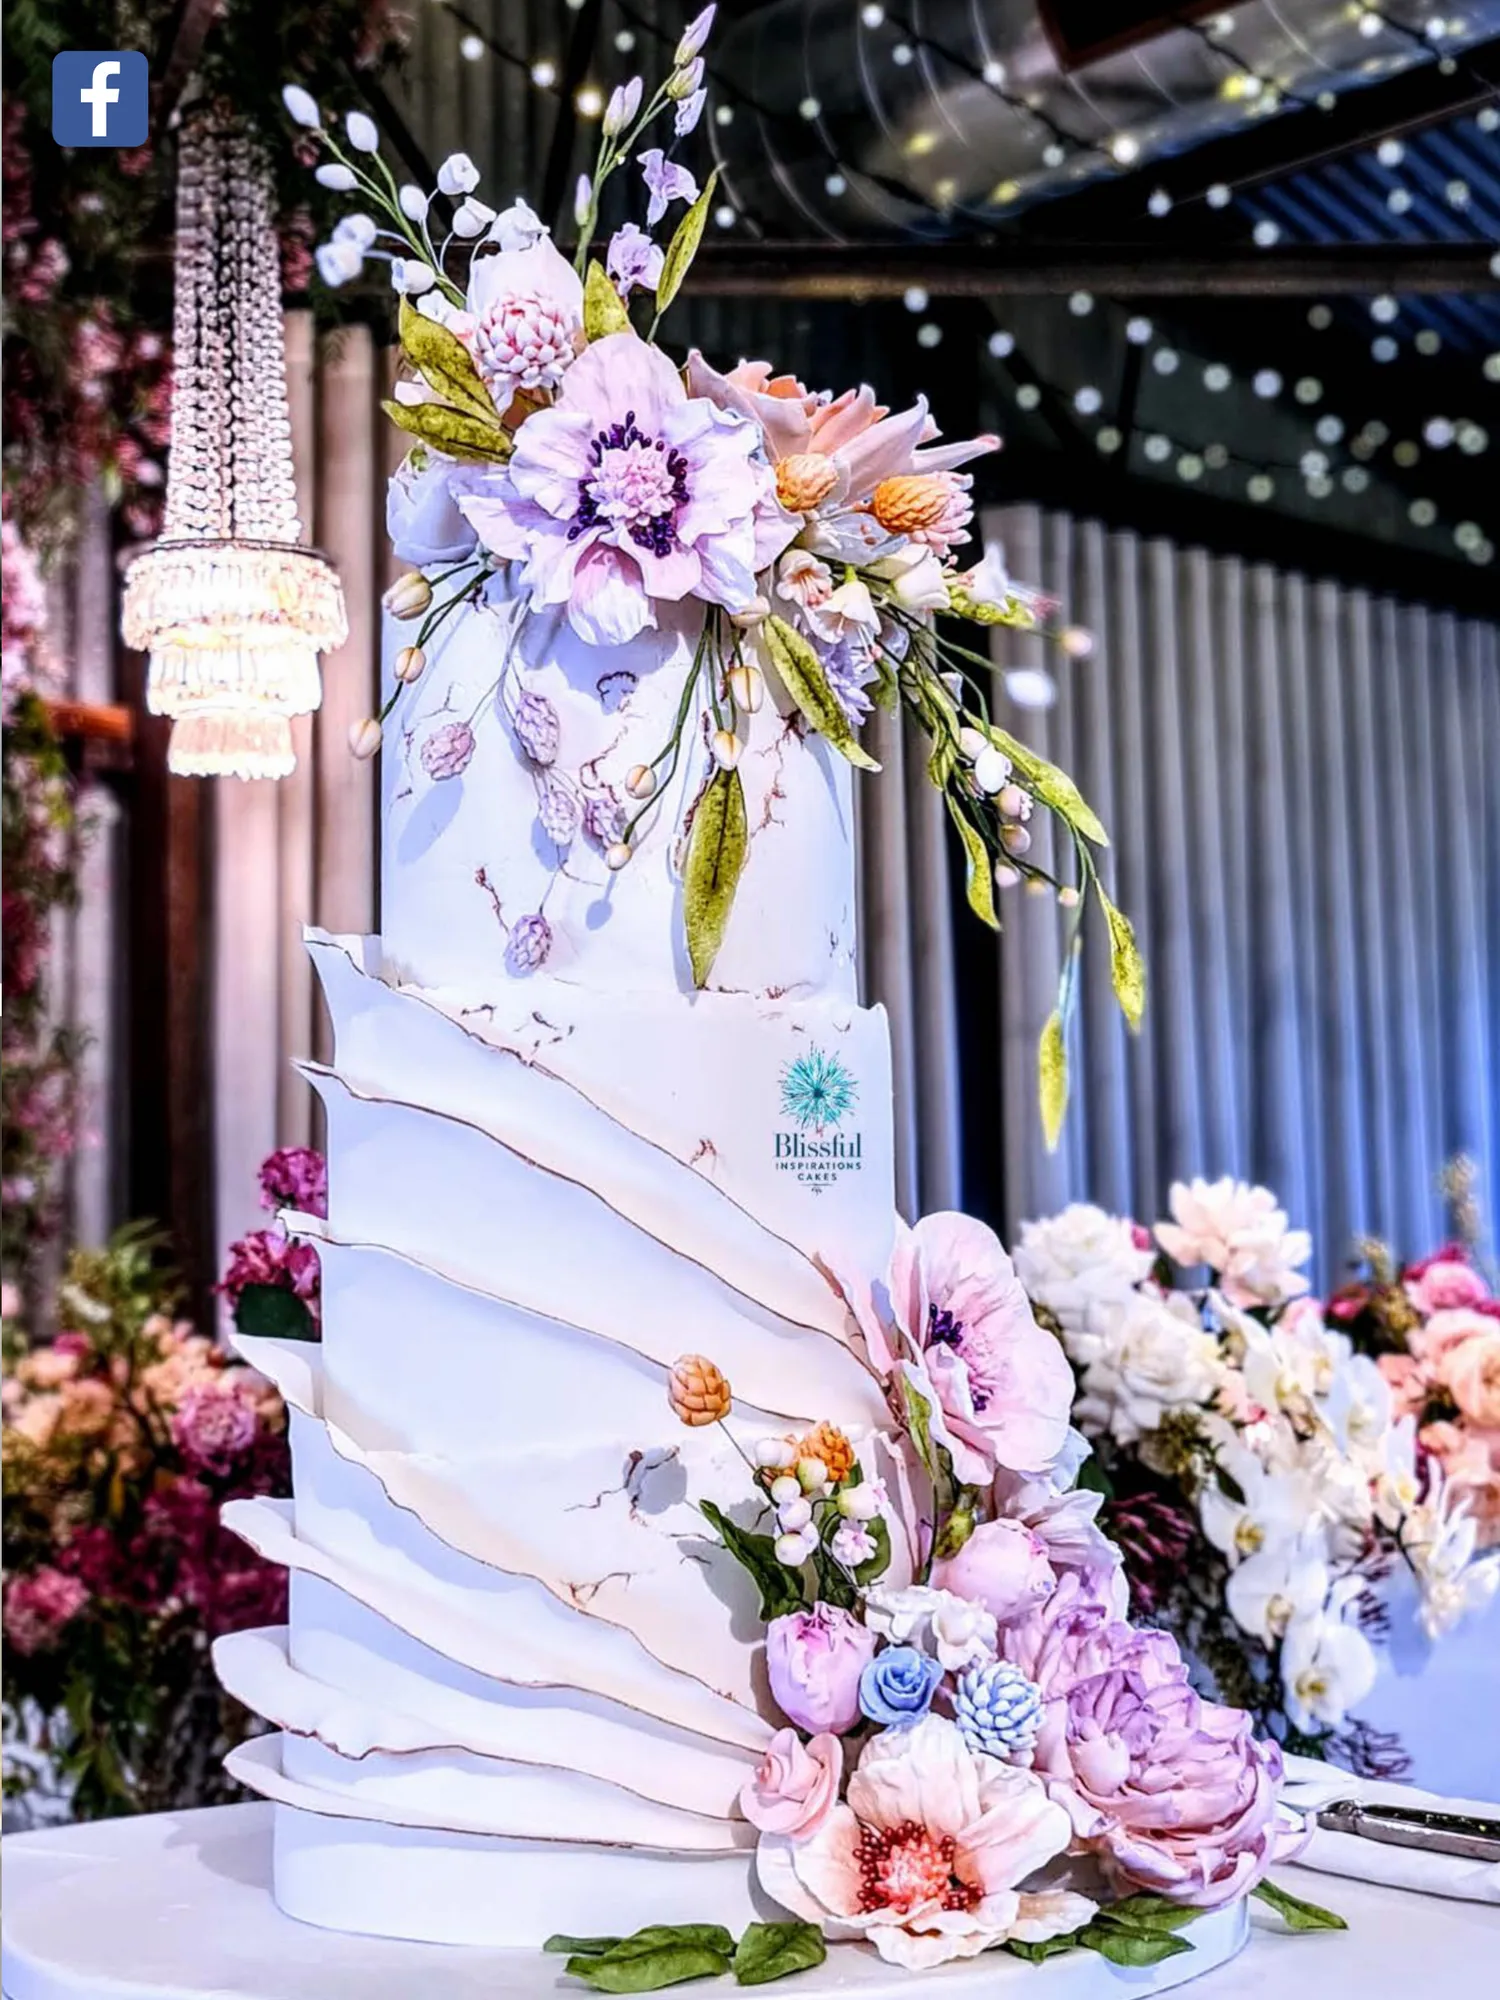
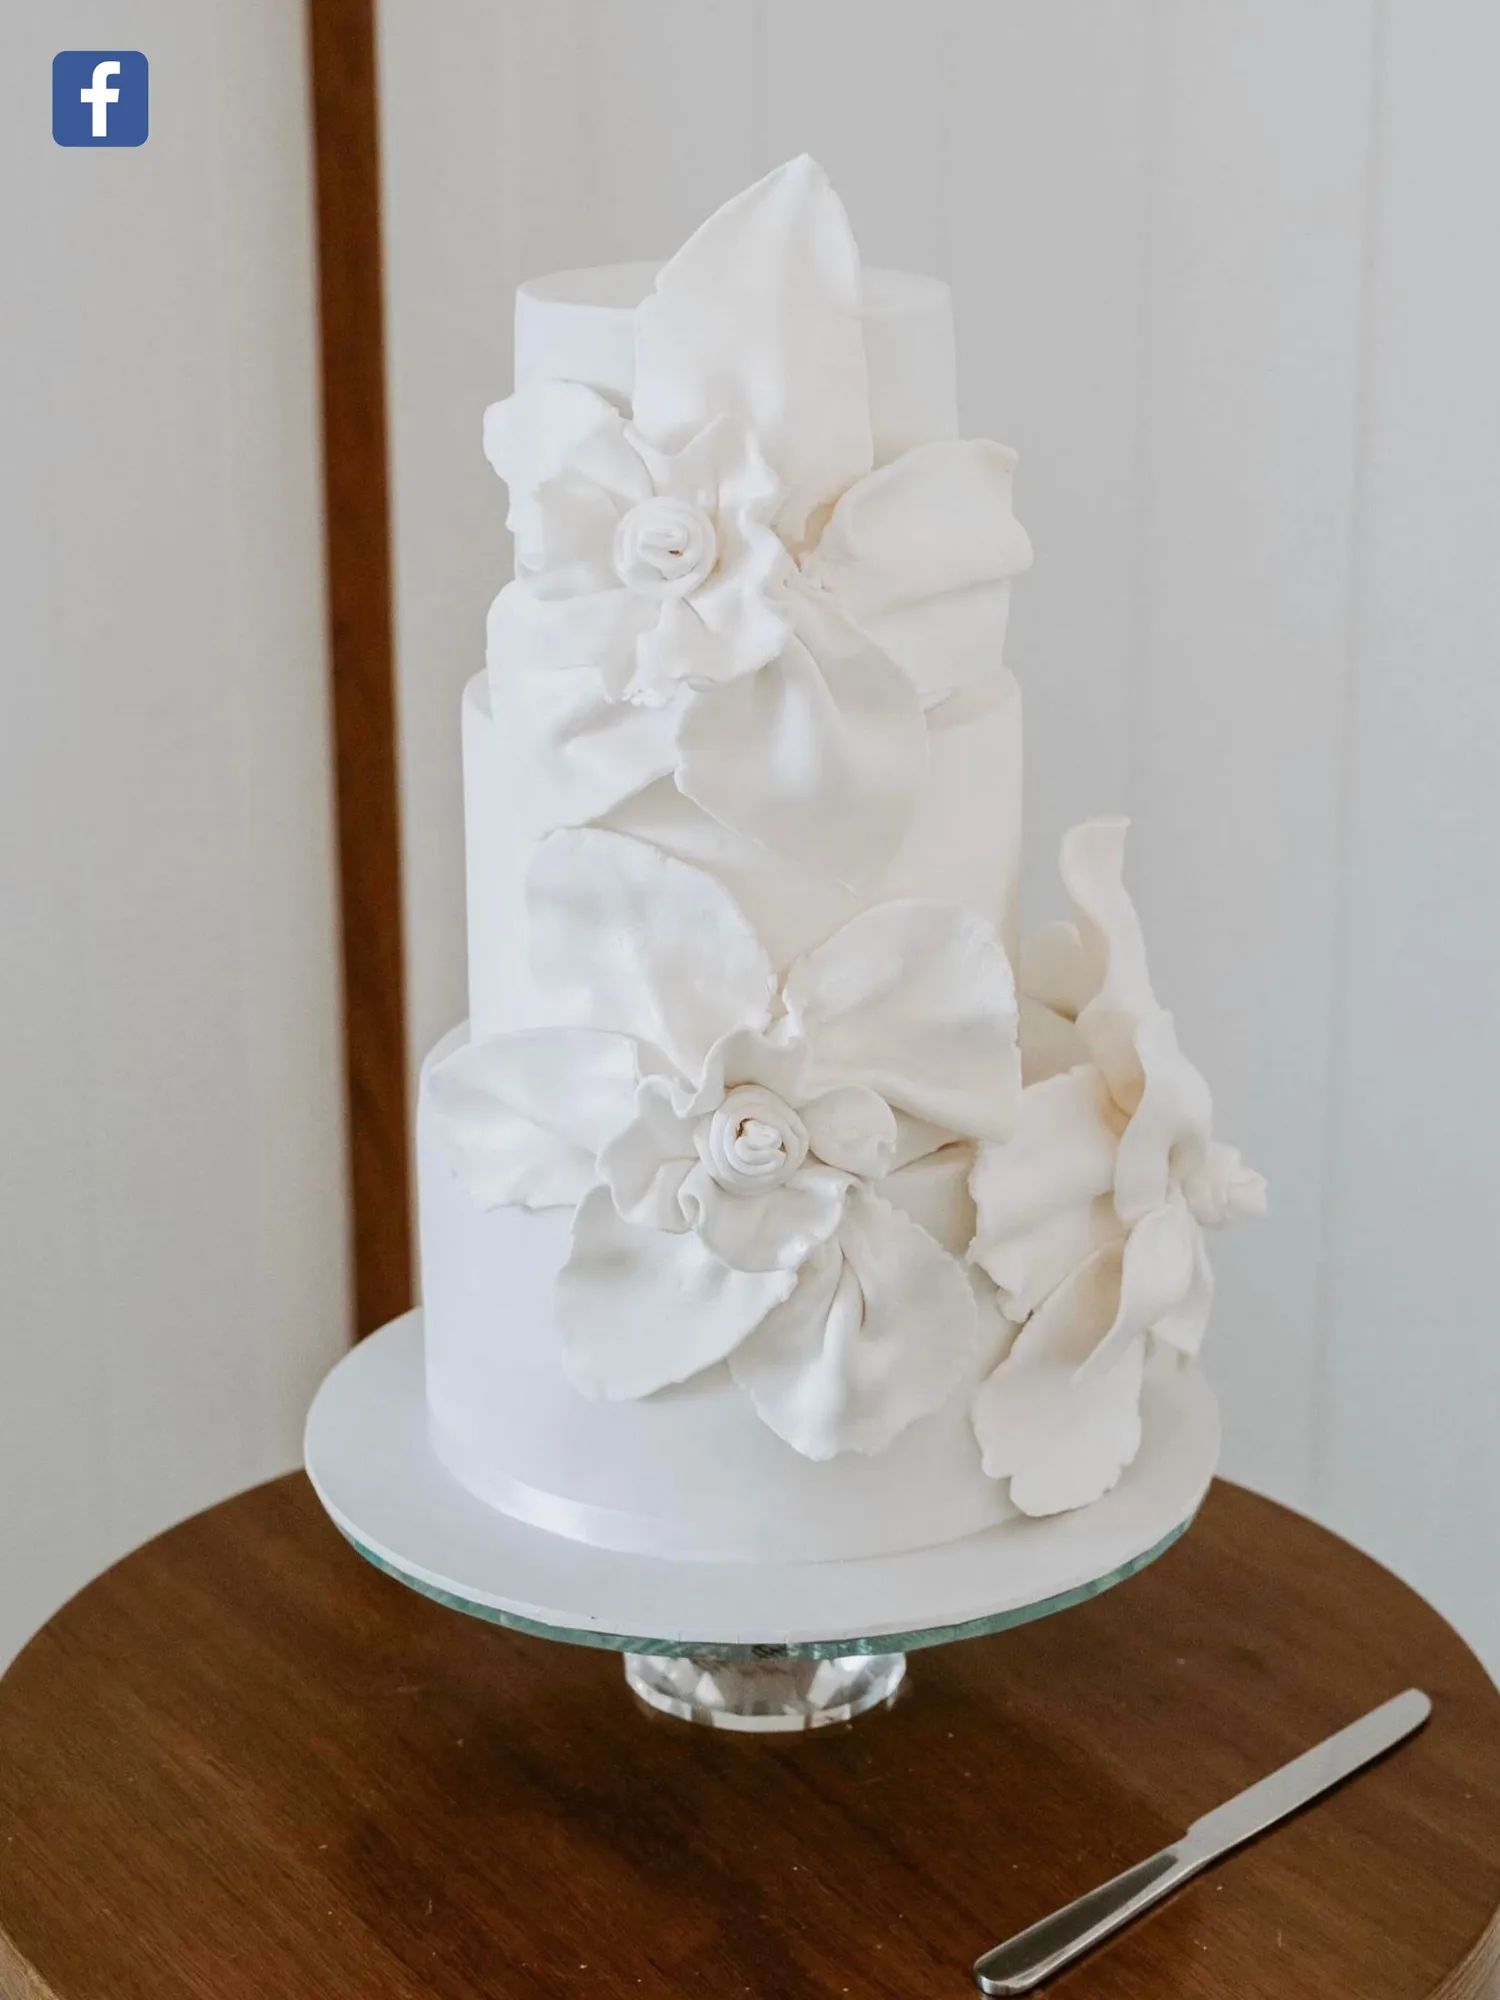
Create dramatic fondant ruffles with ease. In this tutorial, you’ ll learn how to create dramatic fondant ruffles that cascade elegantly around a tall tiered cake. We’ ll guide you through shaping and layering each fold to achieve a textured, sculptural look that’ s both modern and romantic. YOU WILL NEED: White fondant 5”, 7” & 8” dummy cakes( 6” high) Large Rolling pin Small rolling pin Round Masonite Cake board 12 inch White Satin Ribbon Double sided tap Drill & drill bit 13mm Wooden dowel 12mm thick Hot glue gun & stick Chefs Torch Exacto knife or Pizza wheel cutter( optional) Metal ruler Foil Soft Tape measure Masking tape Pruning shears( only to be used for cake business, please don’ t use your used garden shears) Level Solite / Shortening Thick Paint brush x 1( one to be used for shortening application) Thin Paint brush x 1 & small bowl with water Fondant smoother 12” silver board( to be use as a template) 8” silver board( to be use as a template) Steamer( handheld) www. blissfulinspirationscakes. com. au instagram. com / blissfulinspirationscakes
Page 42 text
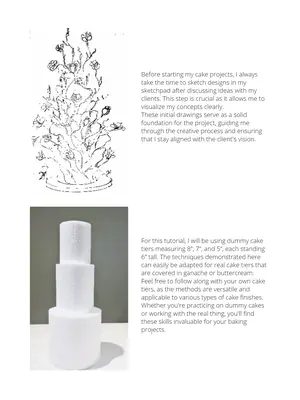
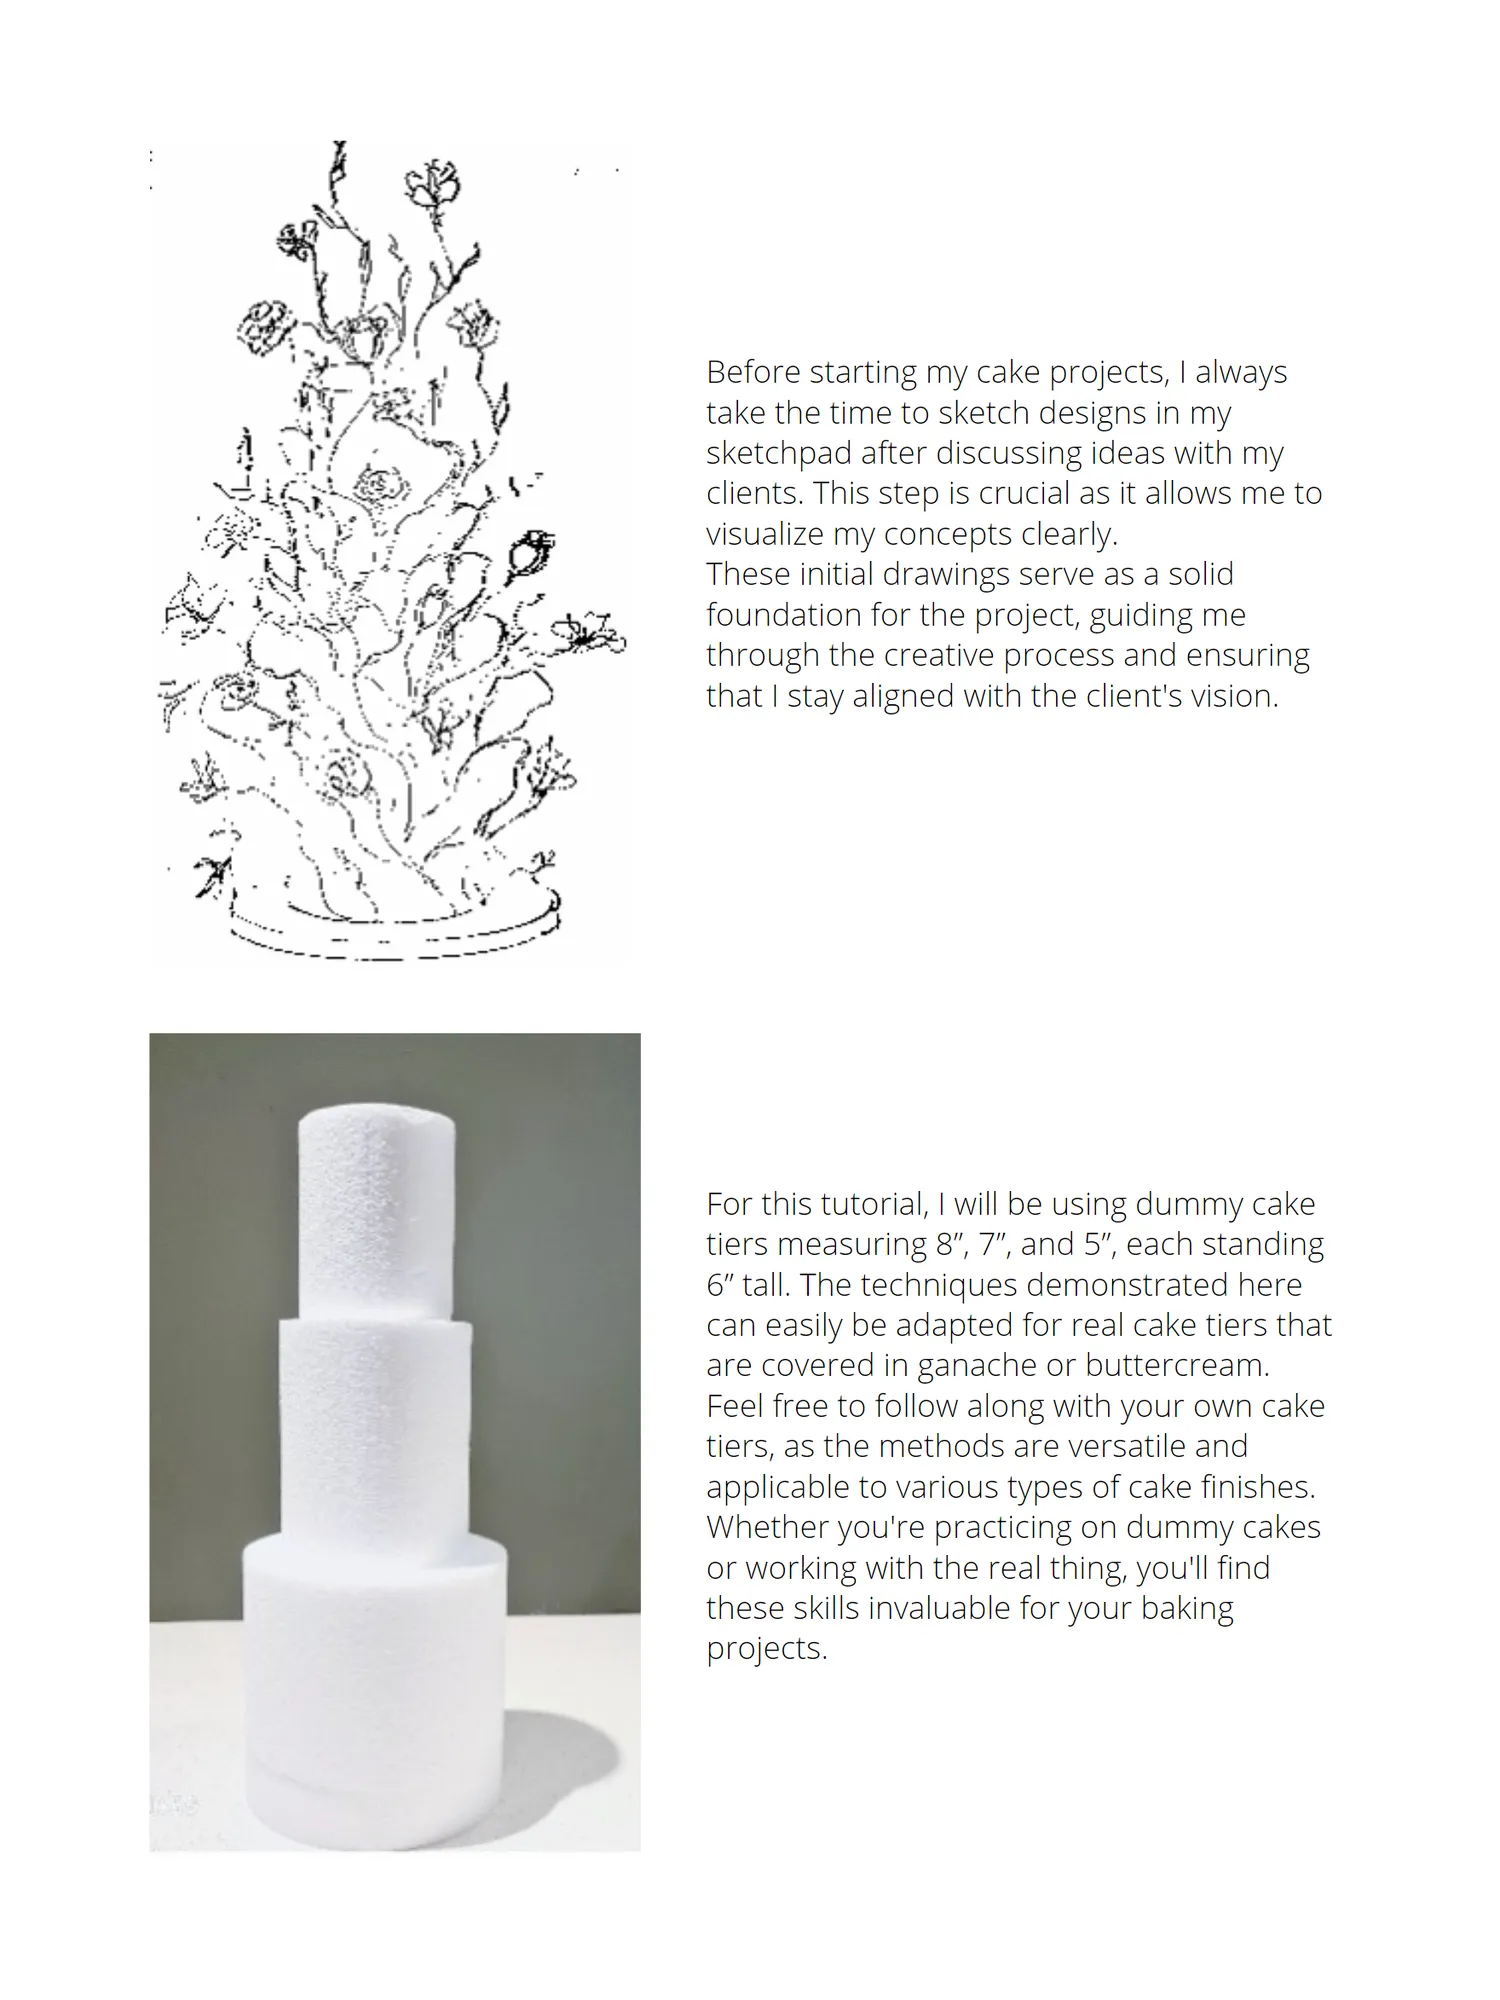
Before starting my cake projects, I always take the time to sketch designs in my sketchpad after discussing ideas with my clients. This step is crucial as it allows me to visualize my concepts clearly. These initial drawings serve as a solid foundation for the project, guiding me through the creative process and ensuring that I stay aligned with the client's vision. For this tutorial, I will be using dummy cake tiers measuring 8”, 7”, and 5”, each standing 6” tall. The techniques demonstrated here can easily be adapted for real cake tiers that are covered in ganache or buttercream. Feel free to follow along with your own cake tiers, as the methods are versatile and applicable to various types of cake finishes. Whether you're practicing on dummy cakes or working with the real thing, you'll find these skills invaluable for your baking projects.
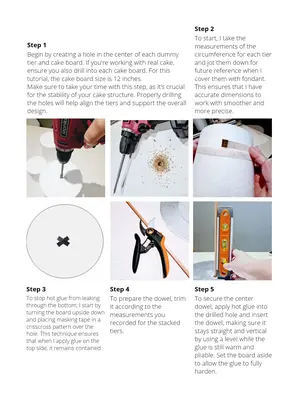
Page 43 text
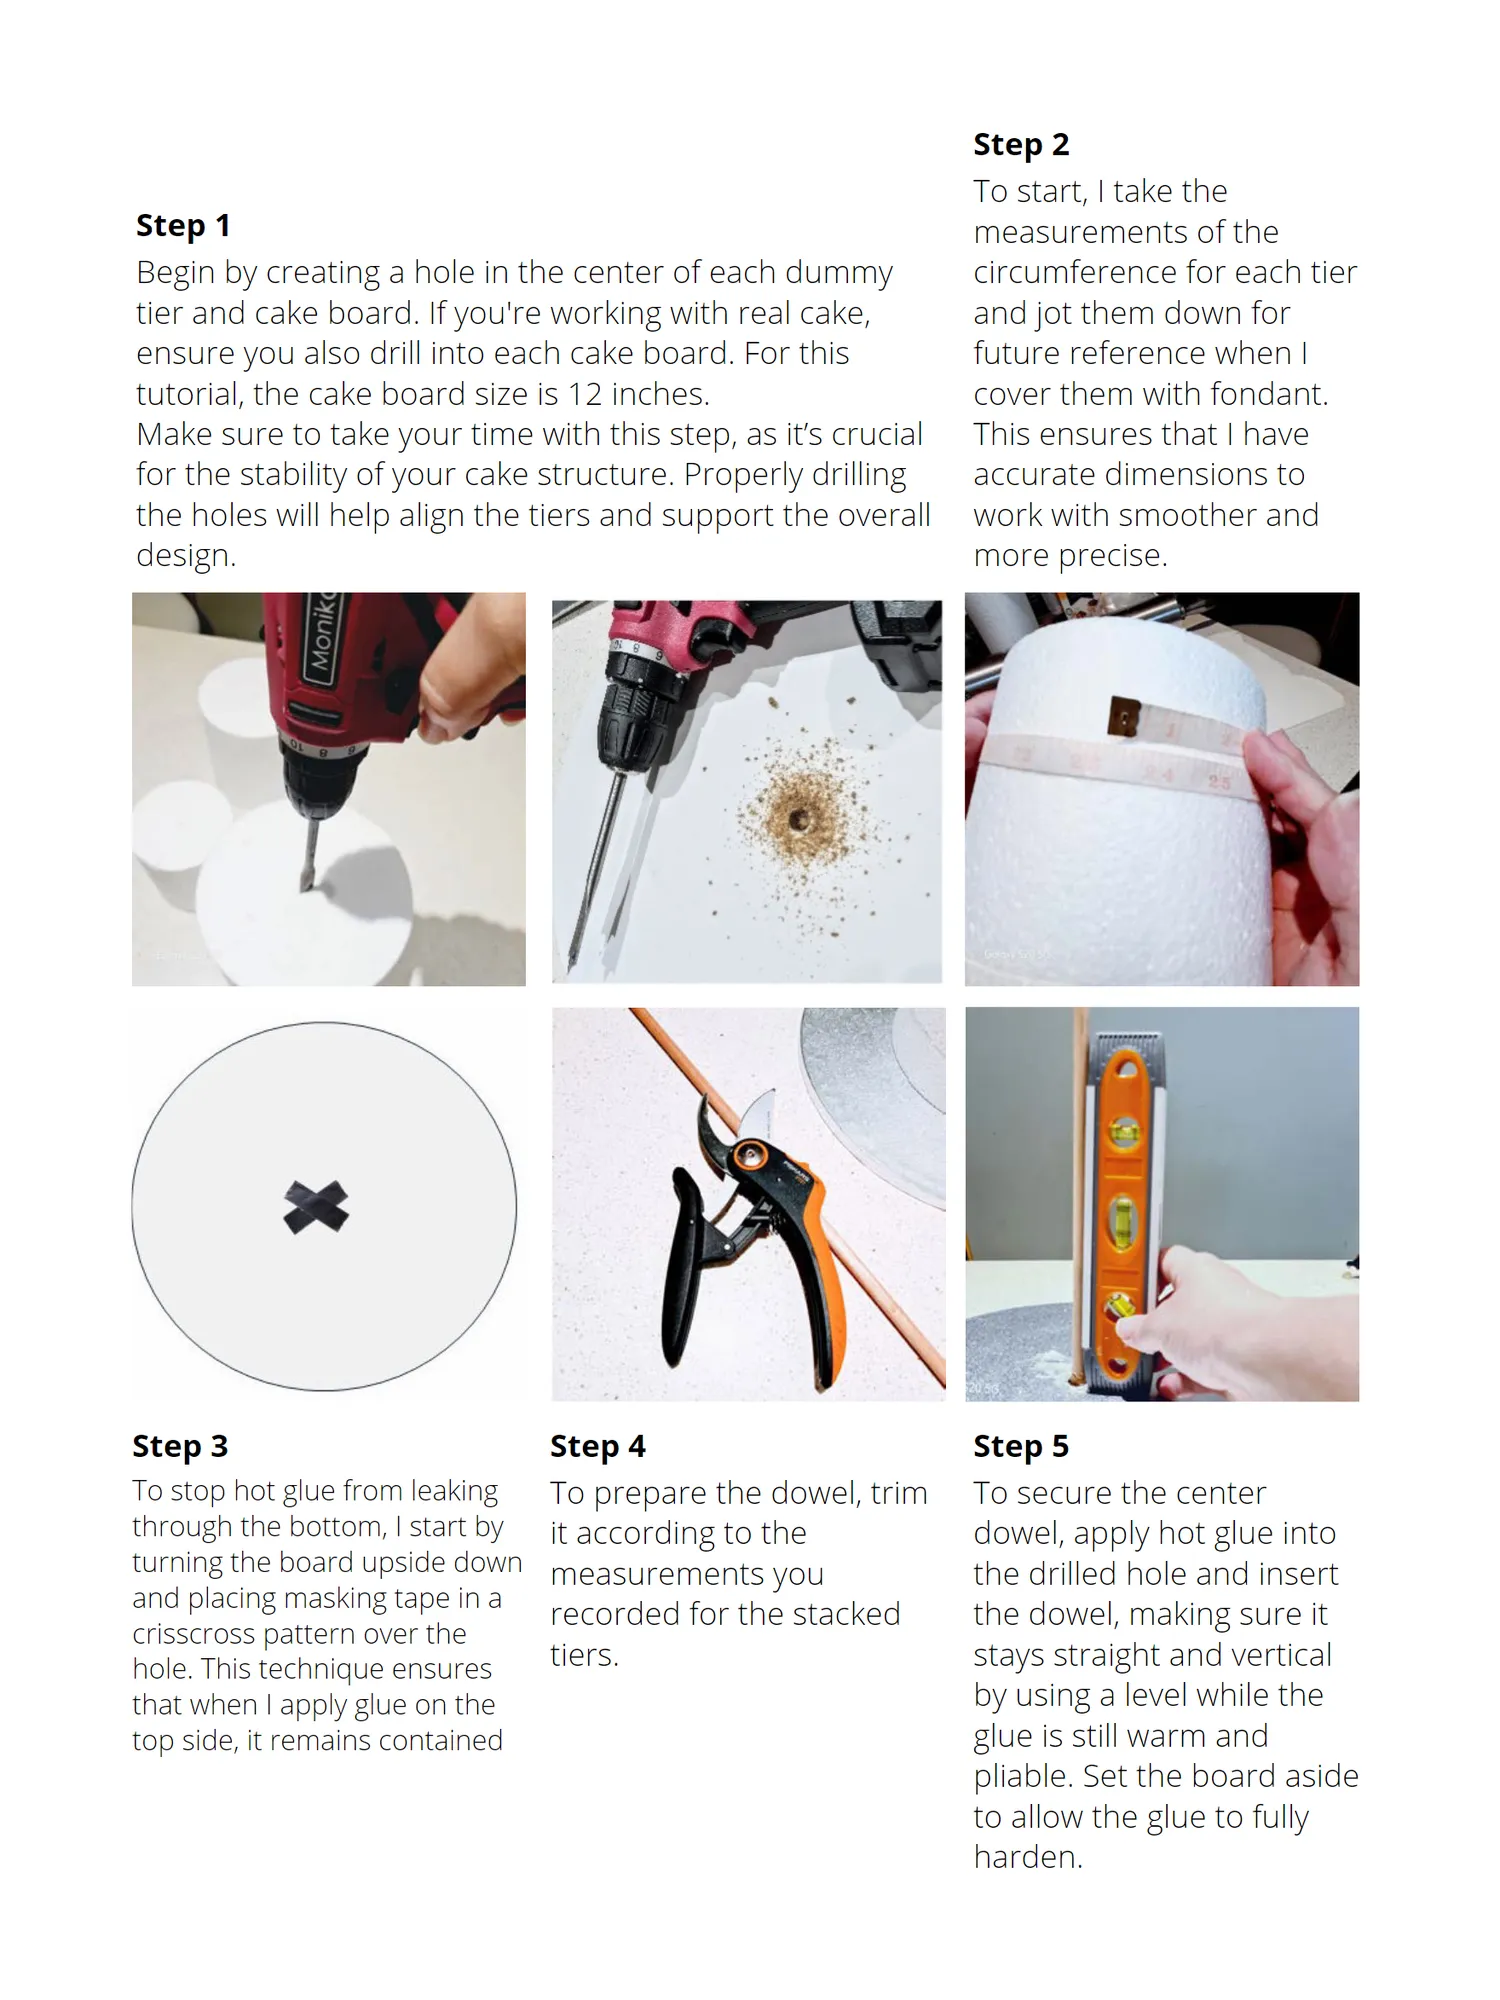
Step 2 To start, I take the Step 1 measurements of the Begin by creating a hole in the center of each dummy circumference for each tier tier and cake board. If you're working with real cake, and jot them down for ensure you also drill into each cake board. For this future reference when I tutorial, the cake board size is 12 inches. cover them with fondant. Make sure to take your time with this step, as it’s crucial This ensures that I have for the stability of your cake structure. Properly drilling accurate dimensions to the holes will help align the tiers and support the overall work with smoother and design. more precise. Step 3 Step 4 Step 5 To stop hot glue from leaking To prepare the dowel, trim To secure the center through the bottom, I start by it according to the dowel, apply hot glue into turning the board upside down measurements you the drilled hole and insert and placing masking tape in a recorded for the stacked the dowel, making sure it crisscross pattern over the tiers. stays straight and vertical hole. This technique ensures that when I apply glue on the by using a level while the top side, it remains contained glue is still warm and pliable. Set the board aside to allow the glue to fully harden.
Page 44 text
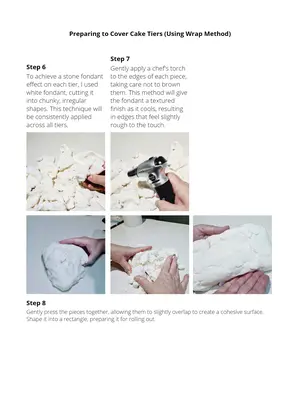
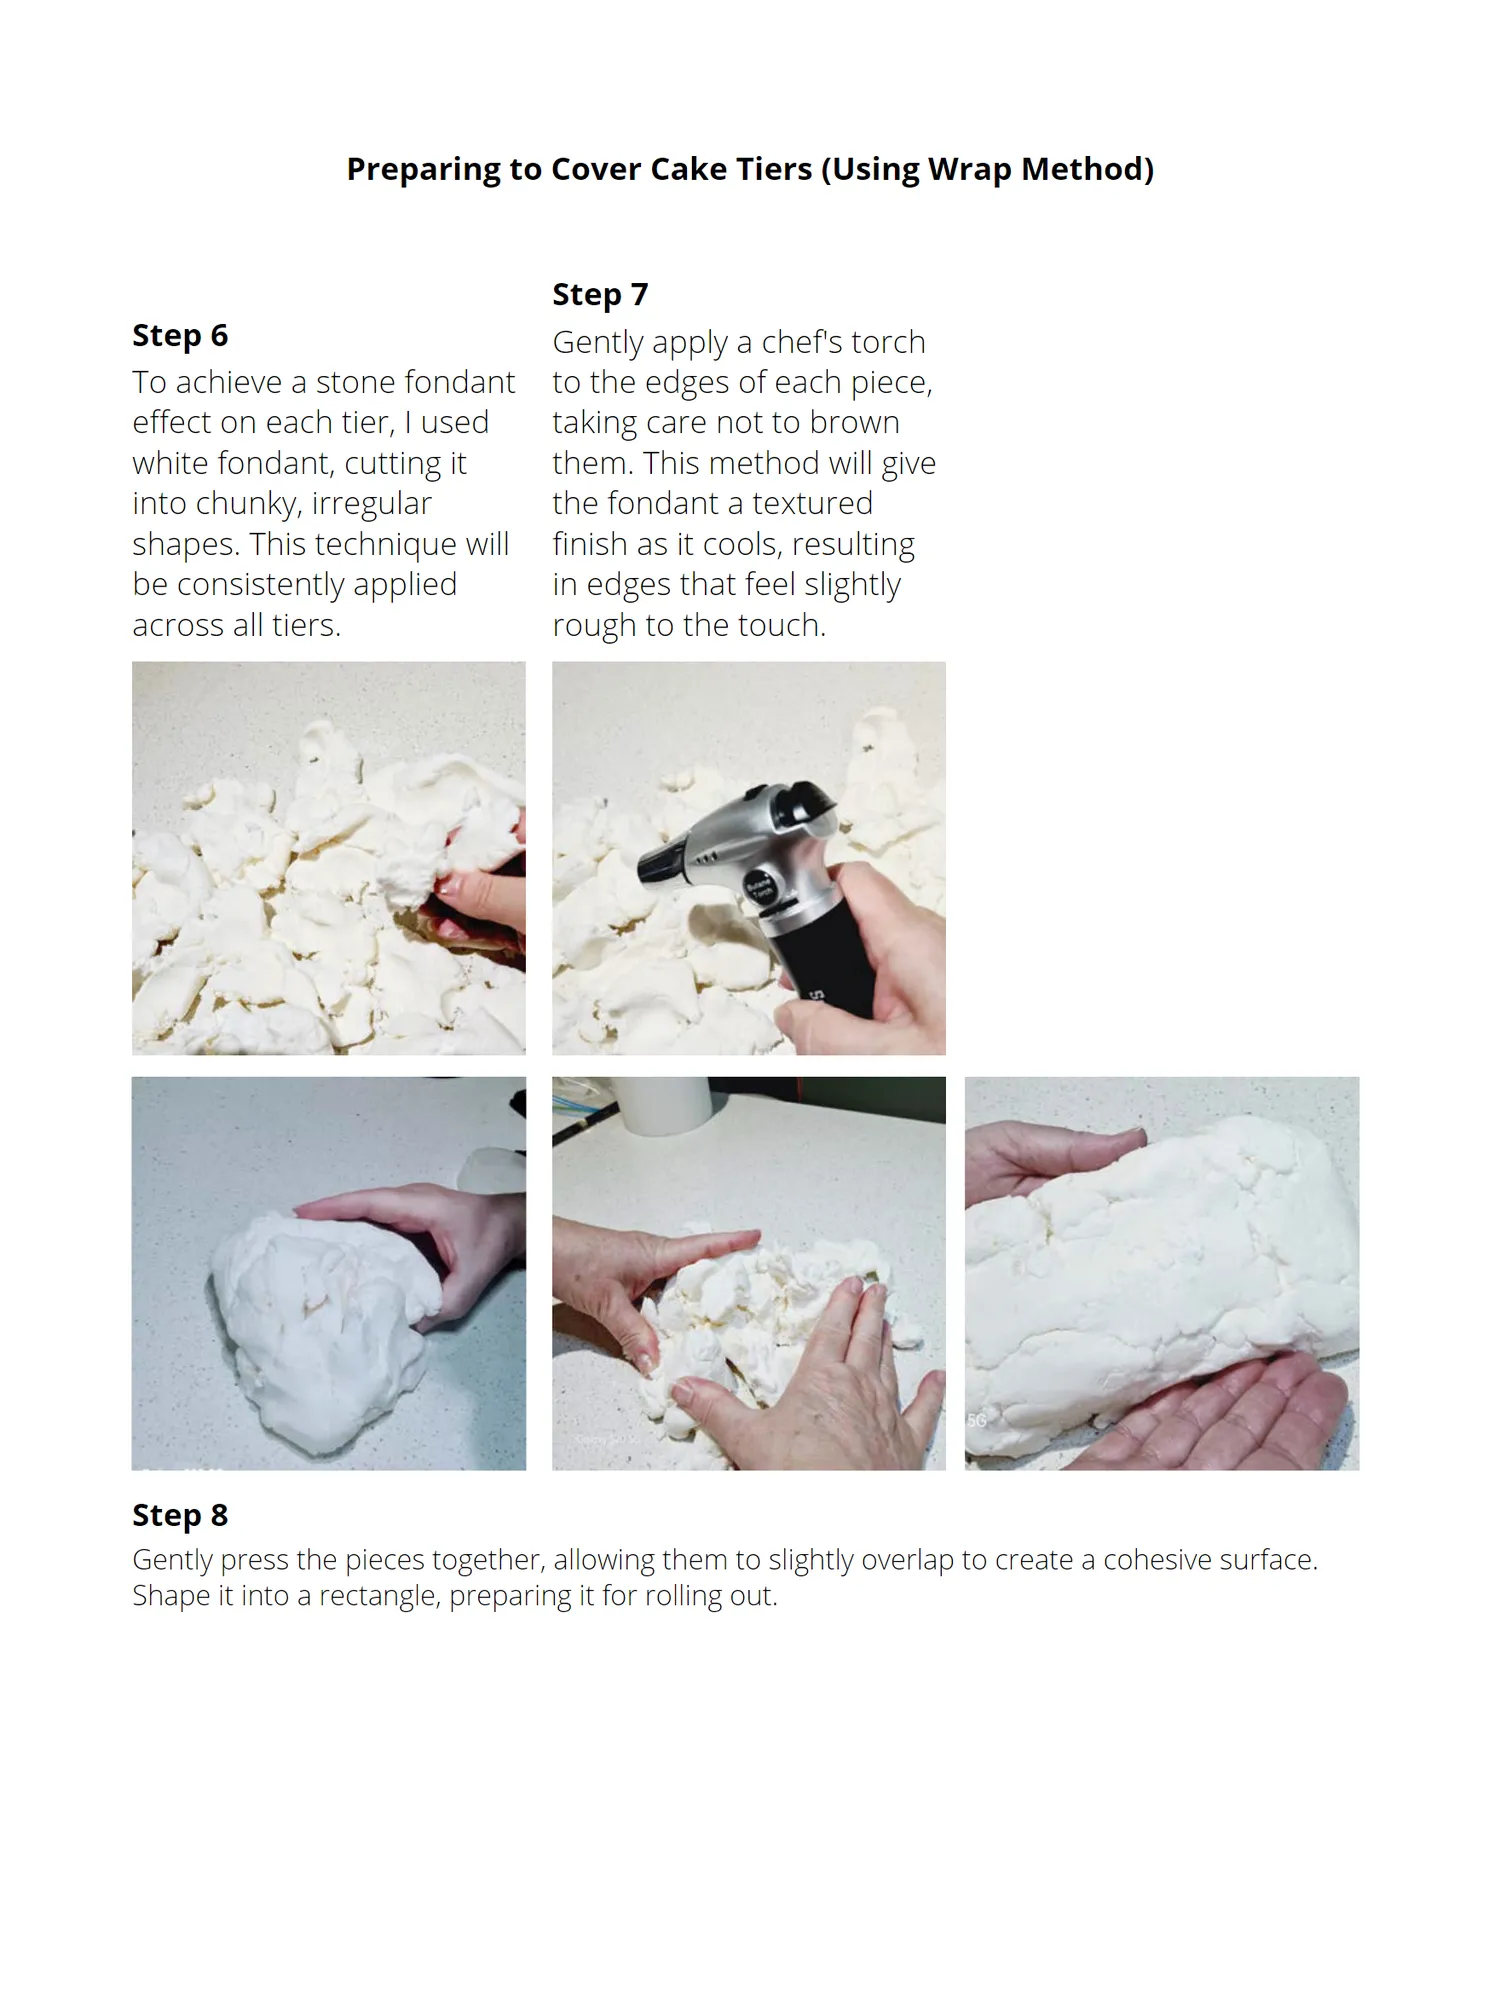
Preparing to Cover Cake Tiers (Using Wrap Method) Step 7 Step 6 Gently apply a chef's torch To achieve a stone fondant to the edges of each piece, effect on each tier, I used taking care not to brown white fondant, cutting it them. This method will give into chunky, irregular the fondant a textured shapes. This technique will finish as it cools, resulting be consistently applied in edges that feel slightly across all tiers. rough to the touch. Step 8 Gently press the pieces together, allowing them to slightly overlap to create a cohesive surface. Shape it into a rectangle, preparing it for rolling out.
Page 45 text
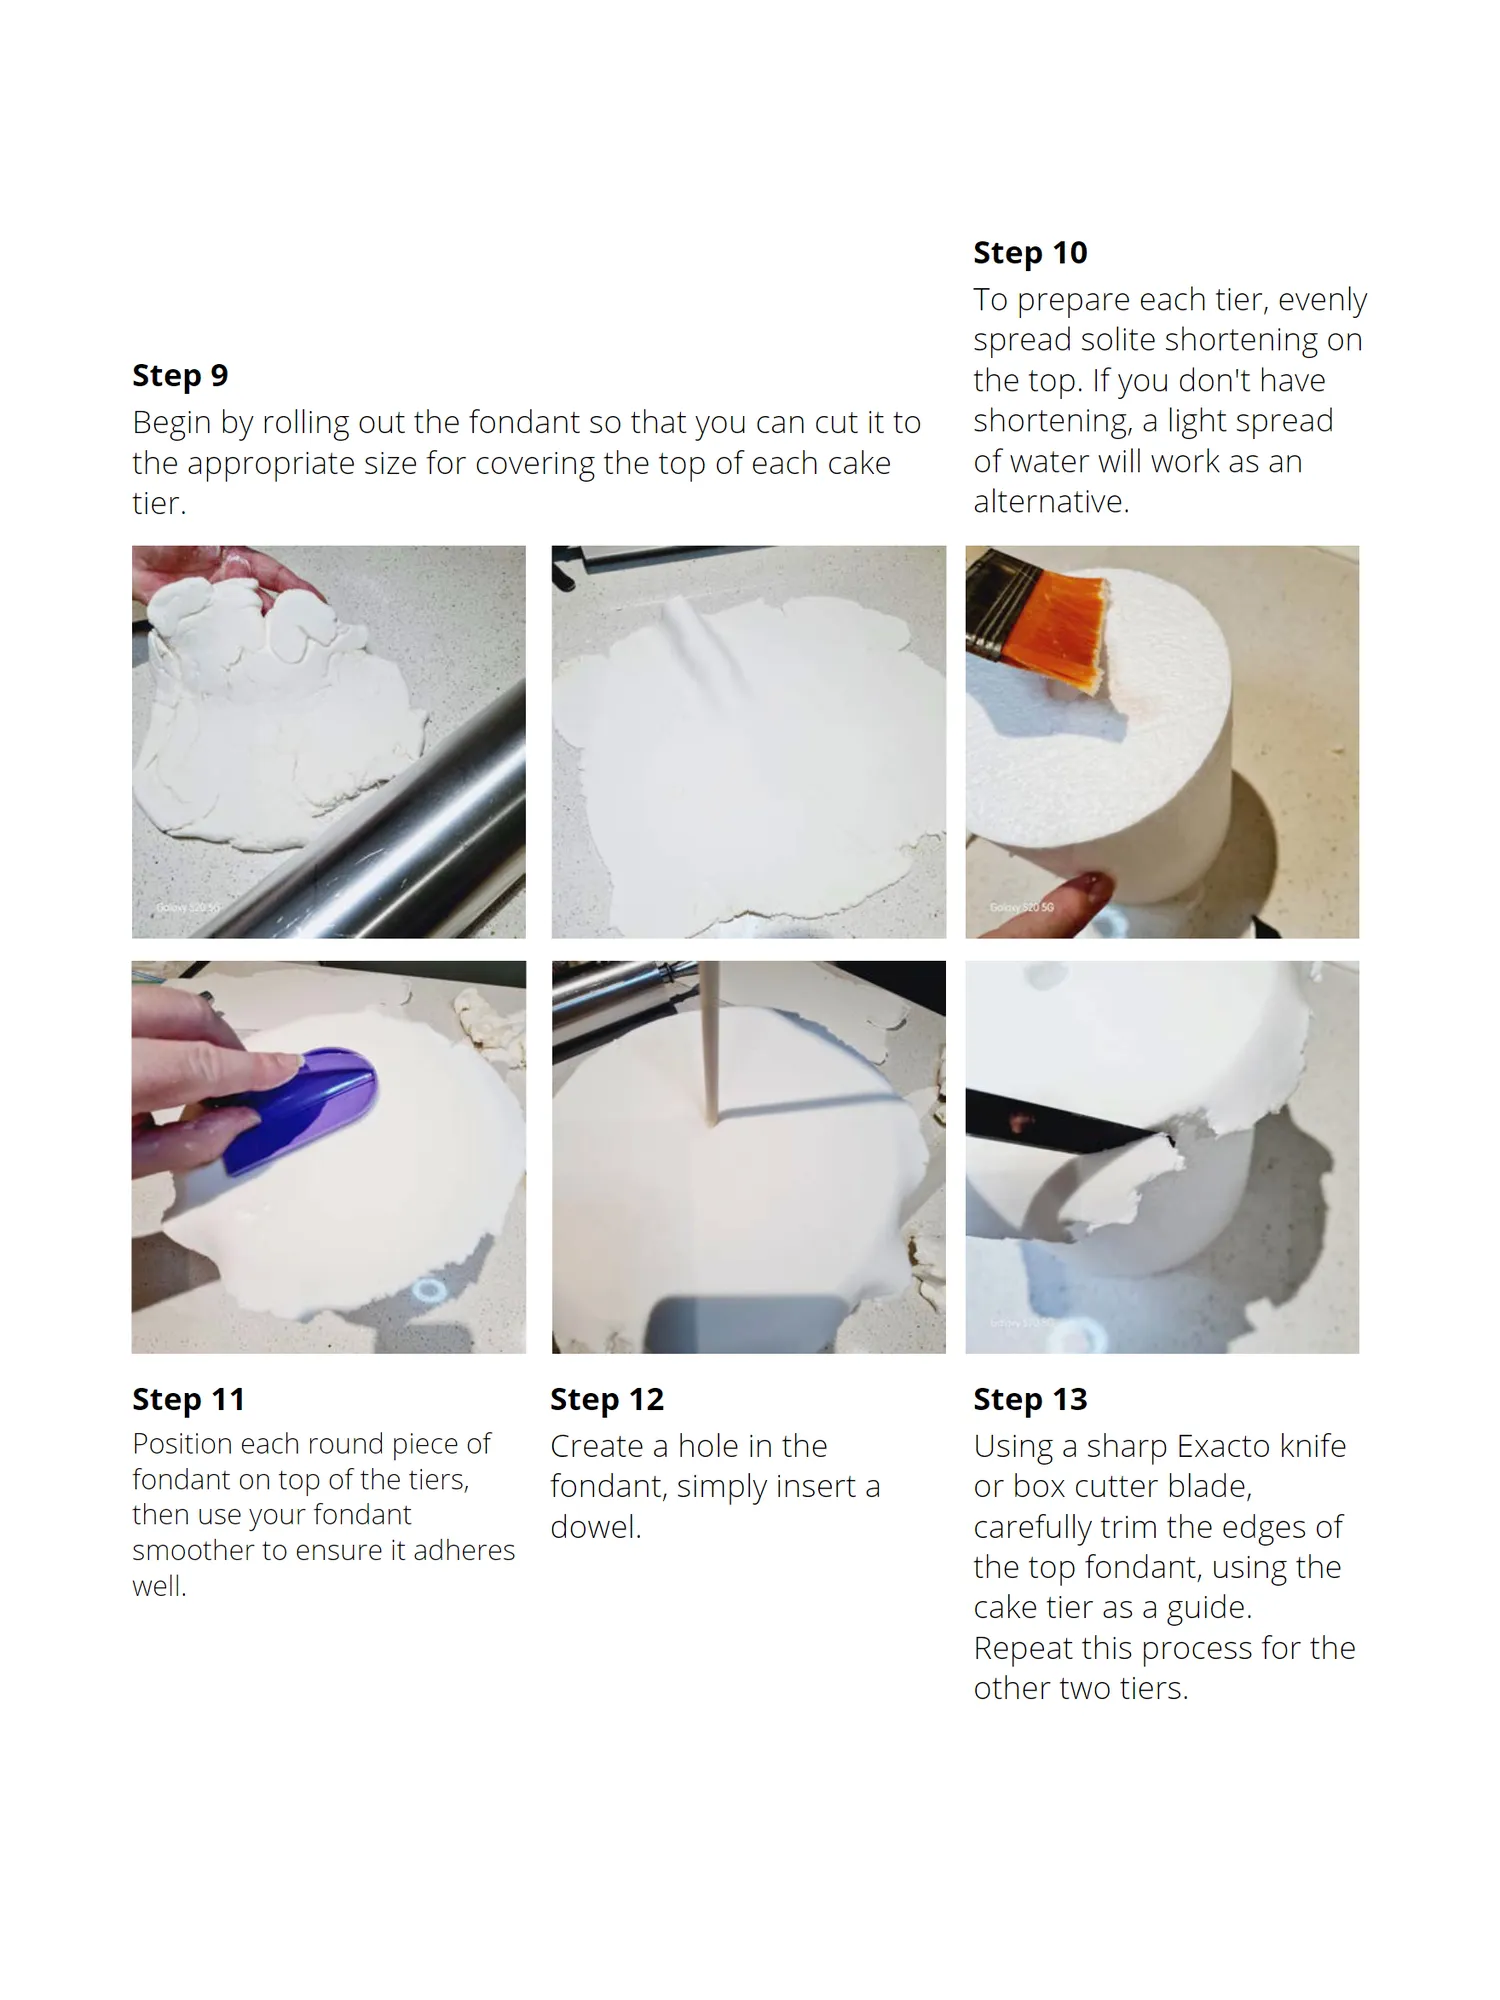
Step 10 To prepare each tier, evenly spread solite shortening on Step 9 the top. If you don't have Begin by rolling out the fondant so that you can cut it to shortening, a light spread the appropriate size for covering the top of each cake of water will work as an tier. alternative. Step 11 Step 12 Step 13 Position each round piece of Create a hole in the Using a sharp Exacto knife fondant on top of the tiers, fondant, simply insert a or box cutter blade, then use your fondant dowel. carefully trim the edges of smoother to ensure it adheres the top fondant, using the well. cake tier as a guide. Repeat this process for the other two tiers.
Page 46 text
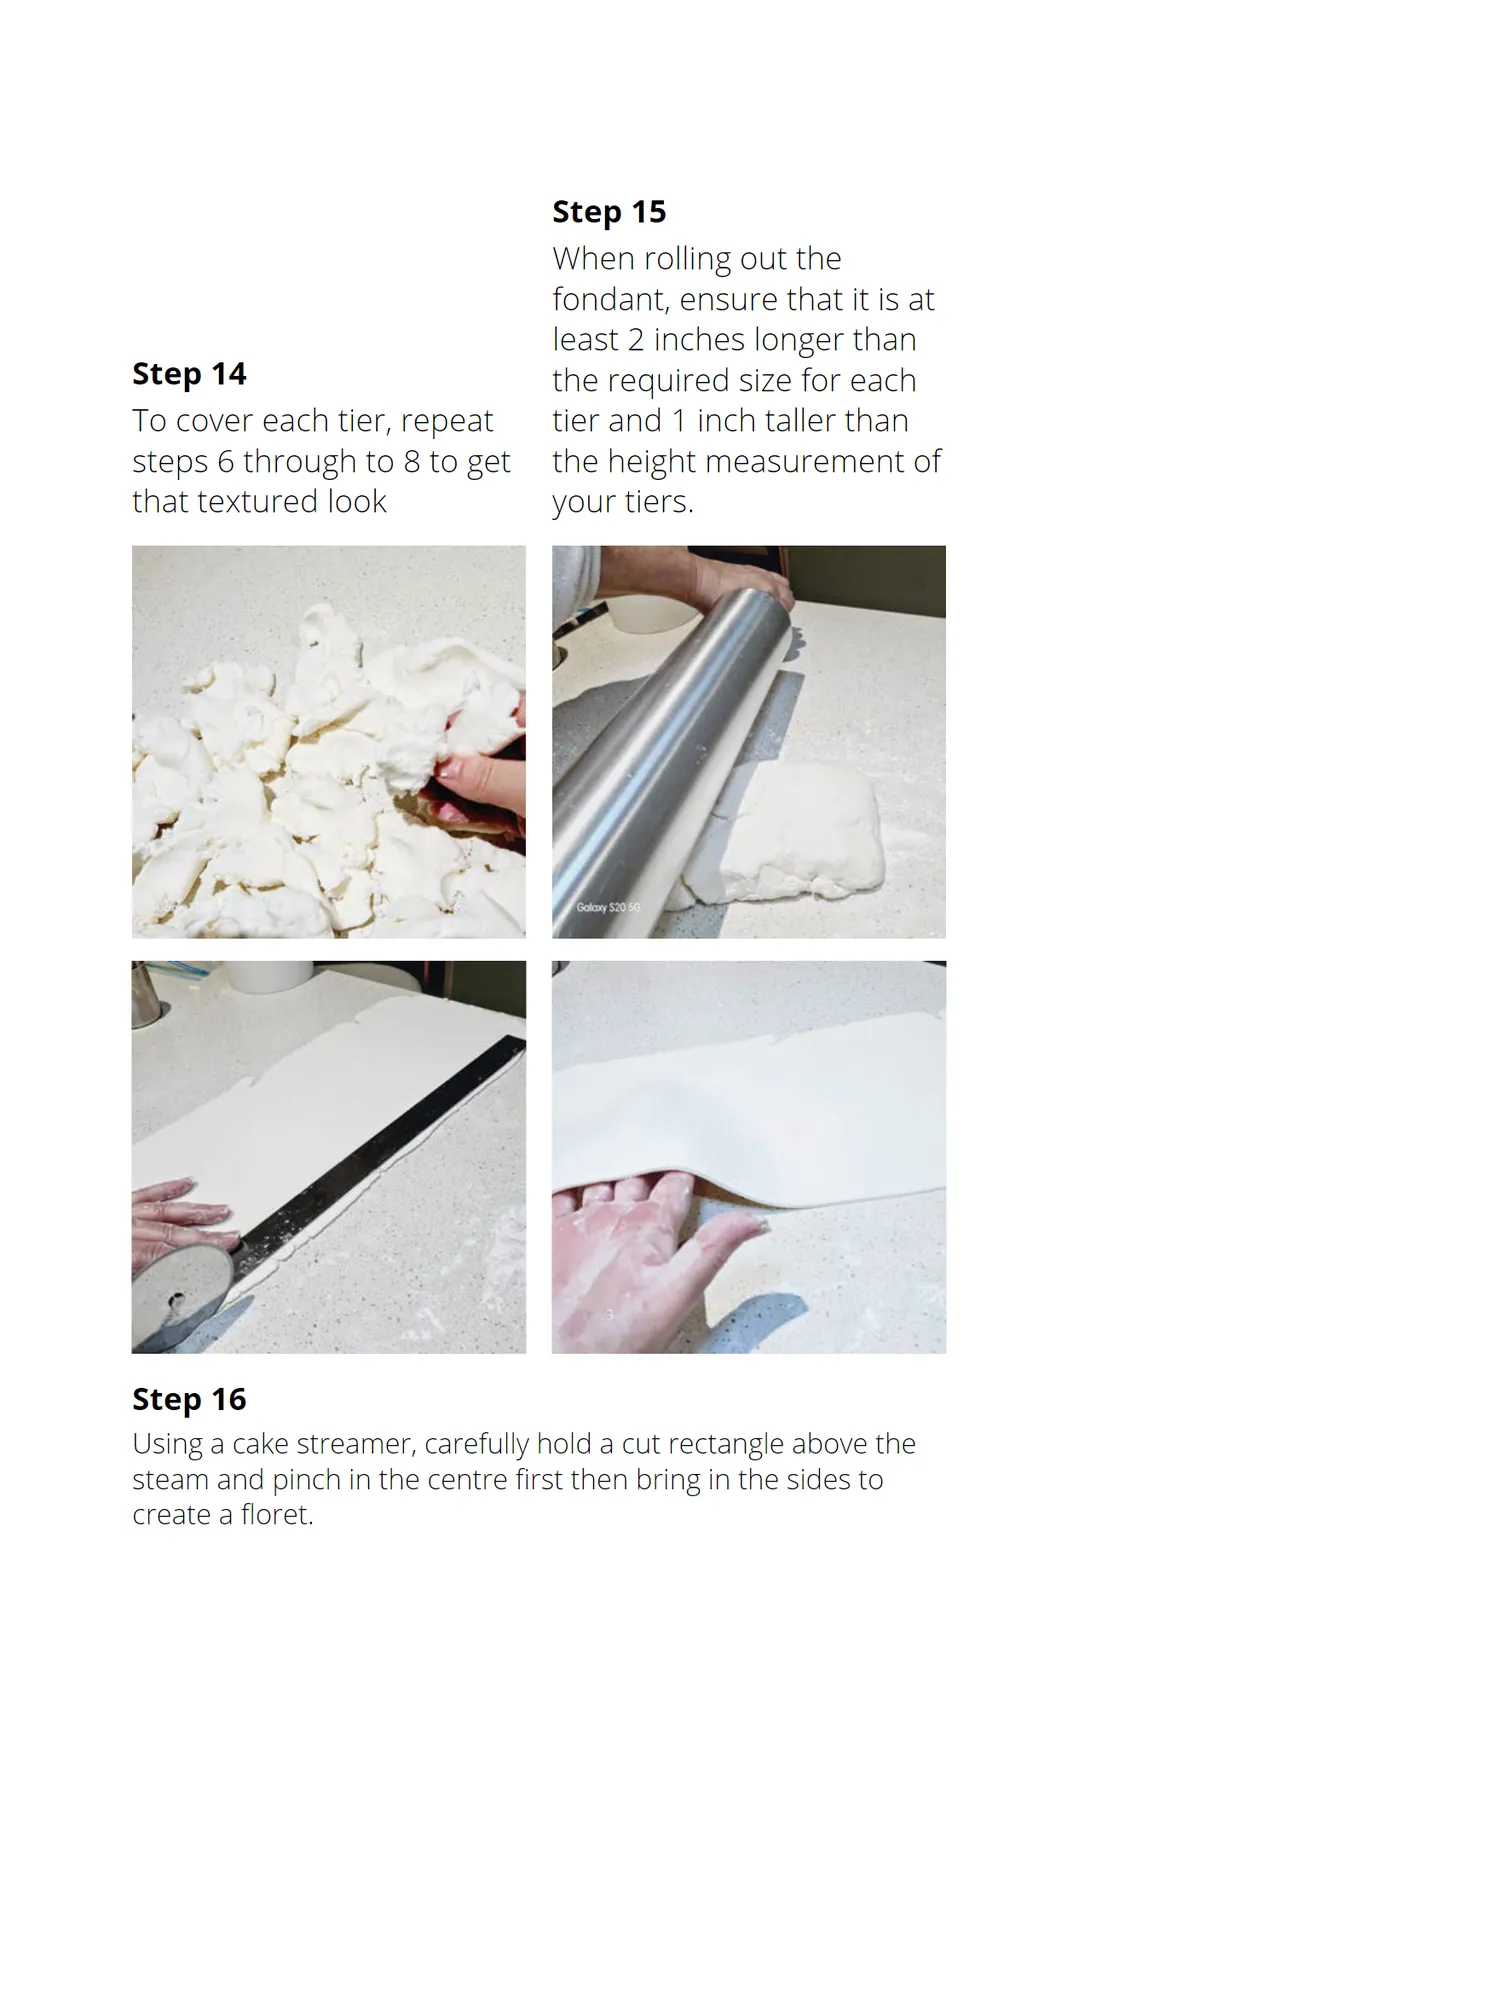
Step 15 When rolling out the fondant, ensure that it is at least 2 inches longer than Step 14 the required size for each To cover each tier, repeat tier and 1 inch taller than steps 6 through to 8 to get the height measurement of that textured look your tiers. Step 16 Using a cake streamer, carefully hold a cut rectangle above the steam and pinch in the centre first then bring in the sides to create a floret.
Page 47 text
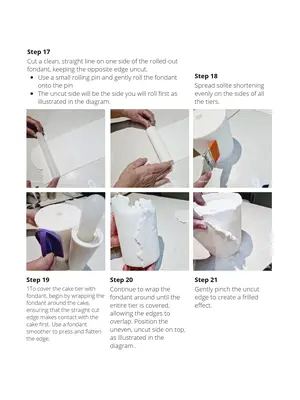
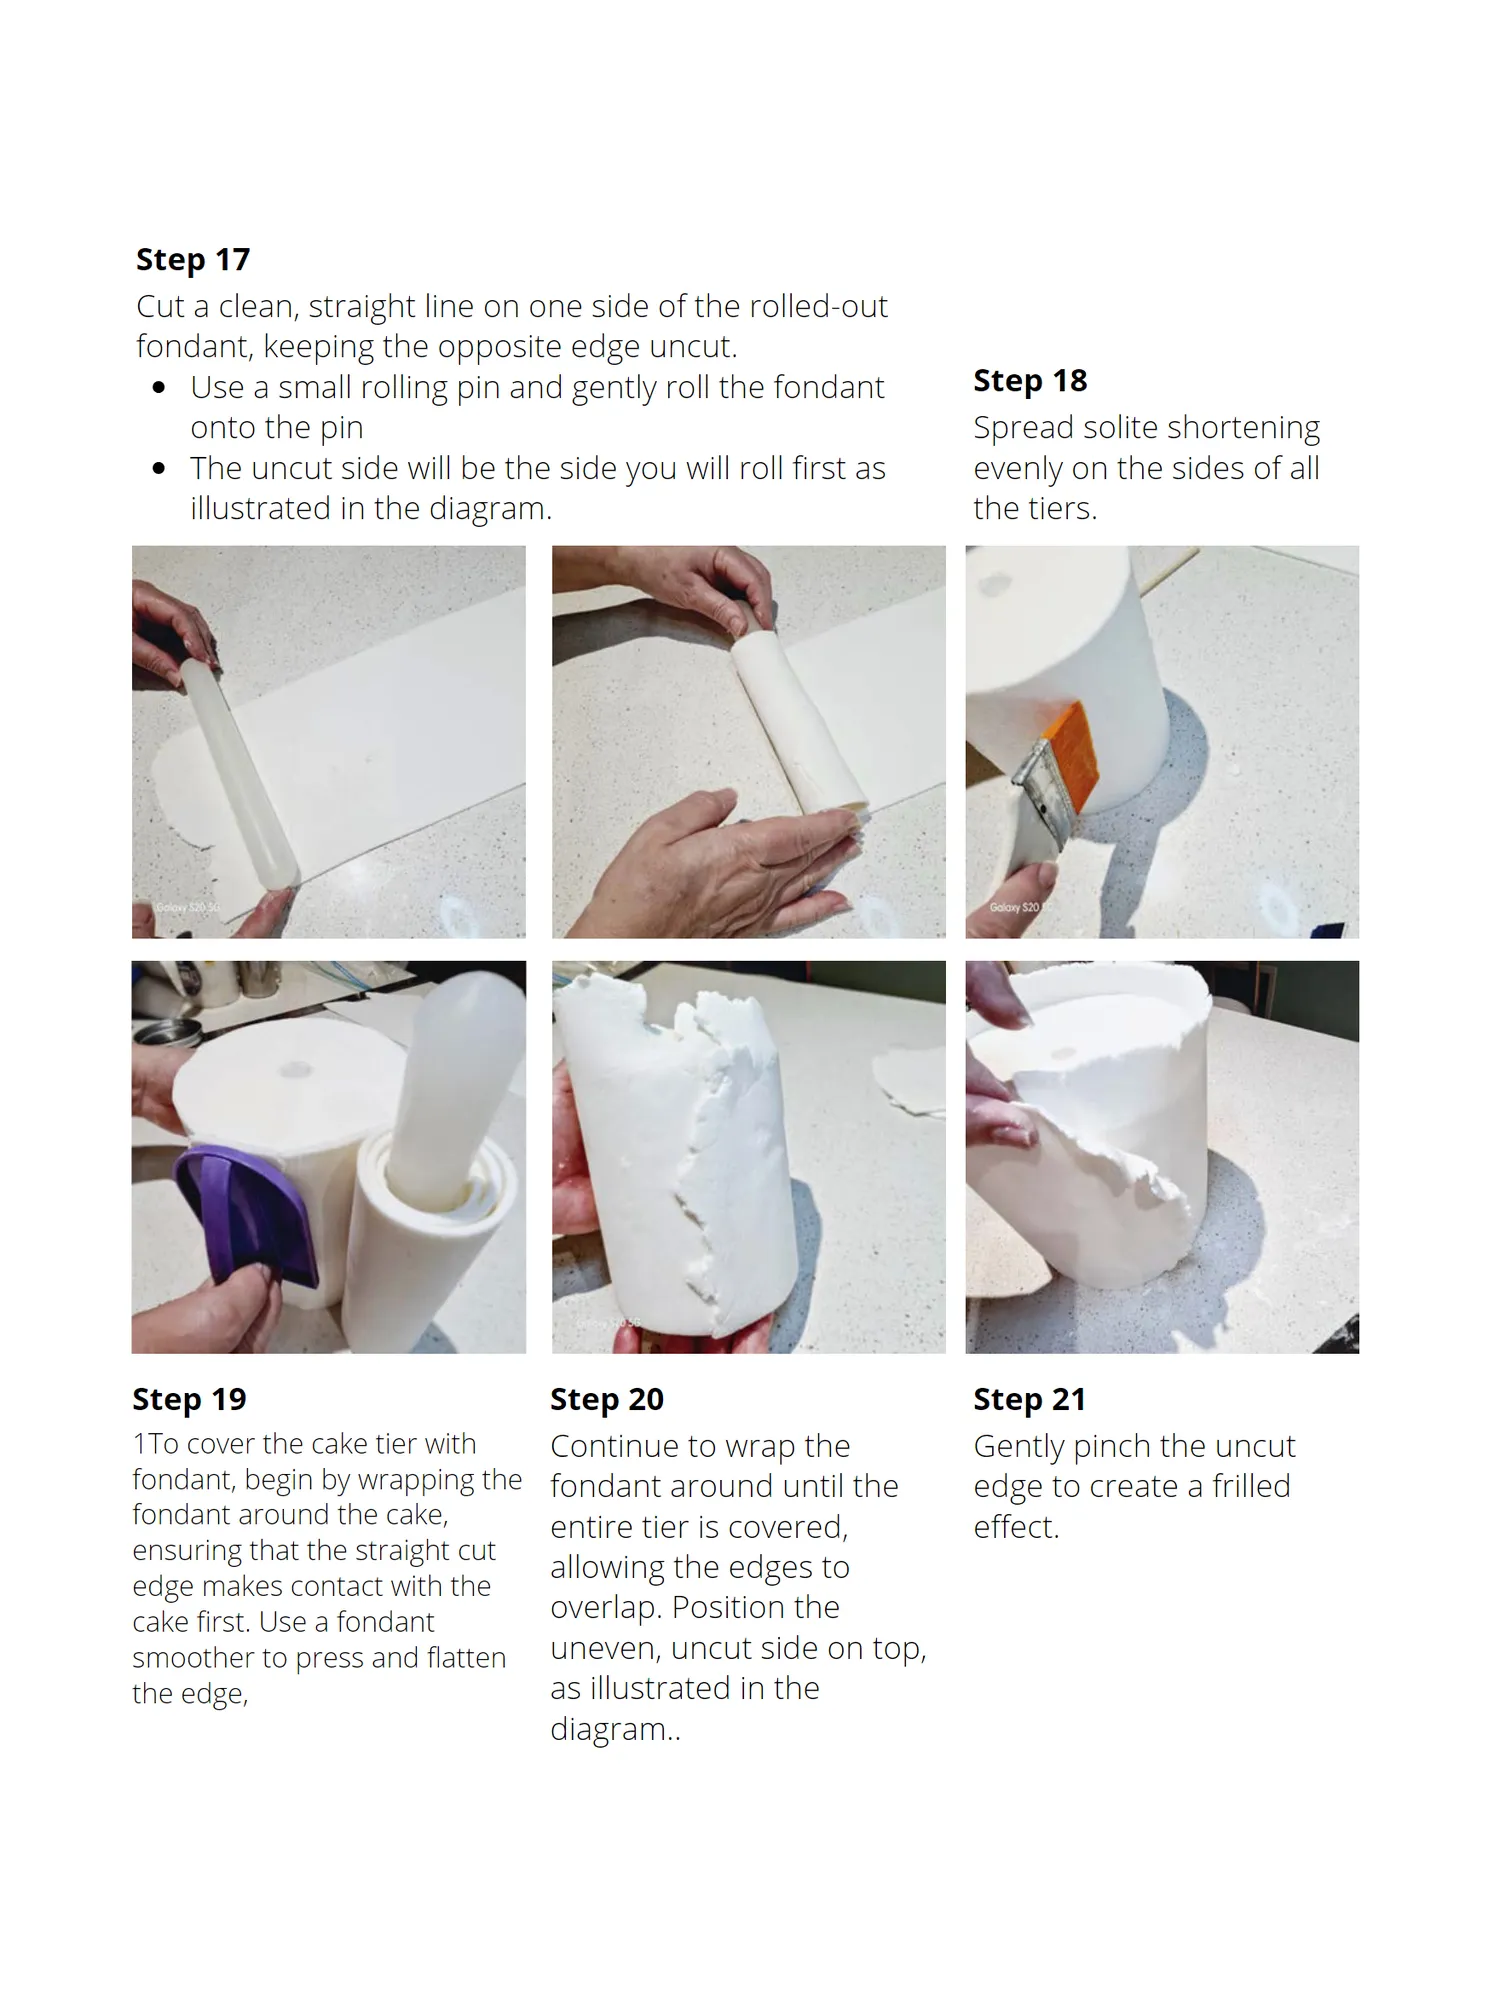
Step 17 Cut a clean, straight line on one side of the rolled-out fondant, keeping the opposite edge uncut. Use a small rolling pin and gently roll the fondant Step 18 onto the pin Spread solite shortening The uncut side will be the side you will roll first as evenly on the sides of all illustrated in the diagram. the tiers. Step 19 Step 20 Step 21 1To cover the cake tier with Continue to wrap the Gently pinch the uncut fondant, begin by wrapping the fondant around until the edge to create a frilled fondant around the cake, entire tier is covered, effect. ensuring that the straight cut allowing the edges to edge makes contact with the overlap. Position the cake first. Use a fondant smoother to press and flatten uneven, uncut side on top, the edge, as illustrated in the diagram..
Page 48 text
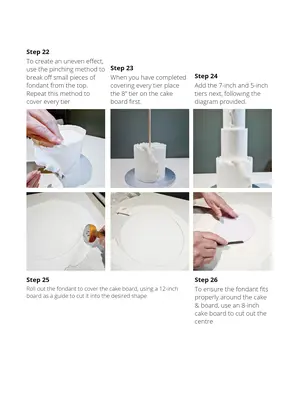
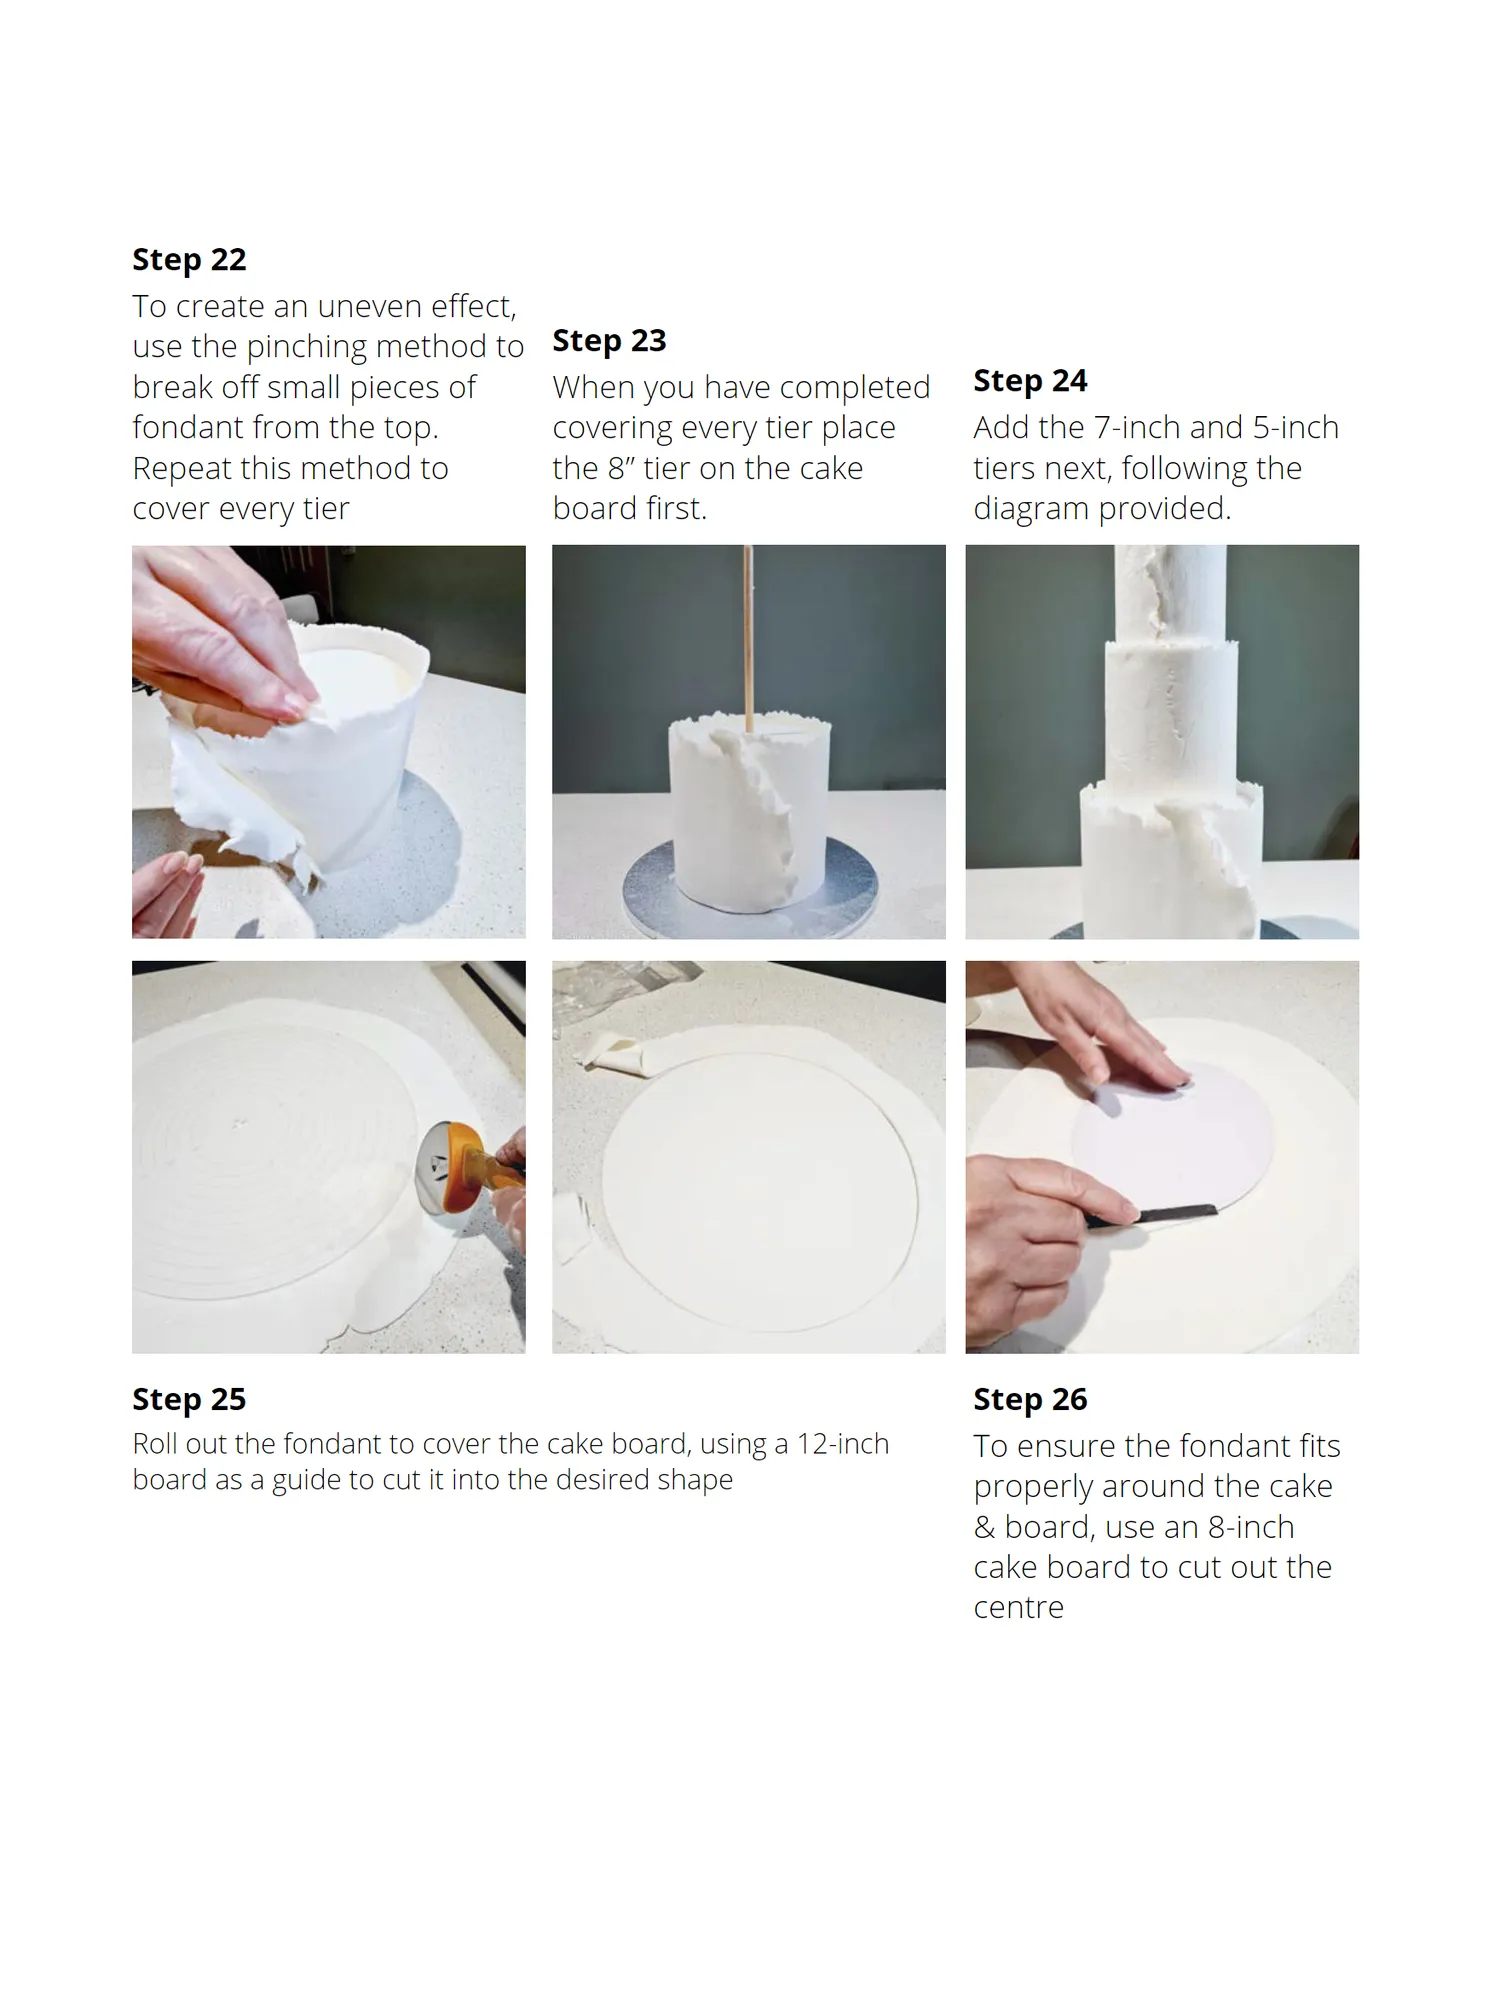
Step 22 To create an uneven effect, use the pinching method to Step 23 break off small pieces of When you have completed Step 24 fondant from the top. covering every tier place Add the 7-inch and 5-inch Repeat this method to the 8” tier on the cake tiers next, following the cover every tier board first. diagram provided. Step 25 Step 26 Roll out the fondant to cover the cake board, using a 12-inch To ensure the fondant fits board as a guide to cut it into the desired shape properly around the cake & board, use an 8-inch cake board to cut out the centre
Page 49 text
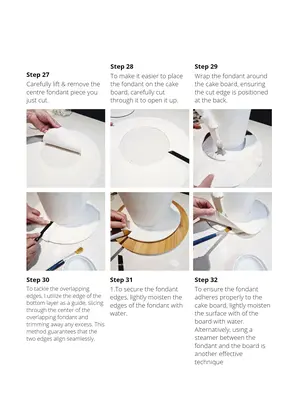
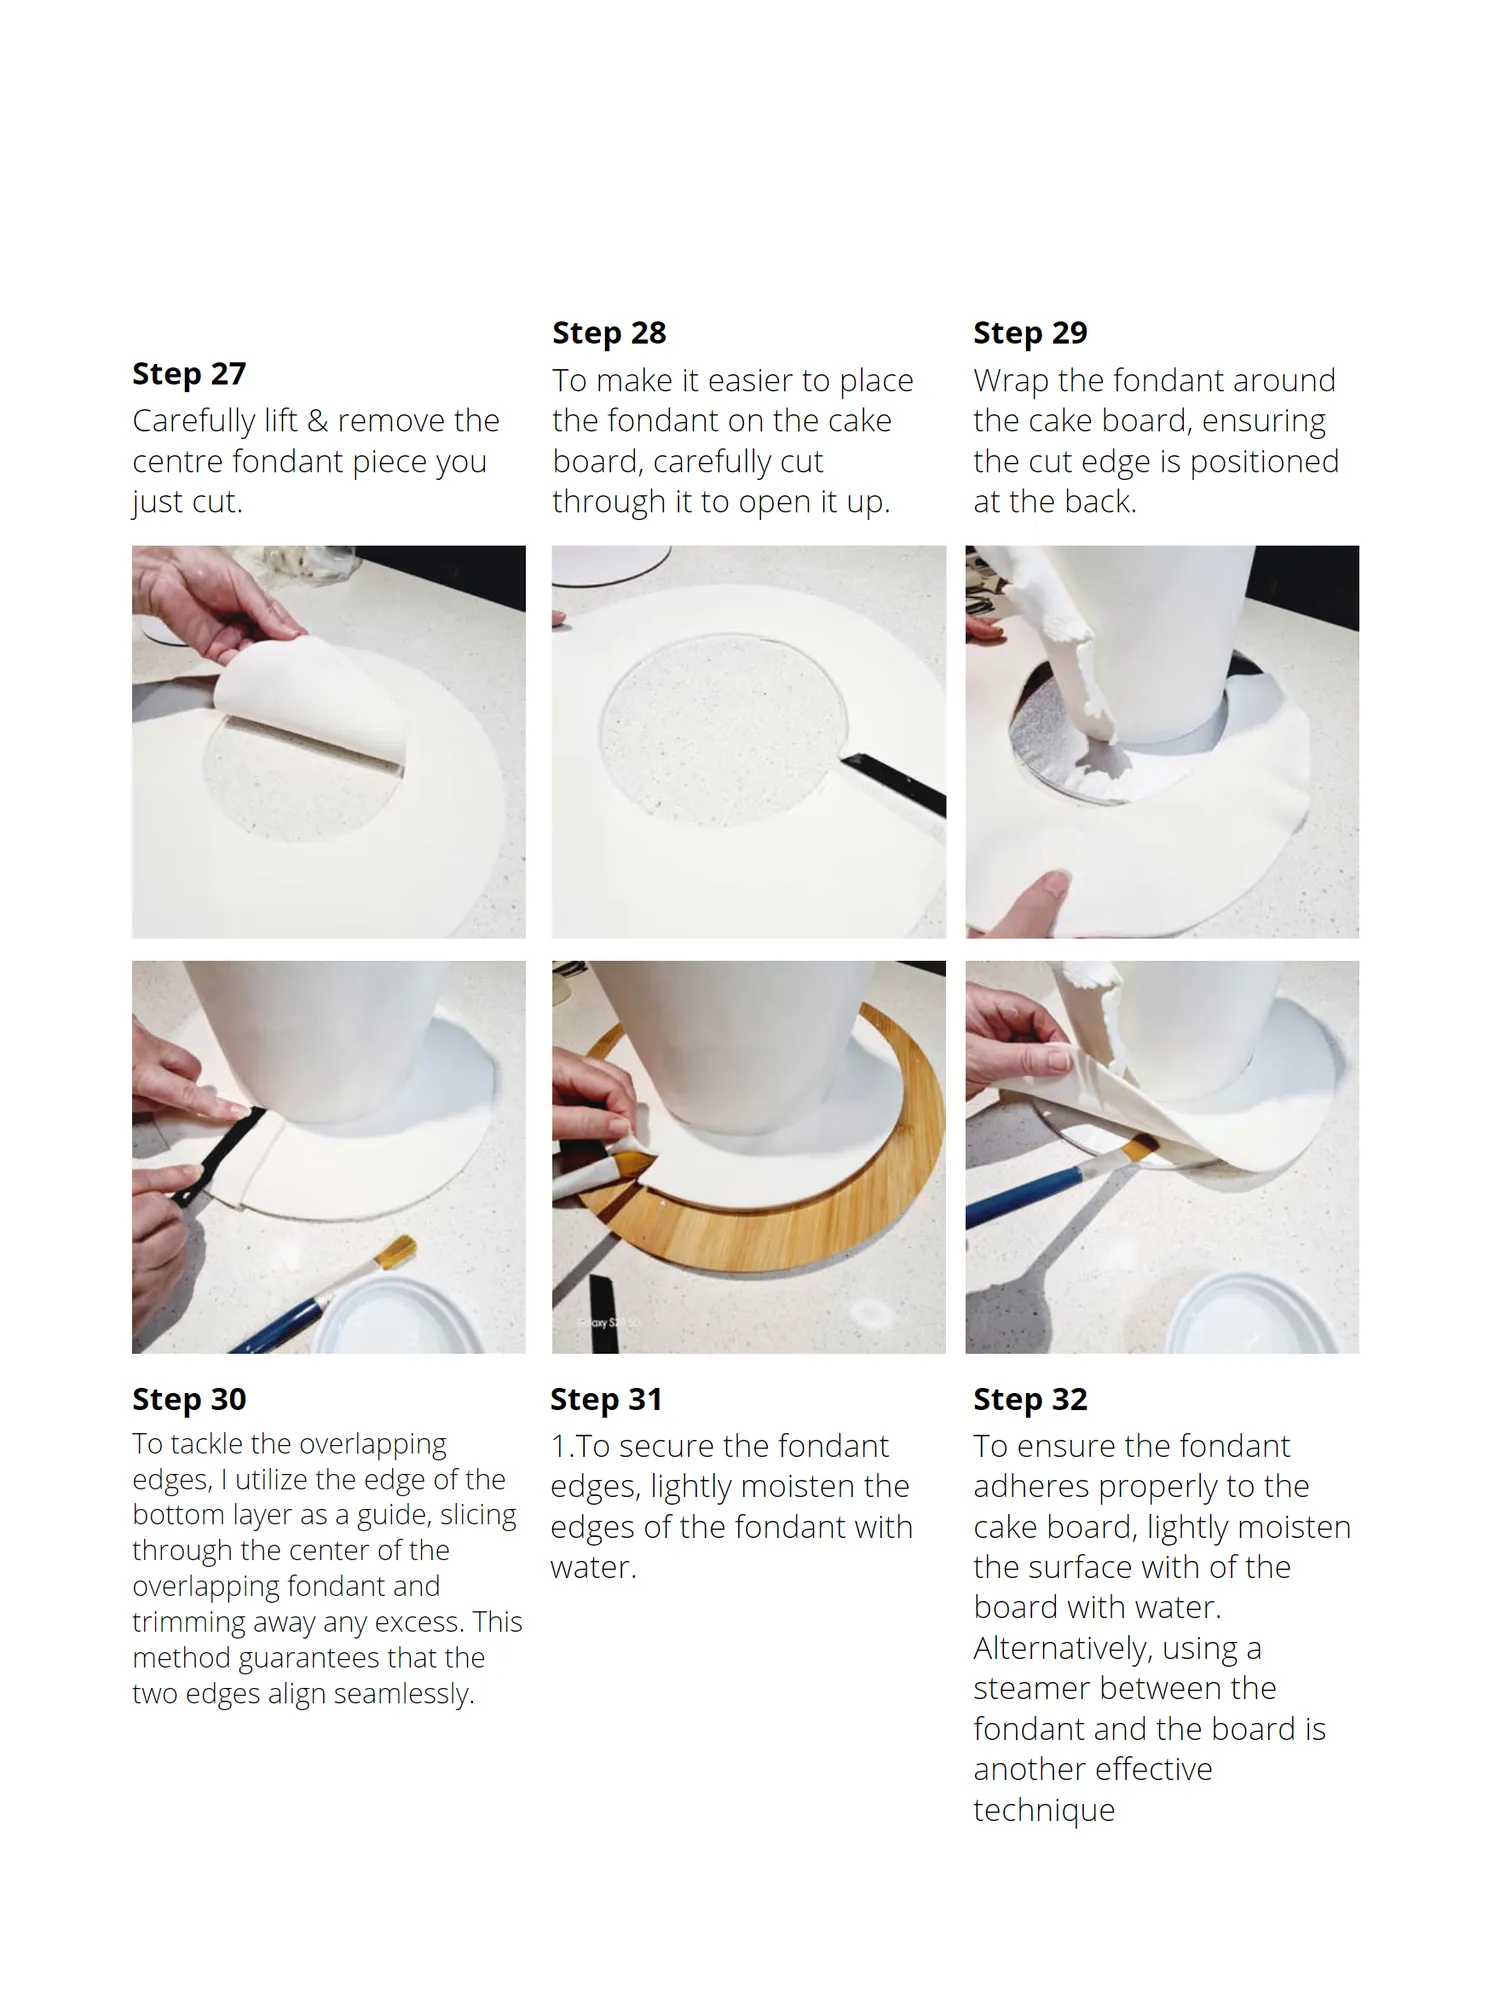
Step 28 Step 29 Step 27 To make it easier to place Wrap the fondant around Carefully lift & remove the the fondant on the cake the cake board, ensuring centre fondant piece you board, carefully cut the cut edge is positioned just cut. through it to open it up. at the back. Step 30 Step 31 Step 32 To tackle the overlapping 1.To secure the fondant To ensure the fondant edges, I utilize the edge of the edges, lightly moisten the adheres properly to the bottom layer as a guide, slicing edges of the fondant with cake board, lightly moisten through the center of the water. the surface with of the overlapping fondant and board with water. trimming away any excess. This method guarantees that the Alternatively, using a two edges align seamlessly. steamer between the fondant and the board is another effective technique
Page 50 text
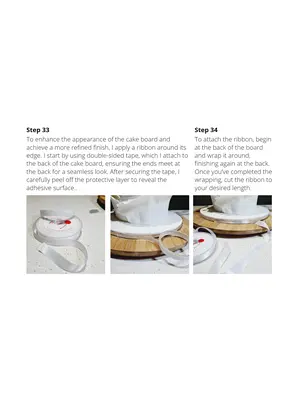
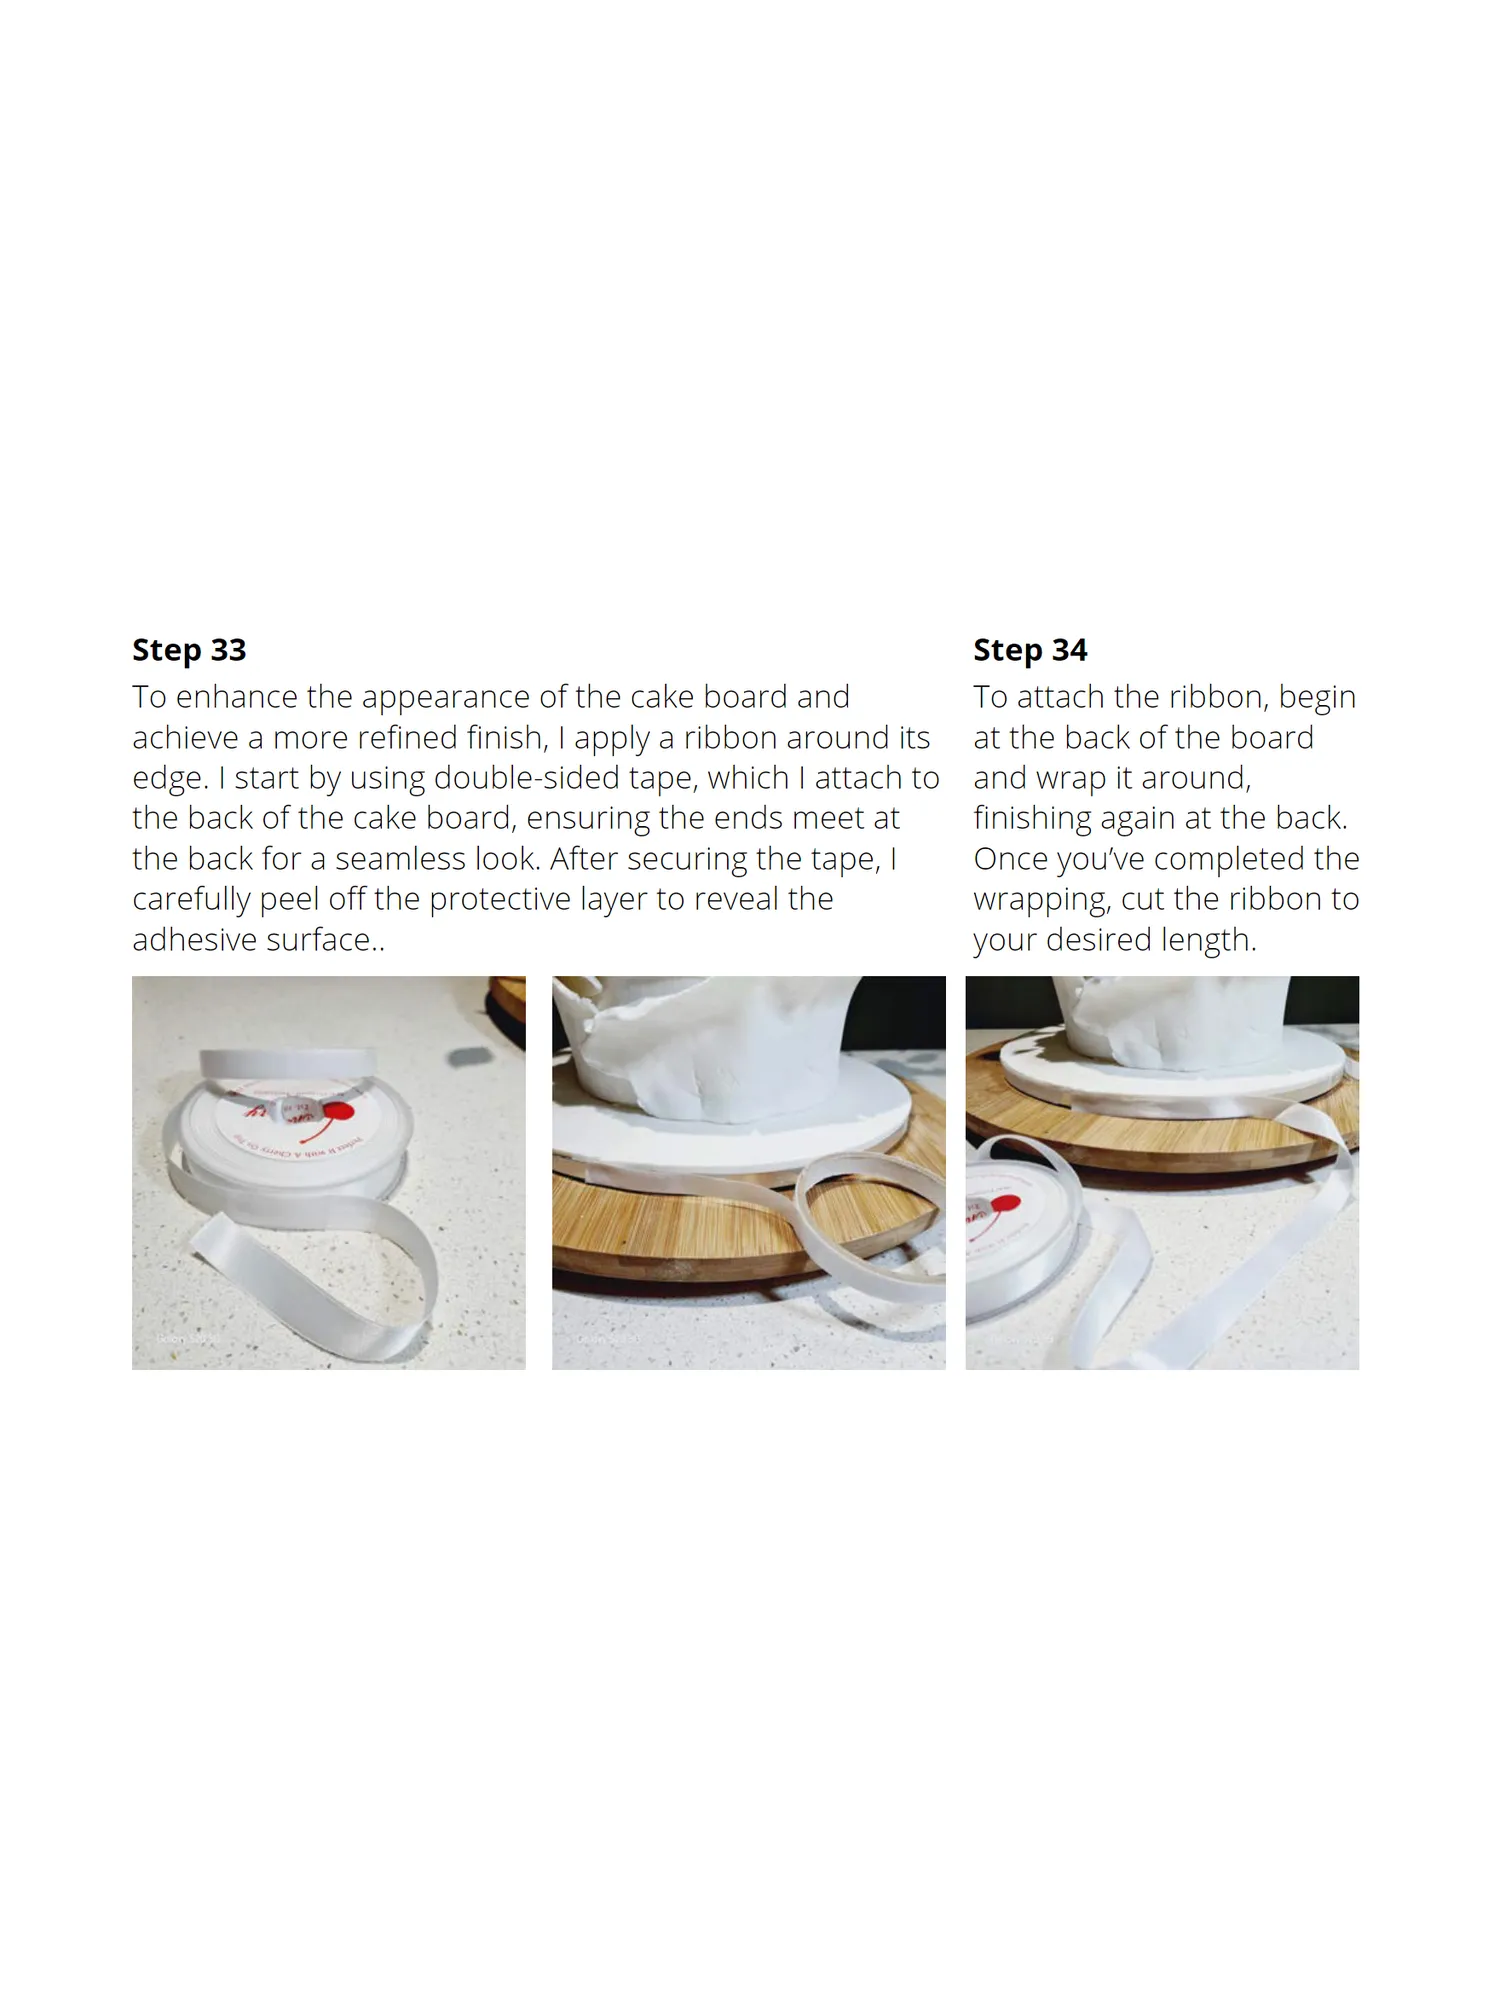
Step 33 Step 34 To enhance the appearance of the cake board and To attach the ribbon, begin achieve a more refined finish, I apply a ribbon around its at the back of the board edge. I start by using double-sided tape, which I attach to and wrap it around, the back of the cake board, ensuring the ends meet at finishing again at the back. the back for a seamless look. After securing the tape, I Once you’ve completed the carefully peel off the protective layer to reveal the wrapping, cut the ribbon to adhesive surface.. your desired length.
Page 51 text
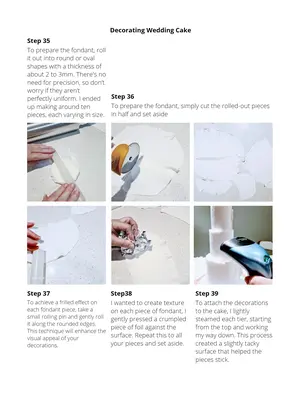
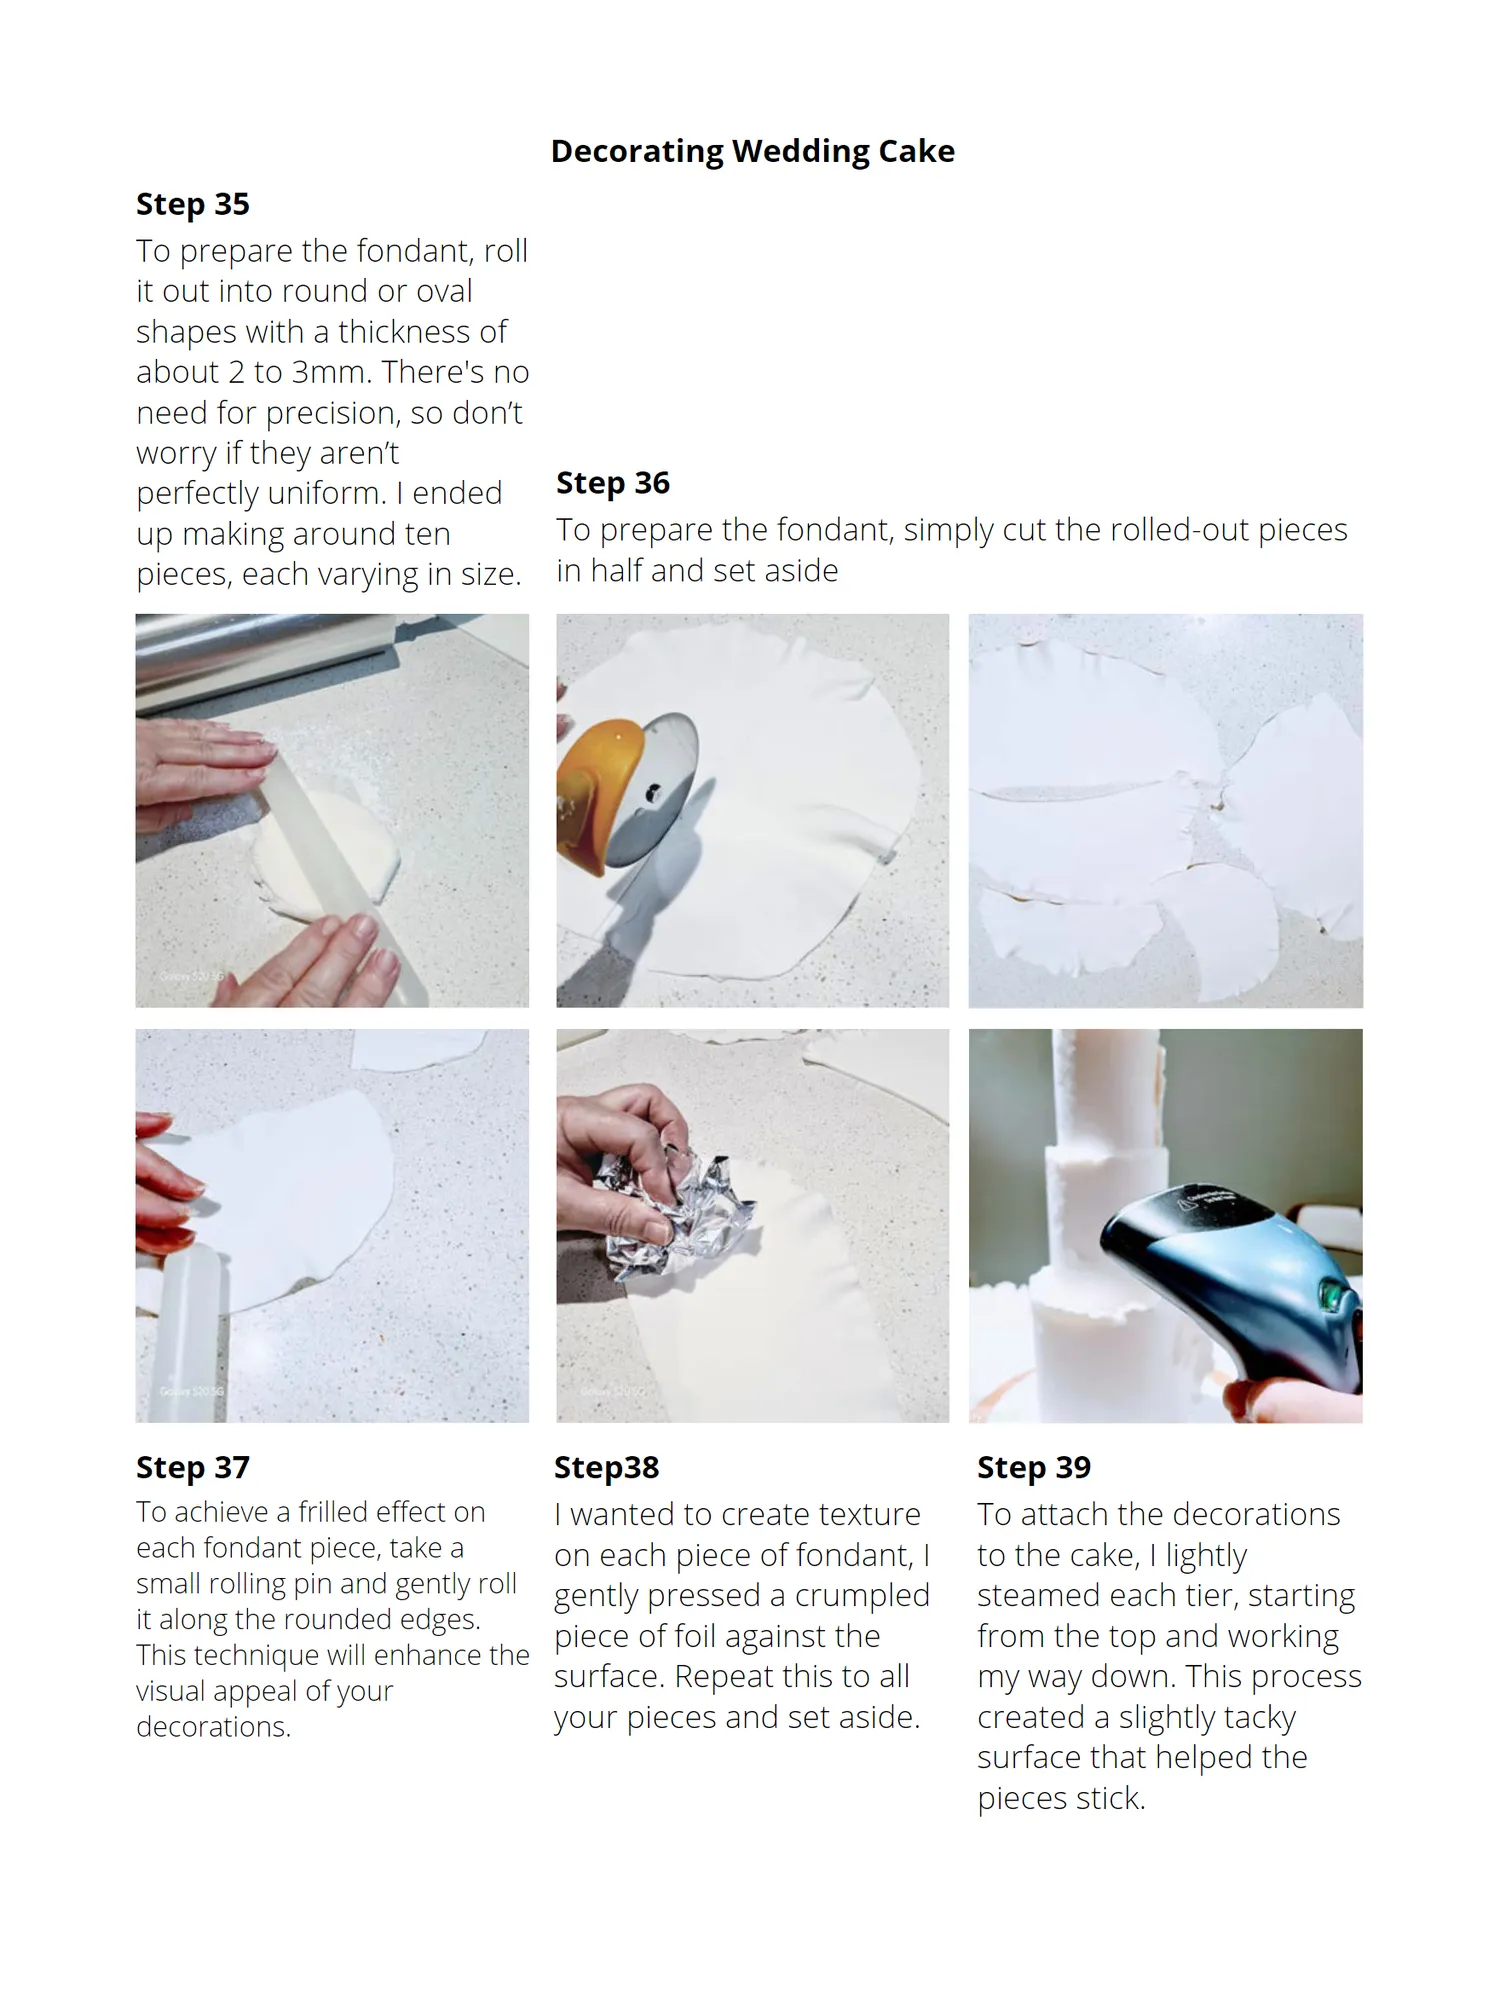
Decorating Wedding Cake Step 35 To prepare the fondant, roll it out into round or oval shapes with a thickness of about 2 to 3mm. There's no need for precision, so don’t worry if they aren’t perfectly uniform. I ended Step 36 up making around ten To prepare the fondant, simply cut the rolled-out pieces pieces, each varying in size. in half and set aside Step 37 Step38 Step 39 To achieve a frilled effect on I wanted to create texture To attach the decorations each fondant piece, take a on each piece of fondant, I to the cake, I lightly small rolling pin and gently roll gently pressed a crumpled steamed each tier, starting it along the rounded edges. piece of foil against the from the top and working This technique will enhance the surface. Repeat this to all my way down. This process visual appeal of your decorations. your pieces and set aside. created a slightly tacky surface that helped the pieces stick.
Page 52 text
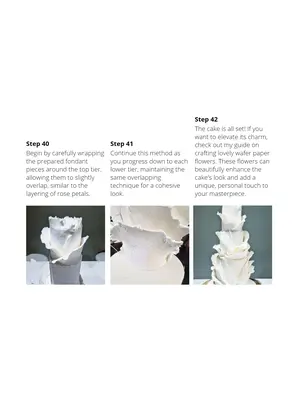
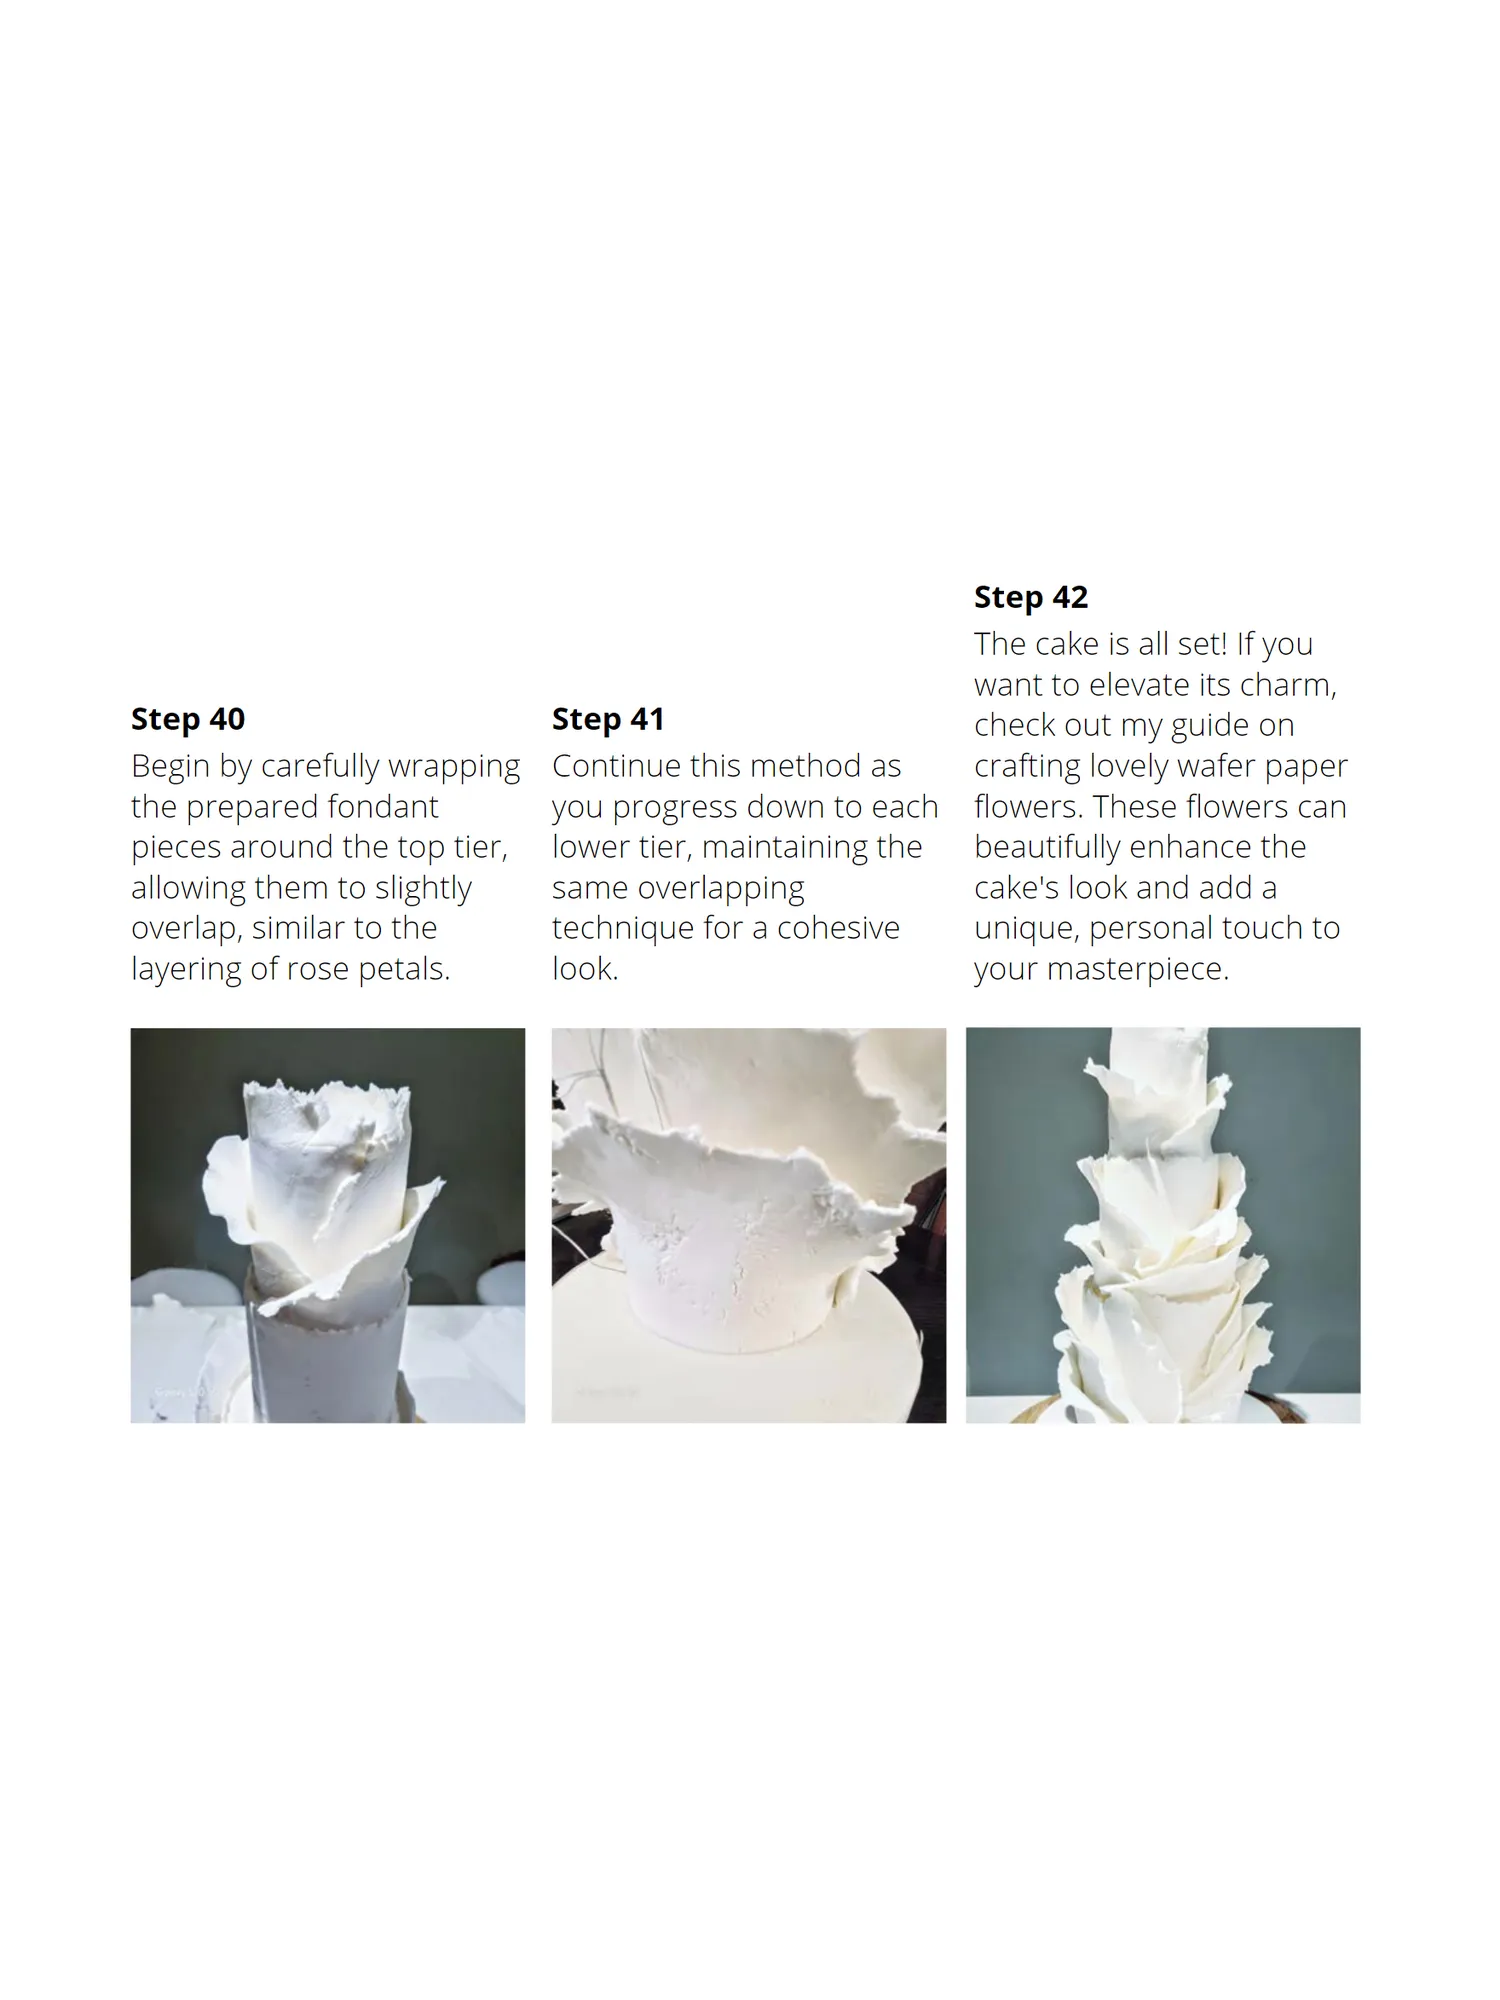
Step 40 Step 41 Begin by carefully wrapping the prepared fondant pieces around the top tier, allowing them to slightly overlap, similar to the layering of rose petals. Continue this method as you progress down to each lower tier, maintaining the same overlapping technique for a cohesive look. Step 42 The cake is all set! If you want to elevate its charm, check out my guide on crafting lovely wafer paper flowers. These flowers can beautifully enhance the cake ' s look and add a unique, personal touch to your masterpiece.
Page 54 text
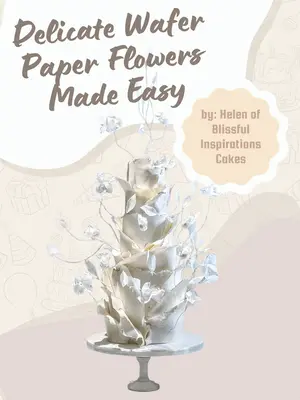
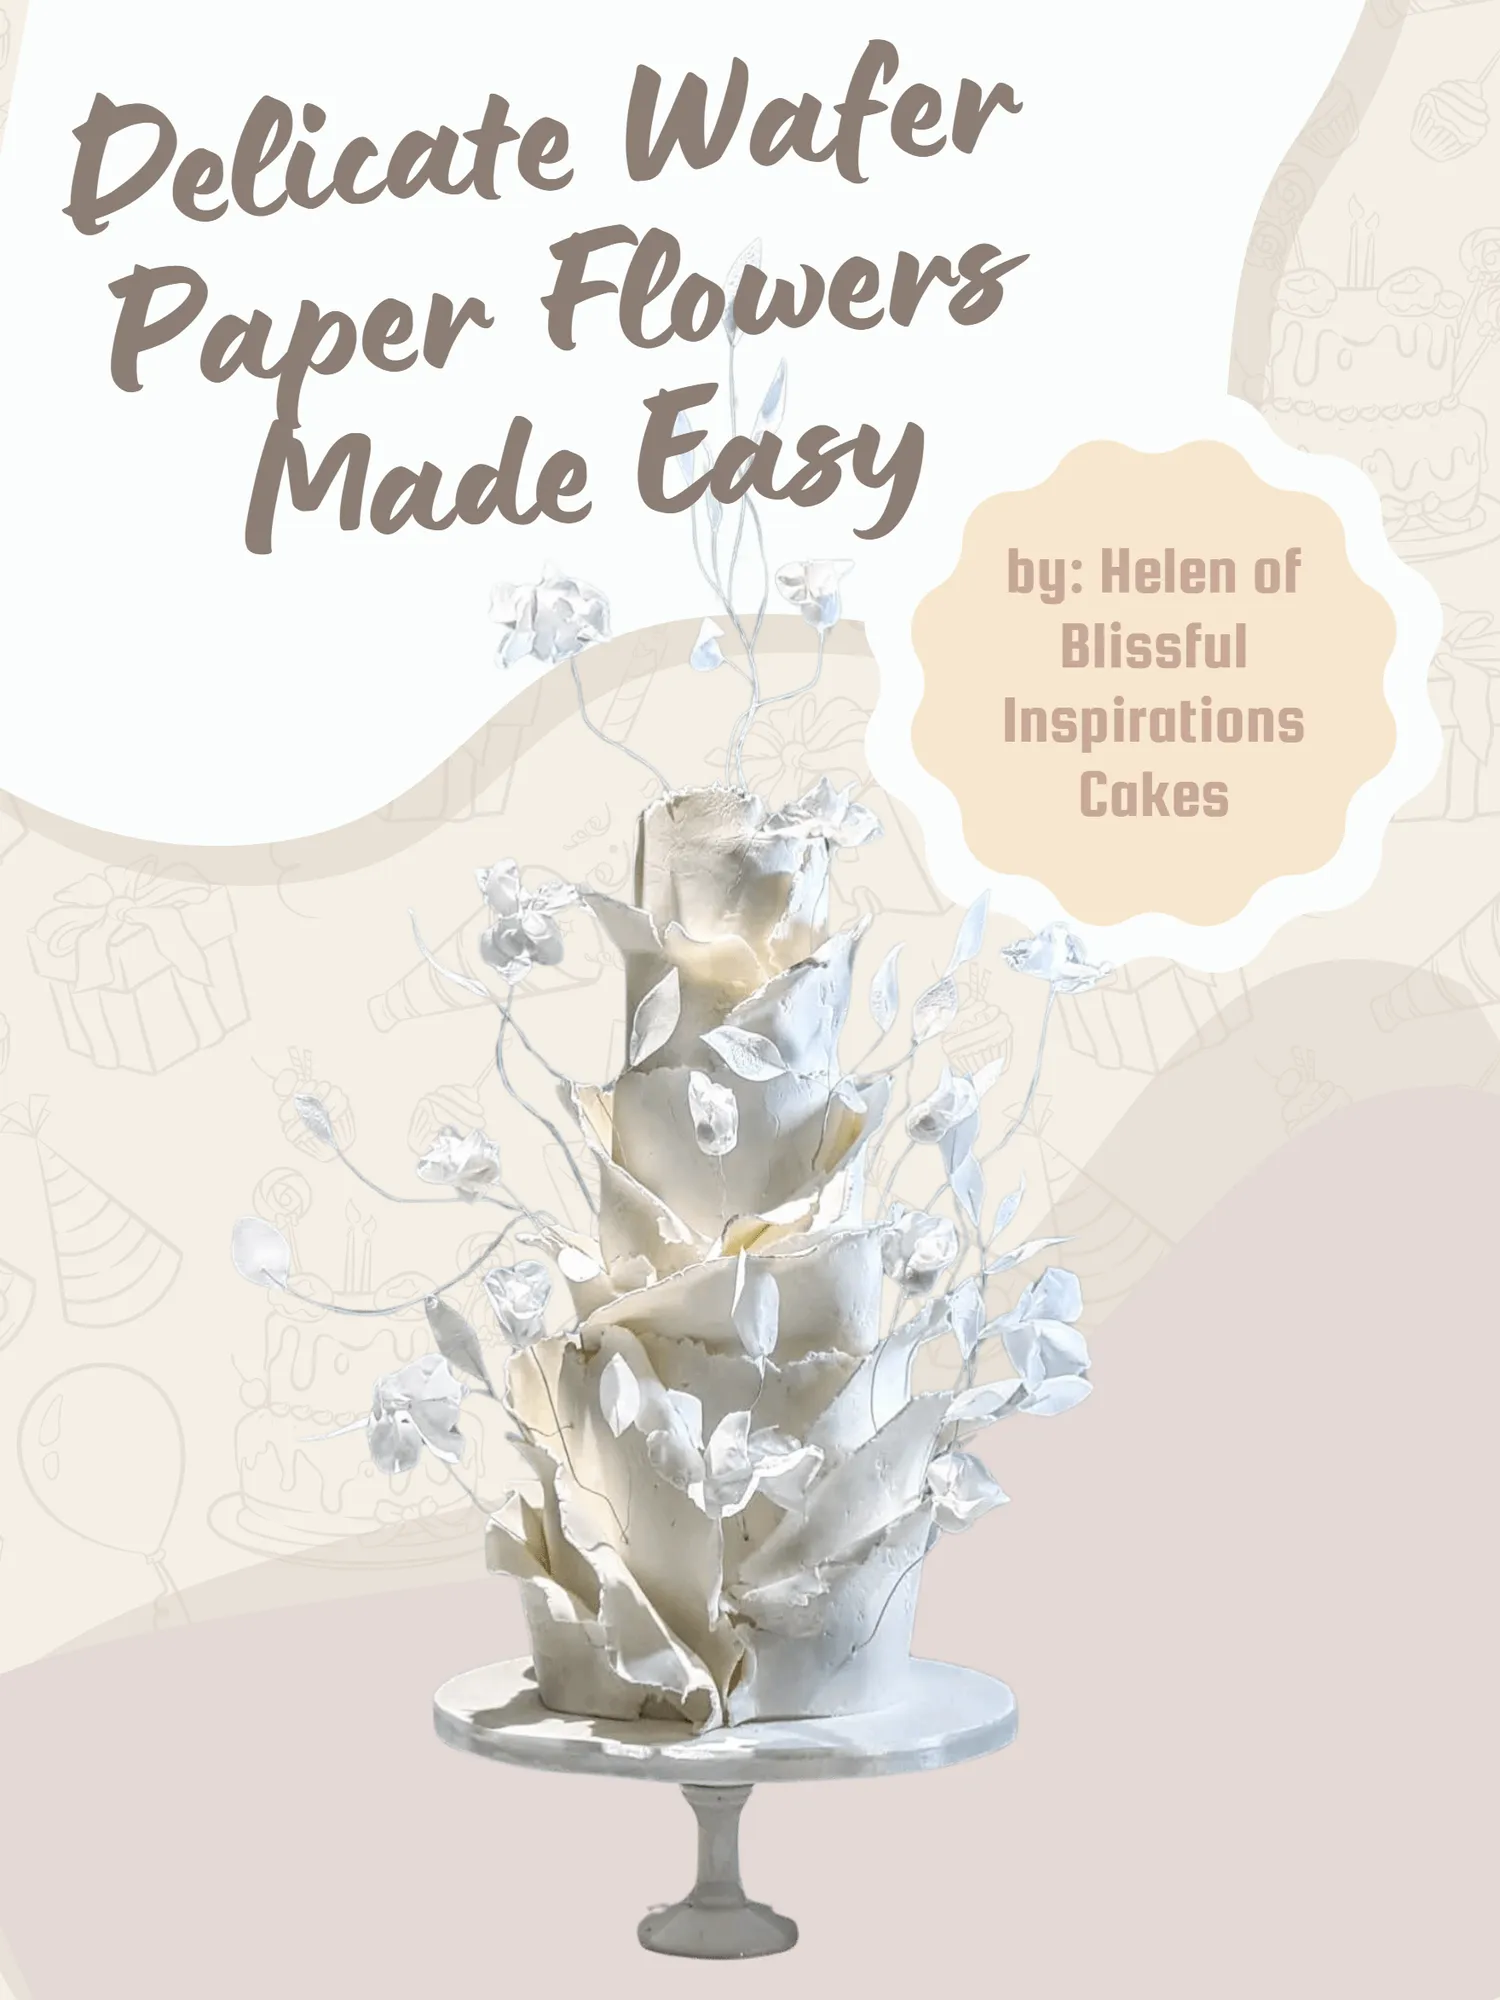
Delicate Wafer Paper Flowers Made Easy by: Helen of Blissful Inspirations Cakes
Page 55 text
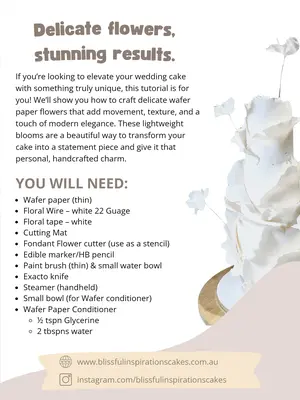
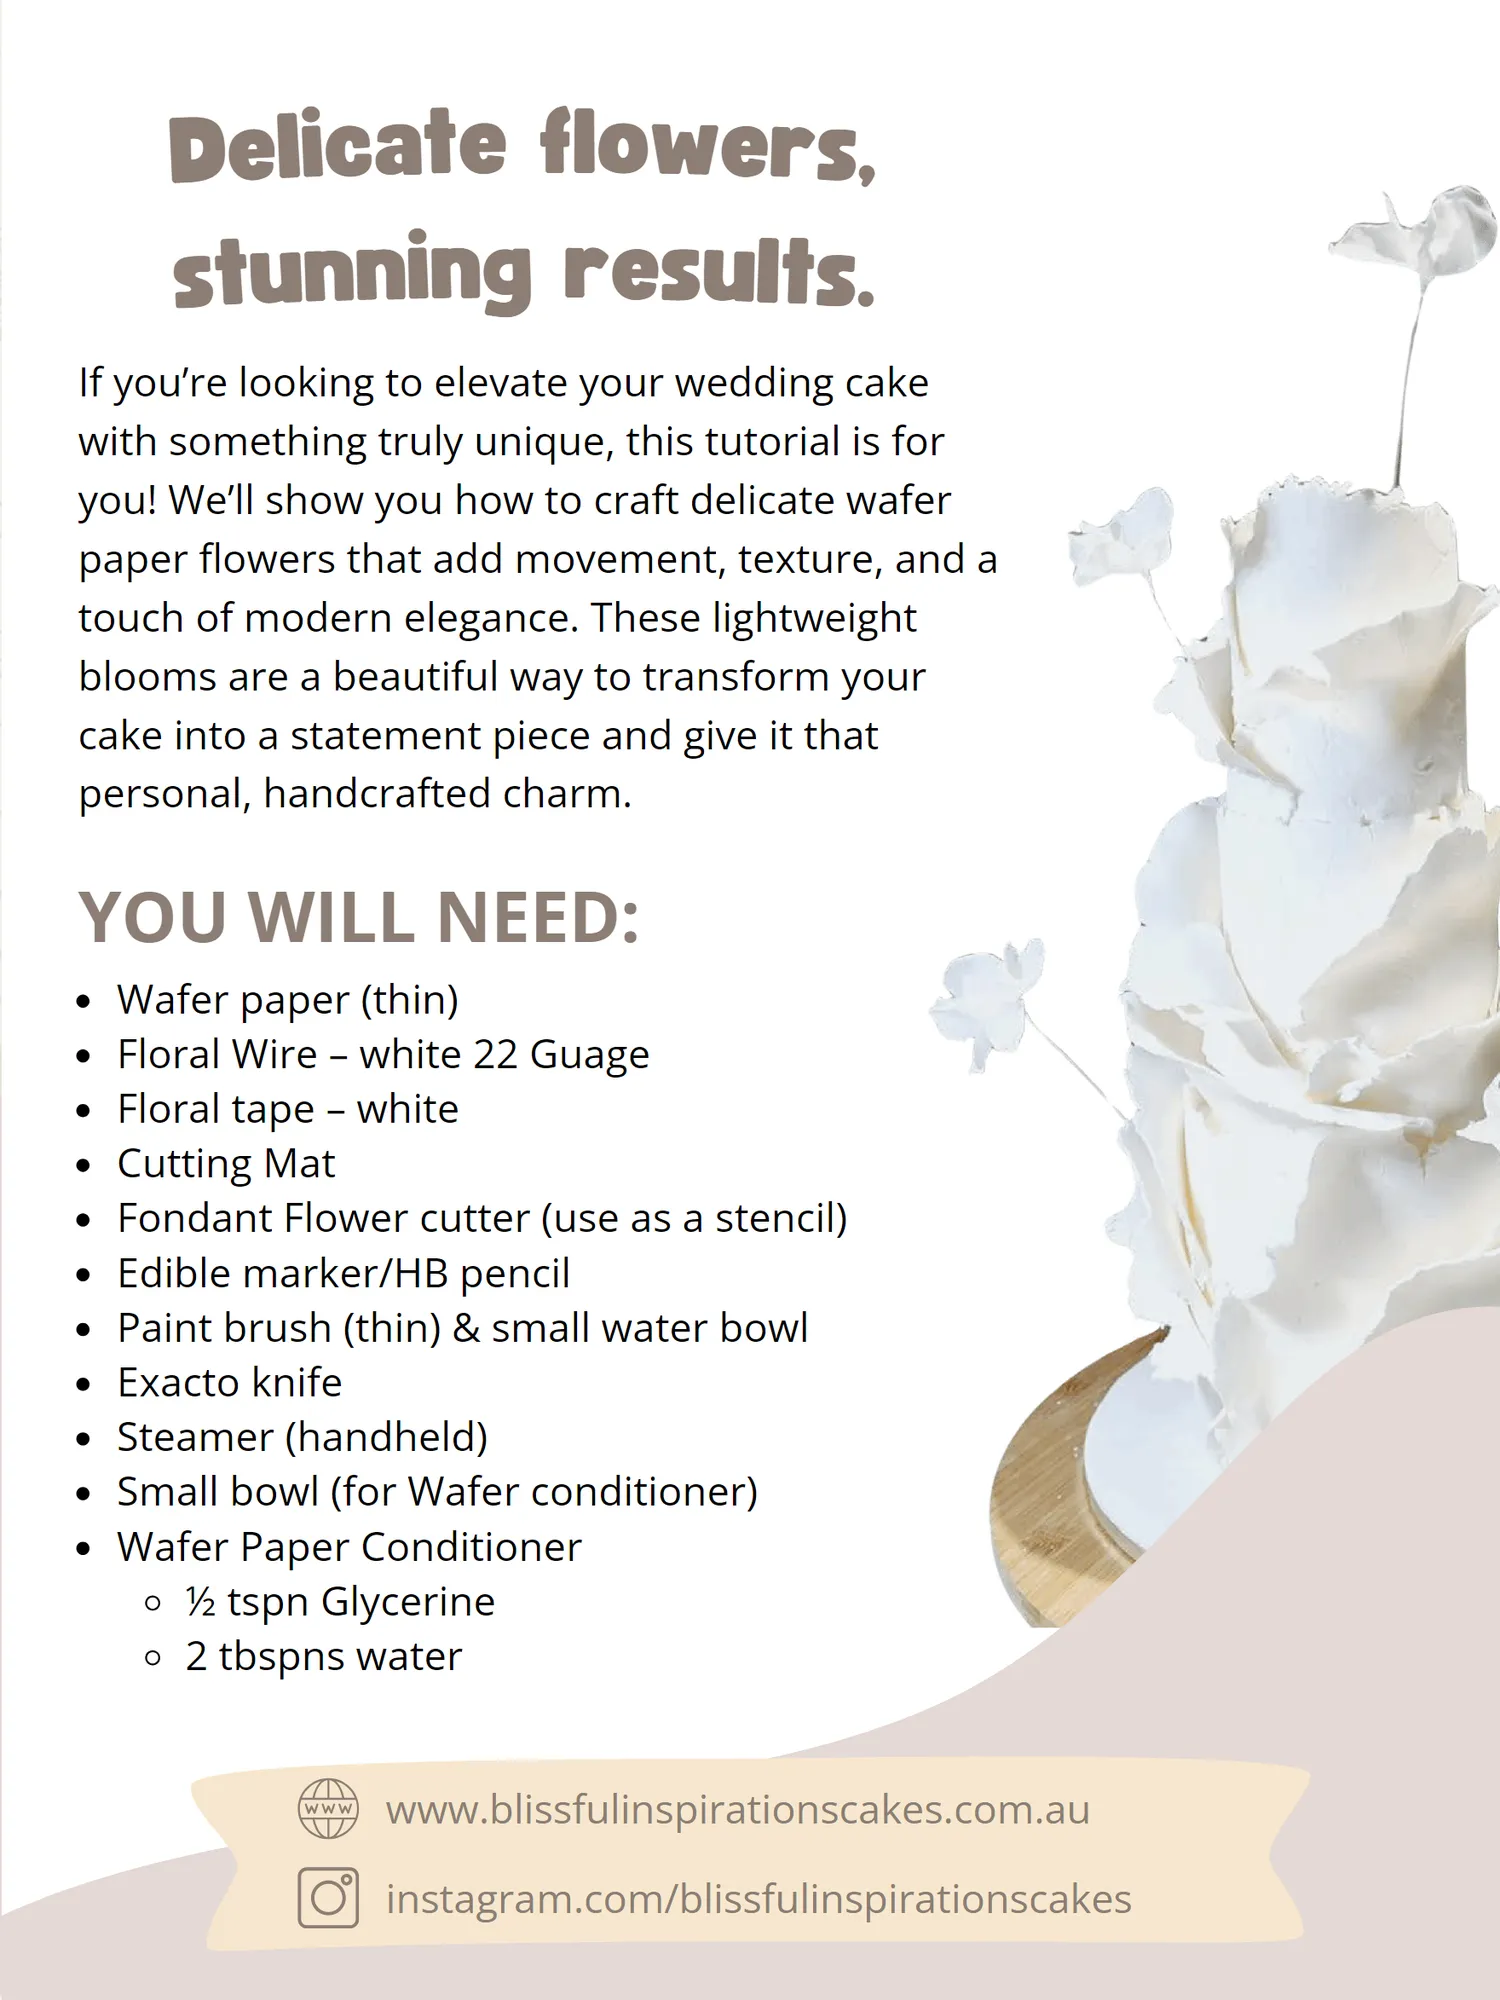
Delicate flowers, stunning results. If you’ re looking to elevate your wedding cake with something truly unique, this tutorial is for you! We’ ll show you how to craft delicate wafer paper flowers that add movement, texture, and a touch of modern elegance. These lightweight blooms are a beautiful way to transform your cake into a statement piece and give it that personal, handcrafted charm. YOU WILL NEED: Wafer paper( thin) Floral Wire – white 22 Guage Floral tape – white Cutting Mat Fondant Flower cutter( use as a stencil) Edible marker / HB pencil Paint brush( thin) & small water bowl Exacto knife Steamer( handheld) Small bowl( for Wafer conditioner) Wafer Paper Conditioner ½ tspn Glycerine 2 tbspns water www. blissfulinspirationscakes. com. au instagram. com / blissfulinspirationscakes
Page 56 text
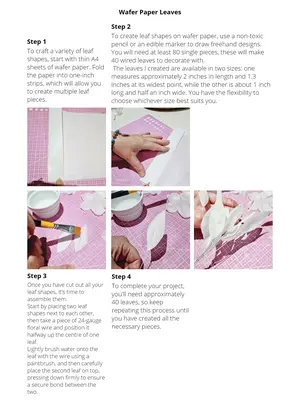
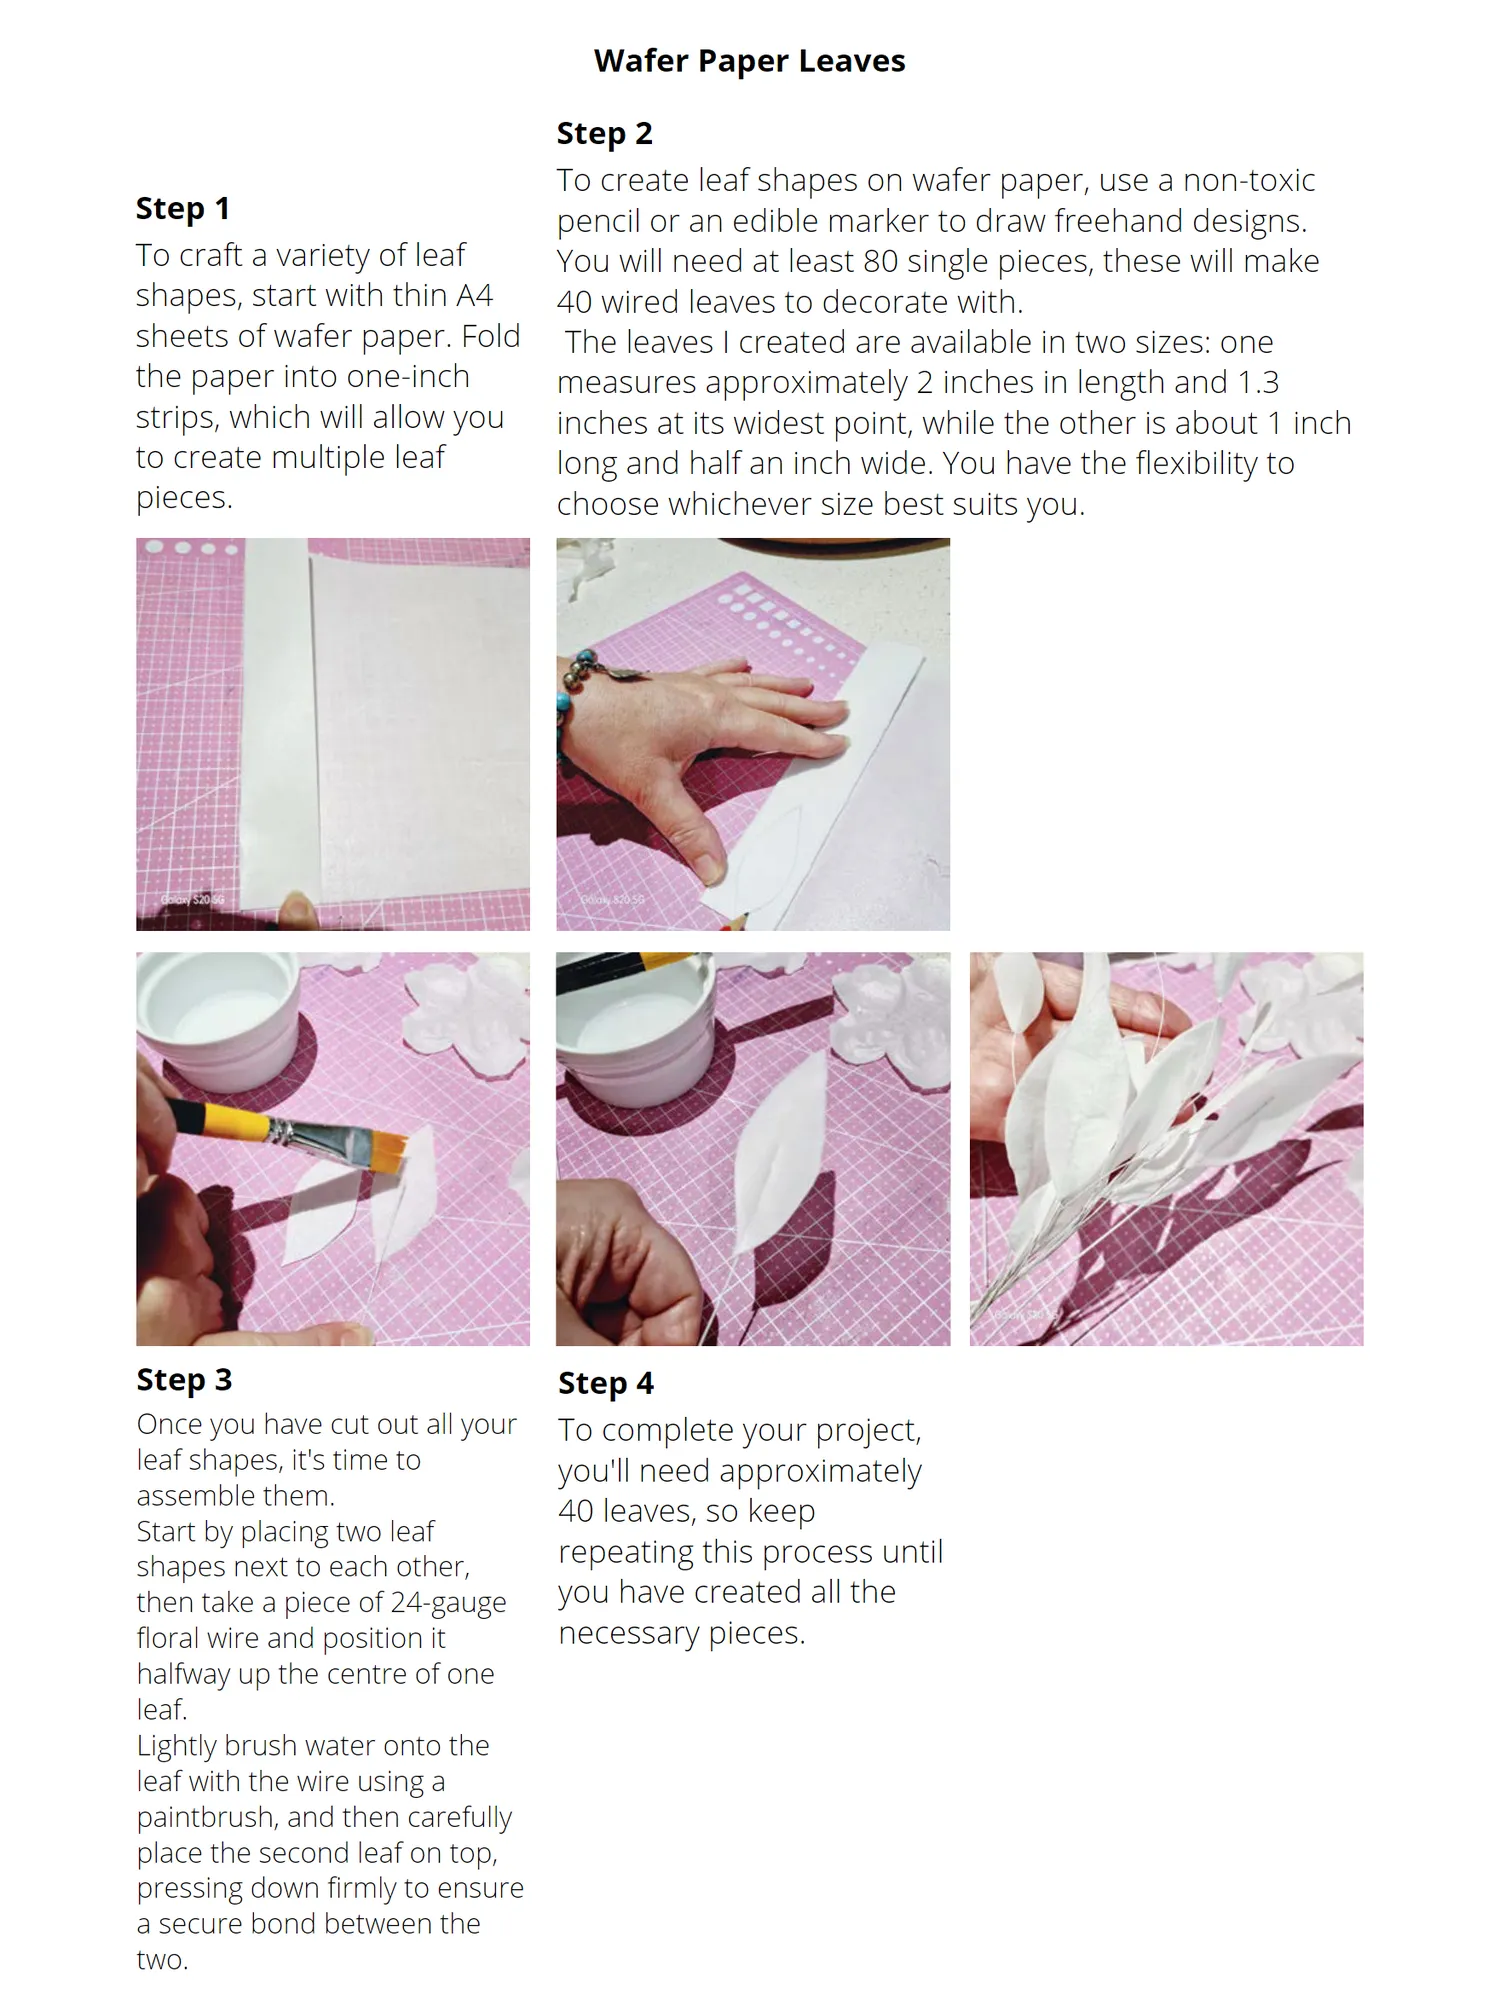
Wafer Paper Leaves Step 2 To create leaf shapes on wafer paper, use a non-toxic Step 1 pencil or an edible marker to draw freehand designs. To craft a variety of leaf You will need at least 80 single pieces, these will make shapes, start with thin A4 40 wired leaves to decorate with. sheets of wafer paper. Fold The leaves I created are available in two sizes: one the paper into one-inch measures approximately 2 inches in length and 1.3 strips, which will allow you inches at its widest point, while the other is about 1 inch to create multiple leaf long and half an inch wide. You have the flexibility to pieces. choose whichever size best suits you. Step 3 Step 4 Once you have cut out all your To complete your project, leaf shapes, it's time to you'll need approximately assemble them. 40 leaves, so keep Start by placing two leaf repeating this process until shapes next to each other, then take a piece of 24-gauge you have created all the floral wire and position it necessary pieces. halfway up the centre of one leaf. Lightly brush water onto the leaf with the wire using a paintbrush, and then carefully place the second leaf on top, pressing down firmly to ensure a secure bond between the two.
Page 57 text
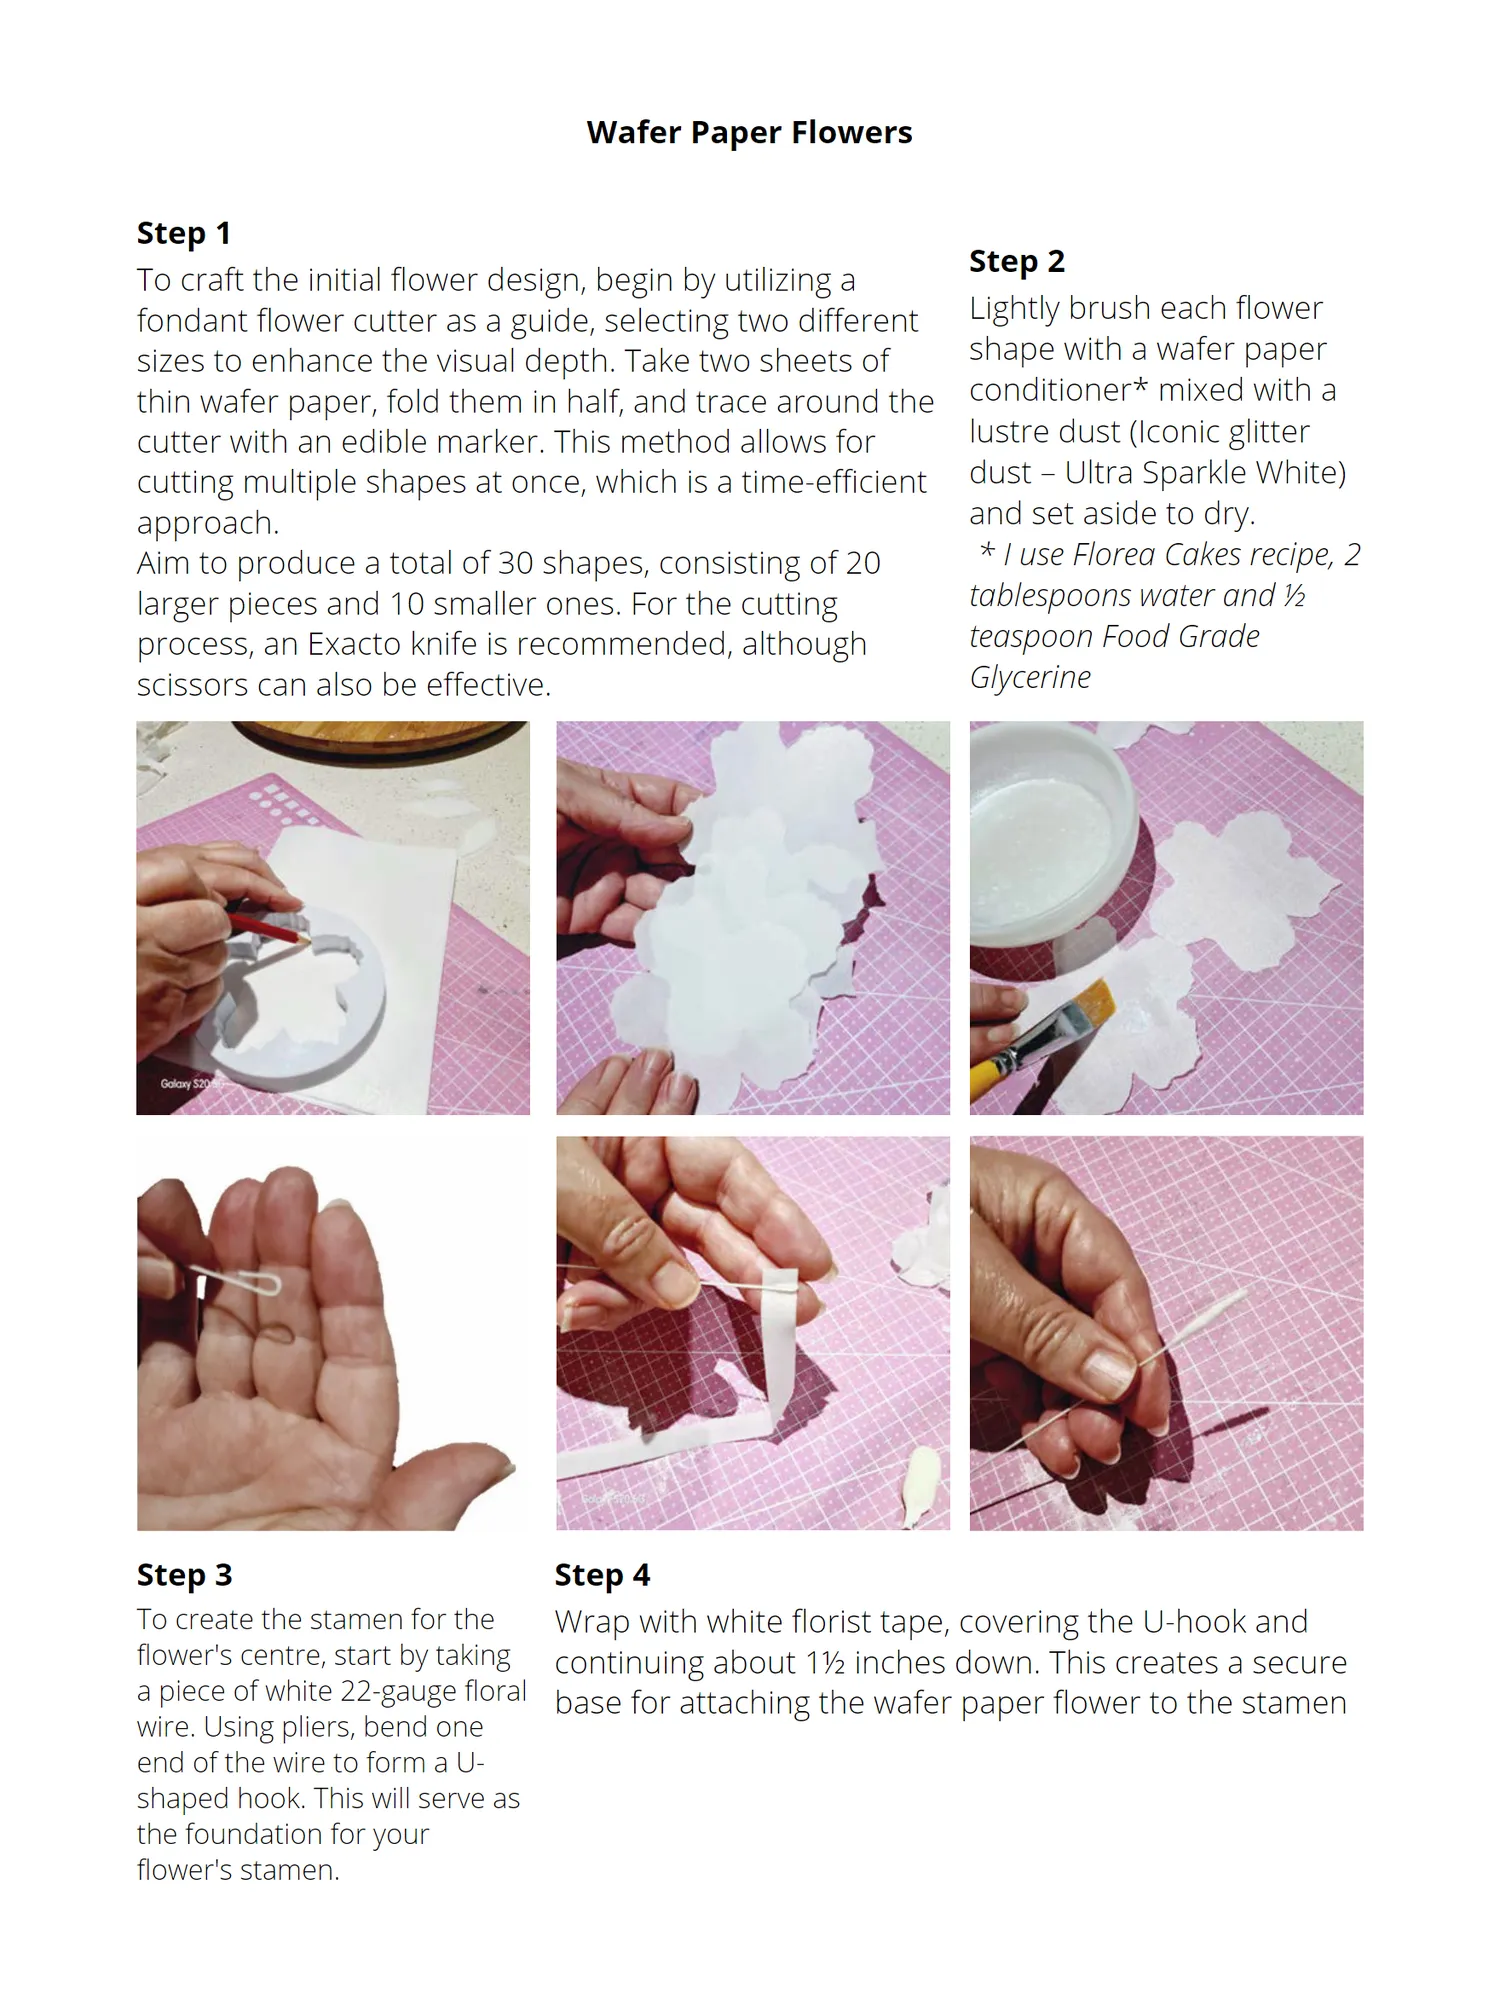
Wafer Paper Flowers Step 1 Step 2 To craft the initial flower design, begin by utilizing a fondant flower cutter as a guide, selecting two different Lightly brush each flower sizes to enhance the visual depth. Take two sheets of shape with a wafer paper thin wafer paper, fold them in half, and trace around the conditioner* mixed with a cutter with an edible marker. This method allows for lustre dust (Iconic glitter cutting multiple shapes at once, which is a time-efficient dust – Ultra Sparkle White) approach. and set aside to dry. Aim to produce a total of 30 shapes, consisting of 20 * I use Florea Cakes recipe, 2 larger pieces and 10 smaller ones. For the cutting tablespoons water and ½ process, an Exacto knife is recommended, although teaspoon Food Grade scissors can also be effective. Glycerine Step 3 Step 4 To create the stamen for the Wrap with white florist tape, covering the U-hook and flower's centre, start by taking continuing about 1½ inches down. This creates a secure a piece of white 22-gauge floral base for attaching the wafer paper flower to the stamen wire. Using pliers, bend one end of the wire to form a U- shaped hook. This will serve as the foundation for your flower's stamen.
Page 58 text
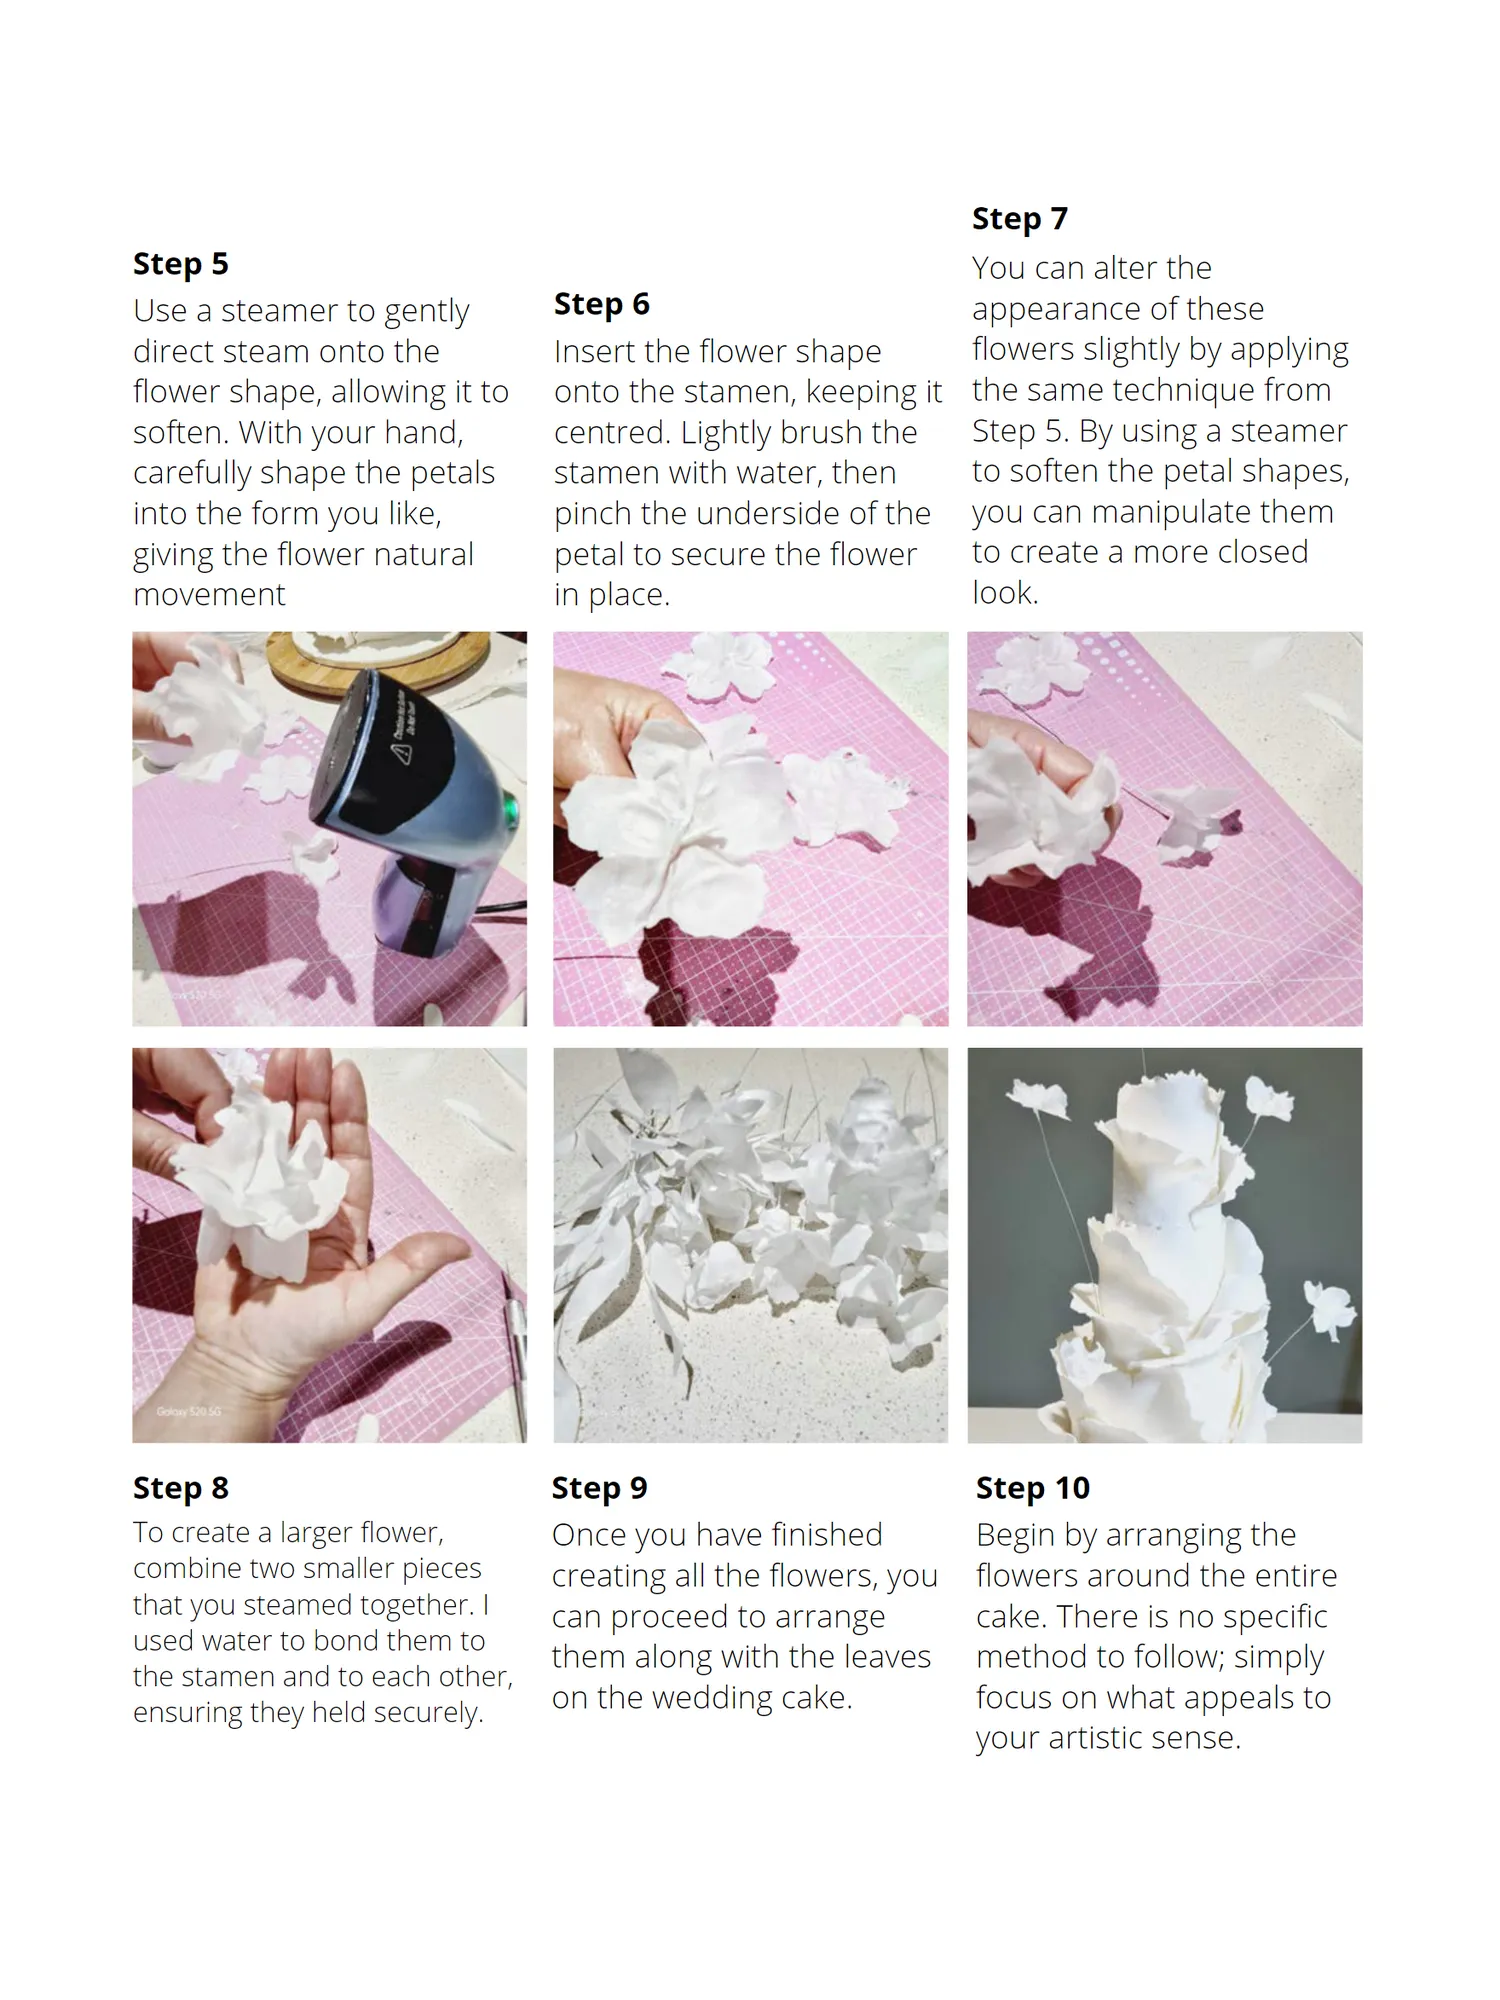
Step 5 Use a steamer to gently direct steam onto the flower shape, allowing it to soften. With your hand, carefully shape the petals into the form you like, giving the flower natural movement
Page 60 text
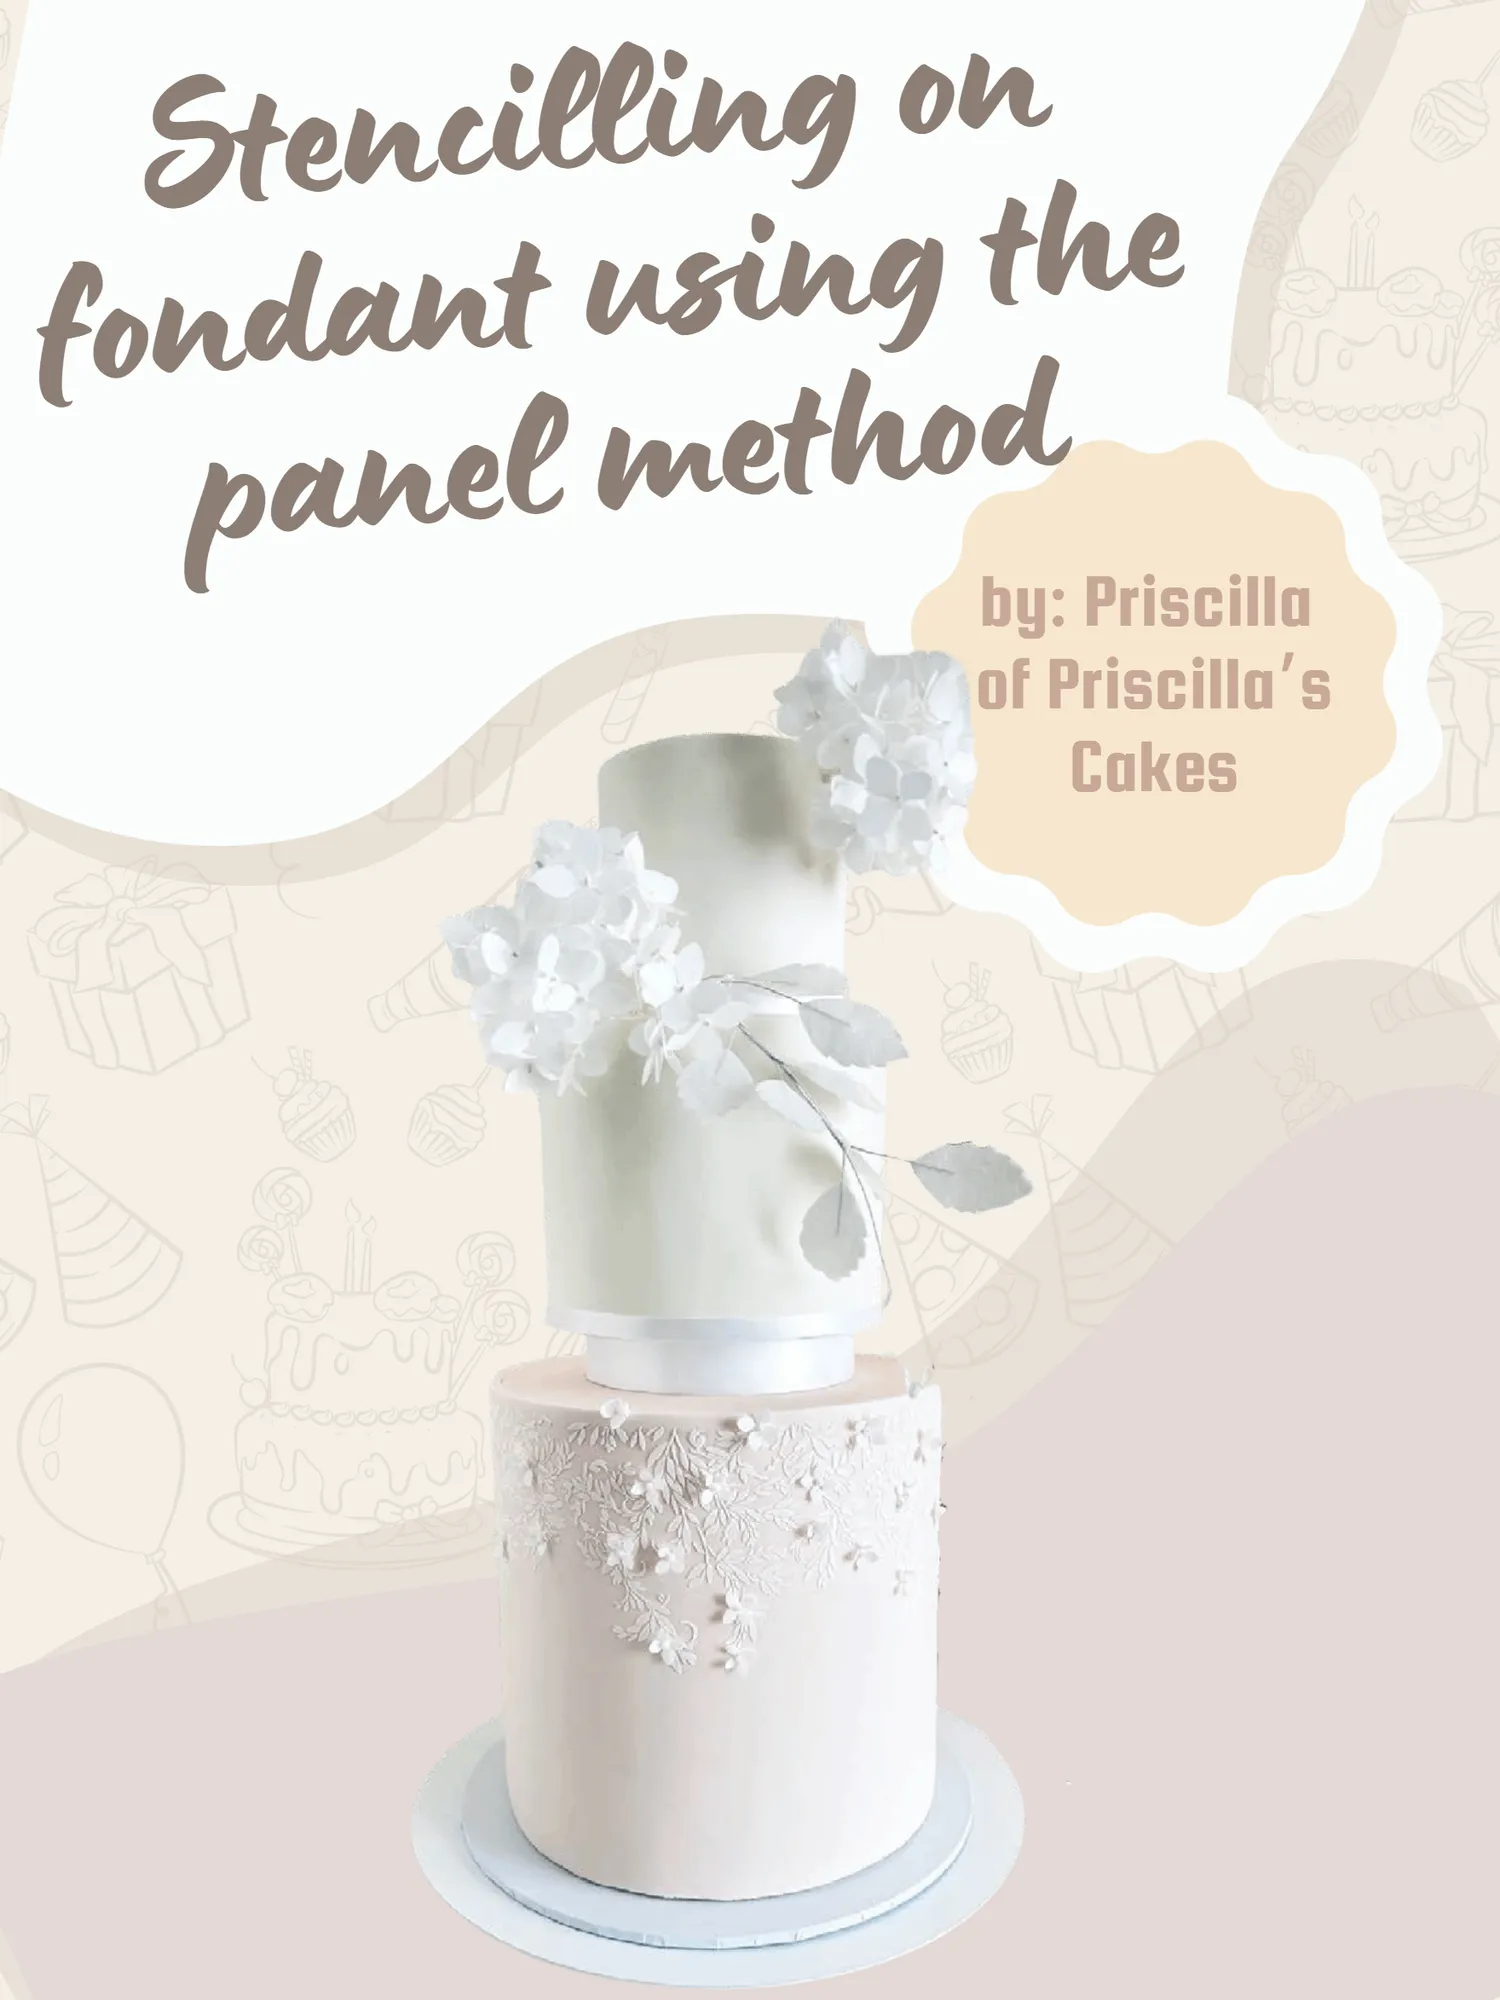
Stencilling on fondant using the panel method by: Priscilla of Priscilla’ s Cakes
Page 61 text
Create elegant textures with ease In this tutorial, you’ ll discover how to stencil royal icing onto fondant using the panel method for a flawless finish. From prepping your fondant to applying and wrapping your stencilled design, we’ ll guide you step by step. It’ s the perfect way to add delicate patterns and elevate your cakes with elegant detail. YOU WILL NEED: Fondant CMC Royal Icing Premix Mixing bowl Water Spatula Scraper Stencil of your choice- here I’ ve used Roial Cascade by Cakes By Angela Morrison www. priscillascakes. com. au instagram. com / priscillascakesmelbourne
Page 62 text
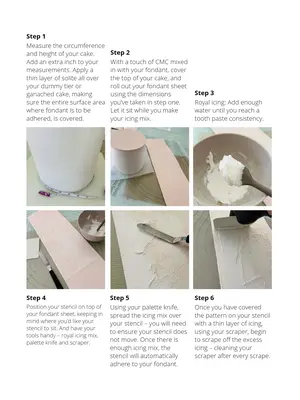
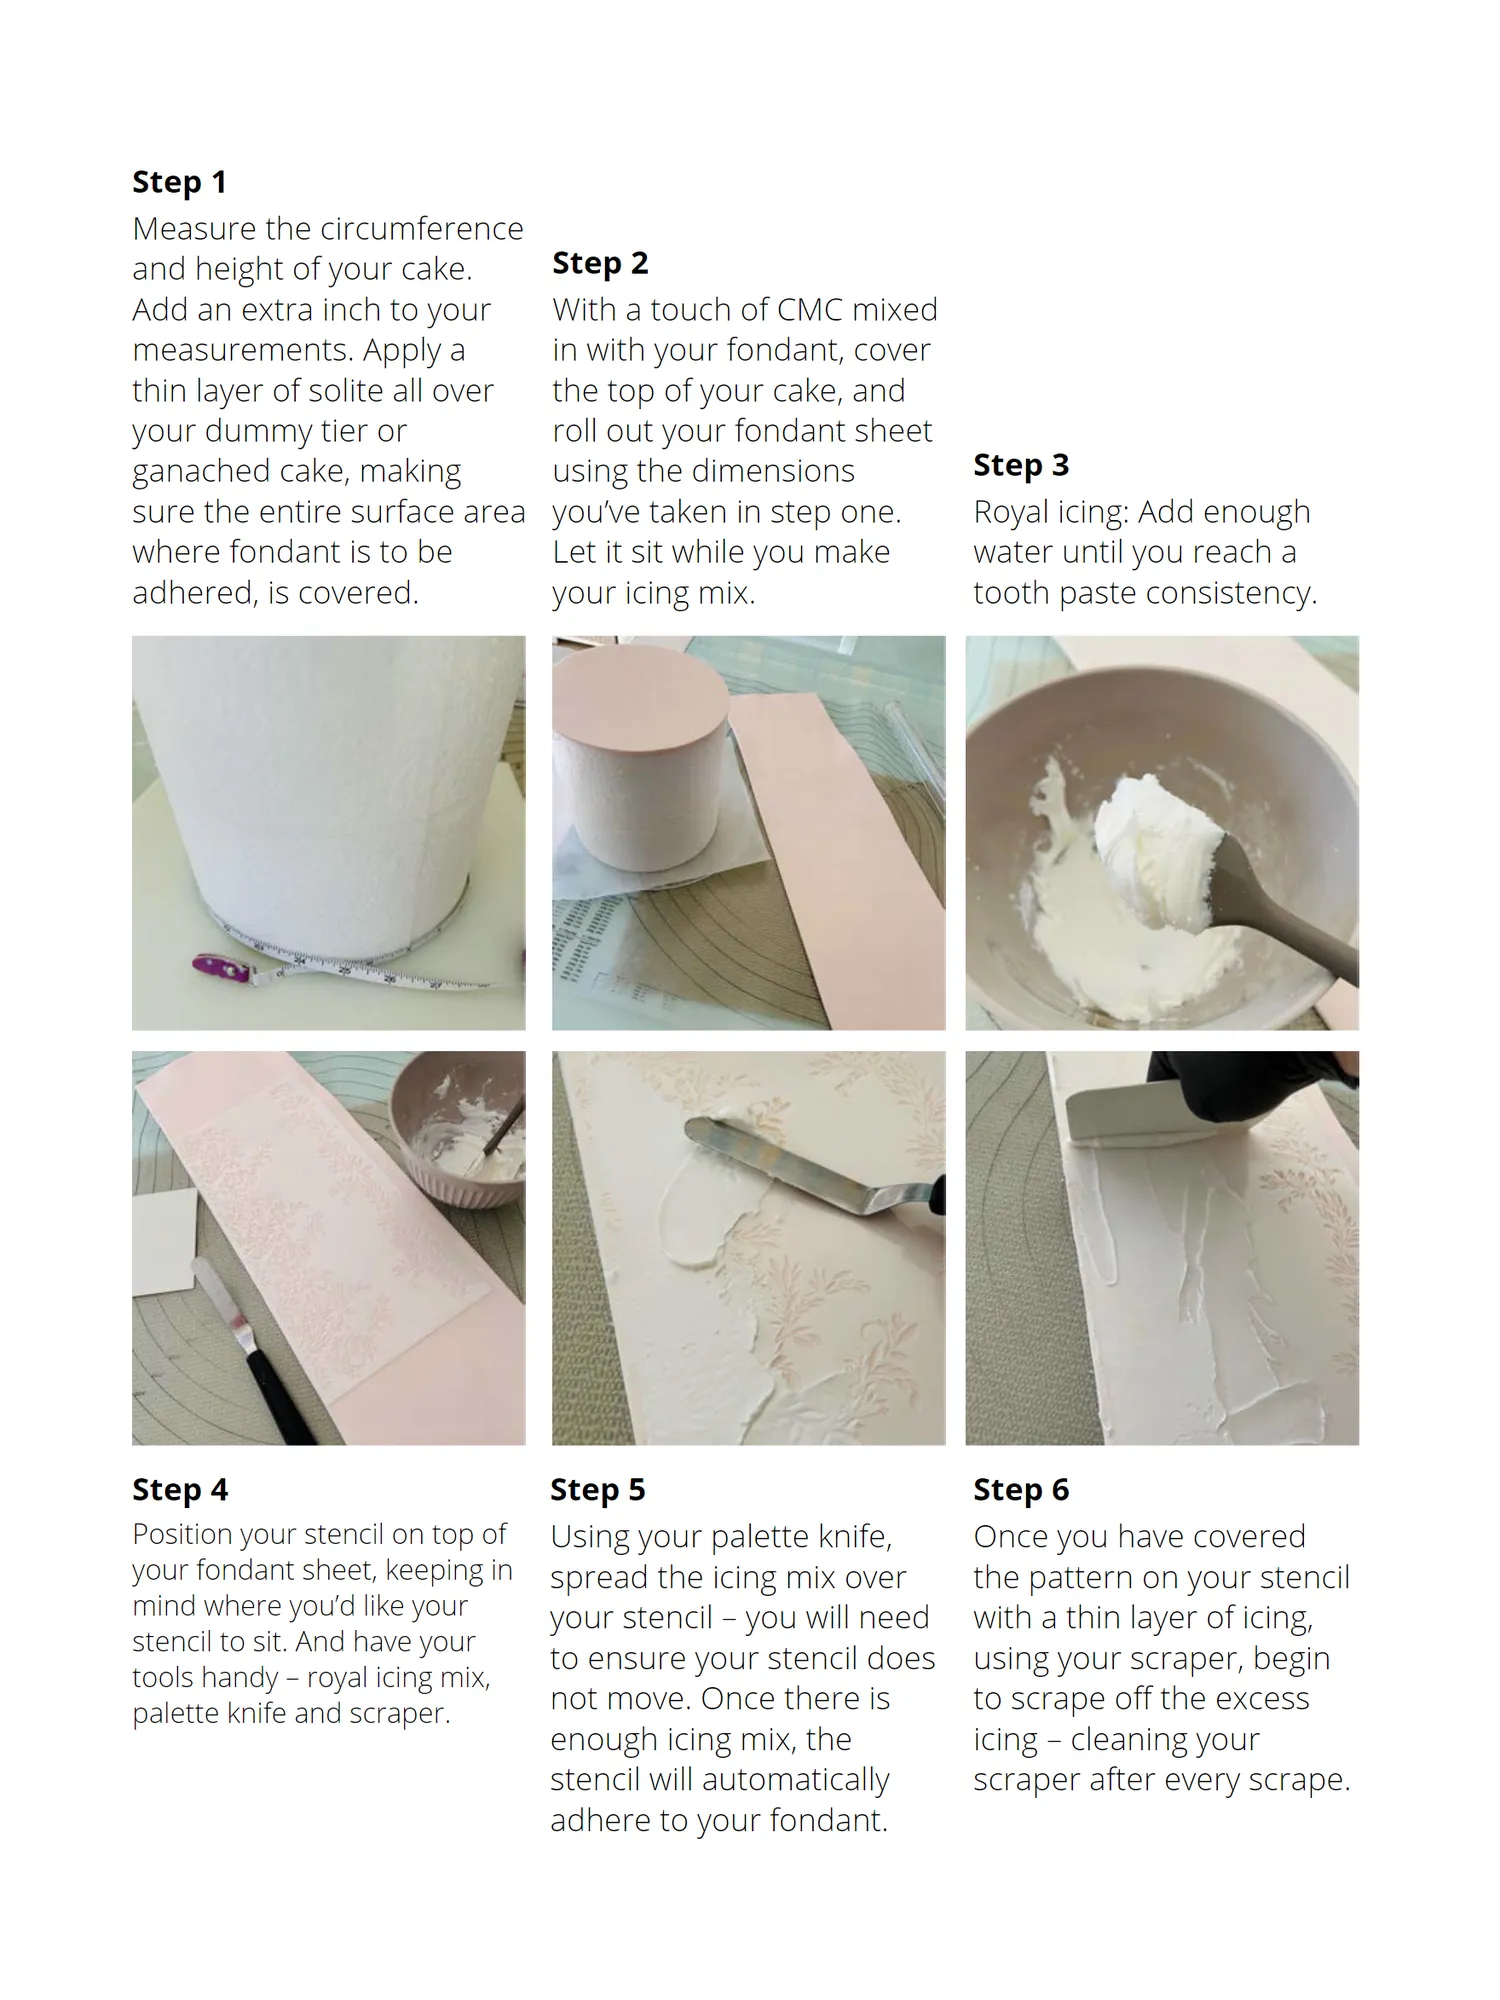
Step 1 Measure the circumference and height of your cake. Step 2 Add an extra inch to your With a touch of CMC mixed measurements. Apply a in with your fondant, cover thin layer of solite all over the top of your cake, and your dummy tier or roll out your fondant sheet ganached cake, making using the dimensions Step 3 sure the entire surface area you’ve taken in step one. Royal icing: Add enough where fondant is to be Let it sit while you make water until you reach a adhered, is covered. your icing mix. tooth paste consistency. Step 4 Step 5 Step 6 Position your stencil on top of Using your palette knife, Once you have covered your fondant sheet, keeping in spread the icing mix over the pattern on your stencil mind where you’d like your your stencil – you will need with a thin layer of icing, stencil to sit. And have your to ensure your stencil does using your scraper, begin tools handy – royal icing mix, not move. Once there is to scrape off the excess palette knife and scraper. enough icing mix, the icing – cleaning your stencil will automatically scraper after every scrape. adhere to your fondant.
Page 63 text
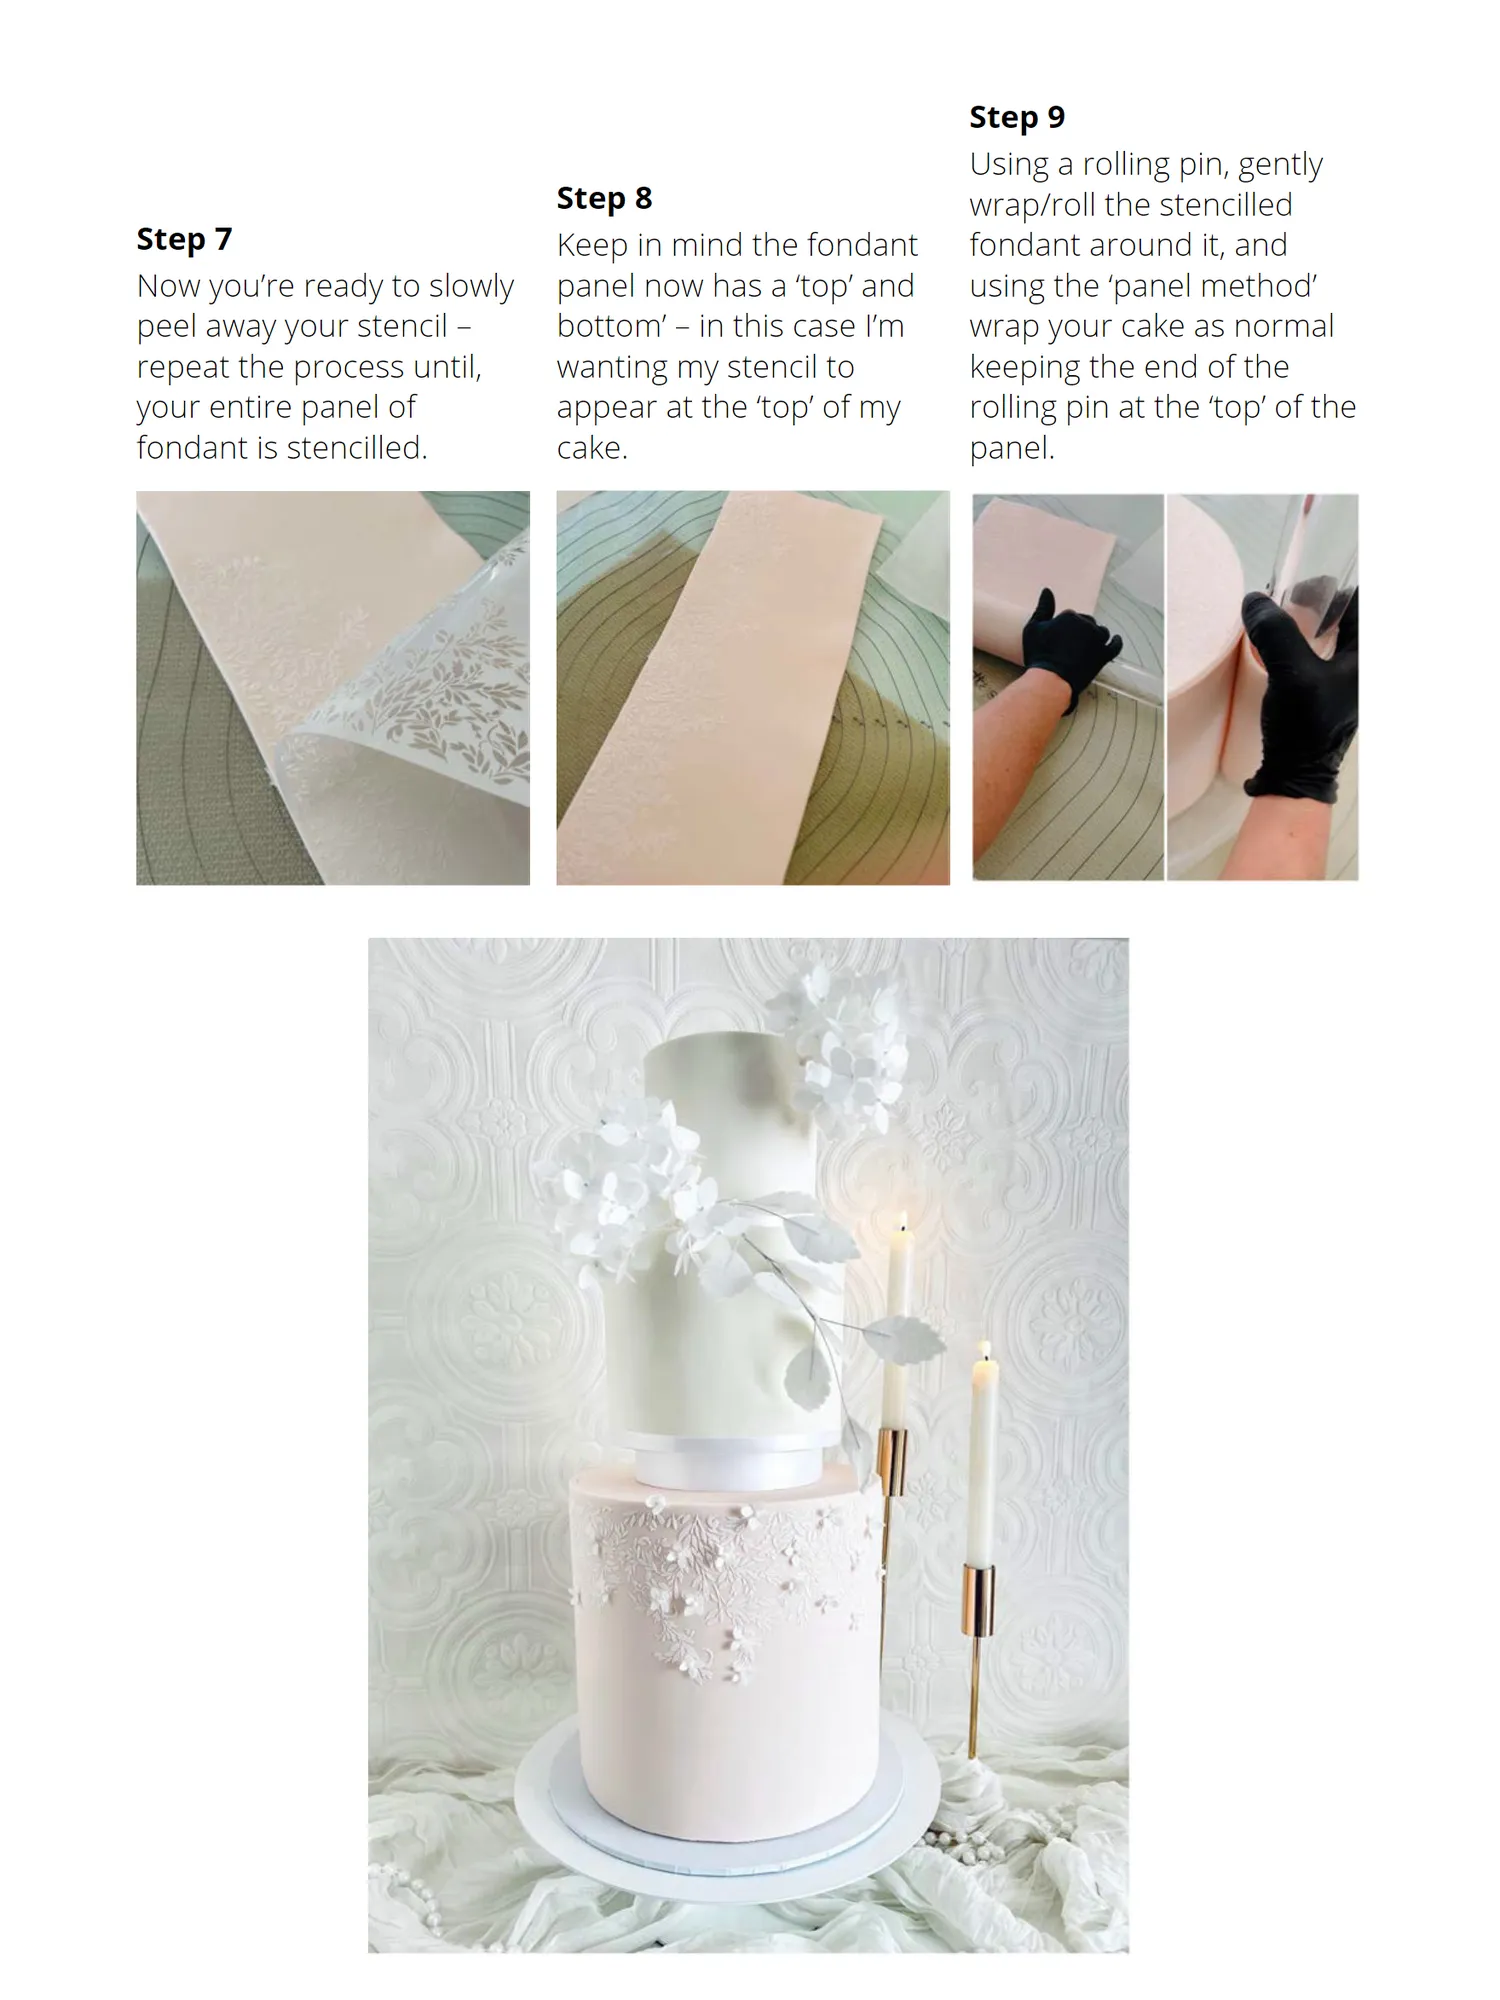
Step 9 Using a rolling pin, gently Step 8 wrap/roll the stencilled Step 7 Keep in mind the fondant fondant around it, and Now you’re ready to slowly panel now has a ‘top’ and using the ‘panel method’ peel away your stencil – bottom’ – in this case I’m wrap your cake as normal repeat the process until, wanting my stencil to keeping the end of the your entire panel of appear at the ‘top’ of my rolling pin at the ‘top’ of the fondant is stencilled. cake. panel.


Page 66 text
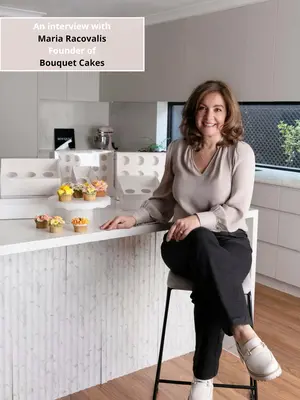
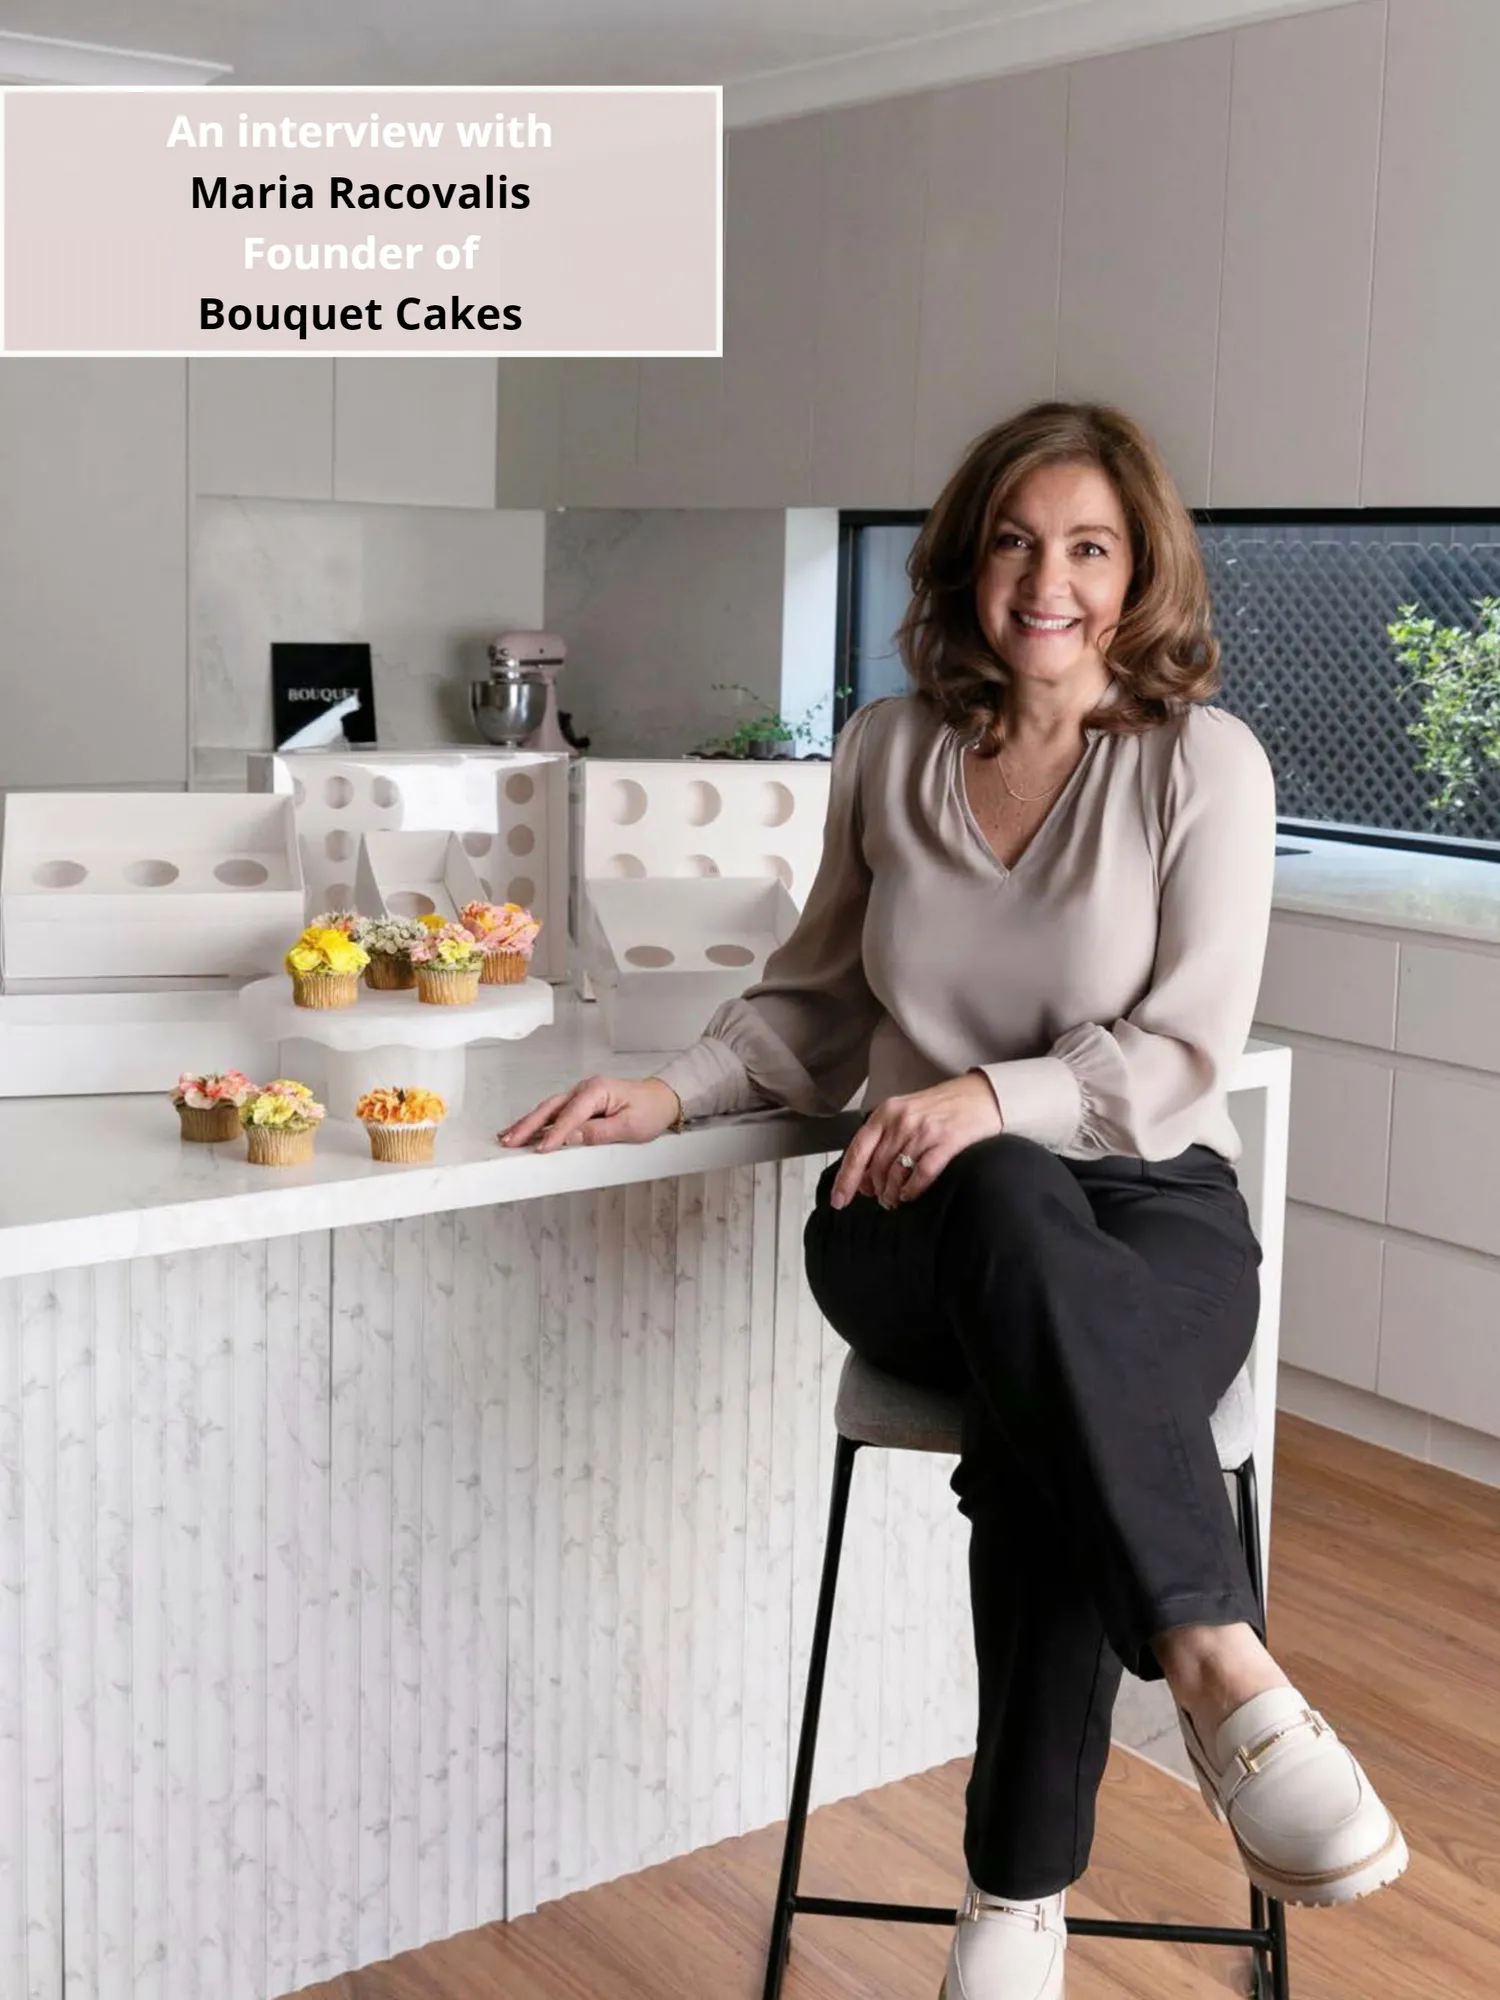
An interview with Maria Racovalis Founder of Bouquet Cakes
Page 67 text
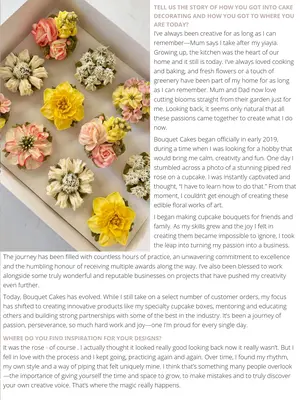
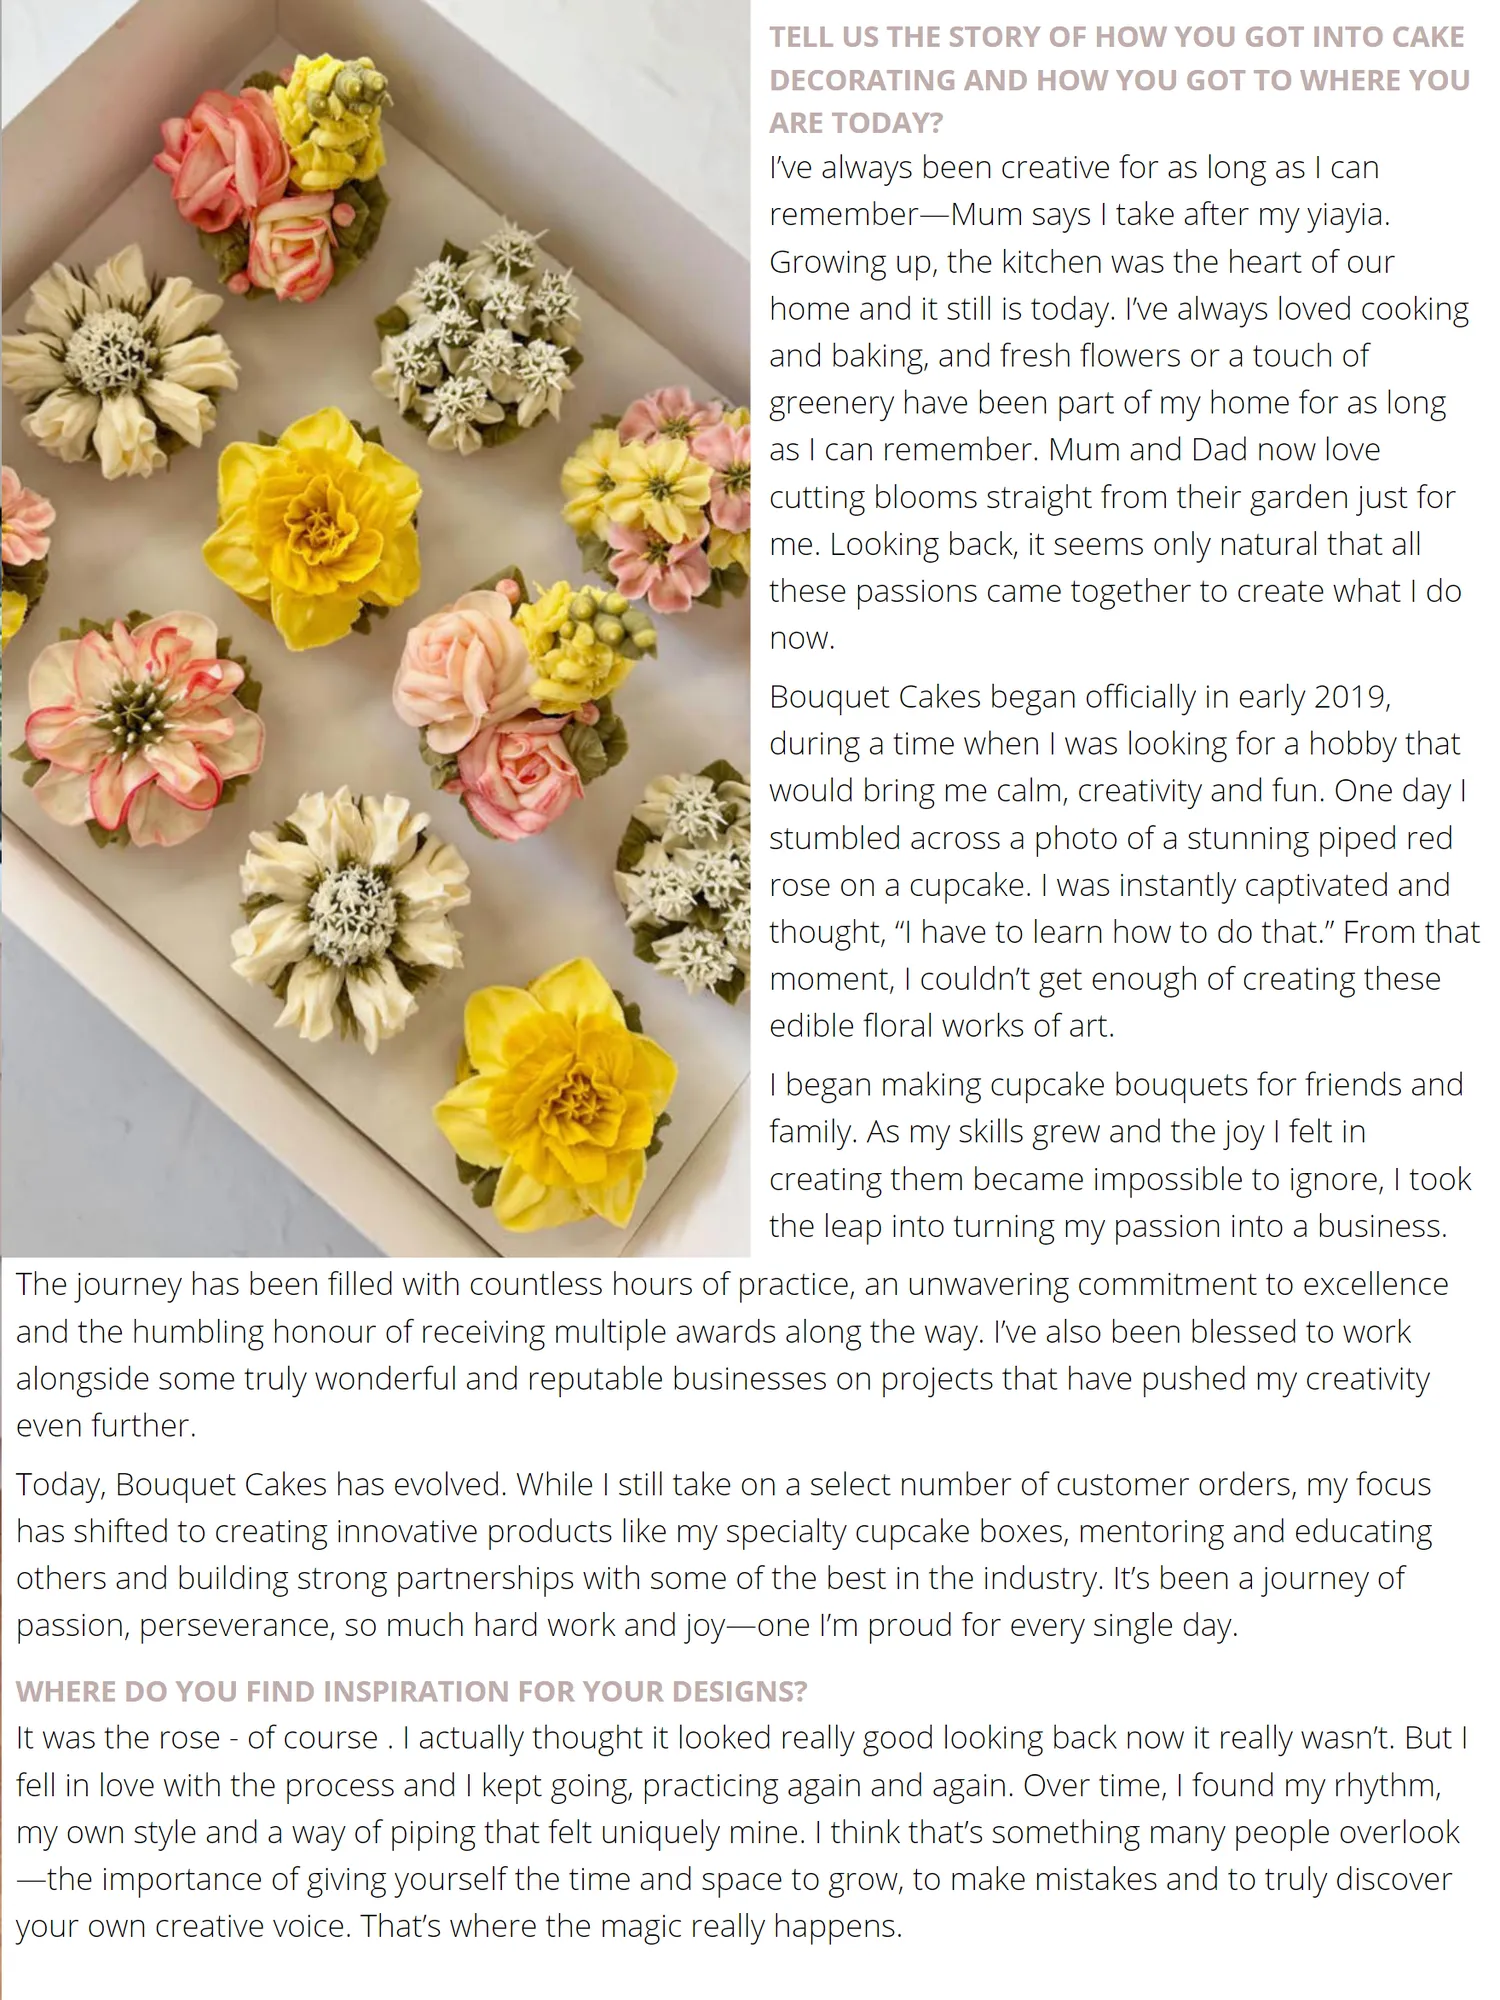
TELL US THE STORY OF HOW YOU GOT INTO CAKE DECORATING AND HOW YOU GOT TO WHERE YOU An interview with ARE TODAY? I’ve always been creative for as long as I can Maria Racovalis remember—Mum says I take after my yiayia. Growing up, the kitchen was the heart of our Bouquet Cakes home and it still is today. I’ve always loved cooking and baking, and fresh flowers or a touch of greenery have been part of my home for as long as I can remember. Mum and Dad now love cutting blooms straight from their garden just for me. Looking back, it seems only natural that all these passions came together to create what I do now.
Page 68 text
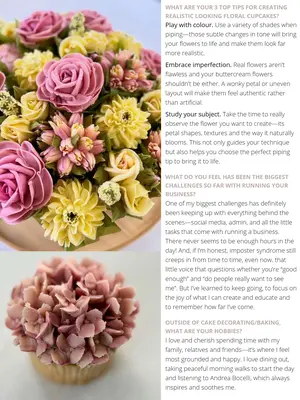
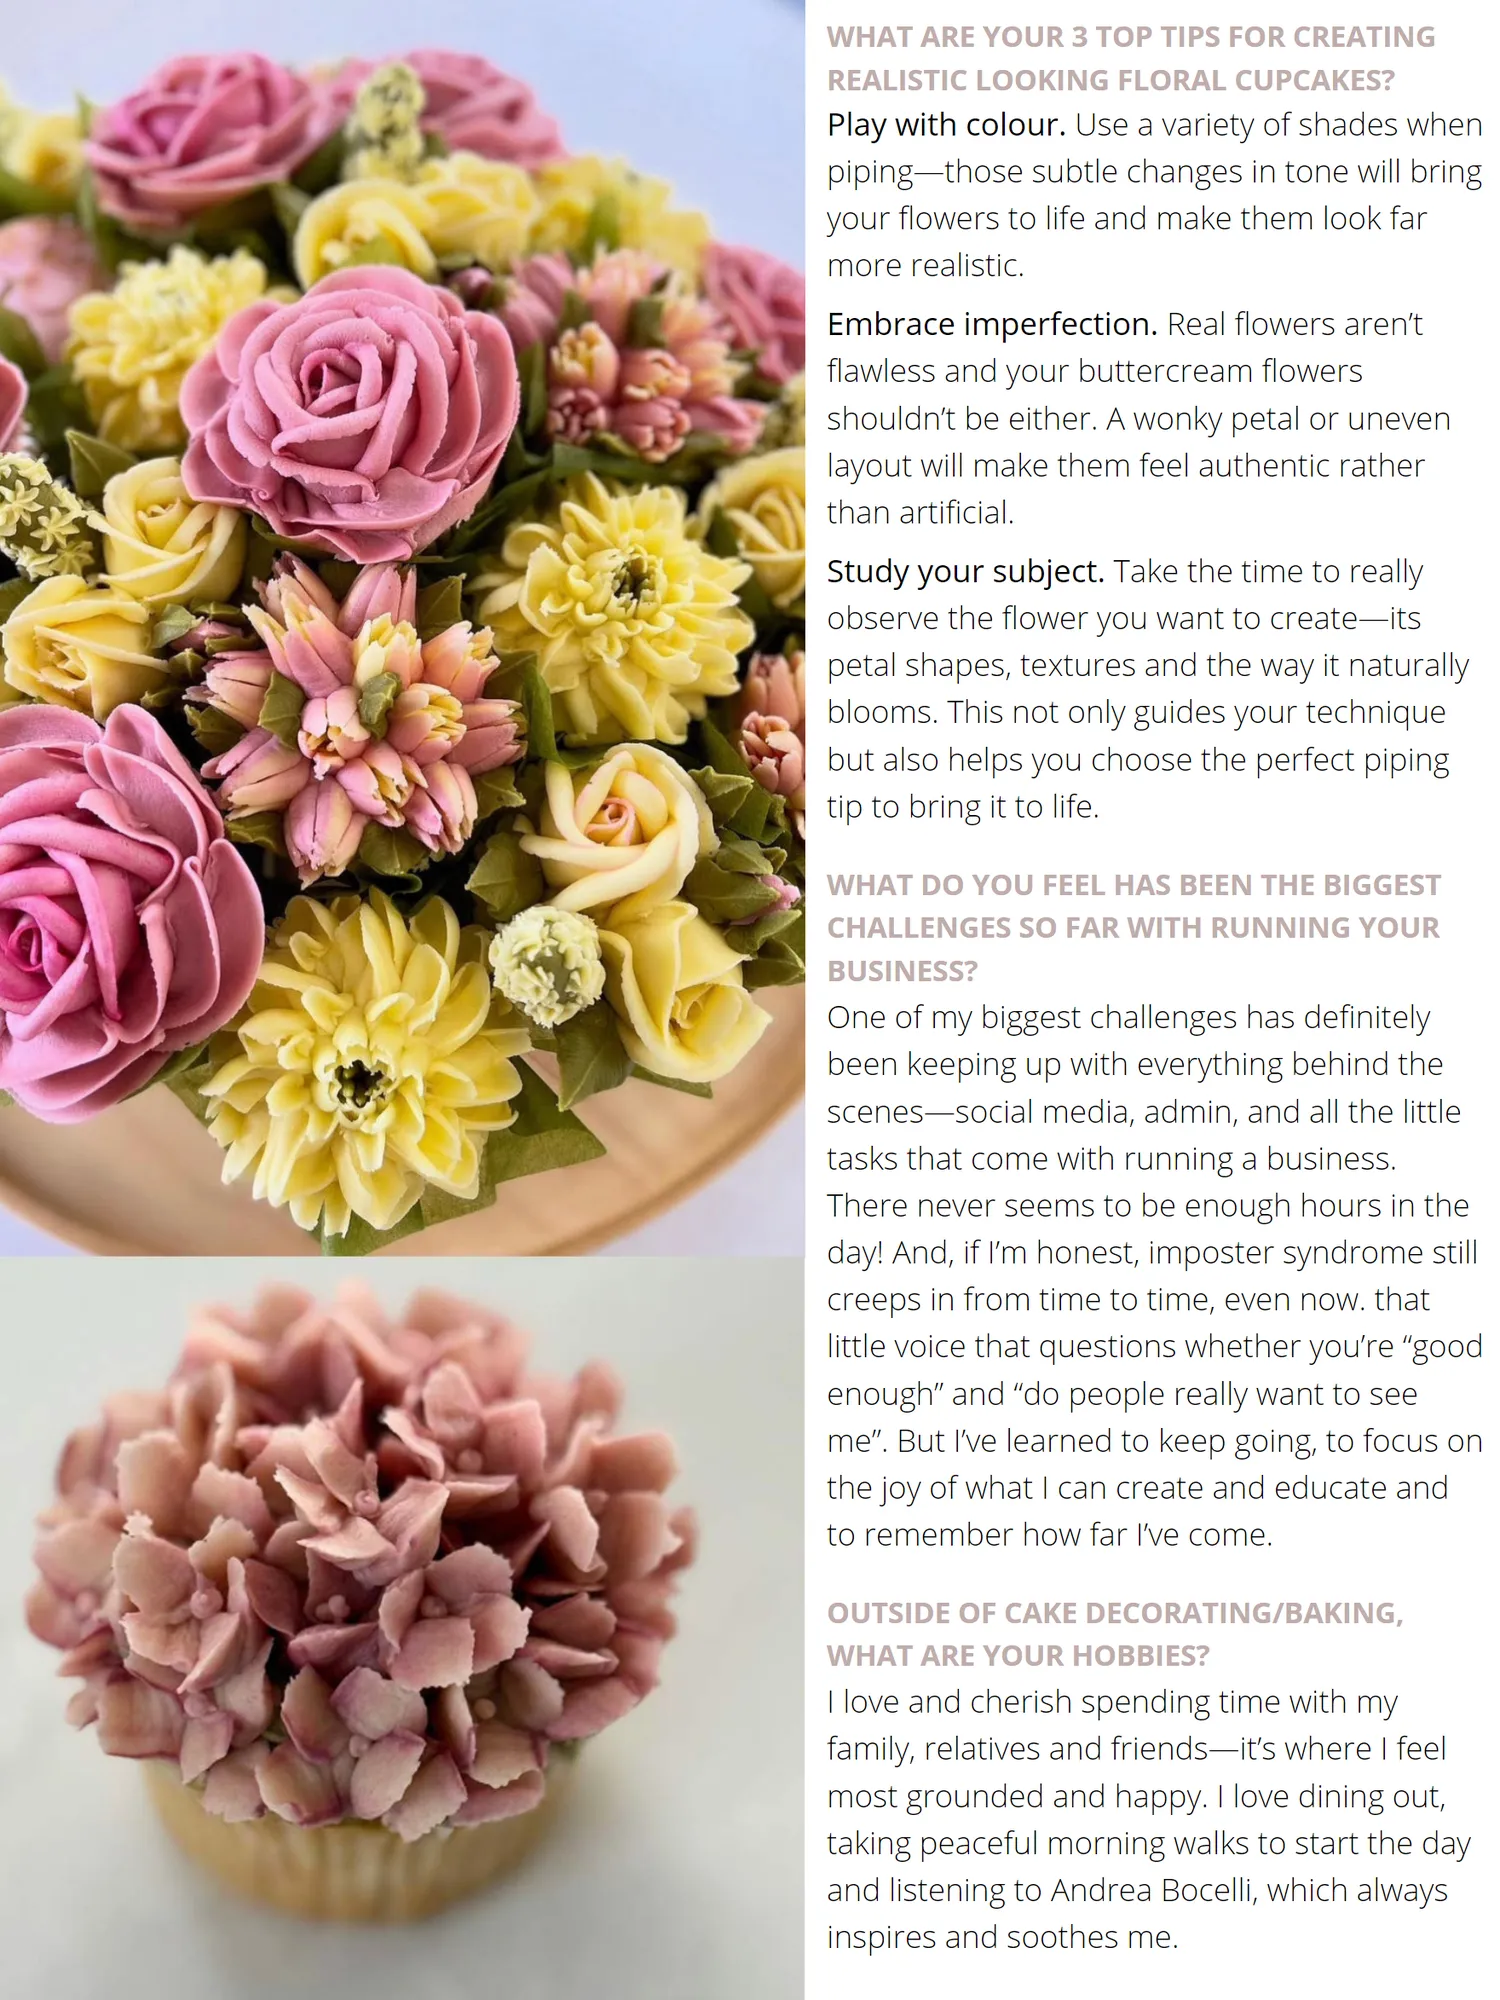
WHAT ARE YOUR 3 TOP TIPS FOR CREATING REALISTIC LOOKING FLORAL CUPCAKES? Play with colour. Use a variety of shades when piping— those subtle changes in tone will bring your flowers to life and make them look far more realistic. Embrace imperfection. Real flowers aren’ t flawless and your buttercream flowers shouldn’ t be either. A wonky petal or uneven layout will make them feel authentic rather than artificial. Study your subject. Take the time to really observe the flower you want to create— its petal shapes, textures and the way it naturally blooms. This not only guides your technique but also helps you choose the perfect piping tip to bring it to life. WHAT DO YOU FEEL HAS BEEN THE BIGGEST CHALLENGES SO FAR WITH RUNNING YOUR BUSINESS? One of my biggest challenges has definitely been keeping up with everything behind the scenes— social media, admin, and all the little tasks that come with running a business. There never seems to be enough hours in the day! And, if I’ m honest, imposter syndrome still creeps in from time to time, even now. that little voice that questions whether you’ re“ good enough” and“ do people really want to see me”. But I’ ve learned to keep going, to focus on the joy of what I can create and educate and to remember how far I’ ve come. OUTSIDE OF CAKE DECORATING / BAKING, WHAT ARE YOUR HOBBIES? I love and cherish spending time with my family, relatives and friends— it’ s where I feel most grounded and happy. I love dining out, taking peaceful morning walks to start the day and listening to Andrea Bocelli, which always inspires and soothes me.
Page 69 text
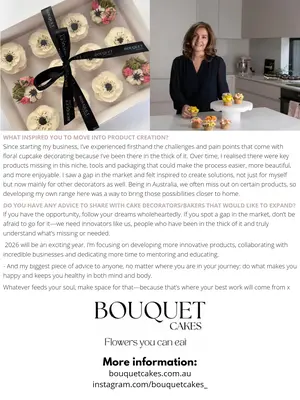
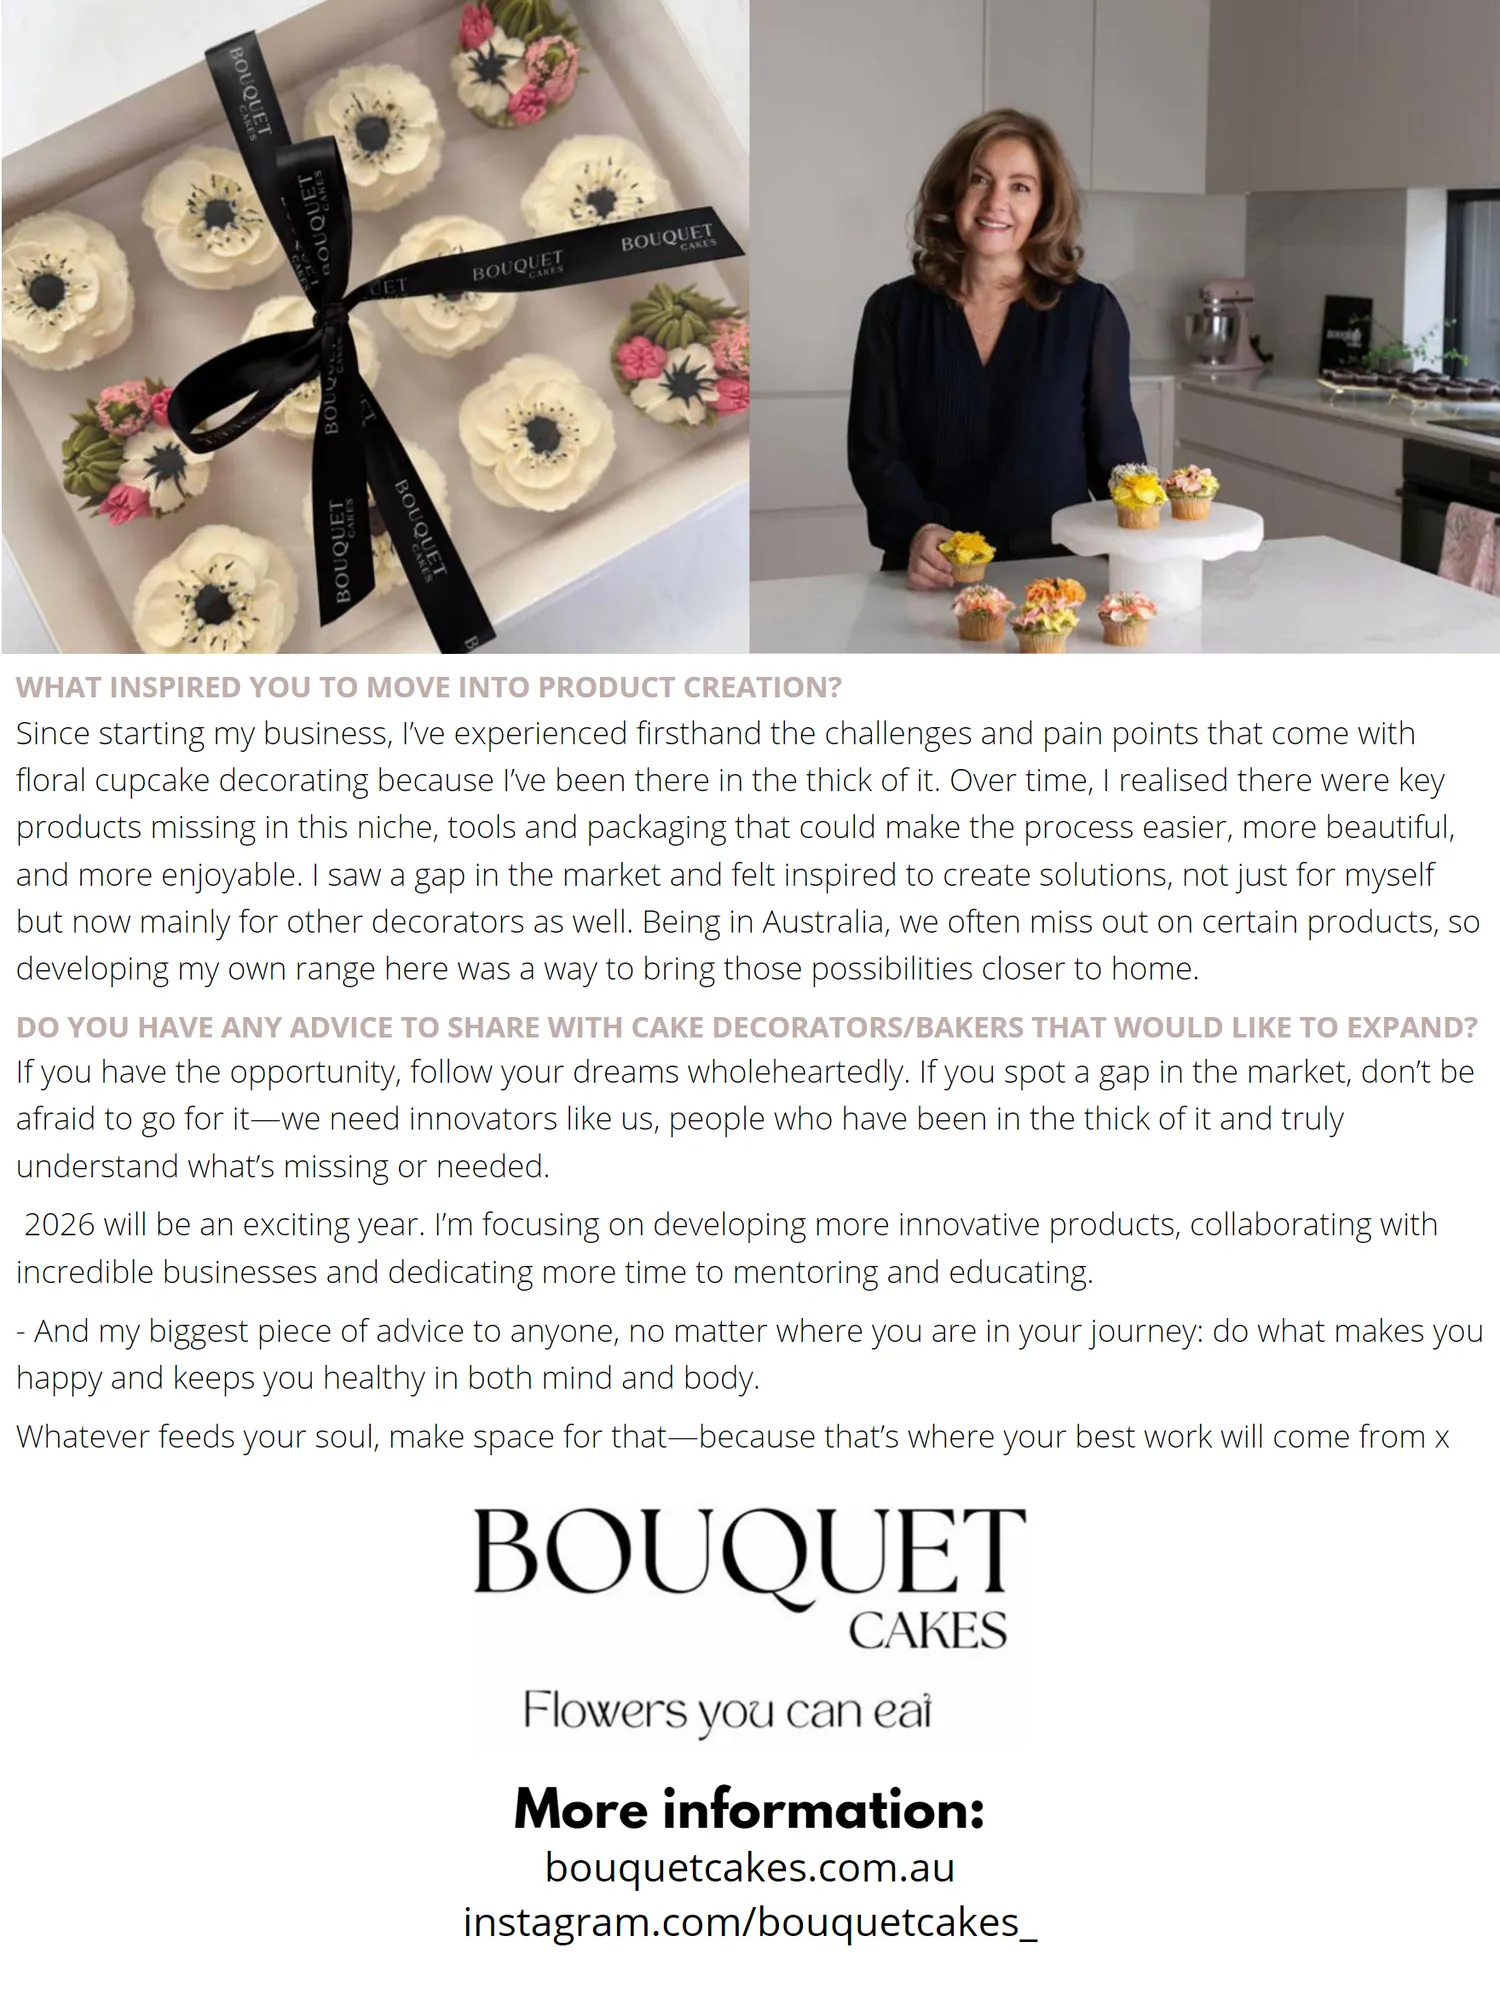
WHAT INSPIRED YOU TO MOVE INTO PRODUCT CREATION? Since starting my business, I’ ve experienced firsthand the challenges and pain points that come with floral cupcake decorating because I’ ve been there in the thick of it. Over time, I realised there were key products missing in this niche, tools and packaging that could make the process easier, more beautiful, and more enjoyable. I saw a gap in the market and felt inspired to create solutions, not just for myself but now mainly for other decorators as well. Being in Australia, we often miss out on certain products, so developing my own range here was a way to bring those possibilities closer to home. DO YOU HAVE ANY ADVICE TO SHARE WITH CAKE DECORATORS / BAKERS THAT WOULD LIKE TO EXPAND? If you have the opportunity, follow your dreams wholeheartedly. If you spot a gap in the market, don’ t be afraid to go for it— we need innovators like us, people who have been in the thick of it and truly understand what’ s missing or needed. 2026 will be an exciting year. I’ m focusing on developing more innovative products, collaborating with incredible businesses and dedicating more time to mentoring and educating. - And my biggest piece of advice to anyone, no matter where you are in your journey: do what makes you happy and keeps you healthy in both mind and body. Whatever feeds your soul, make space for that— because that’ s where your best work will come from x More information: bouquetcakes. com. au instagram. com / bouquetcakes _
Page 70 text
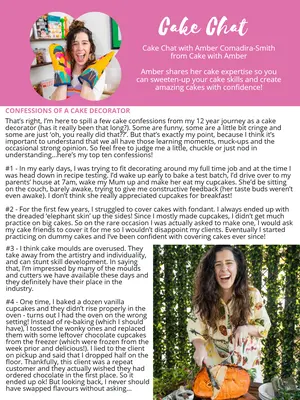
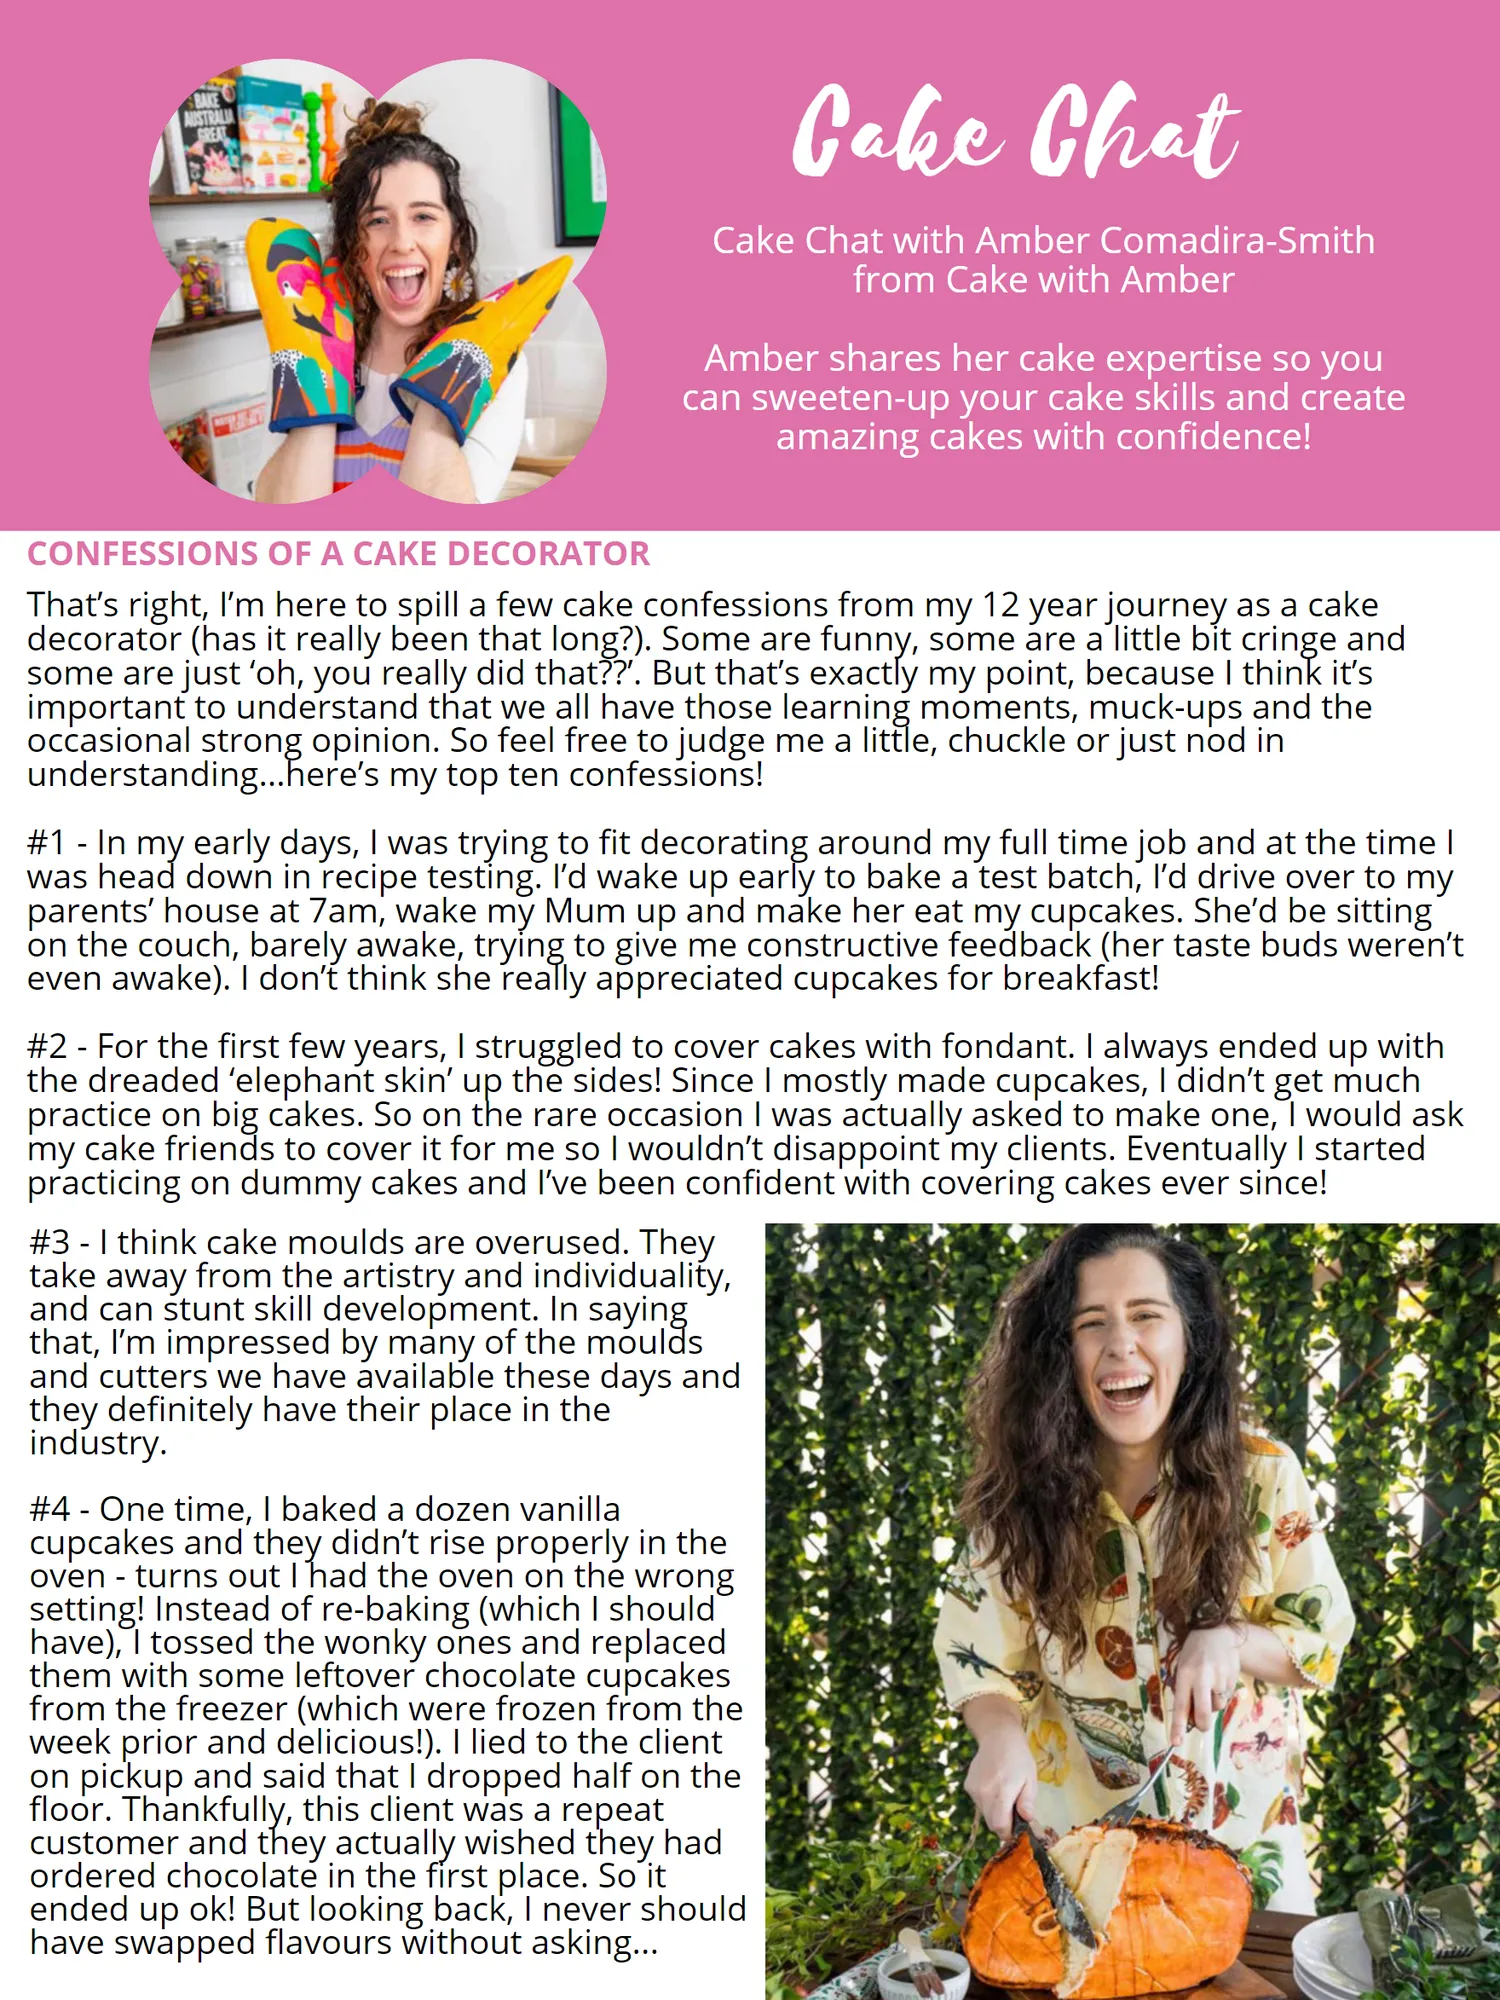
Cake Chat Cake Chat with Amber Comadira-Smith from Cake with Amber Amber shares her cake expertise so you can sweeten-up your cake skills and create amazing cakes with confidence! CONFESSIONS OF A CAKE DECORATOR That’ s right, I’ m here to spill a few cake confessions from my 12 year journey as a cake decorator( has it really been that long?). Some are funny, some are a little bit cringe and some are just‘ oh, you really did that??’. But that’ s exactly my point, because I think it’ s important to understand that we all have those learning moments, muck-ups and the occasional strong opinion. So feel free to judge me a little, chuckle or just nod in understanding … here’ s my top ten confessions! # 1- In my early days, I was trying to fit decorating around my full time job and at the time I was head down in recipe testing. I’ d wake up early to bake a test batch, I’ d drive over to my parents’ house at 7am, wake my Mum up and make her eat my cupcakes. She’ d be sitting on the couch, barely awake, trying to give me constructive feedback( her taste buds weren’ t even awake). I don’ t think she really appreciated cupcakes for breakfast! # 2- For the first few years, I struggled to cover cakes with fondant. I always ended up with the dreaded‘ elephant skin’ up the sides! Since I mostly made cupcakes, I didn’ t get much practice on big cakes. So on the rare occasion I was actually asked to make one, I would ask my cake friends to cover it for me so I wouldn’ t disappoint my clients. Eventually I started practicing on dummy cakes and I’ ve been confident with covering cakes ever since! # 3- I think cake moulds are overused. They take away from the artistry and individuality, and can stunt skill development. In saying that, I’ m impressed by many of the moulds and cutters we have available these days and they definitely have their place in the industry. # 4- One time, I baked a dozen vanilla cupcakes and they didn’ t rise properly in the oven- turns out I had the oven on the wrong setting! Instead of re-baking( which I should have), I tossed the wonky ones and replaced them with some leftover chocolate cupcakes from the freezer( which were frozen from the week prior and delicious!). I lied to the client on pickup and said that I dropped half on the floor. Thankfully, this client was a repeat customer and they actually wished they had ordered chocolate in the first place. So it ended up ok! But looking back, I never should have swapped flavours without asking...
Page 71 text
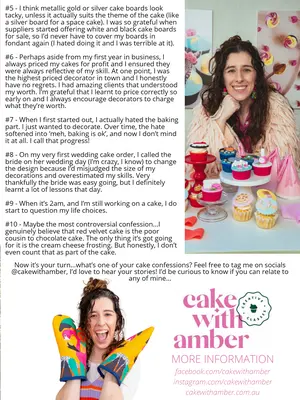
# 5- I think metallic gold or silver cake boards look tacky, unless it actually suits the theme of the cake( like a silver board for a space cake). I was so grateful when suppliers started offering white and black cake boards for sale, so I’ d never have to cover my boards in fondant again( I hated doing it and I was terrible at it). # 6- Perhaps aside from my first year in business, I always priced my cakes for profit and I ensured they were always reflective of my skill. At one point, I was the highest priced decorator in town and I honestly have no regrets. I had amazing clients that understood my worth. I’ m grateful that I learnt to price correctly so early on and I always encourage decorators to charge what they’ re worth. # 7- When I first started out, I actually hated the baking part. I just wanted to decorate. Over time, the hate softened into‘ meh, baking is ok’, and now I don’ t mind it at all. I call that progress! # 8- On my very first wedding cake order, I called the bride on her wedding day( I’ m crazy, I know) to change the design because I’ d misjudged the size of my decorations and overestimated my skills. Very thankfully the bride was easy going, but I definitely learnt a lot of lessons that day. # 9- When it’ s 2am, and I’ m still working on a cake, I do start to question my life choices. # 10- Maybe the most controversial confession … I genuinely believe that red velvet cake is the poor cousin to chocolate cake. The only thing it’ s got going for it is the cream cheese frosting. But honestly, I don’ t even count that as part of the cake. Now it’ s your turn … what’ s one of your cake confessions? Feel free to tag me on socials @ cakewithamber, I’ d love to hear your stories! I’ d be curious to know if you can relate to any of mine … MORE INFORMATION facebook. com / cakewithamber instagram. com / cakewithamber cakewithamber. com. au


Page 72 text
2 0 2 5 P R E F E R R E D S U P P L I E R S M E M B E R D I S C O U N T S Become a member of the Australian Cake Decorating Network and SAVE with great DISCOUNTS from our Preferred Suppliers Join us here!


Page 74 text
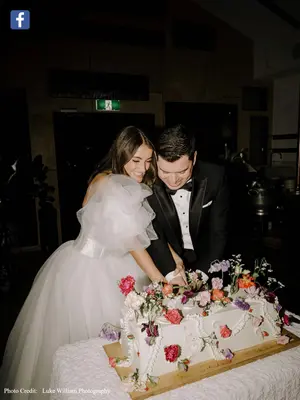
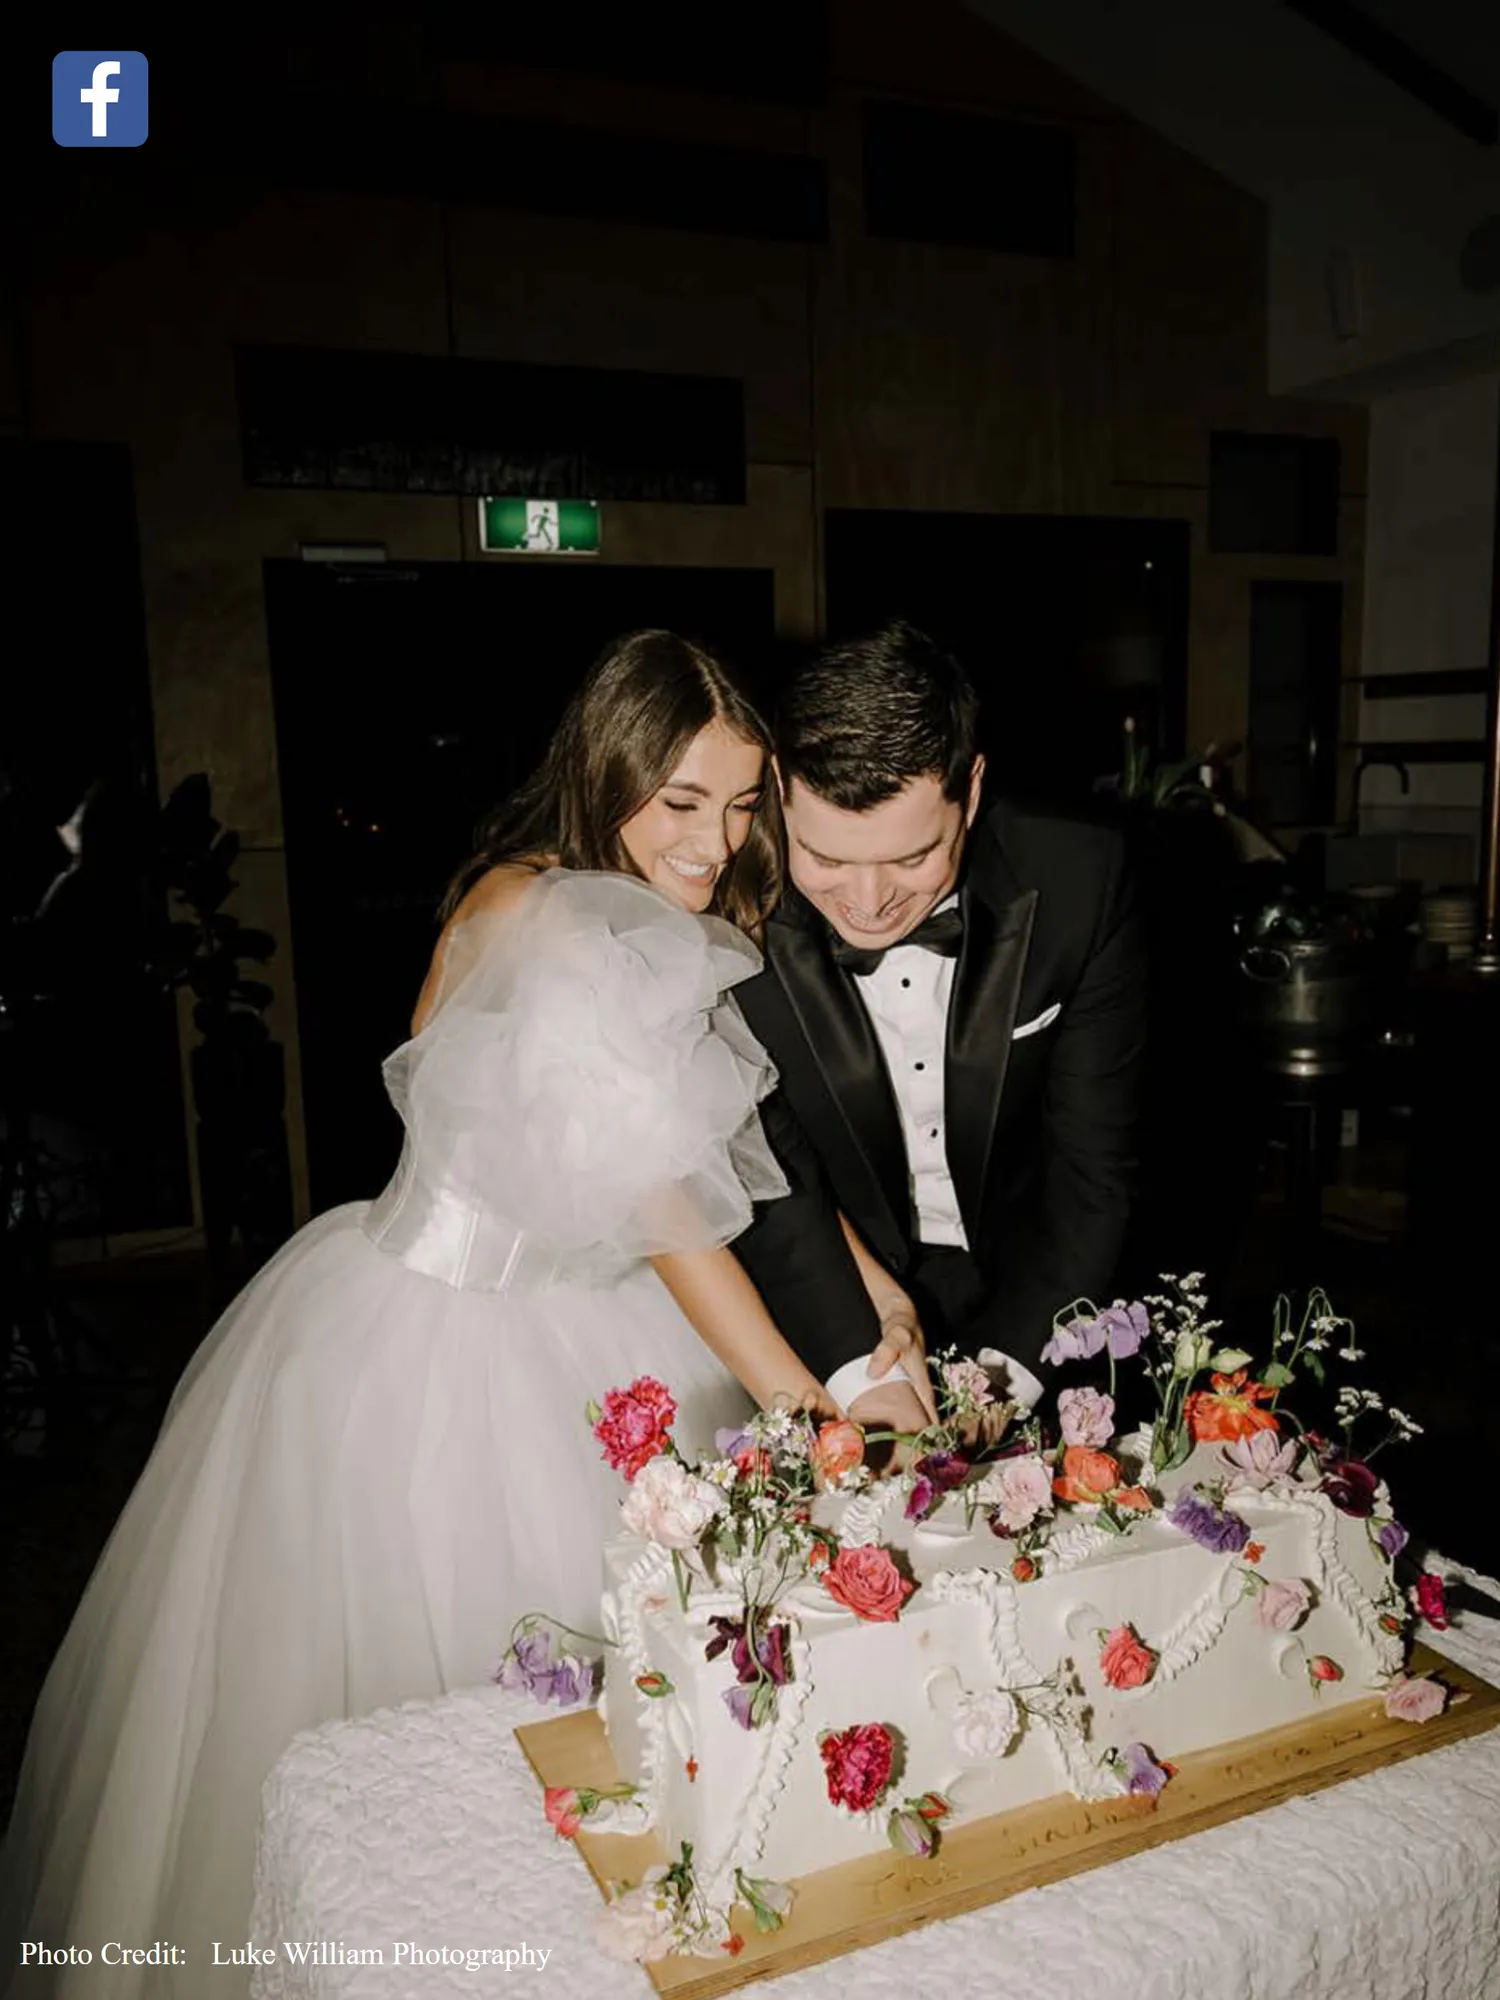
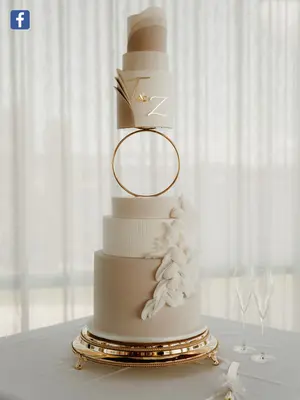
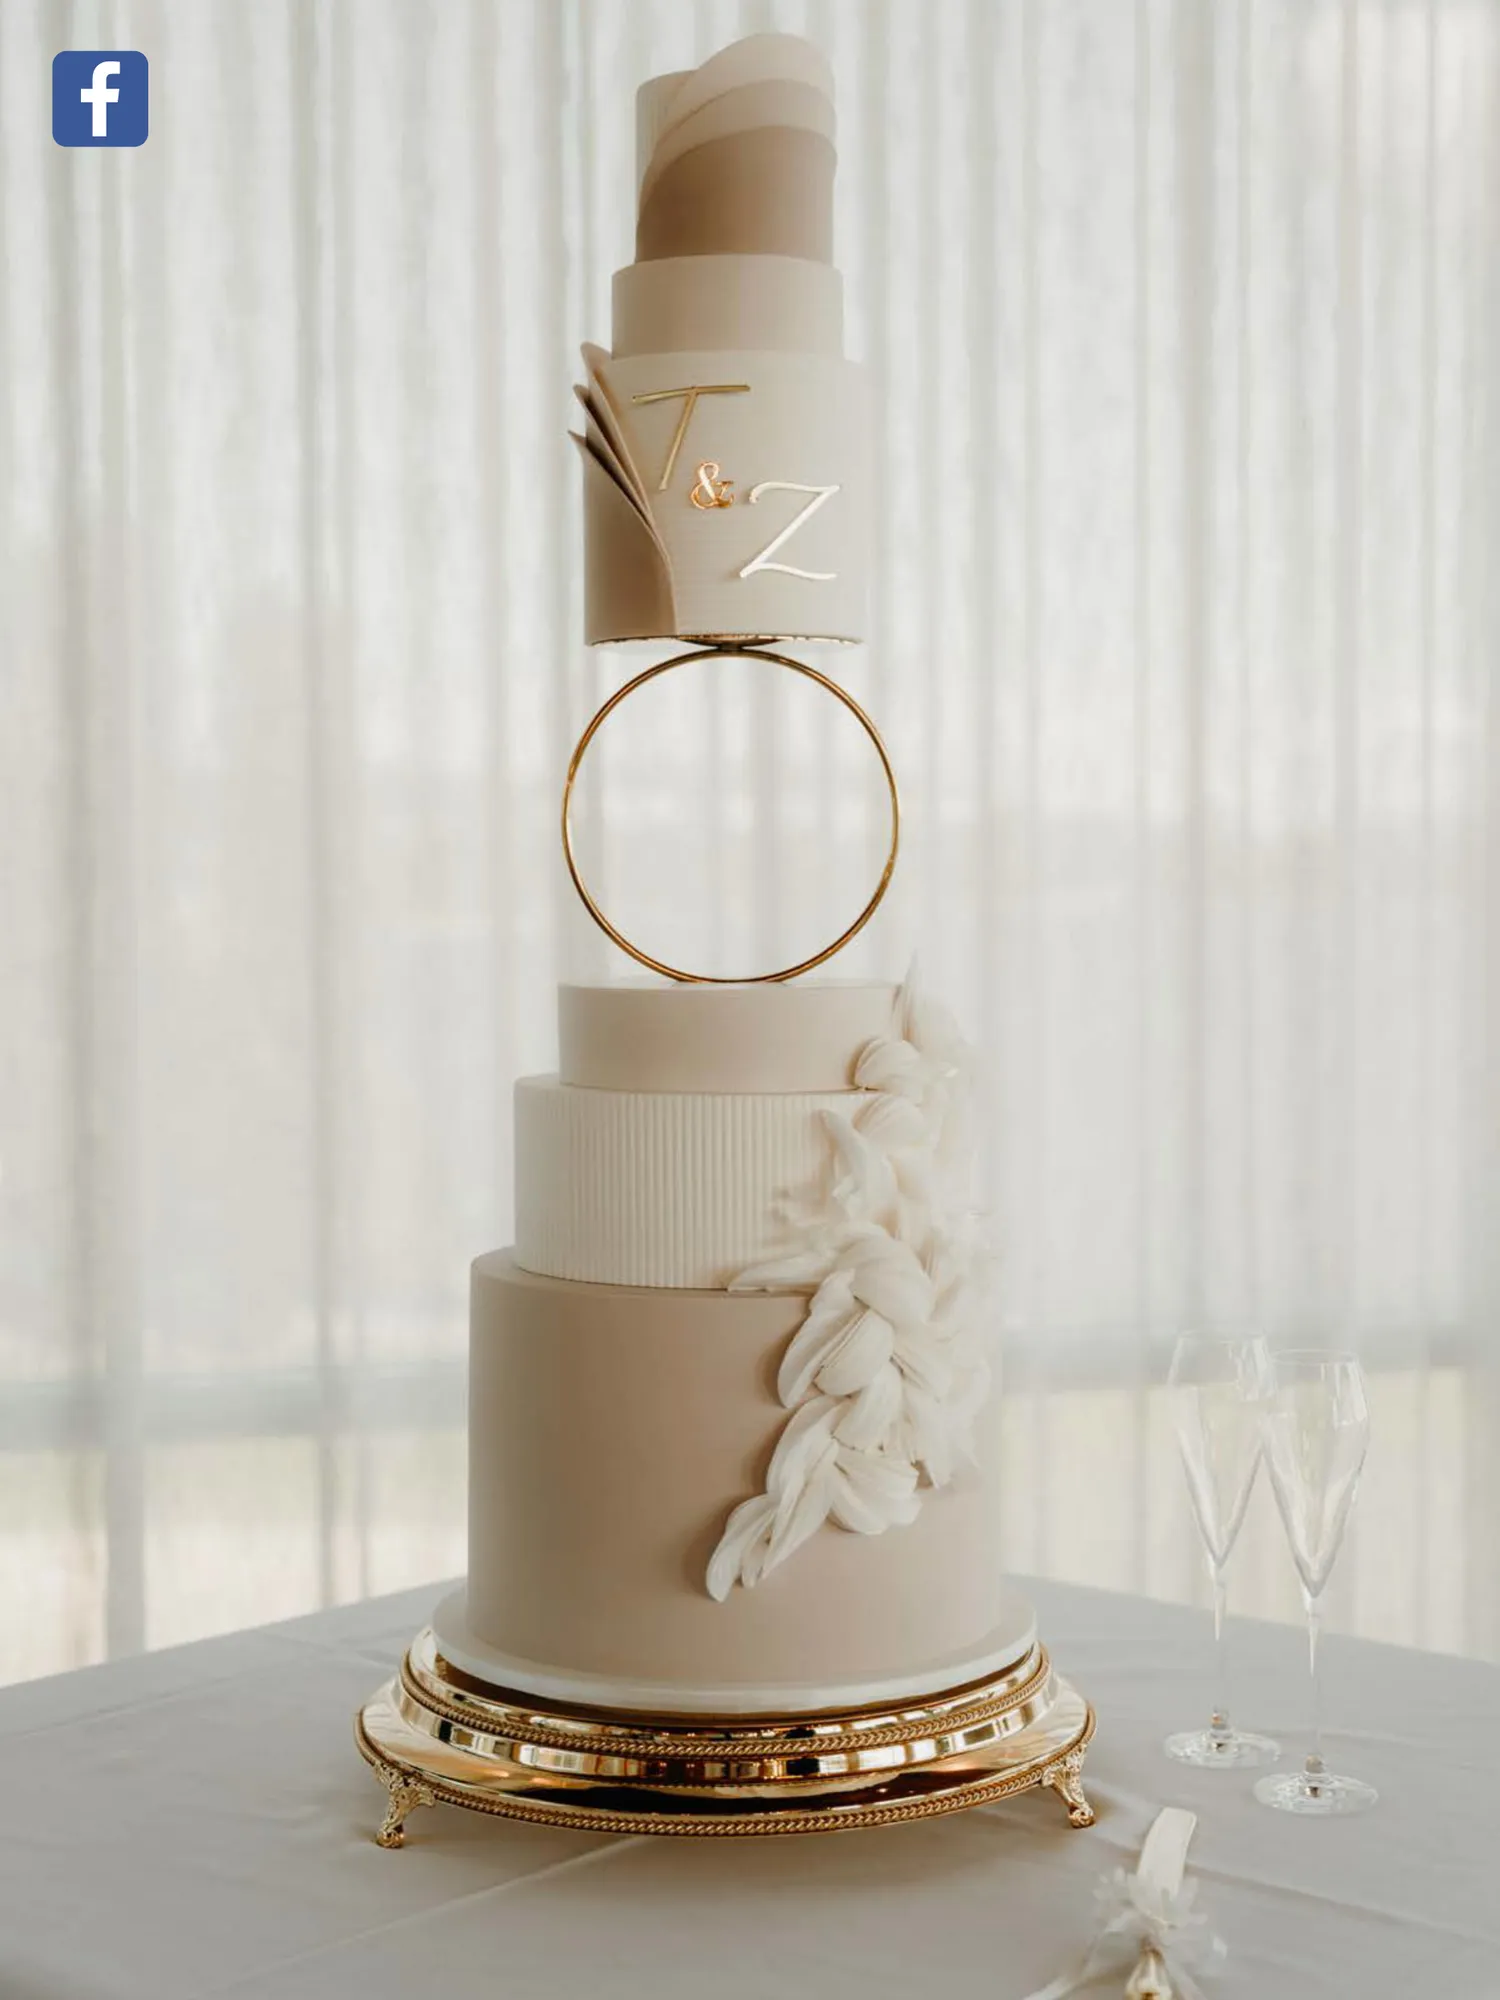
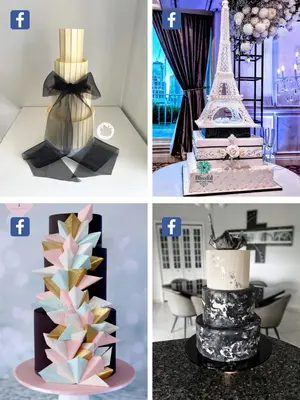
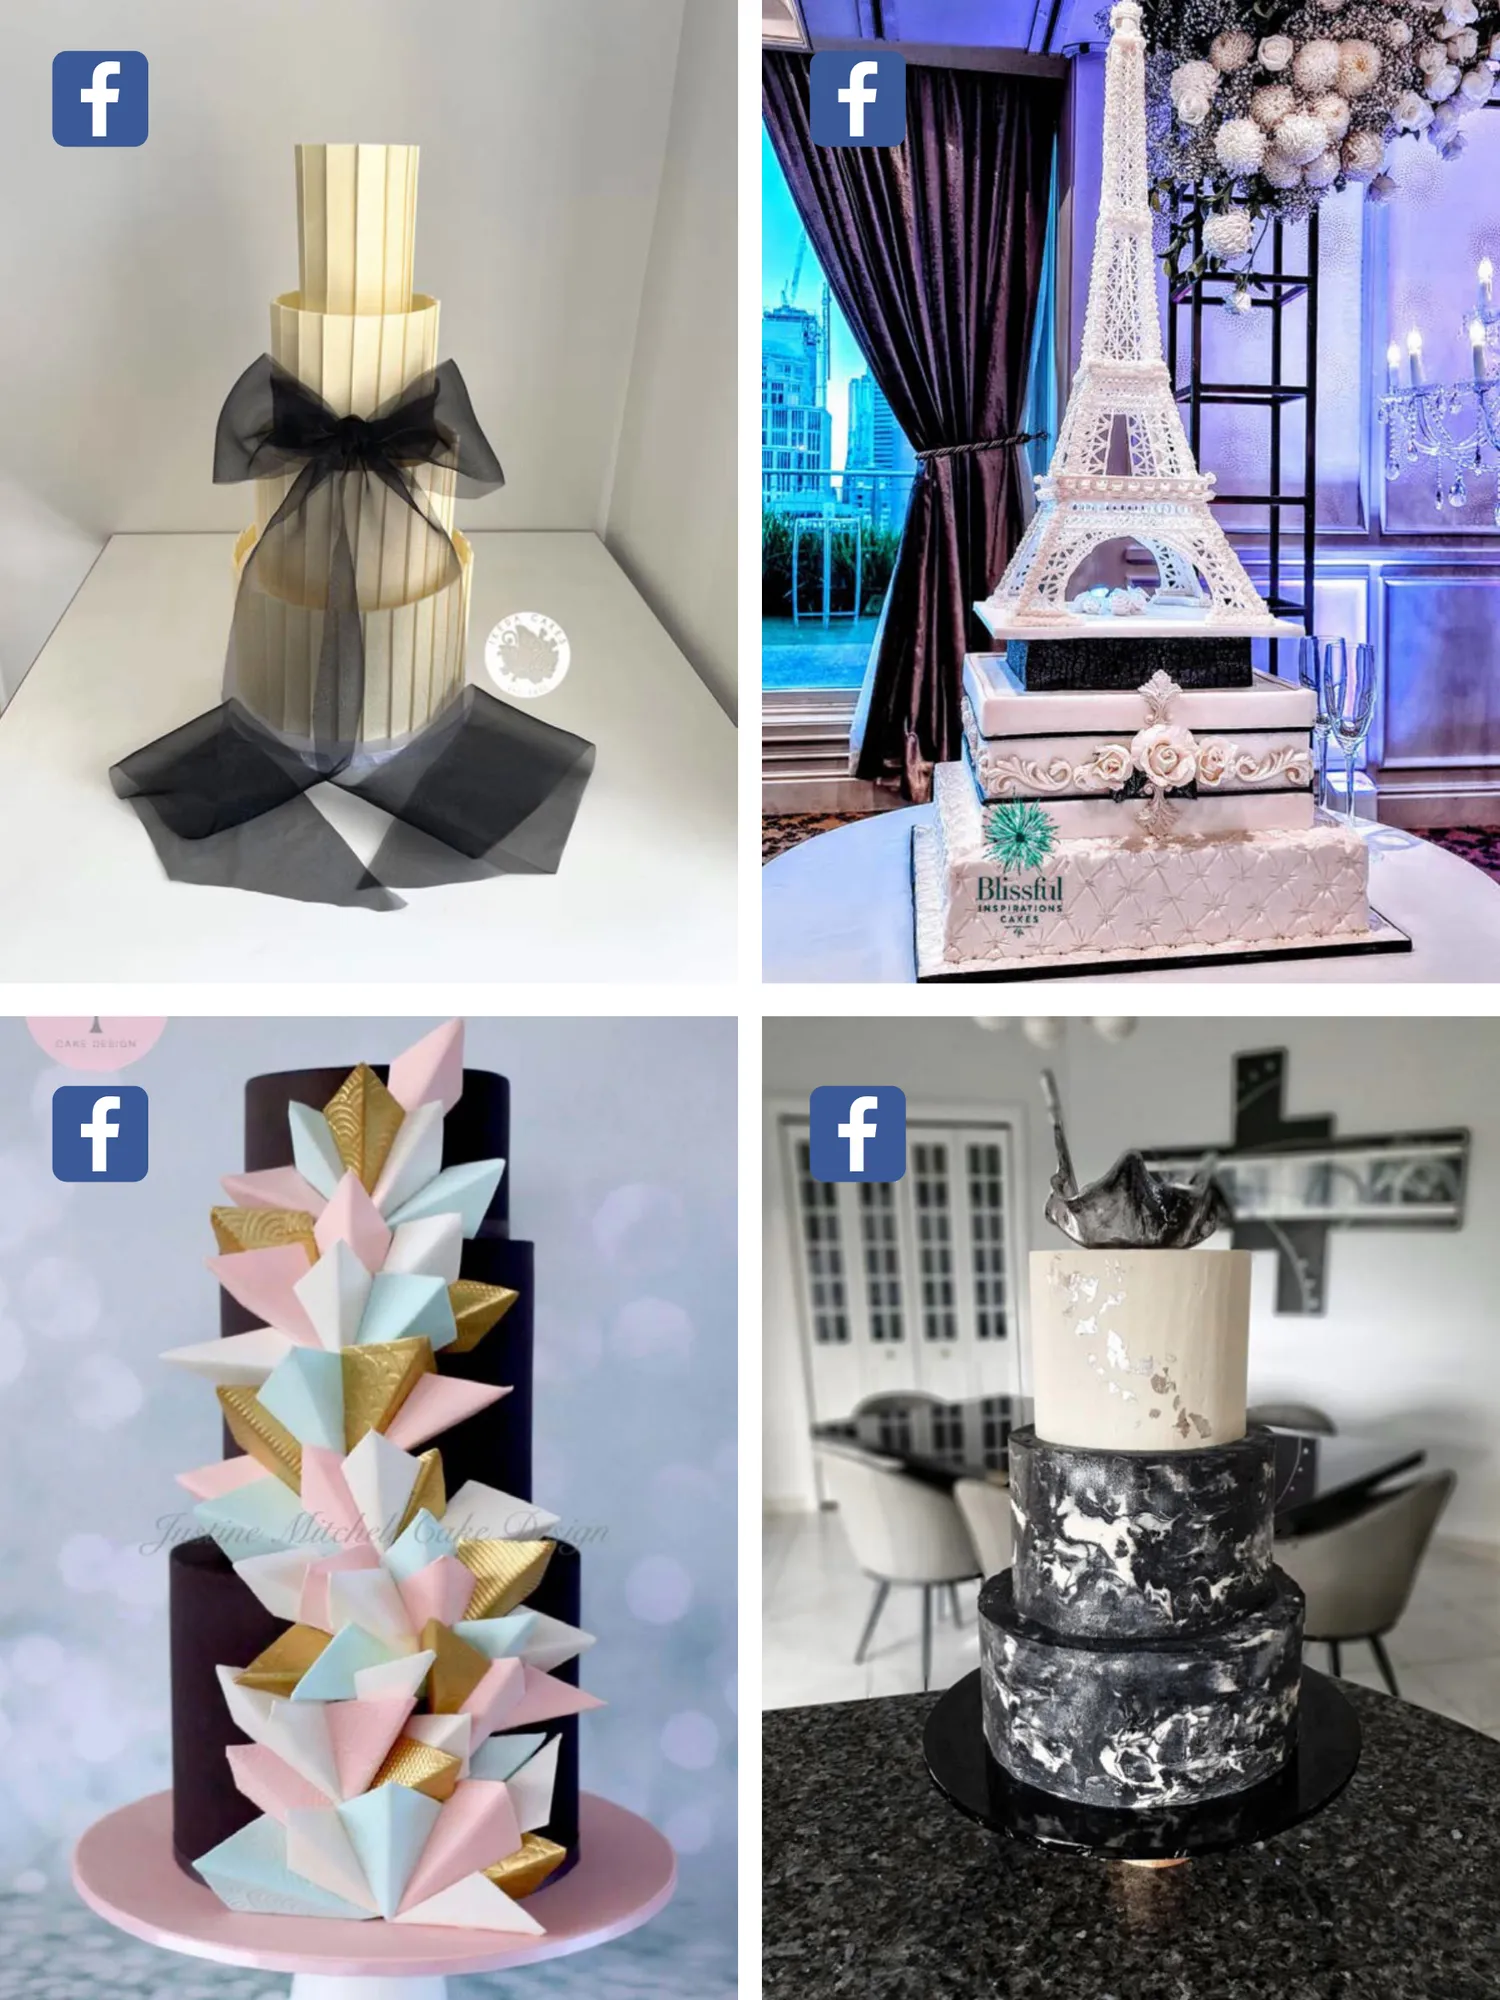
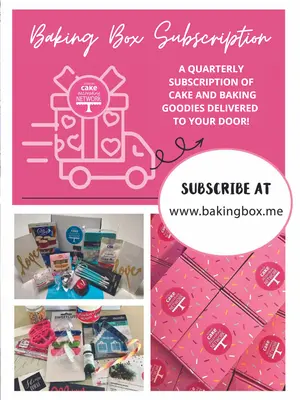
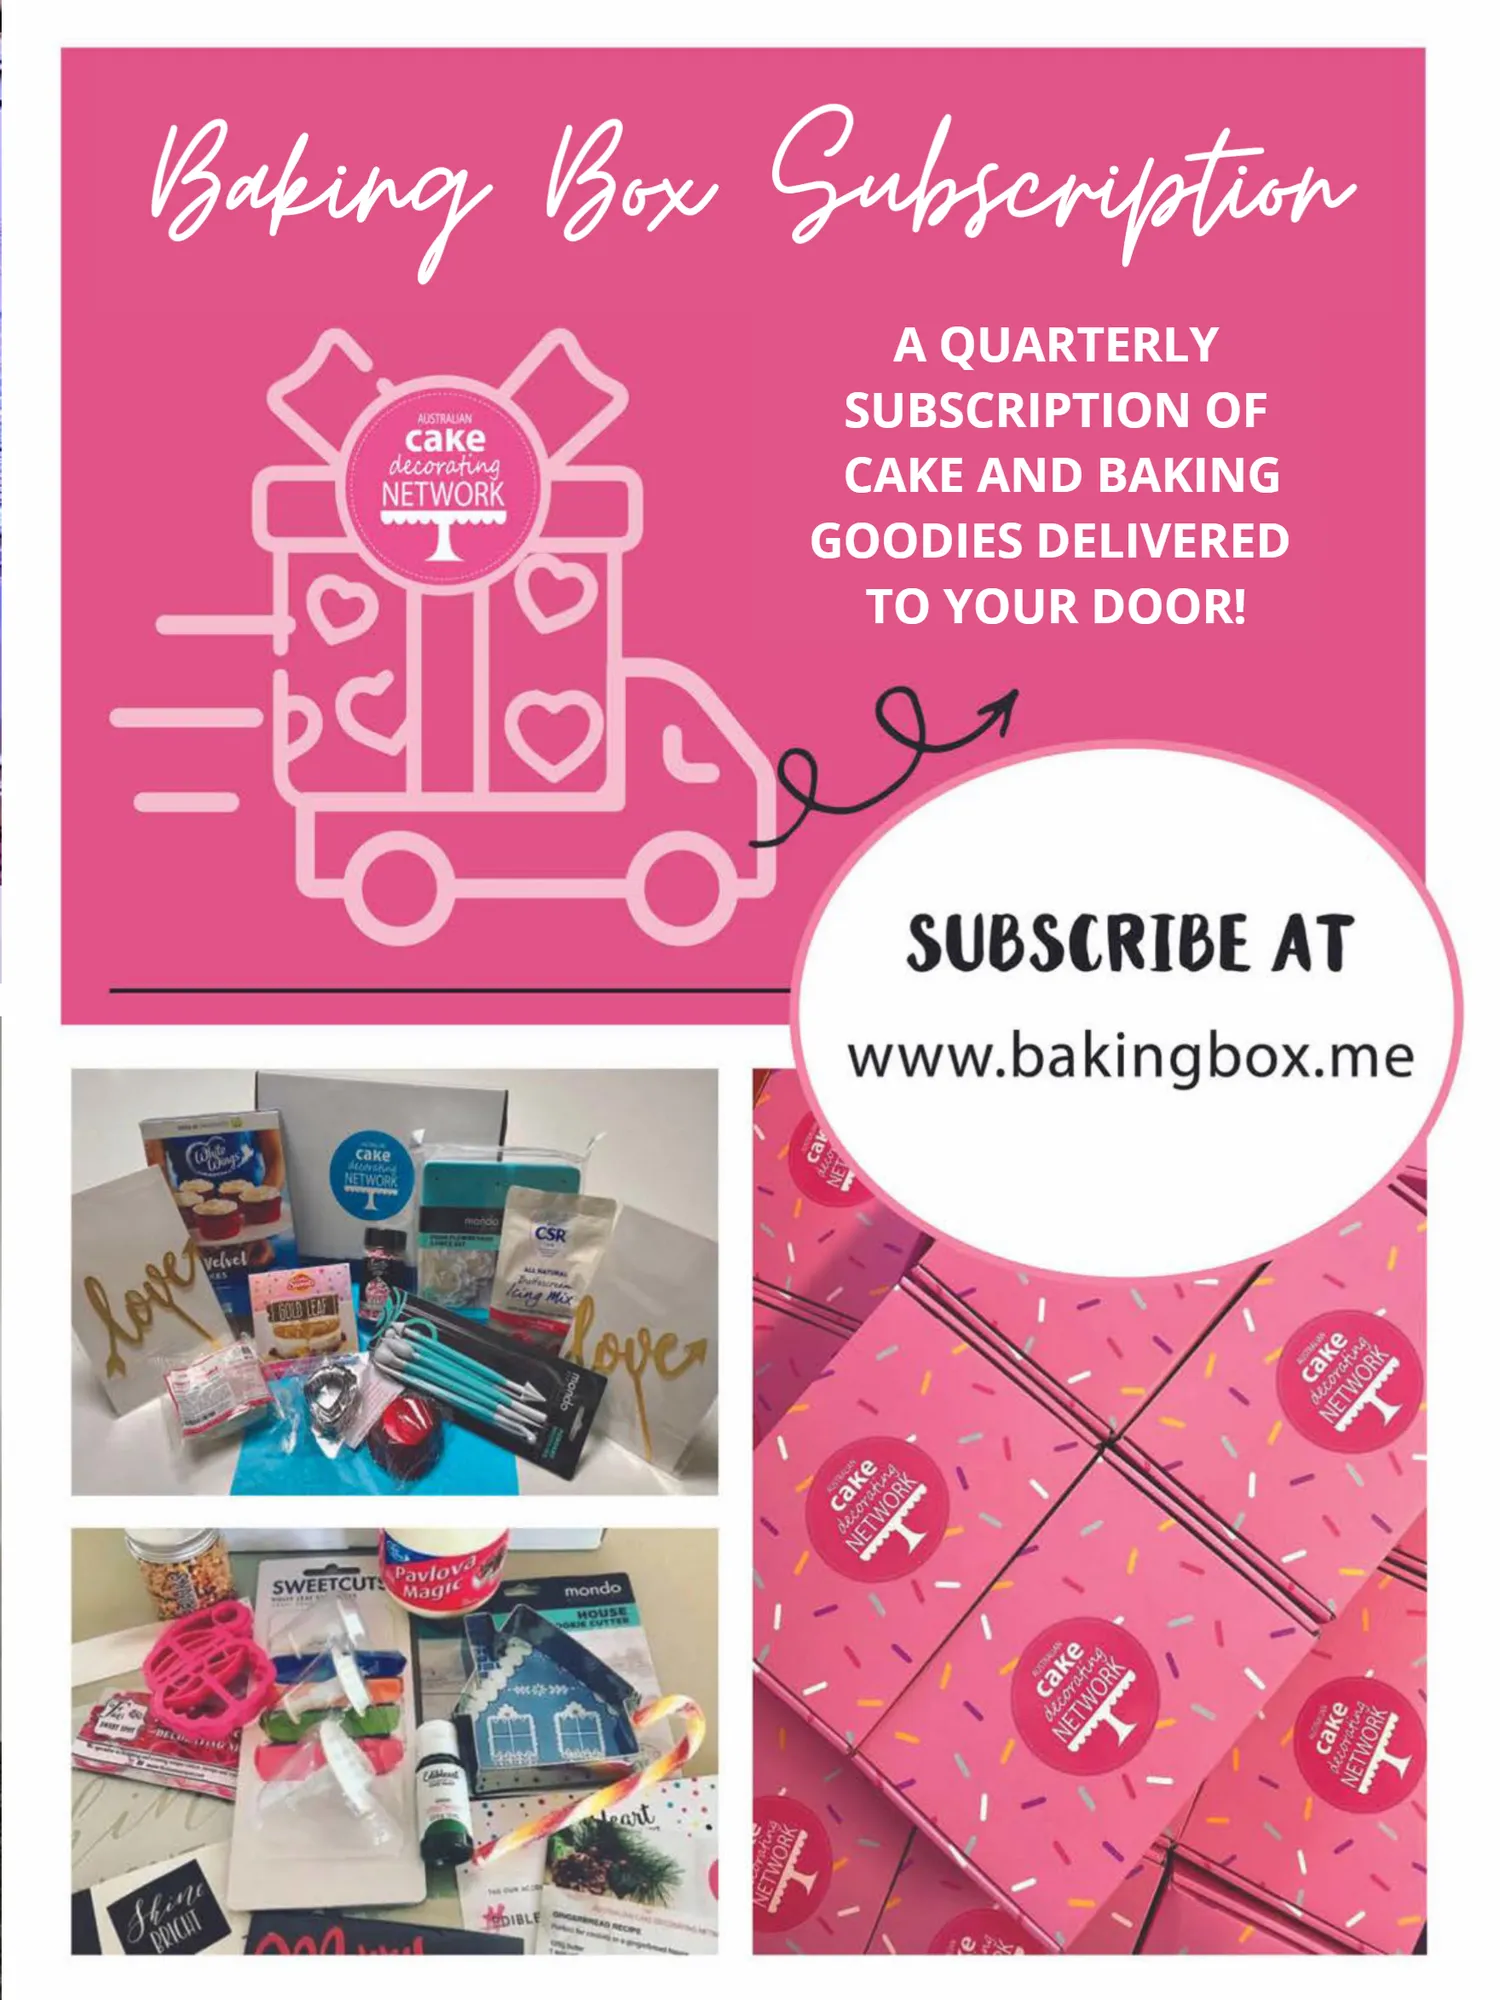
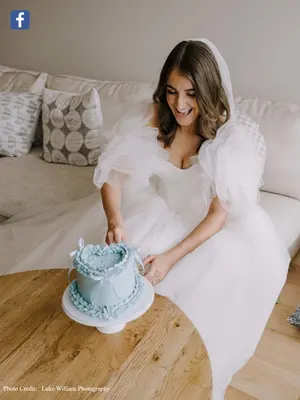
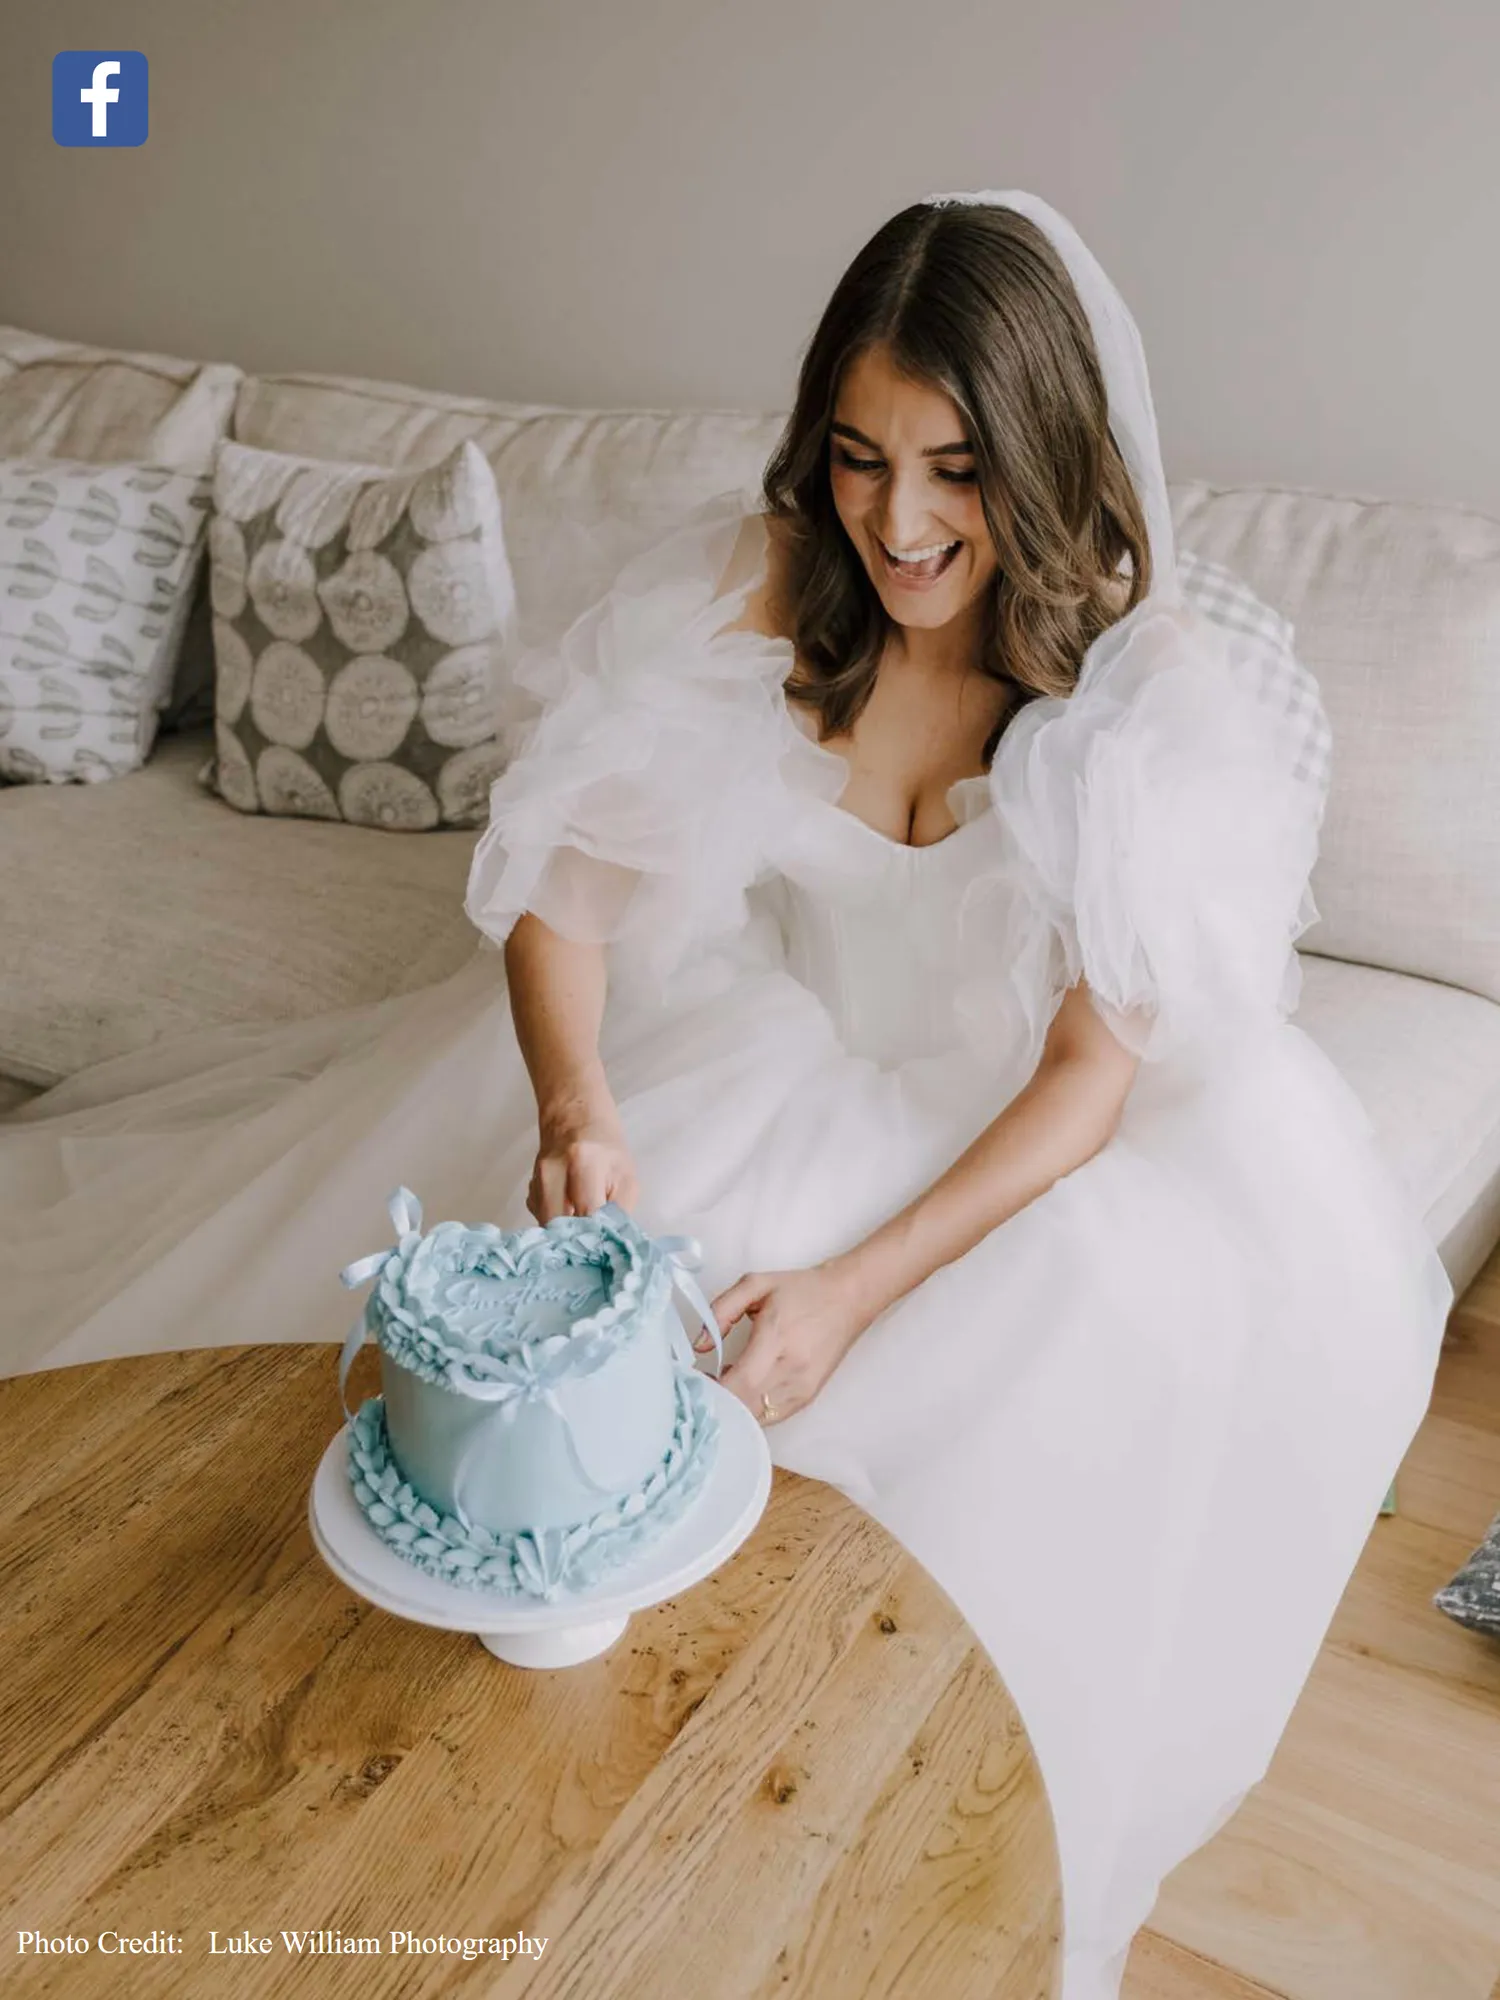
Photo Credit: Luke William Photography
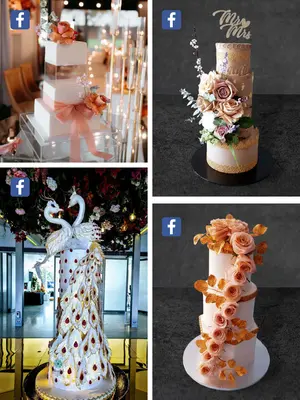
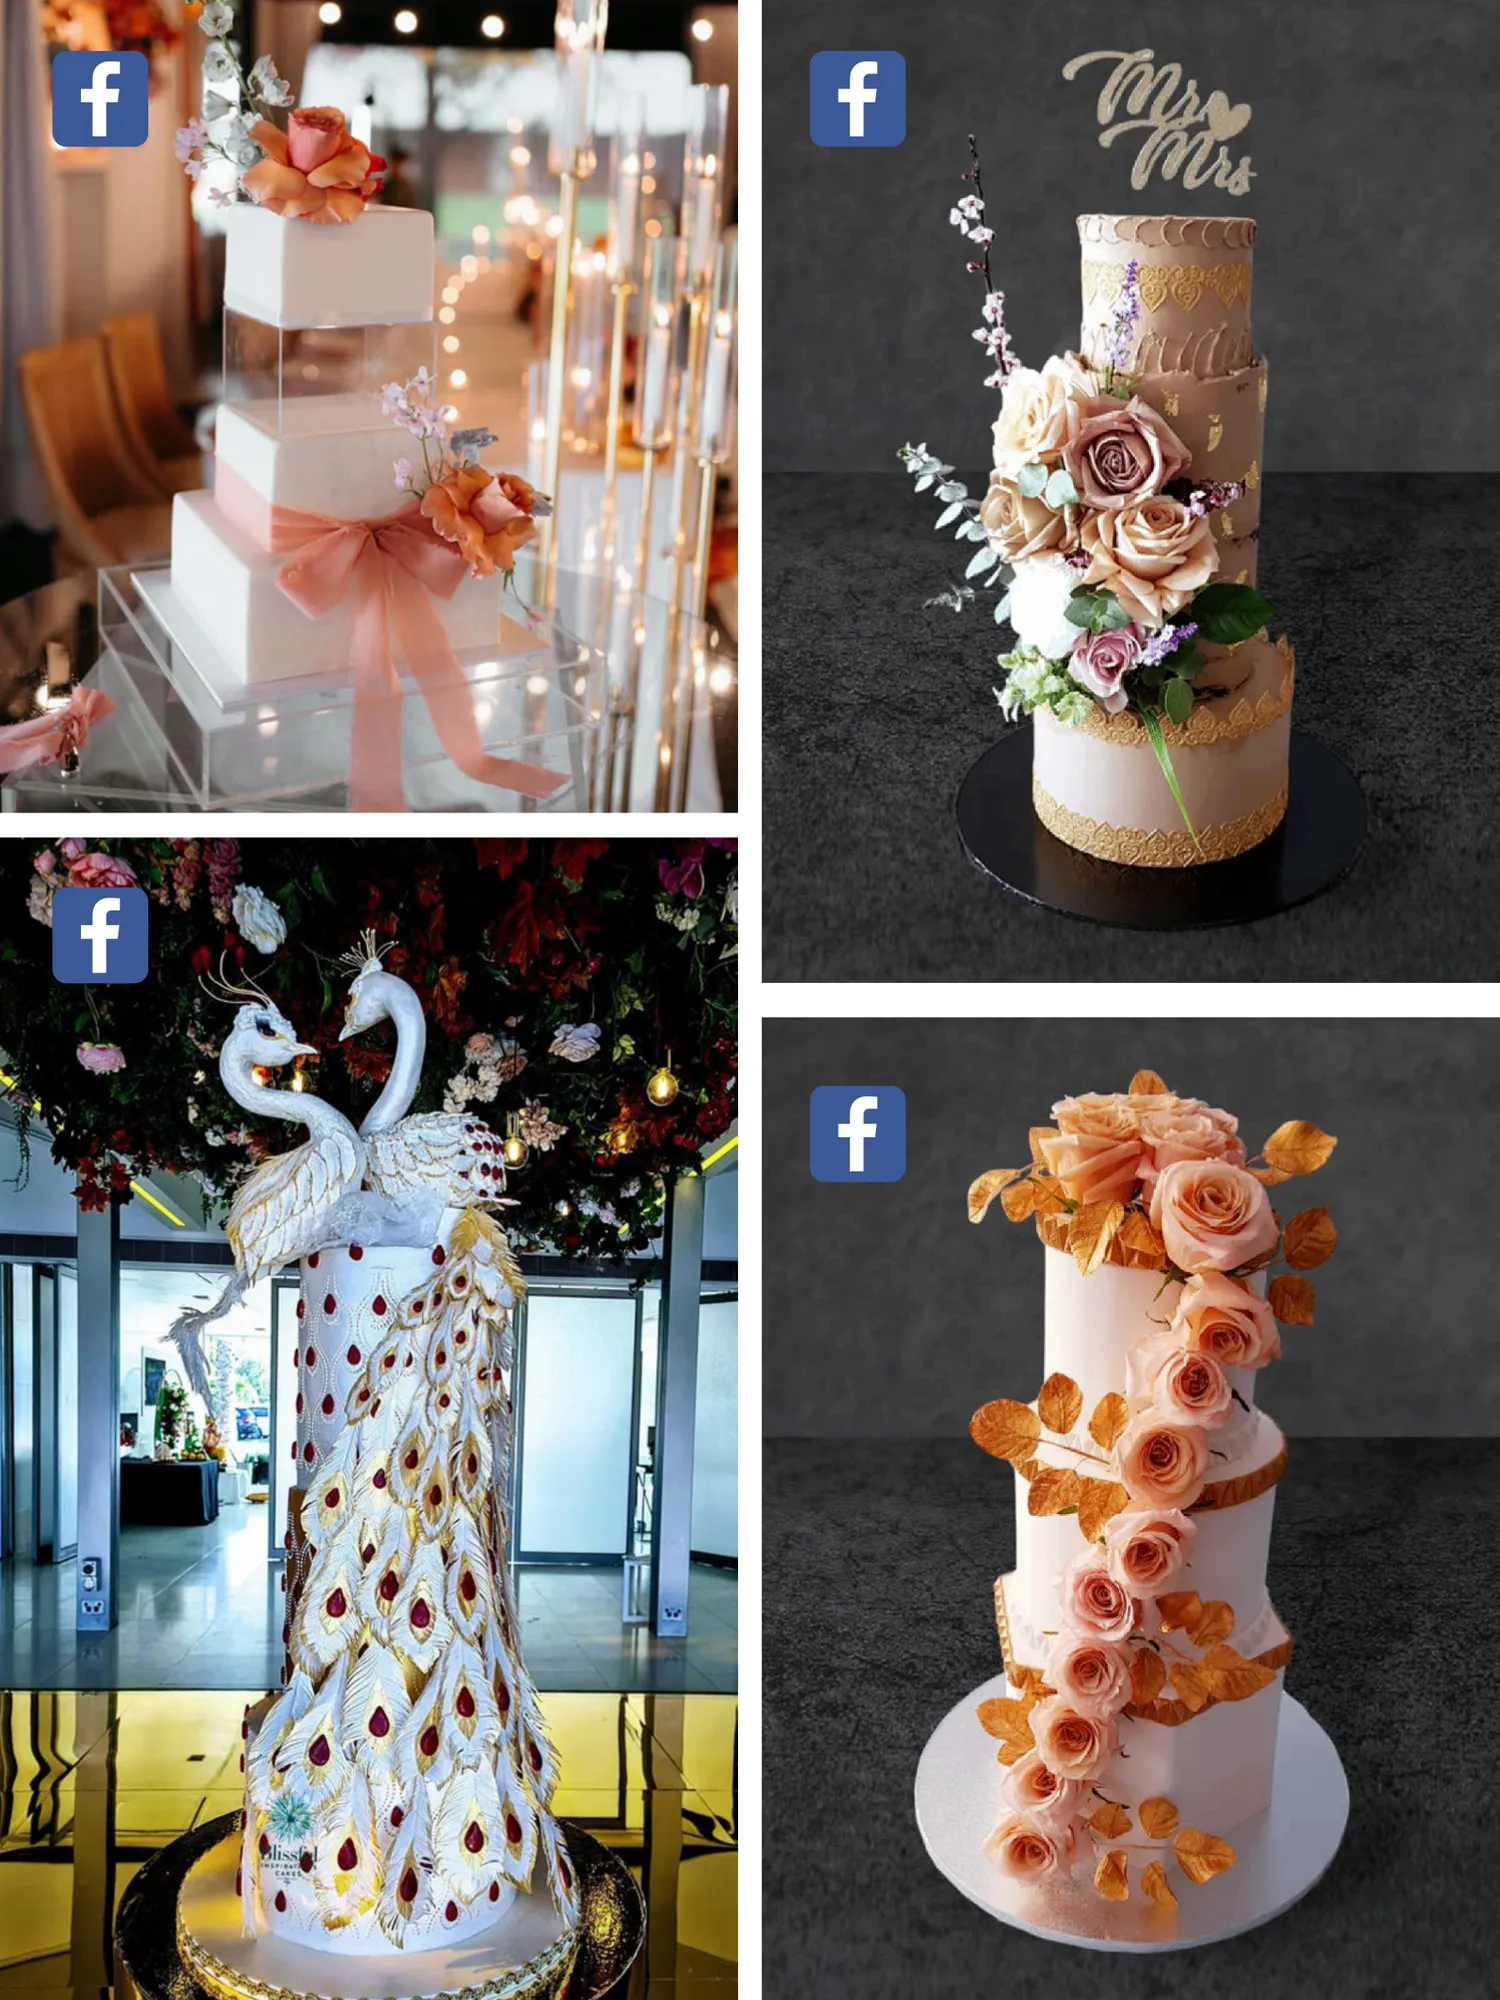
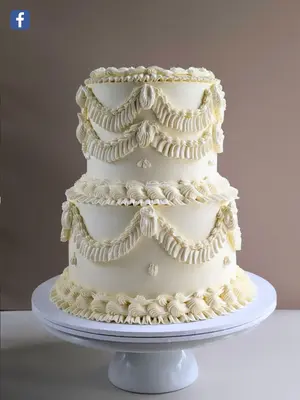
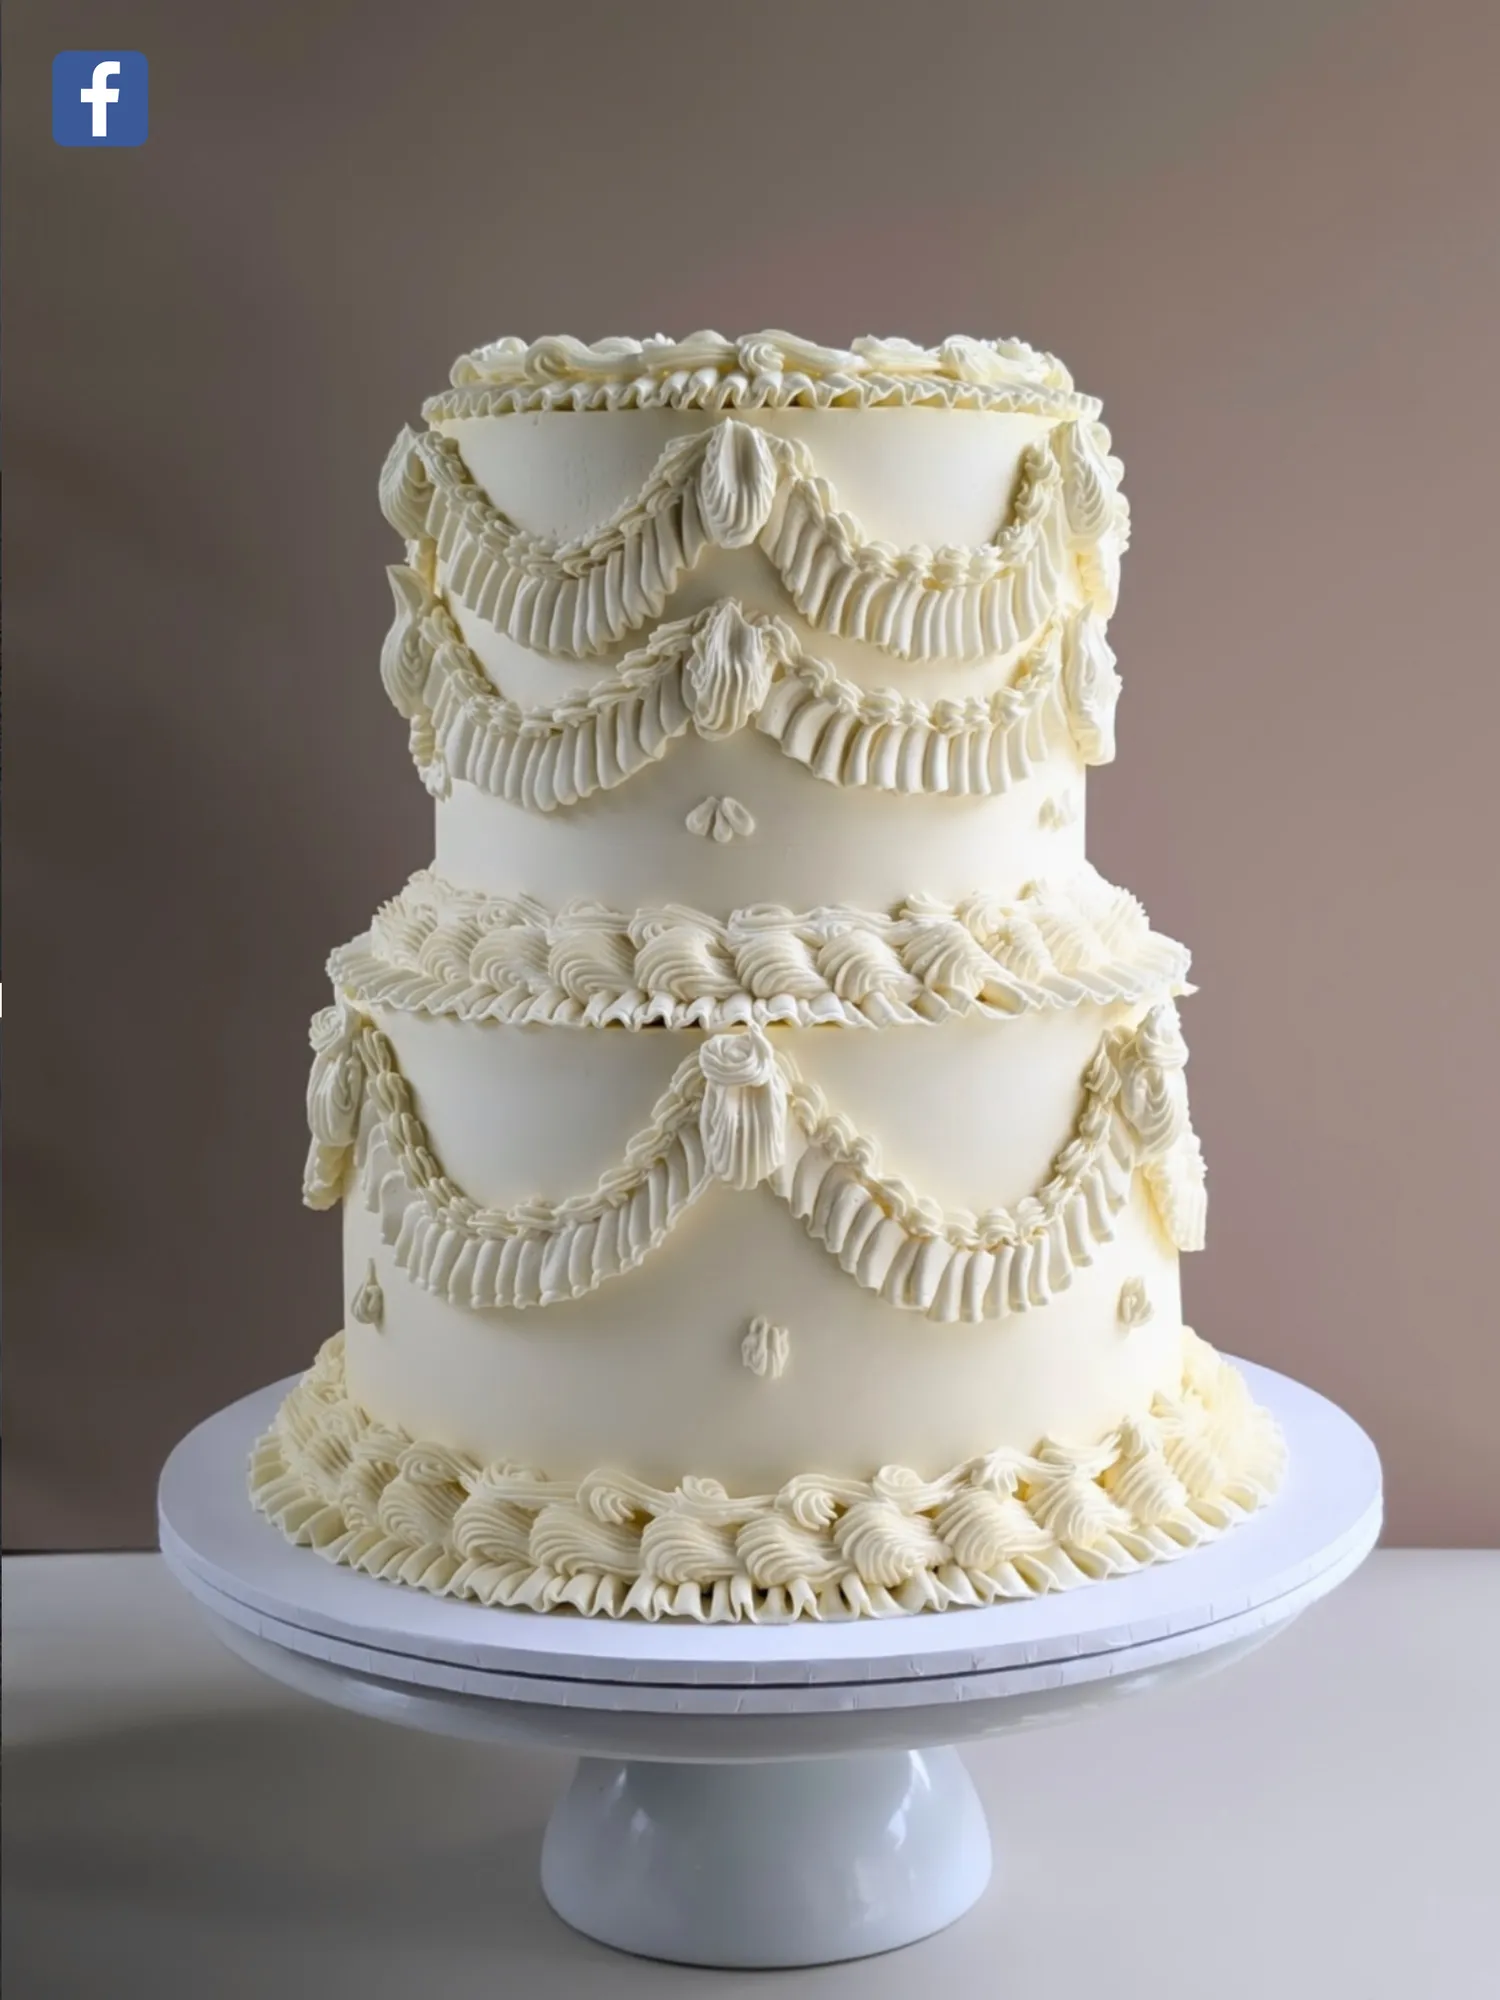
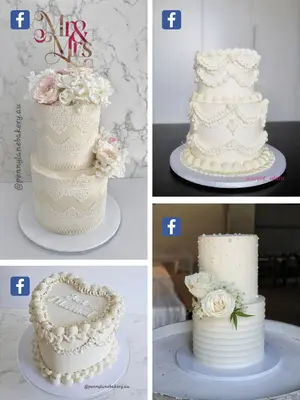
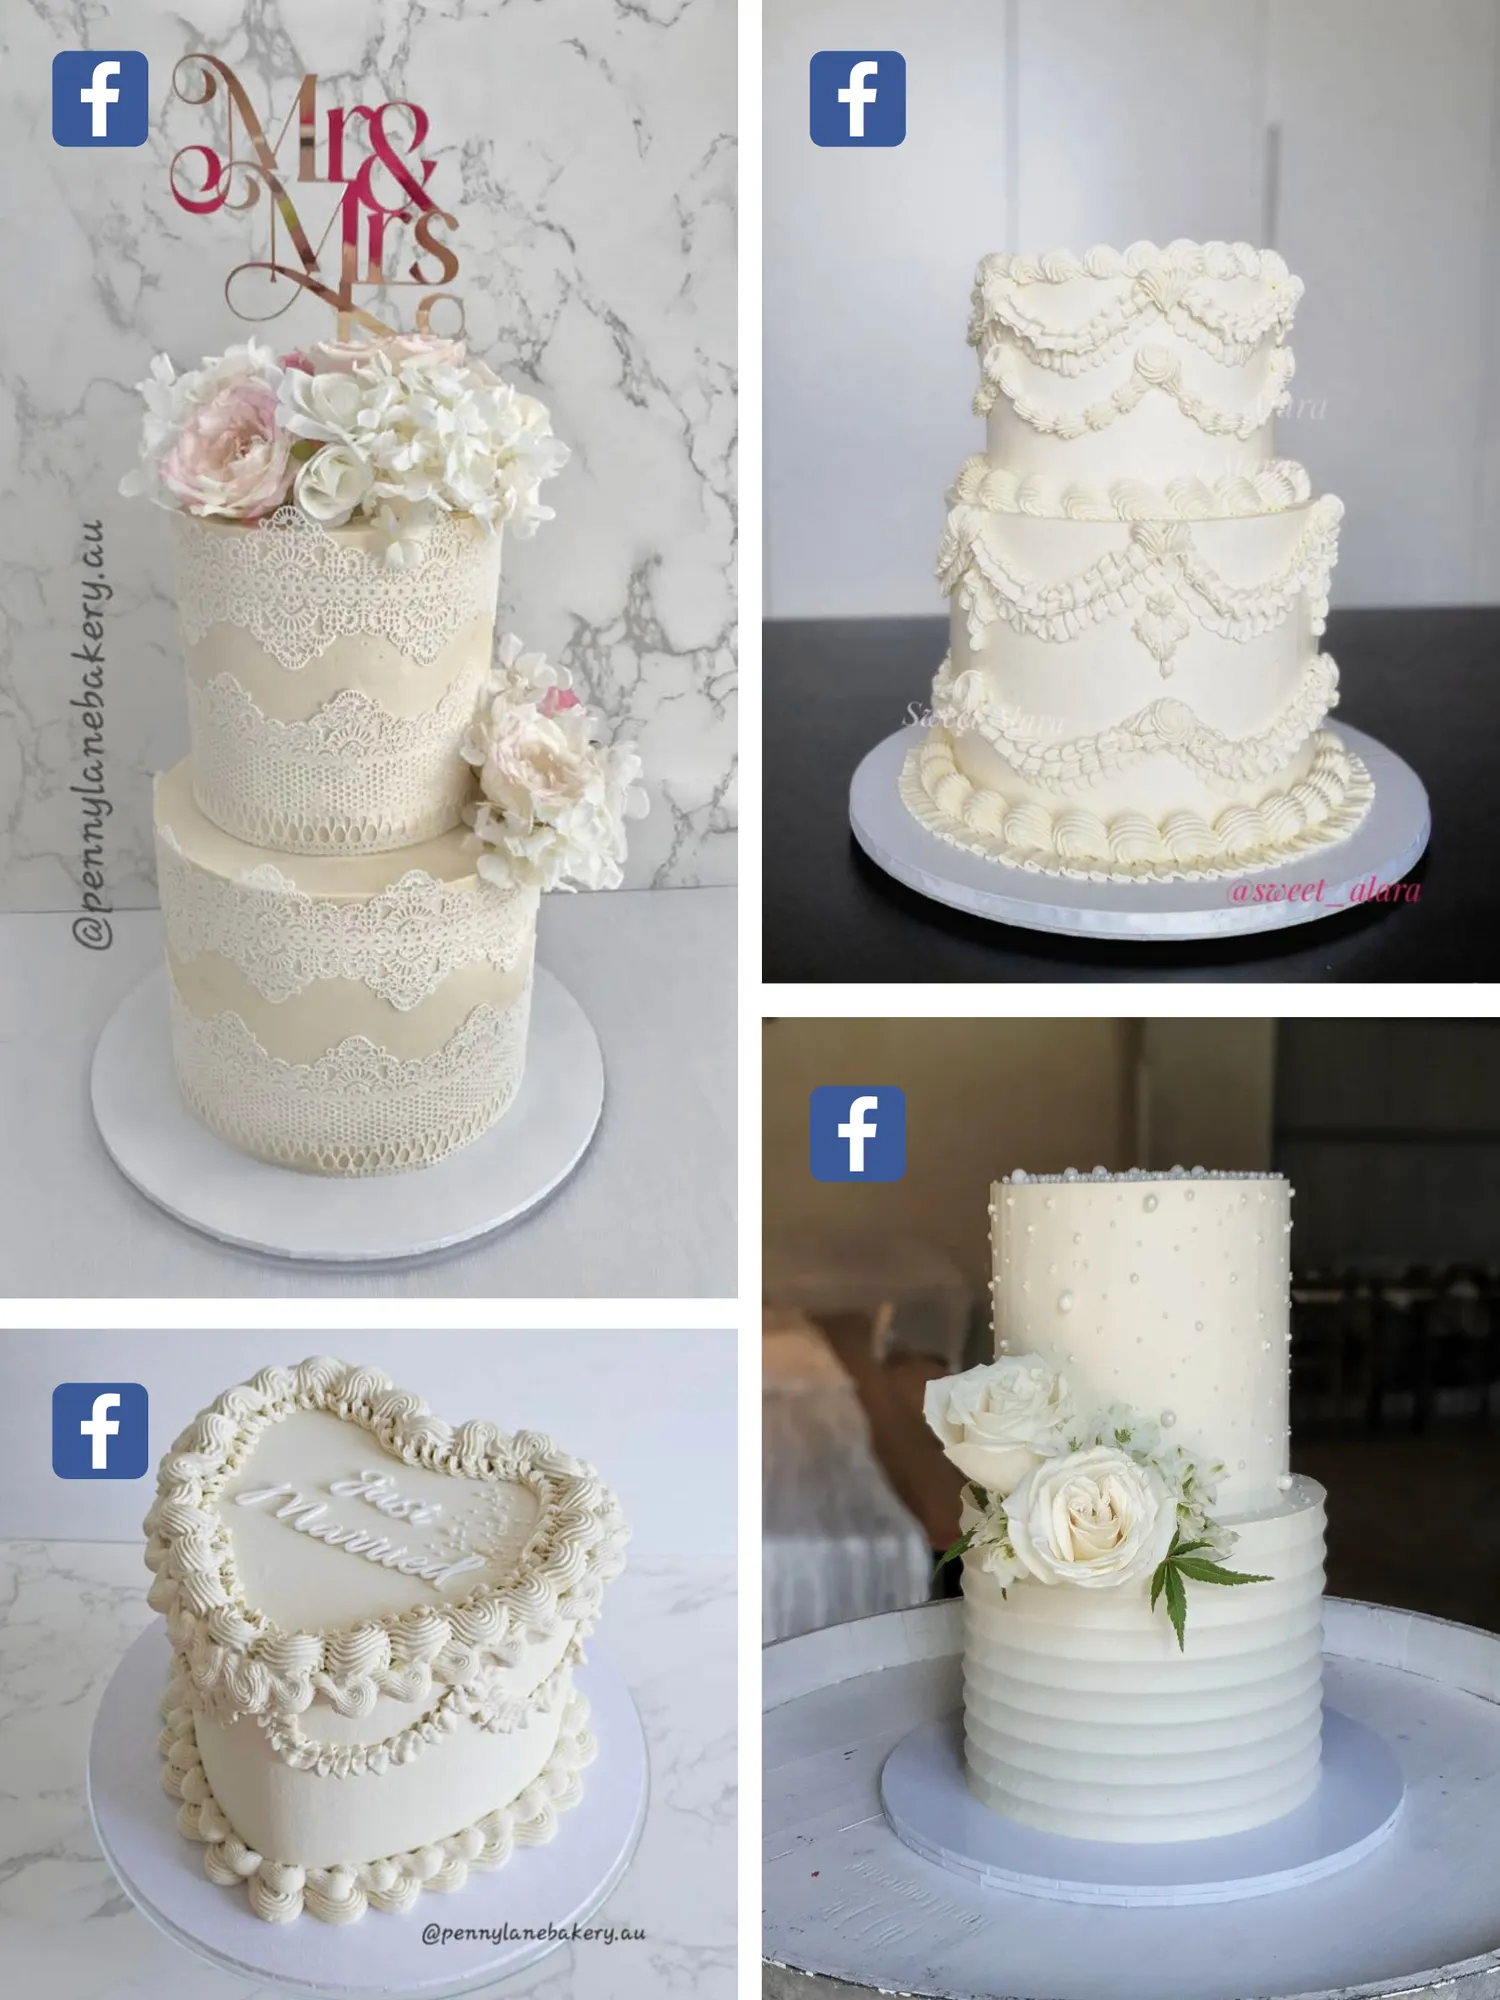
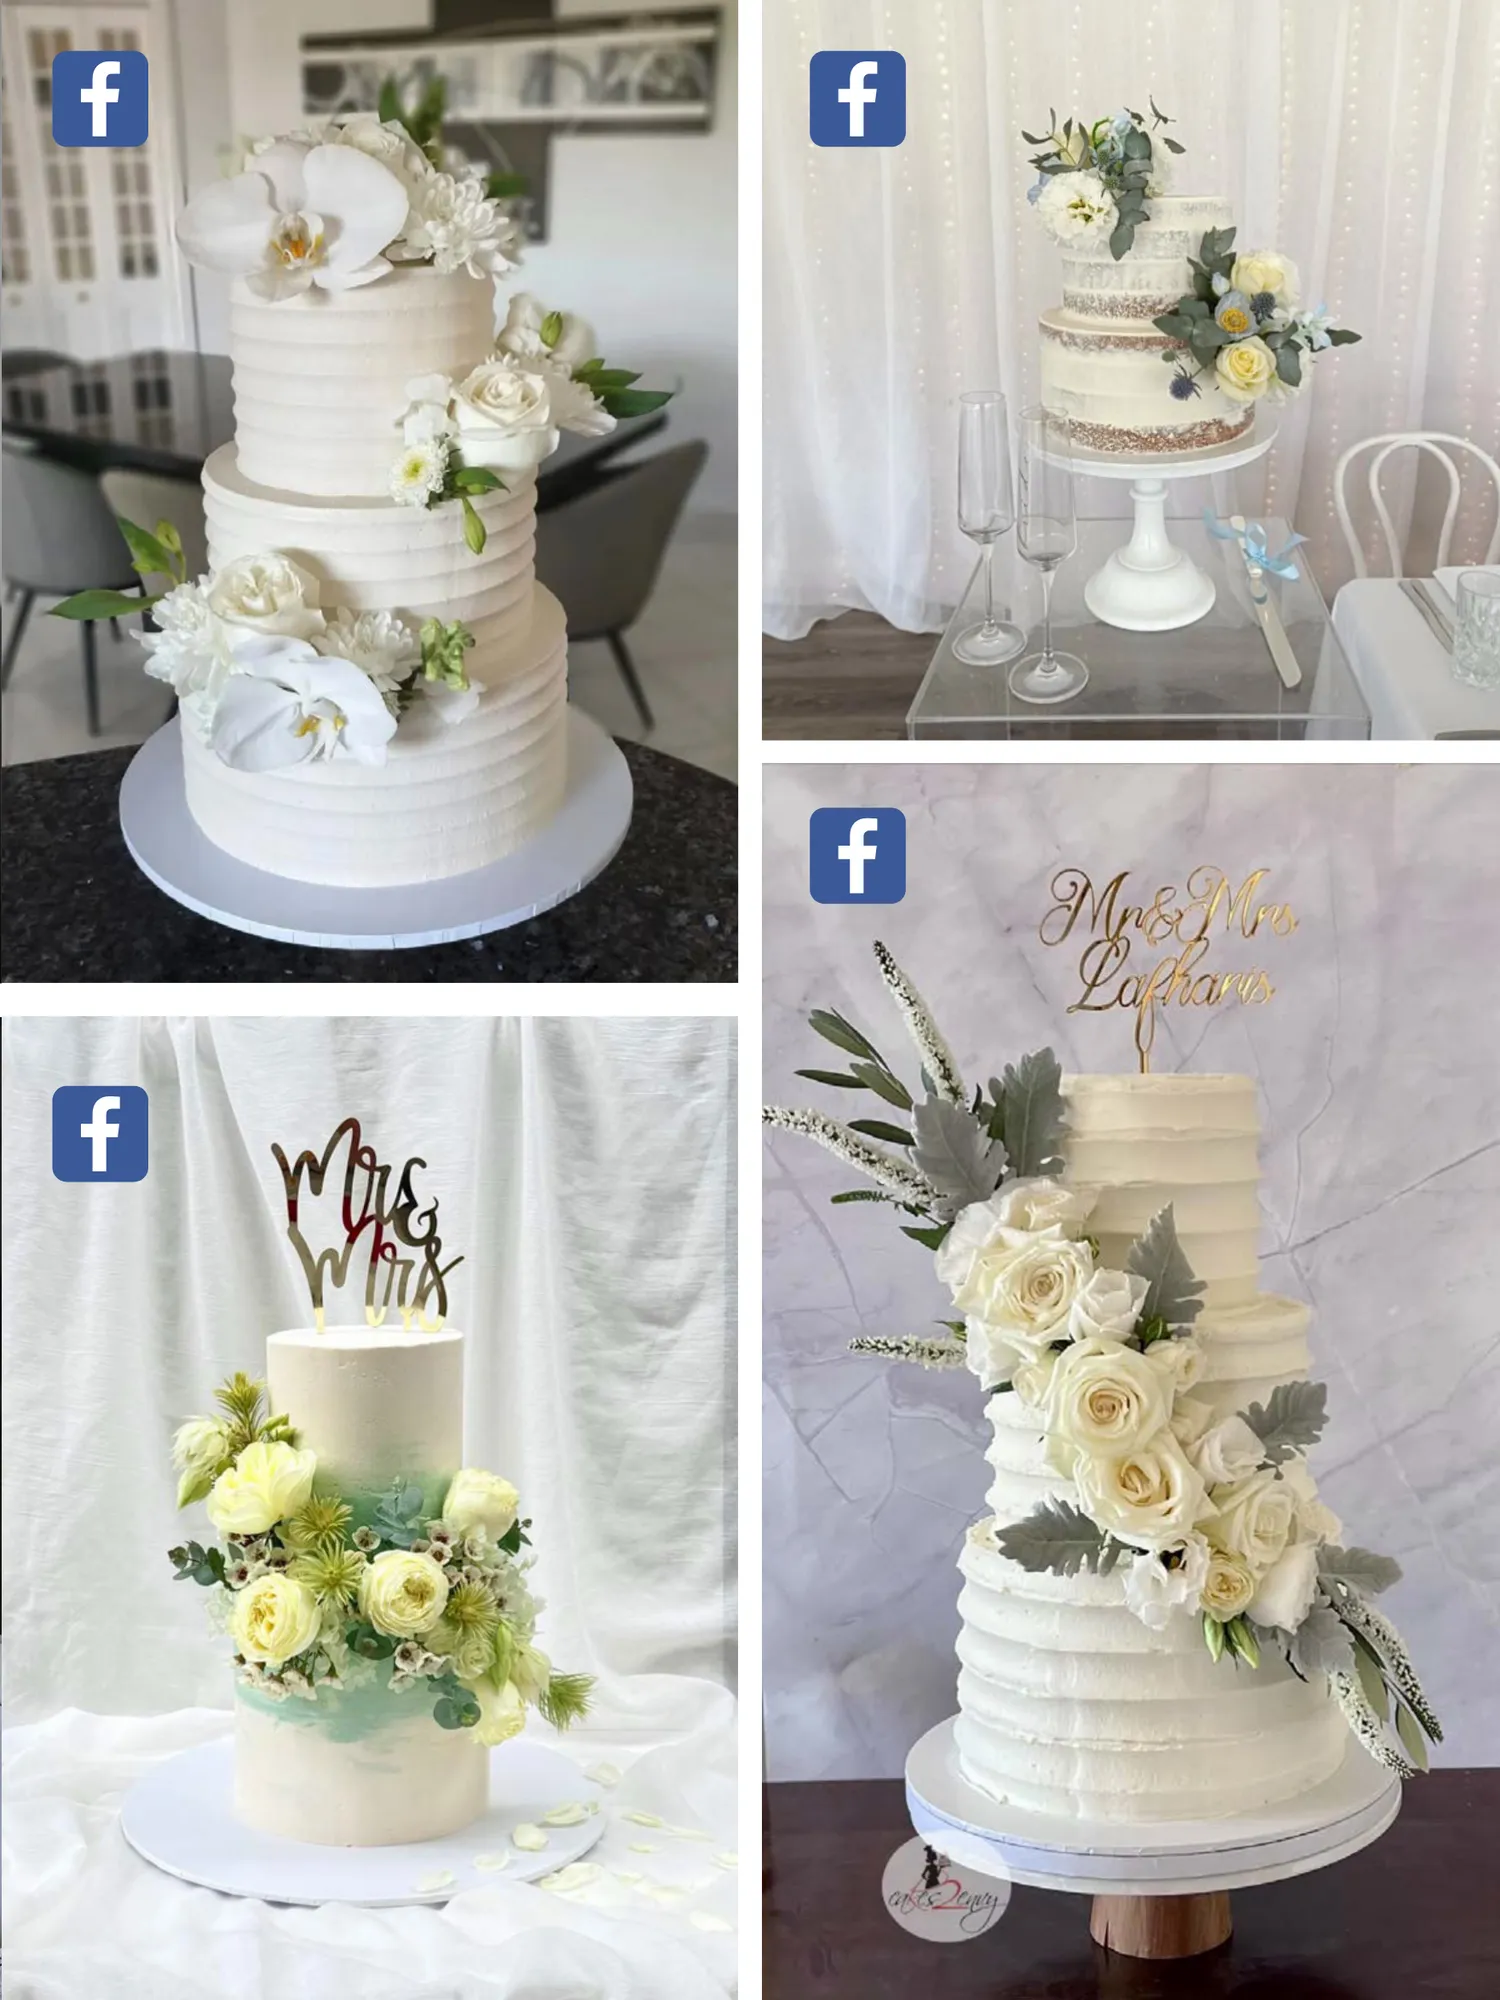
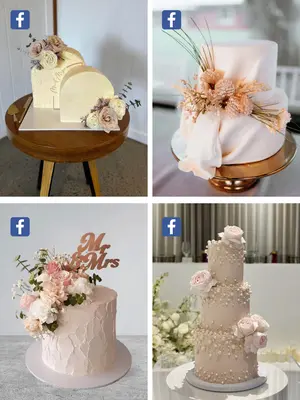
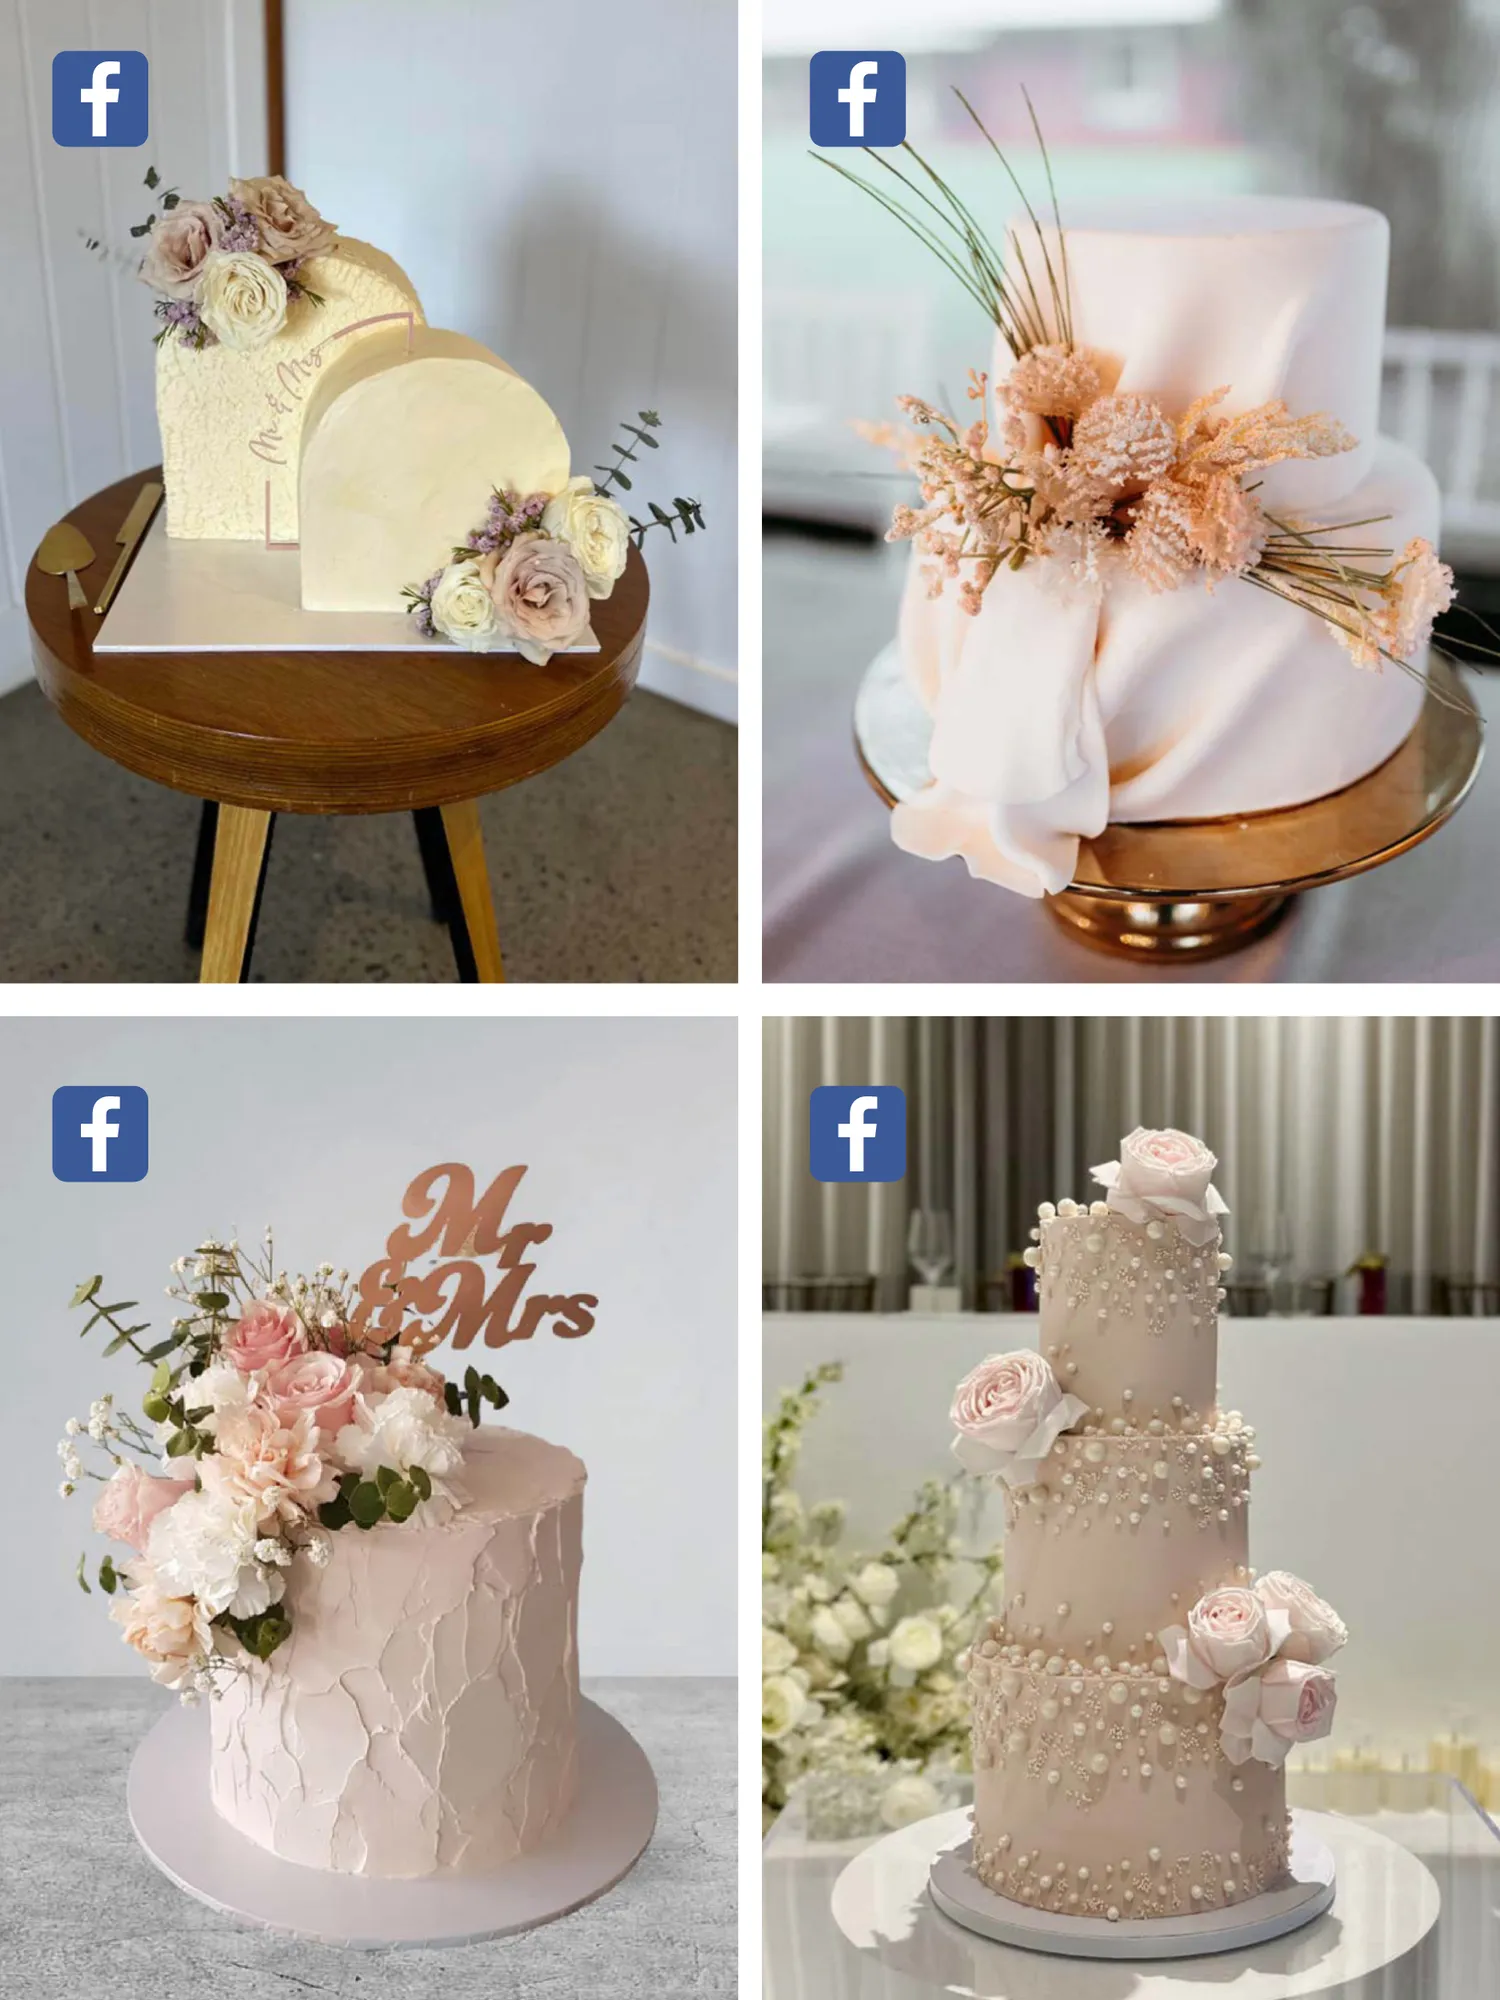
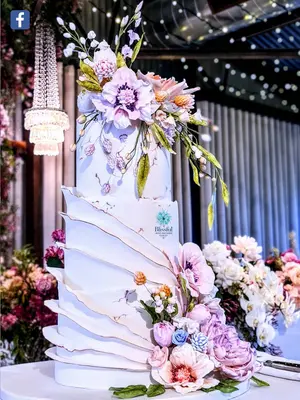
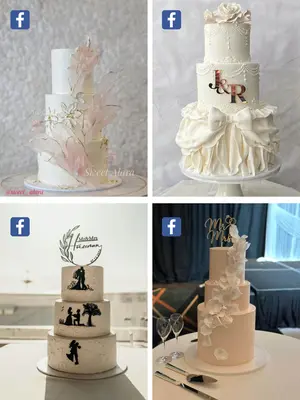
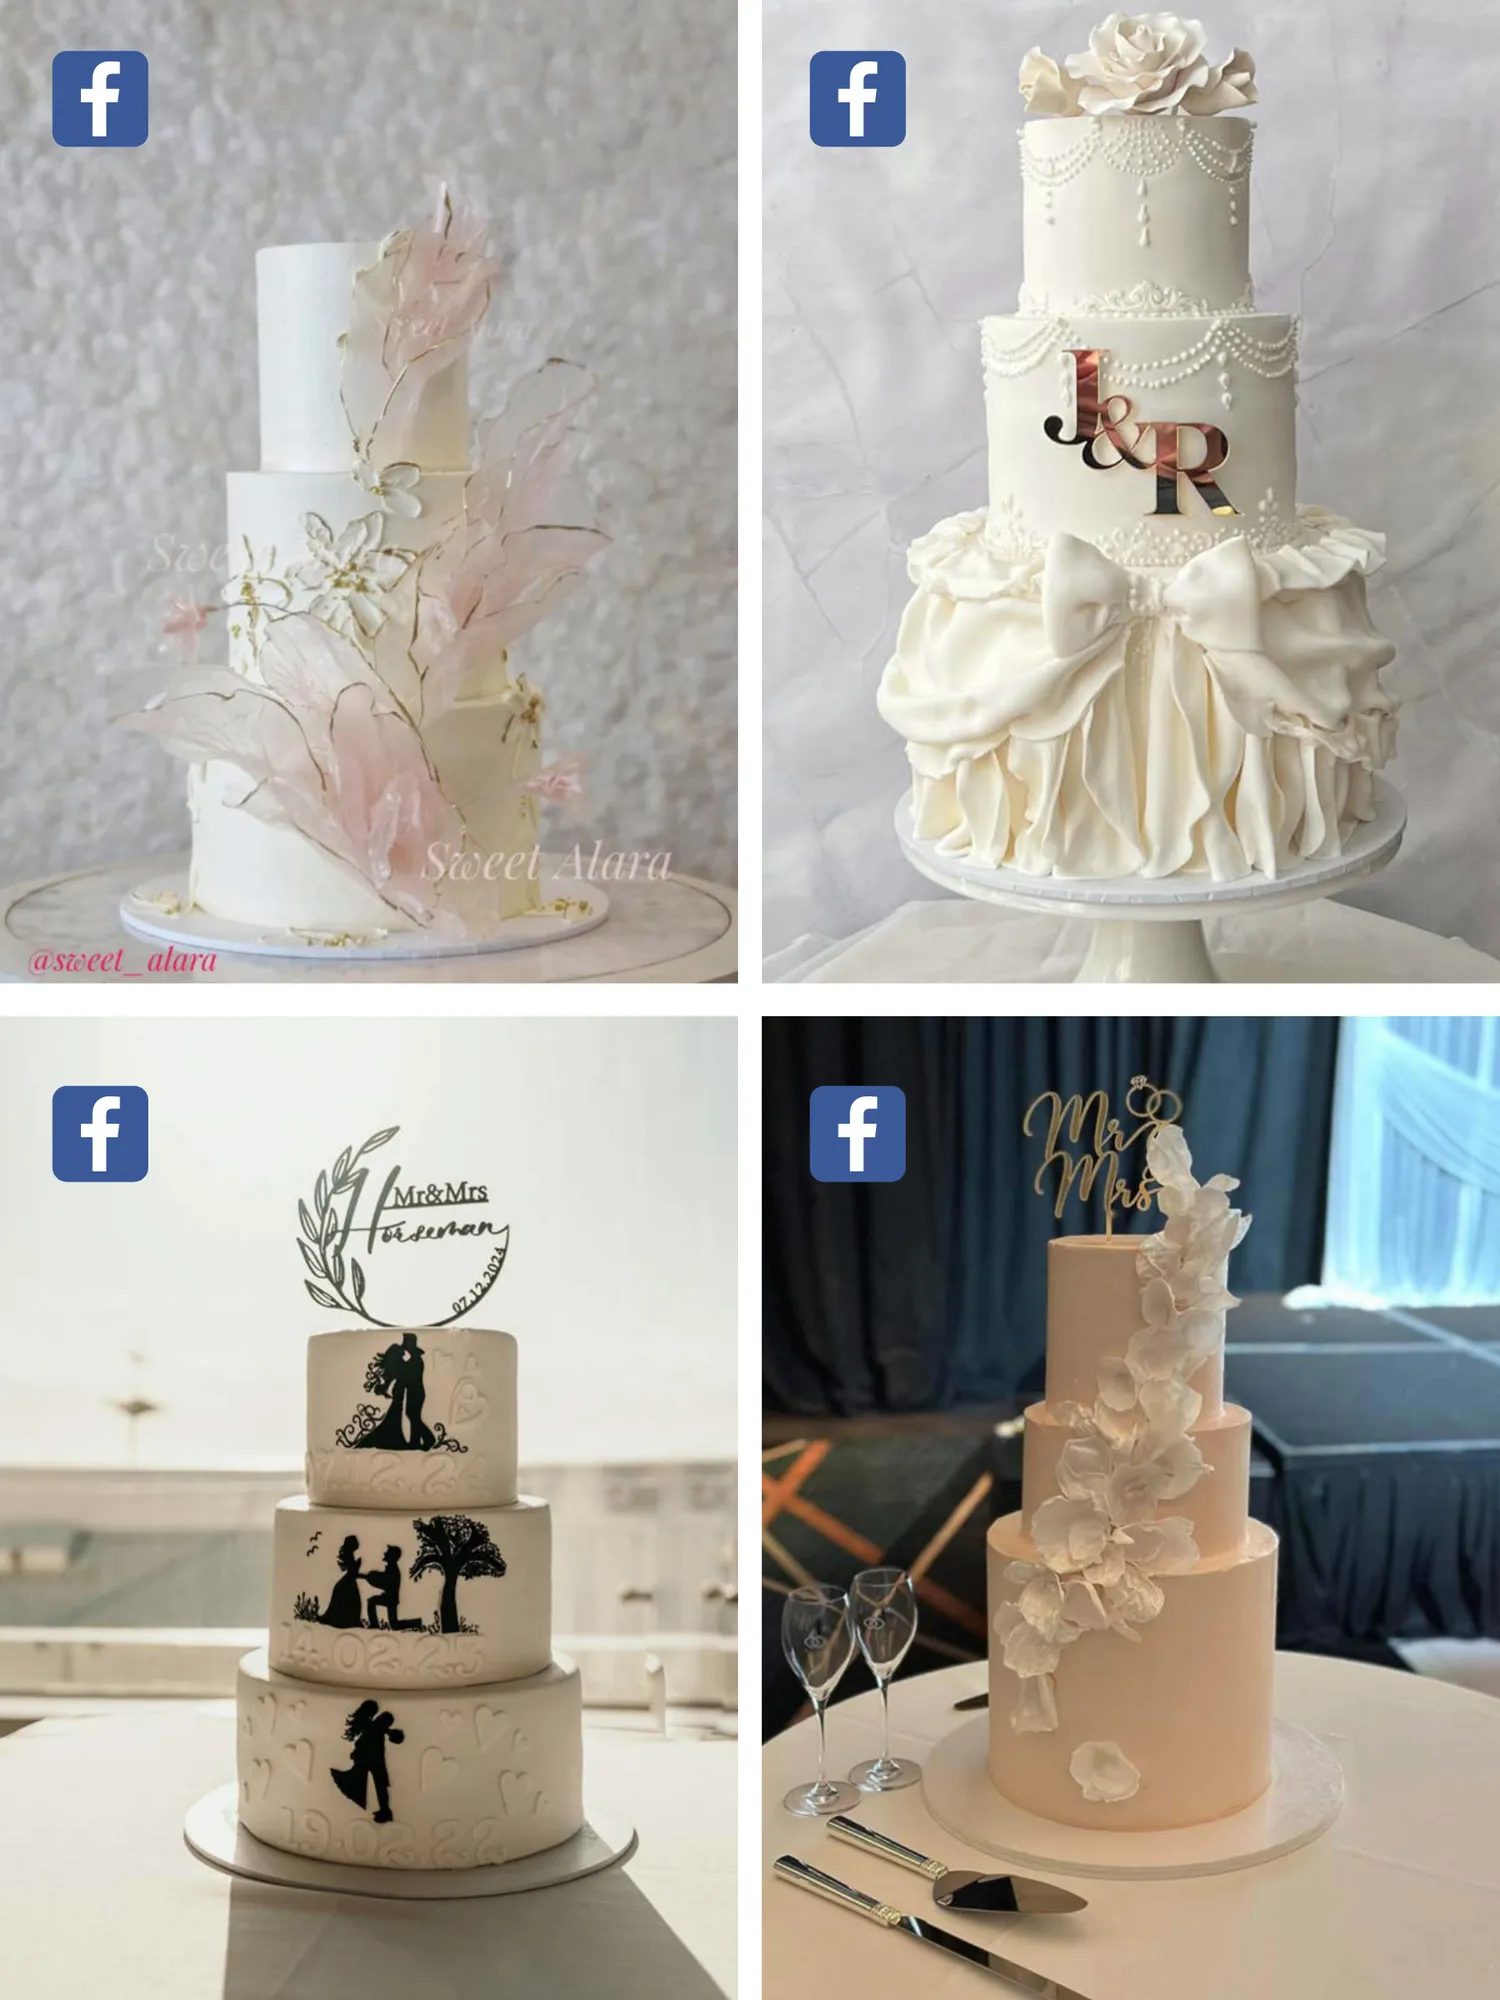
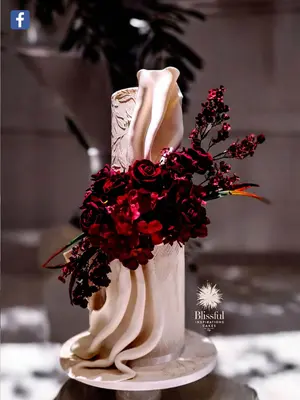
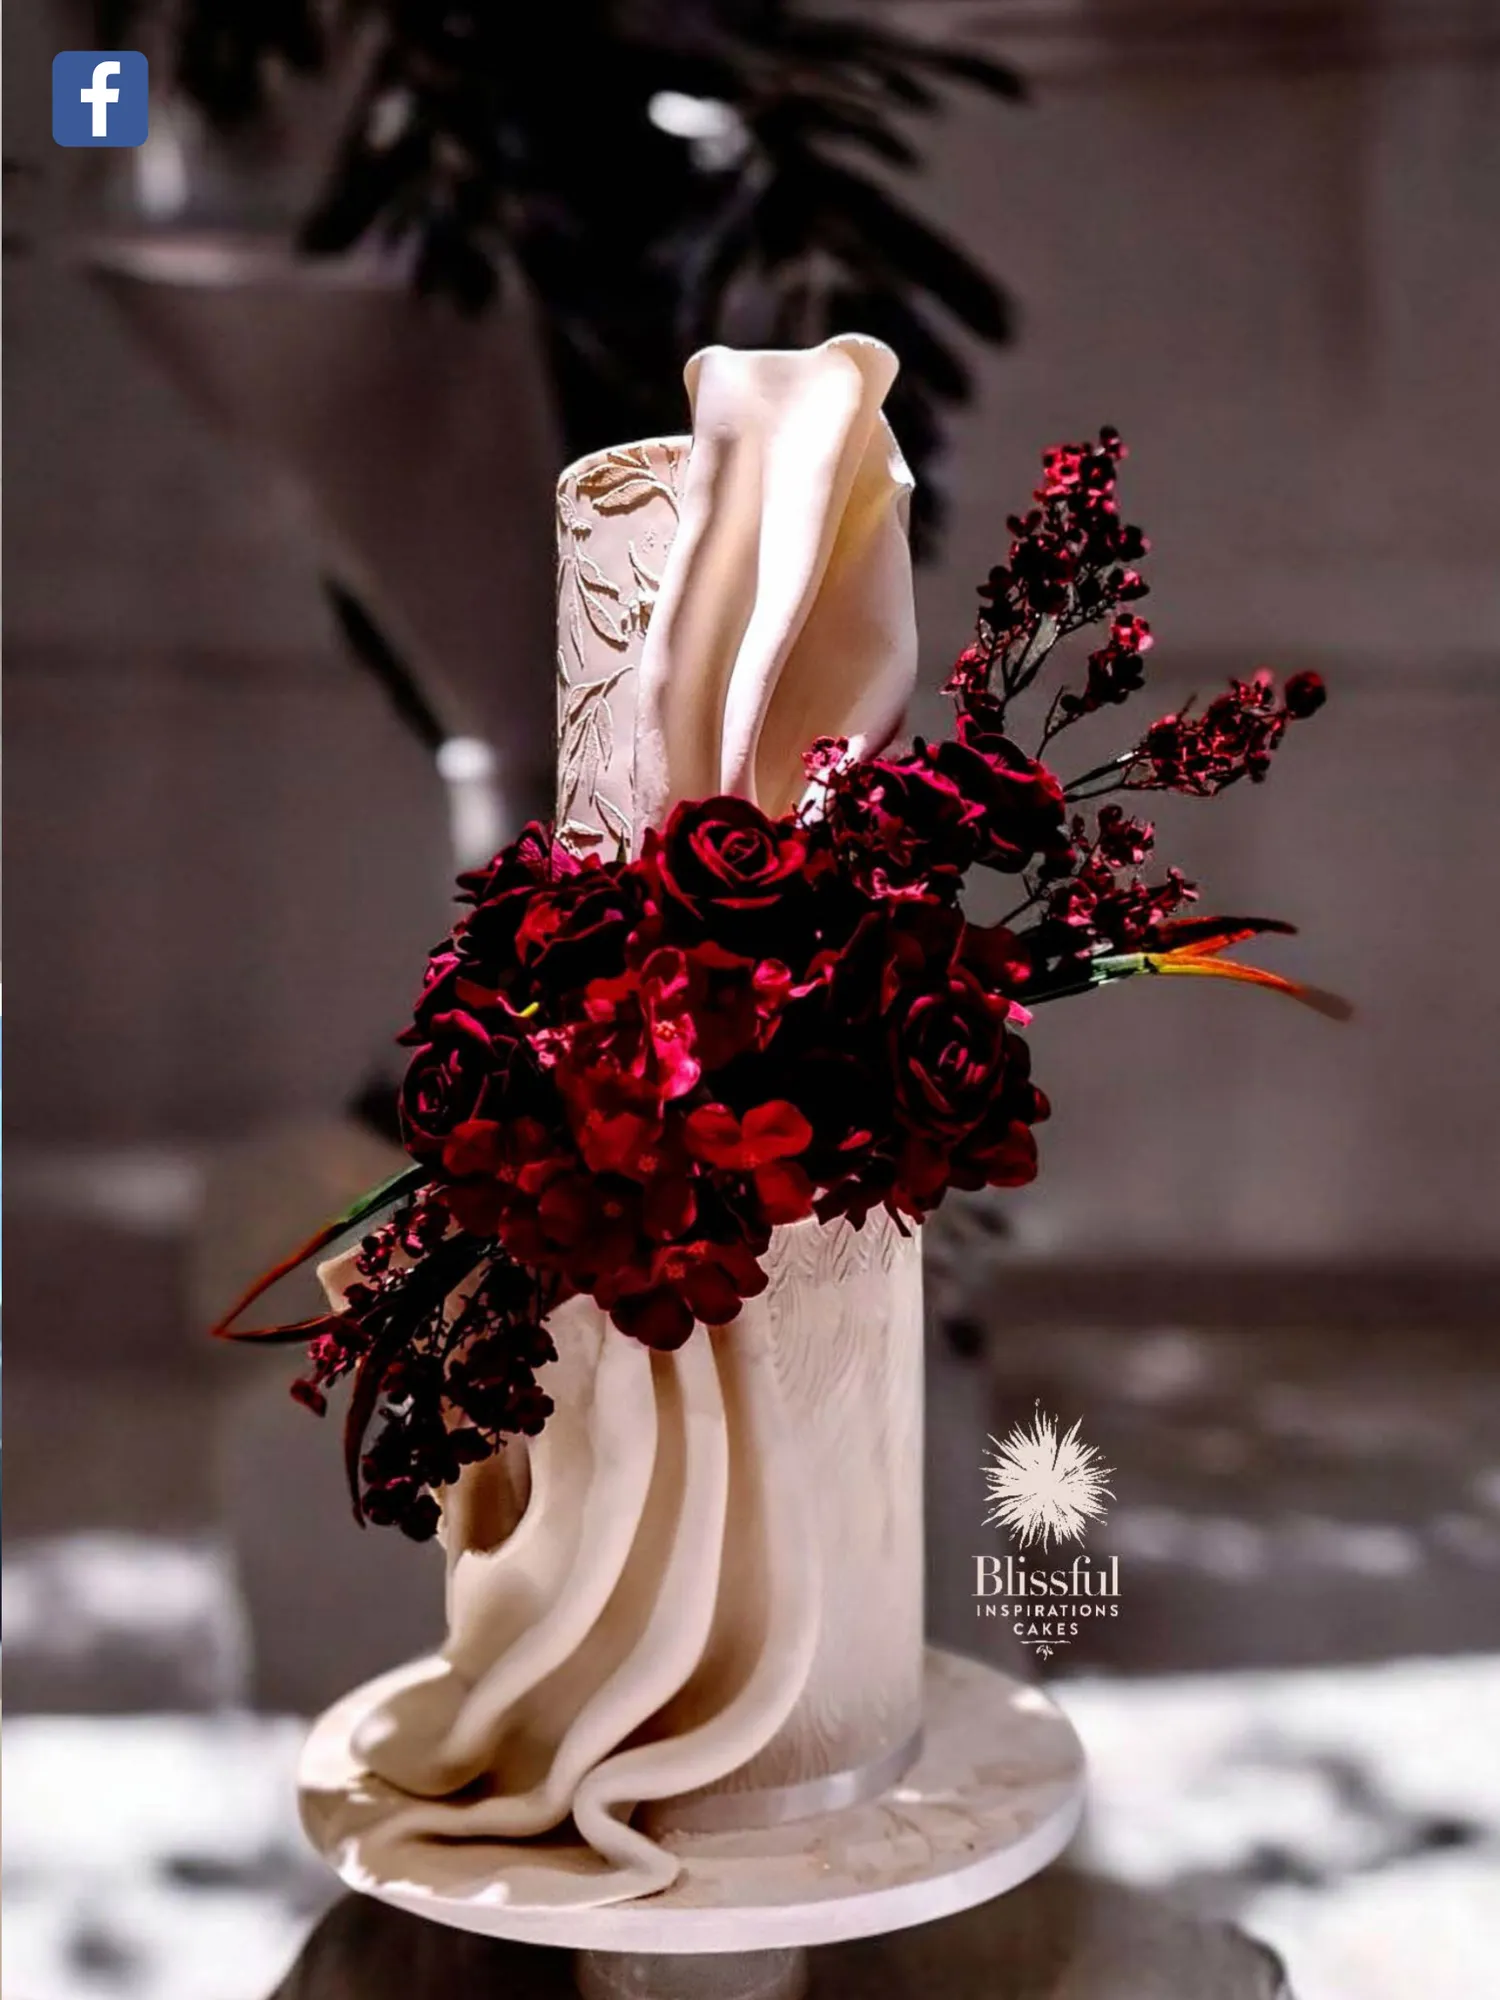
Page 91 text
Baking Box Subscription A QUARTERLY SUBSCRIPTION OF CAKE AND BAKING GOODIES DELIVERED TO YOUR DOOR!
Page 98 text
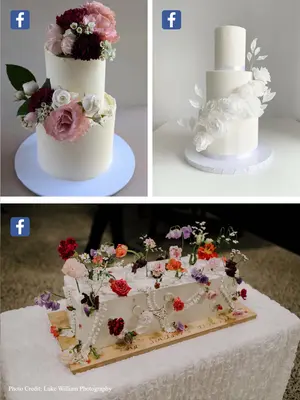
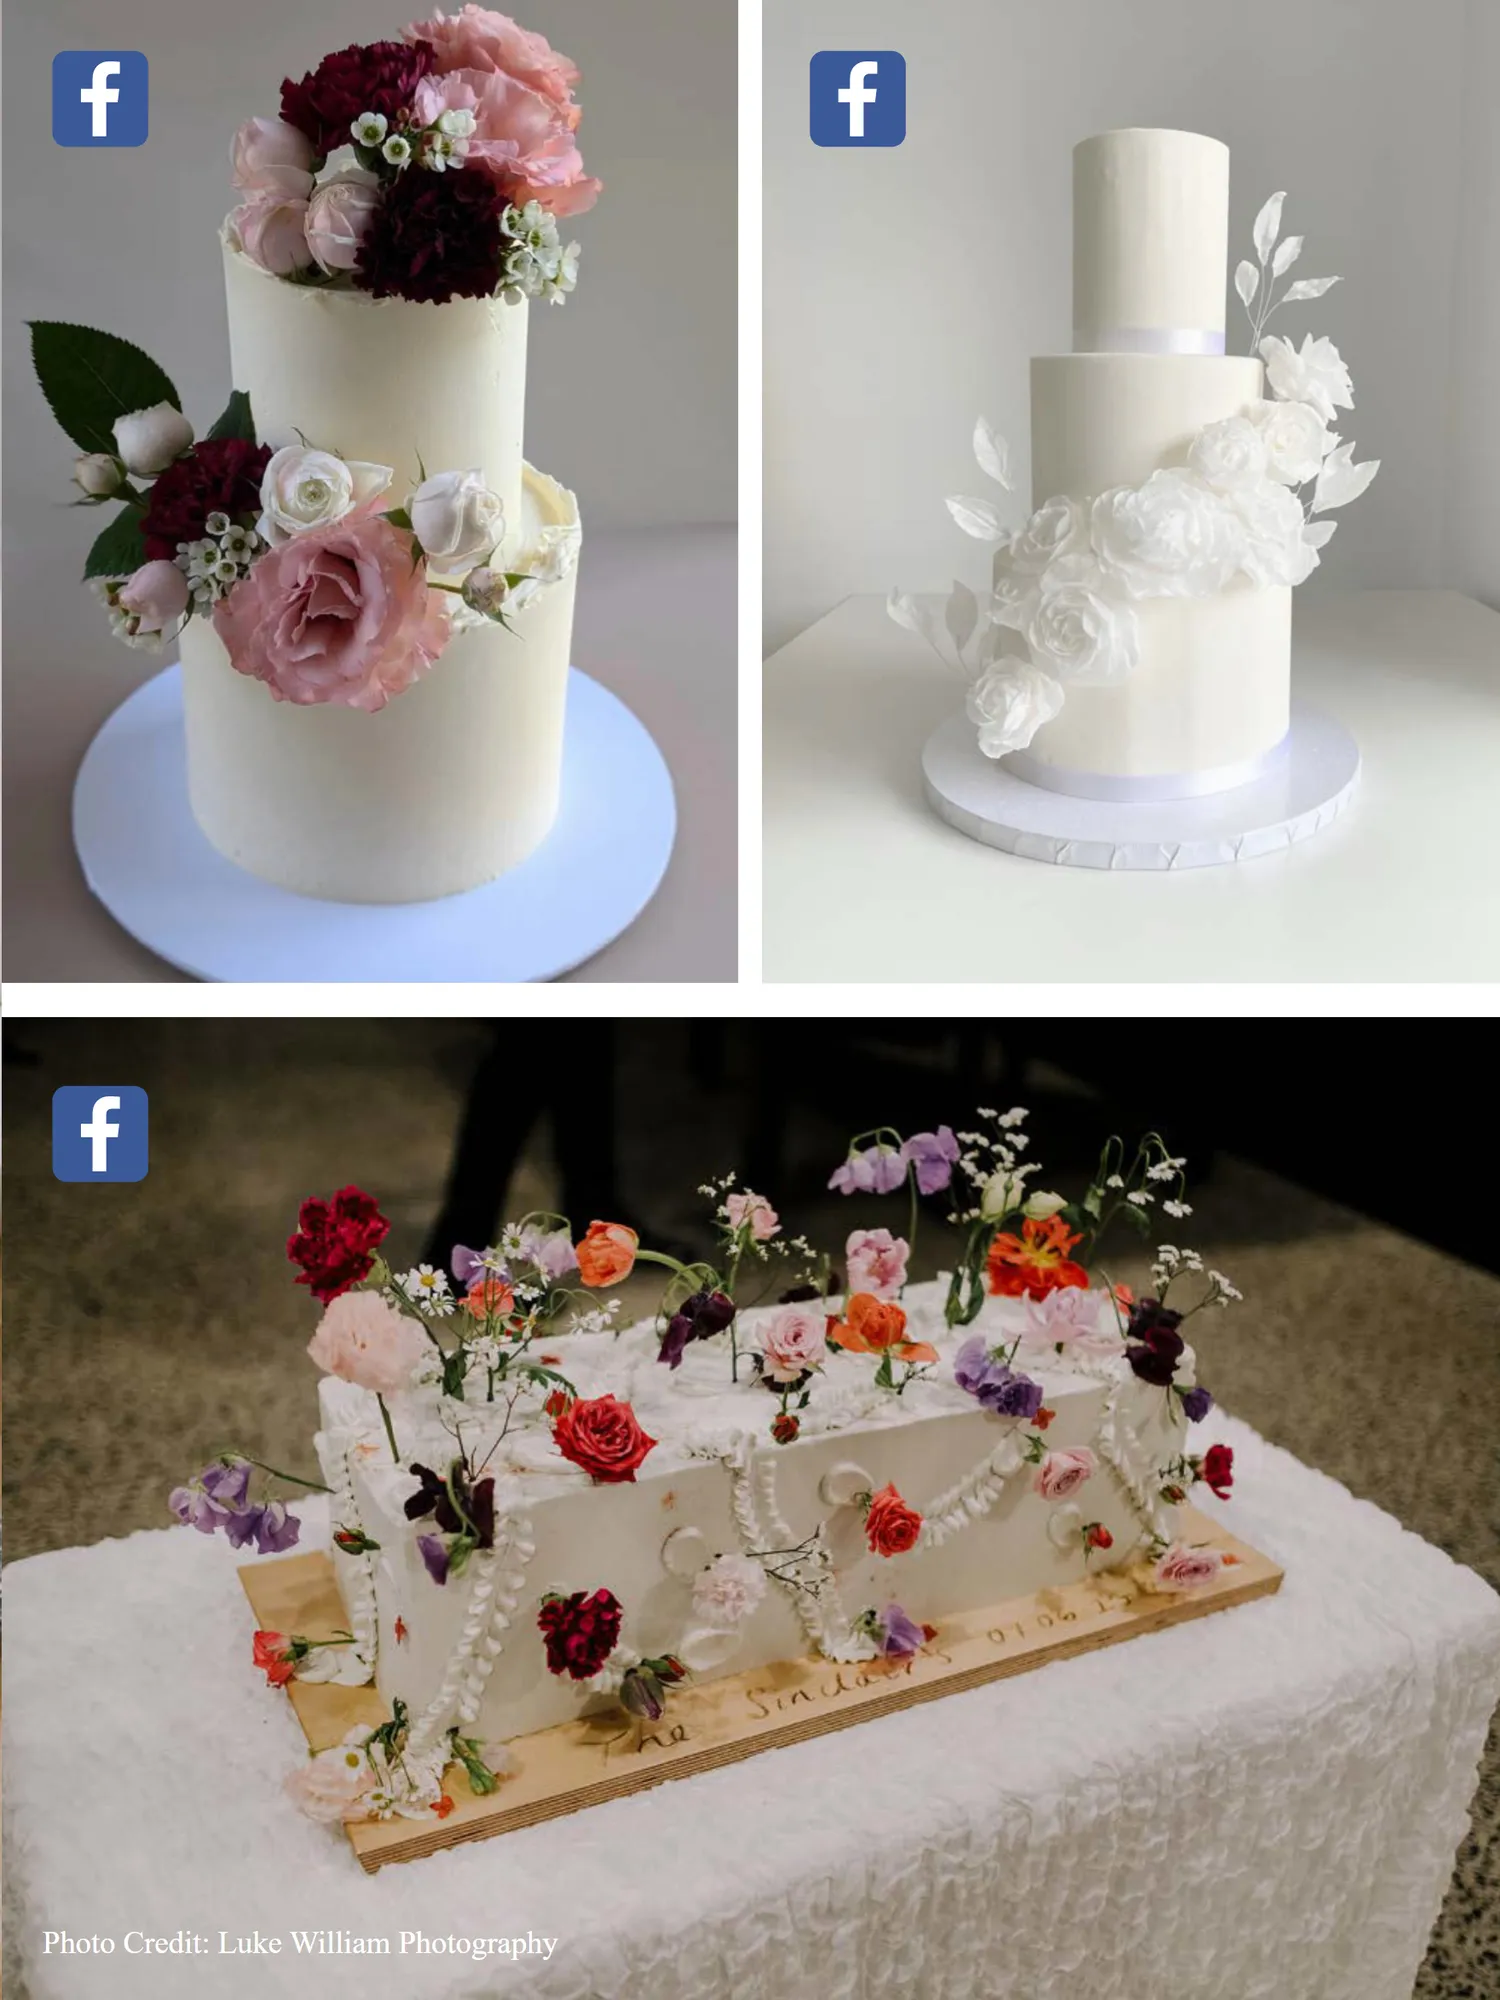
Photo Credit: Luke William Photography
Page 99 text
Photo Credit: Luke William Photography
Page 100 text
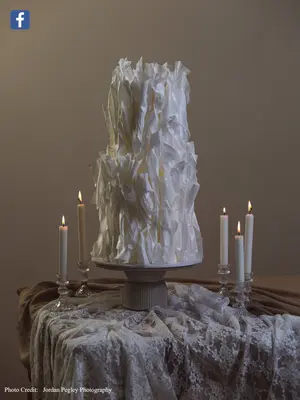
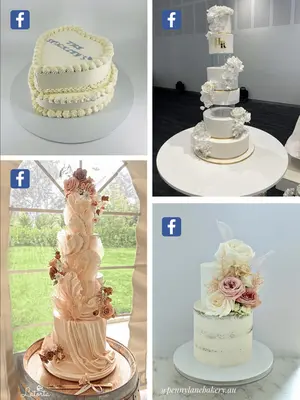
Photo Credit: Jordan Pegley Photography


Page 122 text
2 0 2 5 P R E F E R R E D S U P P L I E R S M E M B E R D I S C O U N T S Become a member of the Australian Cake Decorating Network and SAVE with great DISCOUNTS from our Preferred Suppliers Join us here!


Page 123 text
2025 PREFERRED SUPPLIERS MEMBER DISCOUNTS