Page 20 of 70
Page 2 text
PUBLISHER: Cake! Magazine is published by the Australian Cake Decorating Network. ABN 91 691 434 821.( c) All content copyright 2026 Australian Cake Decorating Network. All rights reserved. Reproduction any part of the magazine without written permission is prohibited. All prices included in Cake! Magazine are approximate and are in AUD unless otherwise stated. Prices quoted are correct at the time of publishing and may vary or be subject to change. The Australian Cake Decorating Network accepts no responsibility for damage or loss as a result of material submitted for, published in or as a result of this publication. The Australian Cake Decorating Network does not have an affiliation with any other magazine. The views and opinions expressed within this publication are not necessarily the views of the publisher or it ' s affiliates. While every effort has been made to ensure the accuracy of the information contained within Cake! Magazine the publisher and Cake! Magazine hold no responsibility for any errors, omissions, or consequences subsequent or otherwise, including loss or damage arising from reliance on information in this publication. Content is supplied for publication in Cake! Magazine by parties external to the Australian Cake Decorating Network and it is the external party ' s responsibility to ensure content and credits are accurate. Cake! Magazine contains advertising through individual arrangements, which may include paid affiliate arrangements. Cake! Magazine may also contain affiliate links. The agreements are held between the advertiser or affiliate and the Australian Cake Decorating Network. To advertise in Cake! magazine, contact: admin @ acdn. me
Page 3 text
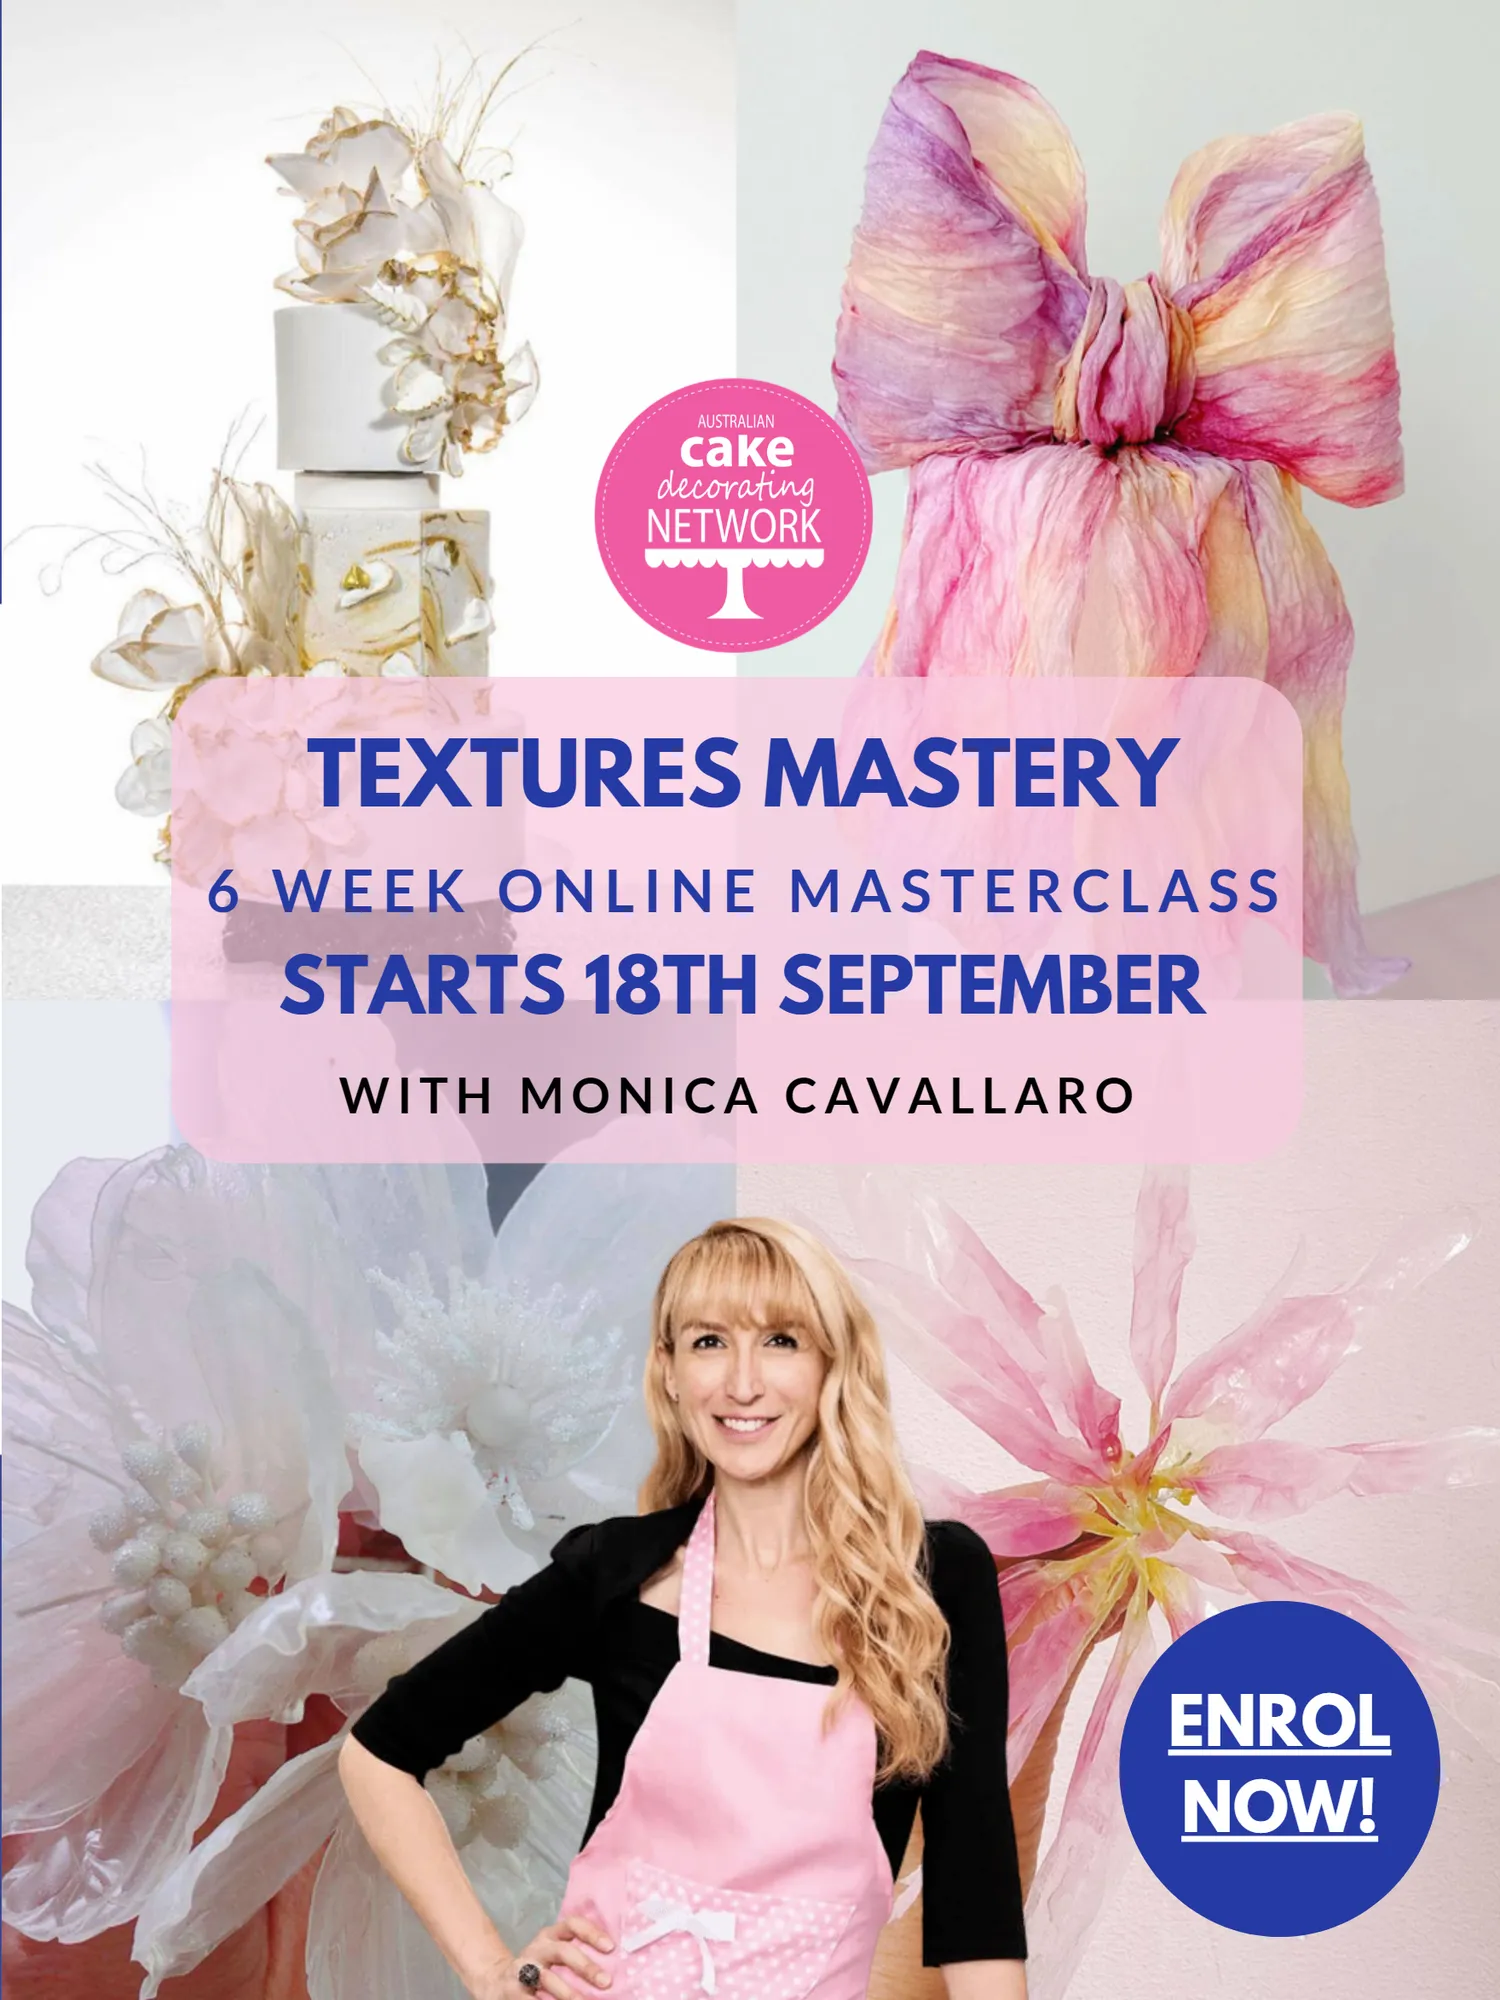
letter from the editor Hello wonderful decorators, There is no denying it— cake decorating is having a bold moment. Over the past few months, everywhere I look I see decorators embracing bigger colours, bolder textures and designs that refuse to blend into the background. From vibrant palettes and statement piping to dramatic ruffles, wafer paper details and sculptural buttercream finishes, there seems to be a growing confidence within our community to experiment, take creative risks and let our work stand out. It made this issue ' s theme, Bright, Bold & Beautiful, feel particularly fitting. As submissions began arriving, it quickly became clear that our members had embraced the brief wholeheartedly. Across these pages you ' ll find cakes bursting with colour, creative textures and eye-catching details. Some are playful, some elegant, some extravagant, but all of them share one thing in common— they make an impact. One trend that continues to capture decorators ' attention is Lambeth and vintage-style piping. What began as a revival has evolved into one of the most influential decorating styles of recent years, inspiring decorators of all skill levels to pick up a piping bag and experiment with new techniques. We saw this firsthand with the overwhelming response to our recent Lambeth Baking Box, which sold out and prompted a second release. It has been wonderful to watch members take traditional techniques and reinterpret them in fresh, modern ways. Alongside piping, texture continues to be everywhere. Ruffles, drapes, wafer paper elements, palette knife finishes and expressive buttercream work are adding depth and movement to designs in ways that feel both contemporary and artistic. It ' s a trend we ' re excited to explore further with the return of Monica Cavallaro ' s popular Textures Mastery program, returning from 18 September For decorators looking to elevate their work and develop more confidence with texture-focused techniques, it promises to be a fantastic learning opportunity. At the same time, hyper-realistic cakes continue to push creative boundaries, challenging decorators to transform everyday objects, food, drinks and everyday items into edible works of art. The level of creativity being shared throughout the industry right now is genuinely exciting to watch. As inspiring as the trends themselves are, what excites me most is what lies ahead for our community. Editor’ s Tip: Somewhere in this issue we’ ve hidden a small reward for readers who make it all the way through. If you spot it, follow the instructions— we love rewarding attentive decorators.
Page 4 text
letter from the editor The second half of 2026 is shaping up to be one Another exciting milestone is the launch of the Baking of ACDN's busiest and most exciting periods Box App for subscribers. This has been a project we've yet. Behind the scenes, preparations are well been working towards for some time, and we're looking underway for ACDN 'Cake Alley' this July — a forward to creating an even better experience for brand-new event that will bring decorators, members accessing tutorials, resources and suppliers and the wider cake community educational content. together in person. It's something we've been working hard on behind the scenes and we're While there is certainly a lot happening, what continues incredibly excited to finally share it with you. to impress me most is the creativity, generosity and As planning progressed, it became clear that willingness to share that exists within this community. “Mini Festival of Cake” created expectations that Every issue of Cake! Magazine reminds me just how didn't quite match what we were building. much talent exists within ACDN, and how inspiring it is Cake Alley is a smaller, more intimate to see decorators encourage one another, exchange experience designed specifically for the Craft & ideas and celebrate each other's successes. Quilt Fair audience—combining demonstrations, shopping, creativity and hands- The cakes featured throughout this issue are a on fun in one colourful destination. wonderful example of that spirit. They remind us that decorating isn't always about restraint. Sometimes it's We also have our Annual Awards Night about saying yes to the brighter colour, the bigger coming up in September, an opportunity to texture, the extra detail or the design idea that feels a celebrate the incredible talent, creativity and little more ambitious than usual. Often those are the contributions that make this industry so special. creations that become the most memorable. There is something incredibly rewarding about I hope this issue leaves you feeling inspired to taking the time to recognise the decorators, experiment, create boldly and continue pushing your businesses and community members who help creativity in new directions. shape our industry every day. Happy decorating, We're also continuing to invest in learning opportunities for our members through Emma Holliday upcoming educational experiences including Director & Editor Cake! Mastery - Hyperrealistic Cakes with Australian Cake Decorating Network Emma Amber Comadira-Smith and Tradies Month sponsored by RedStar Insurance. Whether you're looking to refine existing skills, explore new techniques or challenge yourself creatively, there will be plenty of opportunities to learn throughout the remainder of the year.
Page 5 text
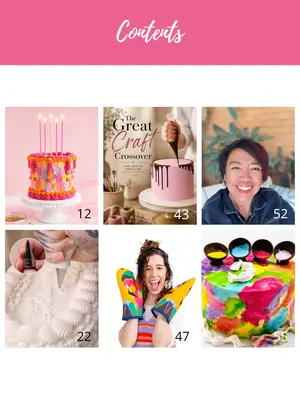
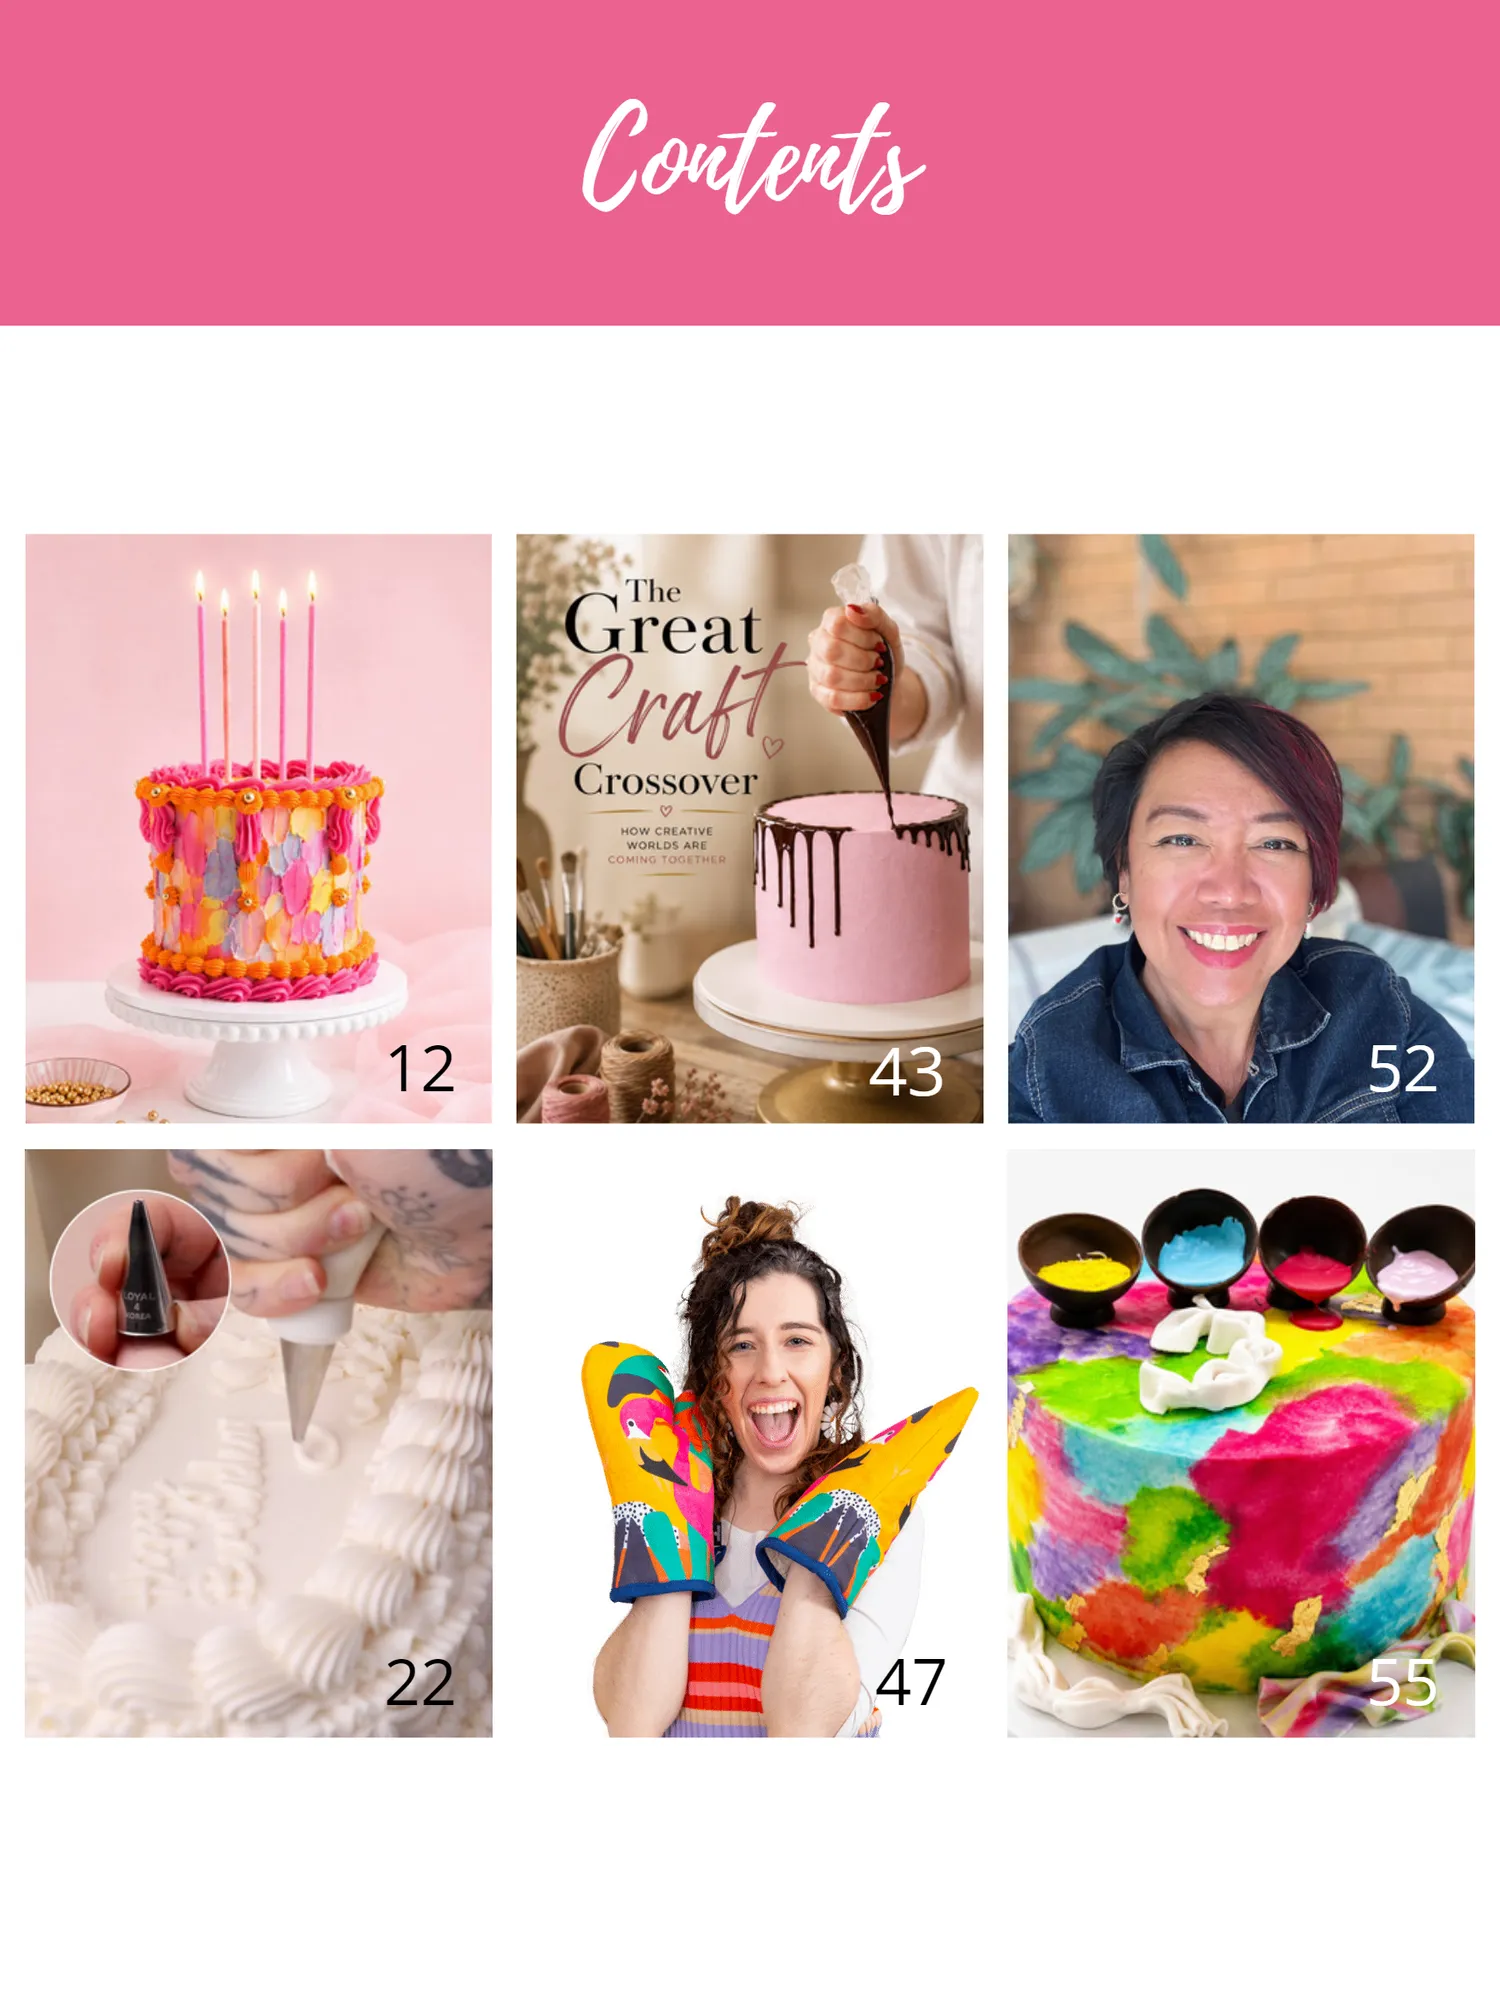
Contents 12 43 52 22 47 55
Page 6 text
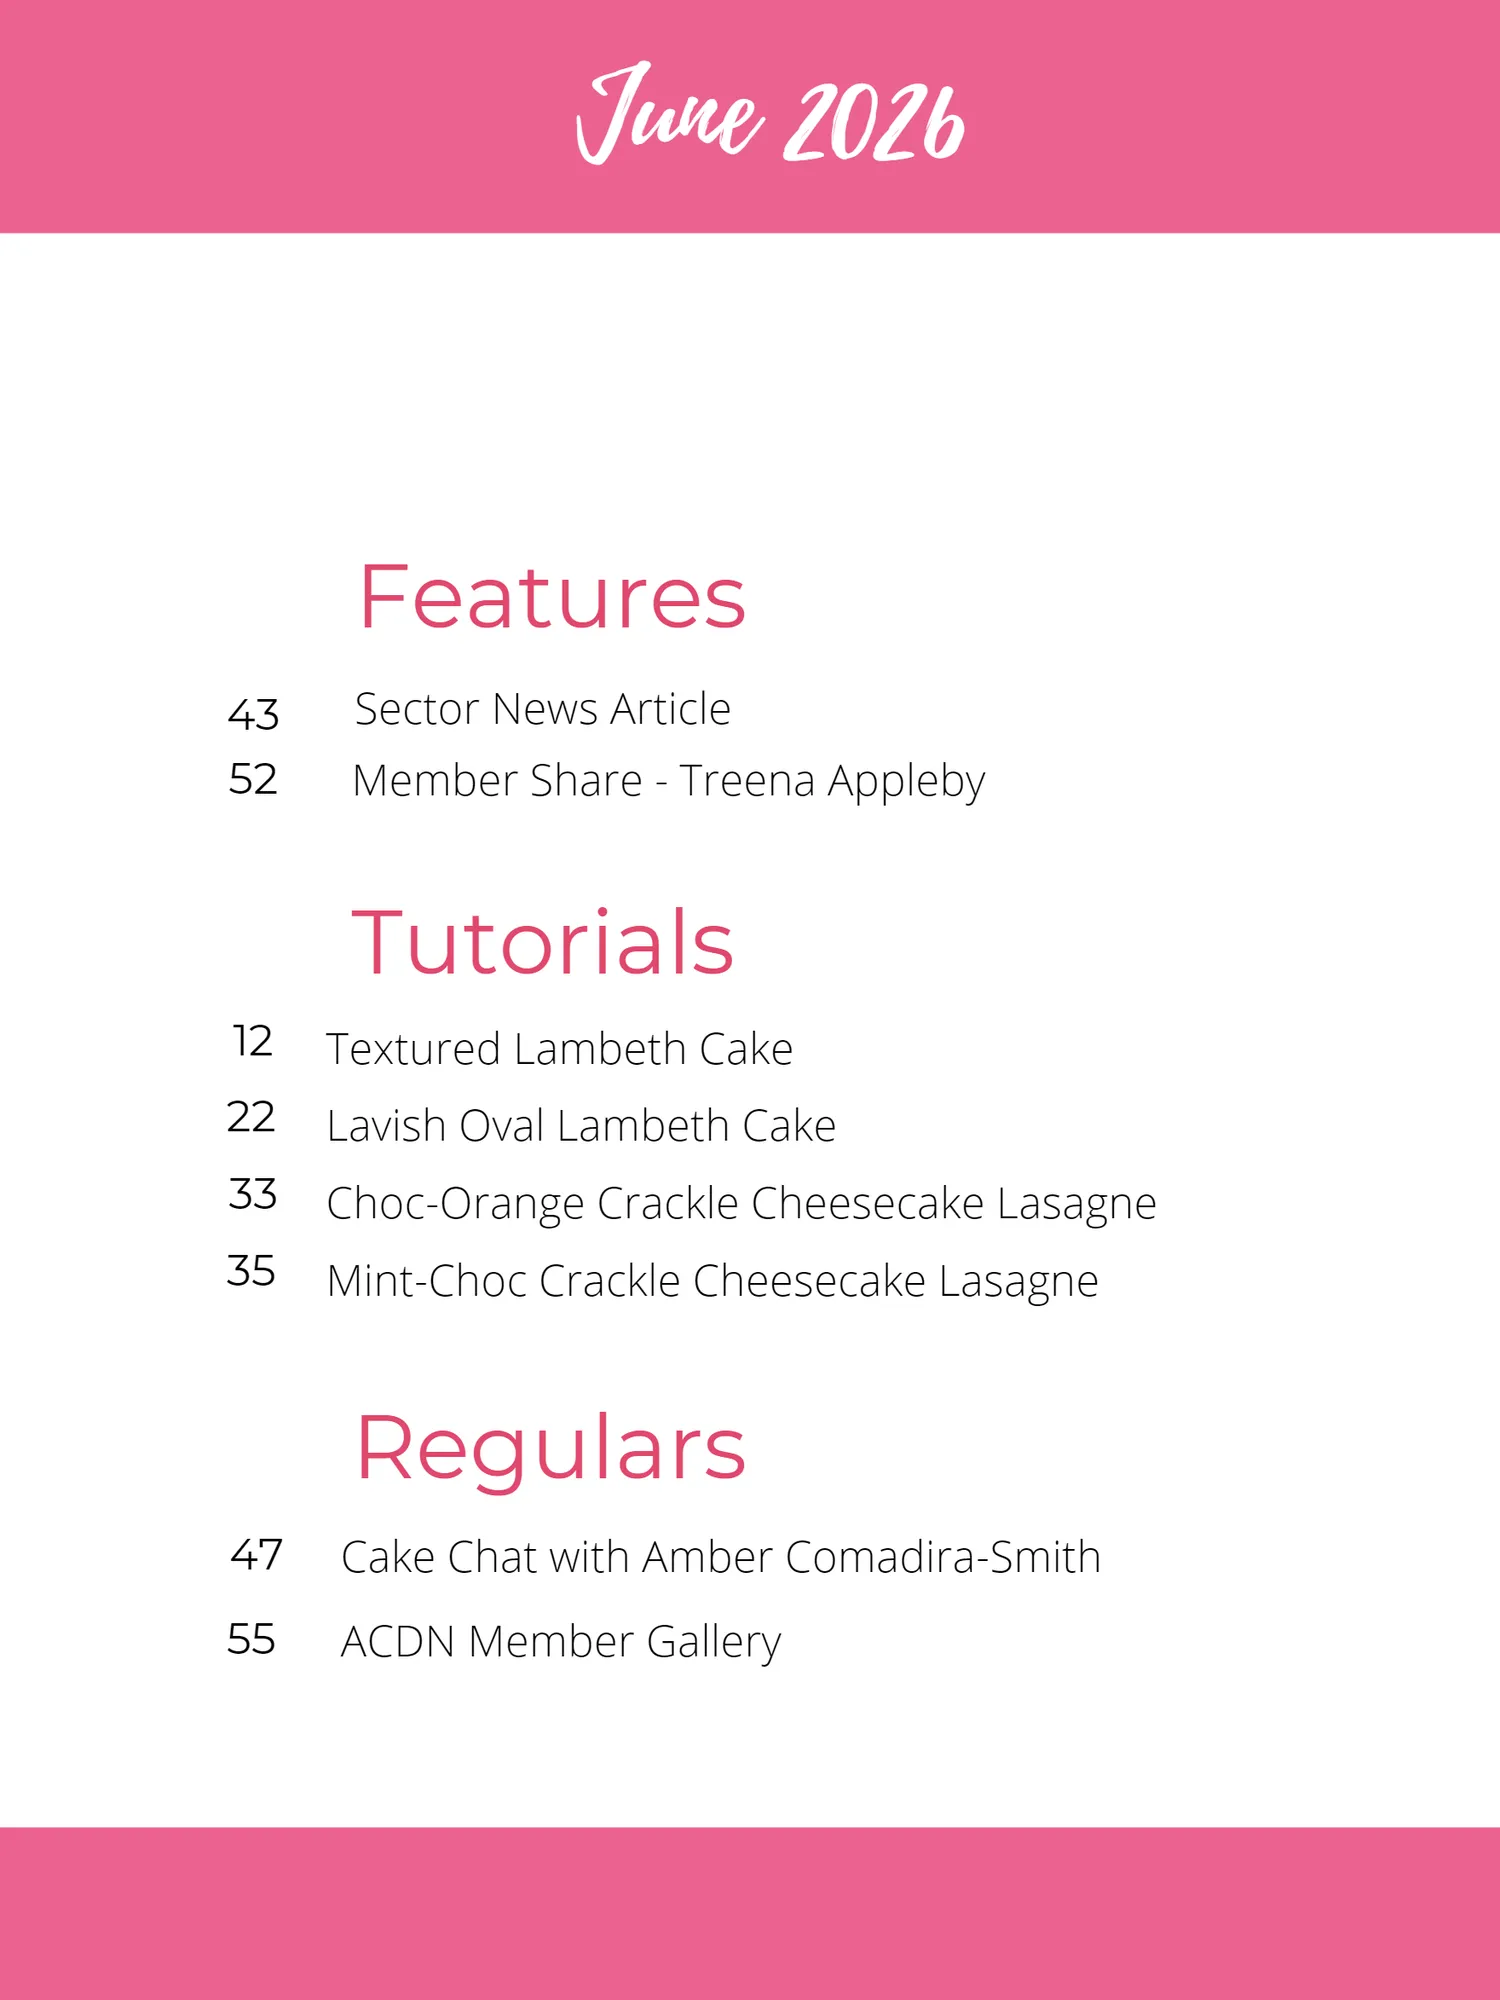
June 2026 Features 43 Sector News Article 52 Member Share - Treena Appleby Tutorials 12 Textured Lambeth Cake 22 Lavish Oval Lambeth Cake 33 Choc-Orange Crackle Cheesecake Lasagne 35 Mint-Choc Crackle Cheesecake Lasagne Regulars 47 Cake Chat with Amber Comadira-Smith 55 ACDN Member Gallery
Page 7 text
To advertise in Cake! Magazine, contact admin @ acdn. me
Page 8 text
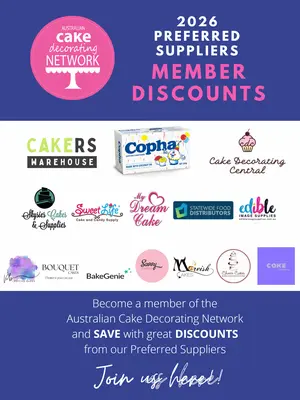
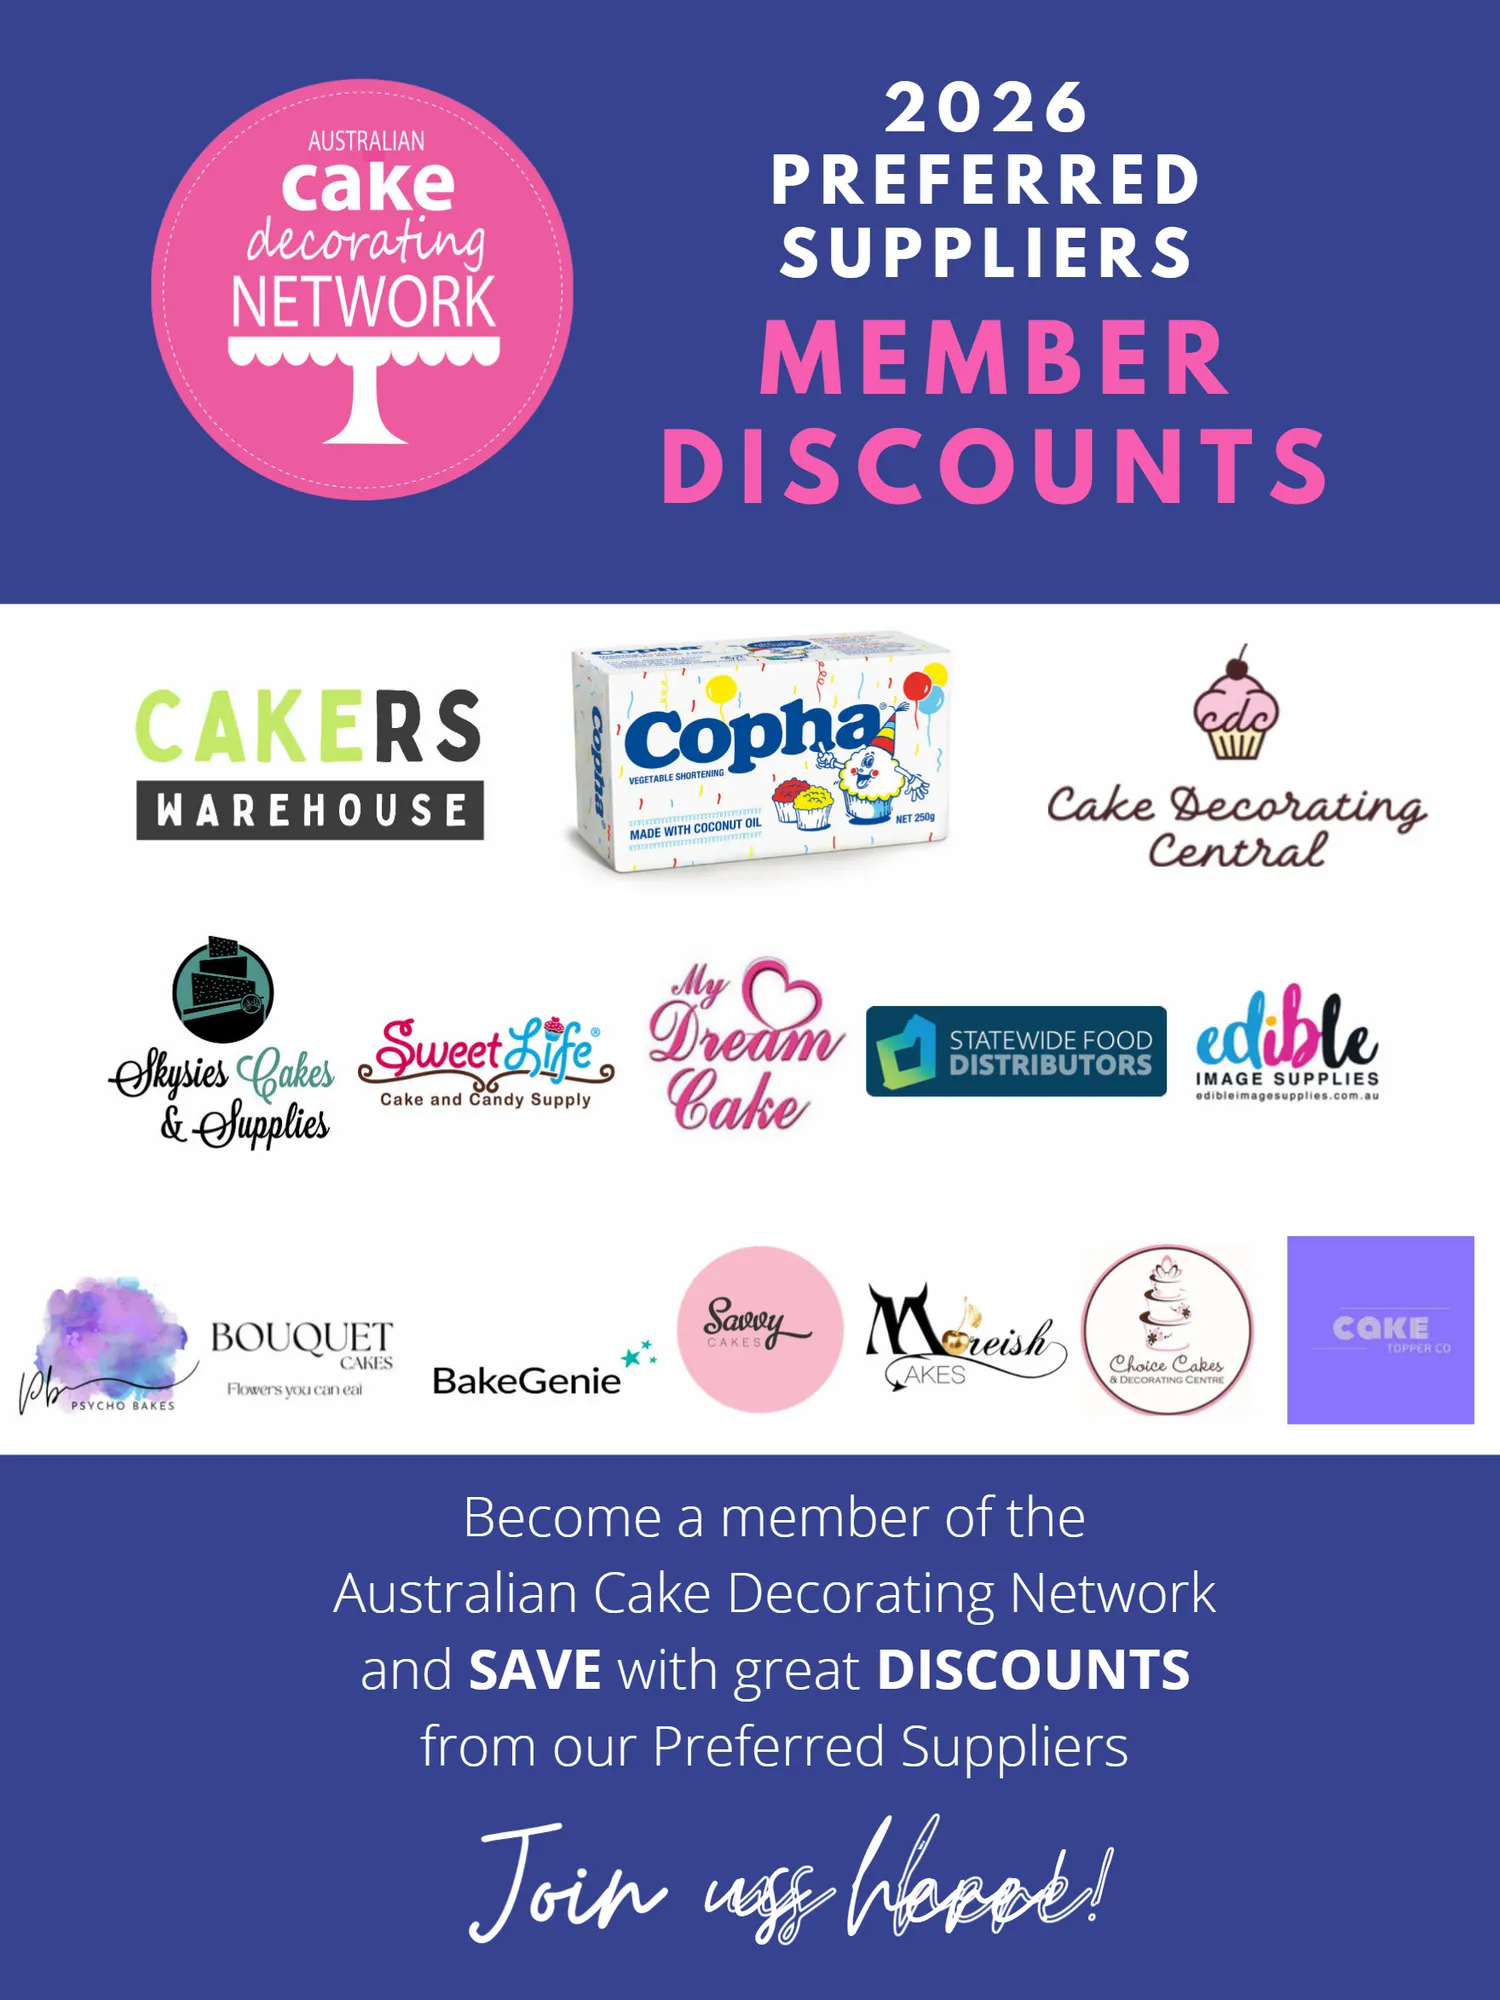
2 0 2 6 P R E F E R R E D S U P P L I E R S M E M B E R D I S C O U N T S Become a member of the Australian Cake Decorating Network and SAVE with great DISCOUNTS from our Preferred Suppliers Join us here!
Page 9 text
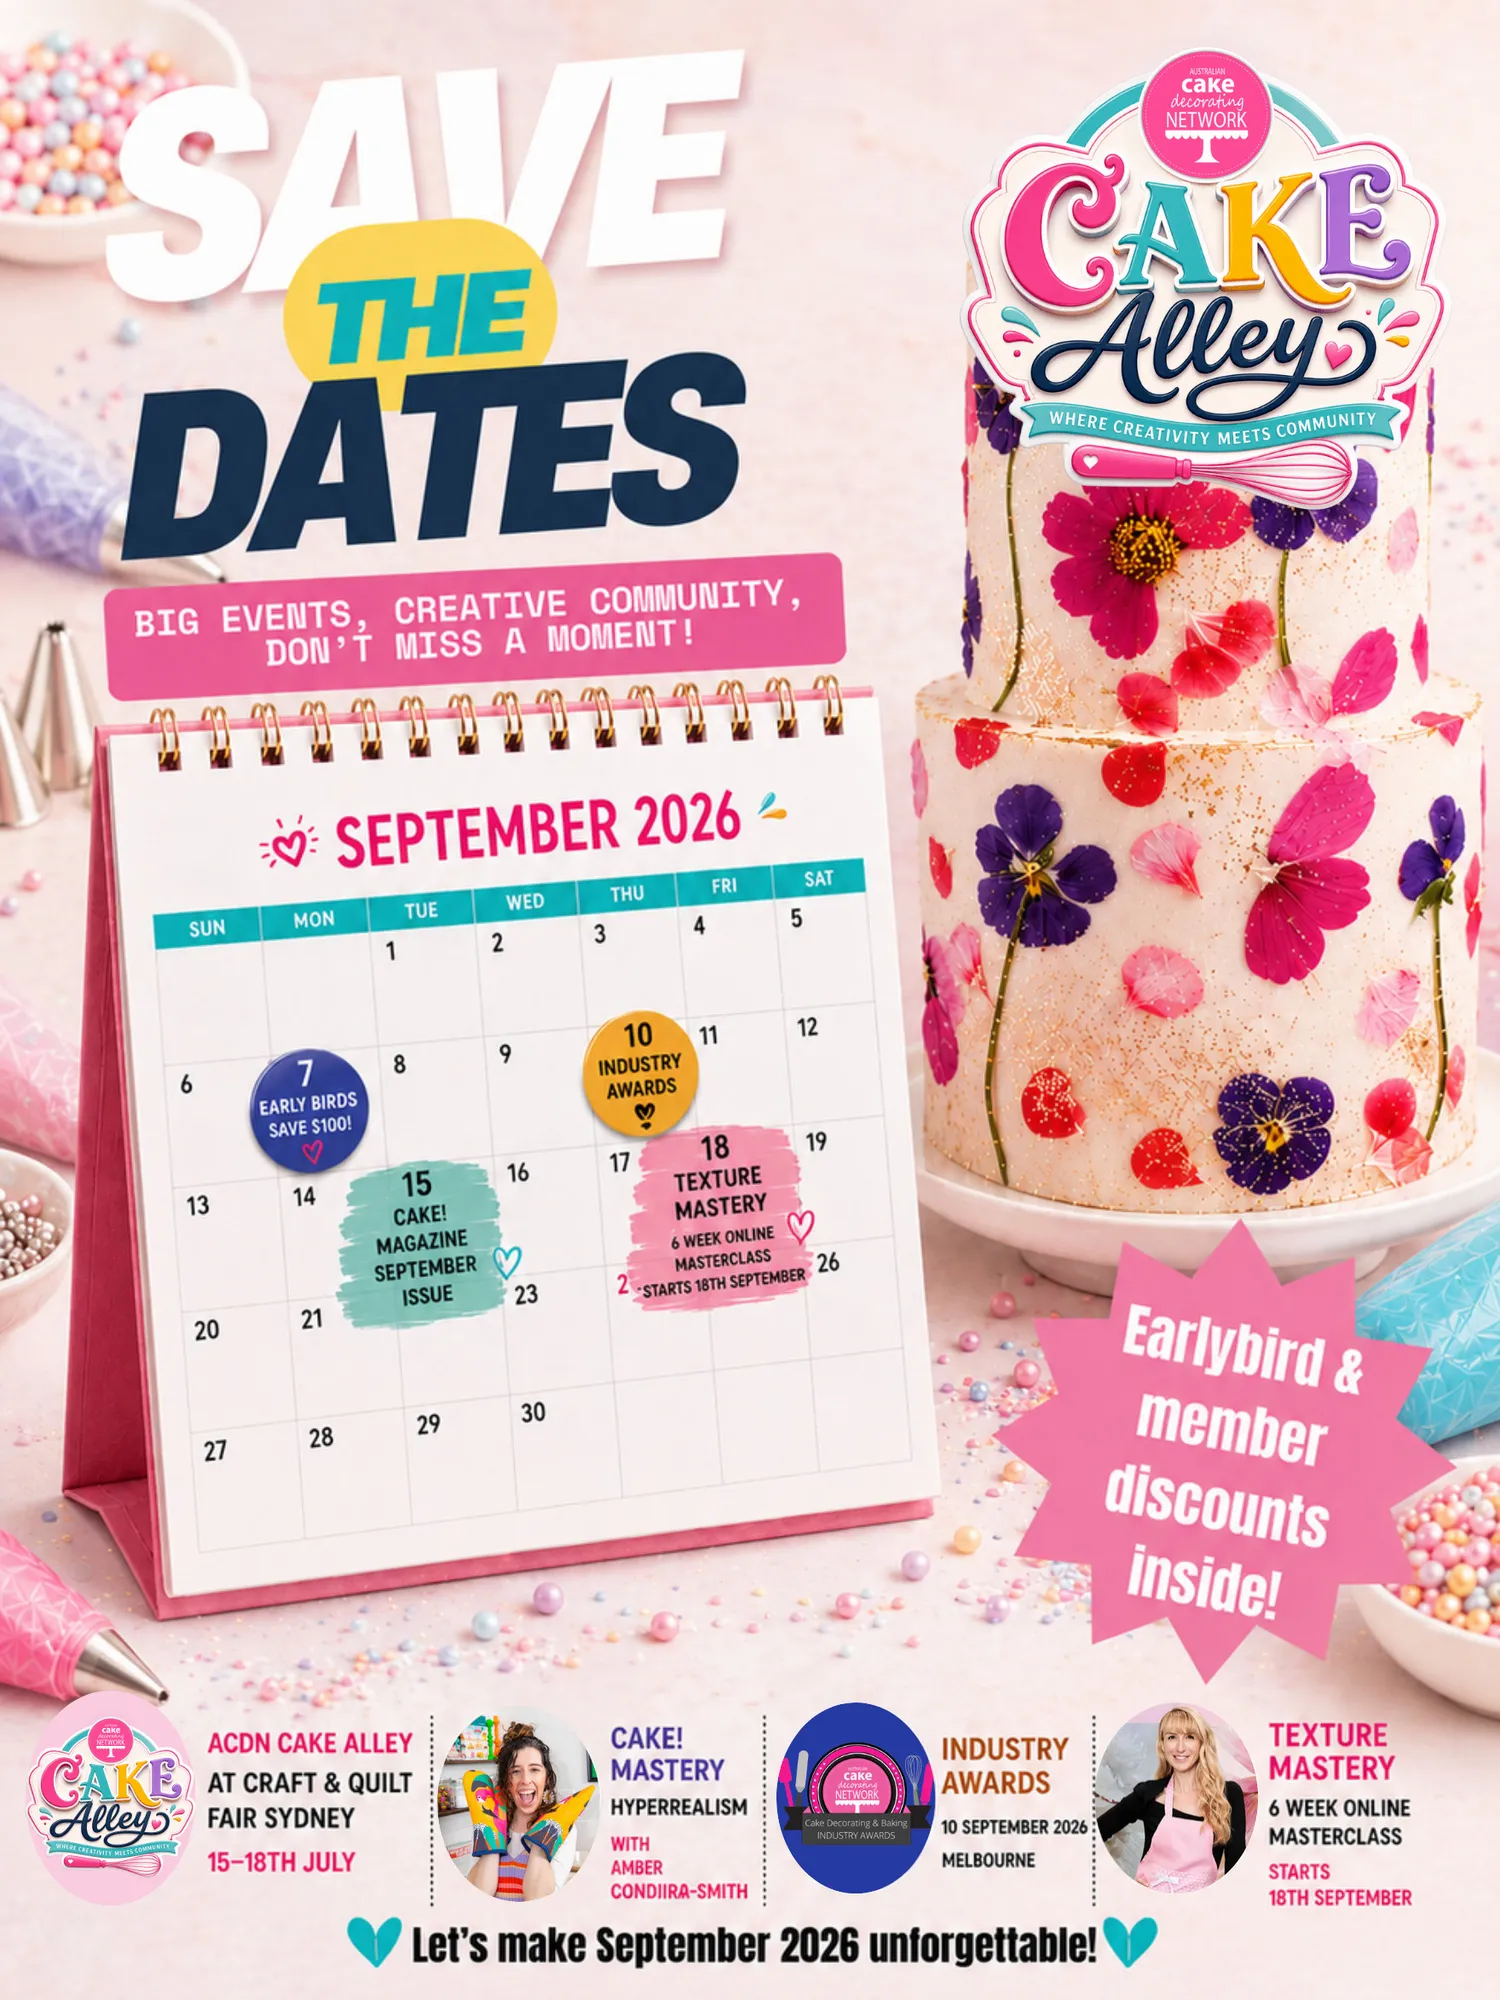
TEXTURES MASTERY 6 W E E K O N L I N E M A S T E R C L A S S STARTS 18TH SEPTEMBER W I T H M O N I C A C A V A L L A R O ENROL NOW!

Page 11 text
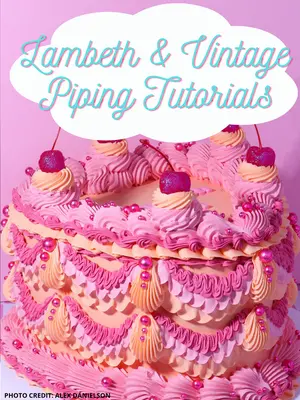
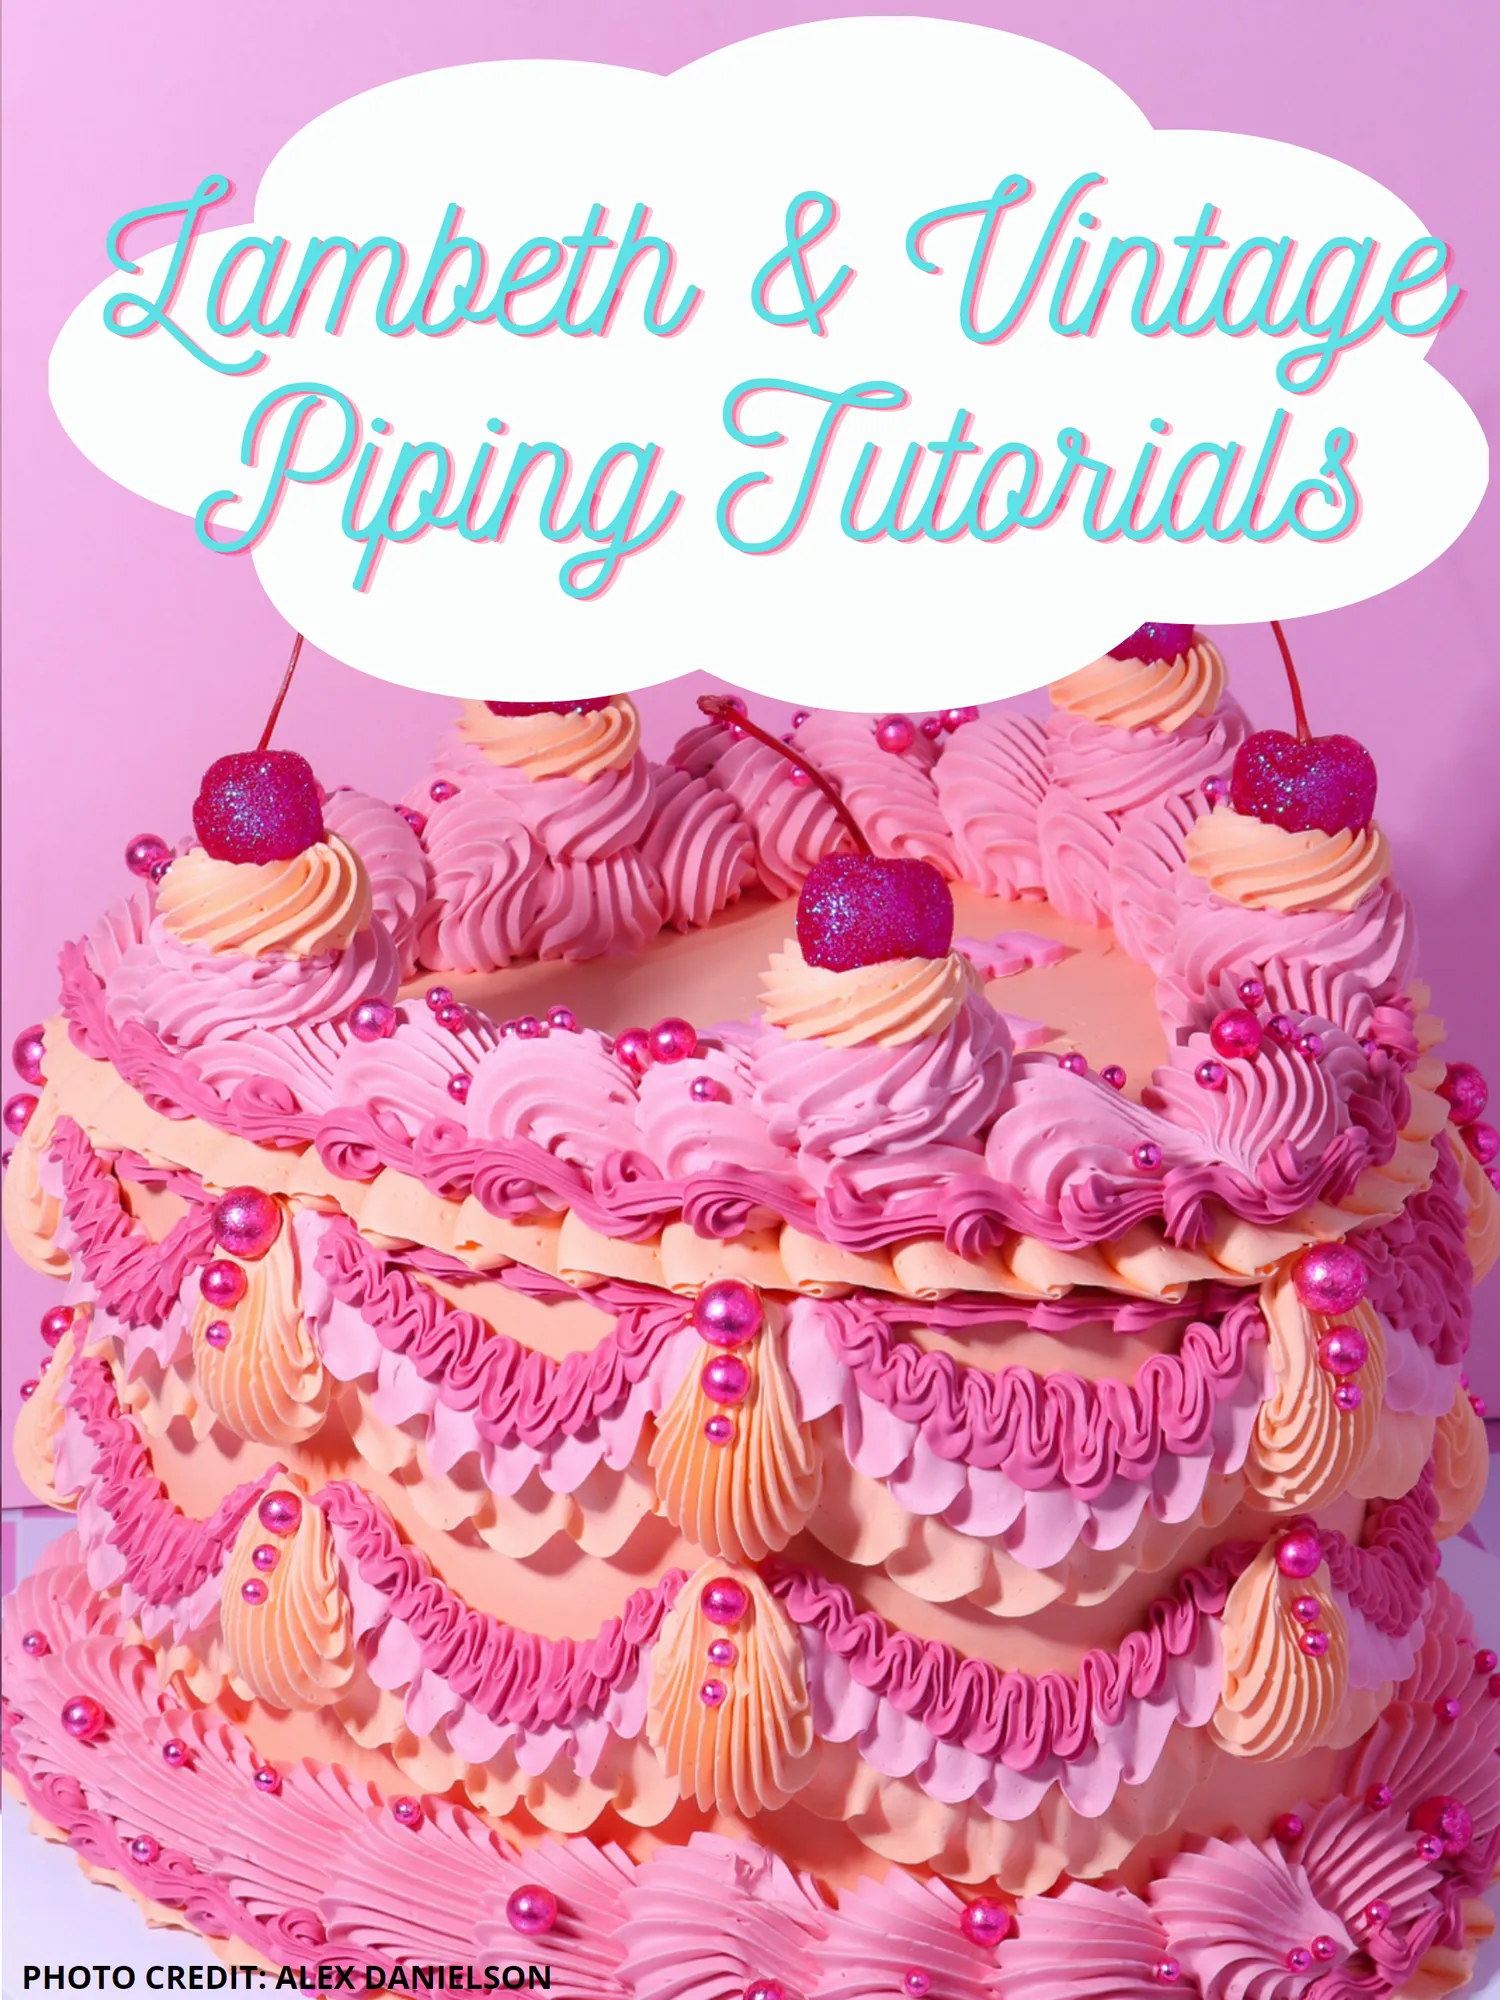
Lambeth & Vintage Piping Tutorials PHOTO CREDIT: ALEX DANIELSON
Page 12 text
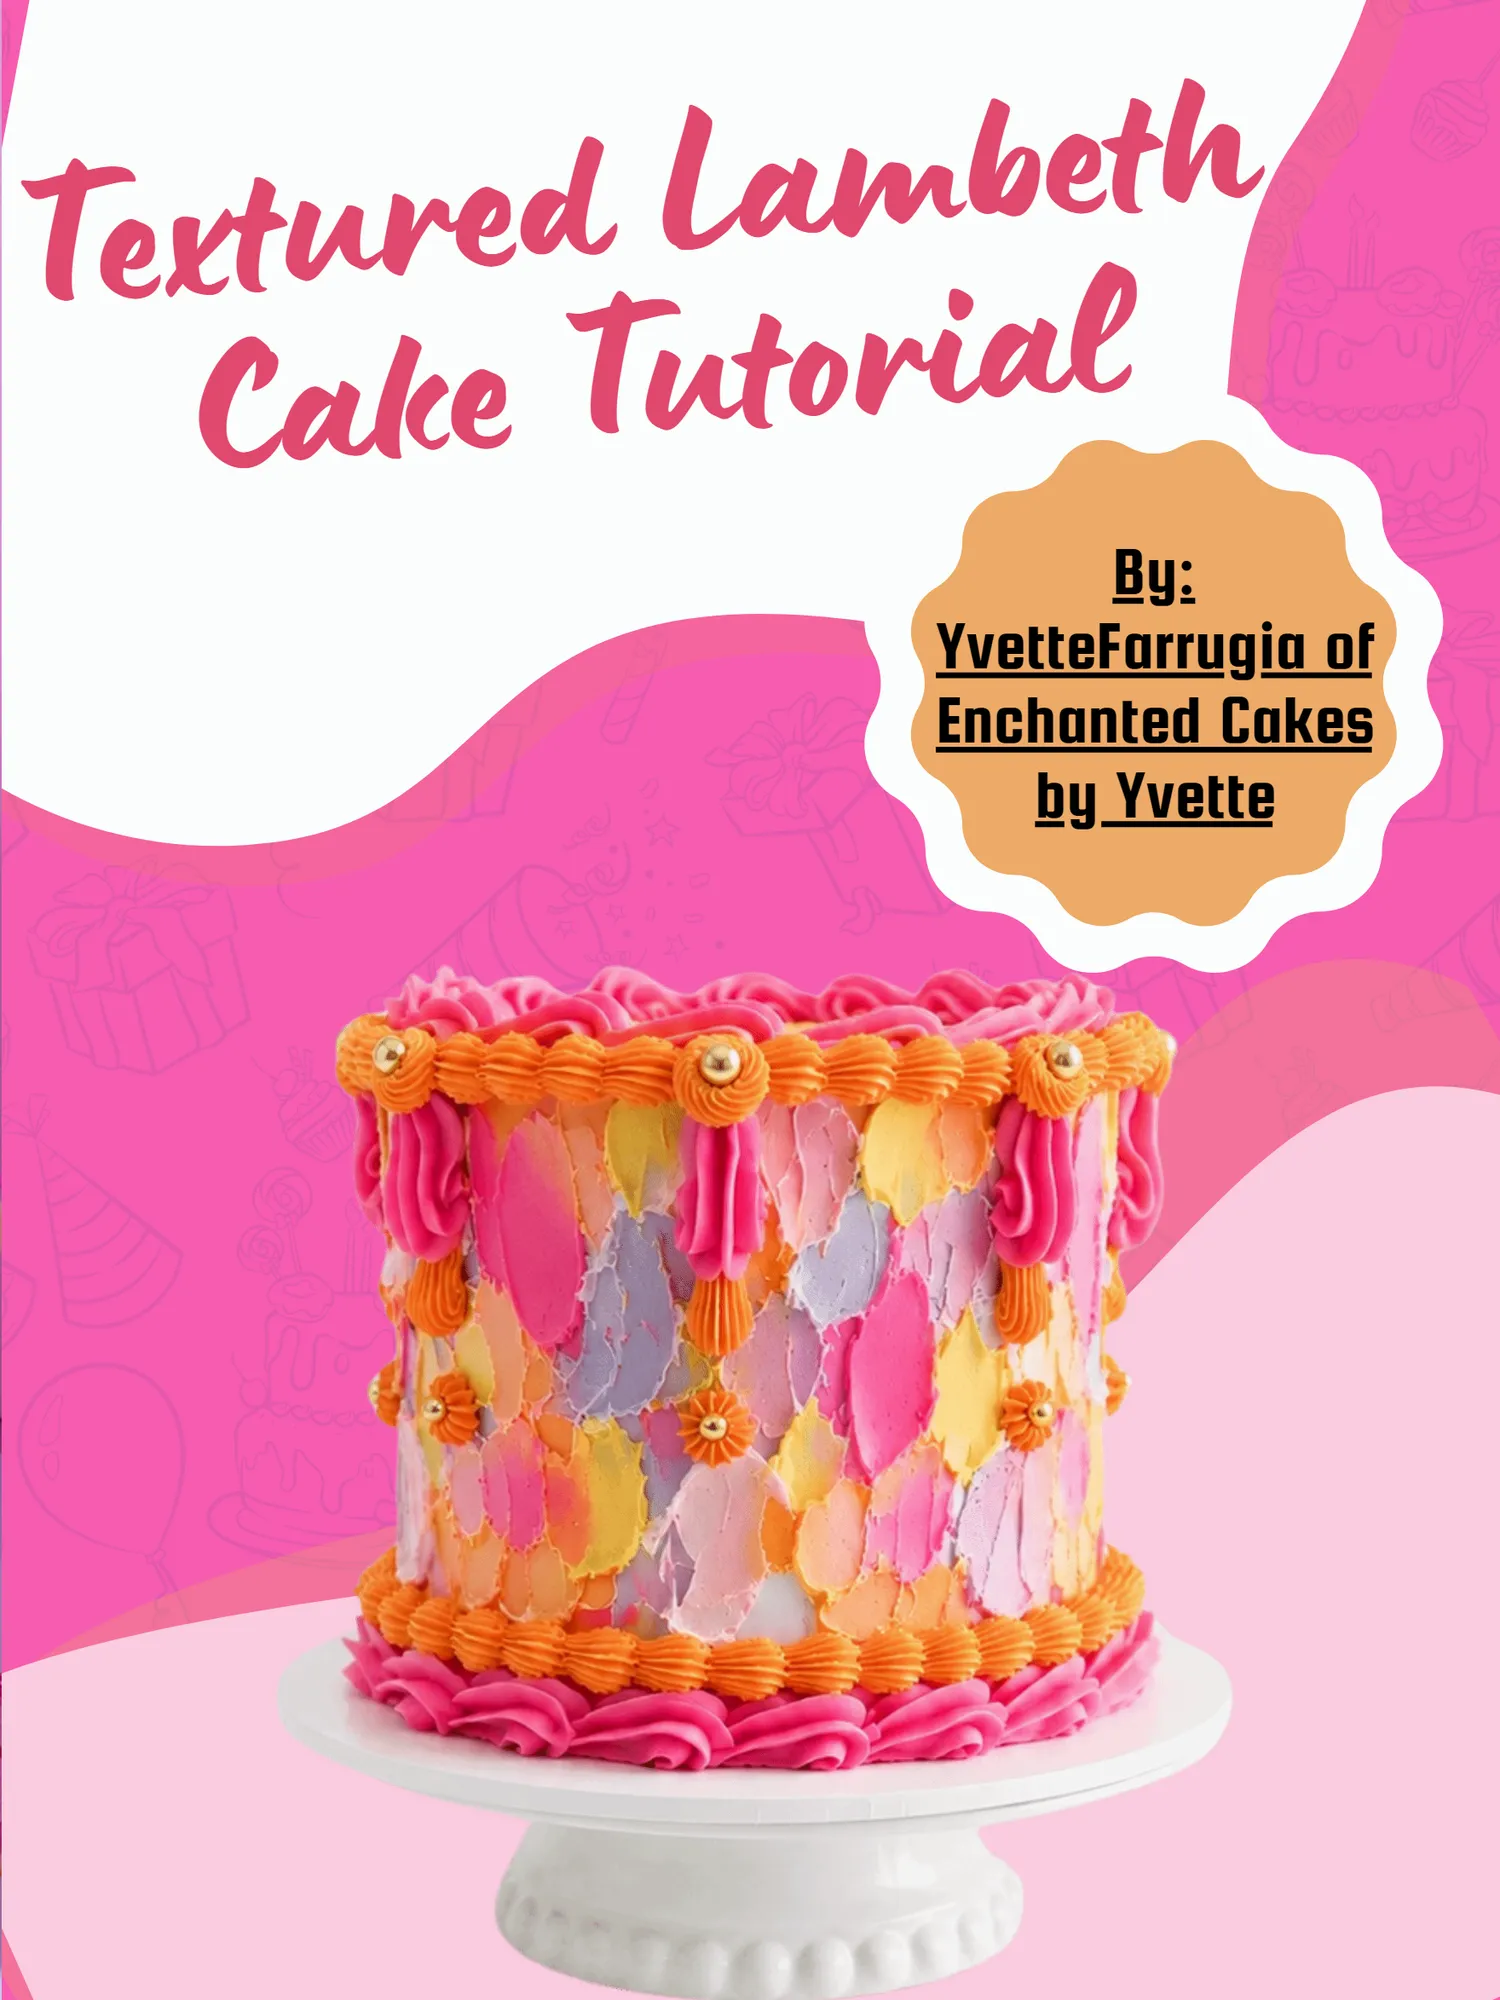
Textured Lambeth Cake Tutorial By: YvetteFarrugia of Enchanted Cakes by Yvette
Page 13 text
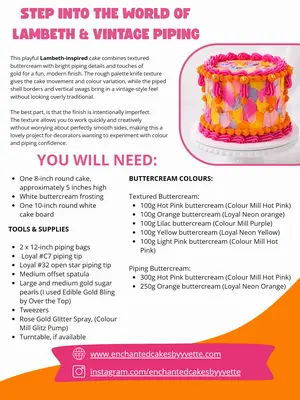
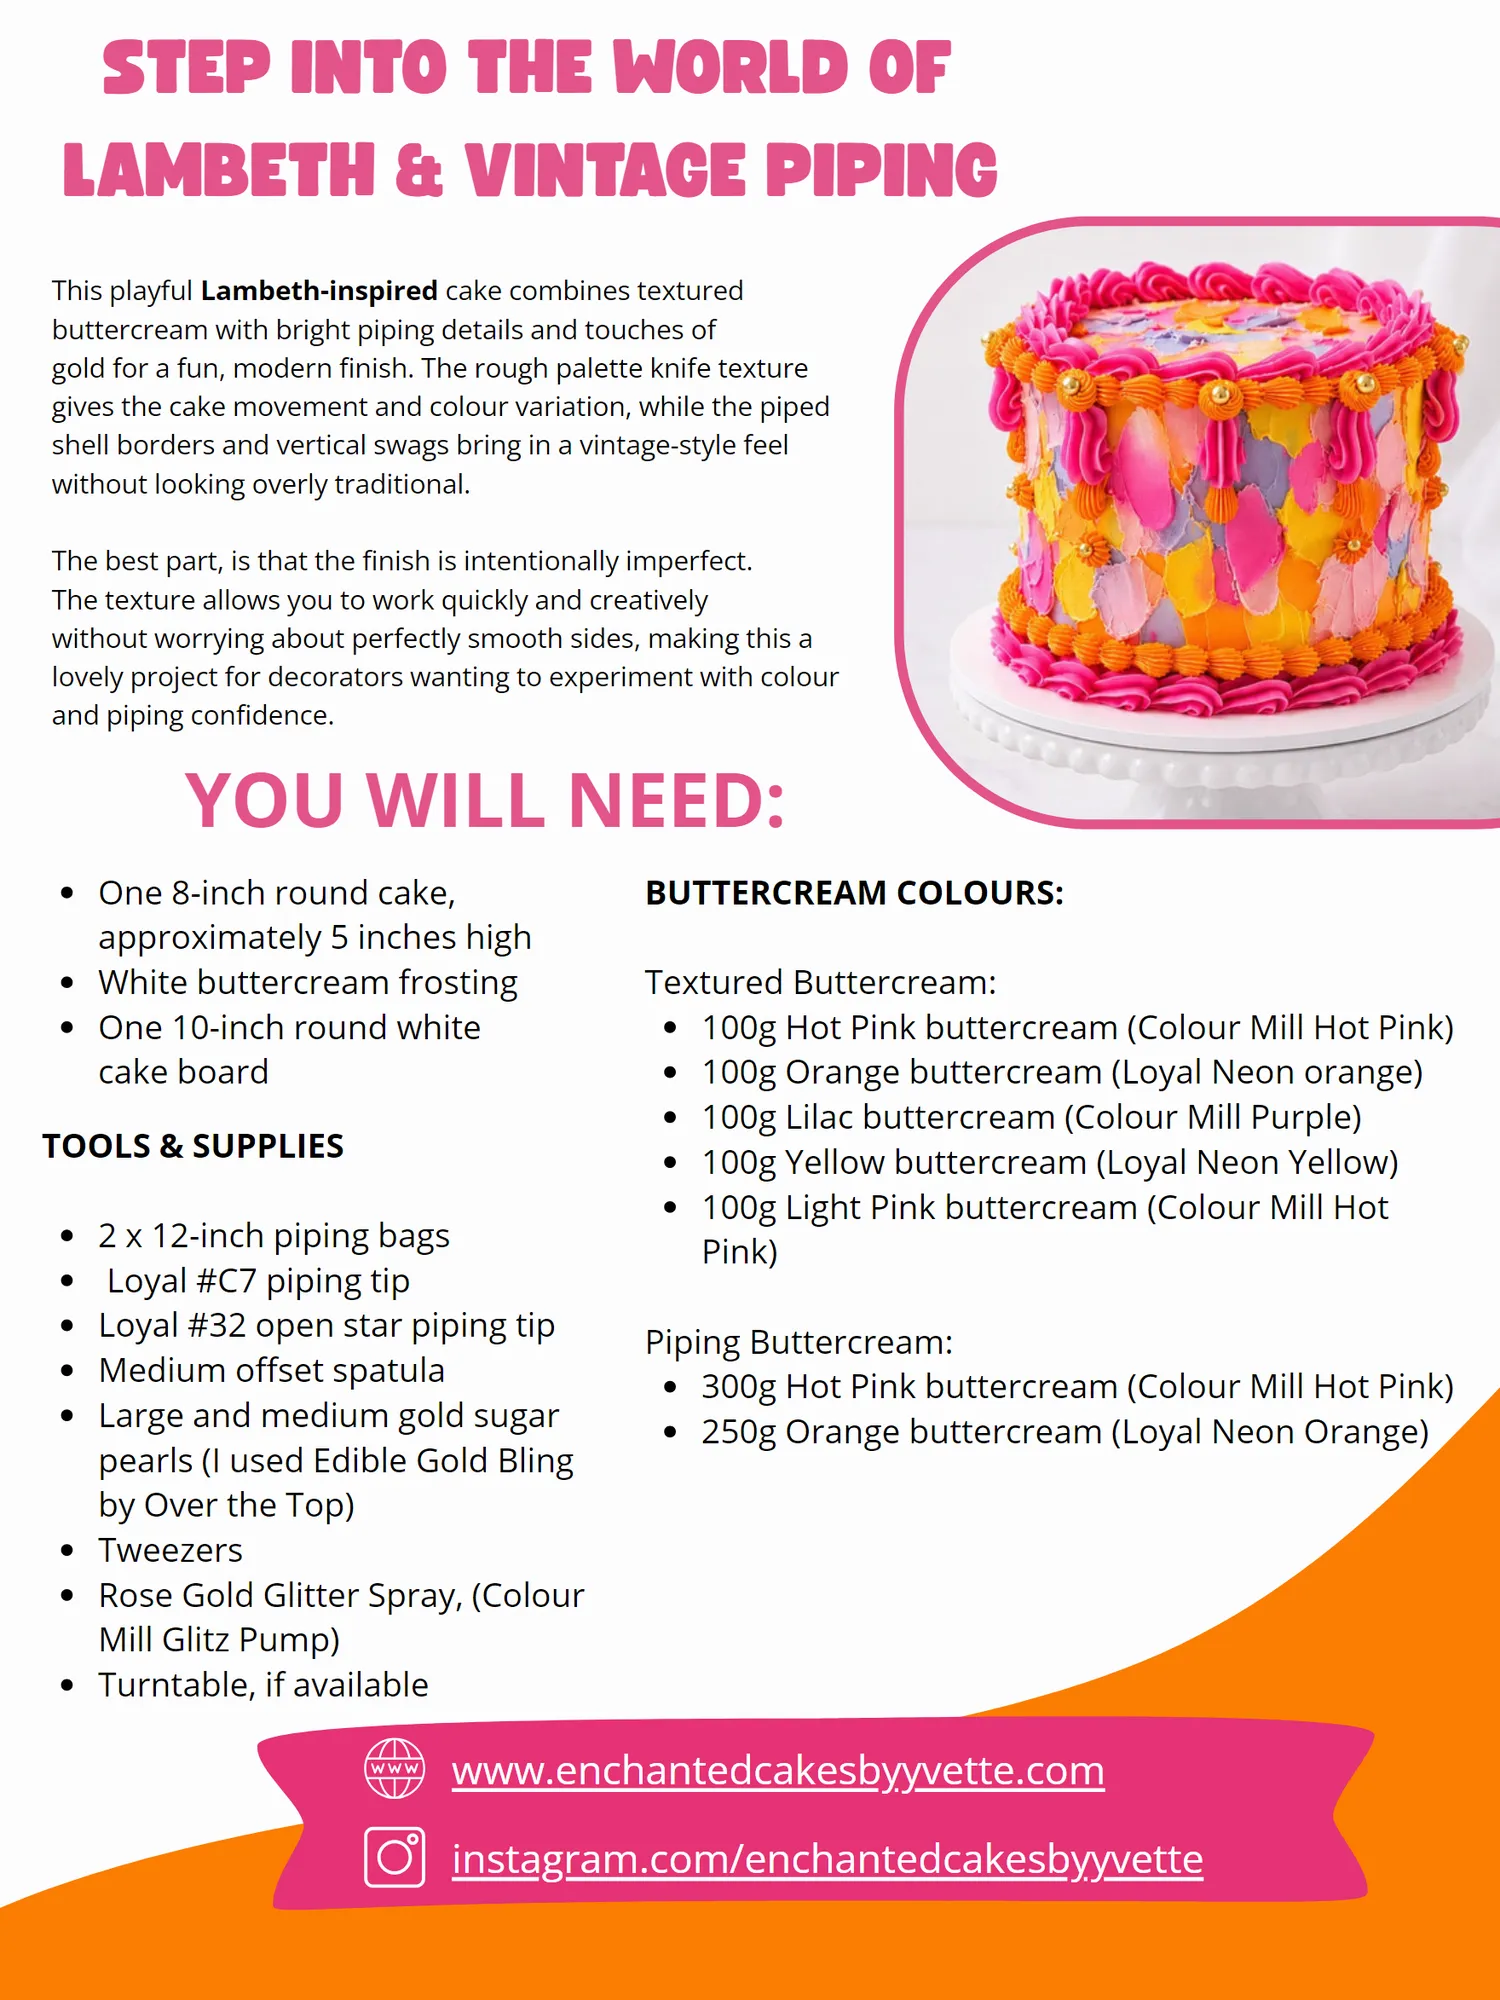
STEP INTO THE WORLD OF LAMBETH & VINTAGE PIPING This playful Lambeth-inspired cake combines textured buttercream with bright piping details and touches of gold for a fun, modern finish. The rough palette knife texture gives the cake movement and colour variation, while the piped shell borders and vertical swags bring in a vintage-style feel without looking overly traditional. The best part, is that the finish is intentionally imperfect. The texture allows you to work quickly and creatively without worrying about perfectly smooth sides, making this a lovely project for decorators wanting to experiment with colour and piping confidence. YOU WILL NEED: One 8-inch round cake, BUTTERCREAM COLOURS: approximately 5 inches high White buttercream frosting Textured Buttercream: One 10-inch round white 100g Hot Pink buttercream (Colour Mill Hot Pink) cake board 100g Orange buttercream (Loyal Neon orange) 100g Lilac buttercream (Colour Mill Purple) TOOLS & SUPPLIES 100g Yellow buttercream (Loyal Neon Yellow) 100g Light Pink buttercream (Colour Mill Hot 2 x 12-inch piping bags Pink) Loyal #C7 piping tip Loyal #32 open star piping tip Piping Buttercream: Medium offset spatula 300g Hot Pink buttercream (Colour Mill Hot Pink) Large and medium gold sugar 250g Orange buttercream (Loyal Neon Orange) pearls (I used Edible Gold Bling by Over the Top) Tweezers Rose Gold Glitter Spray, (Colour Mill Glitz Pump) Turntable, if available www.enchantedcakesbyyvette.com instagram.com/enchantedcakesbyyvette
Page 14 text
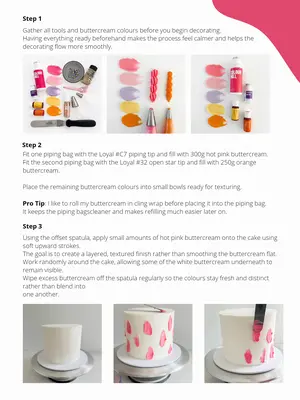
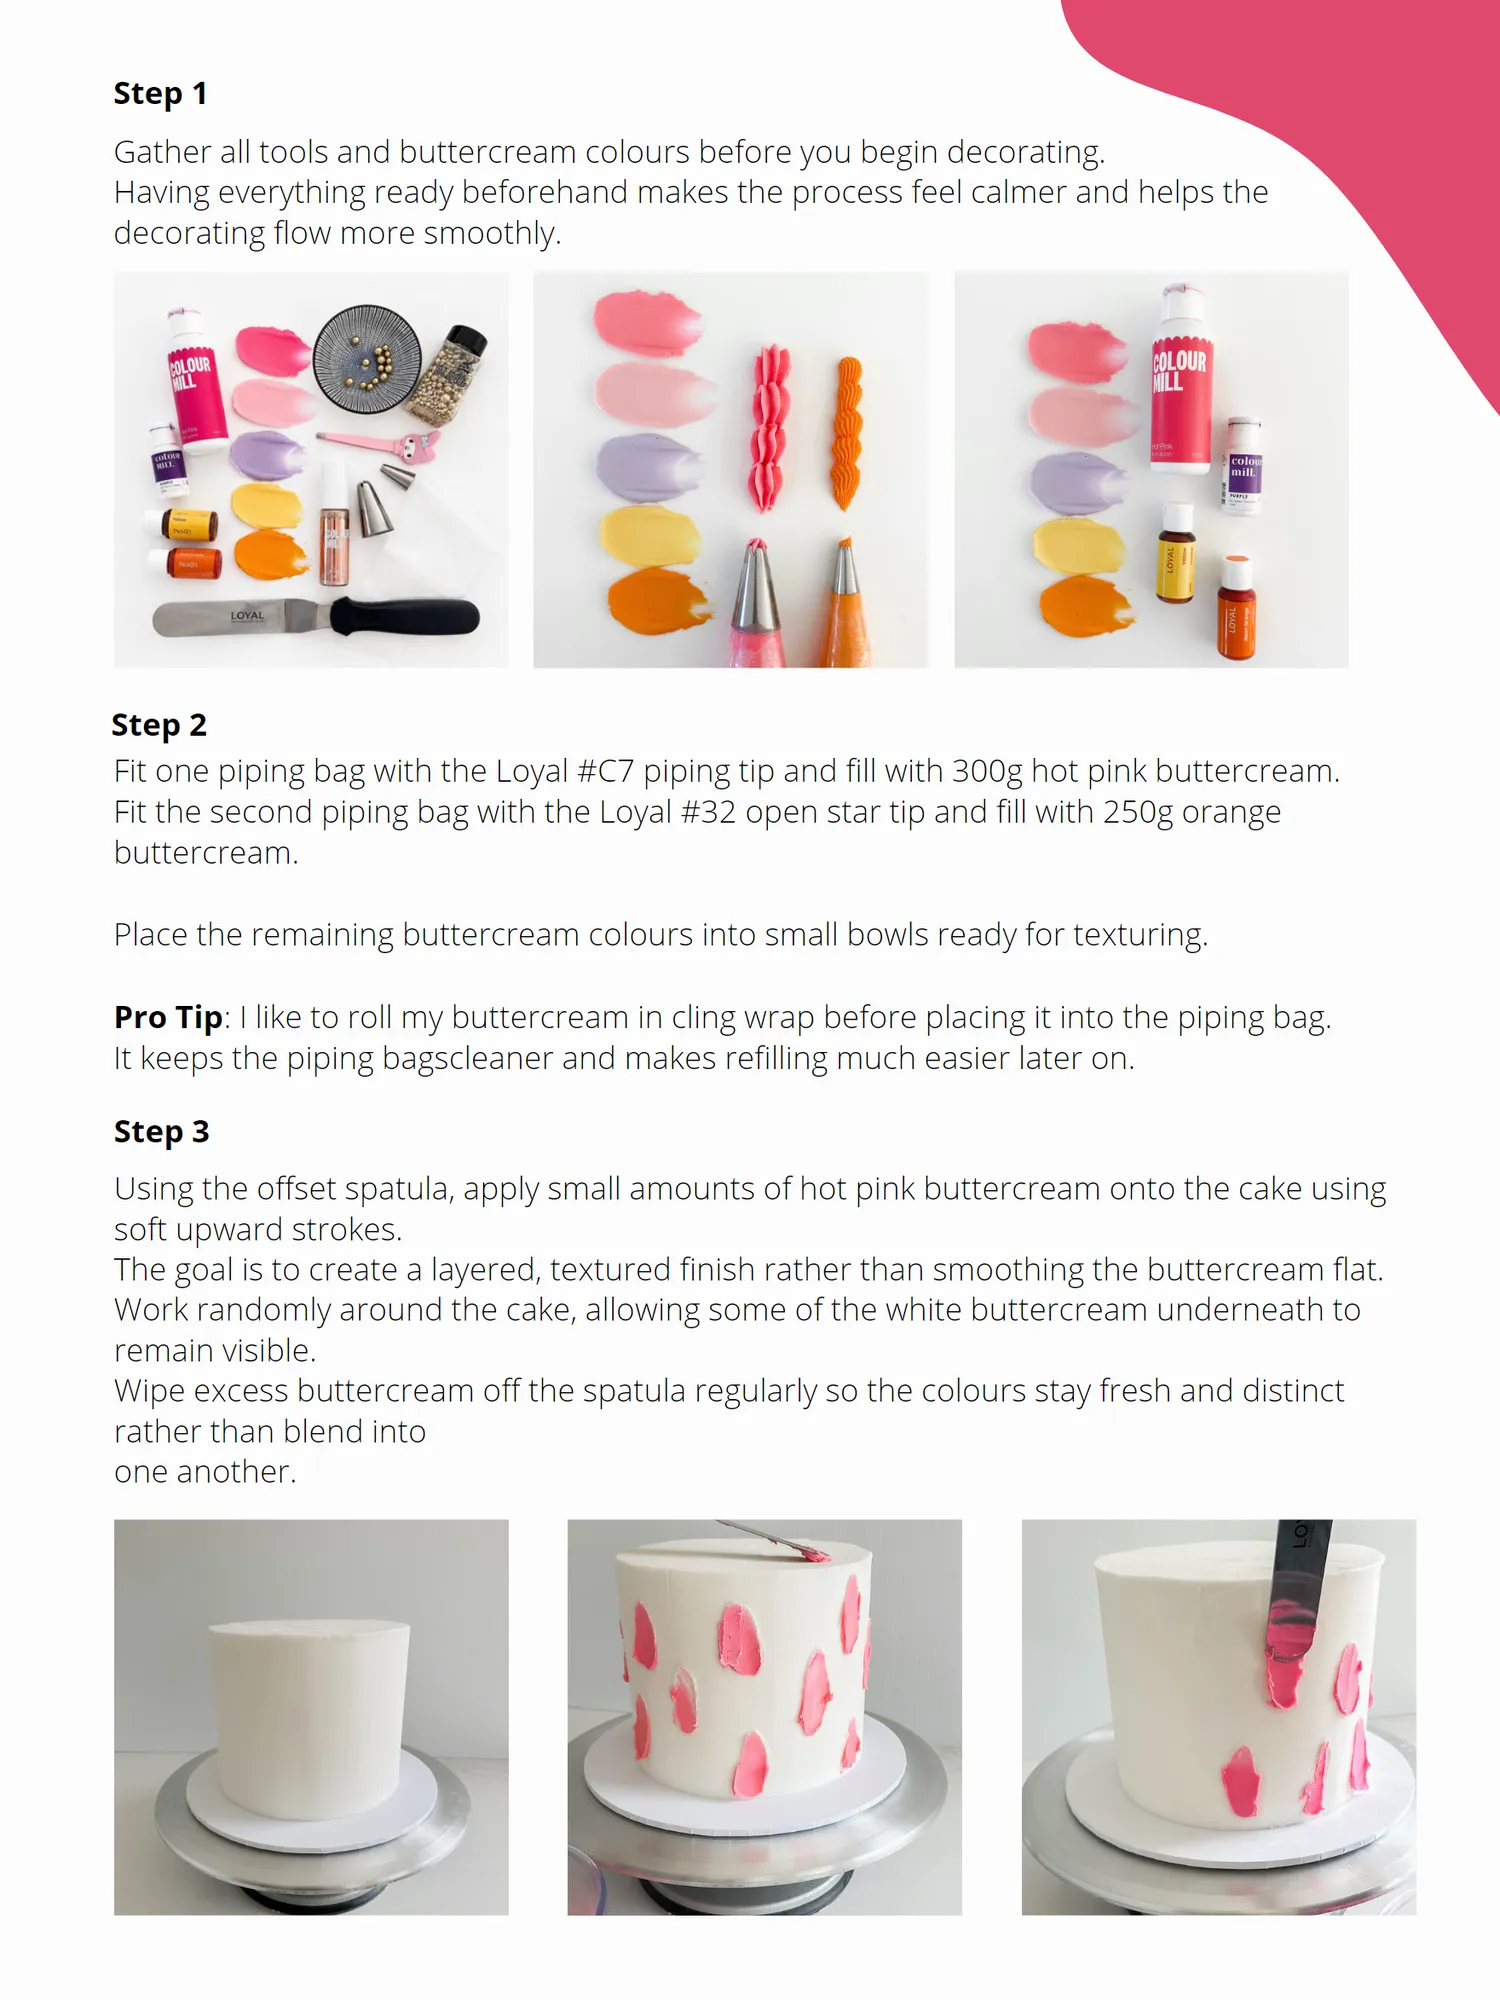
Step 1 Gather all tools and buttercream colours before you begin decorating. Having everything ready beforehand makes the process feel calmer and helps the decorating flow more smoothly. Step 2 Fit one piping bag with the Loyal #C7 piping tip and fill with 300g hot pink buttercream. Fit the second piping bag with the Loyal #32 open star tip and fill with 250g orange buttercream. Place the remaining buttercream colours into small bowls ready for texturing. Pro Tip : I like to roll my buttercream in cling wrap before placing it into the piping bag. It keeps the piping bagscleaner and makes refilling much easier later on. Step 3 Using the offset spatula, apply small amounts of hot pink buttercream onto the cake using soft upward strokes. The goal is to create a layered, textured finish rather than smoothing the buttercream flat. Work randomly around the cake, allowing some of the white buttercream underneath to remain visible. Wipe excess buttercream off the spatula regularly so the colours stay fresh and distinct rather than blend into one another.
Page 15 text
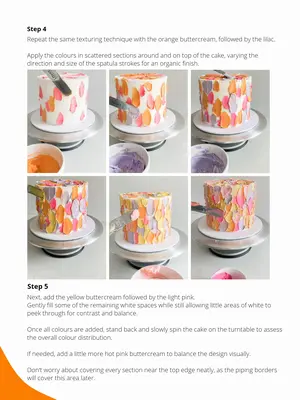
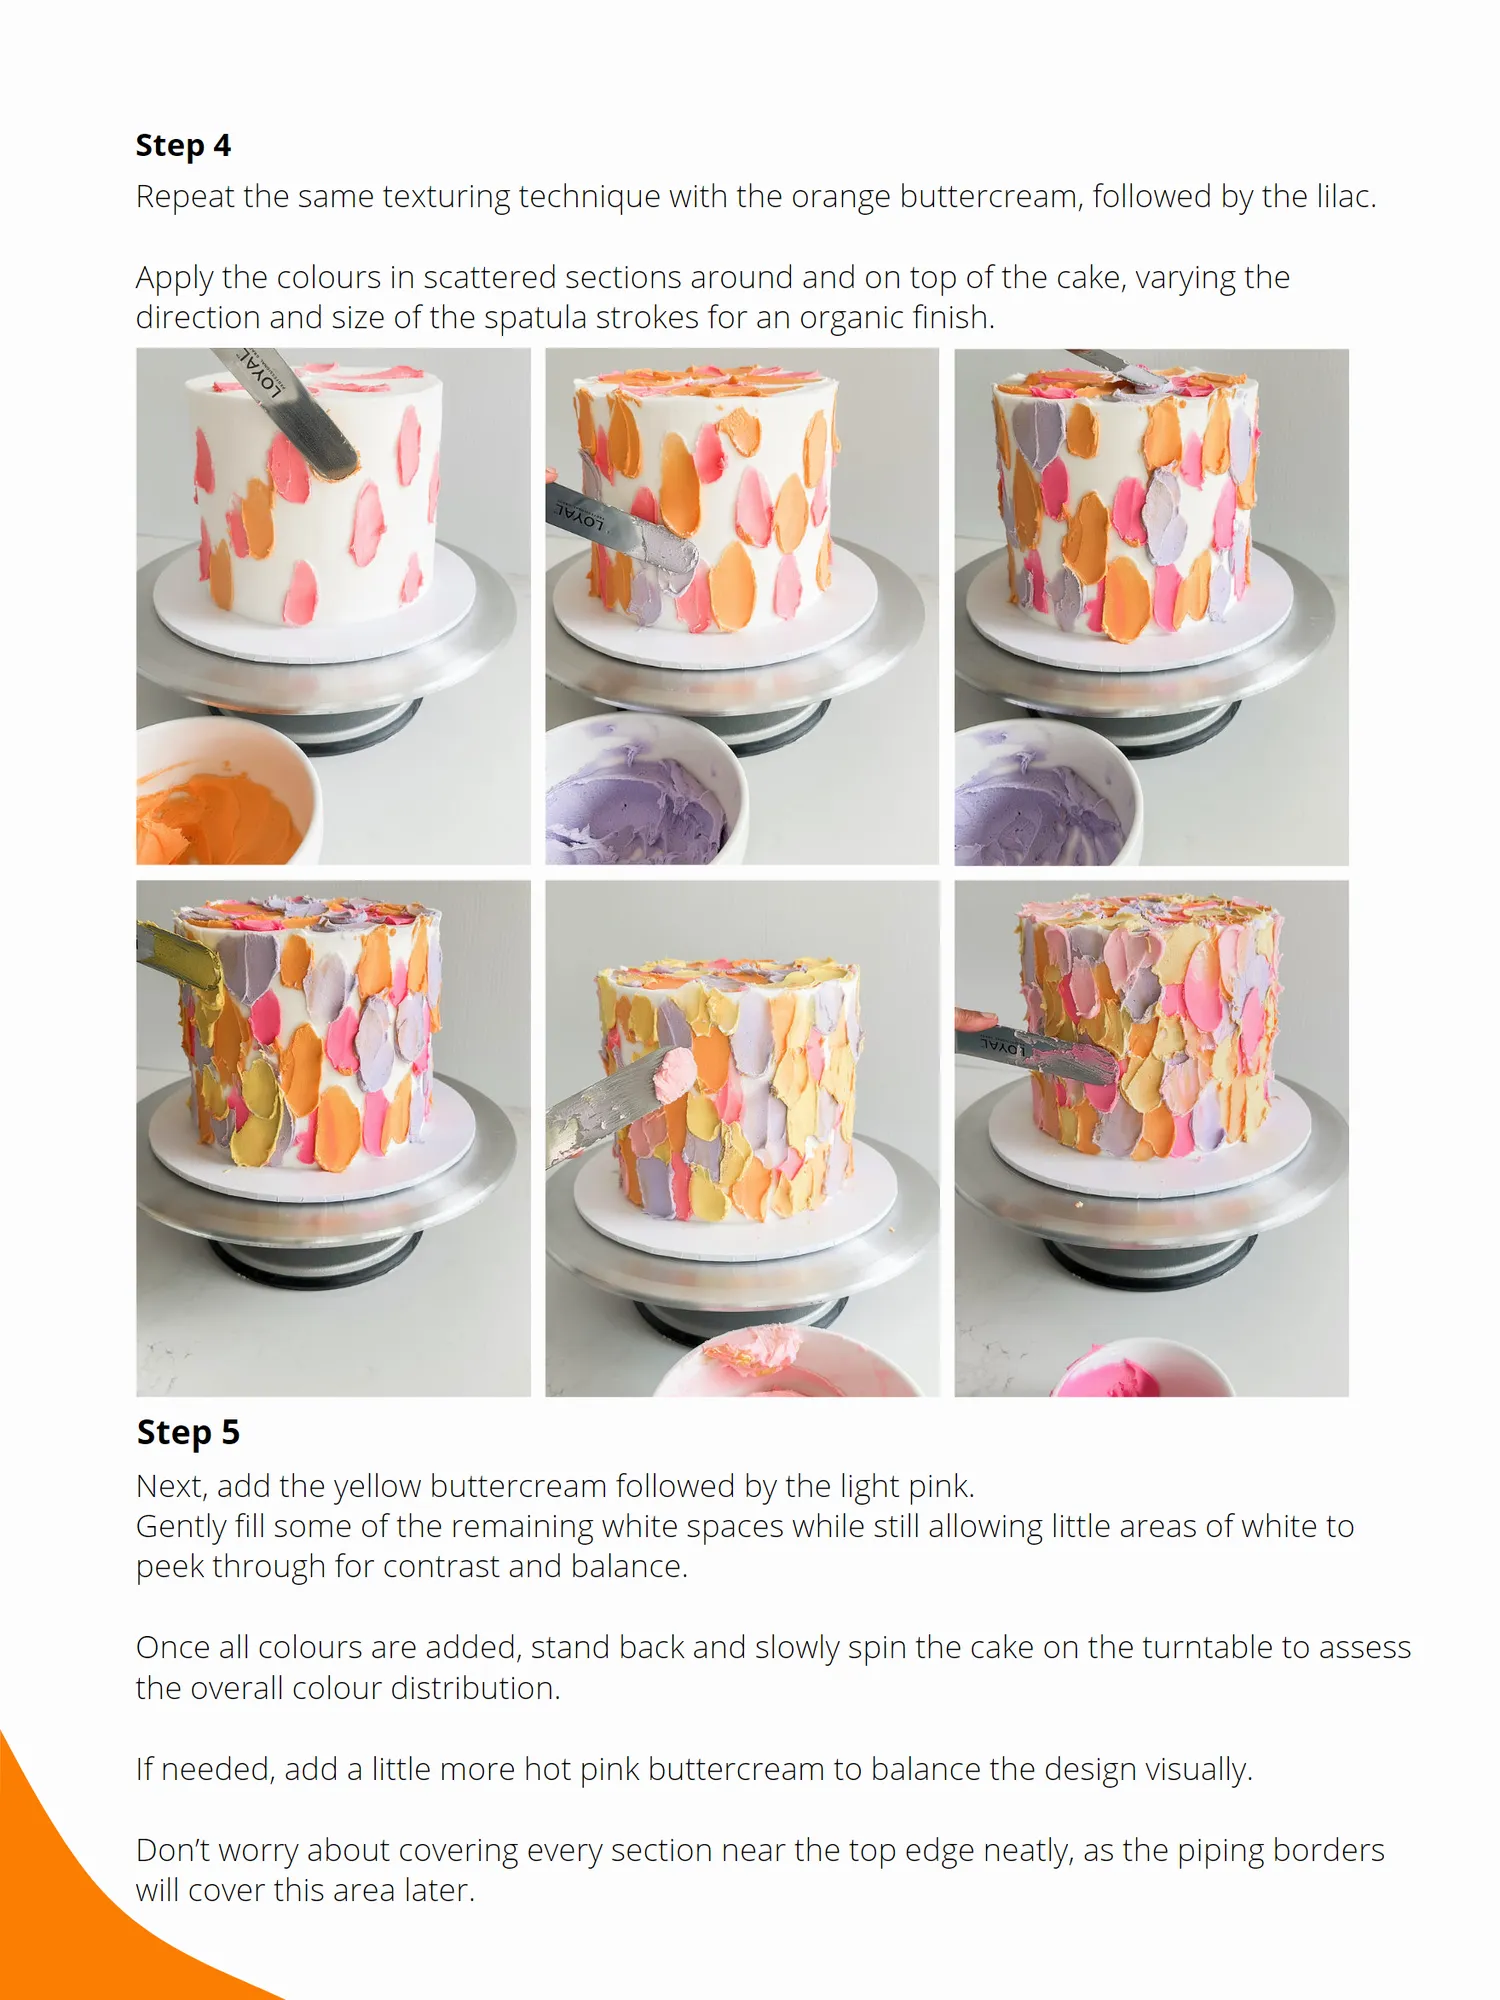
Step 4 Repeat the same texturing technique with the orange buttercream, followed by the lilac. Apply the colours in scattered sections around and on top of the cake, varying the direction and size of the spatula strokes for an organic finish. Step 5 Next, add the yellow buttercream followed by the light pink. Gently fill some of the remaining white spaces while still allowing little areas of white to peek through for contrast and balance. Once all colours are added, stand back and slowly spin the cake on the turntable to assess the overall colour distribution. If needed, add a little more hot pink buttercream to balance the design visually. Don’t worry about covering every section near the top edge neatly, as the piping borders will cover this area later.
Page 16 text
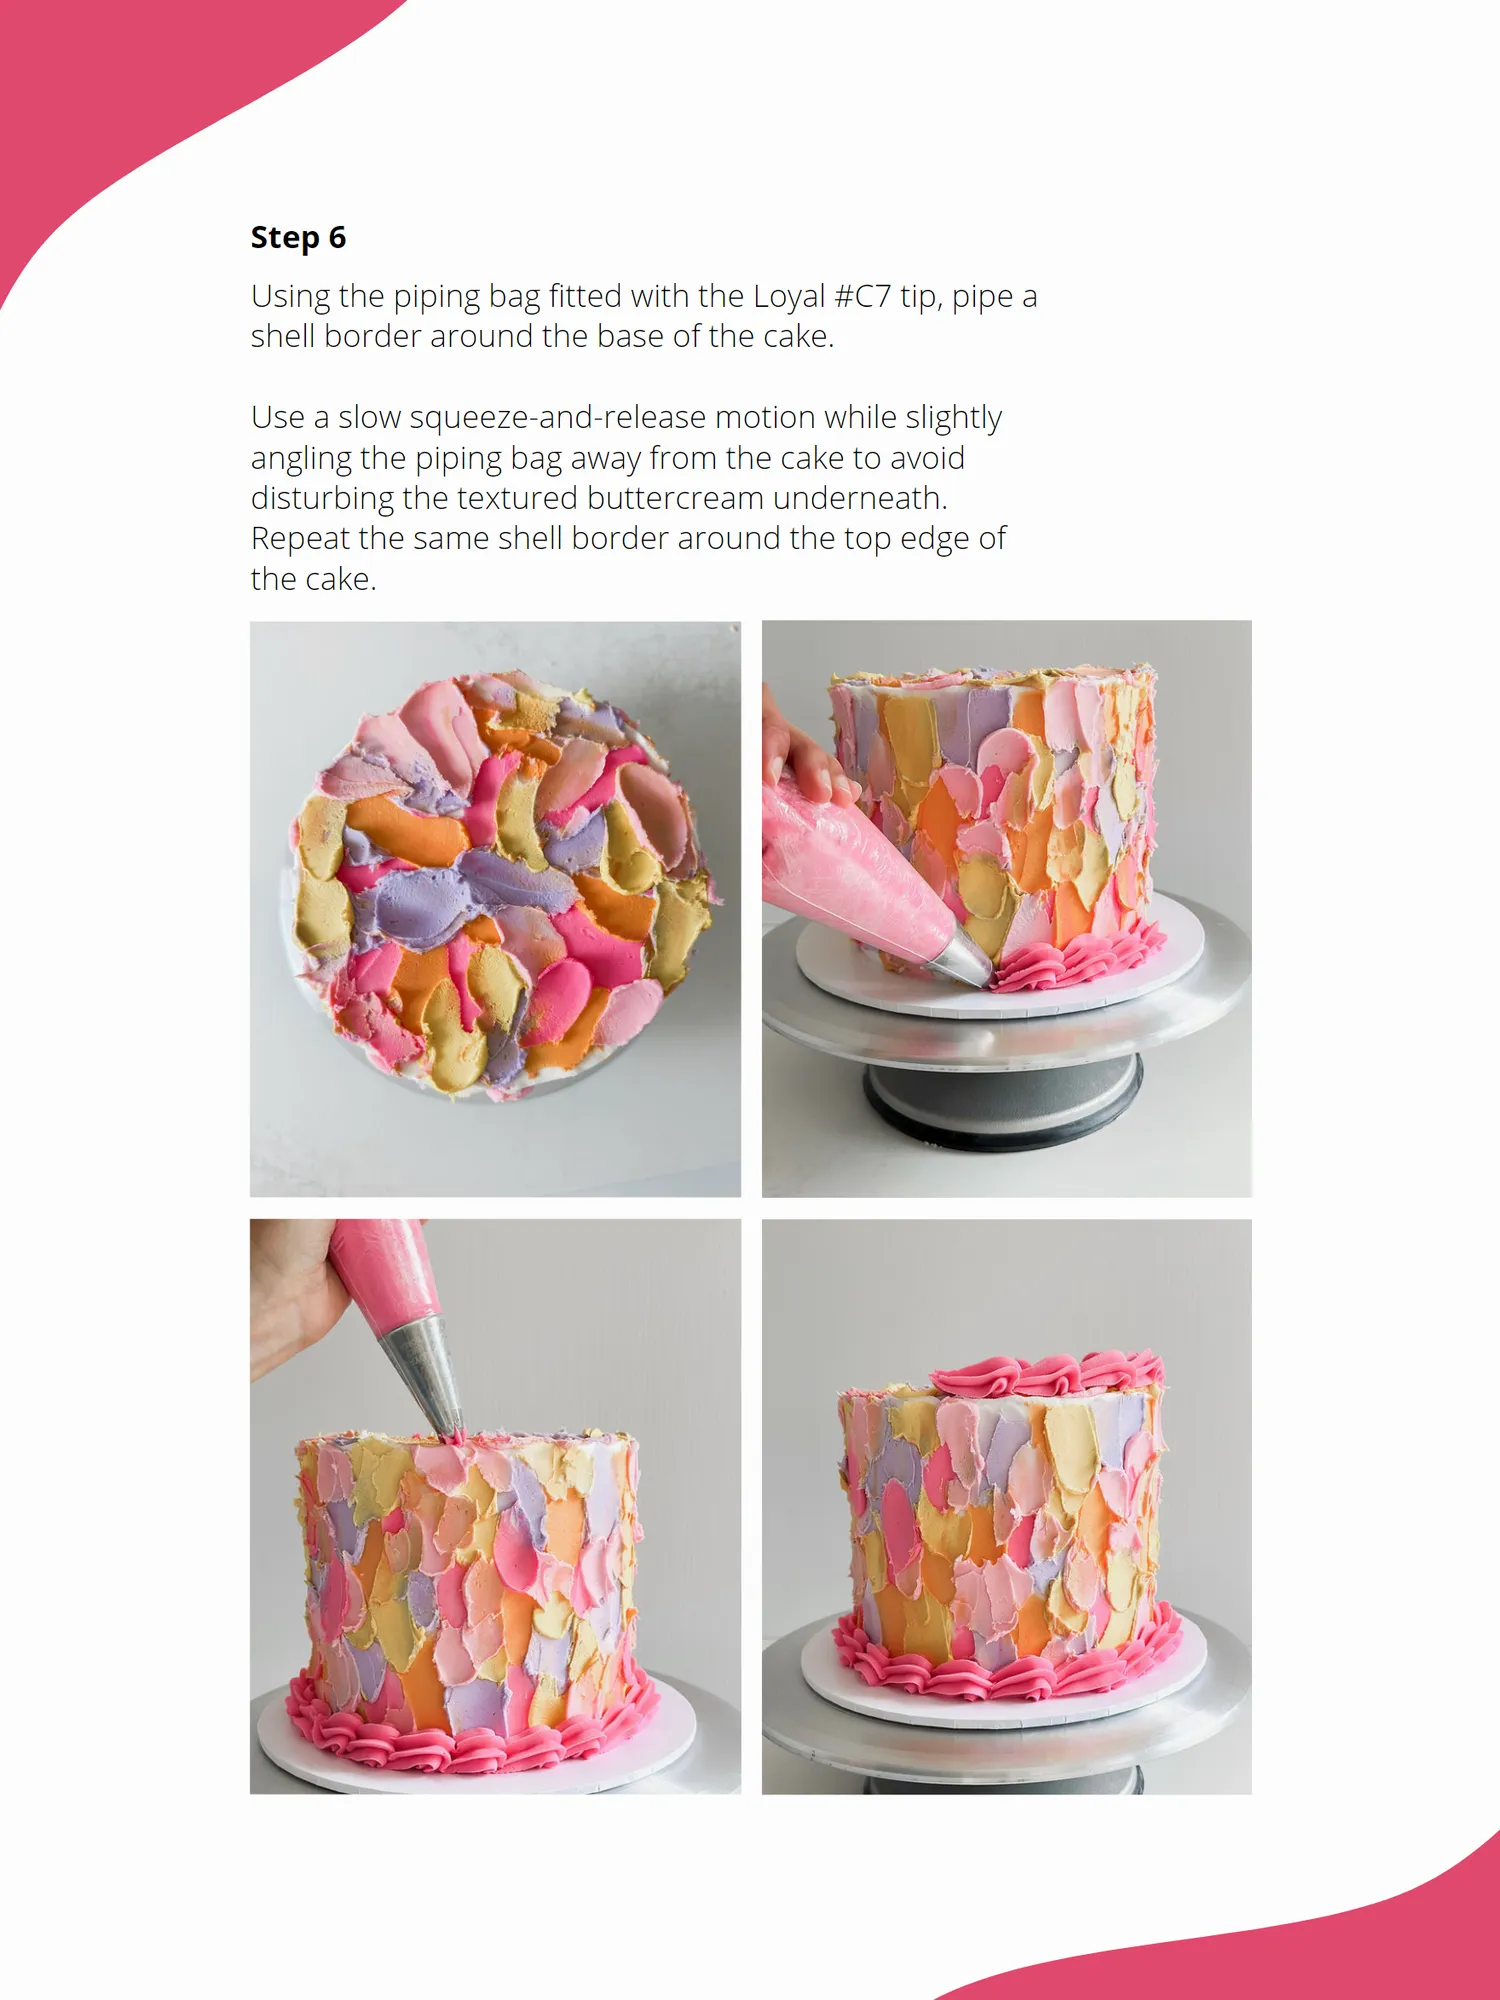
Step 6 Using the piping bag fitted with the Loyal #C7 tip, pipe a shell border around the base of the cake. Use a slow squeeze-and-release motion while slightly angling the piping bag away from the cake to avoid disturbing the textured buttercream underneath. Repeat the same shell border around the top edge of the cake.
Page 17 text
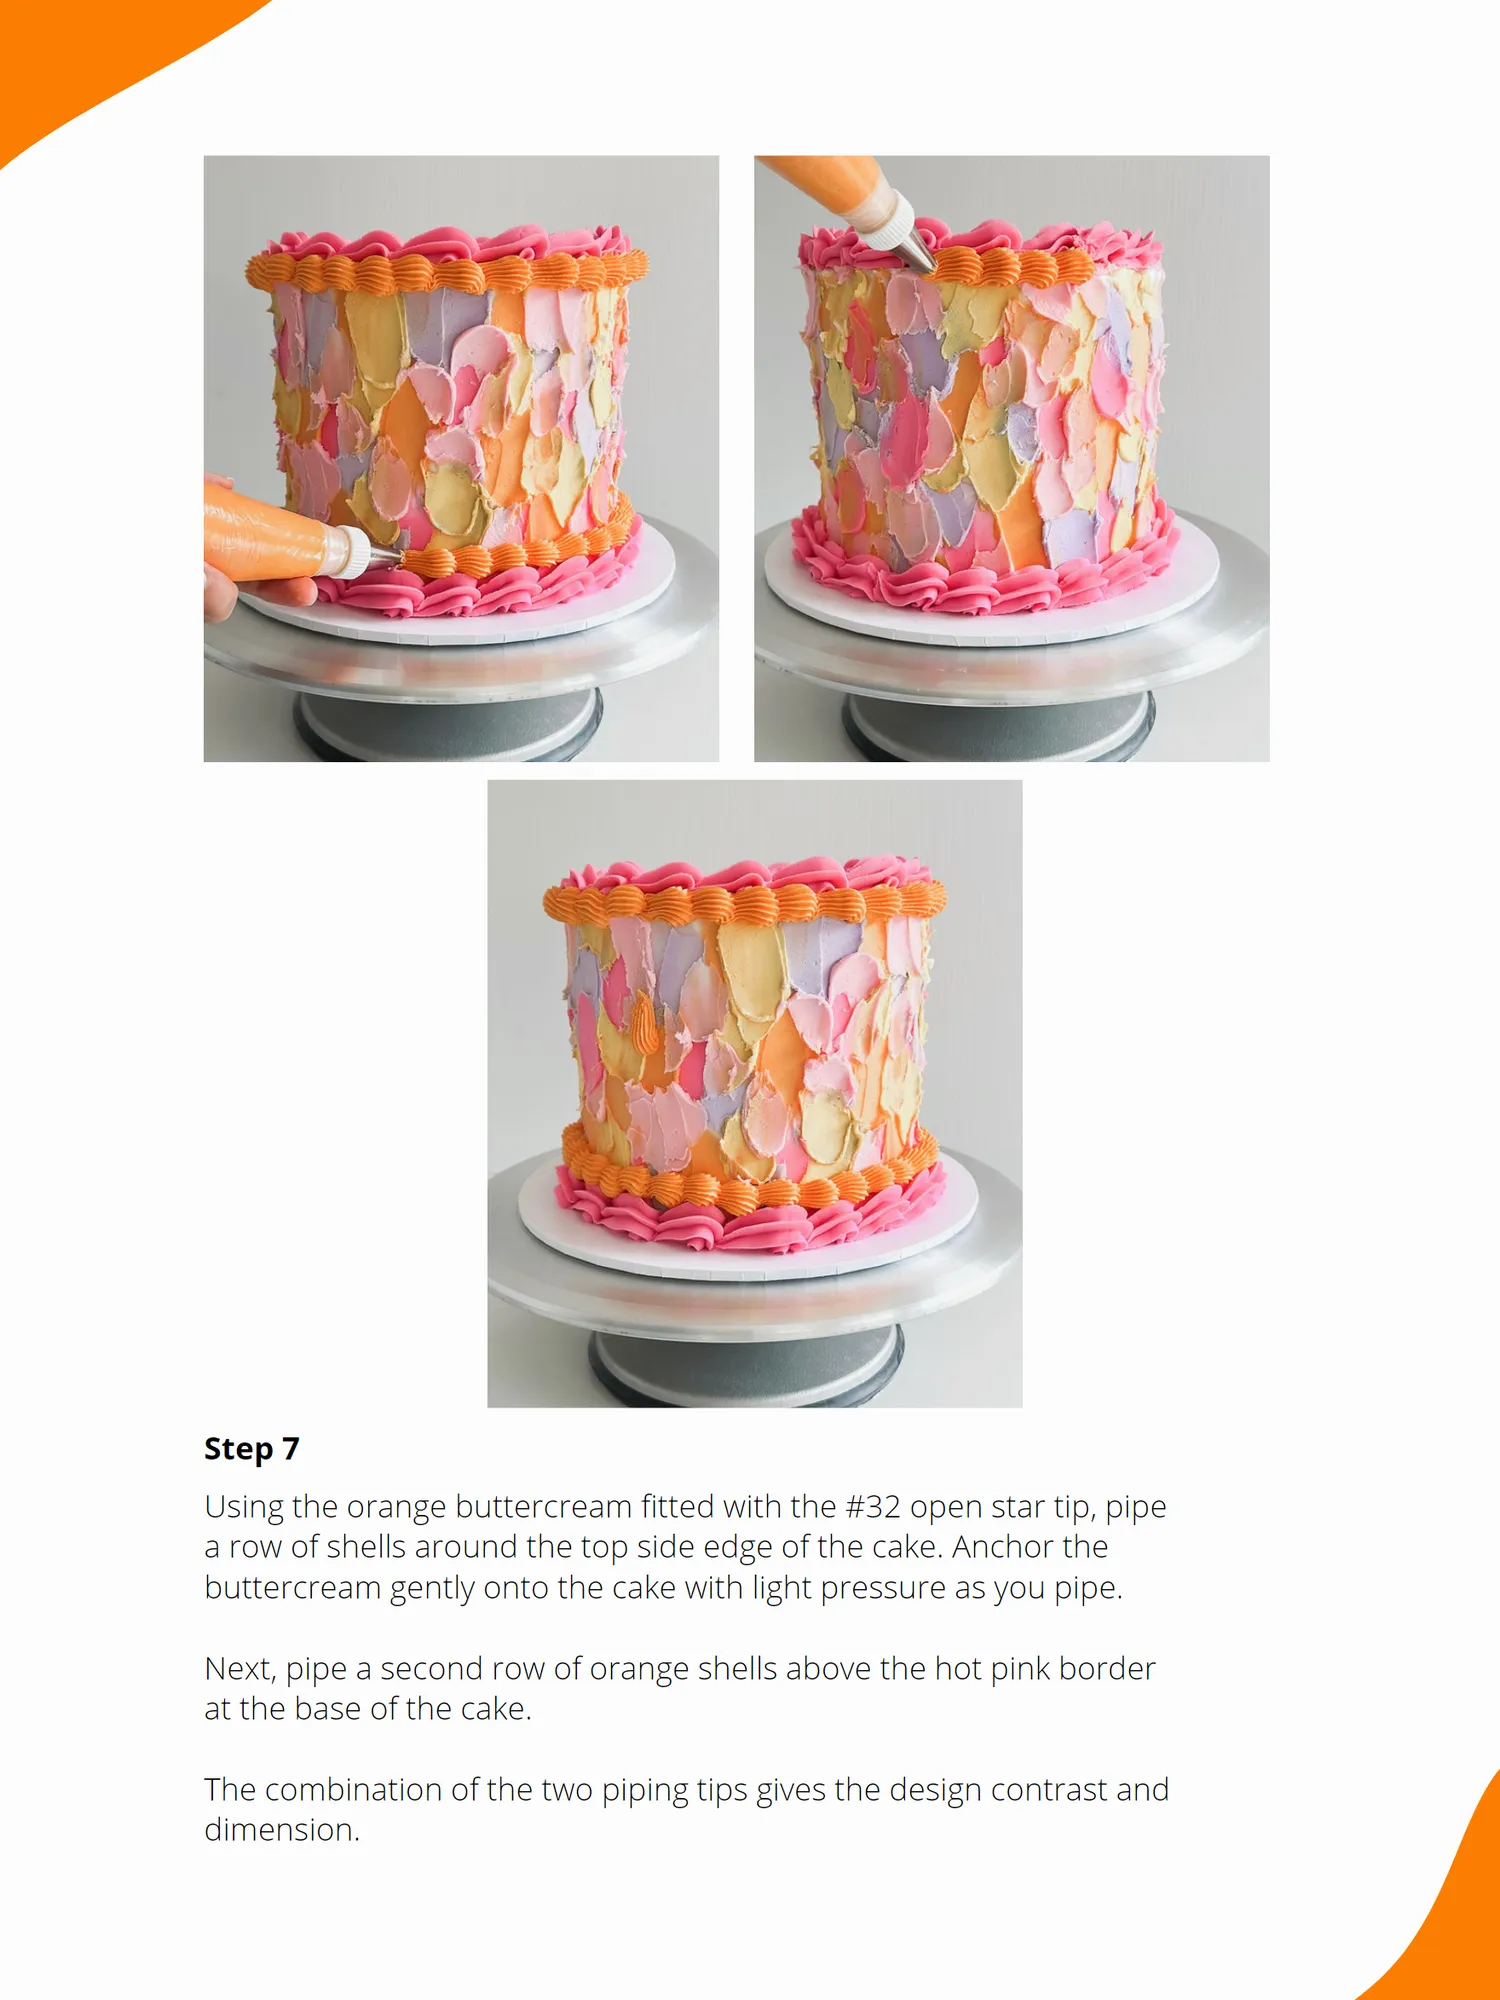
Step 7 Using the orange buttercream fitted with the #32 open star tip, pipe a row of shells around the top side edge of the cake. Anchor the buttercream gently onto the cake with light pressure as you pipe. Next, pipe a second row of orange shells above the hot pink border at the base of the cake. The combination of the two piping tips gives the design contrast and dimension.
Page 18 text
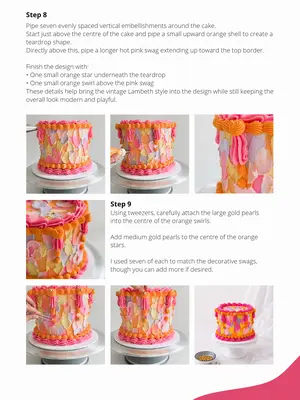
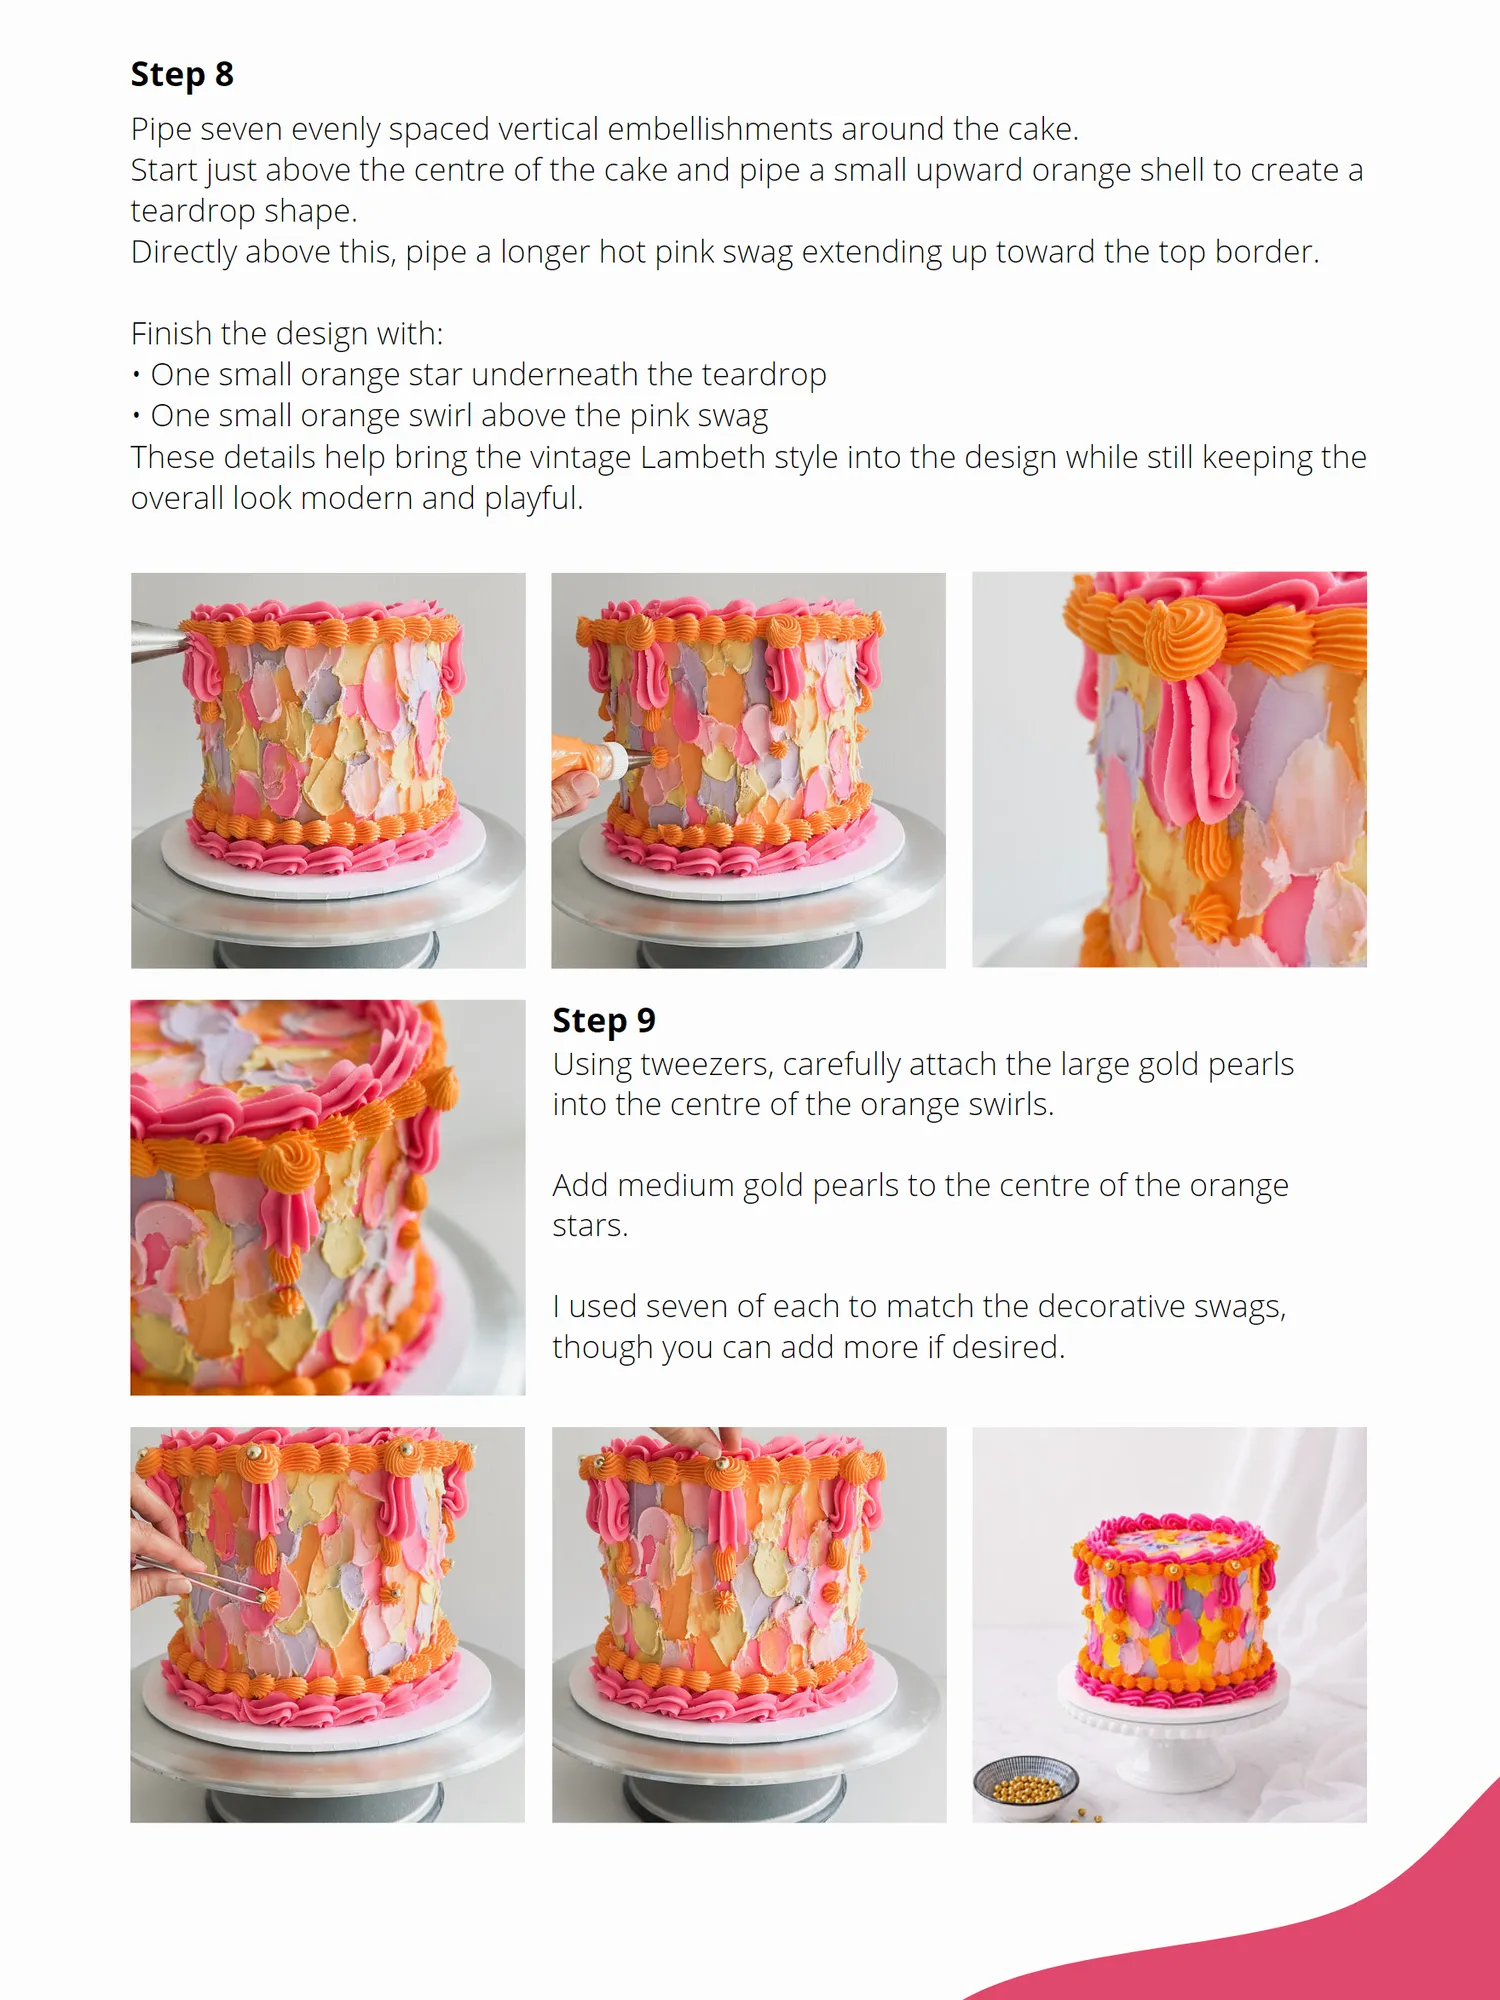
Step 8 Pipe seven evenly spaced vertical embellishments around the cake. Start just above the centre of the cake and pipe a small upward orange shell to create a teardrop shape. Directly above this, pipe a longer hot pink swag extending up toward the top border. Finish the design with: • One small orange star underneath the teardrop • One small orange swirl above the pink swag These details help bring the vintage Lambeth style into the design while still keeping the overall look modern and playful. Step 9 Using tweezers, carefully attach the large gold pearls into the centre of the orange swirls. Add medium gold pearls to the centre of the orange stars. I used seven of each to match the decorative swags, though you can add more if desired.
Page 19 text
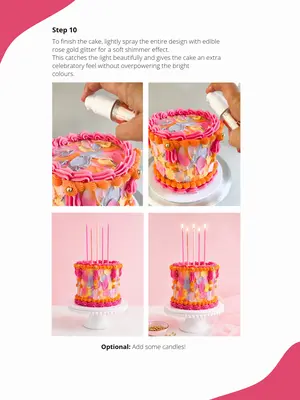
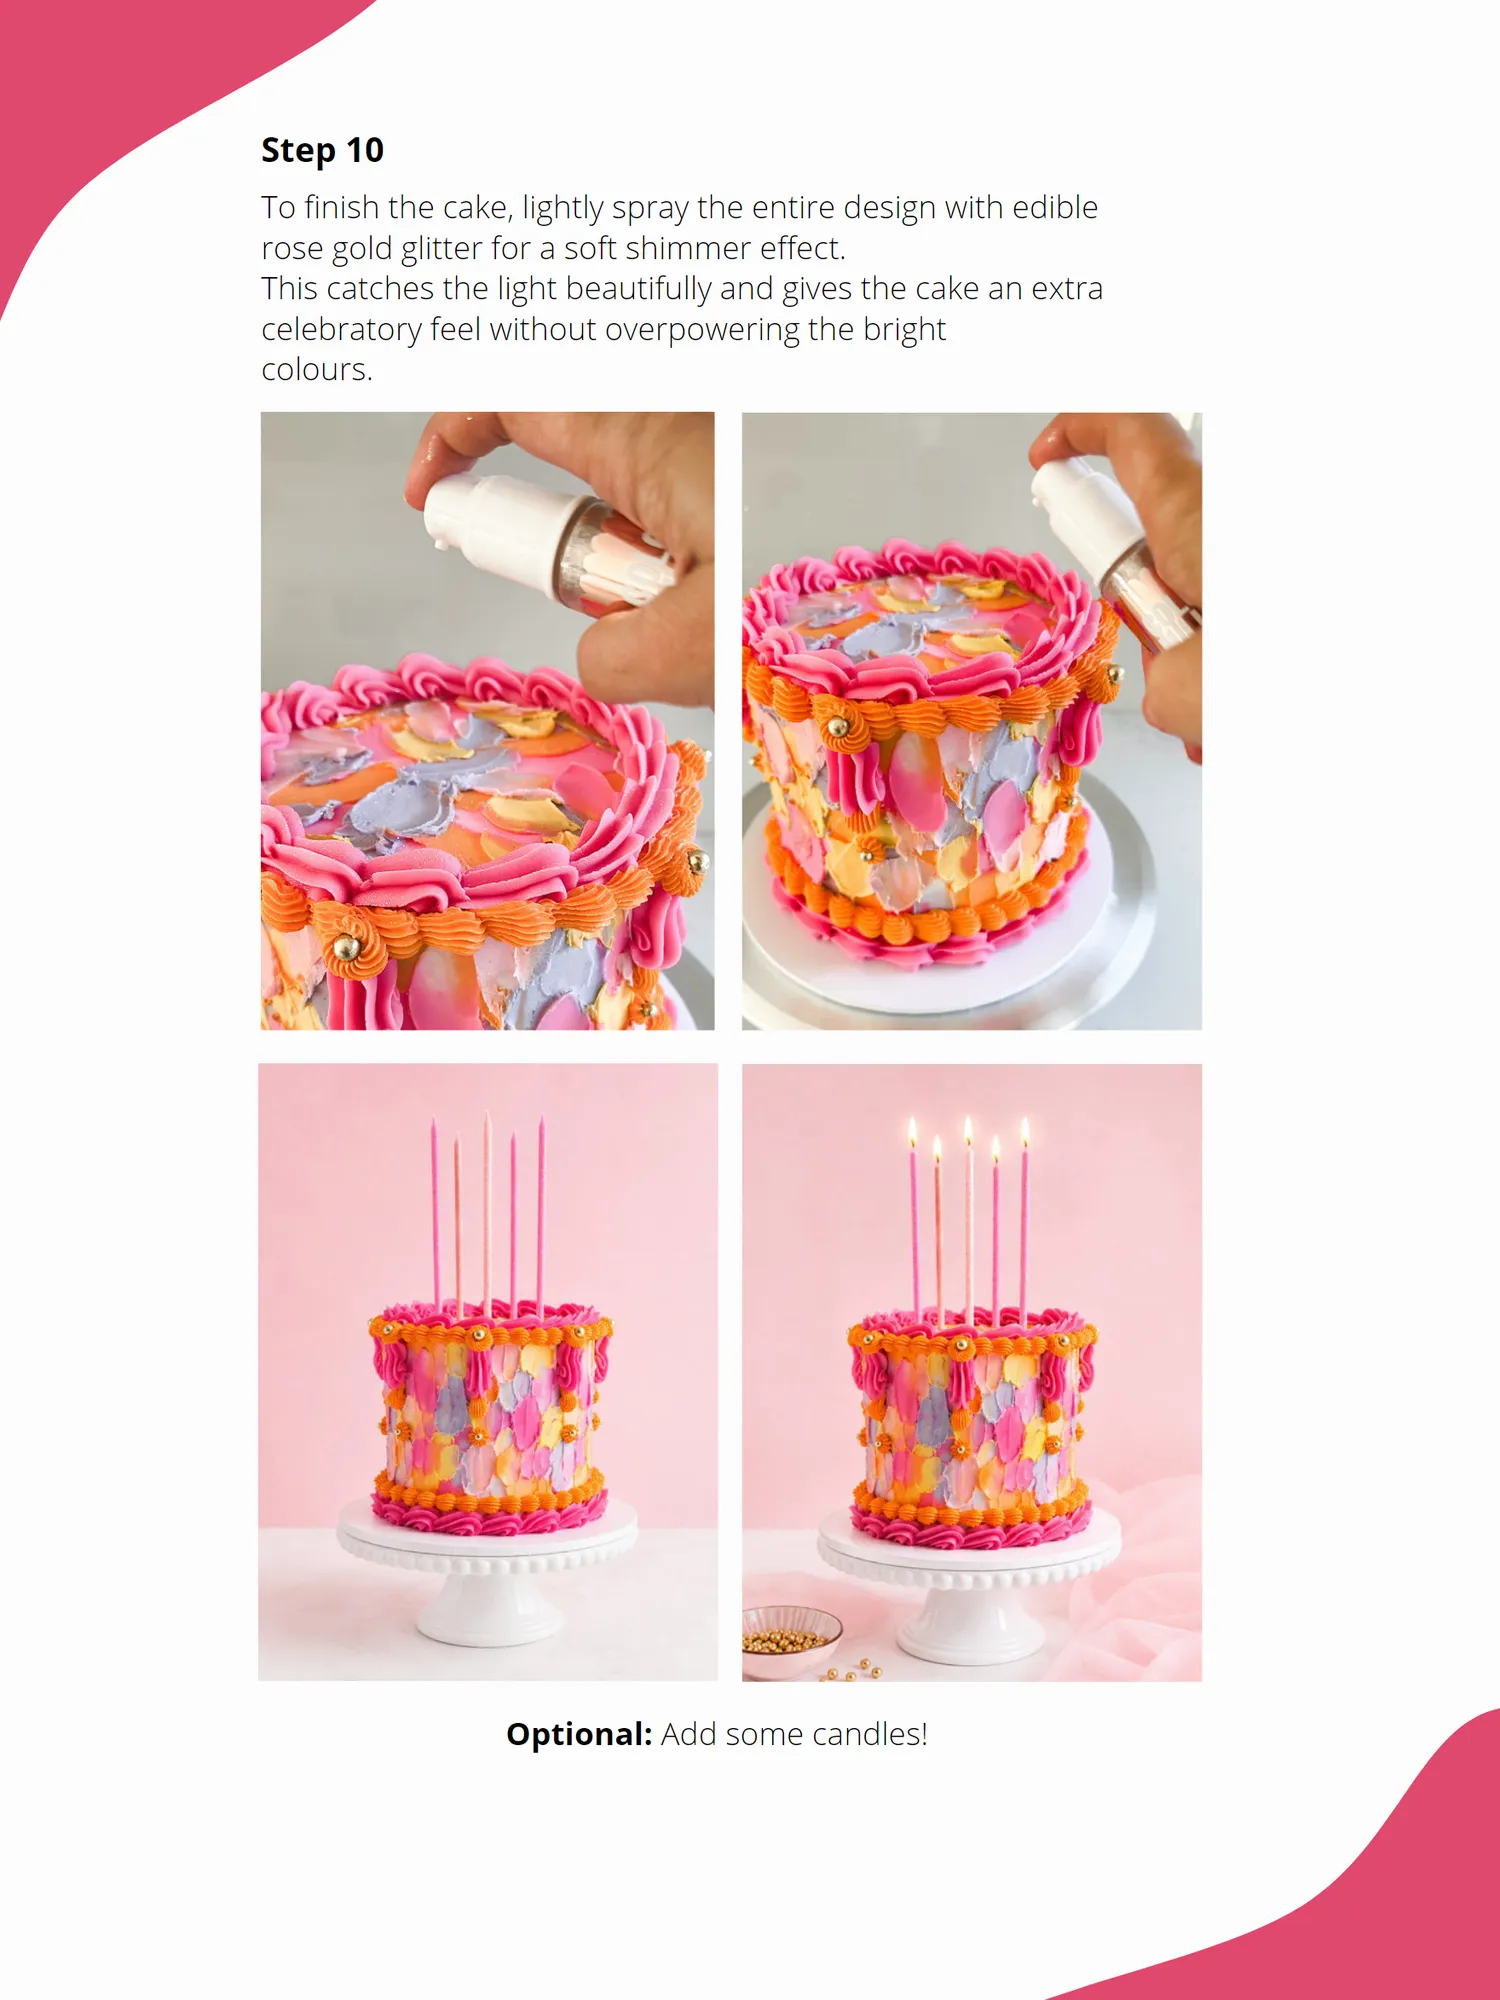
Step 10 To finish the cake, lightly spray the entire design with edible rose gold glitter for a soft shimmer effect. This catches the light beautifully and gives the cake an extra celebratory feel without overpowering the bright colours. Optional: Add some candles!


Page 22 text
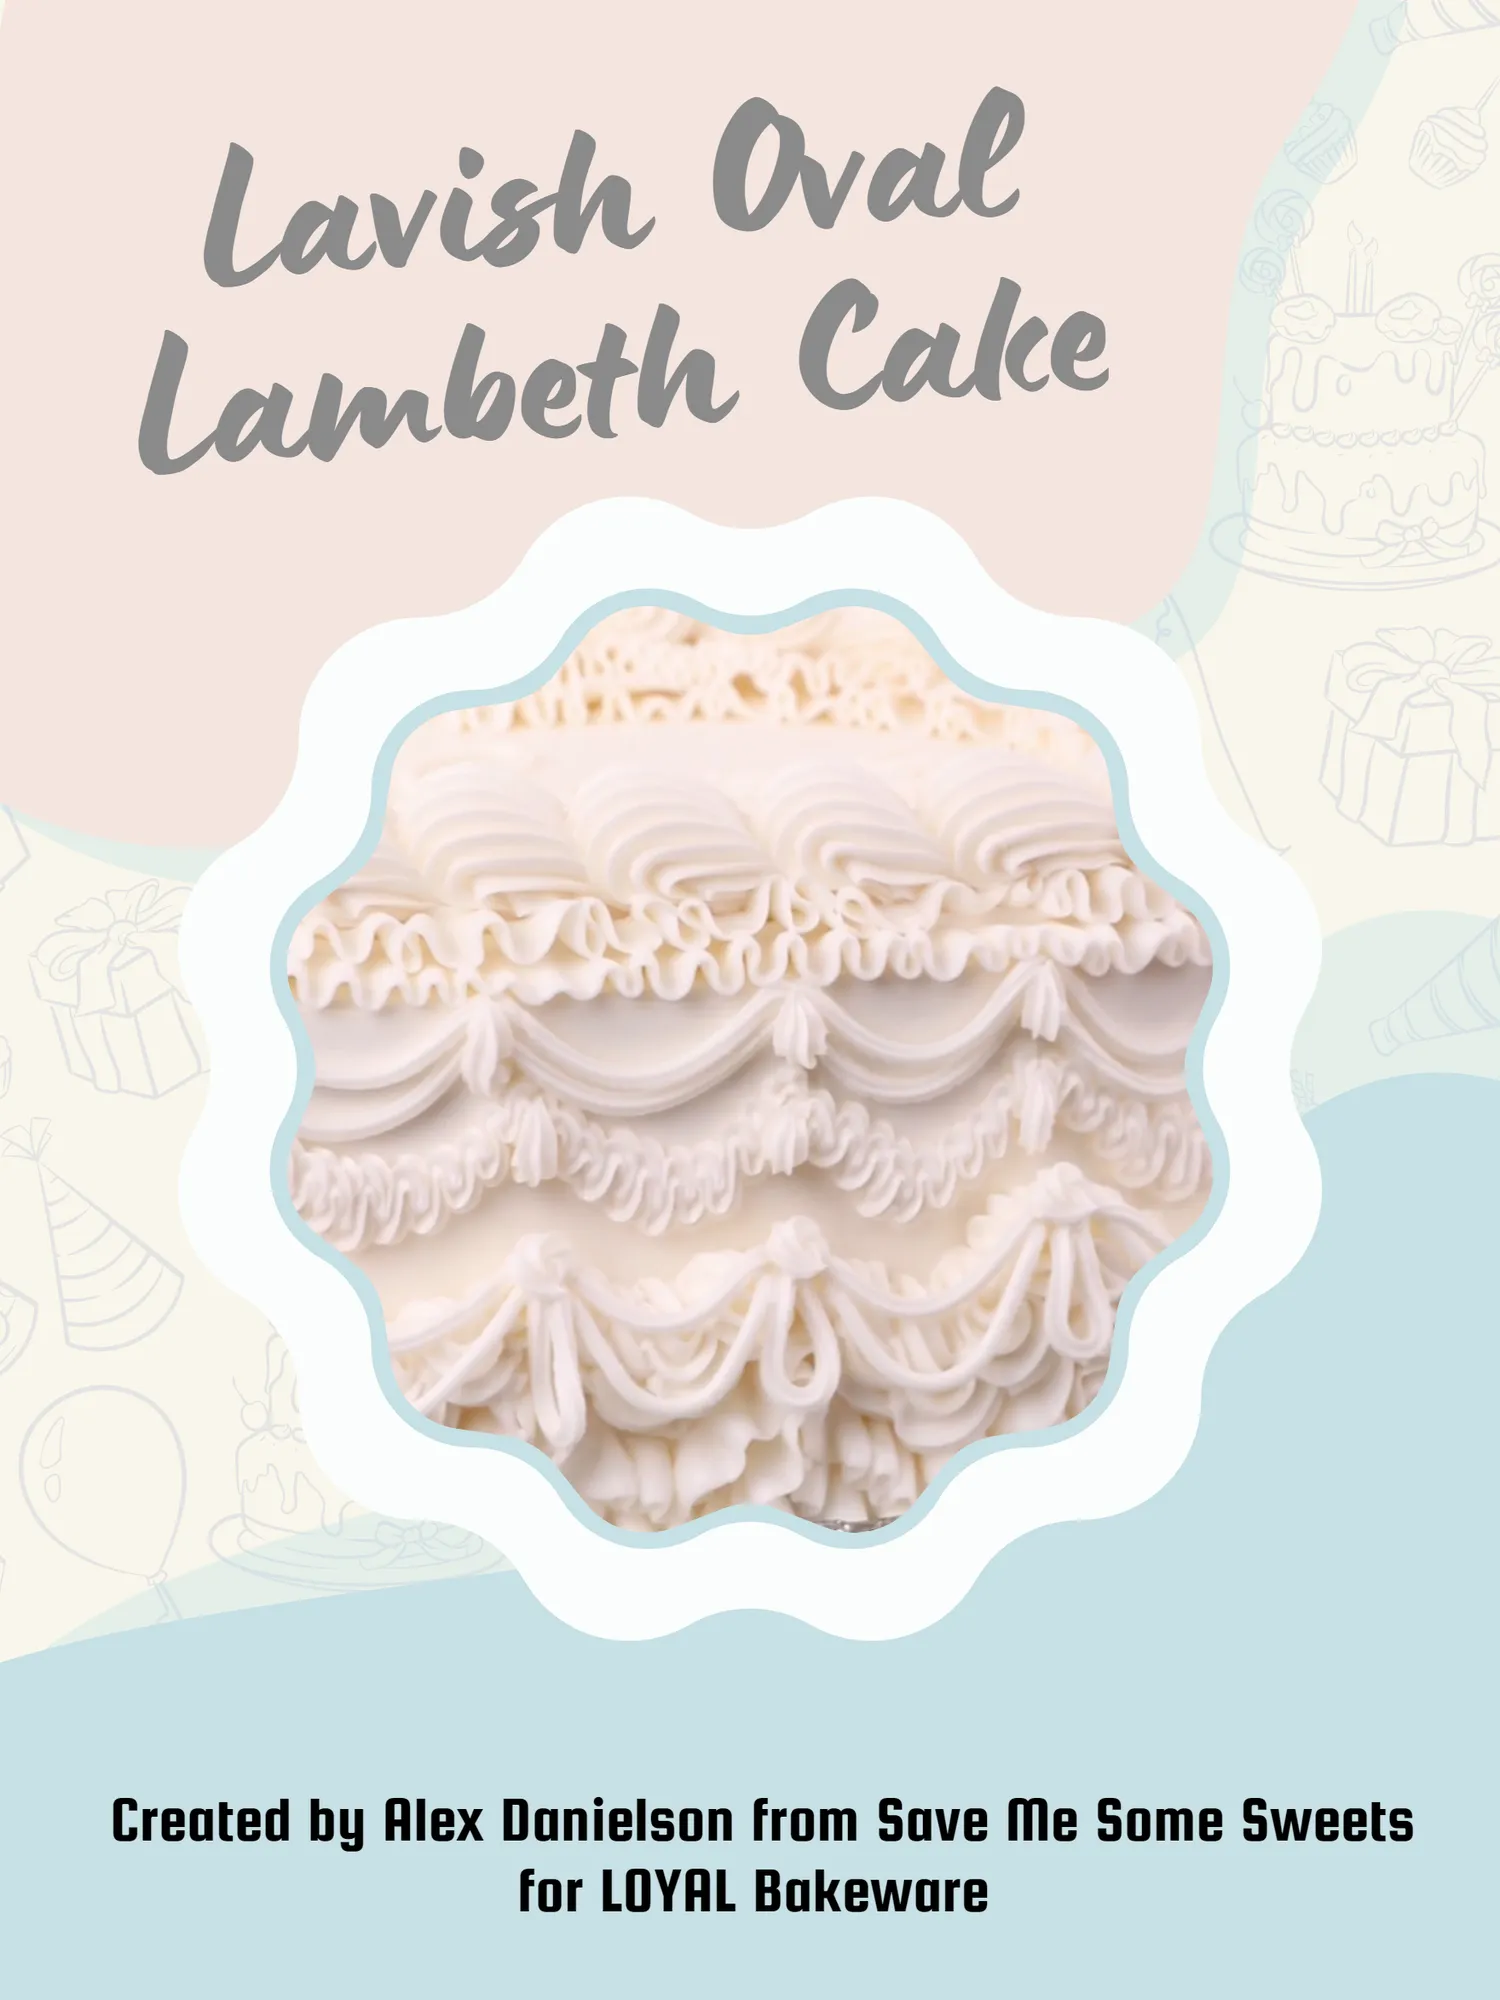
Lavish Oval Lambeth Cake Created by Alex Danielson from Save Me Some Sweets for LOYAL Bakeware
Page 23 text
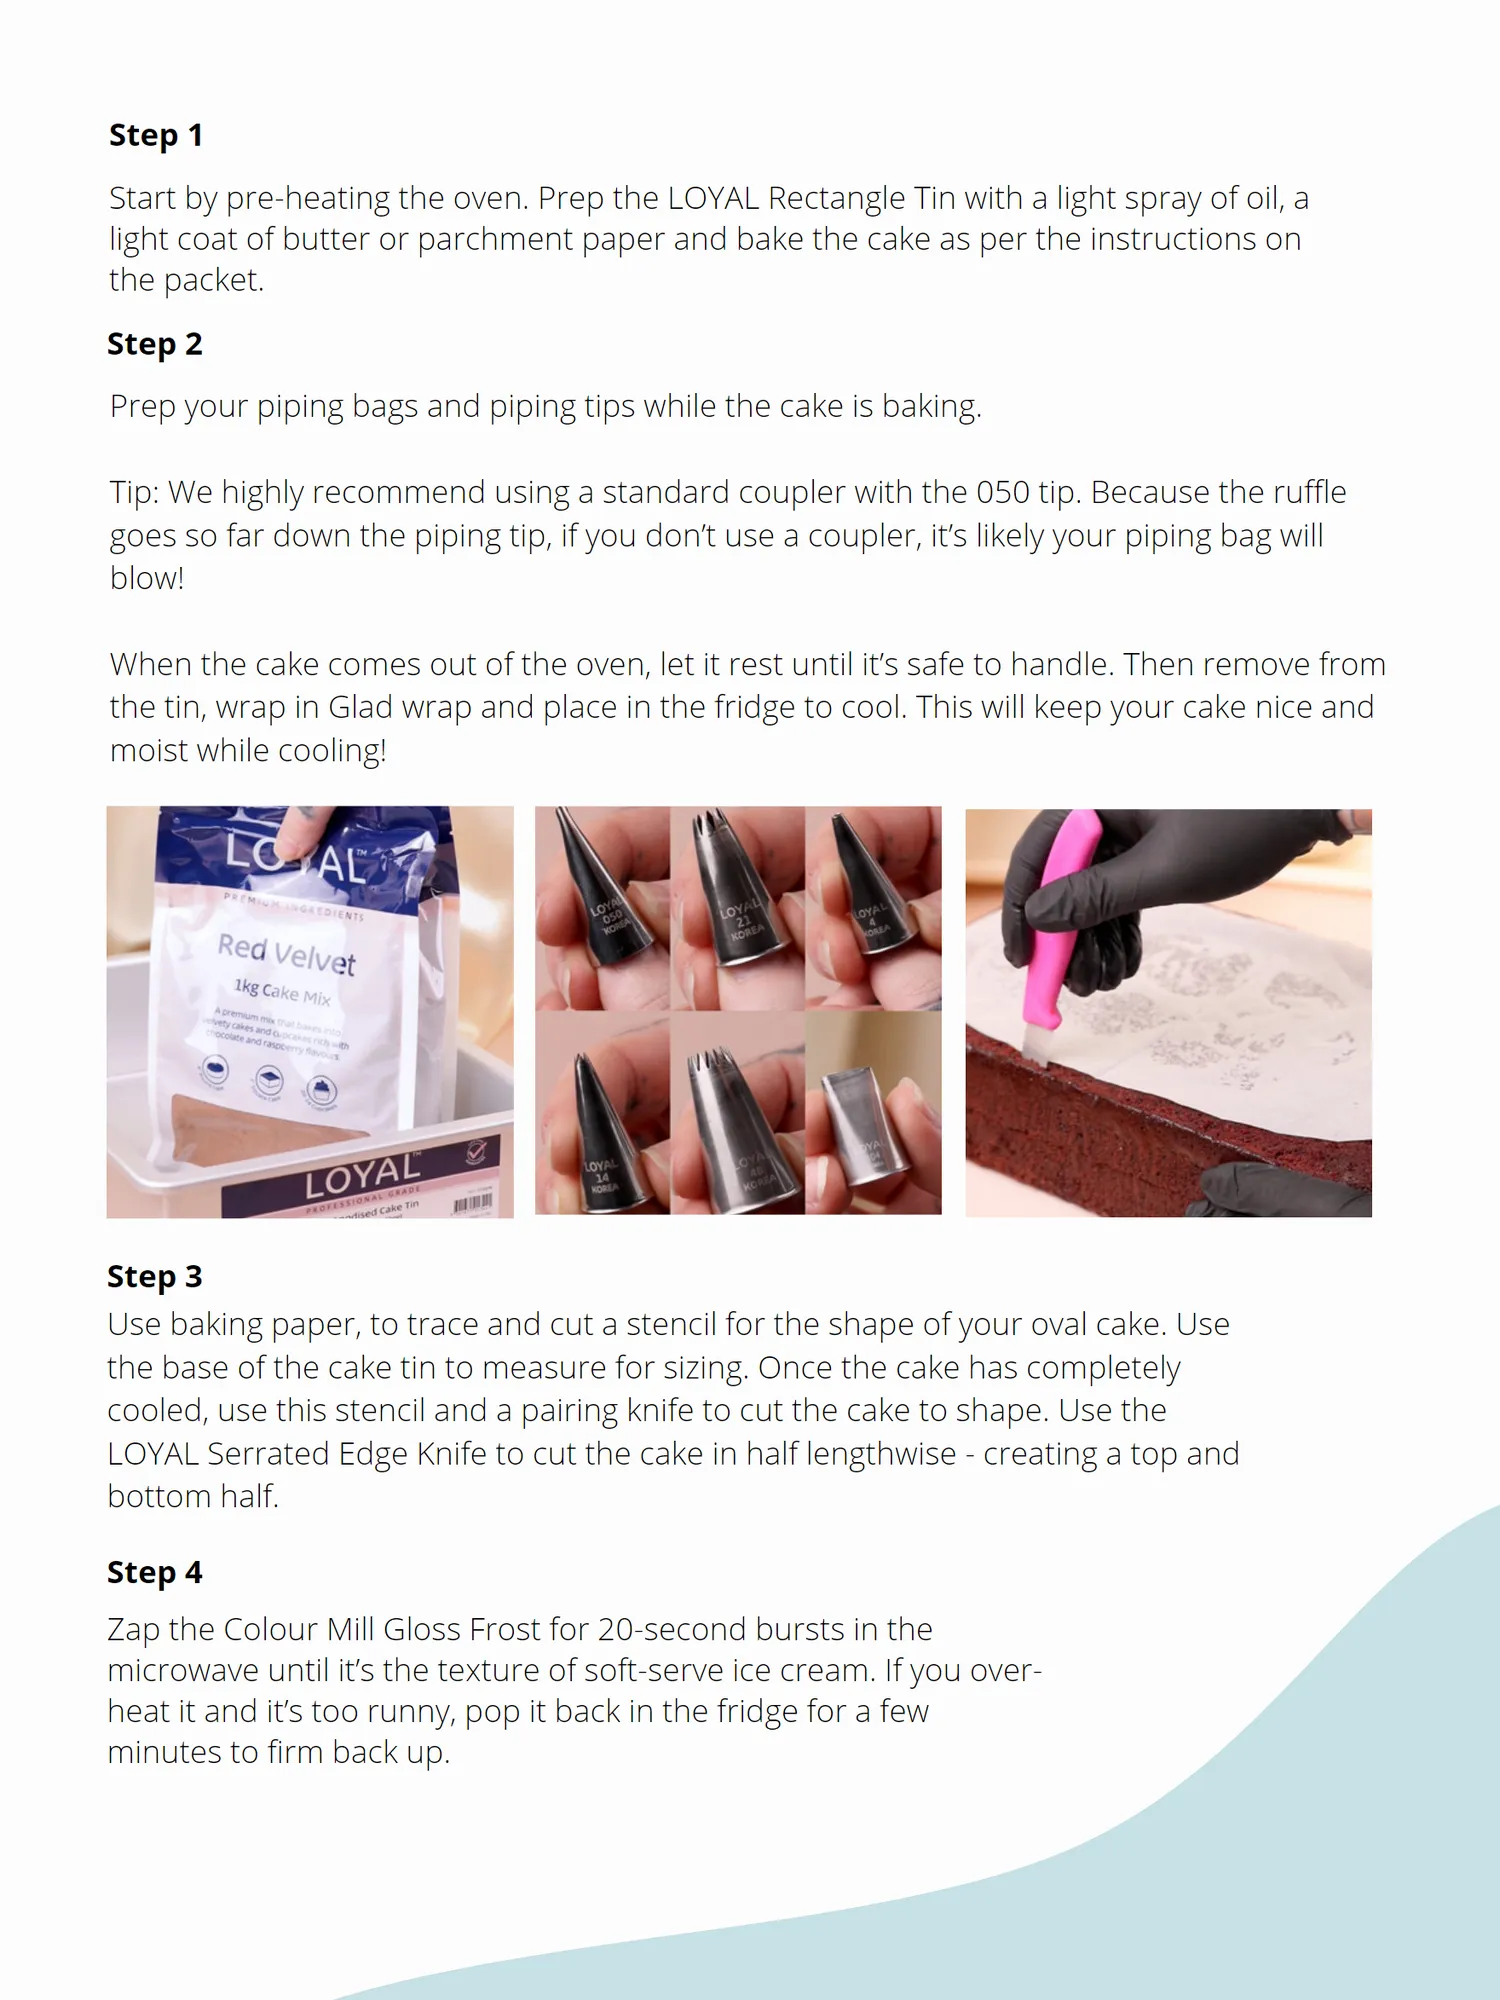
Lavish Oval Lambeth Cake There’s nothing bolder than a maximalist, lambeth cake. With piping so decadent, no colour is needed to make this all-white beauty the cake of our buttercream dreams. What makes it even better? You only need 6 piping tips. Follow along to recreate Alex’s signature style of maximalist Lambeth decorating - with some tips and tricks on drop piping from Alex along the way! WHAT YOU’LL NEED: LOYAL Premium Red Velvet Cake Mix LOYAL Elite Anodised Rectangle Cake Tin - Quarter Sheet Rectangle Cake Board 11x13in Pairing Knife LOYAL Serrated Edge Knife LOYAL Angled Spatula 6in Colour Mill Gloss Frost 3L (total) LOYAL Stainless Steel Scraper with Handle LOYAL Piping Tips 050 Ruffle and standard coupler 21 Star 4 Round 14 Open Star 4B Open Star 104 Petal www.loyalbakeware.com instagram.com/loyalbakeware
Page 24 text
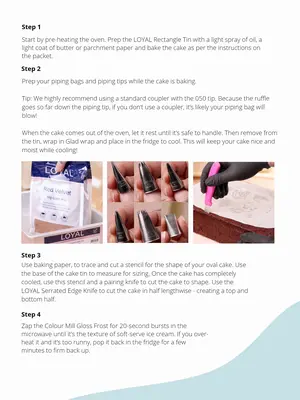
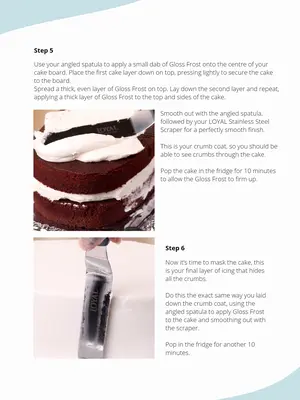
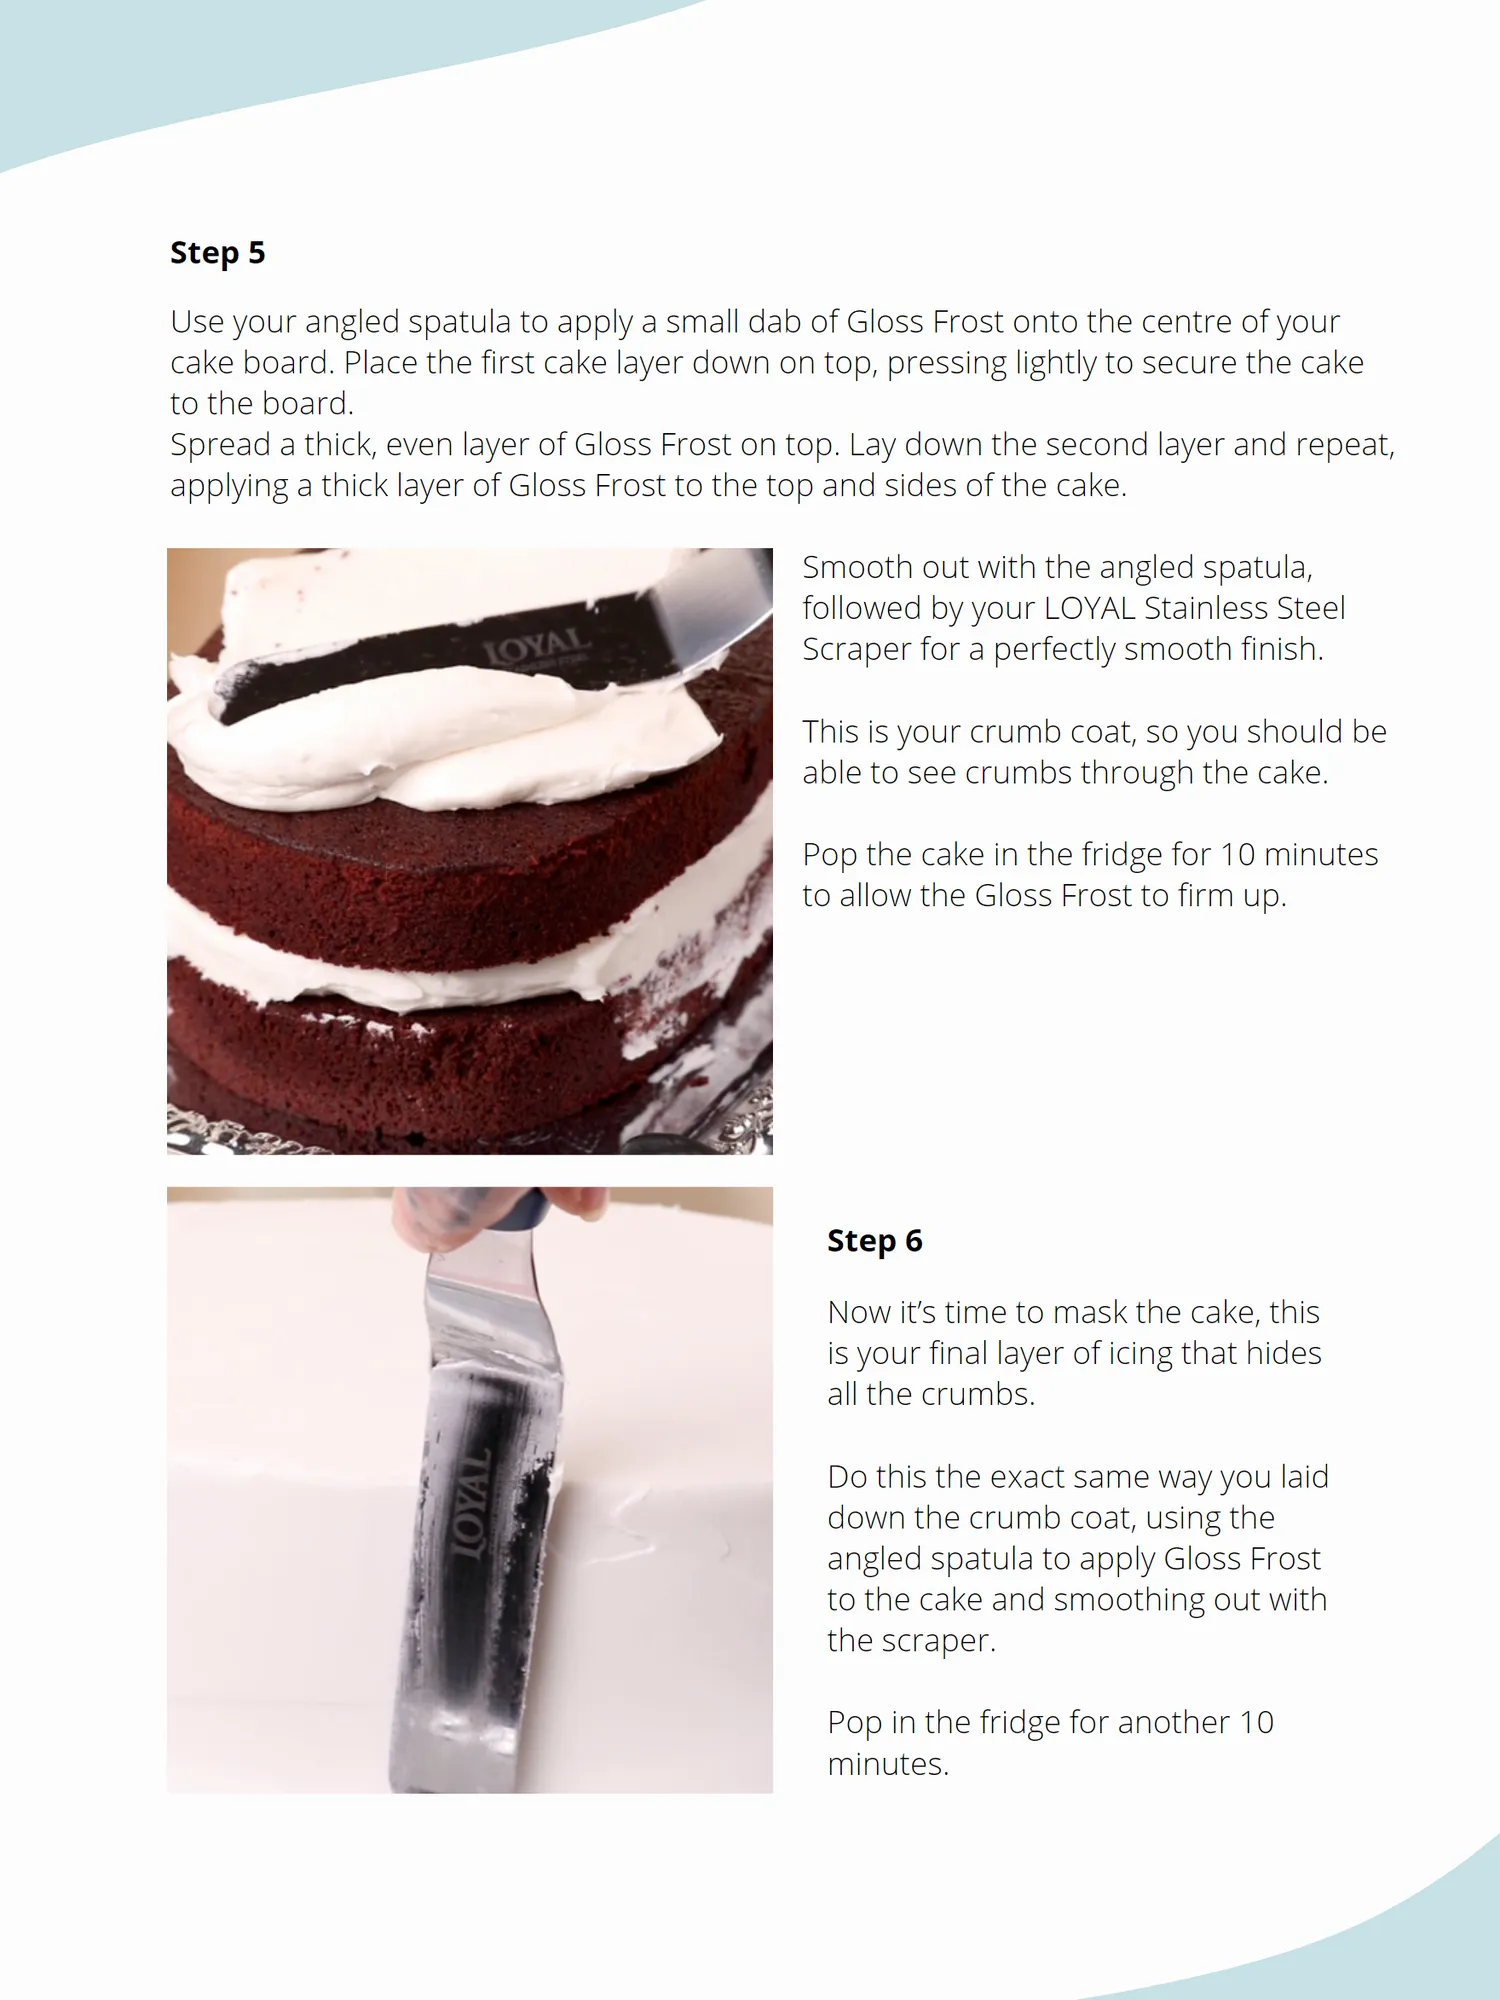
Step 1 Start by pre-heating the oven. Prep the LOYAL Rectangle Tin with a light spray of oil, a light coat of butter or parchment paper and bake the cake as per the instructions on the packet. Step 2 Prep your piping bags and piping tips while the cake is baking. Tip: We highly recommend using a standard coupler with the 050 tip. Because the ruffle goes so far down the piping tip, if you don’t use a coupler, it’s likely your piping bag will blow! When the cake comes out of the oven, let it rest until it’s safe to handle. Then remove from the tin, wrap in Glad wrap and place in the fridge to cool. This will keep your cake nice and moist while cooling! Step 3 Use baking paper, to trace and cut a stencil for the shape of your oval cake. Use the base of the cake tin to measure for sizing. Once the cake has completely cooled, use this stencil and a pairing knife to cut the cake to shape. Use the LOYAL Serrated Edge Knife to cut the cake in half lengthwise - creating a top and bottom half. Step 4 Zap the Colour Mill Gloss Frost for 20-second bursts in the microwave until it’s the texture of soft-serve ice cream. If you over- heat it and it’s too runny, pop it back in the fridge for a few minutes to firm back up.
Page 25 text
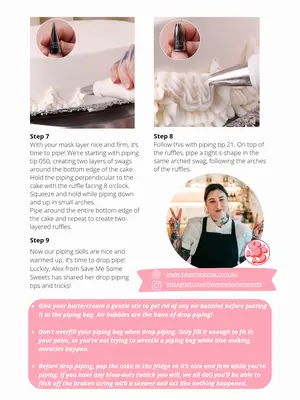
Step 5 Use your angled spatula to apply a small dab of Gloss Frost onto the centre of your cake board. Place the first cake layer down on top, pressing lightly to secure the cake to the board. Spread a thick, even layer of Gloss Frost on top. Lay down the second layer and repeat, applying a thick layer of Gloss Frost to the top and sides of the cake. Smooth out with the angled spatula, followed by your LOYAL Stainless Steel Scraper for a perfectly smooth finish. This is your crumb coat, so you should be able to see crumbs through the cake. Pop the cake in the fridge for 10 minutes to allow the Gloss Frost to firm up. Step 6 Now it’s time to mask the cake, this is your final layer of icing that hides all the crumbs. Do this the exact same way you laid down the crumb coat, using the angled spatula to apply Gloss Frost to the cake and smoothing out with the scraper. Pop in the fridge for another 10 minutes.
Page 26 text
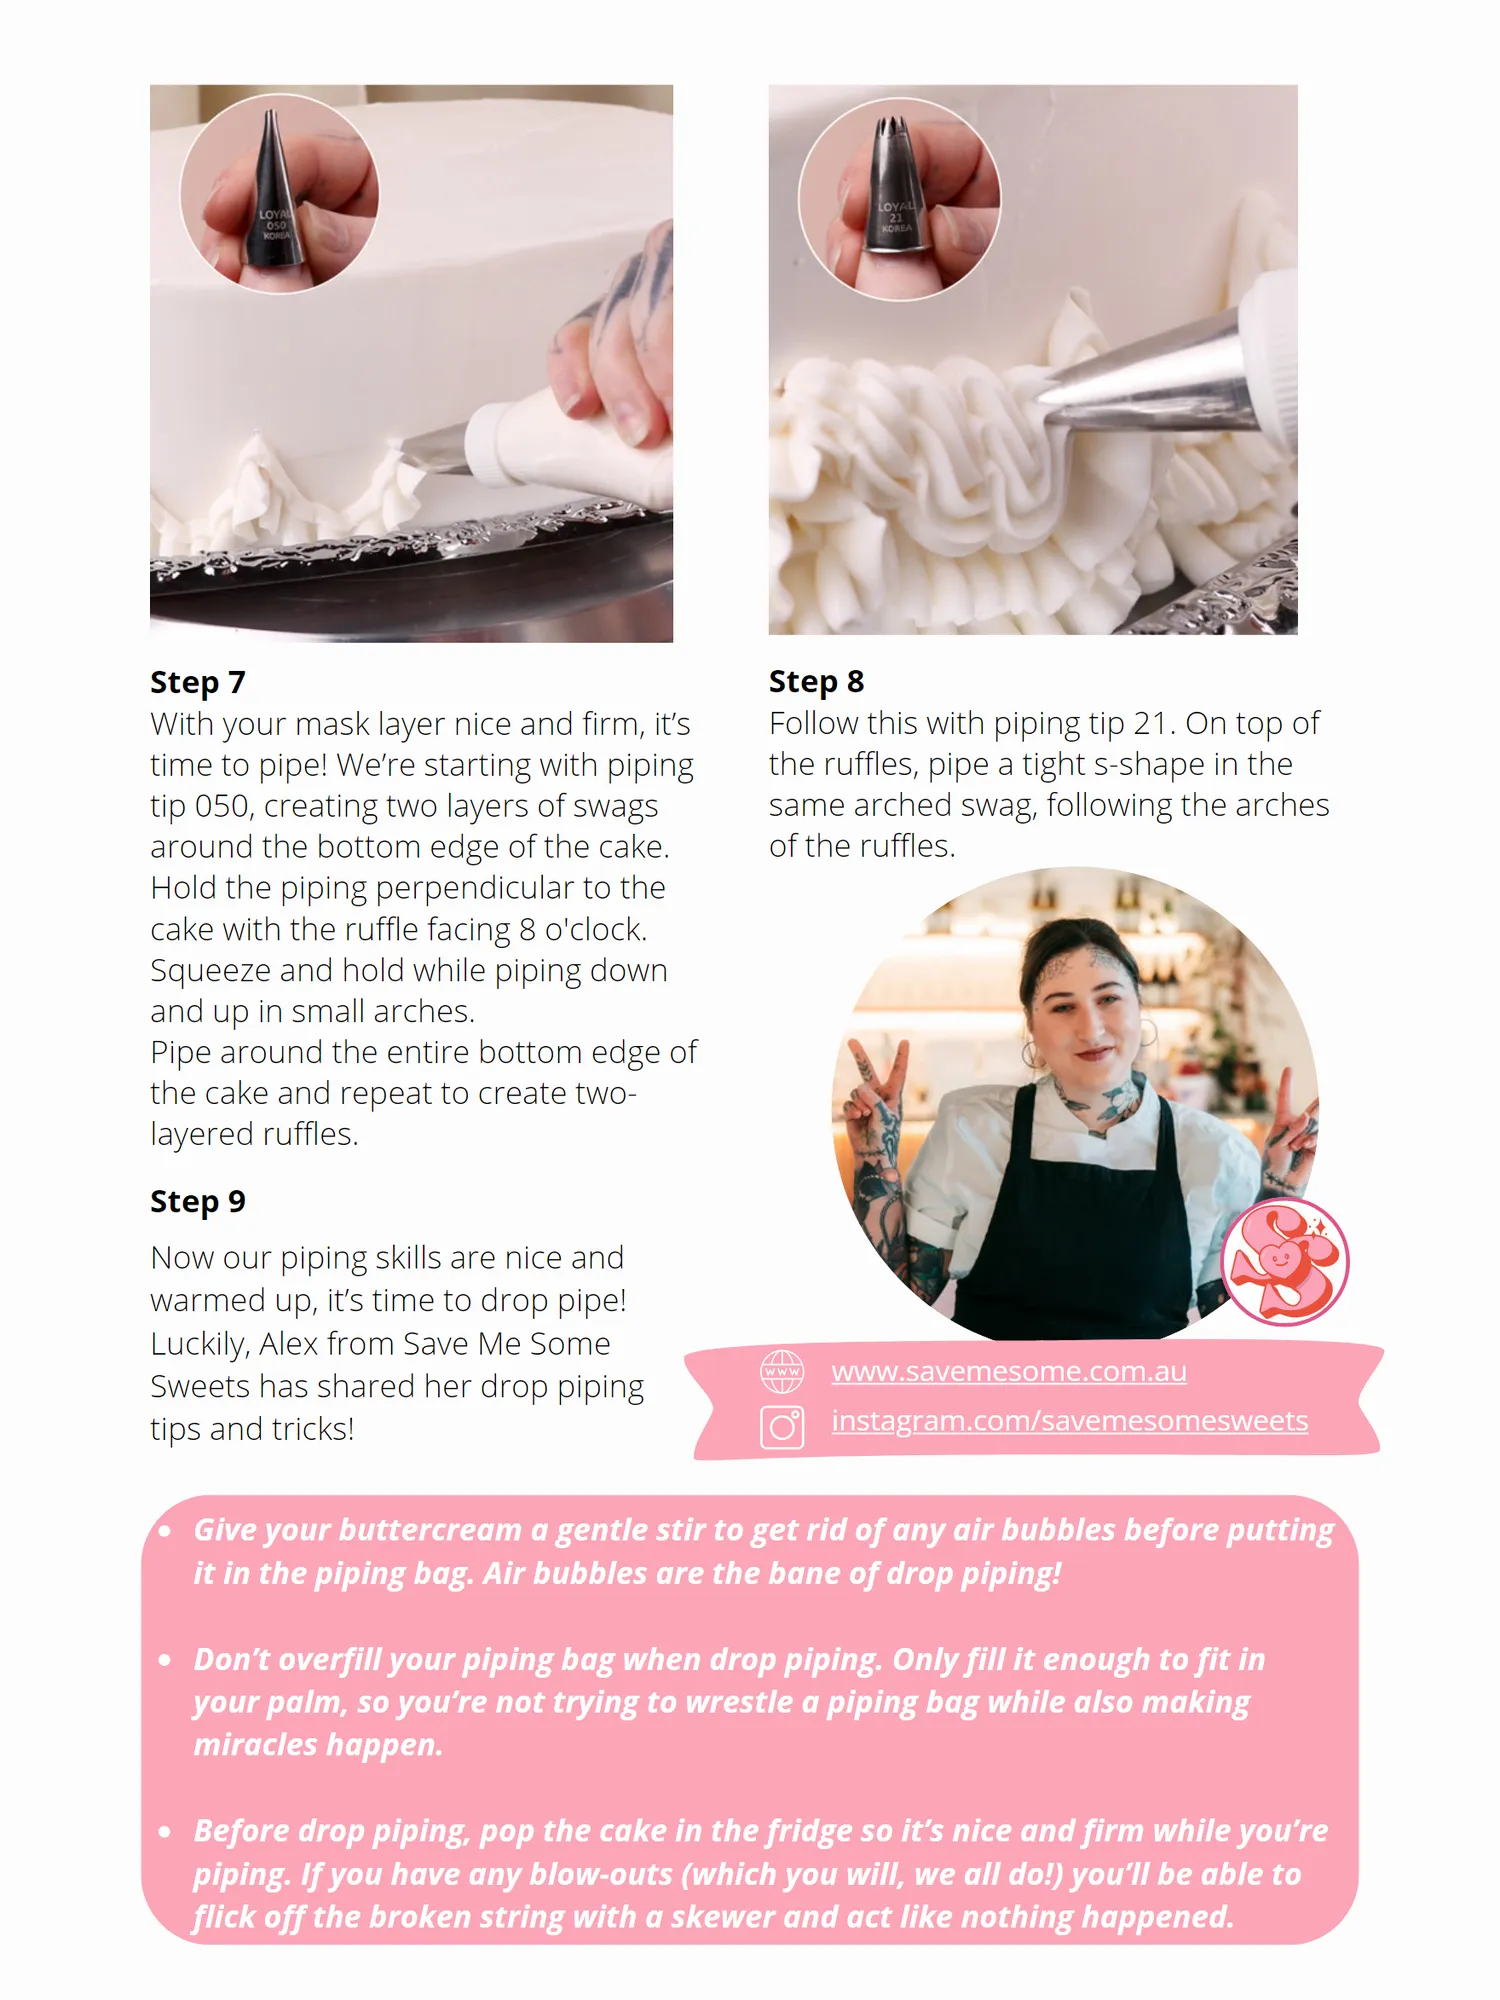
Step 7 Step 8 With your mask layer nice and firm, it’s Follow this with piping tip 21. On top of time to pipe! We’re starting with piping the ruffles, pipe a tight s-shape in the tip 050, creating two layers of swags same arched swag, following the arches around the bottom edge of the cake. of the ruffles. Hold the piping perpendicular to the cake with the ruffle facing 8 o'clock. Squeeze and hold while piping down and up in small arches. Pipe around the entire bottom edge of the cake and repeat to create two- layered ruffles. Step 9 Now our piping skills are nice and warmed up, it’s time to drop pipe! Luckily, Alex from Save Me Some Sweets has shared her drop piping www.savemesome.com.au tips and tricks! instagram.com/savemesomesweets Give your buttercream a gentle stir to get rid of any air bubbles before putting it in the piping bag. Air bubbles are the bane of drop piping! Don’t overfill your piping bag when drop piping. Only fill it enough to fit in your palm, so you’re not trying to wrestle a piping bag while also making miracles happen. Before drop piping, pop the cake in the fridge so it’s nice and firm while you’re piping. If you have any blow-outs (which you will, we all do!) you’ll be able to flick off the broken string with a skewer and act like nothing happened.
Page 27 text
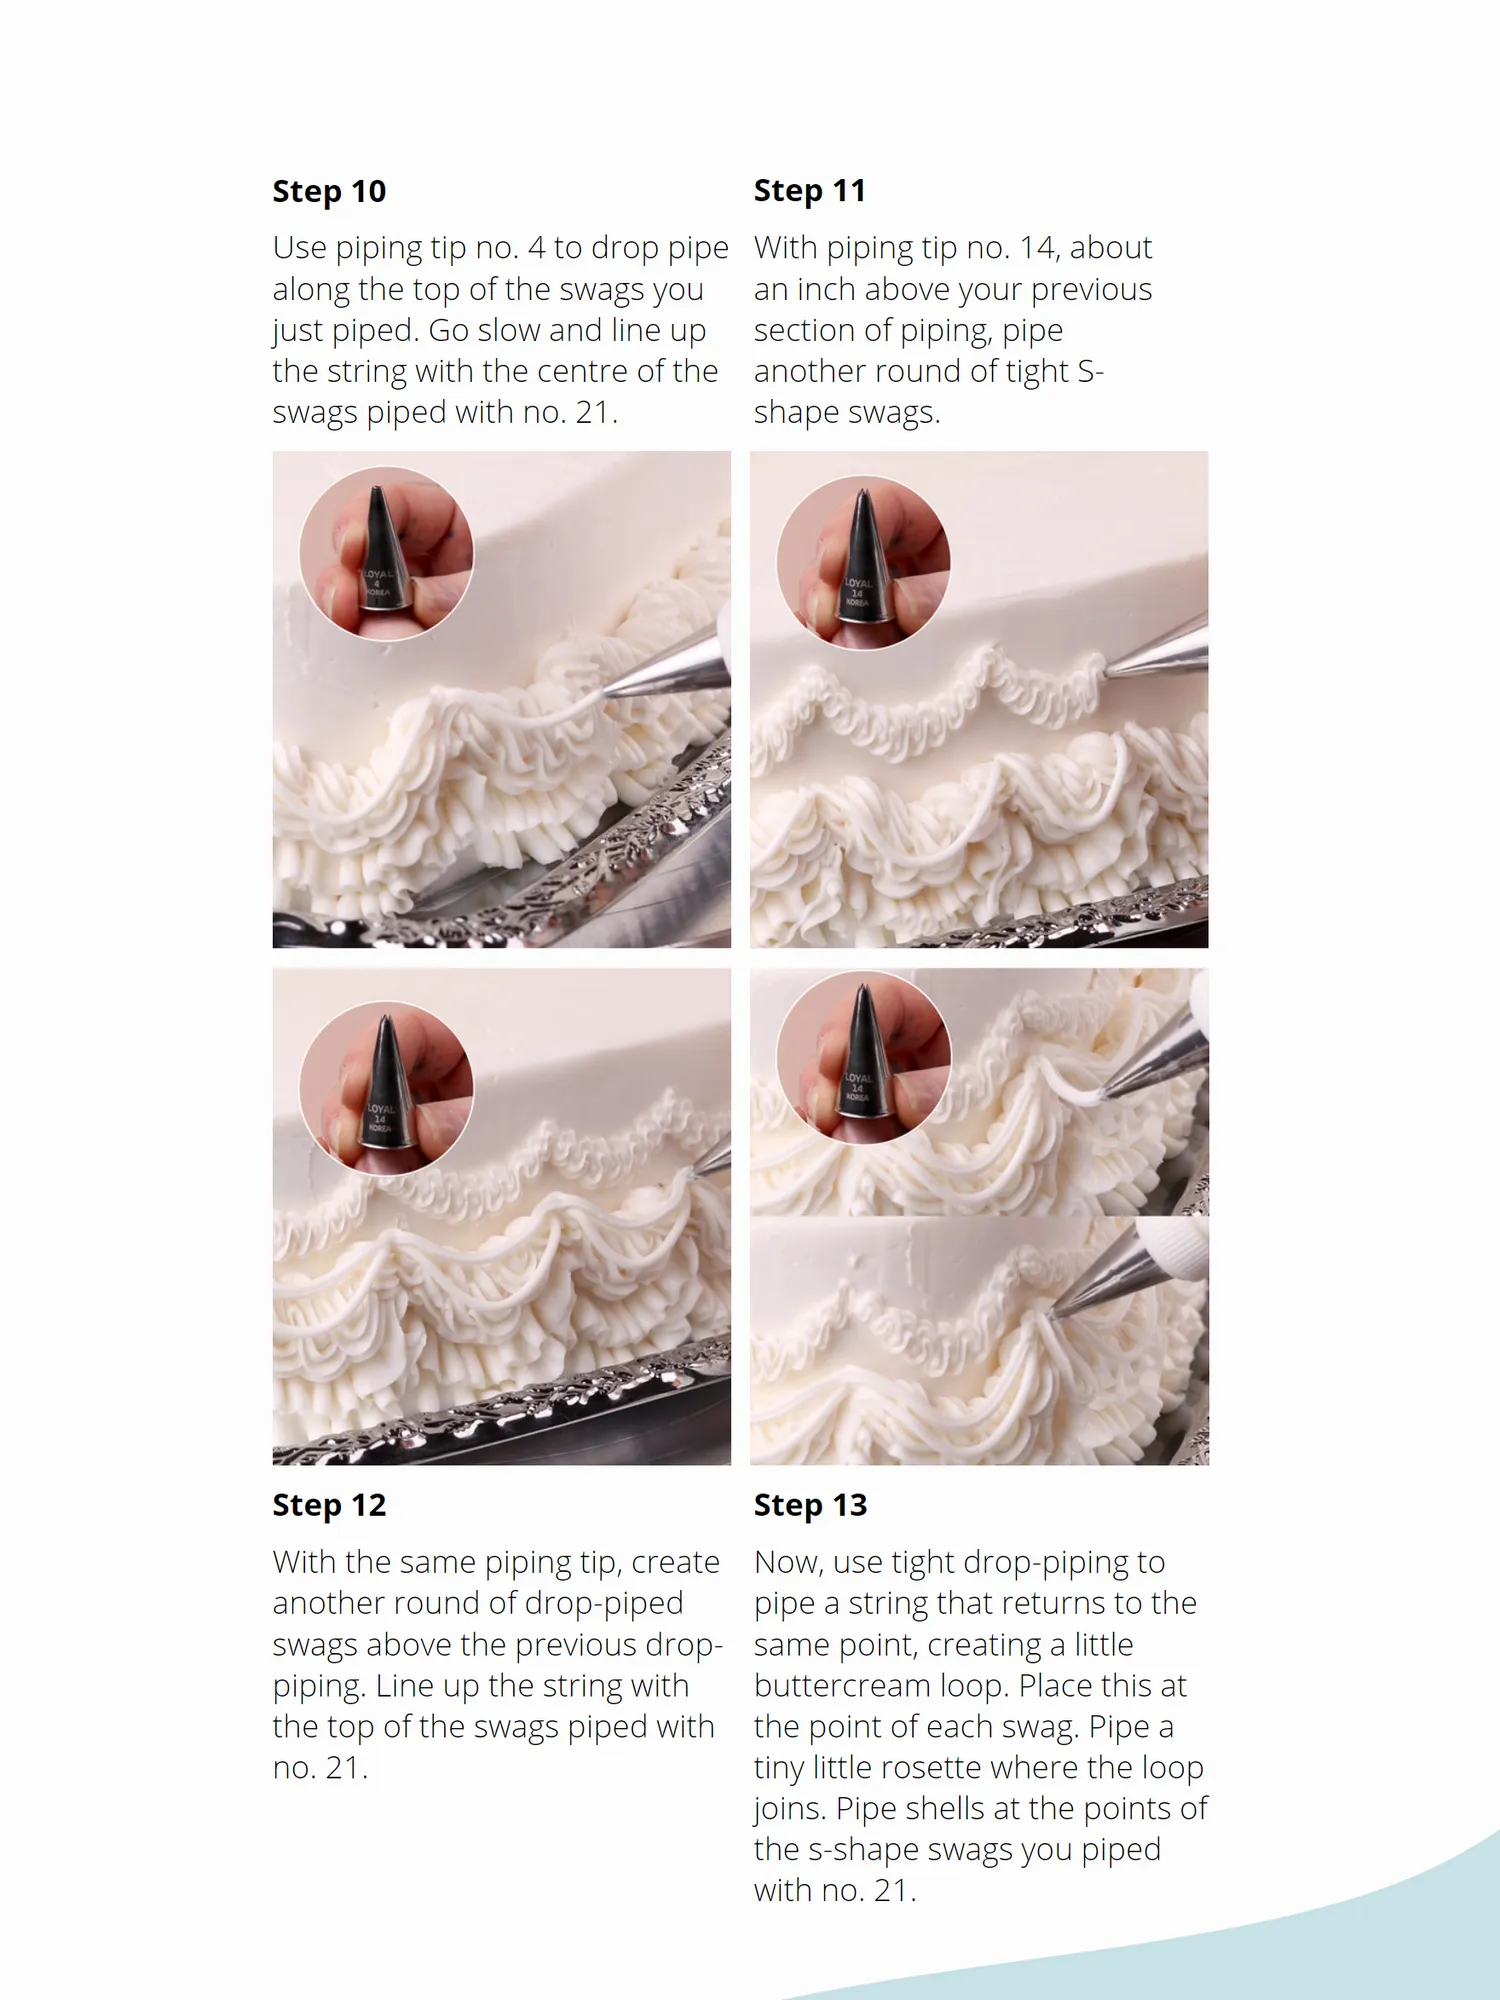
Step 10 Step 11 Use piping tip no. 4 to drop pipe With piping tip no. 14, about along the top of the swags you an inch above your previous just piped. Go slow and line up section of piping, pipe the string with the centre of the another round of tight S- swags piped with no. 21. shape swags. Step 12 Step 13 With the same piping tip, create Now, use tight drop-piping to another round of drop-piped pipe a string that returns to the swags above the previous drop- same point, creating a little piping. Line up the string with buttercream loop. Place this at the top of the swags piped with the point of each swag. Pipe a no. 21. tiny little rosette where the loop joins. Pipe shells at the points of the s-shape swags you piped with no. 21.
Page 28 text
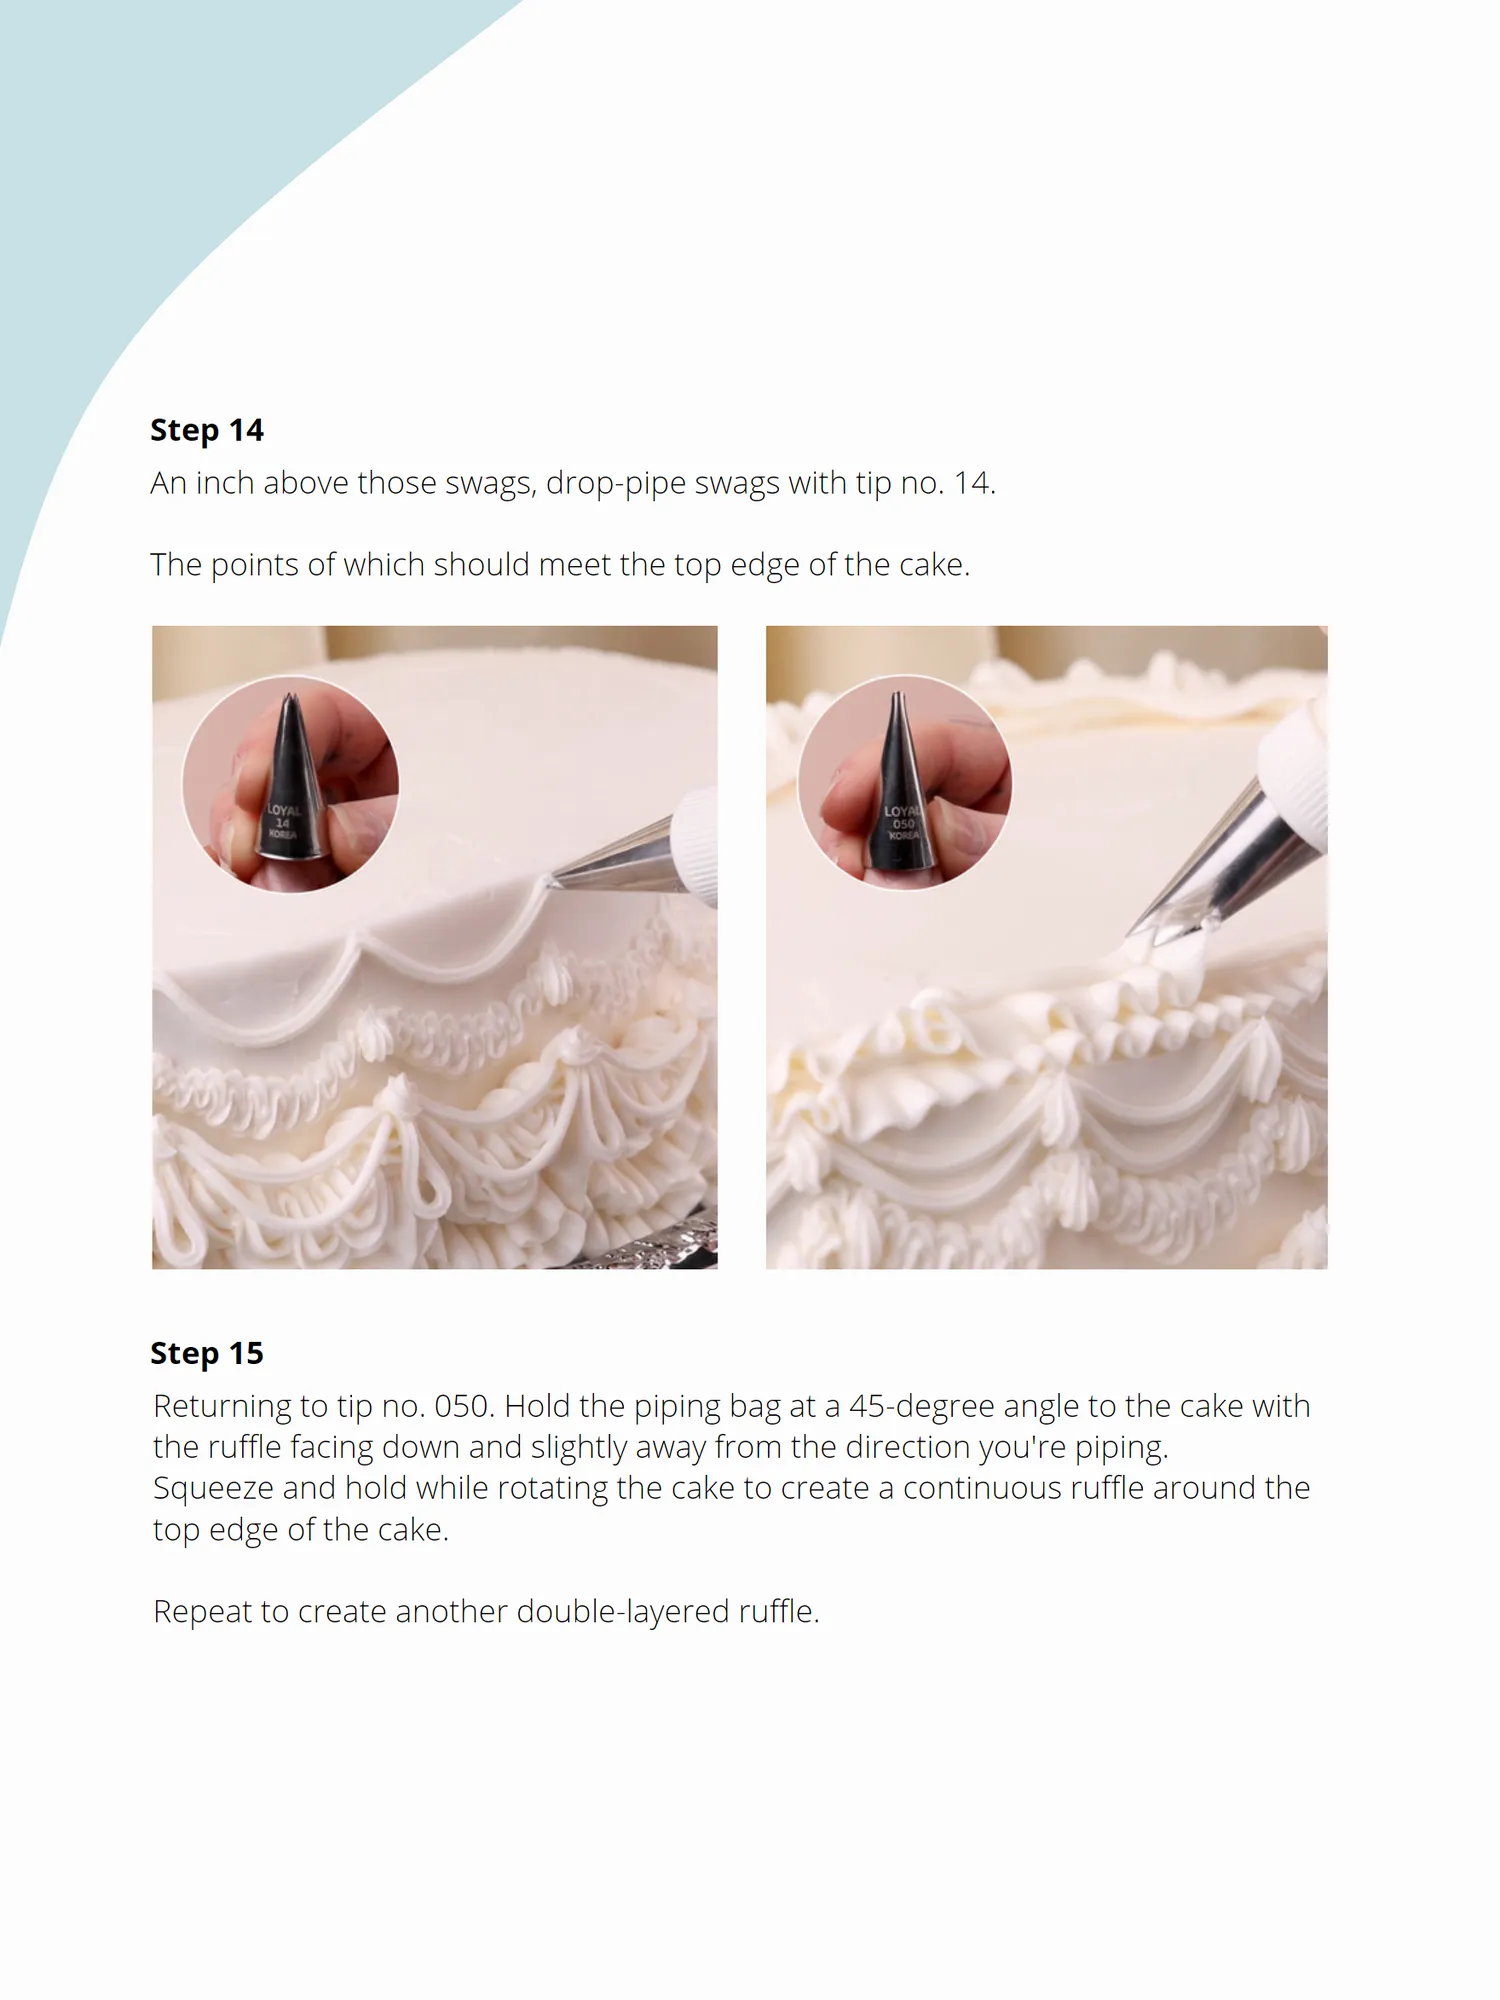
Step 14 An inch above those swags, drop-pipe swags with tip no. 14. The points of which should meet the top edge of the cake. Step 15 Returning to tip no. 050. Hold the piping bag at a 45-degree angle to the cake with the ruffle facing down and slightly away from the direction you're piping. Squeeze and hold while rotating the cake to create a continuous ruffle around the top edge of the cake. Repeat to create another double-layered ruffle.
Page 29 text
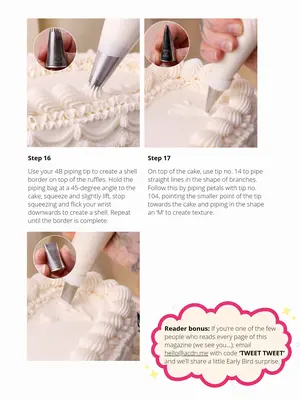
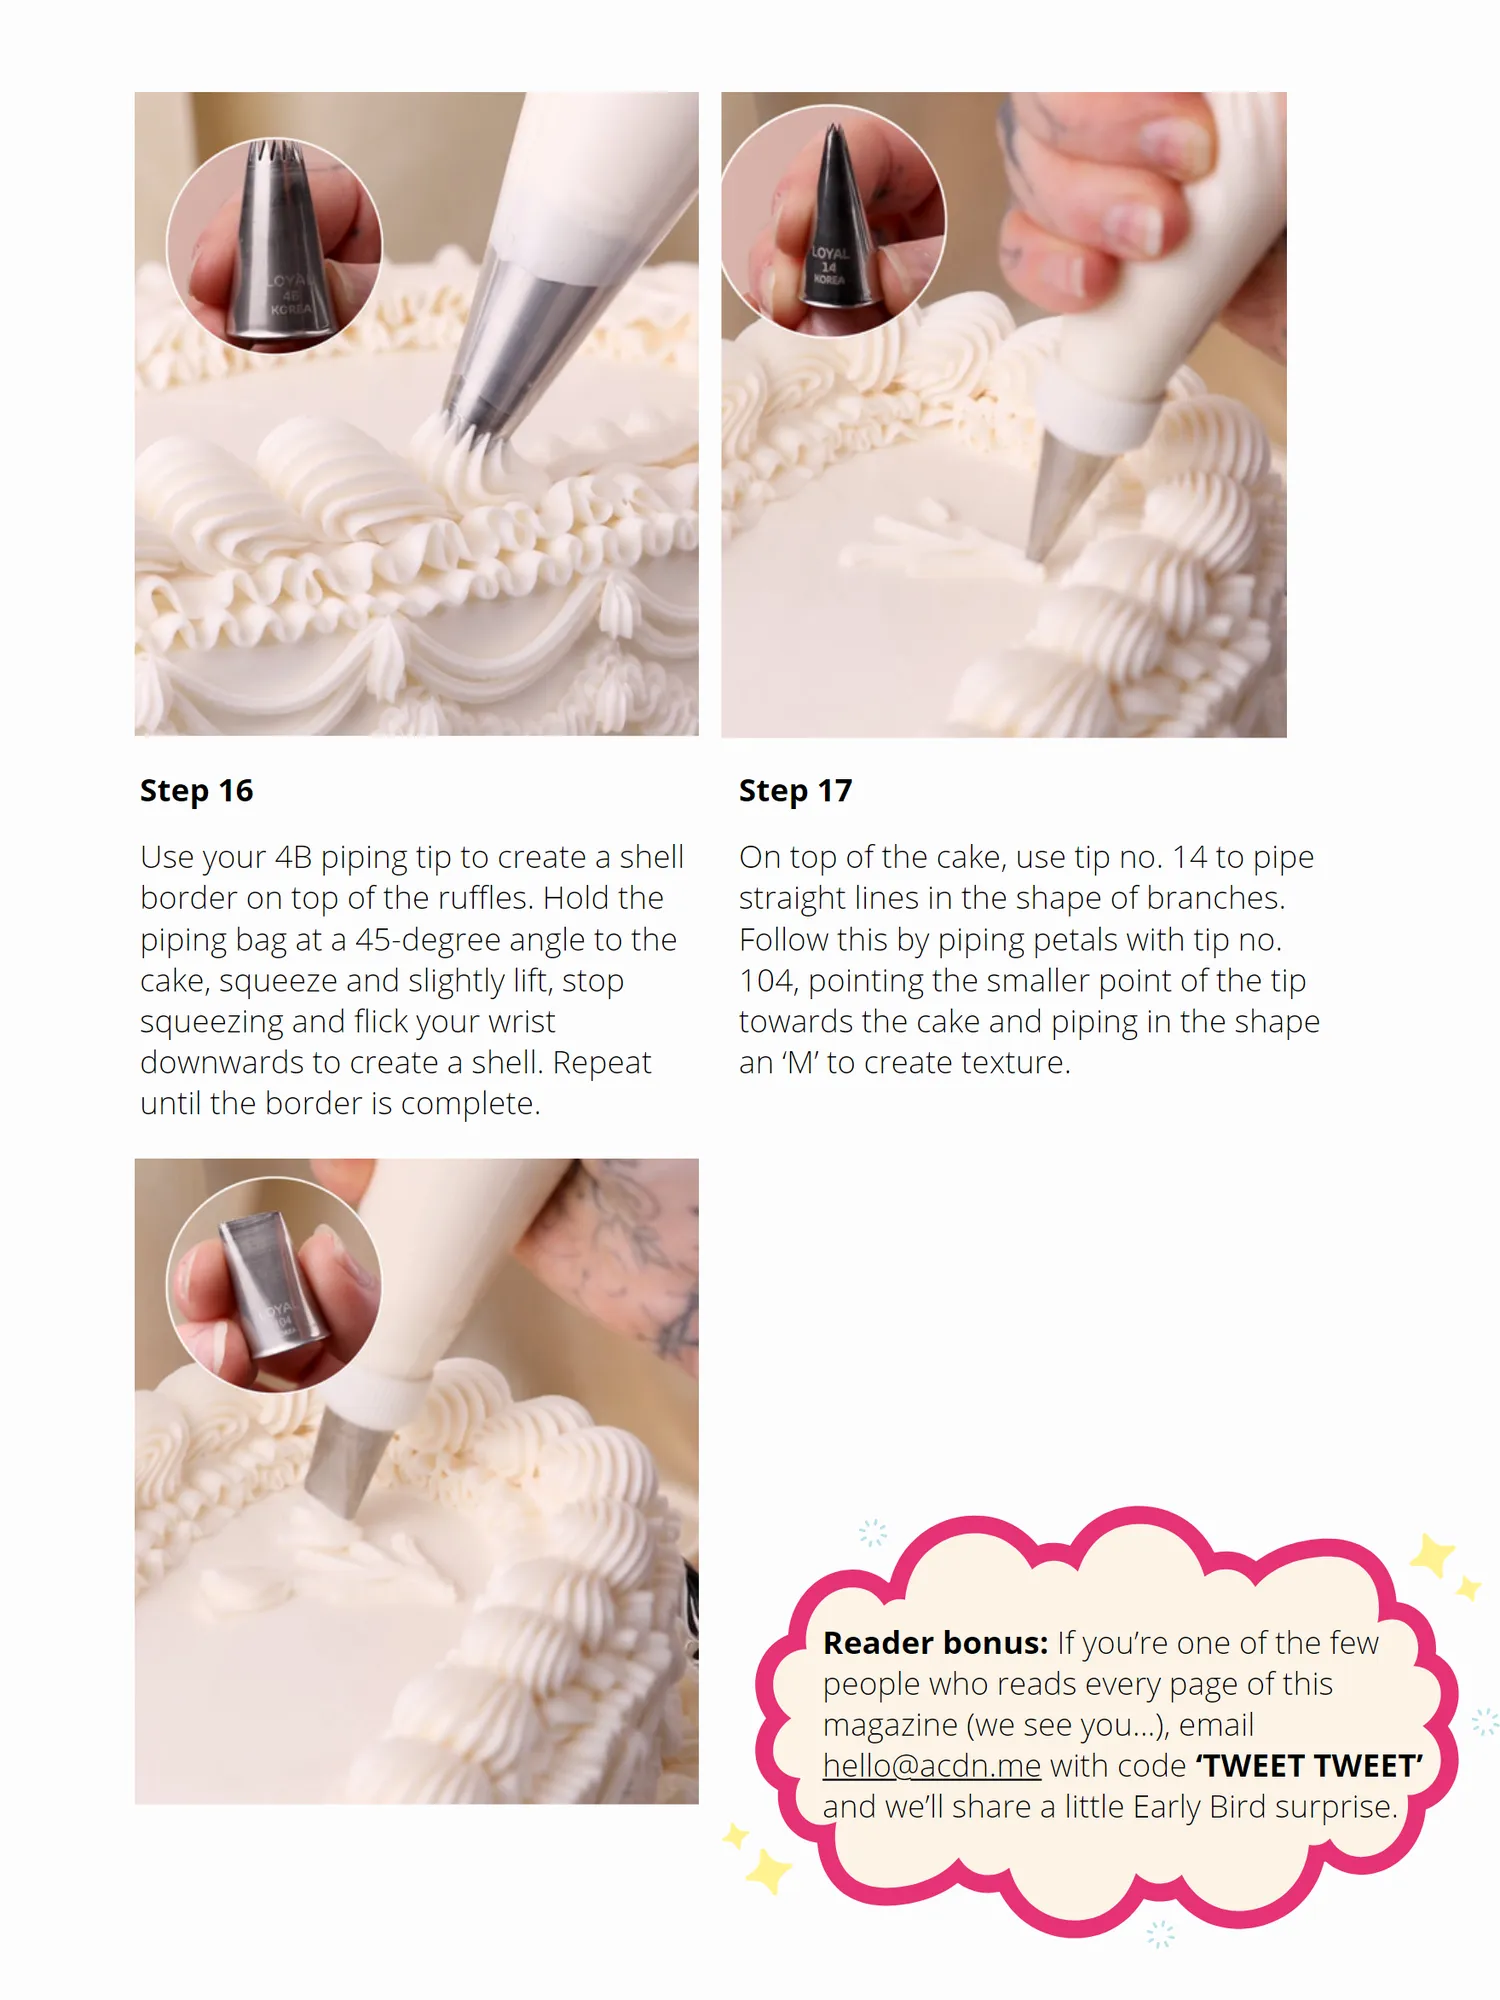
Step 16 Step 17 Use your 4B piping tip to create a shell On top of the cake, use tip no. 14 to pipe border on top of the ruffles. Hold the straight lines in the shape of branches. piping bag at a 45-degree angle to the Follow this by piping petals with tip no. cake, squeeze and slightly lift, stop 104, pointing the smaller point of the tip squeezing and flick your wrist towards the cake and piping in the shape downwards to create a shell. Repeat an ‘M’ to create texture. until the border is complete. Reader bonus: If you’re one of the few people who reads every page of this magazine (we see you...), email [email protected] with code ‘TWEET TWEET’ and we’ll share a little Early Bird surprise.
Page 30 text
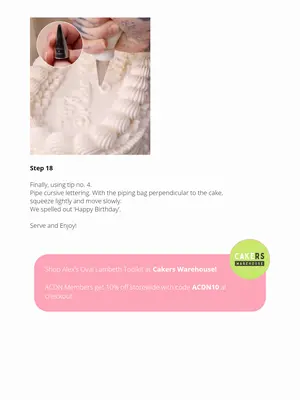
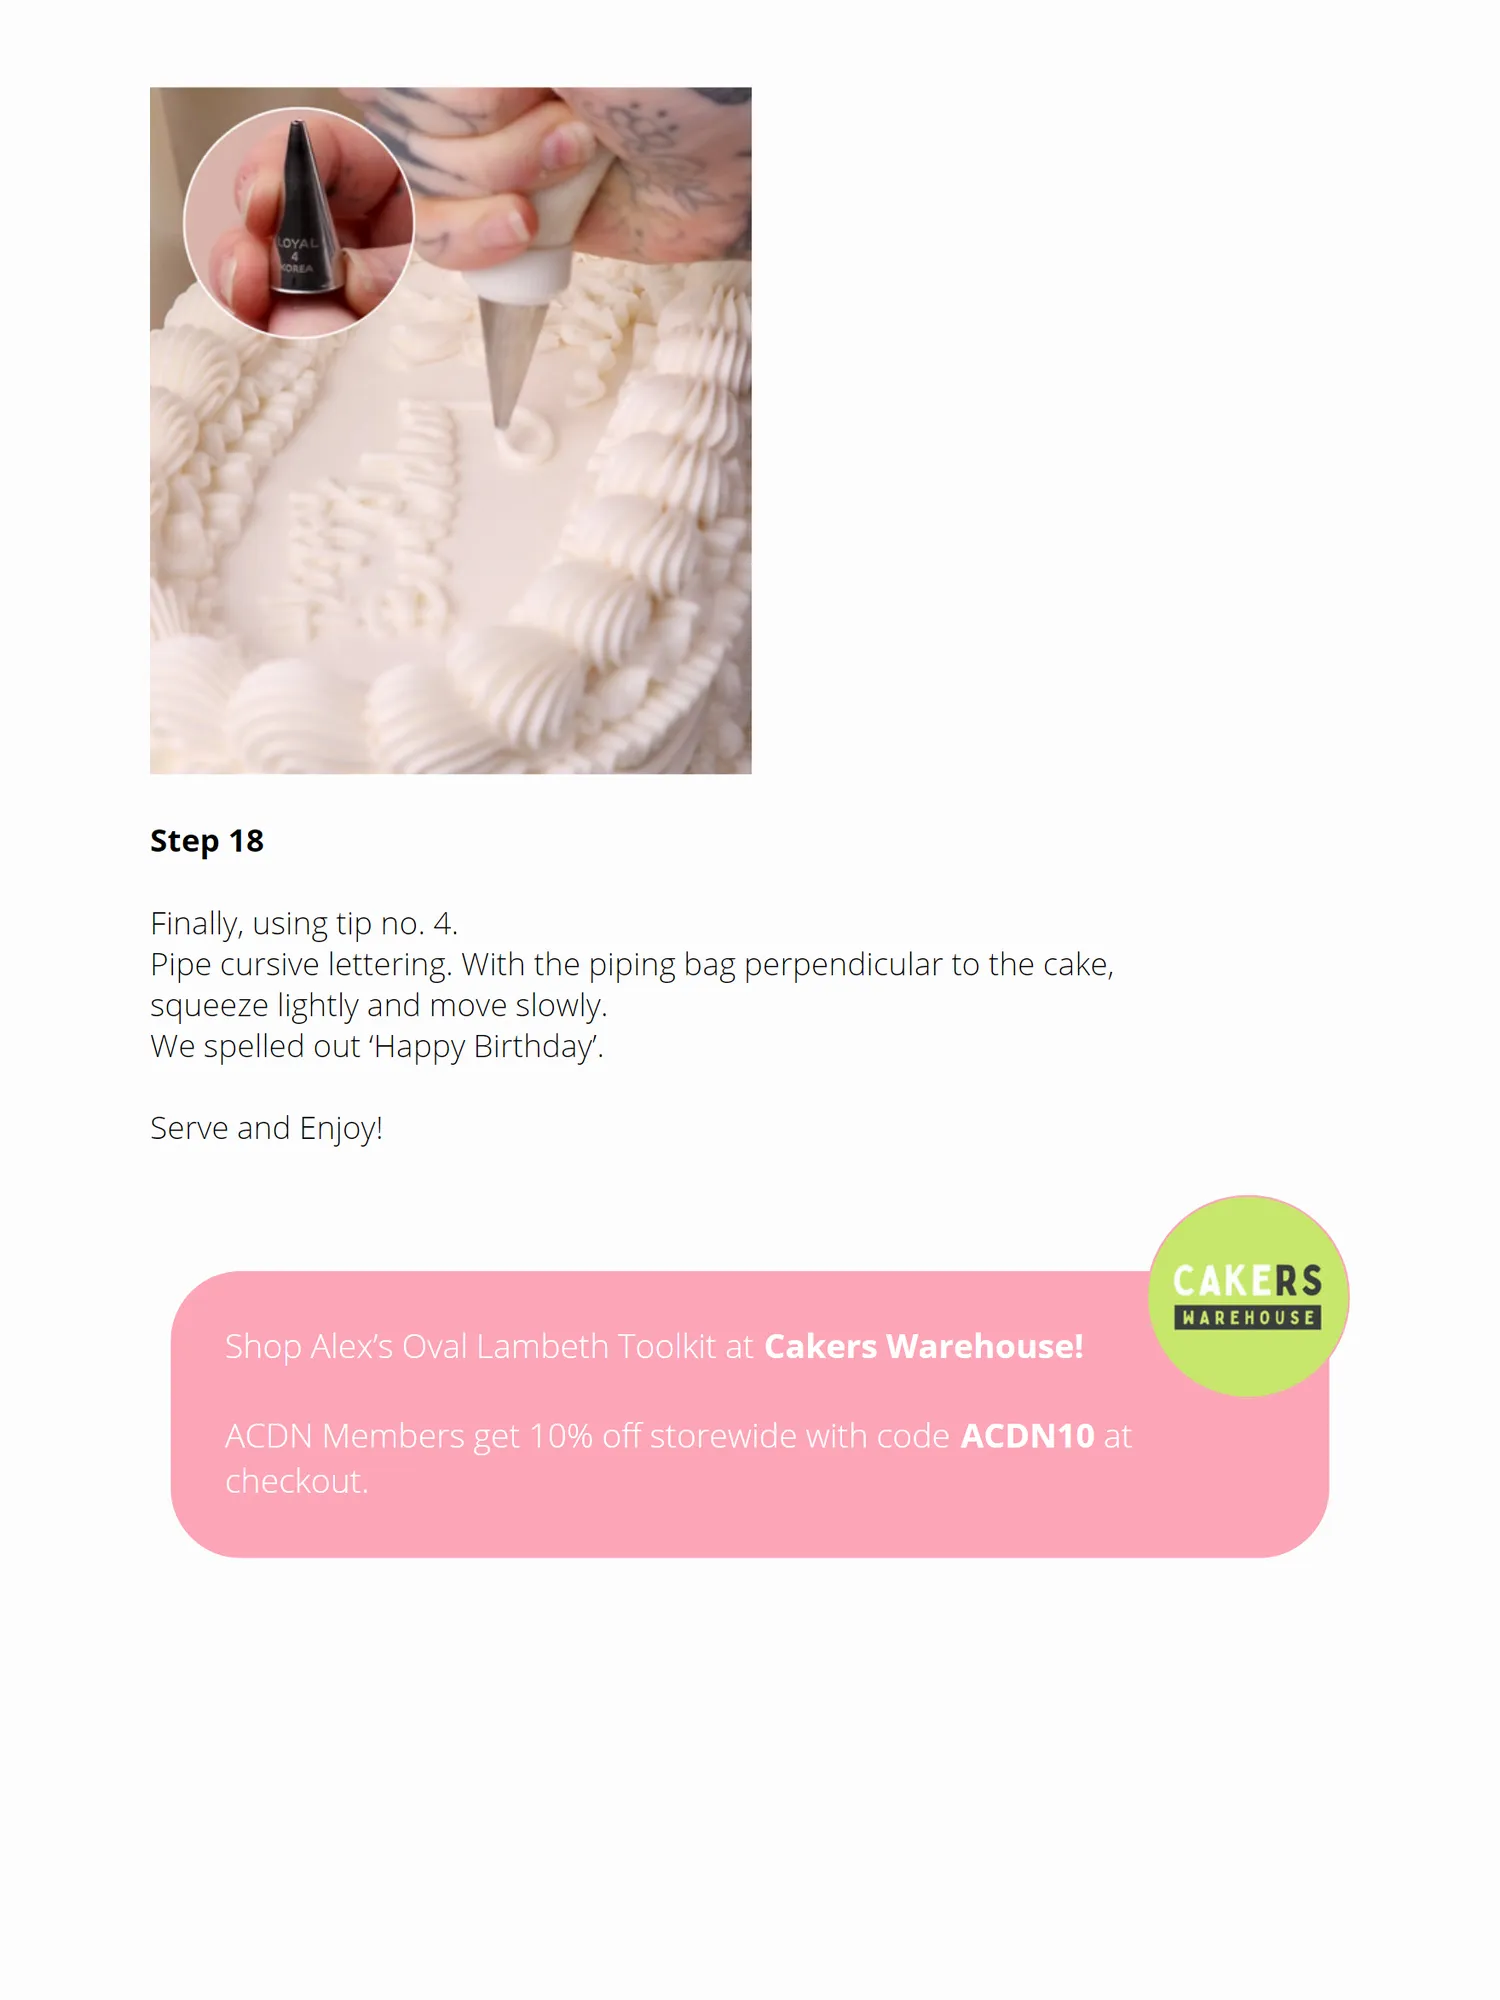
Step 18 Finally, using tip no. 4. Pipe cursive lettering. With the piping bag perpendicular to the cake, squeeze lightly and move slowly. We spelled out ‘Happy Birthday’. Serve and Enjoy! Shop Alex’s Oval Lambeth Toolkit at Cakers Warehouse! ACDN Members get 10% off storewide with code ACDN10 at checkout.
Page 33 text
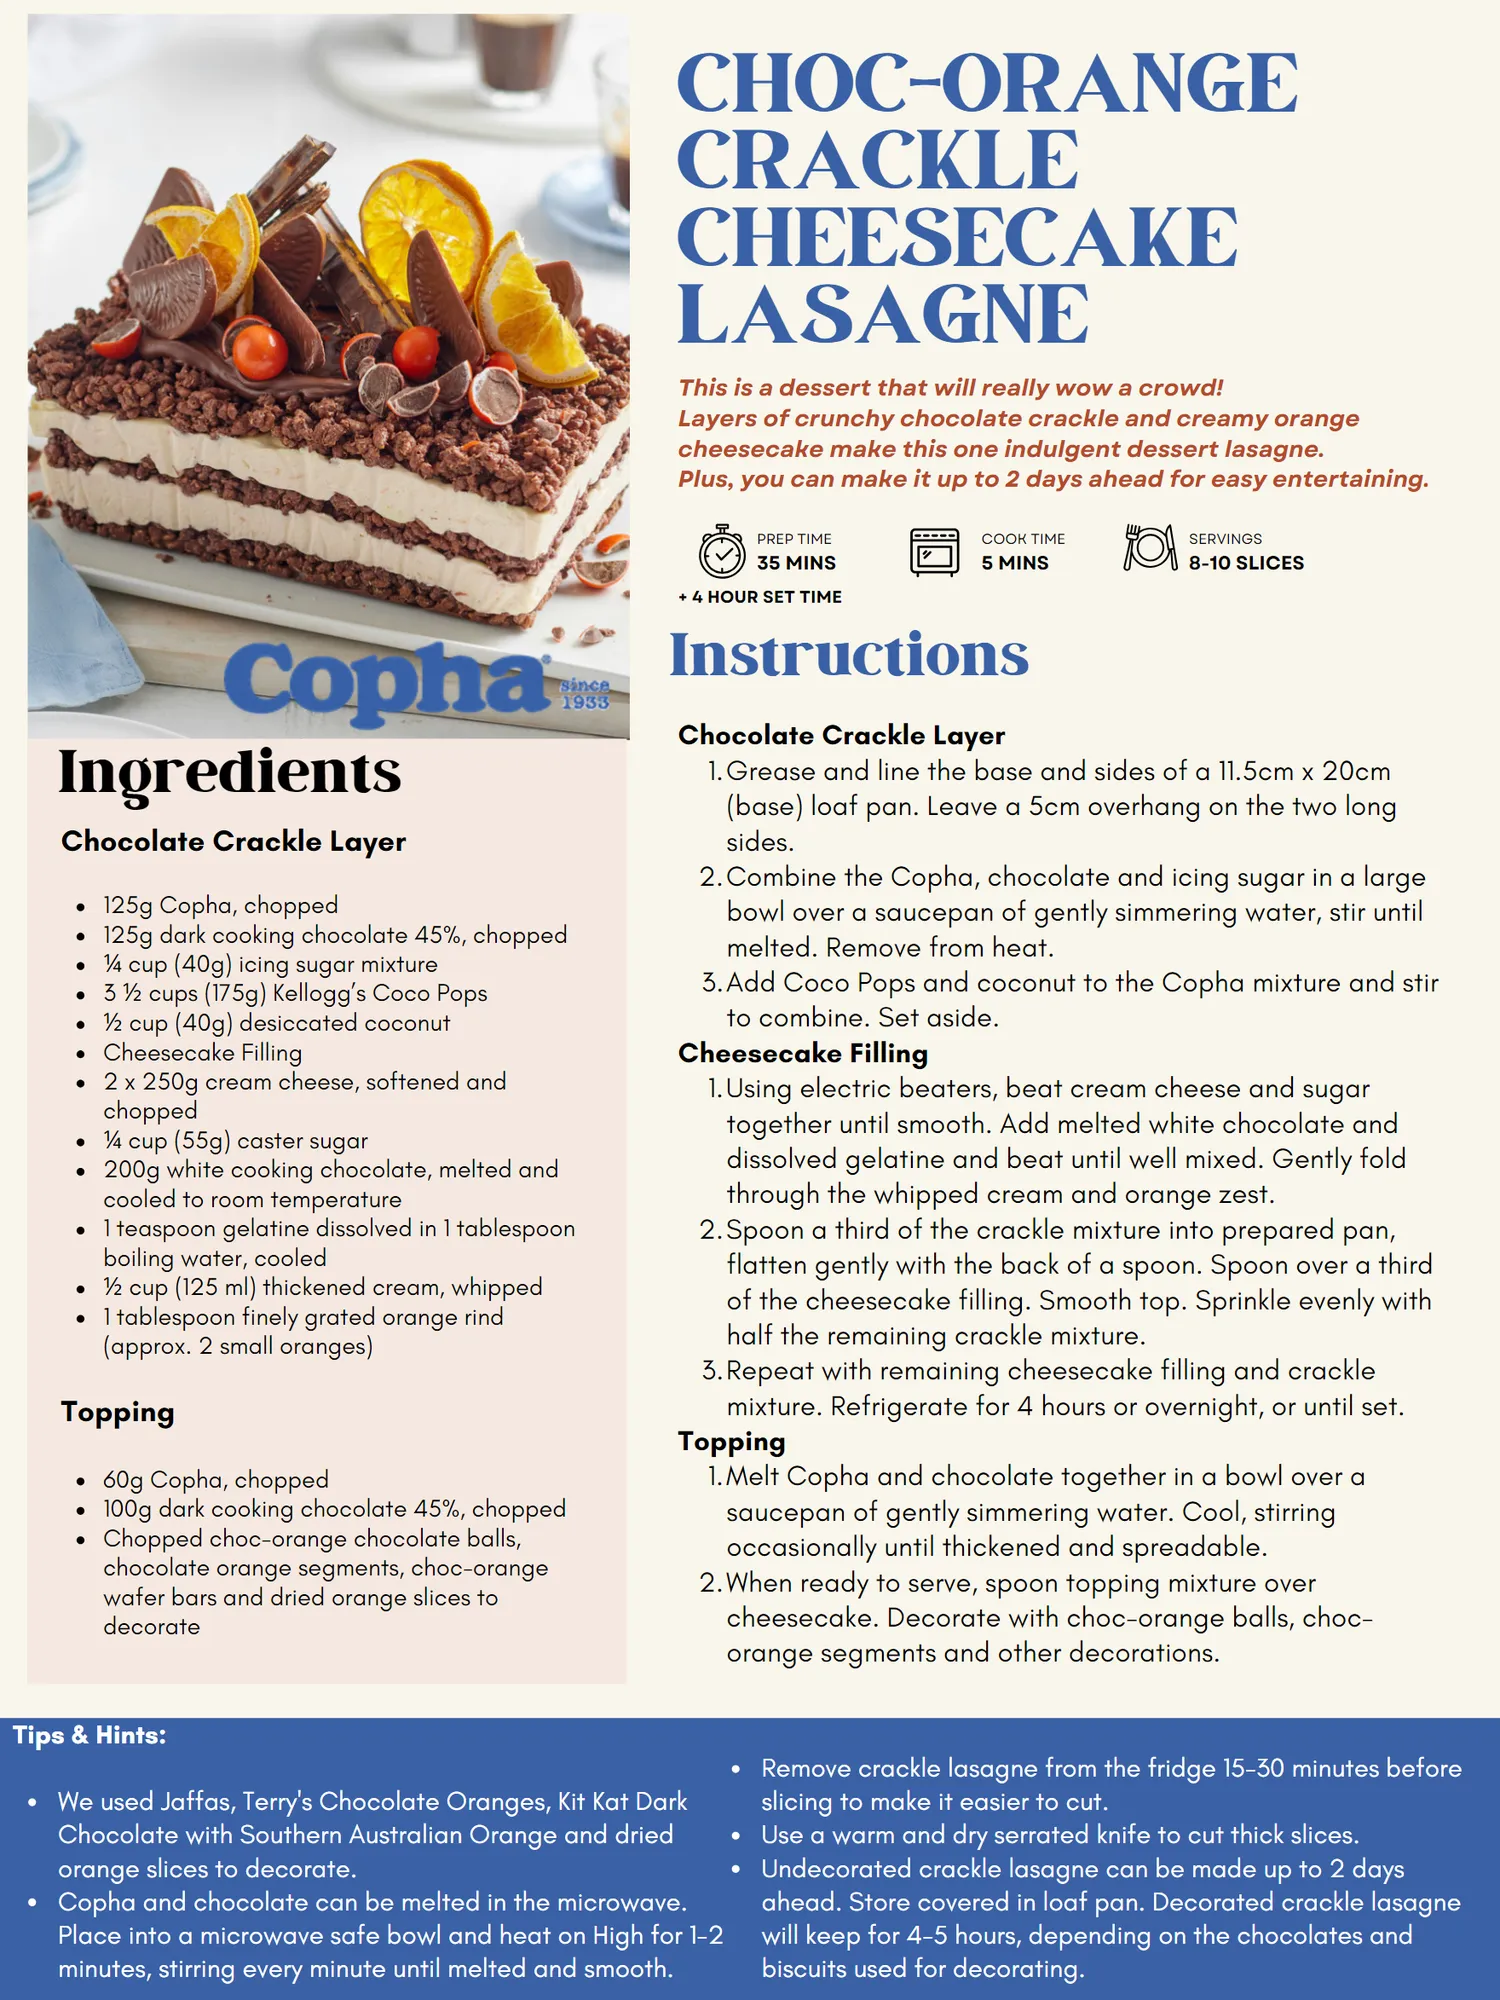
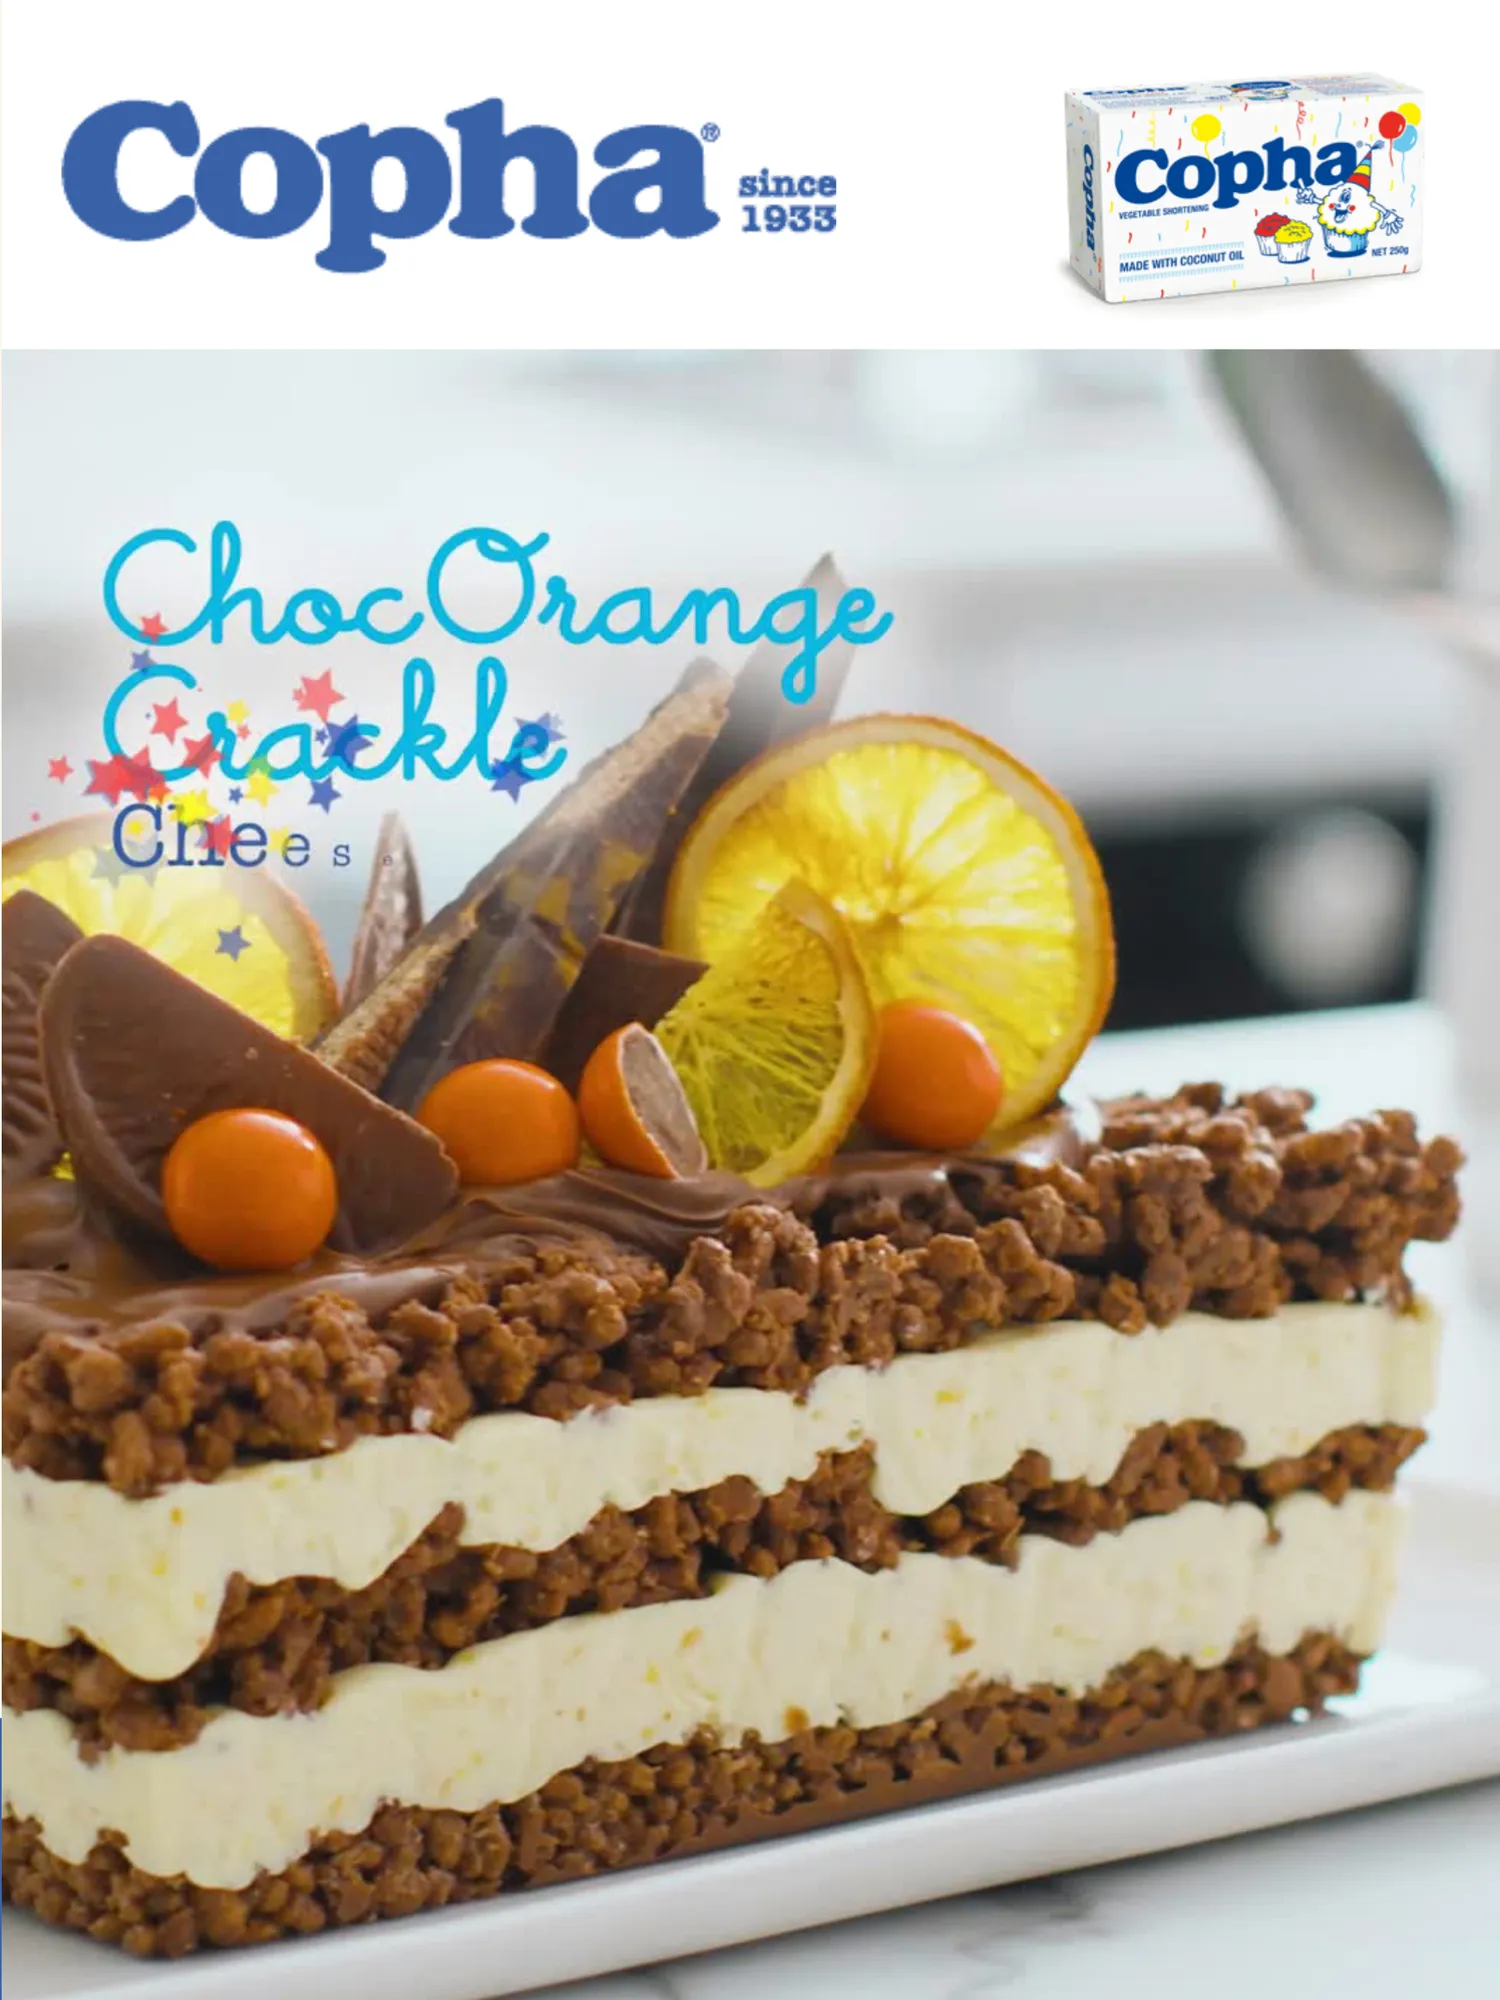
CHOC-ORANGE CRACKLE CHEESECAKE LASAGNE This is a dessert that will really wow a crowd! Layers of crunchy chocolate crackle and creamy orange cheesecake make this one indulgent dessert lasagne. Plus, you can make it up to 2 days ahead for easy entertaining. Ingredients Chocolate Crackle Layer 125g Copha, chopped 125g dark cooking chocolate 45 %, chopped ¼ cup( 40g) icing sugar mixture 3 ½ cups( 175g) Kellogg’ s Coco Pops ½ cup( 40g) desiccated coconut Cheesecake Filling 2 x 250g cream cheese, softened and chopped ¼ cup( 55g) caster sugar 200g white cooking chocolate, melted and cooled to room temperature 1 teaspoon gelatine dissolved in 1 tablespoon boiling water, cooled ½ cup( 125 ml) thickened cream, whipped 1 tablespoon finely grated orange rind( approx. 2 small oranges) Topping 60g Copha, chopped 100g dark cooking chocolate 45 %, chopped Chopped choc-orange chocolate balls, chocolate orange segments, choc-orange wafer bars and dried orange slices to decorate PREP TIME COOK TIME SERVINGS 35 MINS 5 MINS 8-10 SLICES + 4 HOUR SET TIME Instructions Chocolate Crackle Layer 1. Grease and line the base and sides of a 11.5cm x 20cm( base) loaf pan. Leave a 5cm overhang on the two long sides. 2. Combine the Copha, chocolate and icing sugar in a large bowl over a saucepan of gently simmering water, stir until melted. Remove from heat. 3. Add Coco Pops and coconut to the Copha mixture and stir to combine. Set aside. Cheesecake Filling 1. Using electric beaters, beat cream cheese and sugar together until smooth. Add melted white chocolate and dissolved gelatine and beat until well mixed. Gently fold through the whipped cream and orange zest. 2. Spoon a third of the crackle mixture into prepared pan, flatten gently with the back of a spoon. Spoon over a third of the cheesecake filling. Smooth top. Sprinkle evenly with half the remaining crackle mixture. 3. Repeat with remaining cheesecake filling and crackle mixture. Refrigerate for 4 hours or overnight, or until set. Topping 1. Melt Copha and chocolate together in a bowl over a saucepan of gently simmering water. Cool, stirring occasionally until thickened and spreadable. 2. When ready to serve, spoon topping mixture over cheesecake. Decorate with choc-orange balls, chocorange segments and other decorations. Tips & Hints: We used Jaffas, Terry ' s Chocolate Oranges, Kit Kat Dark Chocolate with Southern Australian Orange and dried orange slices to decorate. Copha and chocolate can be melted in the microwave. Place into a microwave safe bowl and heat on High for 1-2 minutes, stirring every minute until melted and smooth. Remove crackle lasagne from the fridge 15-30 minutes before slicing to make it easier to cut. Use a warm and dry serrated knife to cut thick slices. Undecorated crackle lasagne can be made up to 2 days ahead. Store covered in loaf pan. Decorated crackle lasagne will keep for 4-5 hours, depending on the chocolates and biscuits used for decorating.
Page 35 text
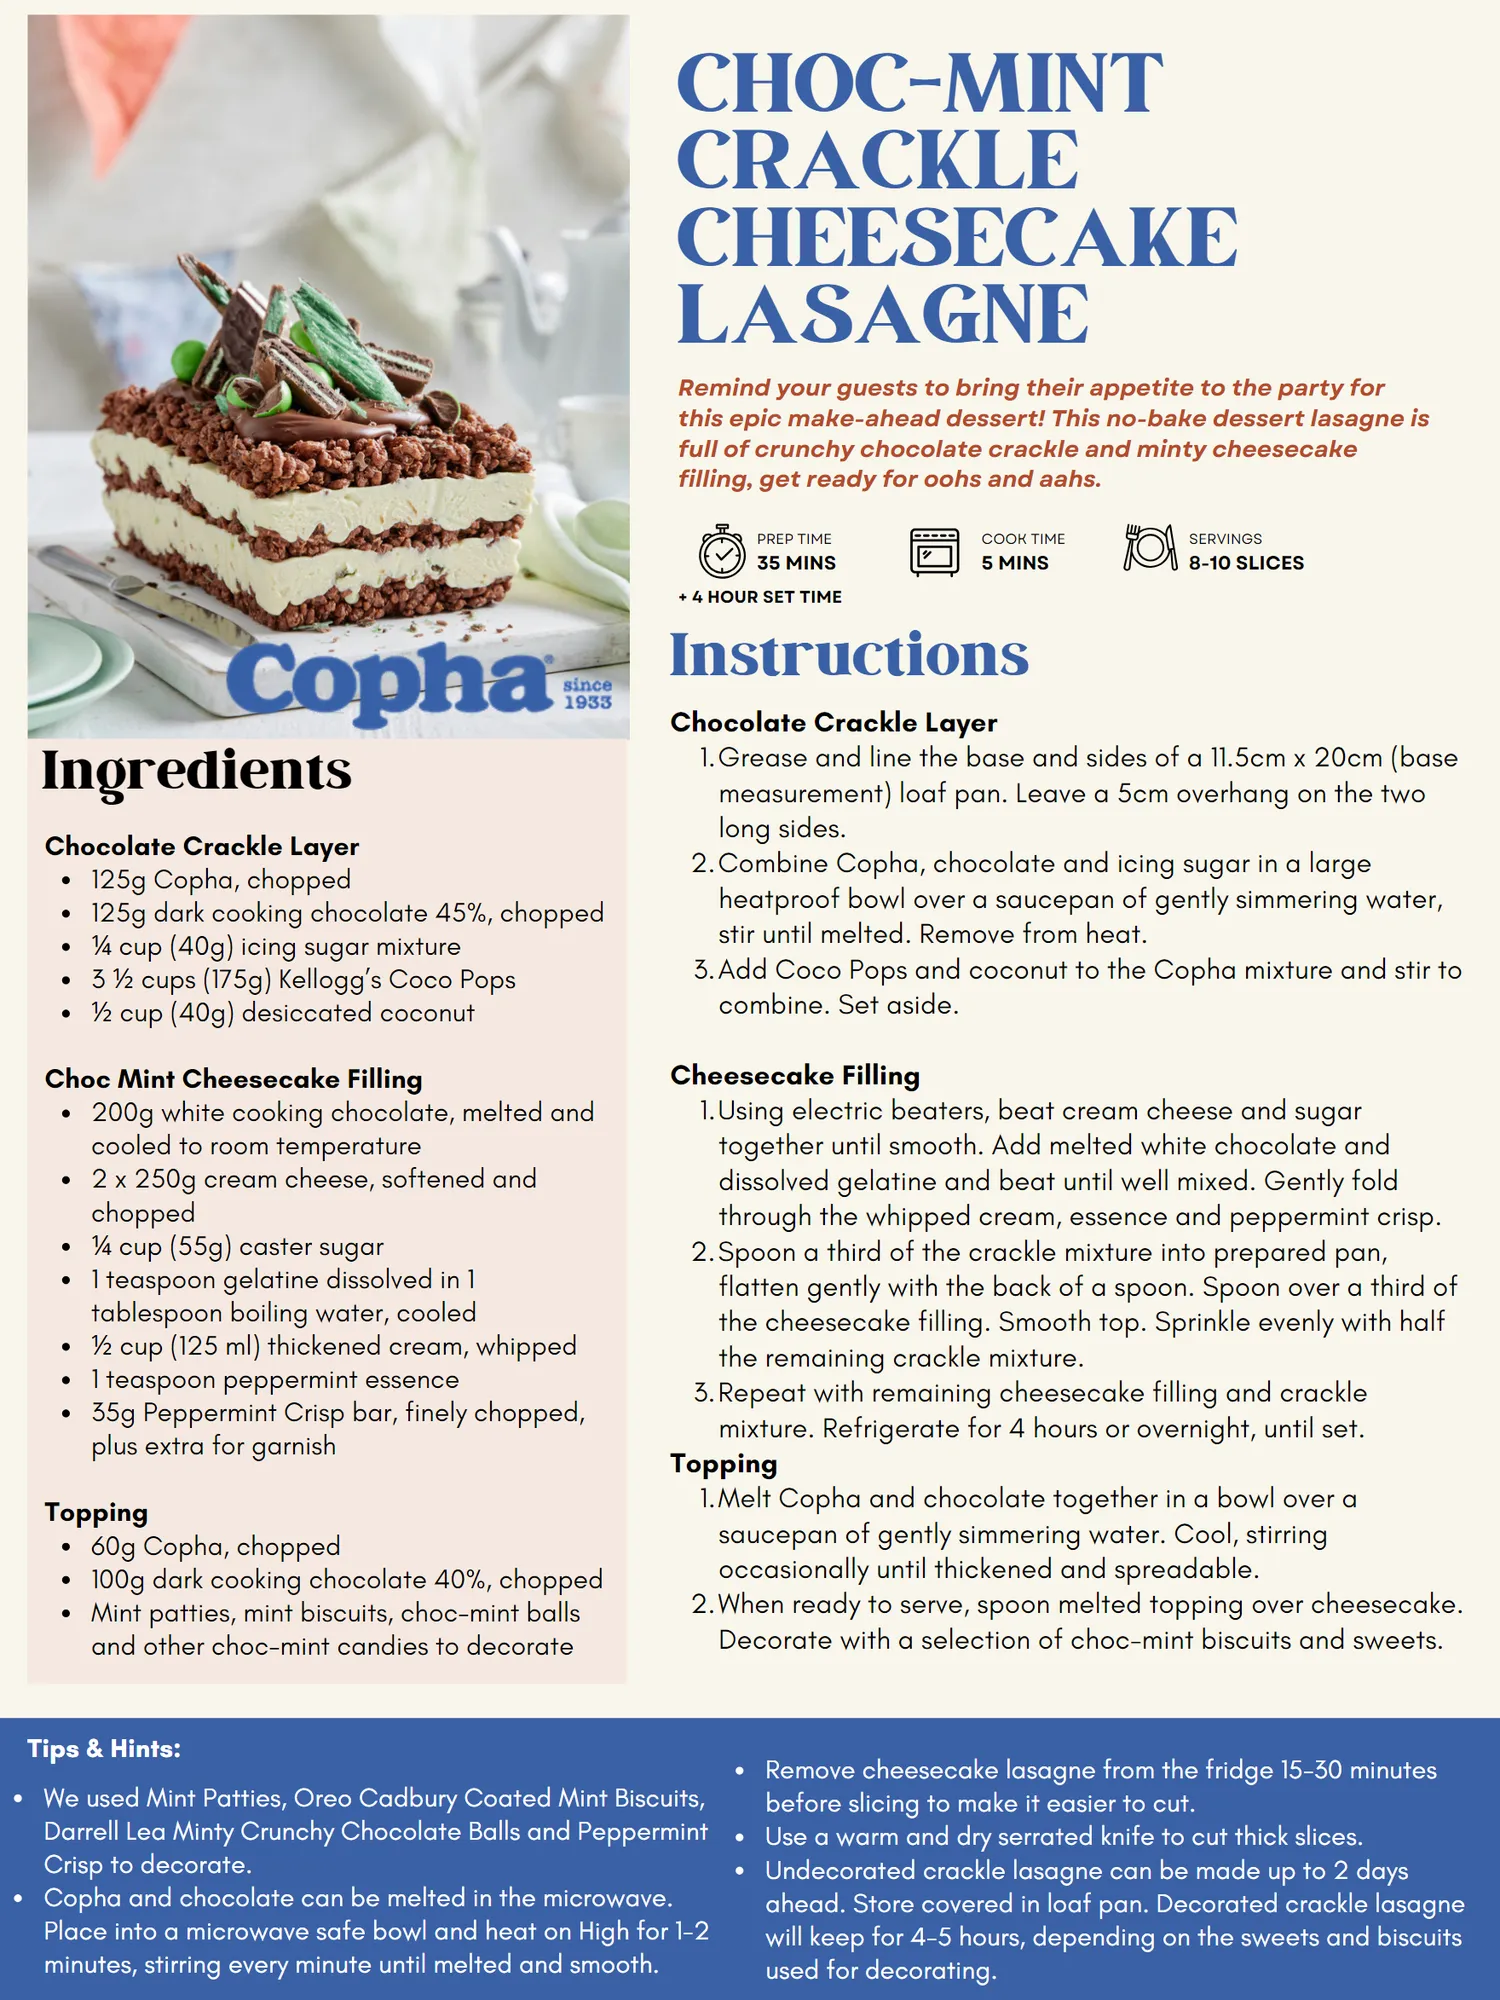
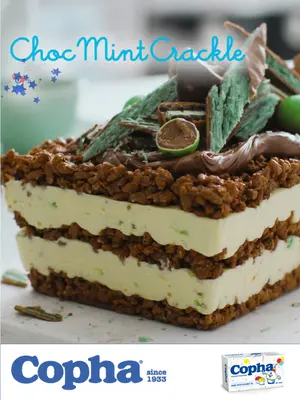
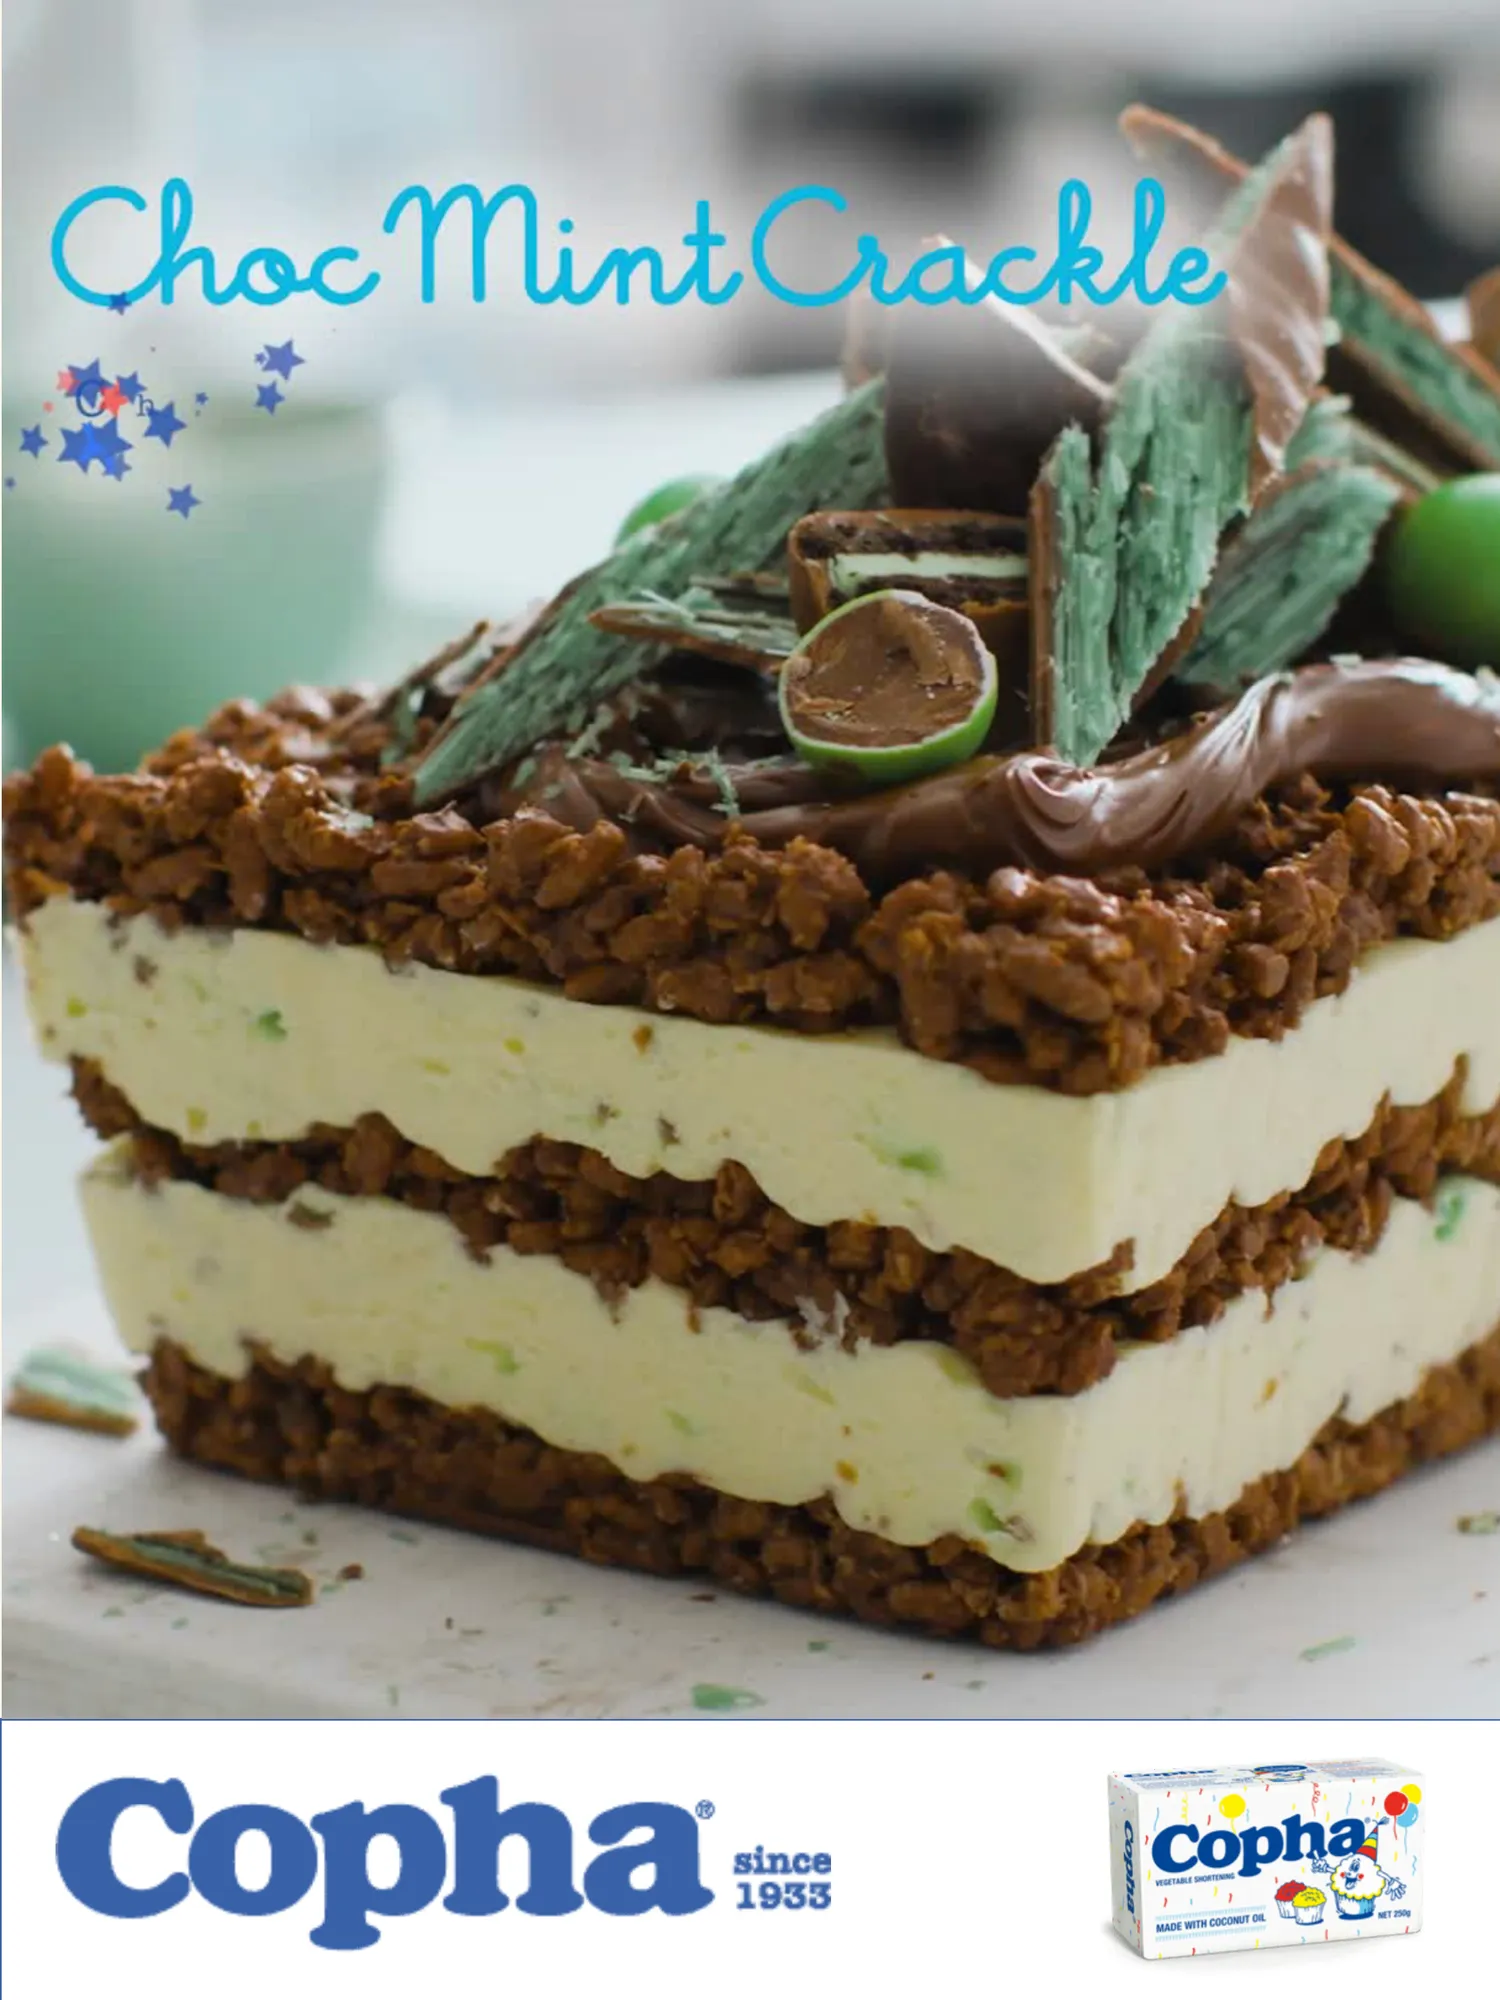
CHOC-MINT CRACKLE CHEESECAKE LASAGNE Remind your guests to bring their appetite to the party for this epic make-ahead dessert! This no-bake dessert lasagne is full of crunchy chocolate crackle and minty cheesecake filling, get ready for oohs and aahs. Ingredients Chocolate Crackle Layer 125g Copha, chopped 125g dark cooking chocolate 45 %, chopped ¼ cup( 40g) icing sugar mixture 3 ½ cups( 175g) Kellogg’ s Coco Pops ½ cup( 40g) desiccated coconut Choc Mint Cheesecake Filling 200g white cooking chocolate, melted and cooled to room temperature 2 x 250g cream cheese, softened and chopped ¼ cup( 55g) caster sugar 1 teaspoon gelatine dissolved in 1 tablespoon boiling water, cooled ½ cup( 125 ml) thickened cream, whipped 1 teaspoon peppermint essence 35g Peppermint Crisp bar, finely chopped, plus extra for garnish Topping 60g Copha, chopped 100g dark cooking chocolate 40 %, chopped Mint patties, mint biscuits, choc-mint balls and other choc-mint candies to decorate PREP TIME COOK TIME SERVINGS 35 MINS 5 MINS 8-10 SLICES + 4 HOUR SET TIME Instructions Chocolate Crackle Layer 1. Grease and line the base and sides of a 11.5cm x 20cm( base measurement) loaf pan. Leave a 5cm overhang on the two long sides. 2. Combine Copha, chocolate and icing sugar in a large heatproof bowl over a saucepan of gently simmering water, stir until melted. Remove from heat. 3. Add Coco Pops and coconut to the Copha mixture and stir to combine. Set aside. Cheesecake Filling 1. Using electric beaters, beat cream cheese and sugar together until smooth. Add melted white chocolate and dissolved gelatine and beat until well mixed. Gently fold through the whipped cream, essence and peppermint crisp. 2. Spoon a third of the crackle mixture into prepared pan, flatten gently with the back of a spoon. Spoon over a third of the cheesecake filling. Smooth top. Sprinkle evenly with half the remaining crackle mixture. 3. Repeat with remaining cheesecake filling and crackle mixture. Refrigerate for 4 hours or overnight, until set. Topping 1. Melt Copha and chocolate together in a bowl over a saucepan of gently simmering water. Cool, stirring occasionally until thickened and spreadable. 2. When ready to serve, spoon melted topping over cheesecake. Decorate with a selection of choc-mint biscuits and sweets. Tips & Hints: We used Mint Patties, Oreo Cadbury Coated Mint Biscuits, Darrell Lea Minty Crunchy Chocolate Balls and Peppermint Crisp to decorate. Copha and chocolate can be melted in the microwave. Place into a microwave safe bowl and heat on High for 1-2 minutes, stirring every minute until melted and smooth. Remove cheesecake lasagne from the fridge 15-30 minutes before slicing to make it easier to cut. Use a warm and dry serrated knife to cut thick slices. Undecorated crackle lasagne can be made up to 2 days ahead. Store covered in loaf pan. Decorated crackle lasagne will keep for 4-5 hours, depending on the sweets and biscuits used for decorating.
Page 37 text
2 0 2 6 P R E F E R R E D S U P P L I E R S M E M B E R D I S C O U N T S Become a member of the Australian Cake Decorating Network and SAVE with great DISCOUNTS from our Preferred Suppliers Join us here!
Page 38 text
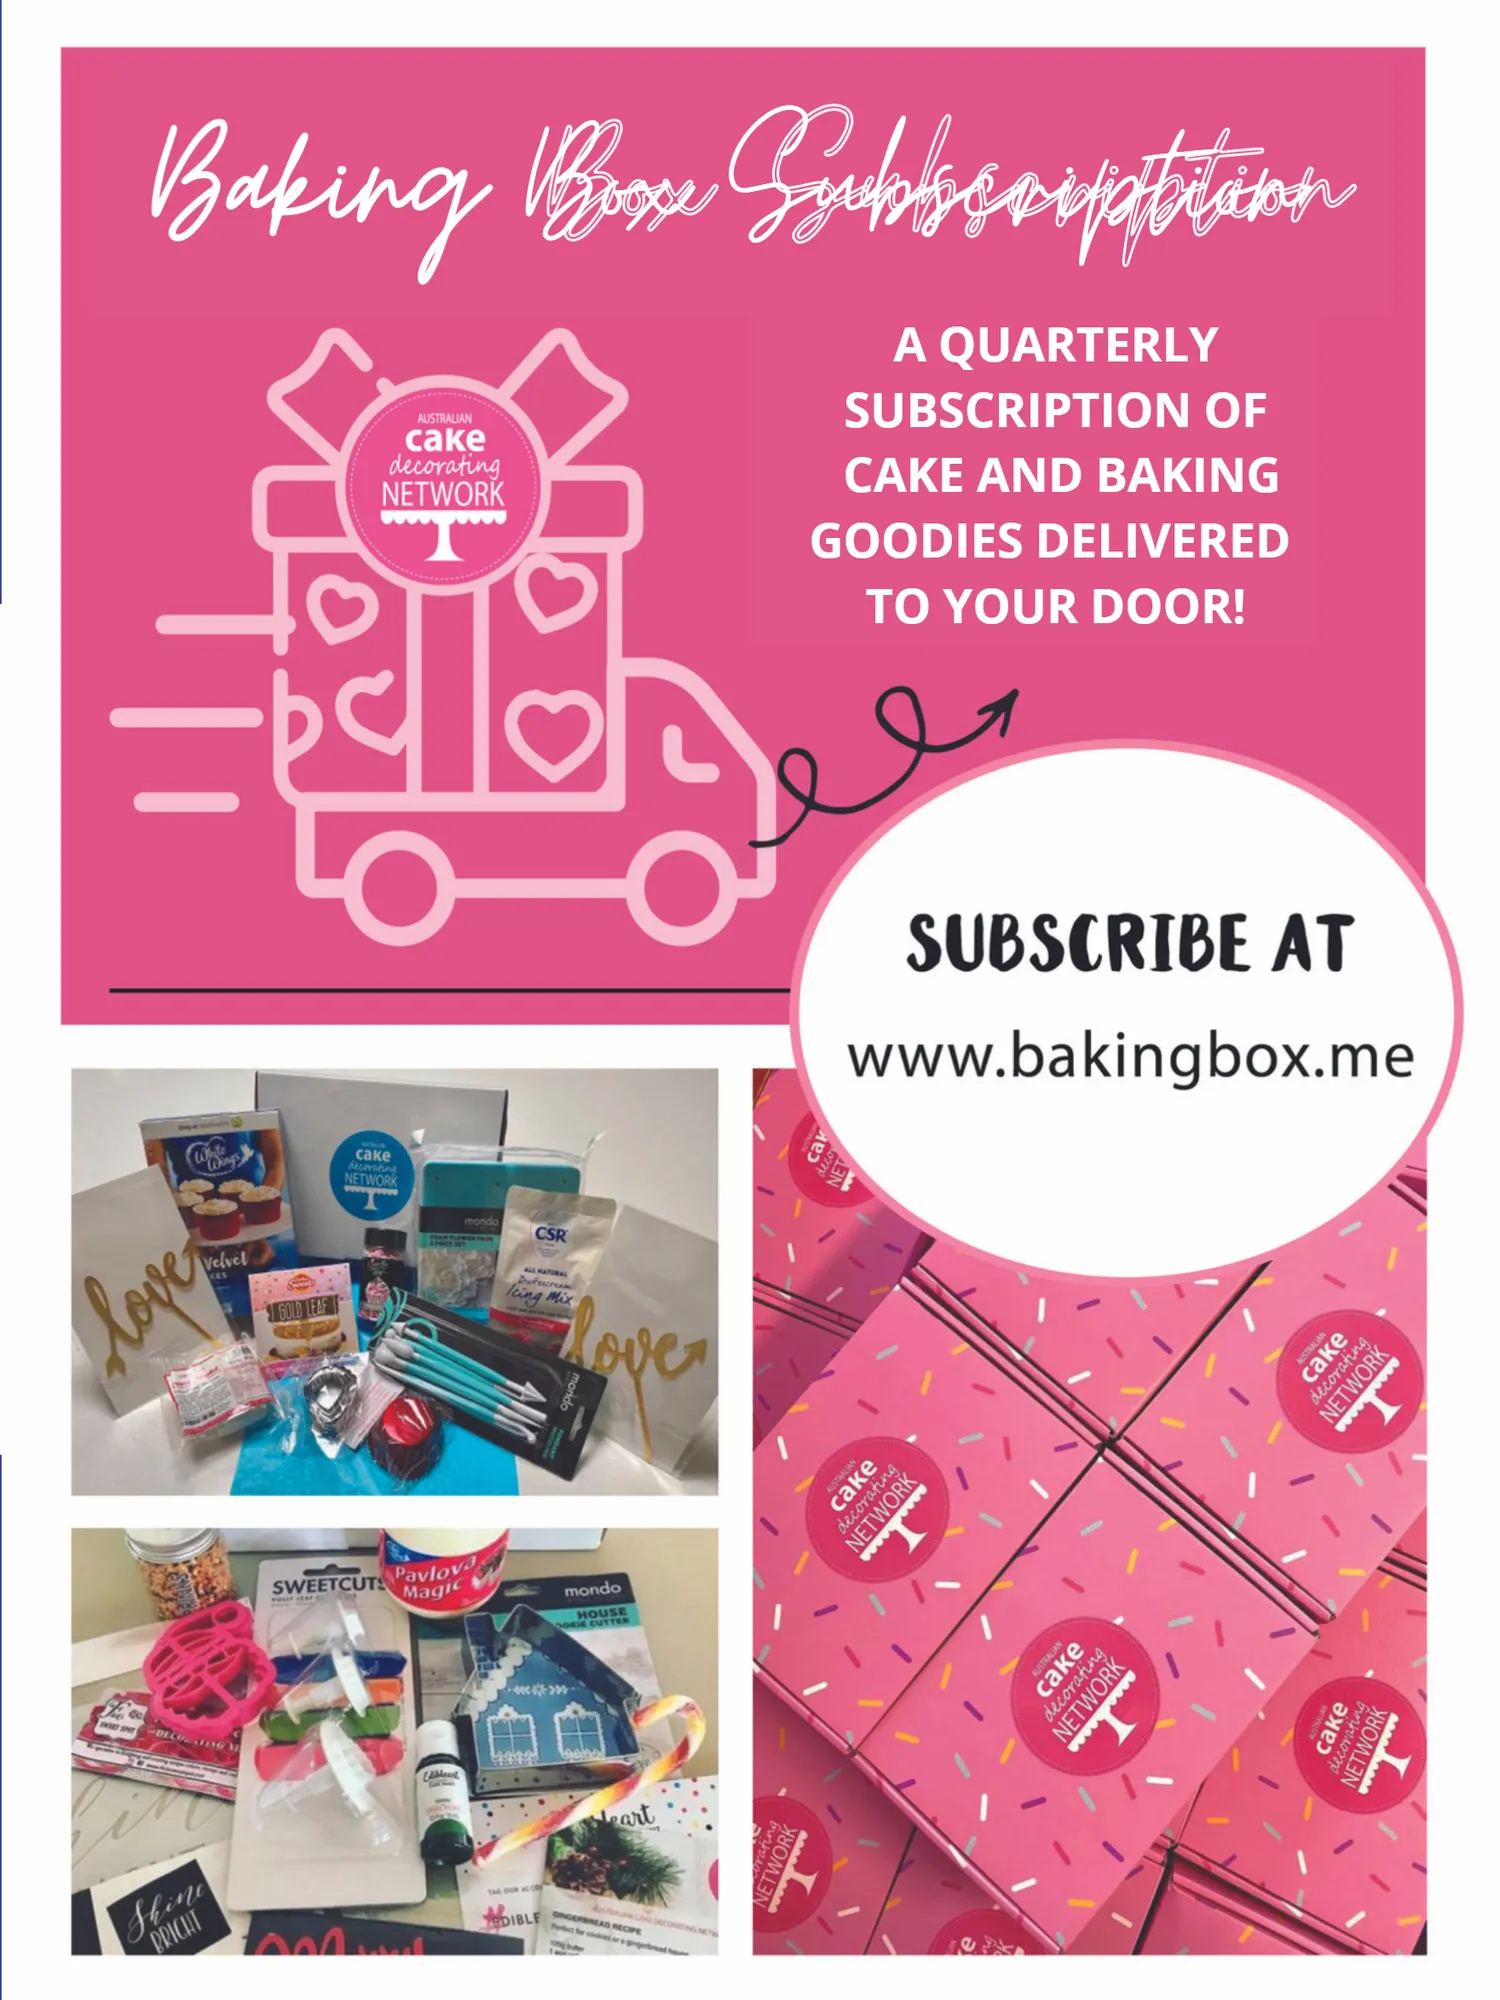
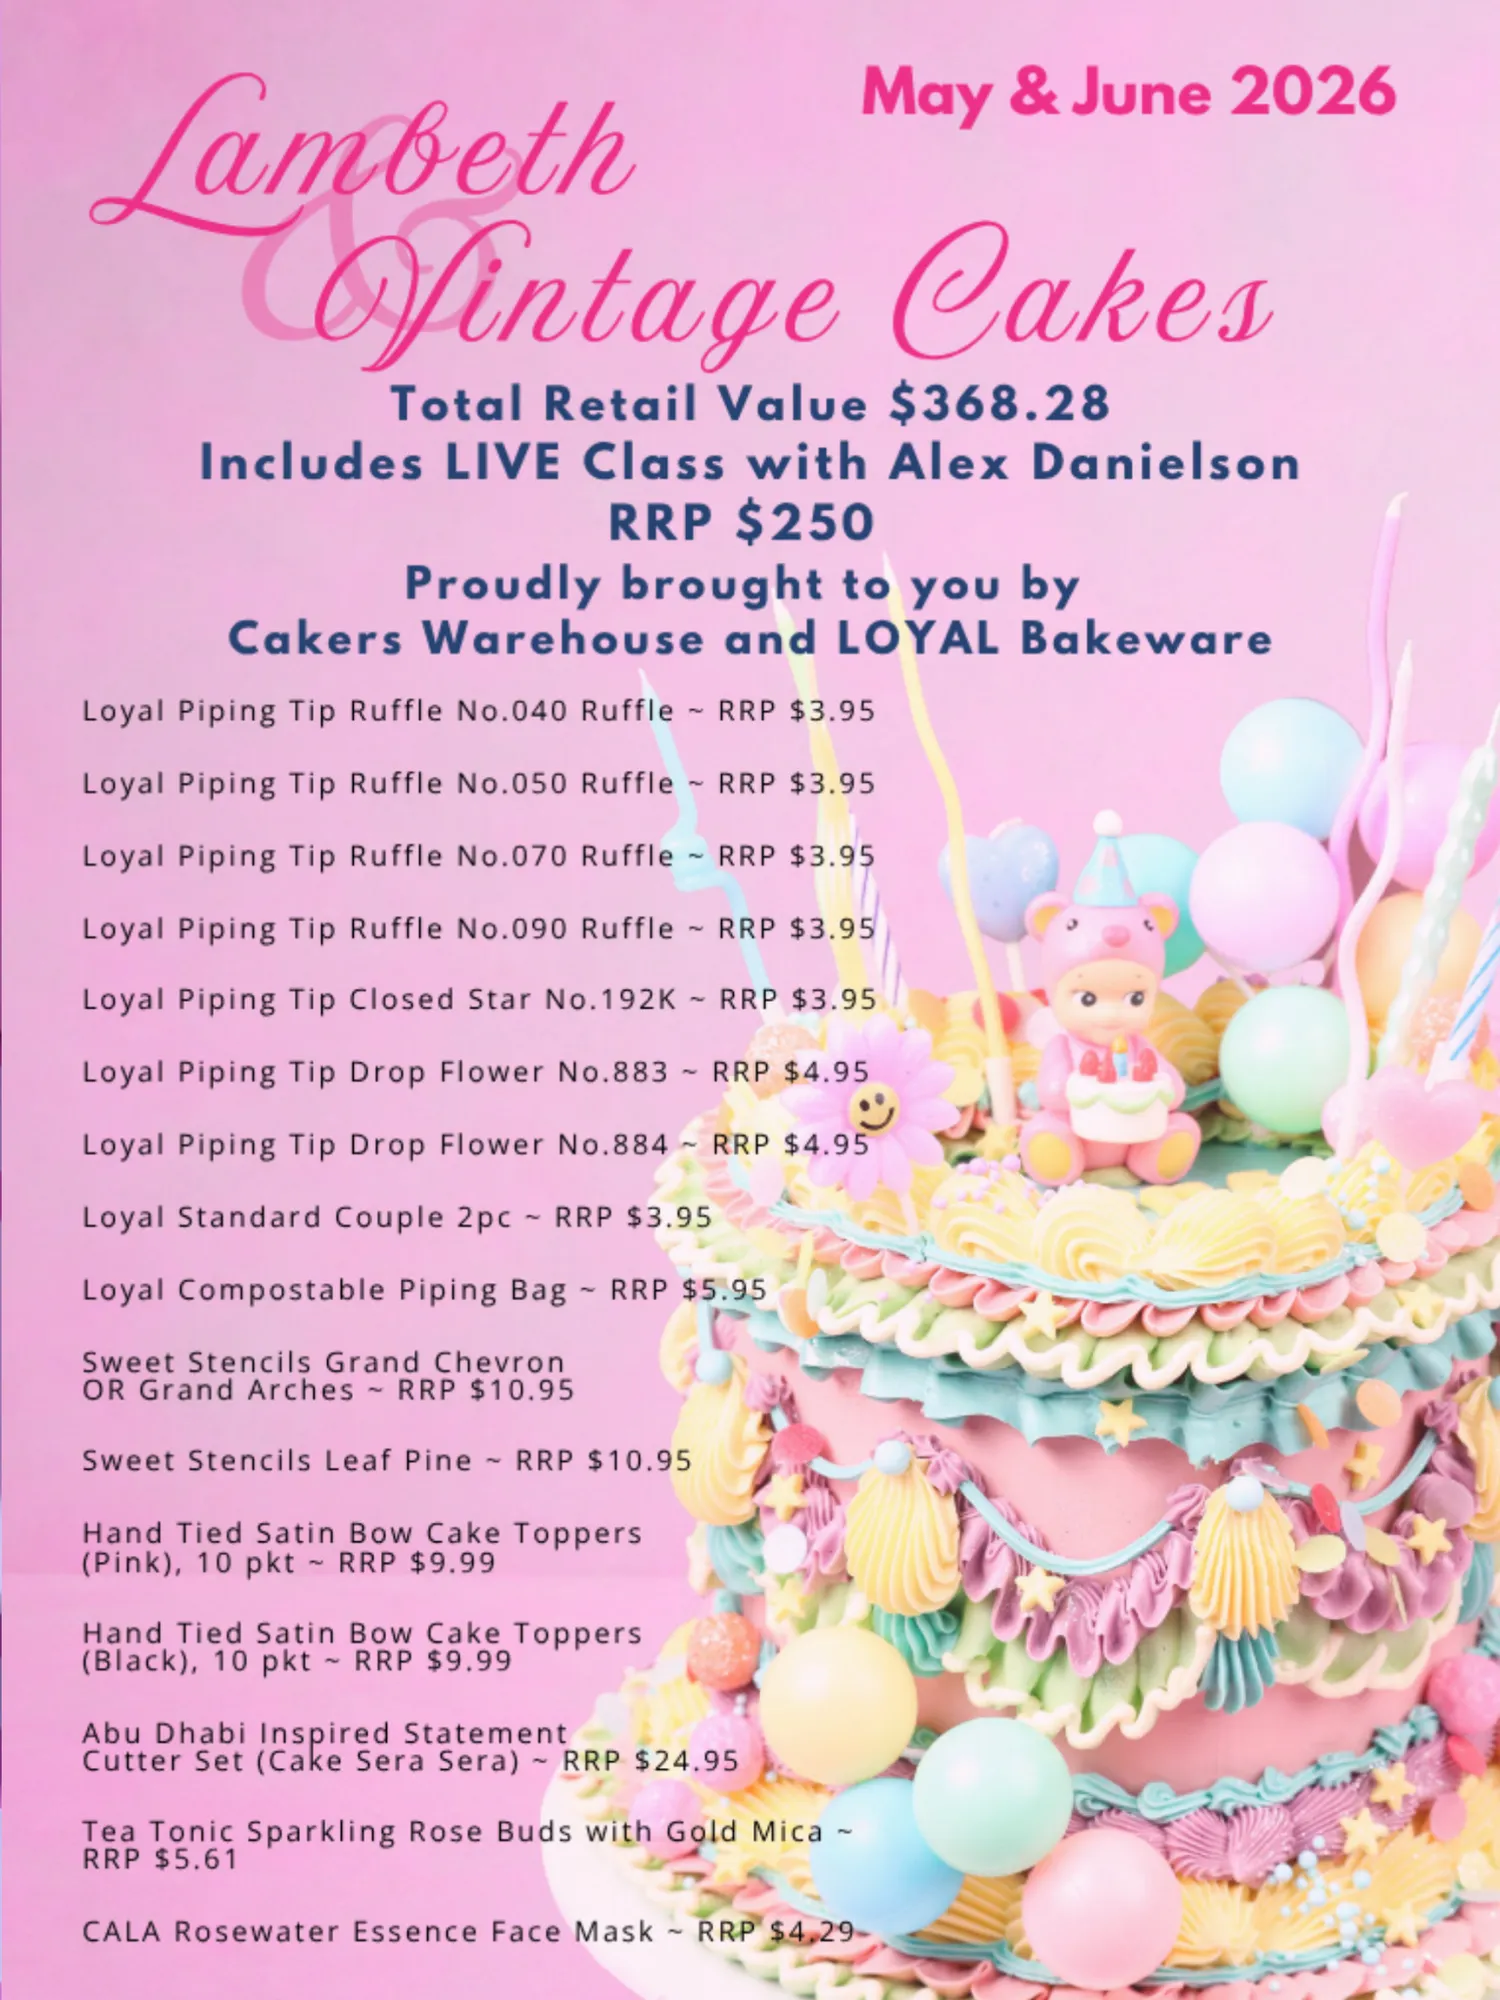
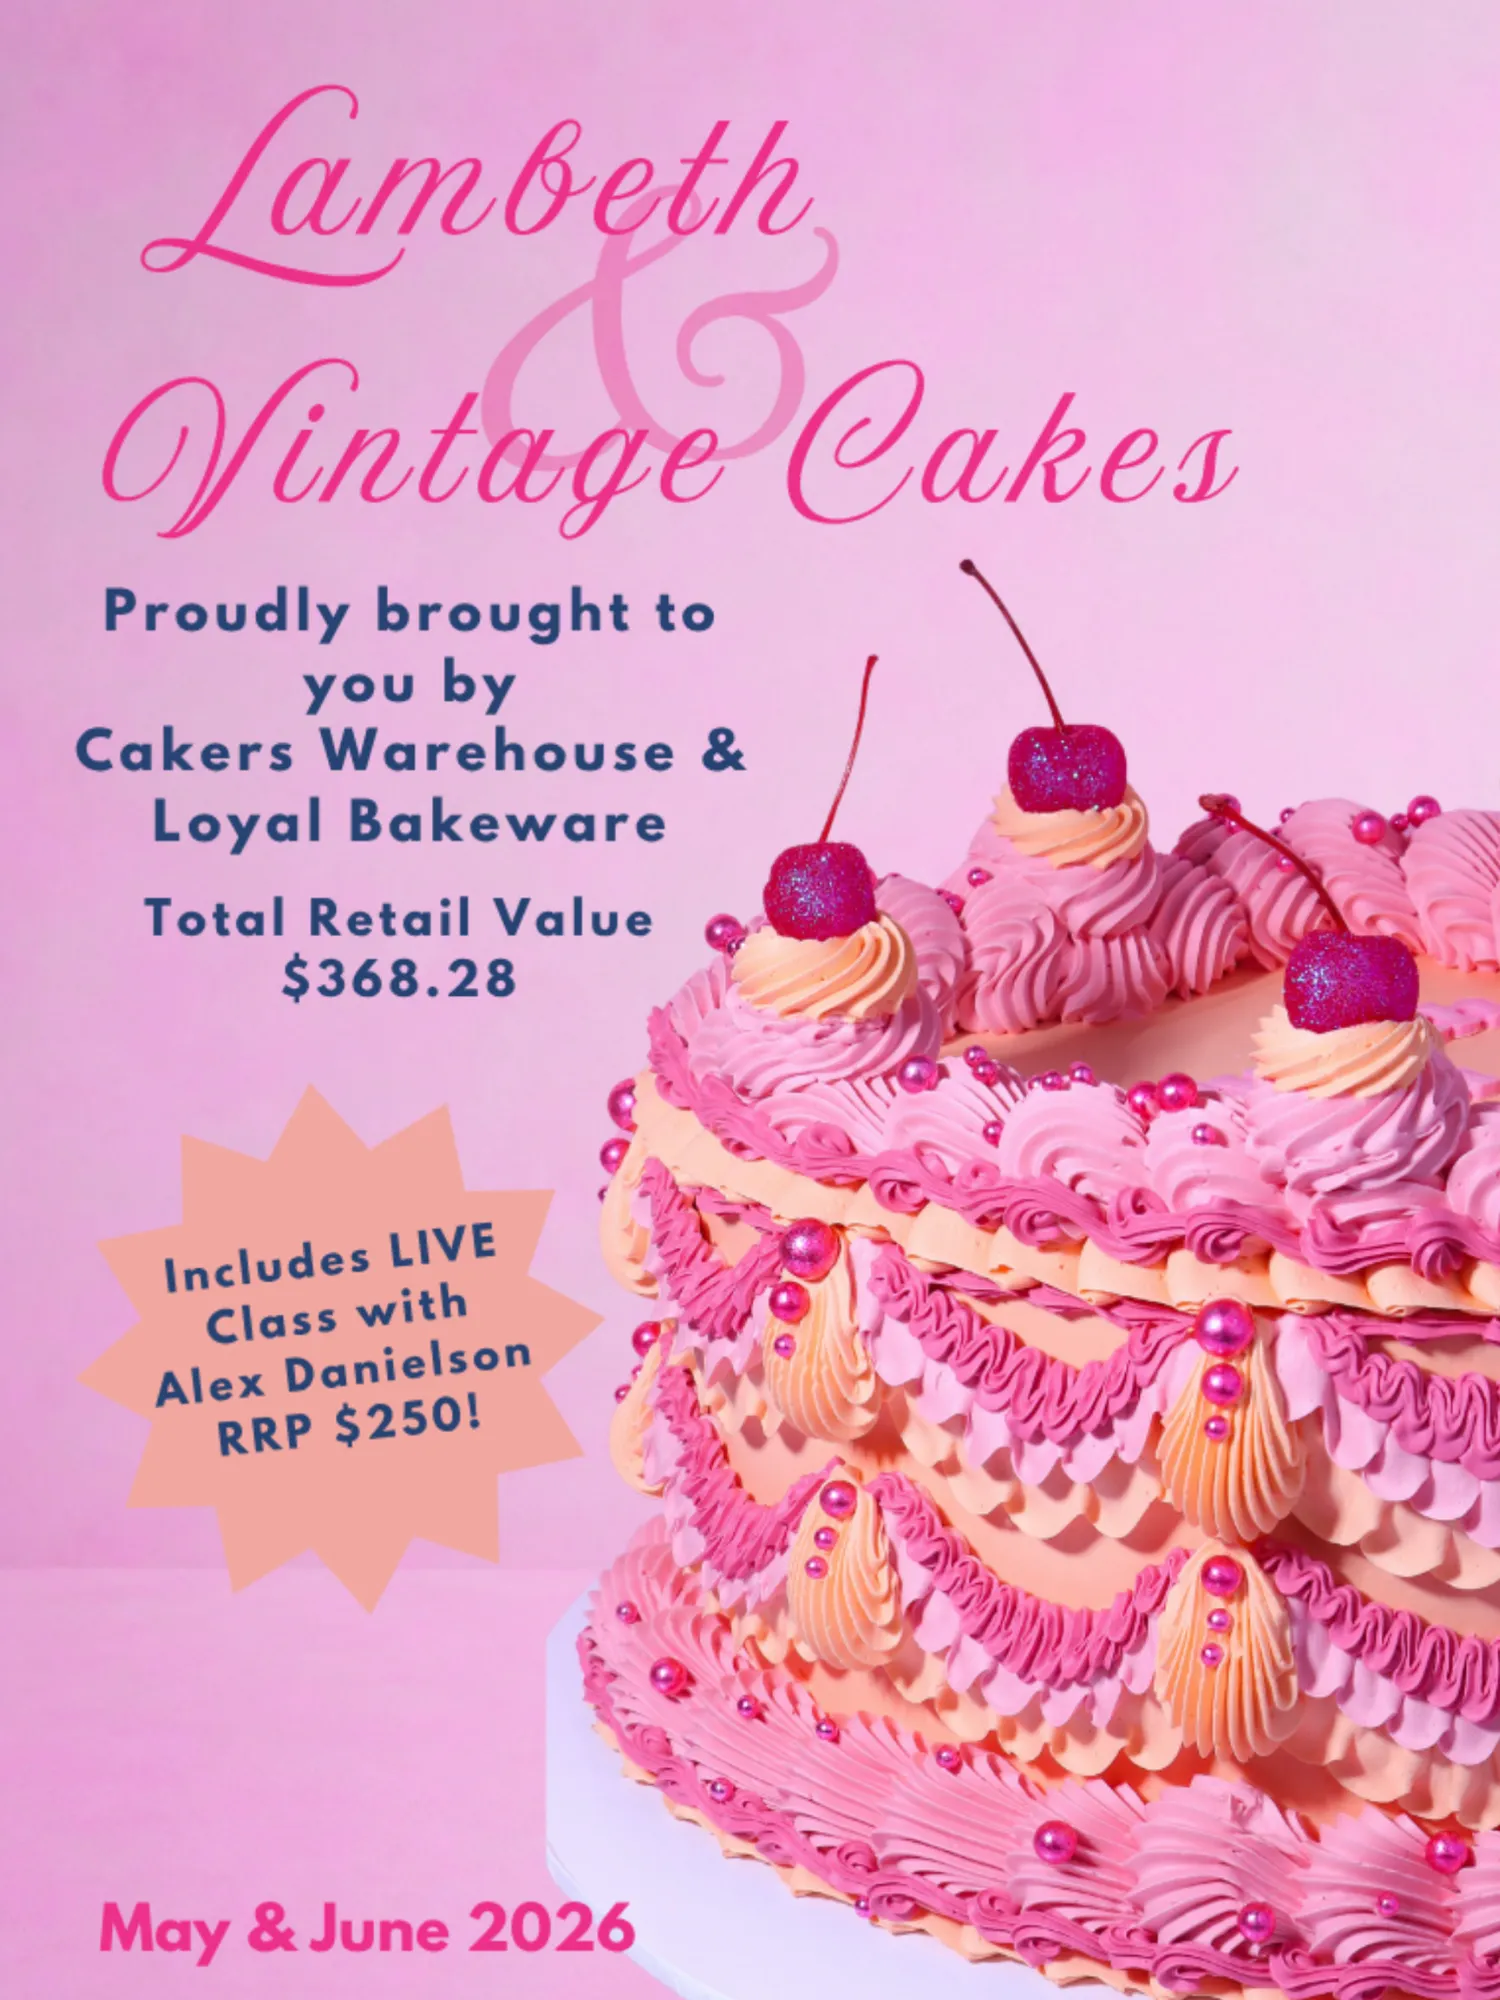
Baking Box Subscription A QUARTERLY SUBSCRIPTION OF CAKE AND BAKING GOODIES DELIVERED TO YOUR DOOR!


Page 44 text
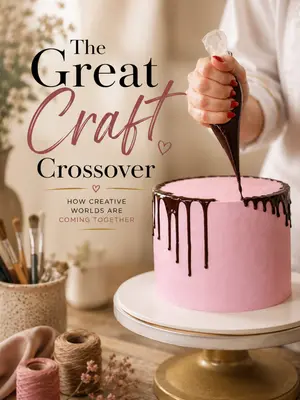
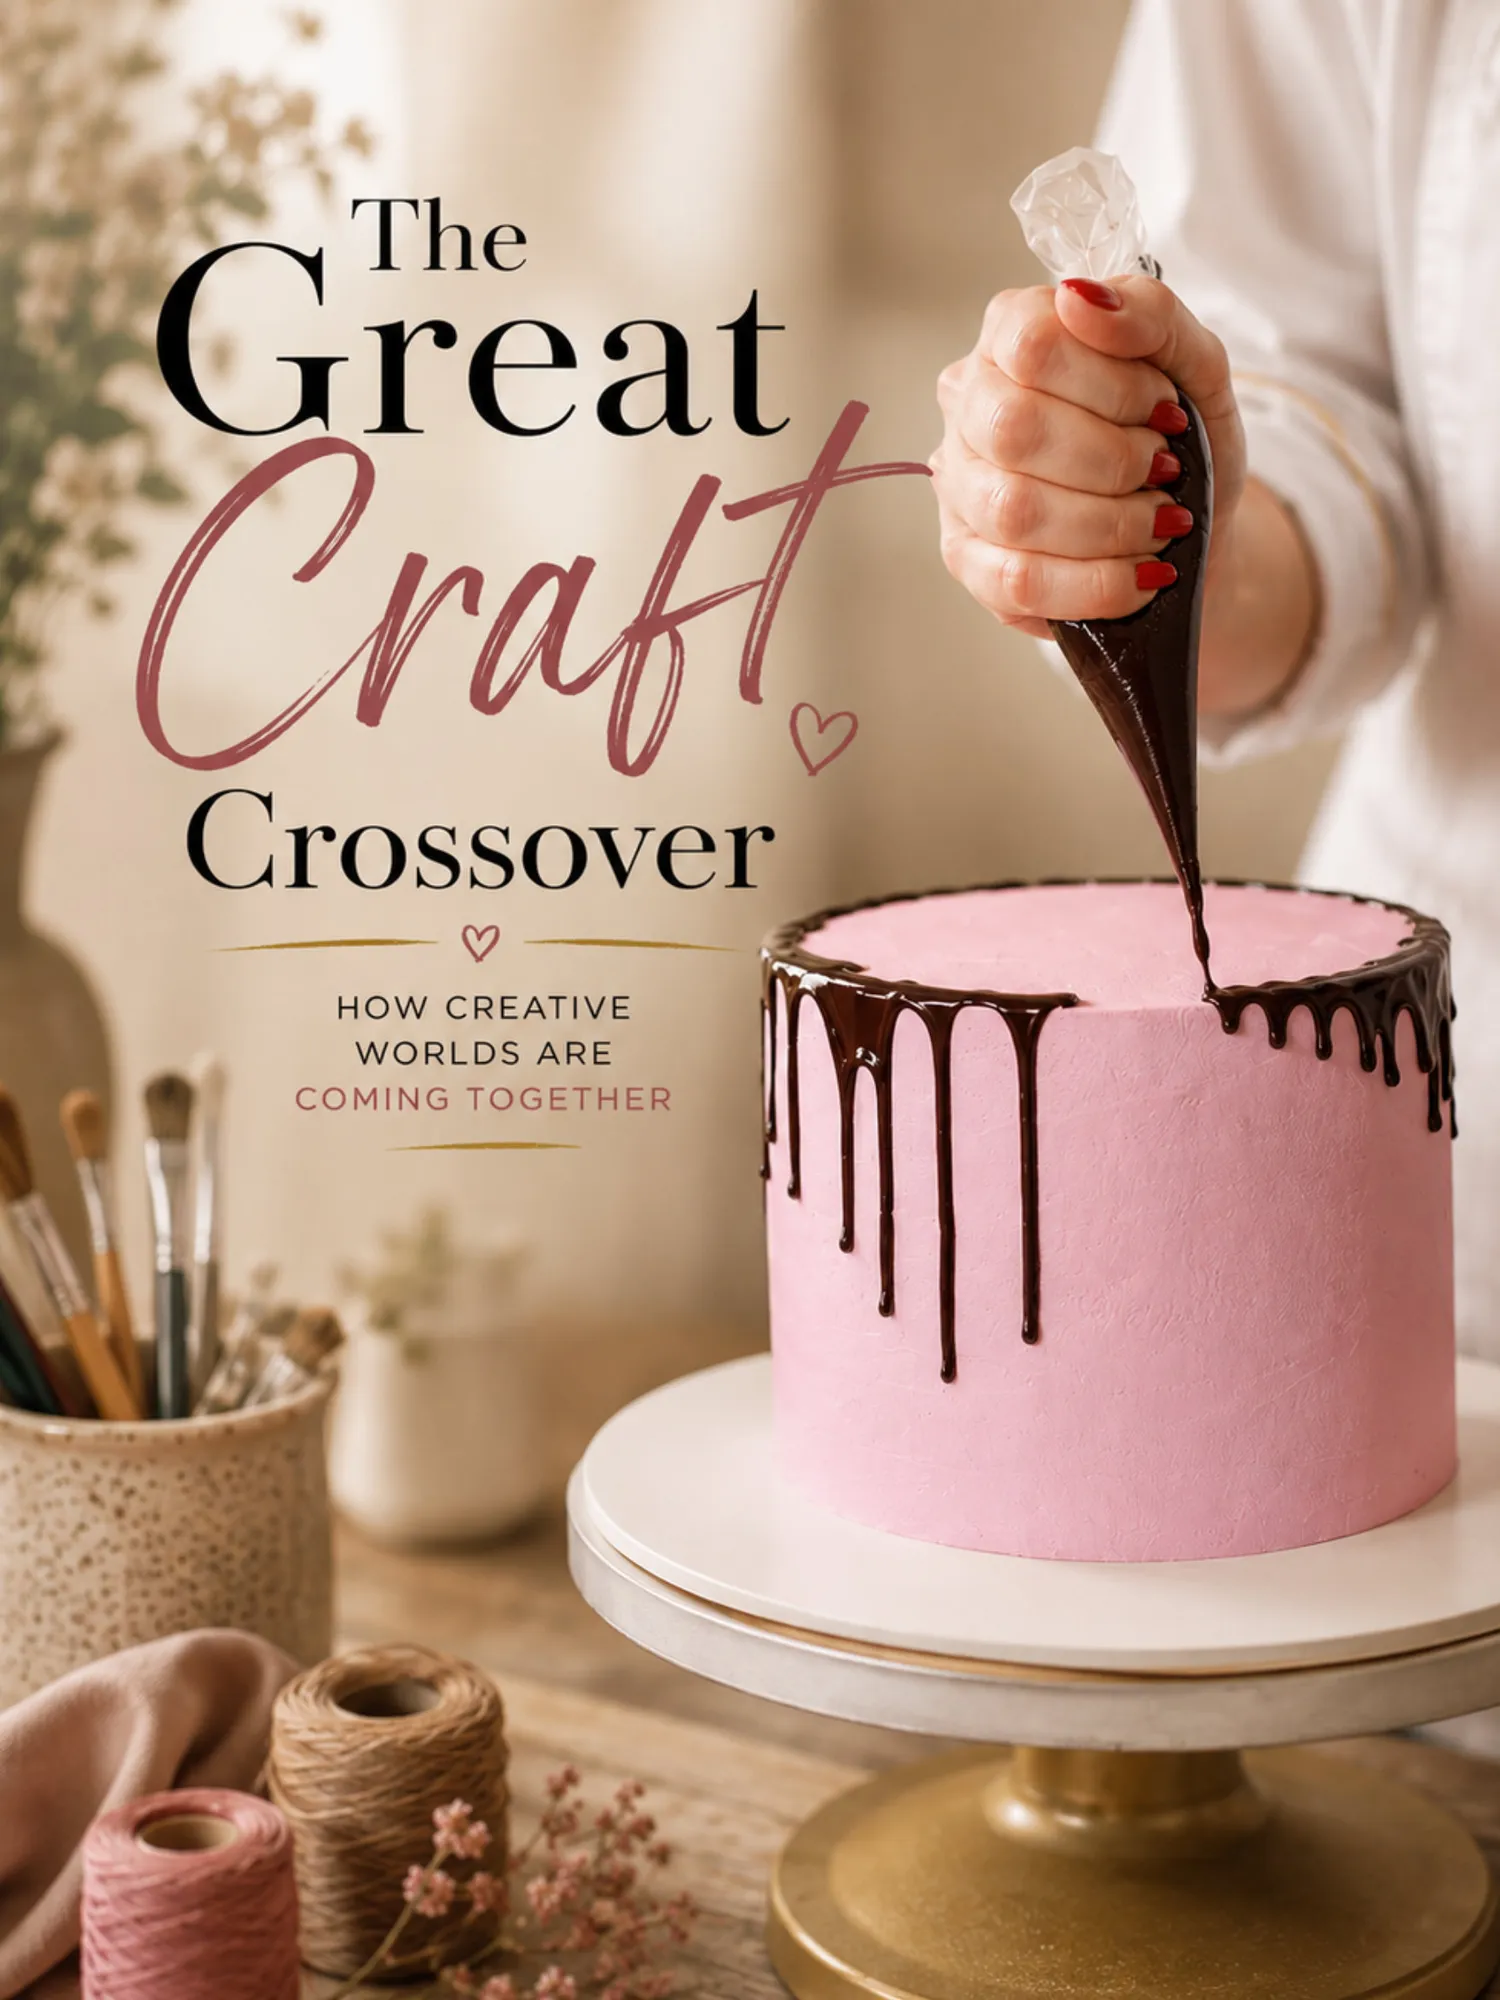
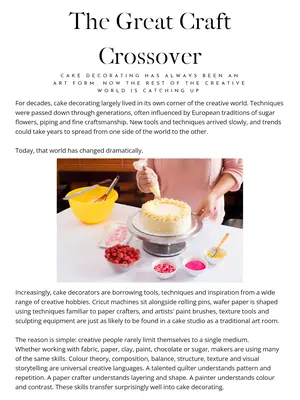
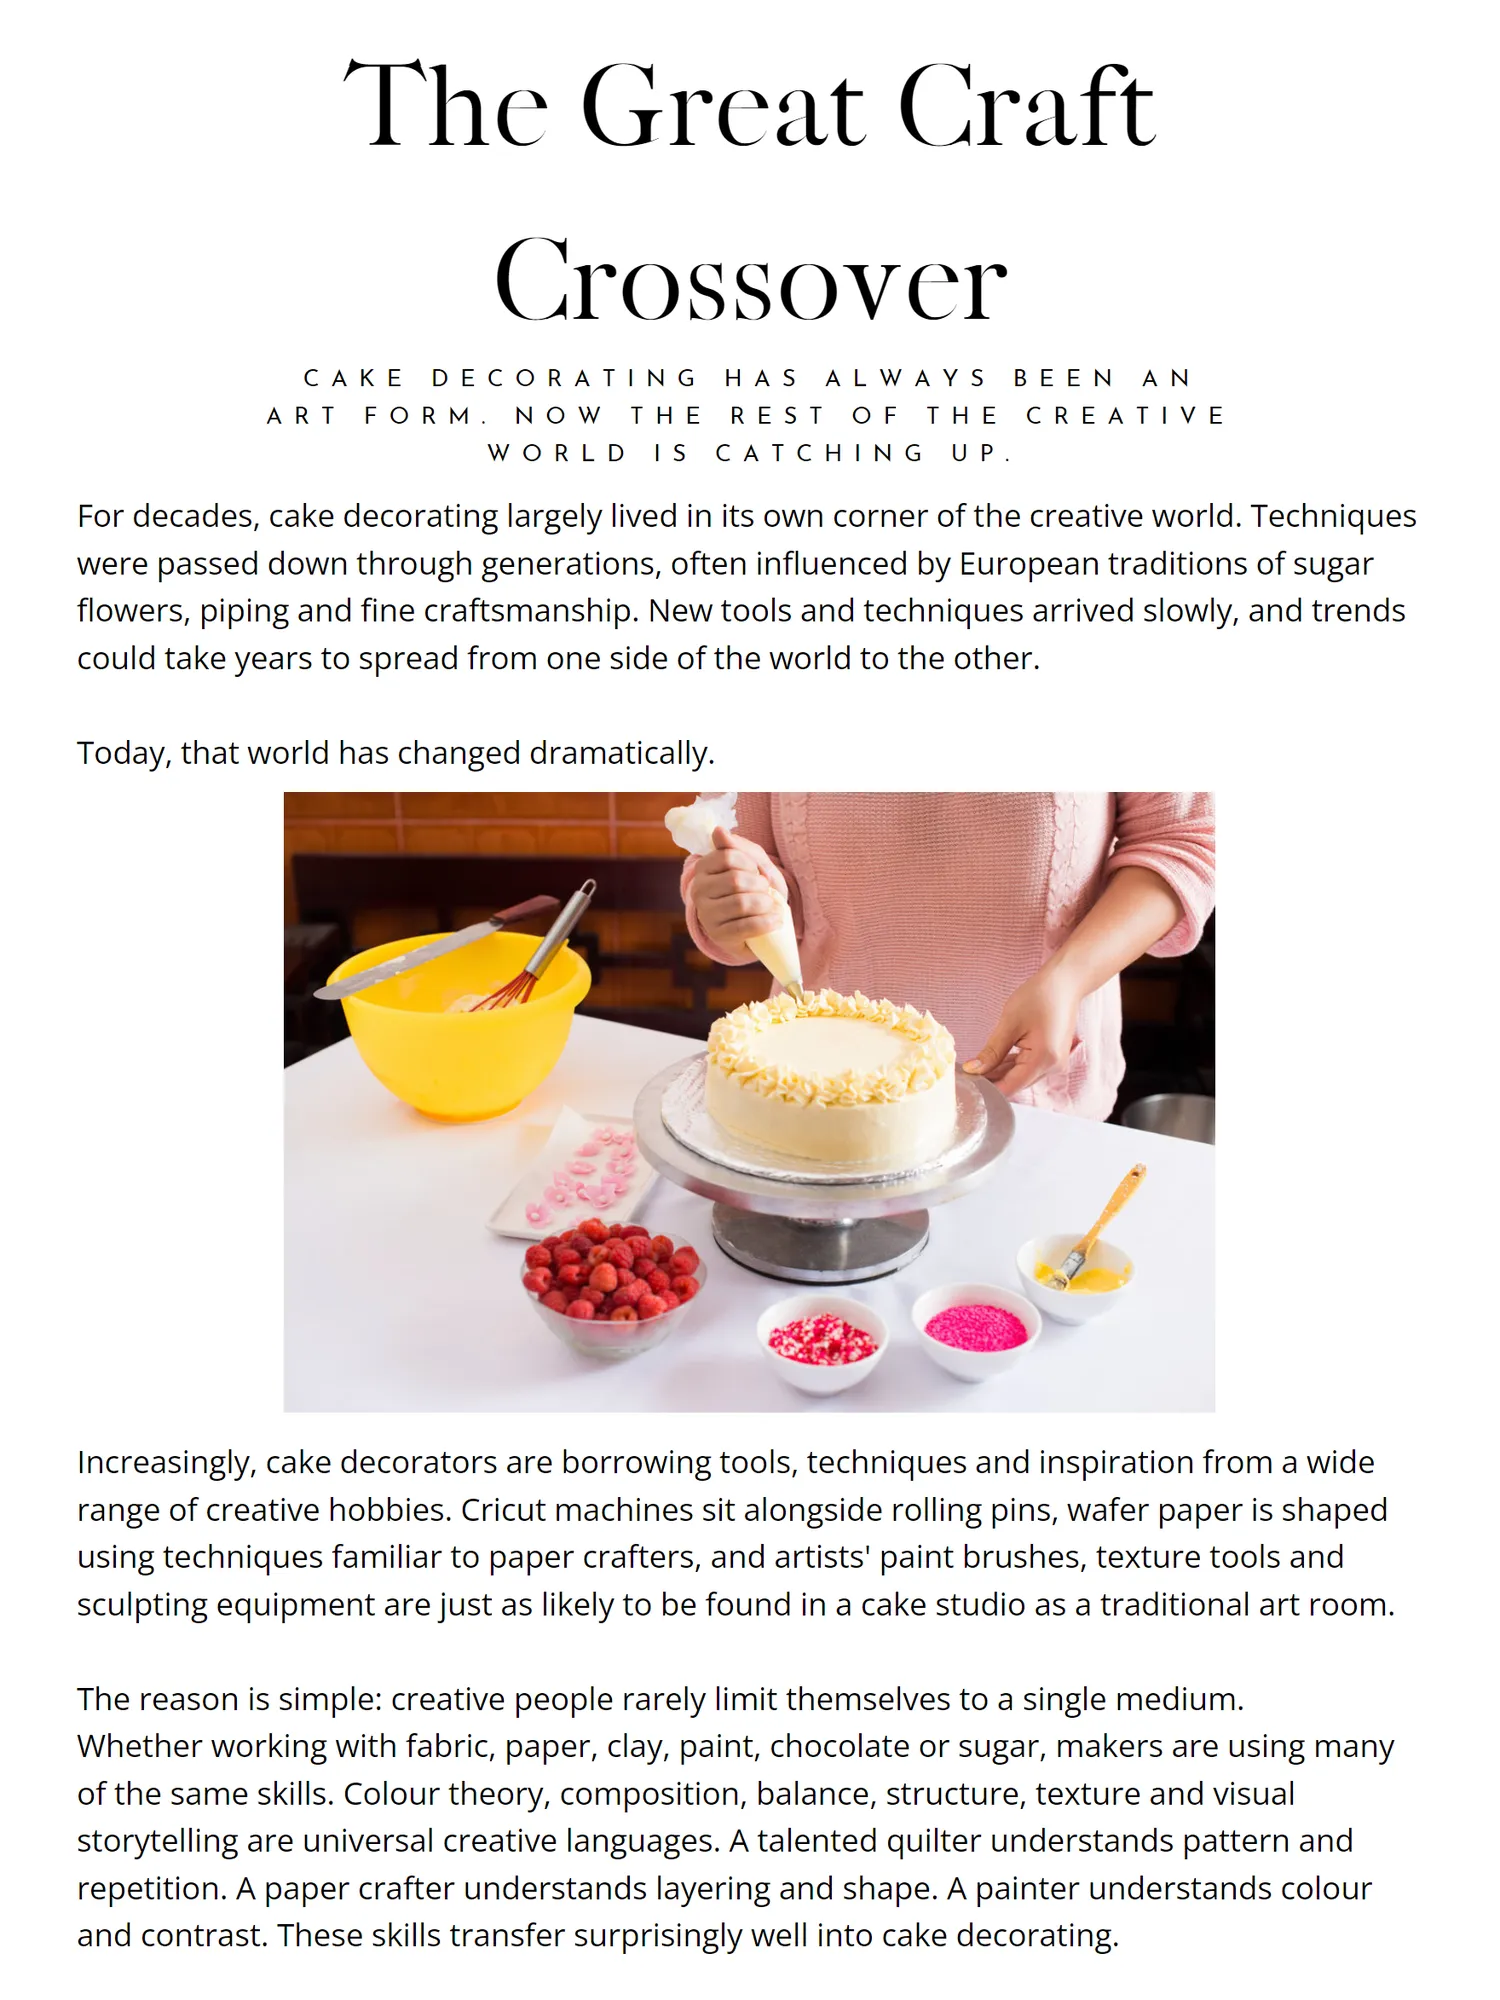
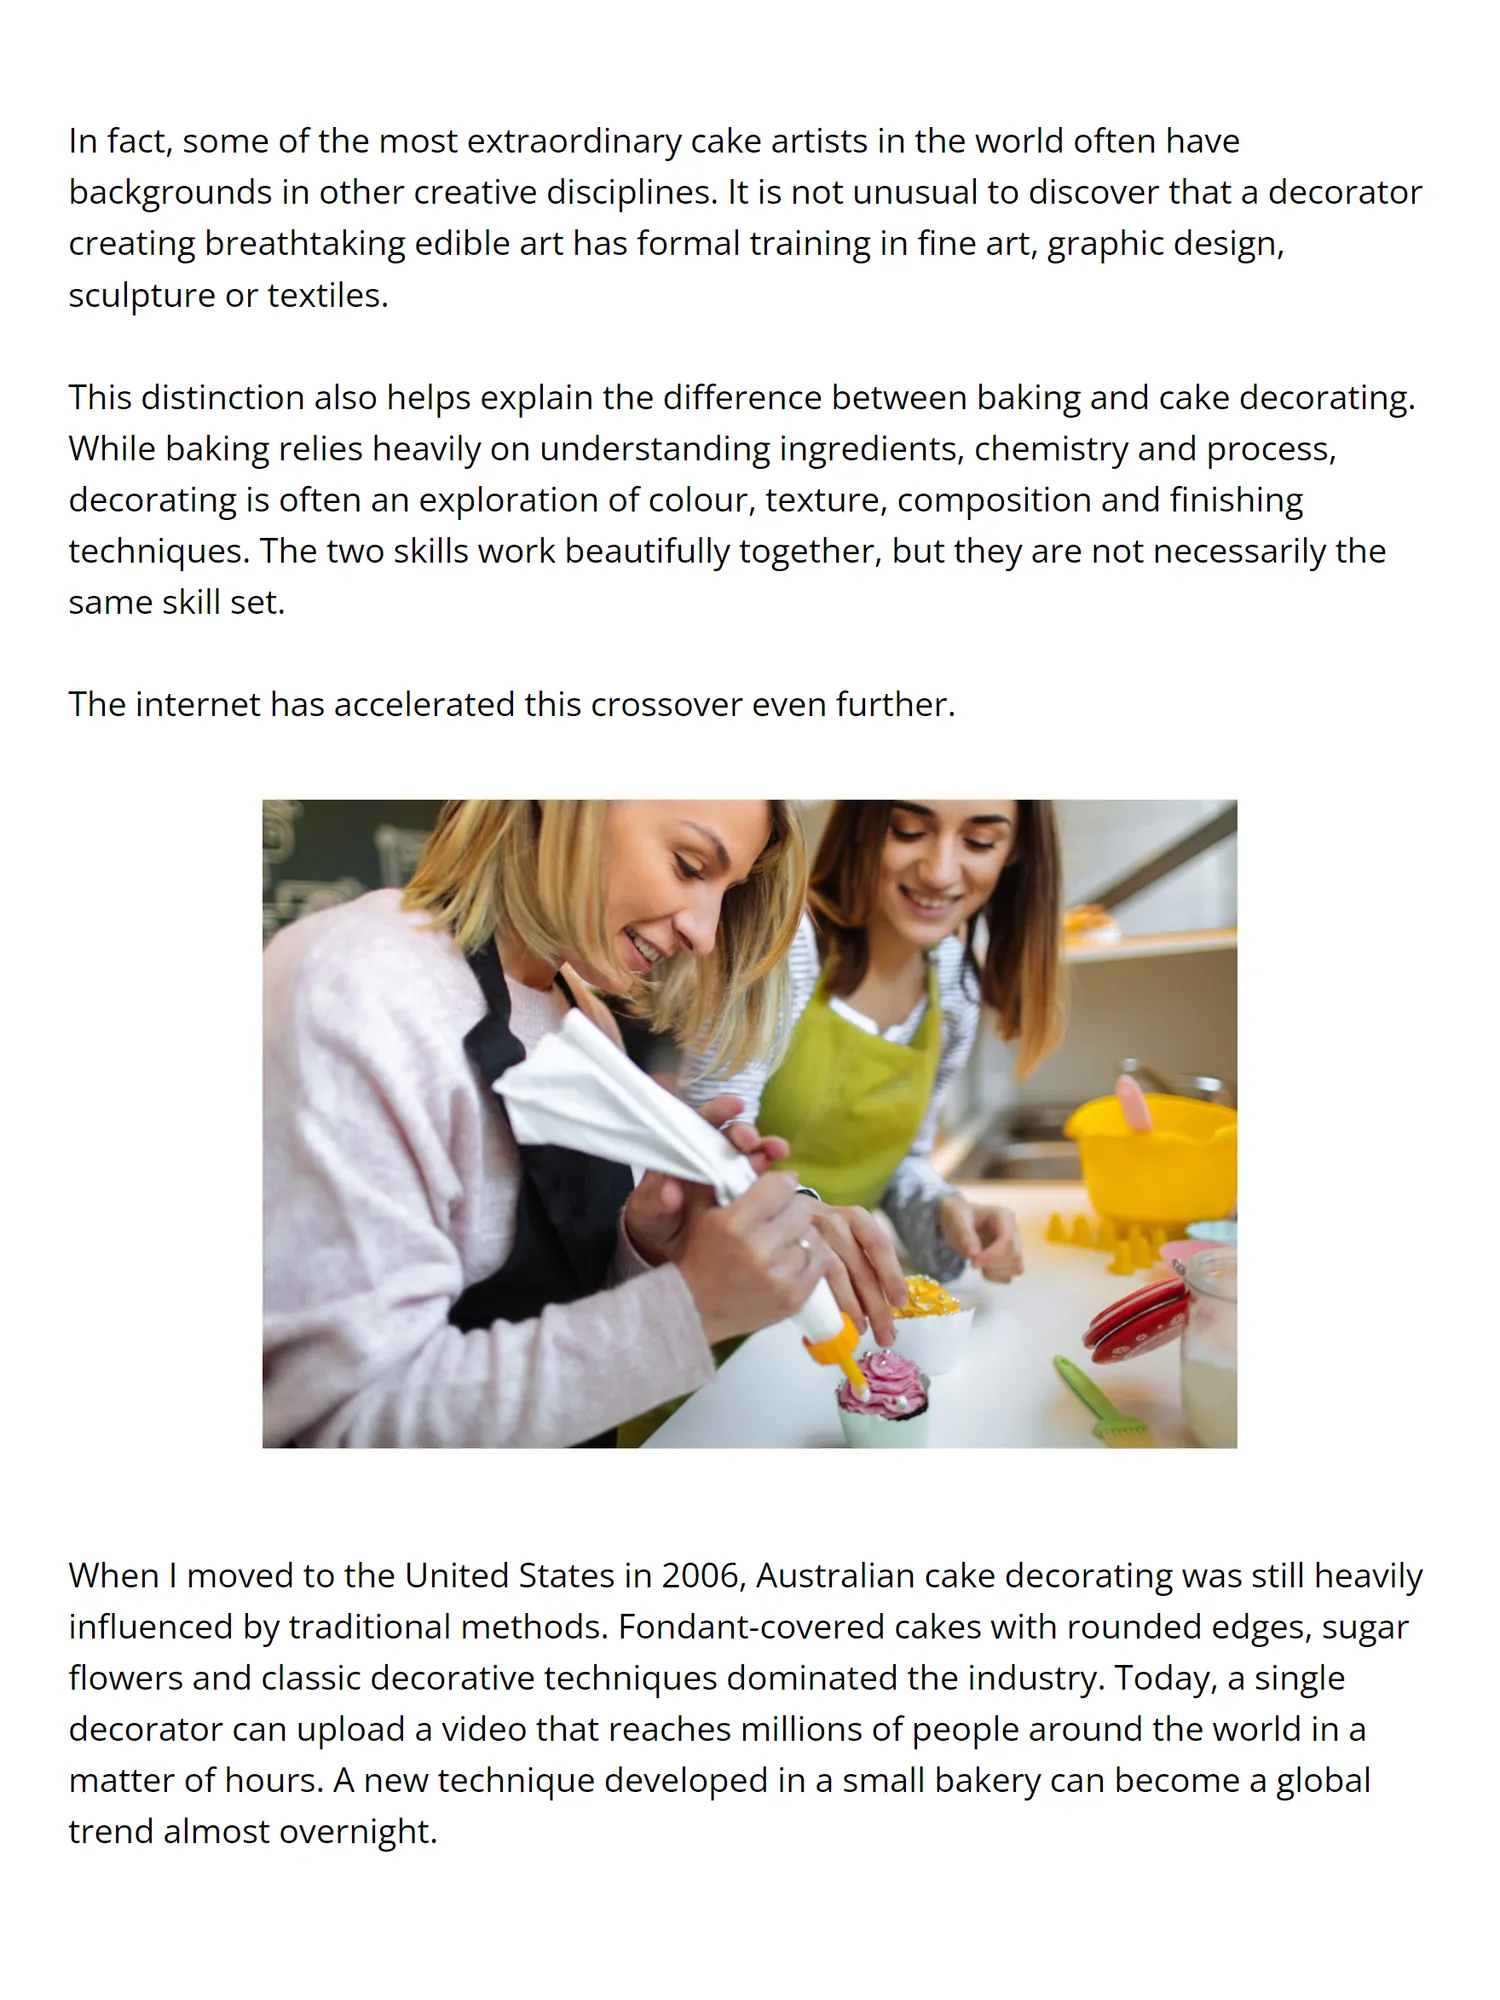
The Great Craft Crossover CAKE DECORATING HAS ALWAYS BEEN AN ART FORM. NOW THE REST OF THE CREATIVE WORLD IS CATCHING UP. For decades, cake decorating largely lived in its own corner of the creative world. Techniques were passed down through generations, often influenced by European traditions of sugar flowers, piping and fine craftsmanship. New tools and techniques arrived slowly, and trends could take years to spread from one side of the world to the other. Today, that world has changed dramatically. Increasingly, cake decorators are borrowing tools, techniques and inspiration from a wide range of creative hobbies. Cricut machines sit alongside rolling pins, wafer paper is shaped using techniques familiar to paper crafters, and artists' paint brushes, texture tools and sculpting equipment are just as likely to be found in a cake studio as a traditional art room. The reason is simple: creative people rarely limit themselves to a single medium. Whether working with fabric, paper, clay, paint, chocolate or sugar, makers are using many of the same skills. Colour theory, composition, balance, structure, texture and visual storytelling are universal creative languages. A talented quilter understands pattern and repetition. A paper crafter understands layering and shape. A painter understands colour and contrast. These skills transfer surprisingly well into cake decorating.
Page 45 text
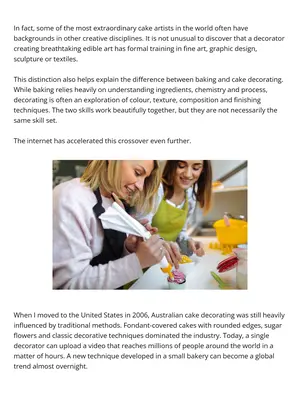
In fact, some of the most extraordinary cake artists in the world often have backgrounds in other creative disciplines. It is not unusual to discover that a decorator creating breathtaking edible art has formal training in fine art, graphic design, sculpture or textiles. This distinction also helps explain the difference between baking and cake decorating. While baking relies heavily on understanding ingredients, chemistry and process, decorating is often an exploration of colour, texture, composition and finishing techniques. The two skills work beautifully together, but they are not necessarily the same skill set. The internet has accelerated this crossover even further. When I moved to the United States in 2006, Australian cake decorating was still heavily influenced by traditional methods. Fondant-covered cakes with rounded edges, sugar flowers and classic decorative techniques dominated the industry. Today, a single decorator can upload a video that reaches millions of people around the world in a matter of hours. A new technique developed in a small bakery can become a global trend almost overnight.
Page 46 text
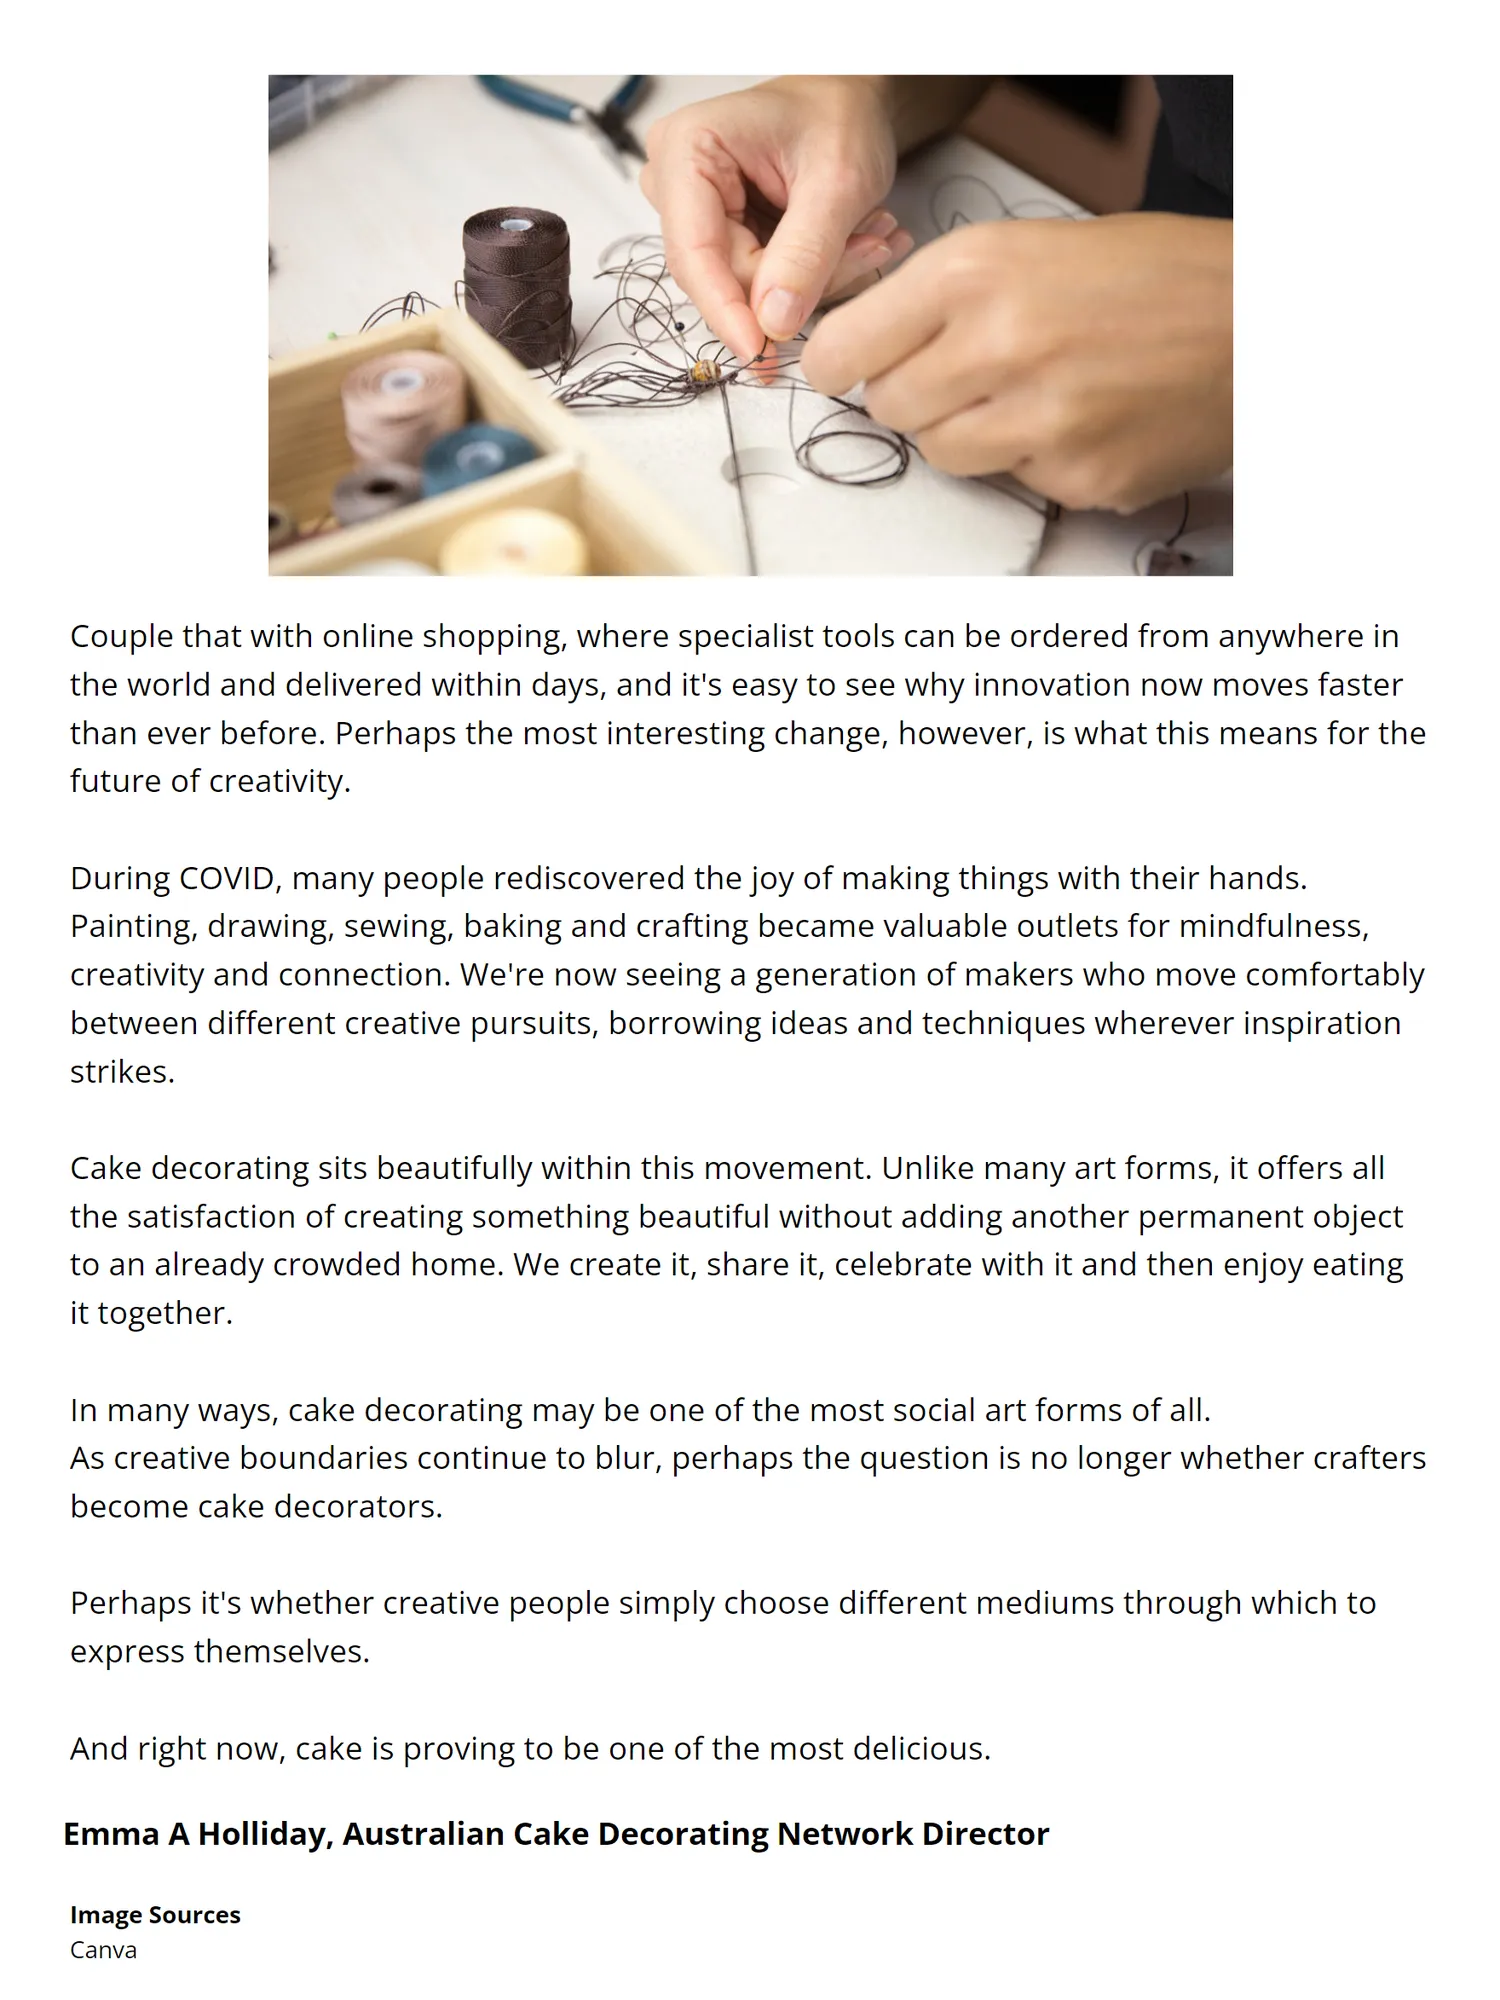
Couple that with online shopping, where specialist tools can be ordered from anywhere in the world and delivered within days, and it's easy to see why innovation now moves faster than ever before. Perhaps the most interesting change, however, is what this means for the future of creativity. During COVID, many people rediscovered the joy of making things with their hands. Painting, drawing, sewing, baking and crafting became valuable outlets for mindfulness, creativity and connection. We're now seeing a generation of makers who move comfortably between different creative pursuits, borrowing ideas and techniques wherever inspiration strikes. Cake decorating sits beautifully within this movement. Unlike many art forms, it offers all the satisfaction of creating something beautiful without adding another permanent object to an already crowded home. We create it, share it, celebrate with it and then enjoy eating it together. In many ways, cake decorating may be one of the most social art forms of all. As creative boundaries continue to blur, perhaps the question is no longer whether crafters become cake decorators. Perhaps it's whether creative people simply choose different mediums through which to express themselves. And right now, cake is proving to be one of the most delicious. Emma A Holliday, Australian Cake Decorating Network Director Image Sources Canva
Page 47 text
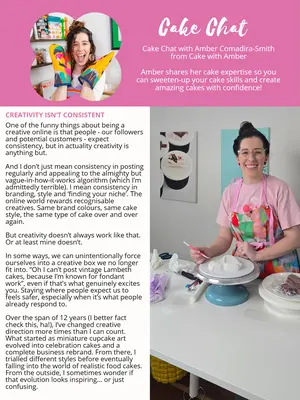
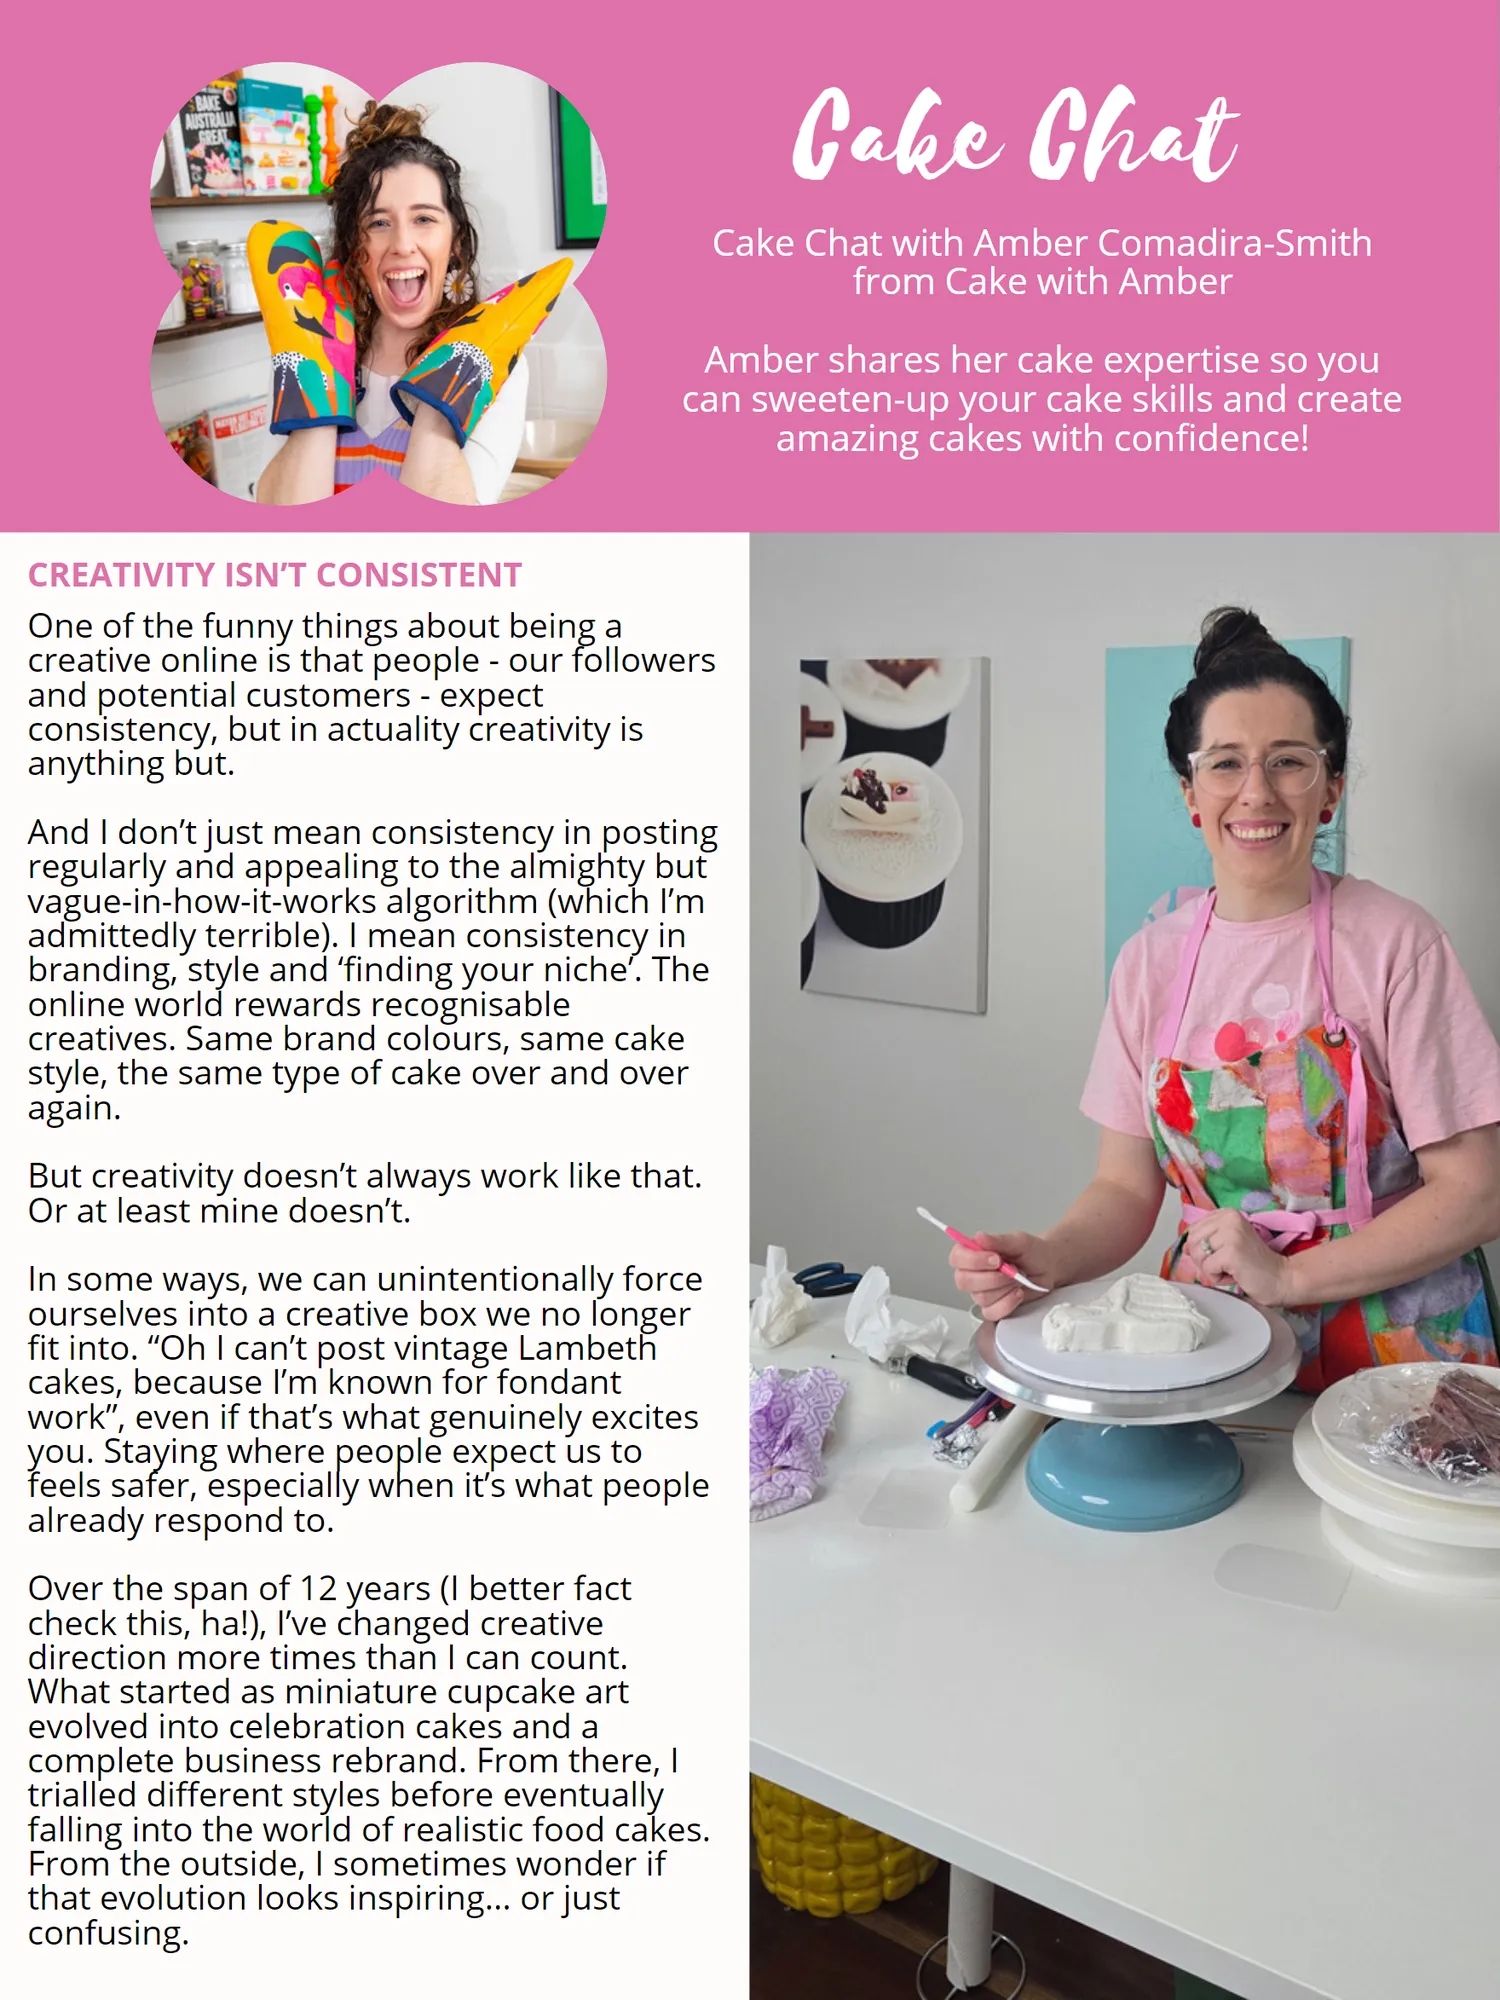
Cake Chat Cake Chat with Amber Comadira-Smith from Cake with Amber Amber shares her cake expertise so you ABOUT ME can sweeten-up your cake skills and create amazing cakes with confidence! CREATIVITY ISN’T CONSISTENT One of the funny things about being a creative online is that people - our followers and potential customers - expect consistency, but in actuality creativity is anything but. And I don’t just mean consistency in posting regularly and appealing to the almighty but vague-in-how-it-works algorithm (which I’m admittedly terrible). I mean consistency in branding, style and ‘finding your niche’. The online world rewards recognisable creatives. Same brand colours, same cake style, the same type of cake over and over again. But creativity doesn’t always work like that. Or at least mine doesn’t. In some ways, we can unintentionally force ourselves into a creative box we no longer fit into. “Oh I can’t post vintage Lambeth cakes, because I’m known for fondant work”, even if that’s what genuinely excites you. Staying where people expect us to feels safer, especially when it’s what people already respond to. Over the span of 12 years (I better fact check this, ha!), I’ve changed creative direction more times than I can count. What started as miniature cupcake art evolved into celebration cakes and a complete business rebrand. From there, I trialled different styles before eventually falling into the world of realistic food cakes. From the outside, I sometimes wonder if that evolution looks inspiring… or just confusing.
Page 48 text
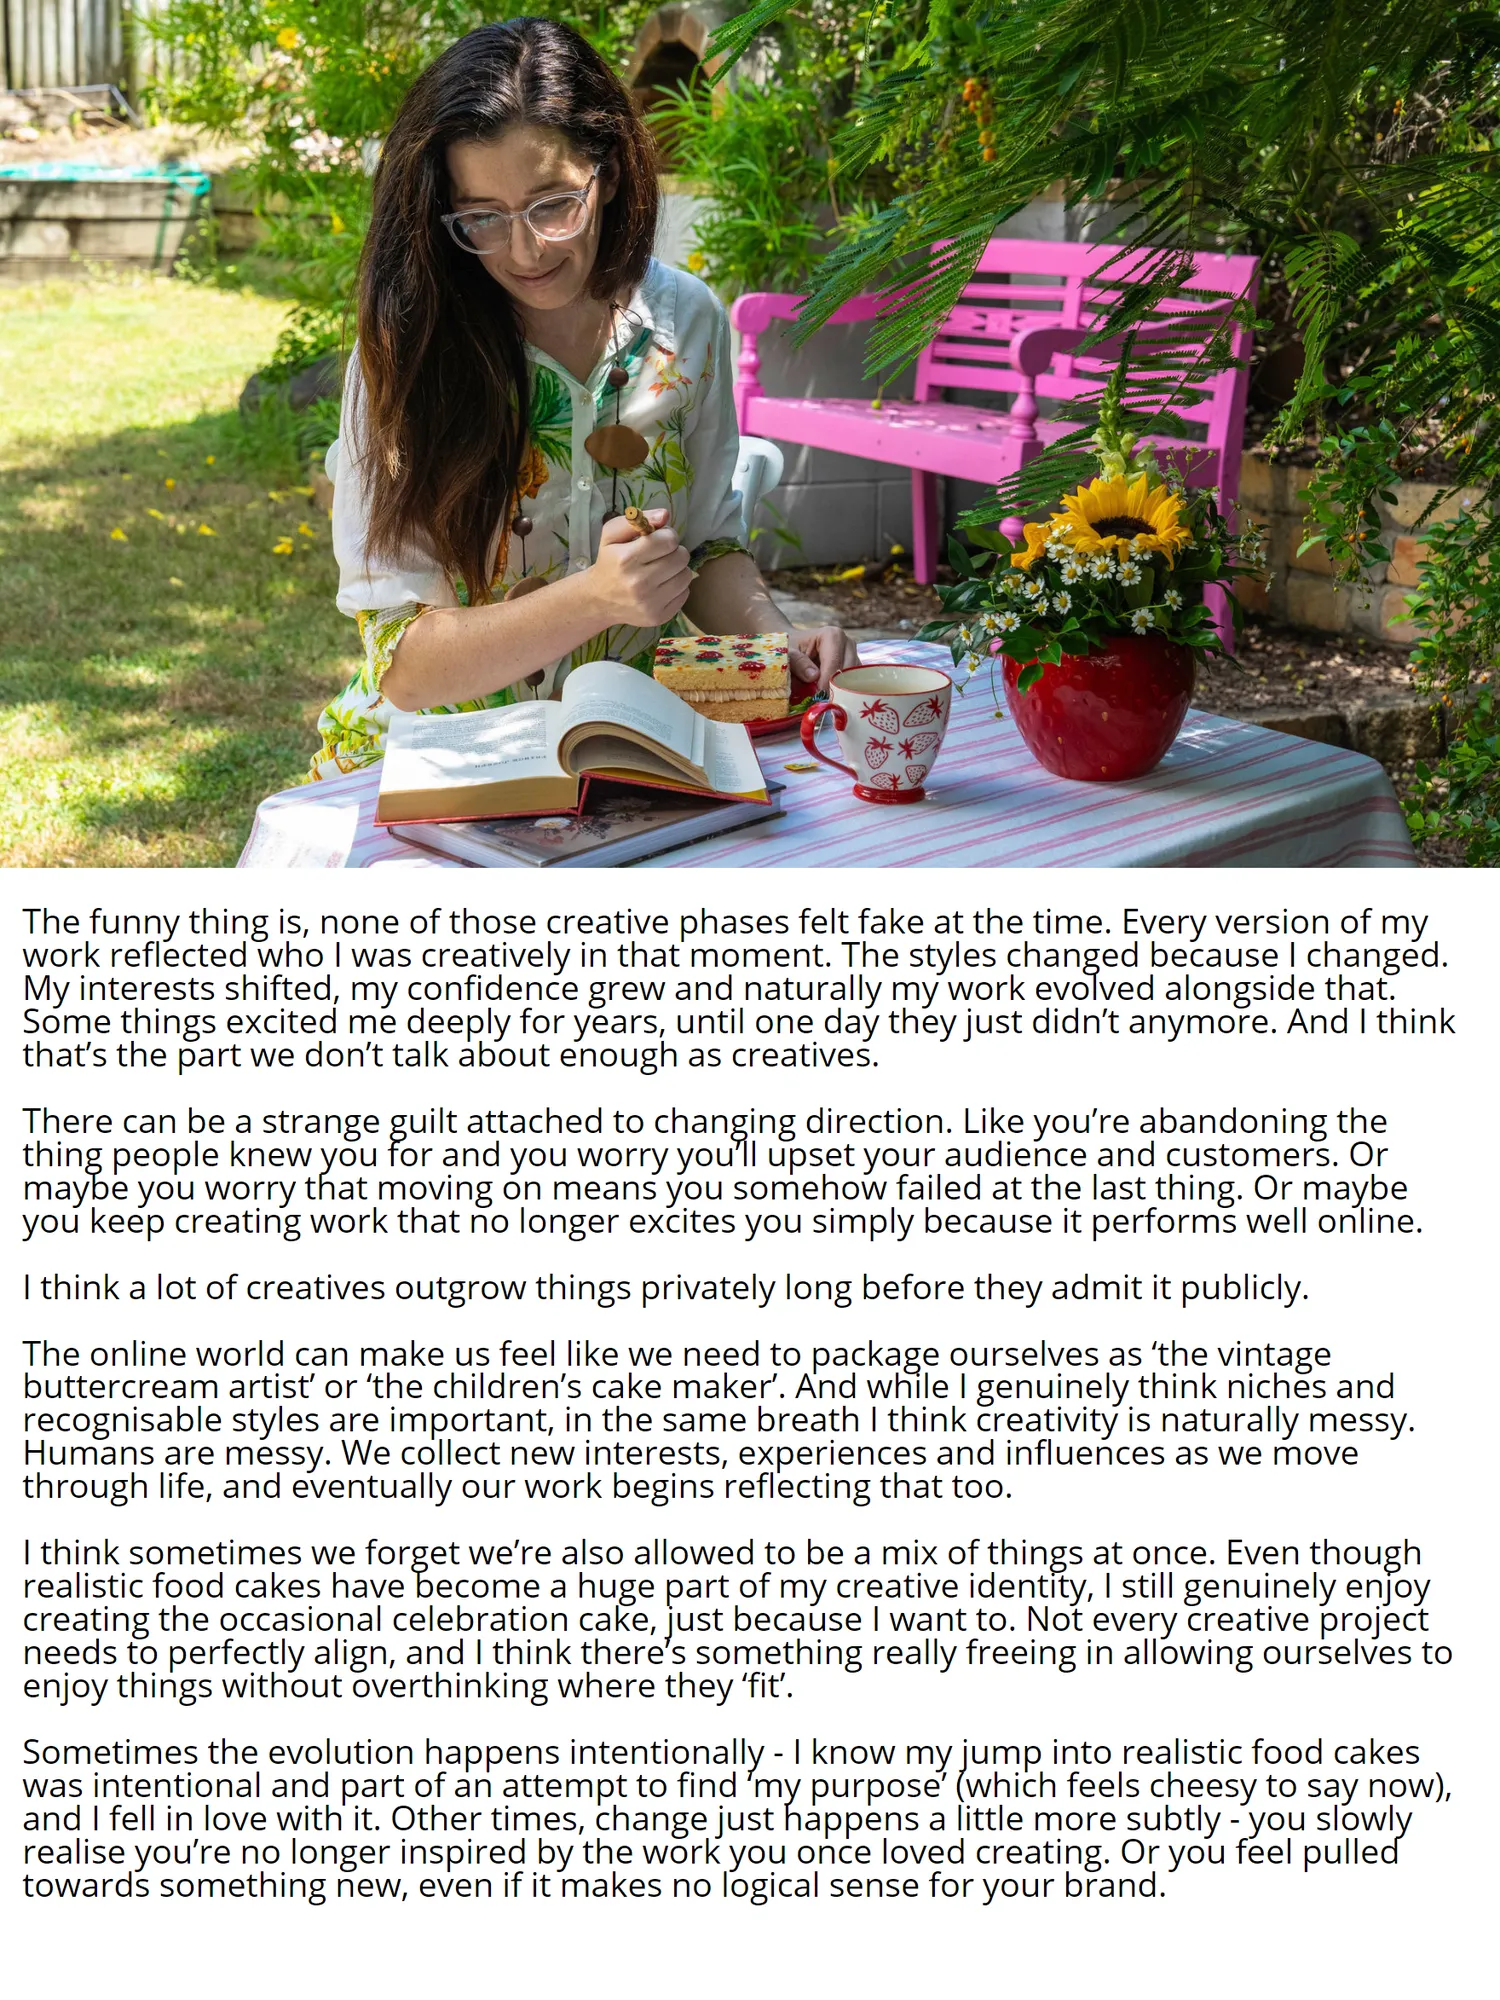
The funny thing is, none of those creative phases felt fake at the time. Every version of my work reflected who I was creatively in that moment. The styles changed because I changed. My interests shifted, my confidence grew and naturally my work evolved alongside that. Some things excited me deeply for years, until one day they just didn’t anymore. And I think that’s the part we don’t talk about enough as creatives. There can be a strange guilt attached to changing direction. Like you’re abandoning the thing people knew you for and you worry you’ll upset your audience and customers. Or maybe you worry that moving on means you somehow failed at the last thing. Or maybe you keep creating work that no longer excites you simply because it performs well online. I think a lot of creatives outgrow things privately long before they admit it publicly. The online world can make us feel like we need to package ourselves as ‘the vintage buttercream artist’ or ‘the children’s cake maker’. And while I genuinely think niches and recognisable styles are important, in the same breath I think creativity is naturally messy. Humans are messy. We collect new interests, experiences and influences as we move through life, and eventually our work begins reflecting that too. I think sometimes we forget we’re also allowed to be a mix of things at once. Even though realistic food cakes have become a huge part of my creative identity, I still genuinely enjoy creating the occasional celebration cake, just because I want to. Not every creative project needs to perfectly align, and I think there’s something really freeing in allowing ourselves to enjoy things without overthinking where they ‘fit’. Sometimes the evolution happens intentionally - I know my jump into realistic food cakes was intentional and part of an attempt to find ‘my purpose’ (which feels cheesy to say now), and I fell in love with it. Other times, change just happens a little more subtly - you slowly realise you’re no longer inspired by the work you once loved creating. Or you feel pulled towards something new, even if it makes no logical sense for your brand.
Page 49 text
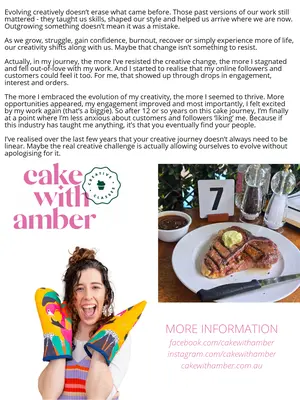
Evolving creatively doesn’ t erase what came before. Those past versions of our work still mattered- they taught us skills, shaped our style and helped us arrive where we are now. Outgrowing something doesn’ t mean it was a mistake. As we grow, struggle, gain confidence, burnout, recover or simply experience more of life, our creativity shifts along with us. Maybe that change isn’ t something to resist. Actually, in my journey, the more I’ ve resisted the creative change, the more I stagnated and fell out-of-love with my work. And I started to realise that my online followers and customers could feel it too. For me, that showed up through drops in engagement, interest and orders. The more I embraced the evolution of my creativity, the more I seemed to thrive. More opportunities appeared, my engagement improved and most importantly, I felt excited by my work again( that’ s a biggie). So after 12 or so years on this cake journey, I’ m finally at a point where I’ m less anxious about customers and followers‘ liking’ me. Because if this industry has taught me anything, it’ s that you eventually find your people. I’ ve realised over the last few years that your creative journey doesn’ t always need to be linear. Maybe the real creative challenge is actually allowing ourselves to evolve without apologising for it. MORE INFORMATION facebook. com / cakewithamber instagram. com / cakewithamber cakewithamber. com. au
Page 50 text
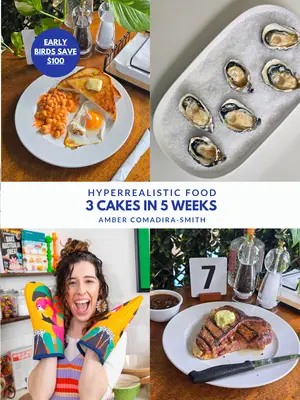
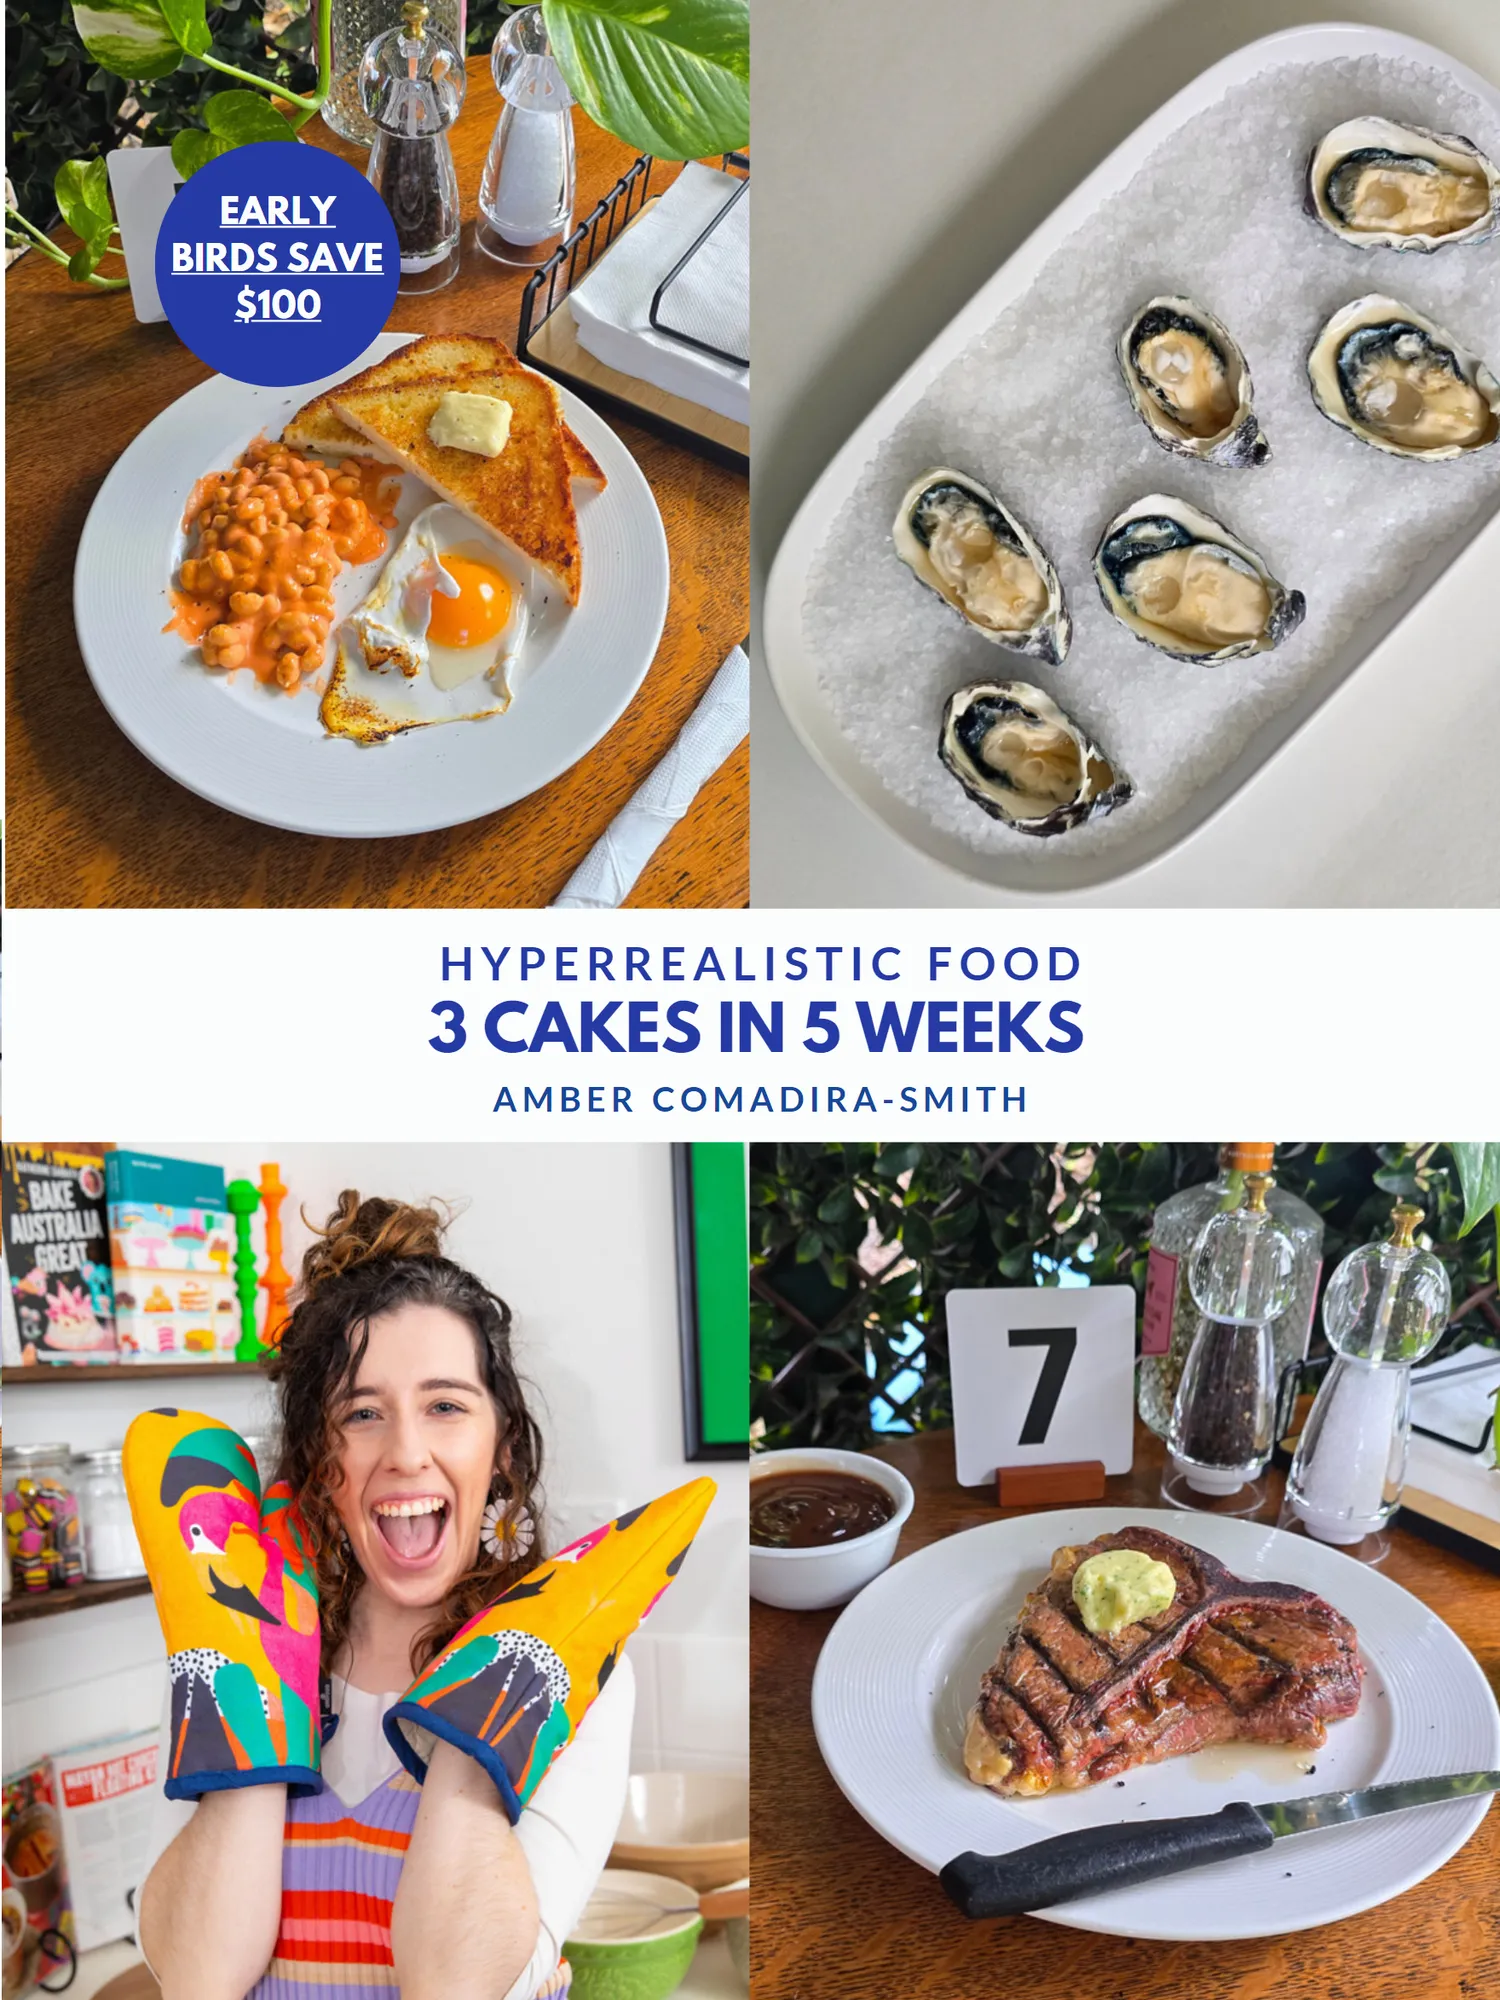
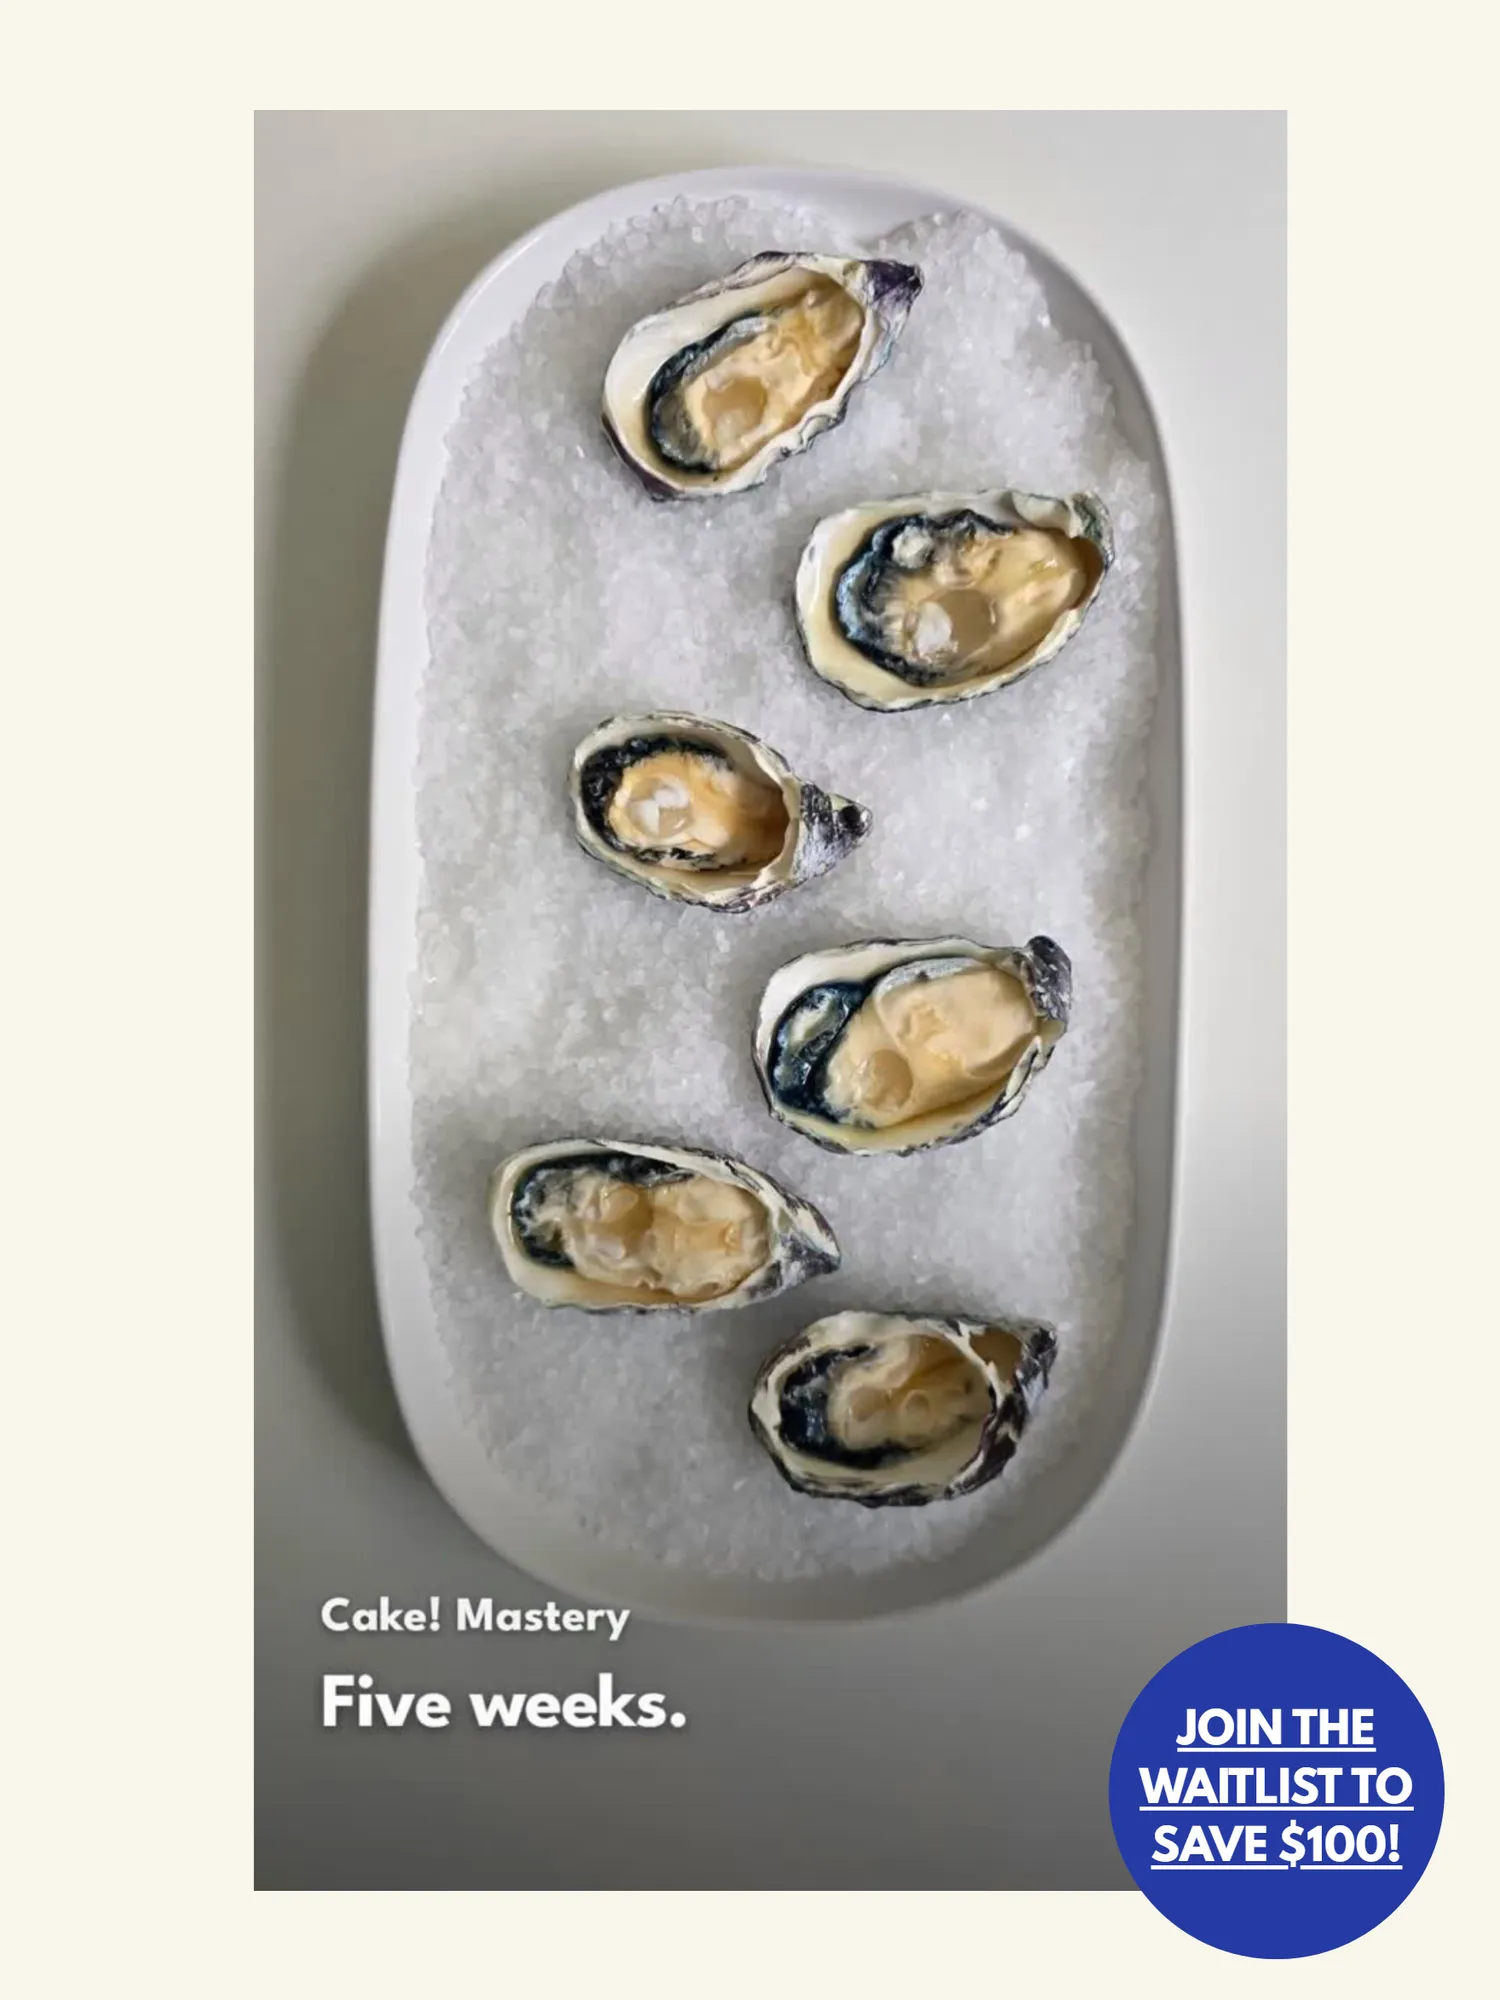
H Y P E R R E A L I S T I C F O O D EARLY BIRDS SAVE $ 100 H Y P E R R E A L I S T I C F O O D 3 CAKES IN 5 WEEKS A M B E R C O M A D I R A- S M I T H
Page 51 text
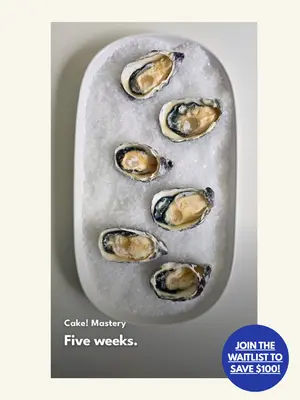
JOIN THE WAITLIST TO SAVE $ 100!


Page 52 text
TREENA APPLEBY
Page 53 text
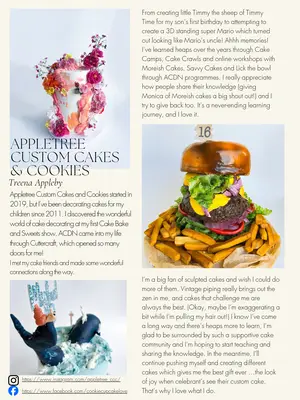
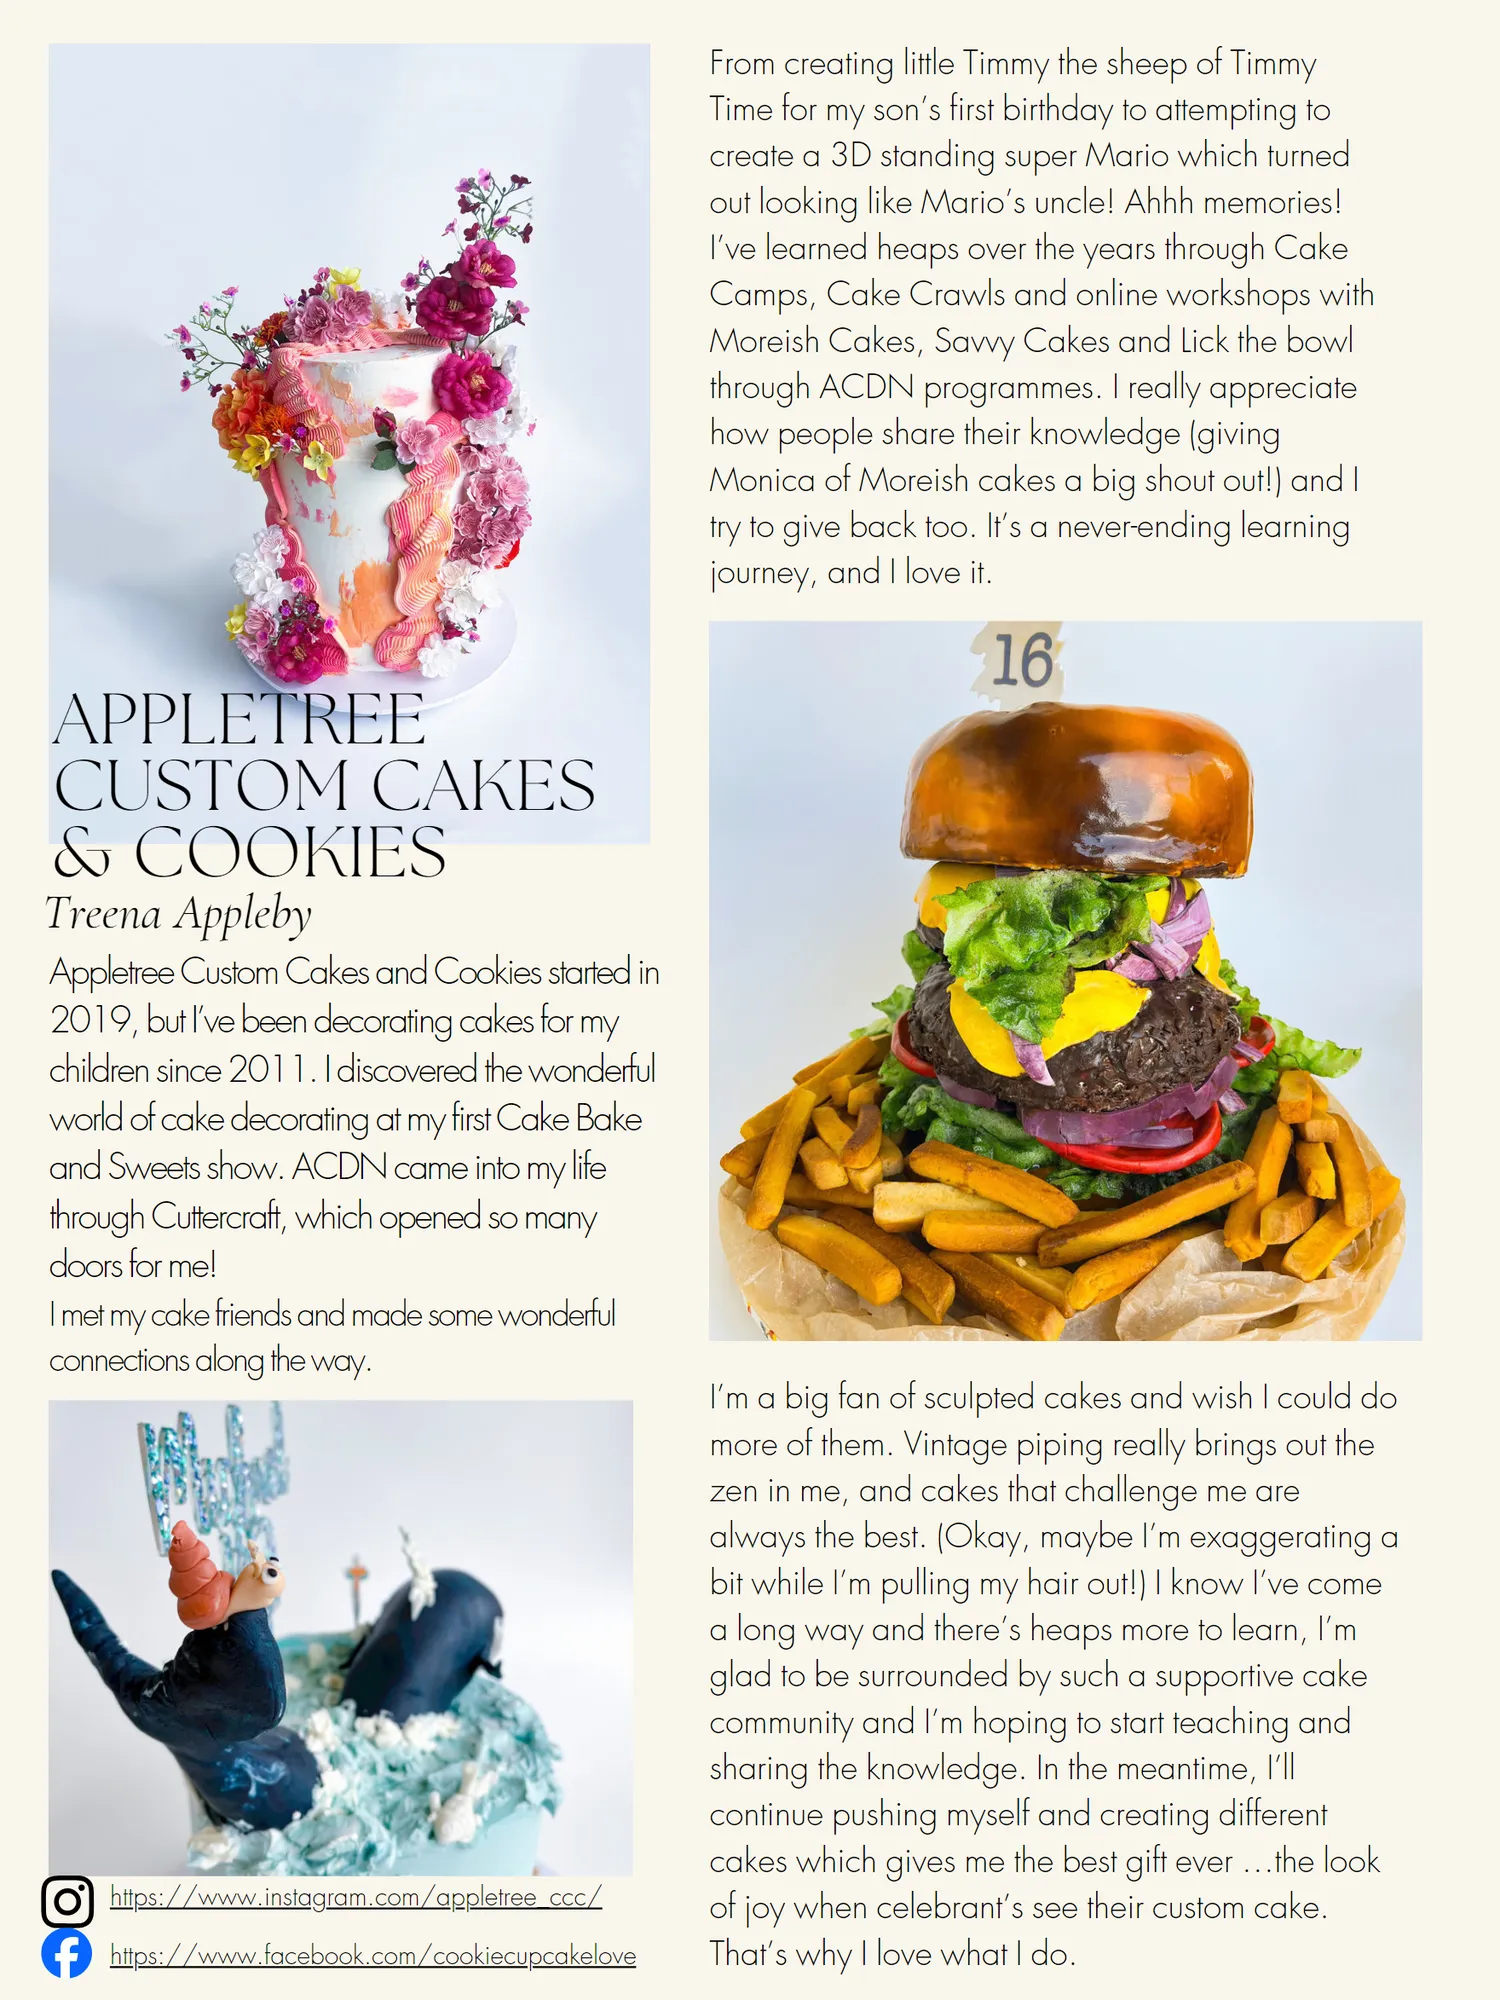
From creating little Timmy the sheep of Timmy Time for my son’s first birthday to attempting to create a 3D standing super Mario which turned out looking like Mario’s uncle! Ahhh memories! I’ve learned heaps over the years through Cake Camps, Cake Crawls and online workshops with Moreish Cakes, Savvy Cakes and Lick the bowl through ACDN programmes. I really appreciate how people share their knowledge (giving Monica of Moreish cakes a big shout out!) and I try to give back too. It’s a never-ending learning journey, and I love it. APPLETREE CUSTOM CAKES & COOKIES Treena Appleby Appletree Custom Cakes and Cookies started in 2019, but I’ve been decorating cakes for my children since 2011. I discovered the wonderful world of cake decorating at my first Cake Bake and Sweets show. ACDN came into my life through Cuttercraft, which opened so many doors for me! I met my cake friends and made some wonderful connections along the way. I’m a big fan of sculpted cakes and wish I could do more of them. Vintage piping really brings out the zen in me, and cakes that challenge me are always the best. (Okay, maybe I’m exaggerating a bit while I’m pulling my hair out!) I know I’ve come a long way and there’s heaps more to learn, I’m glad to be surrounded by such a supportive cake community and I’m hoping to start teaching and sharing the knowledge. In the meantime, I’ll continue pushing myself and creating different cakes which gives me the best gift ever …the look https://www.instagram.com/appletree_ccc/ of joy when celebrant’s see their custom cake. https://www.facebook.com/cookiecupcakelove That’s why I love what I do.

Page 55 text
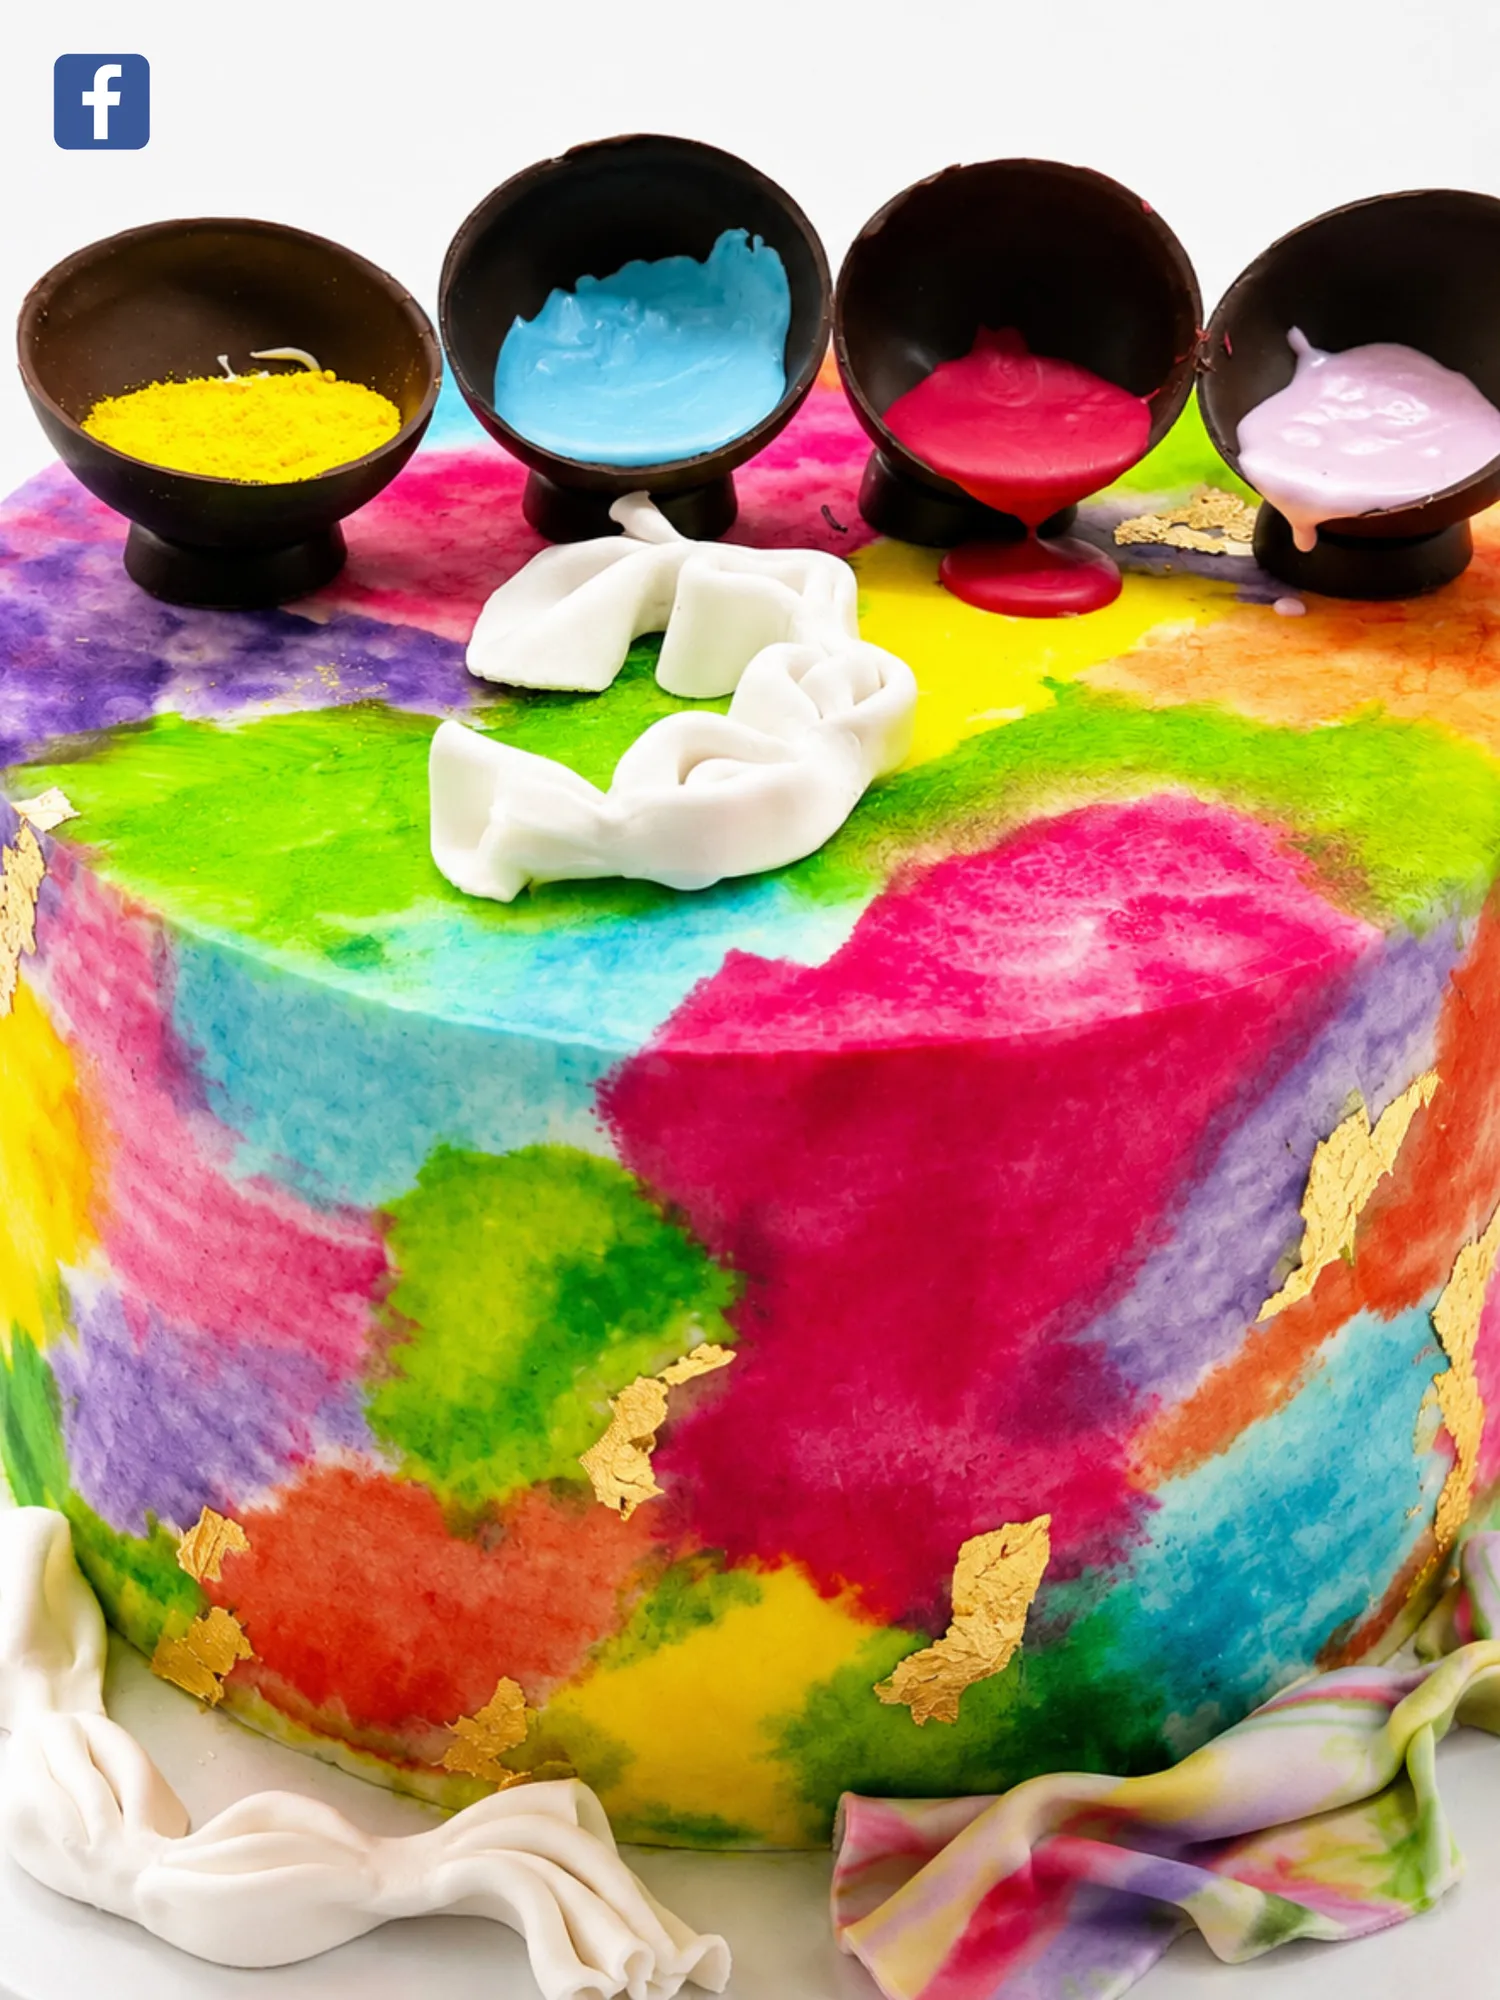
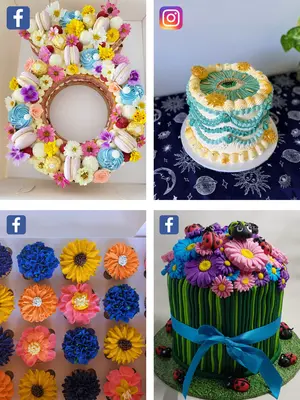
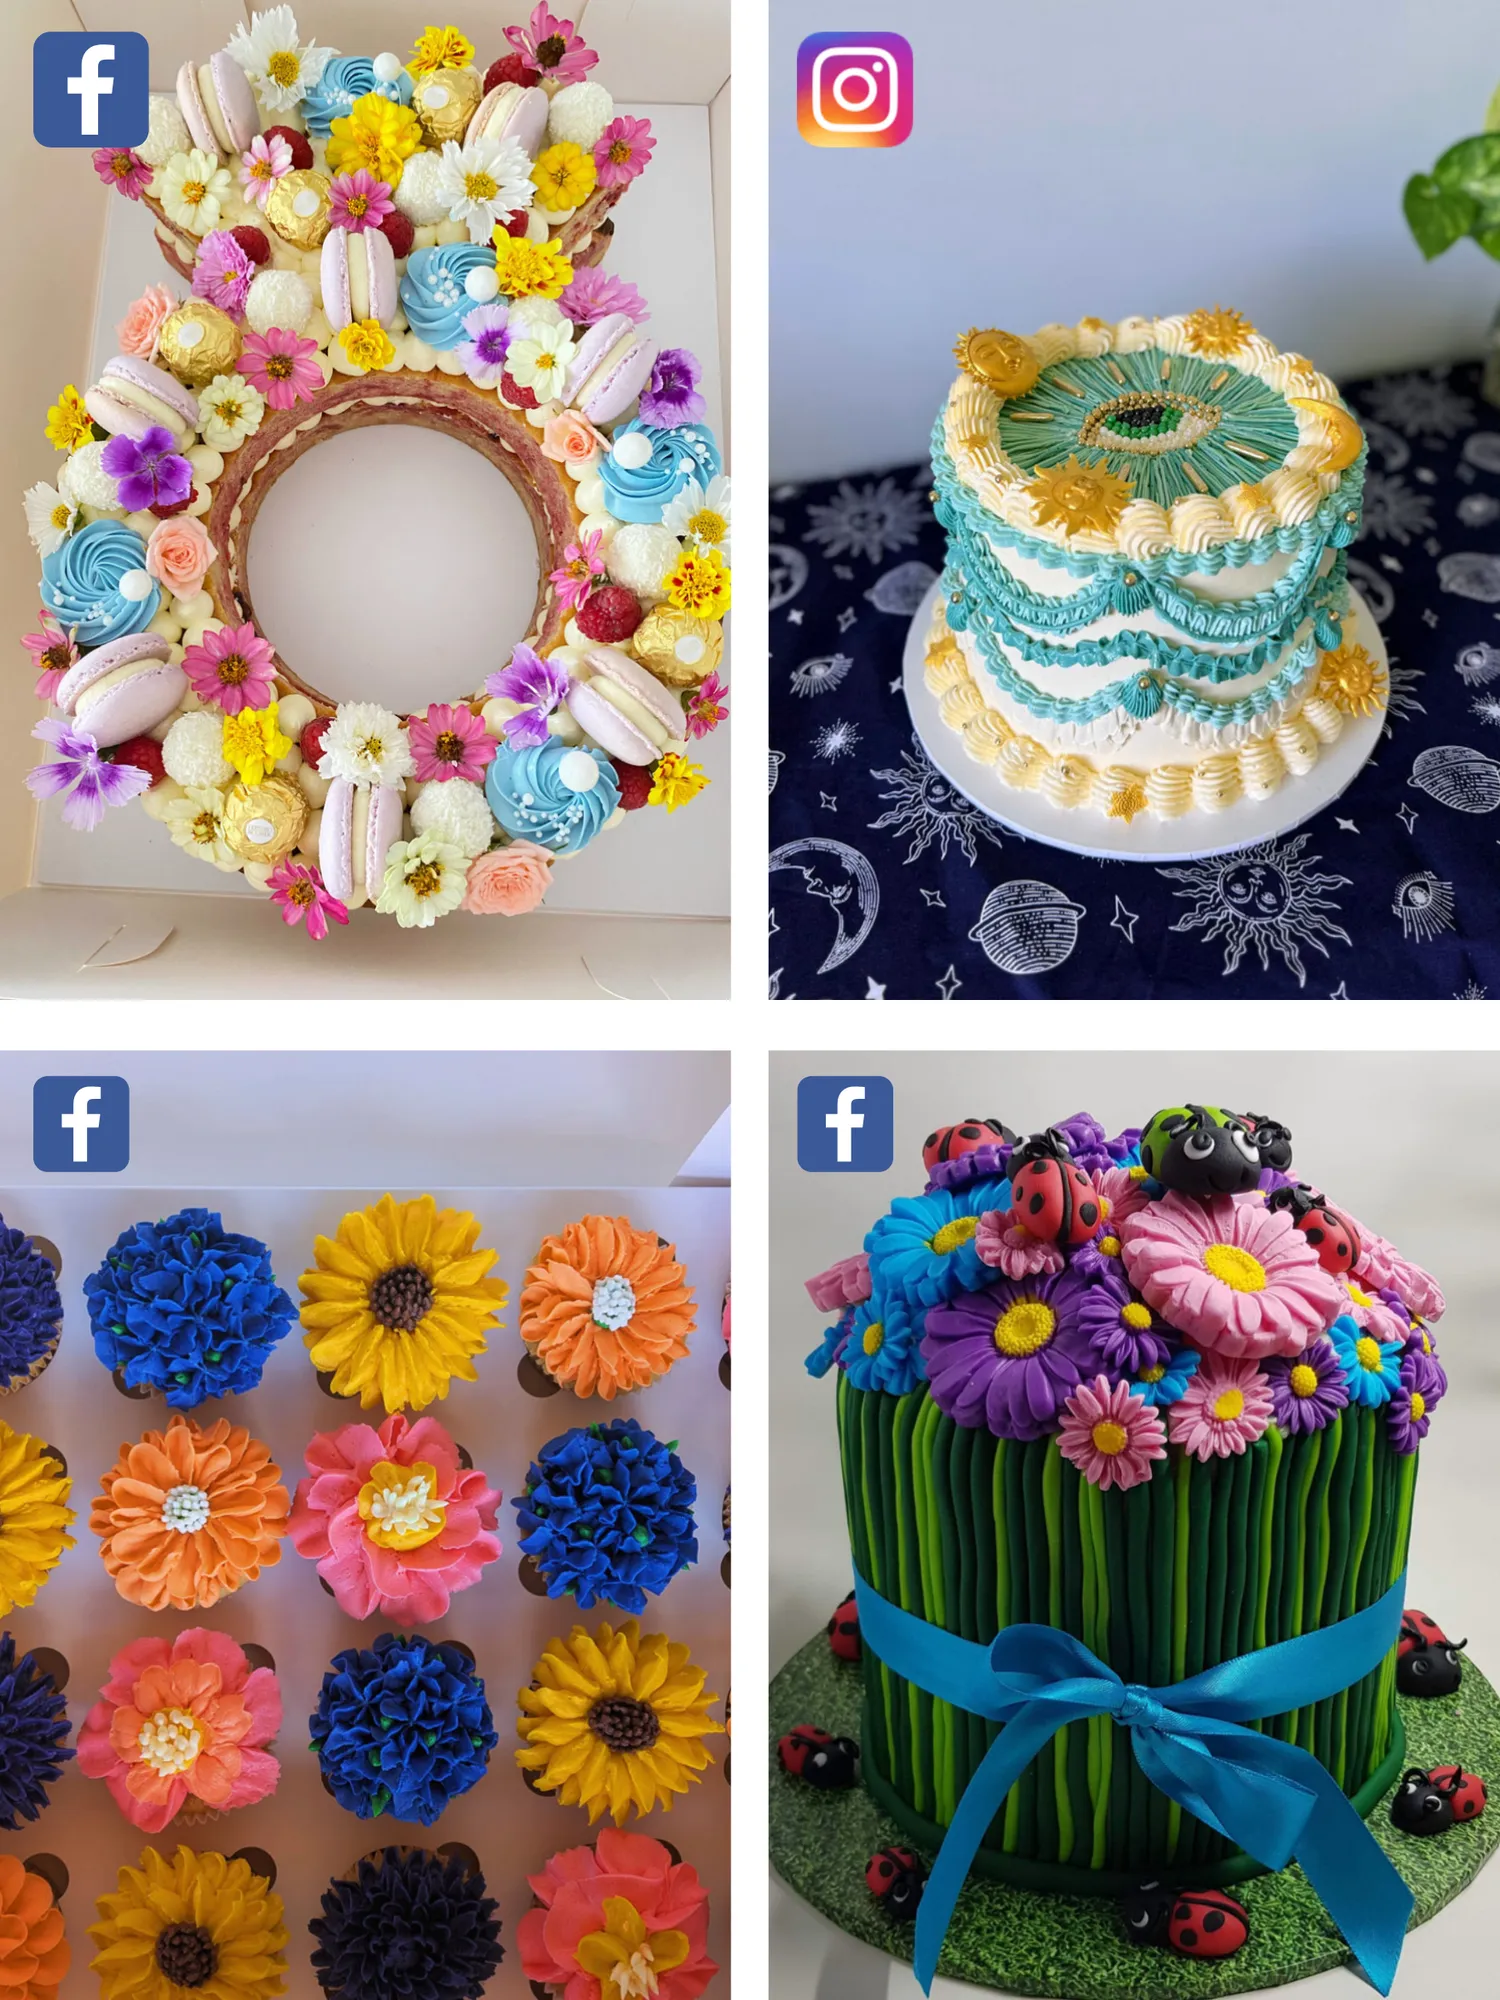
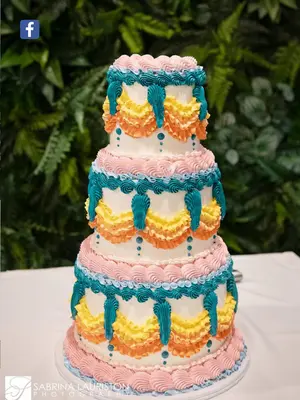
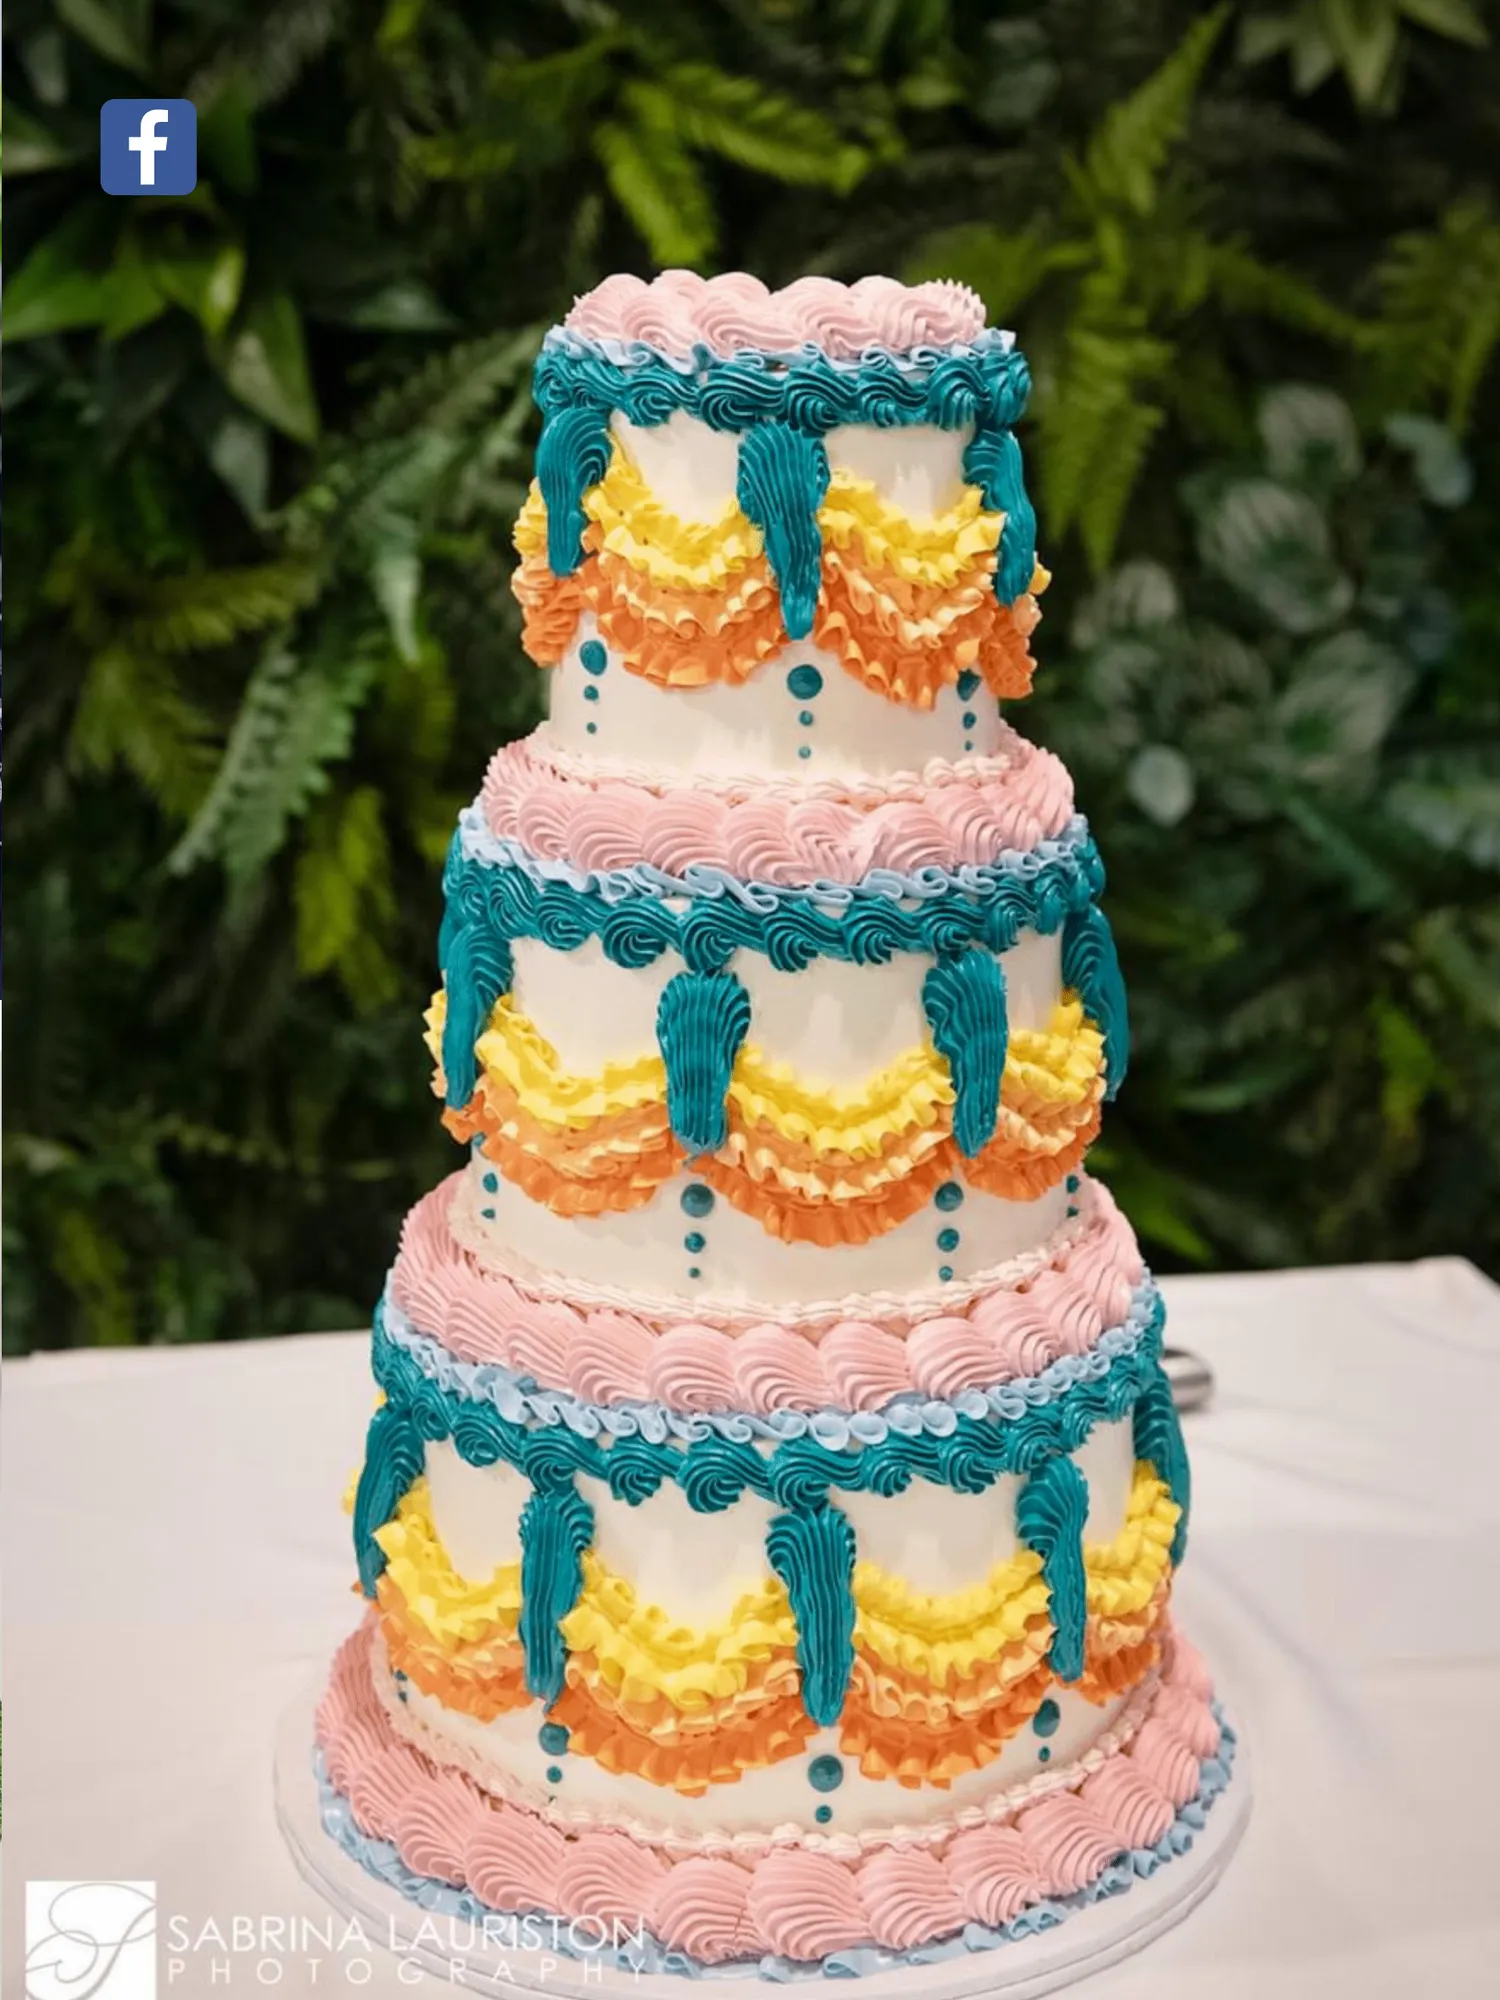
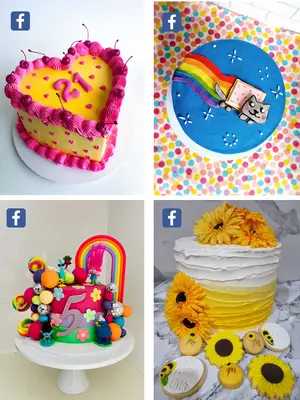
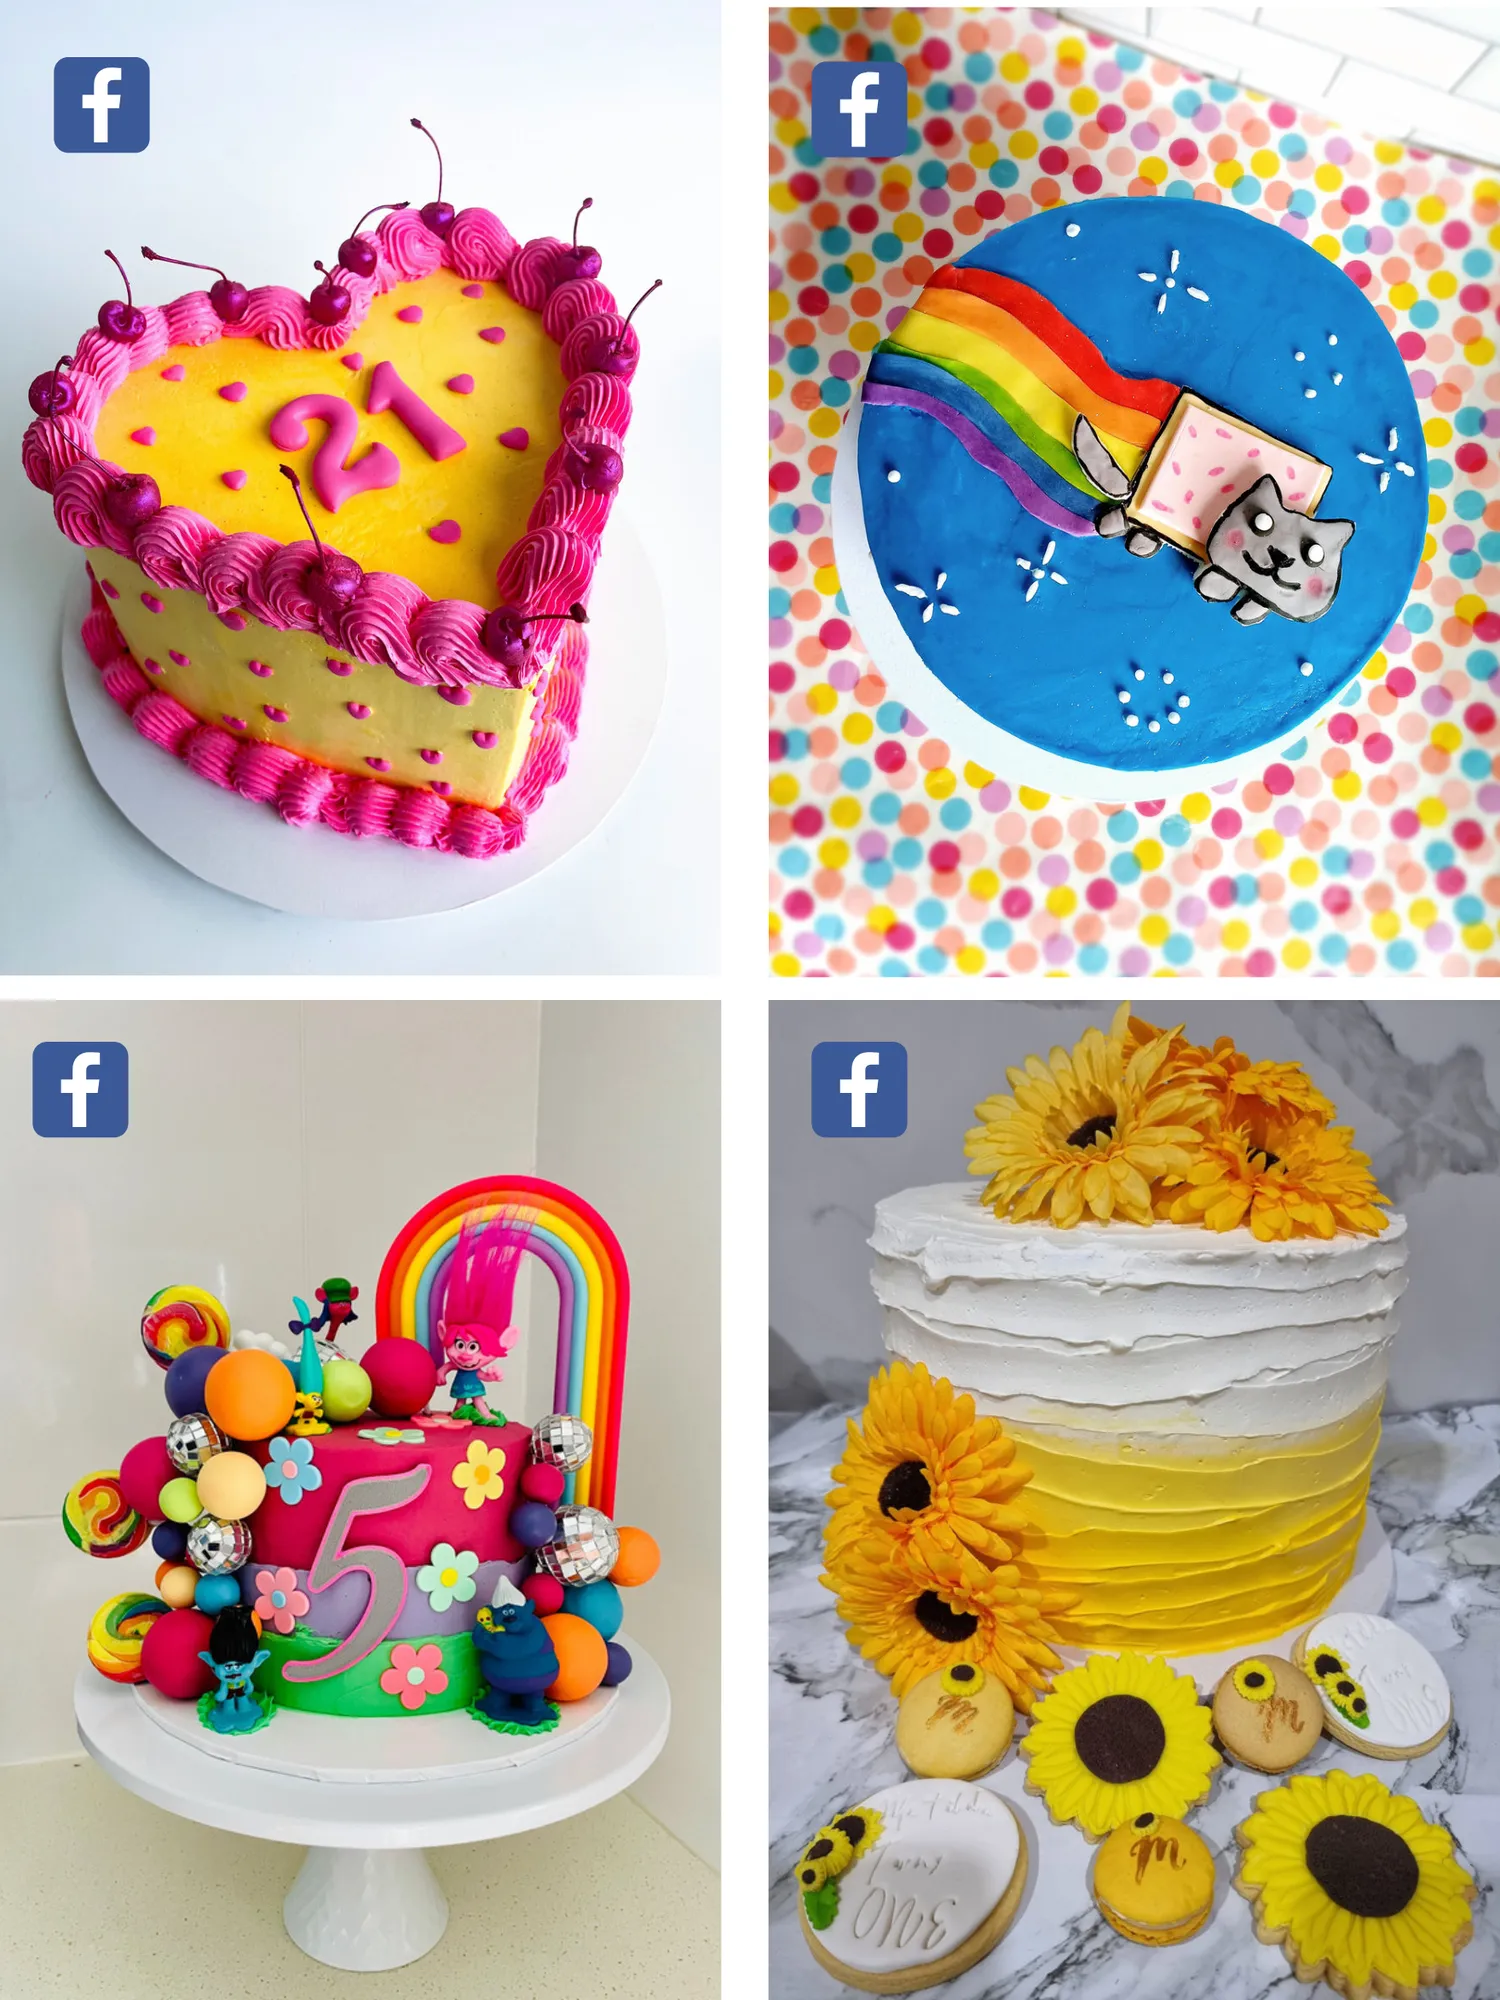
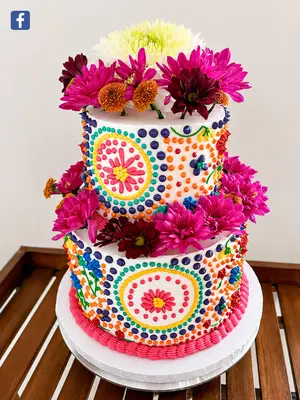
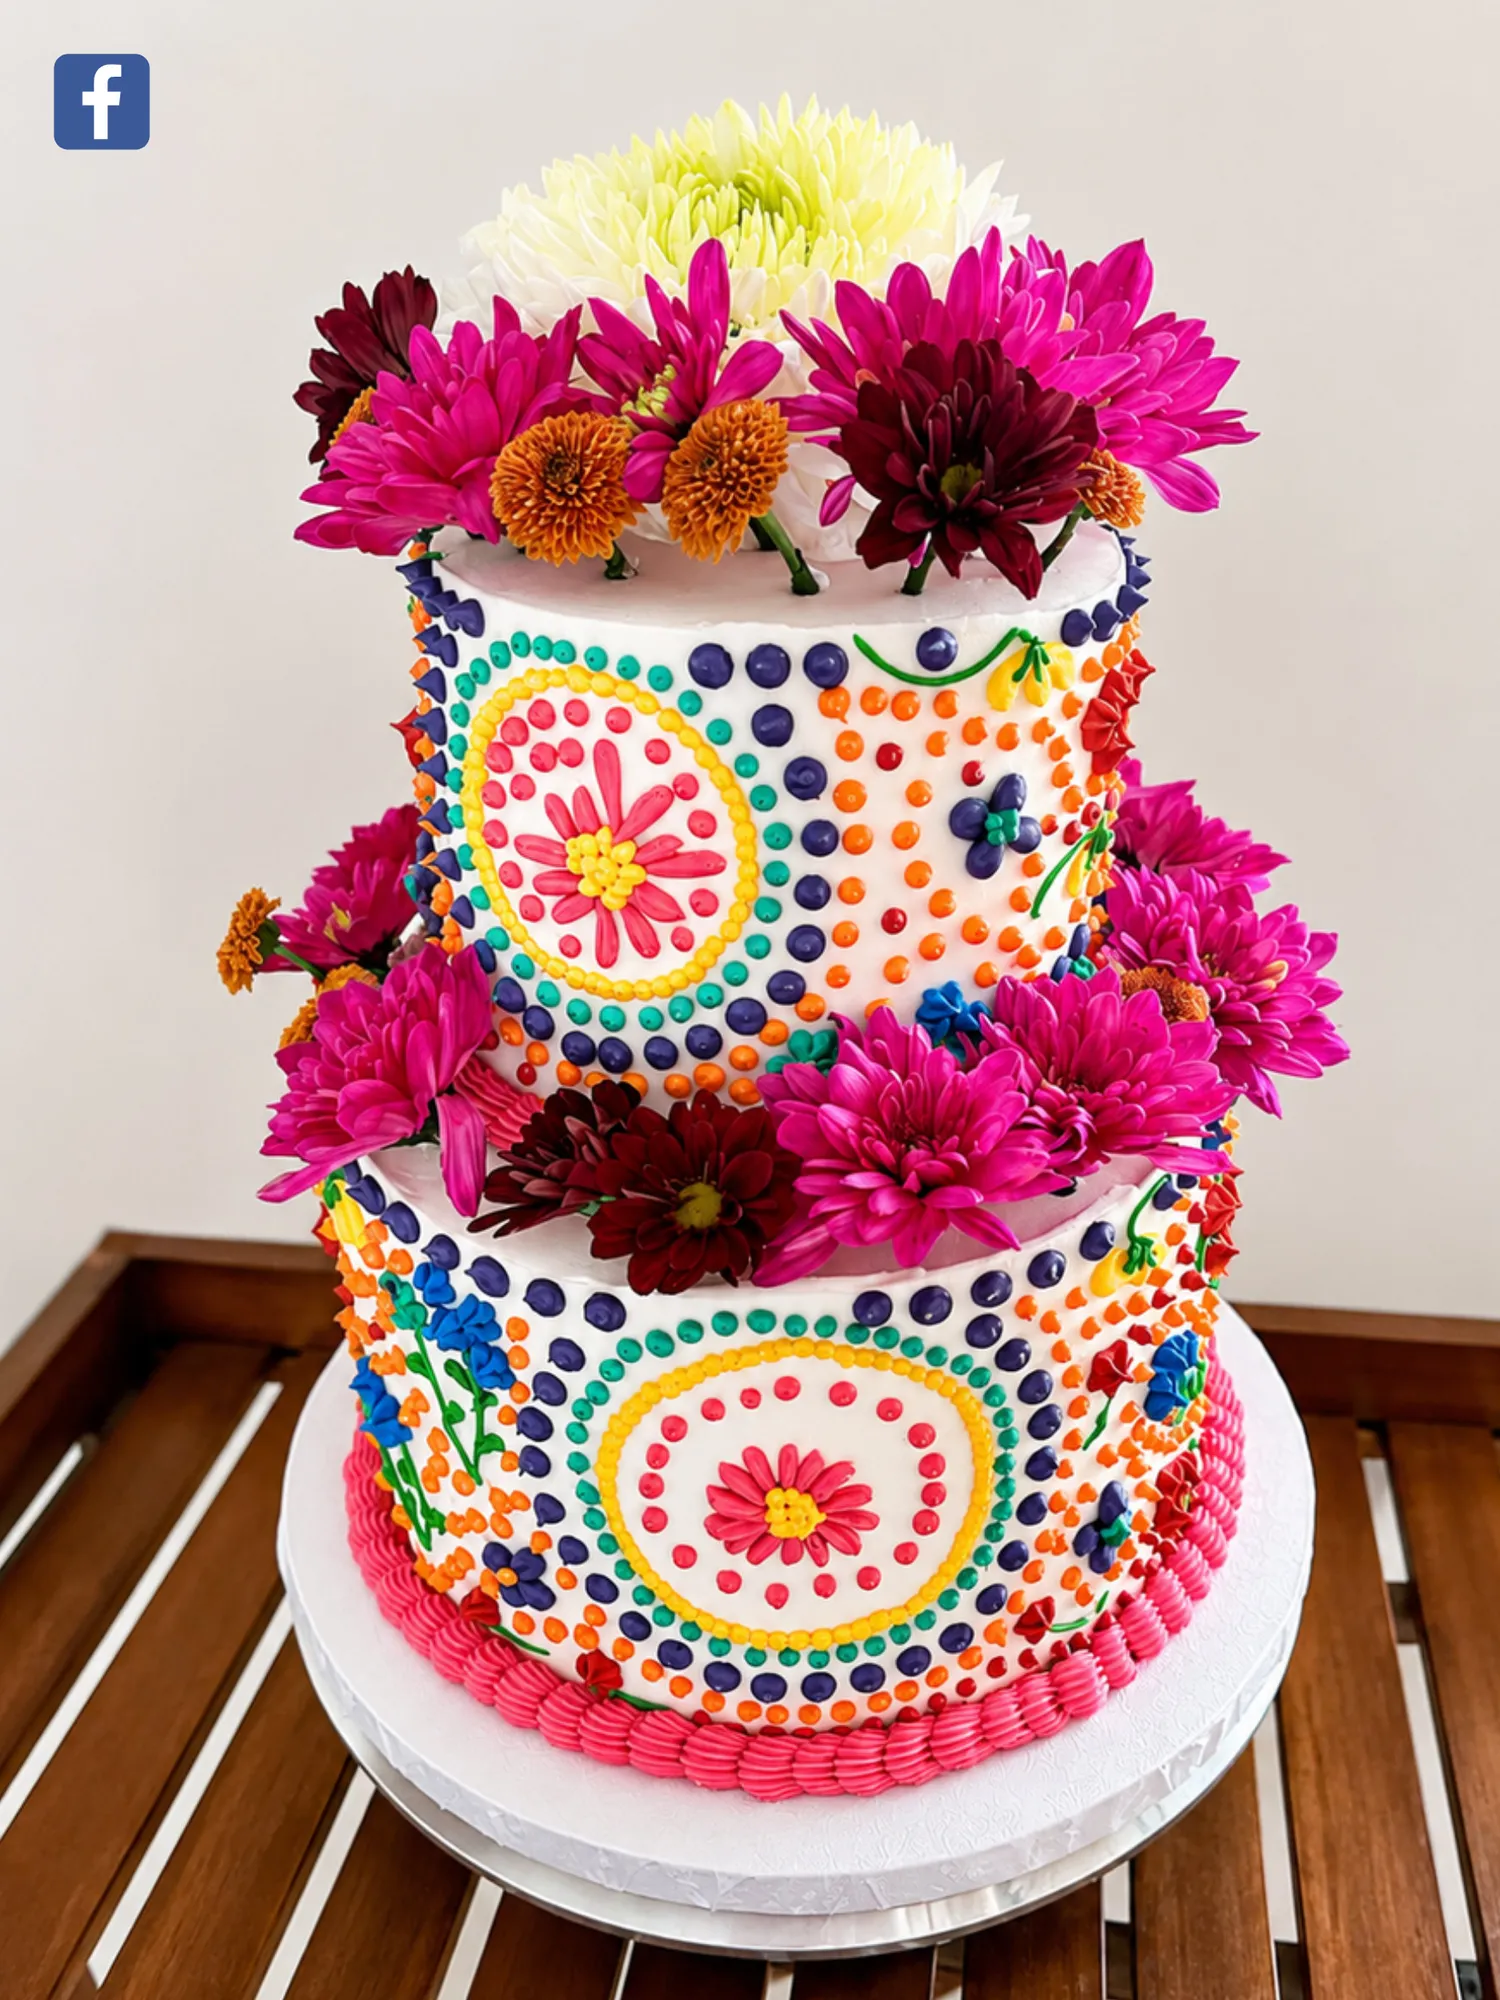
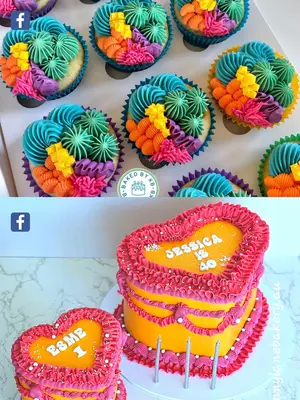
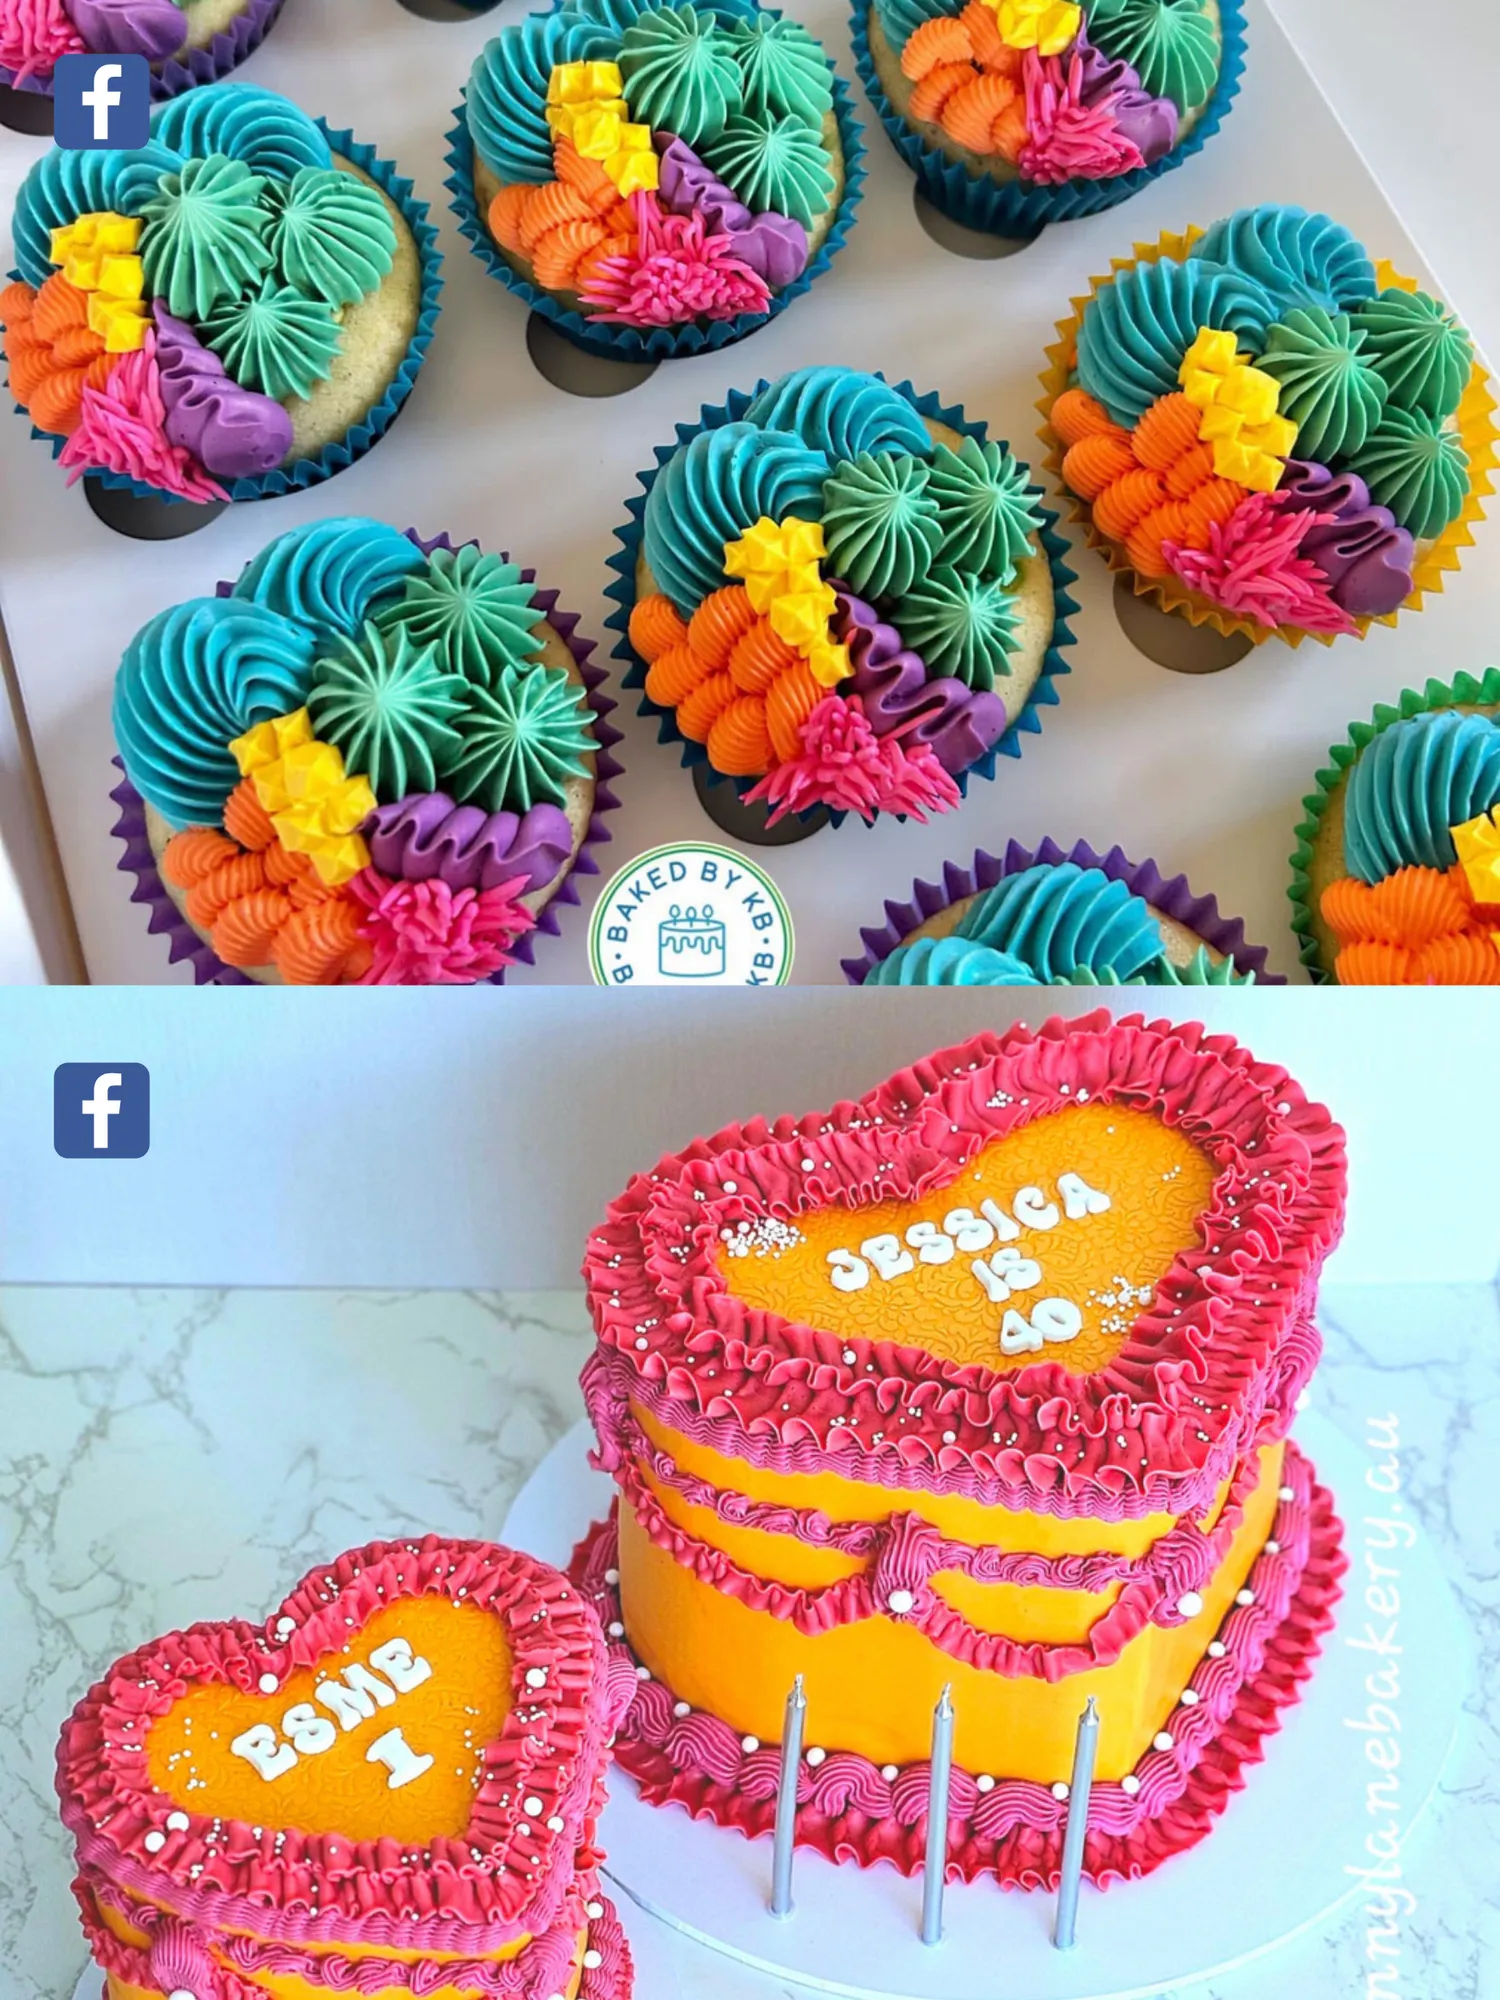
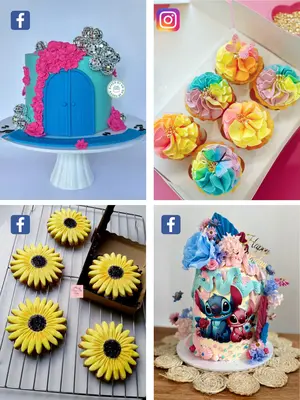
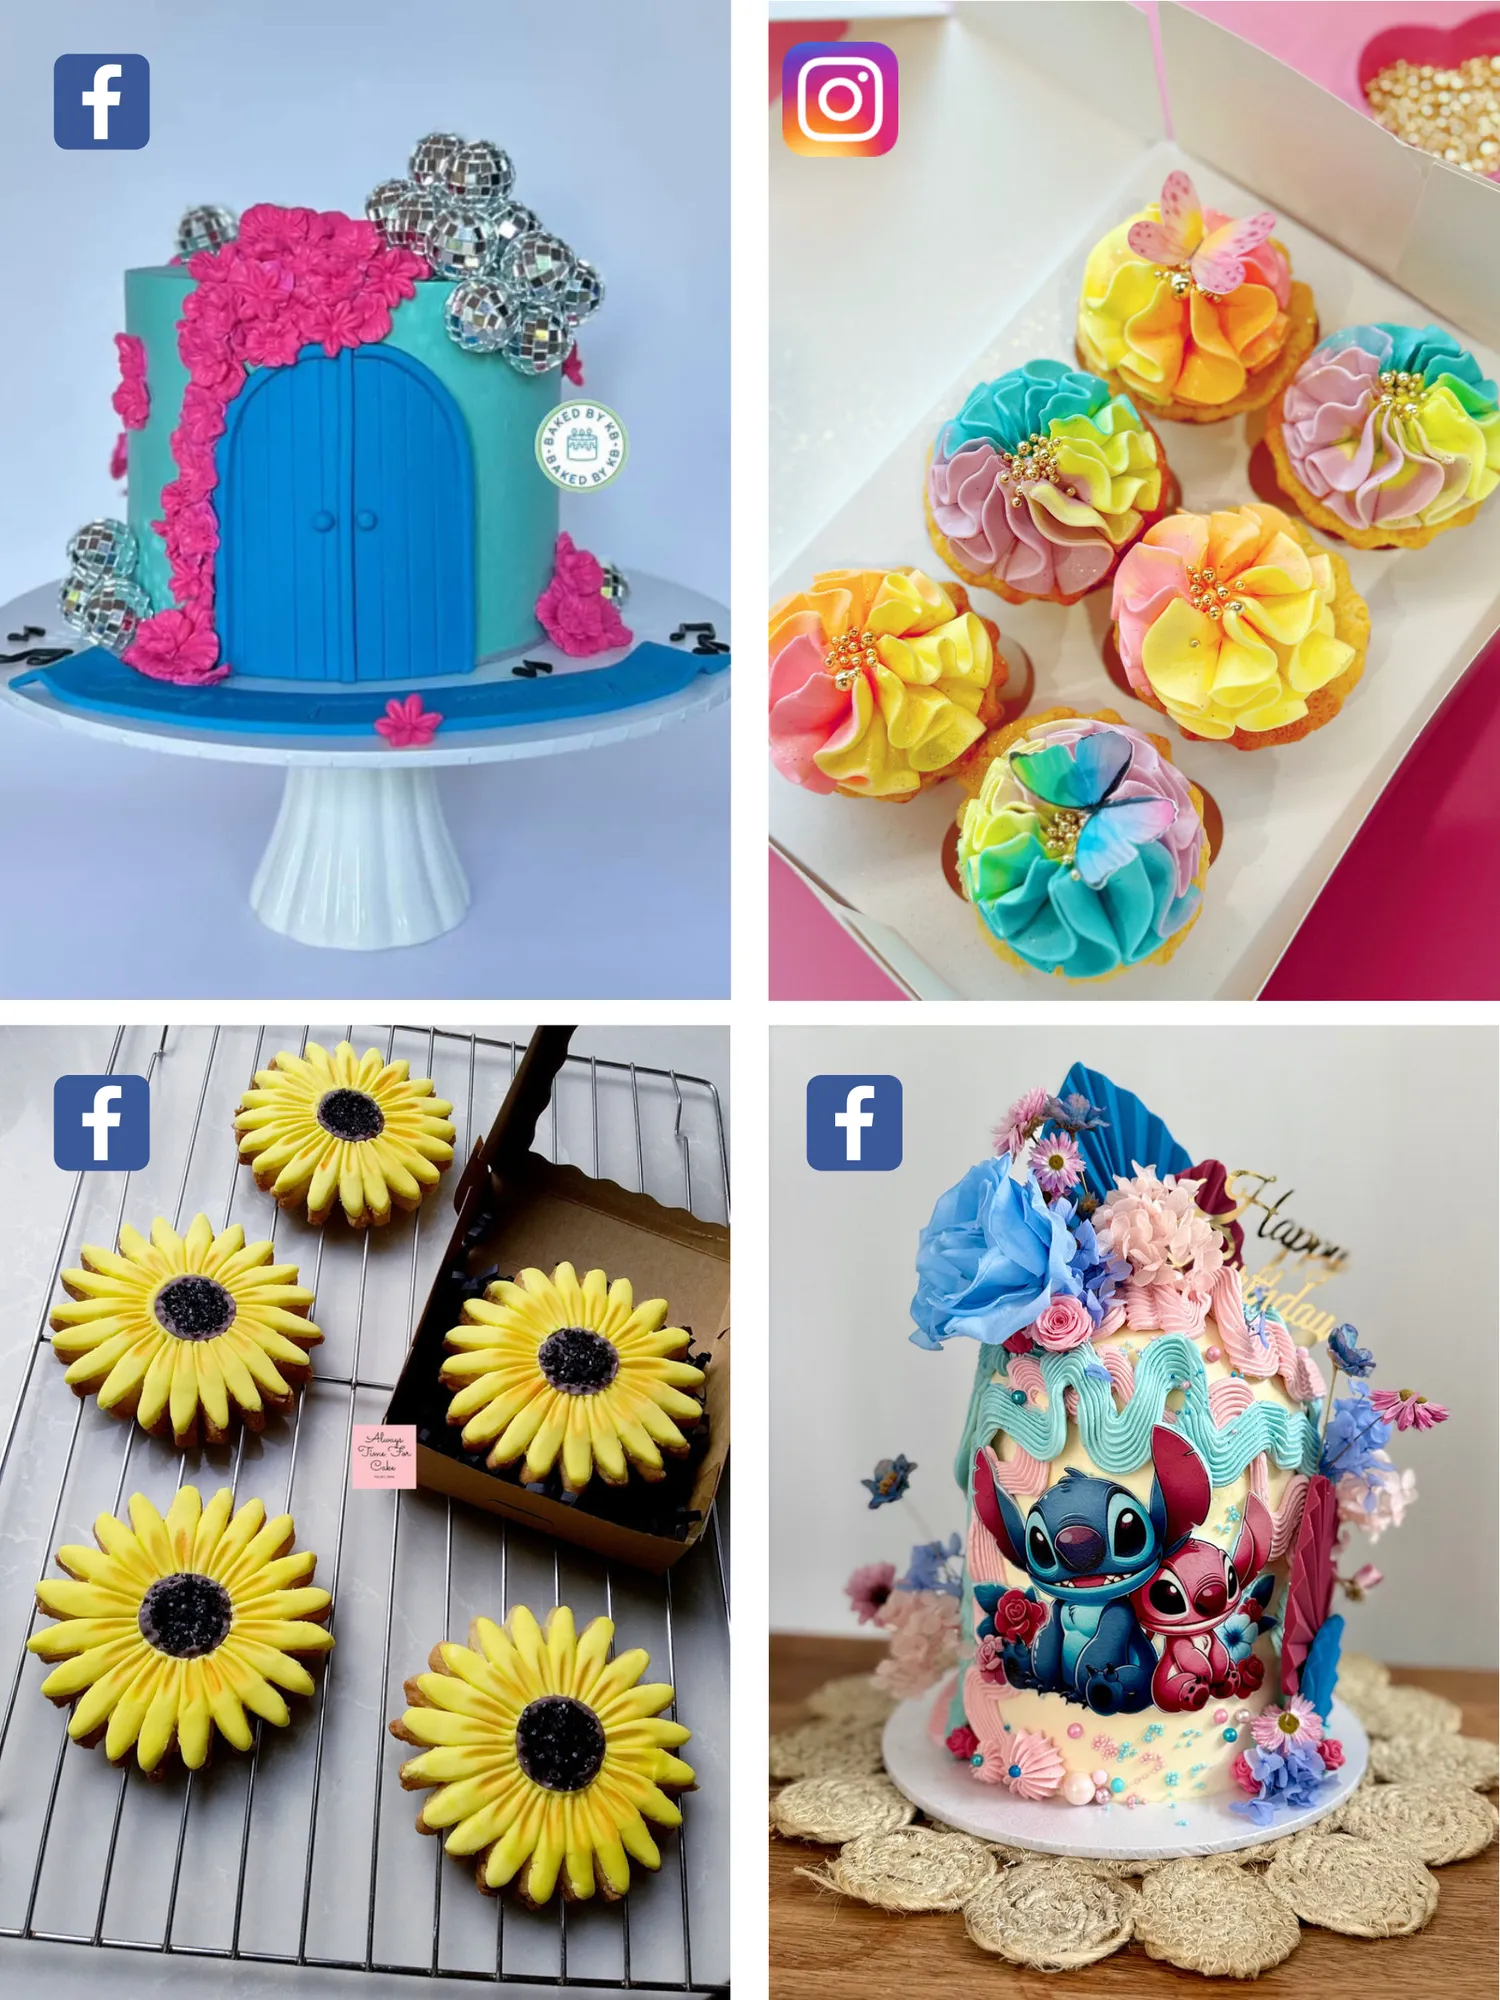
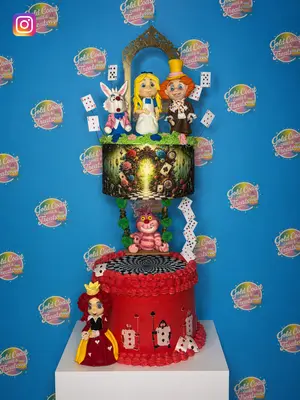
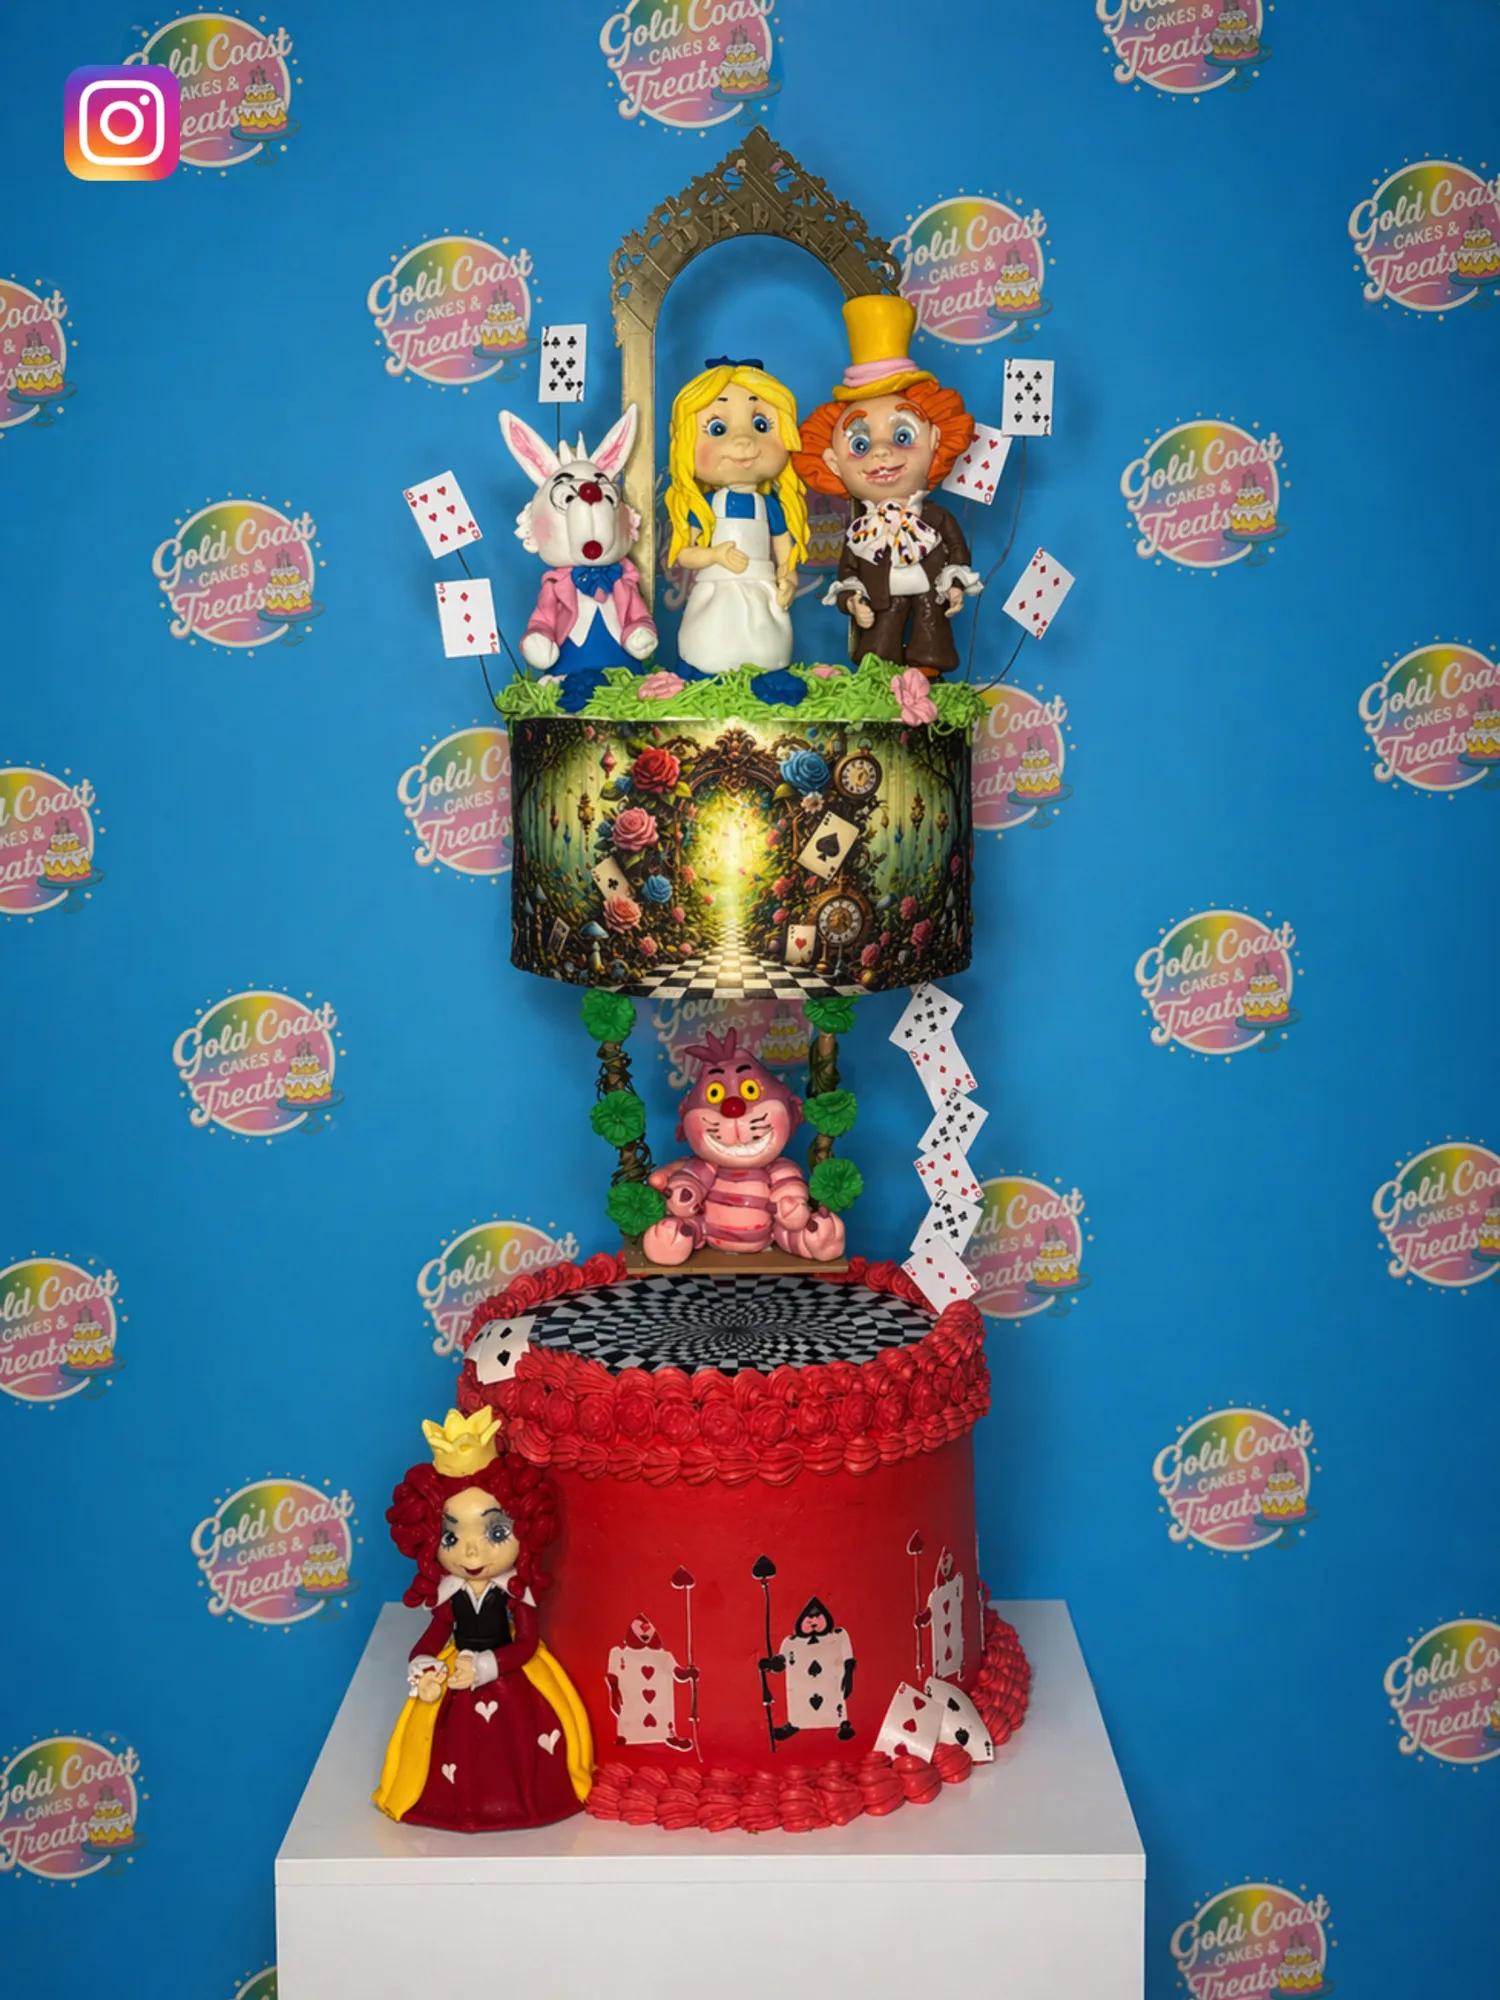
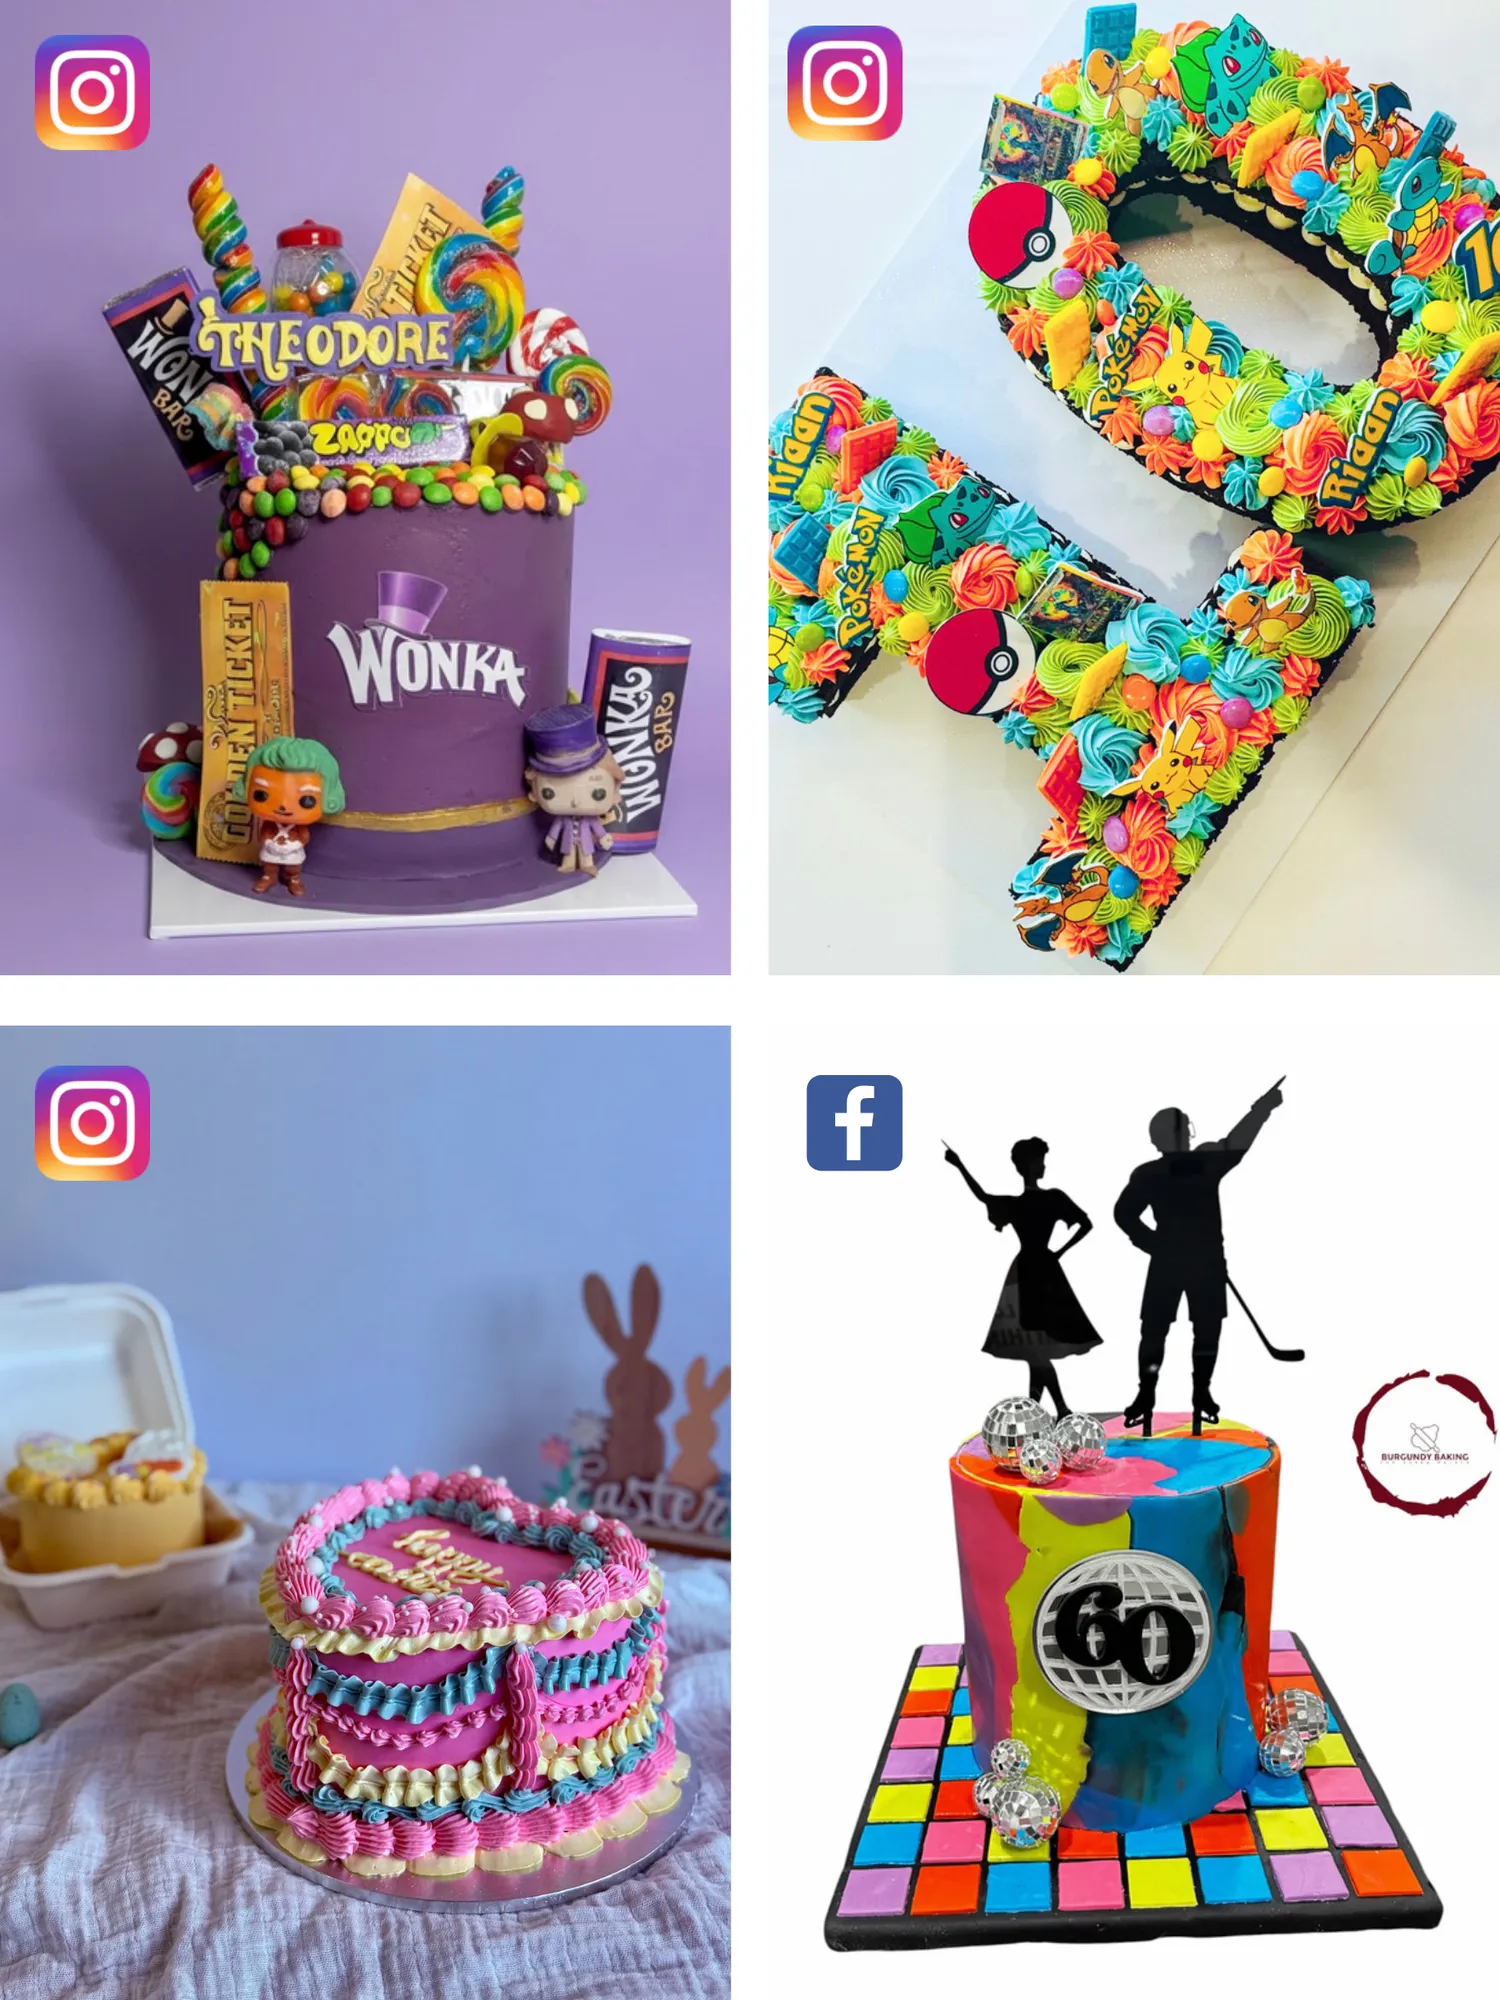
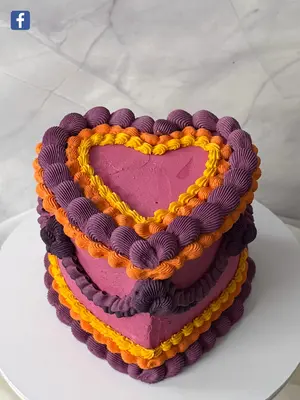
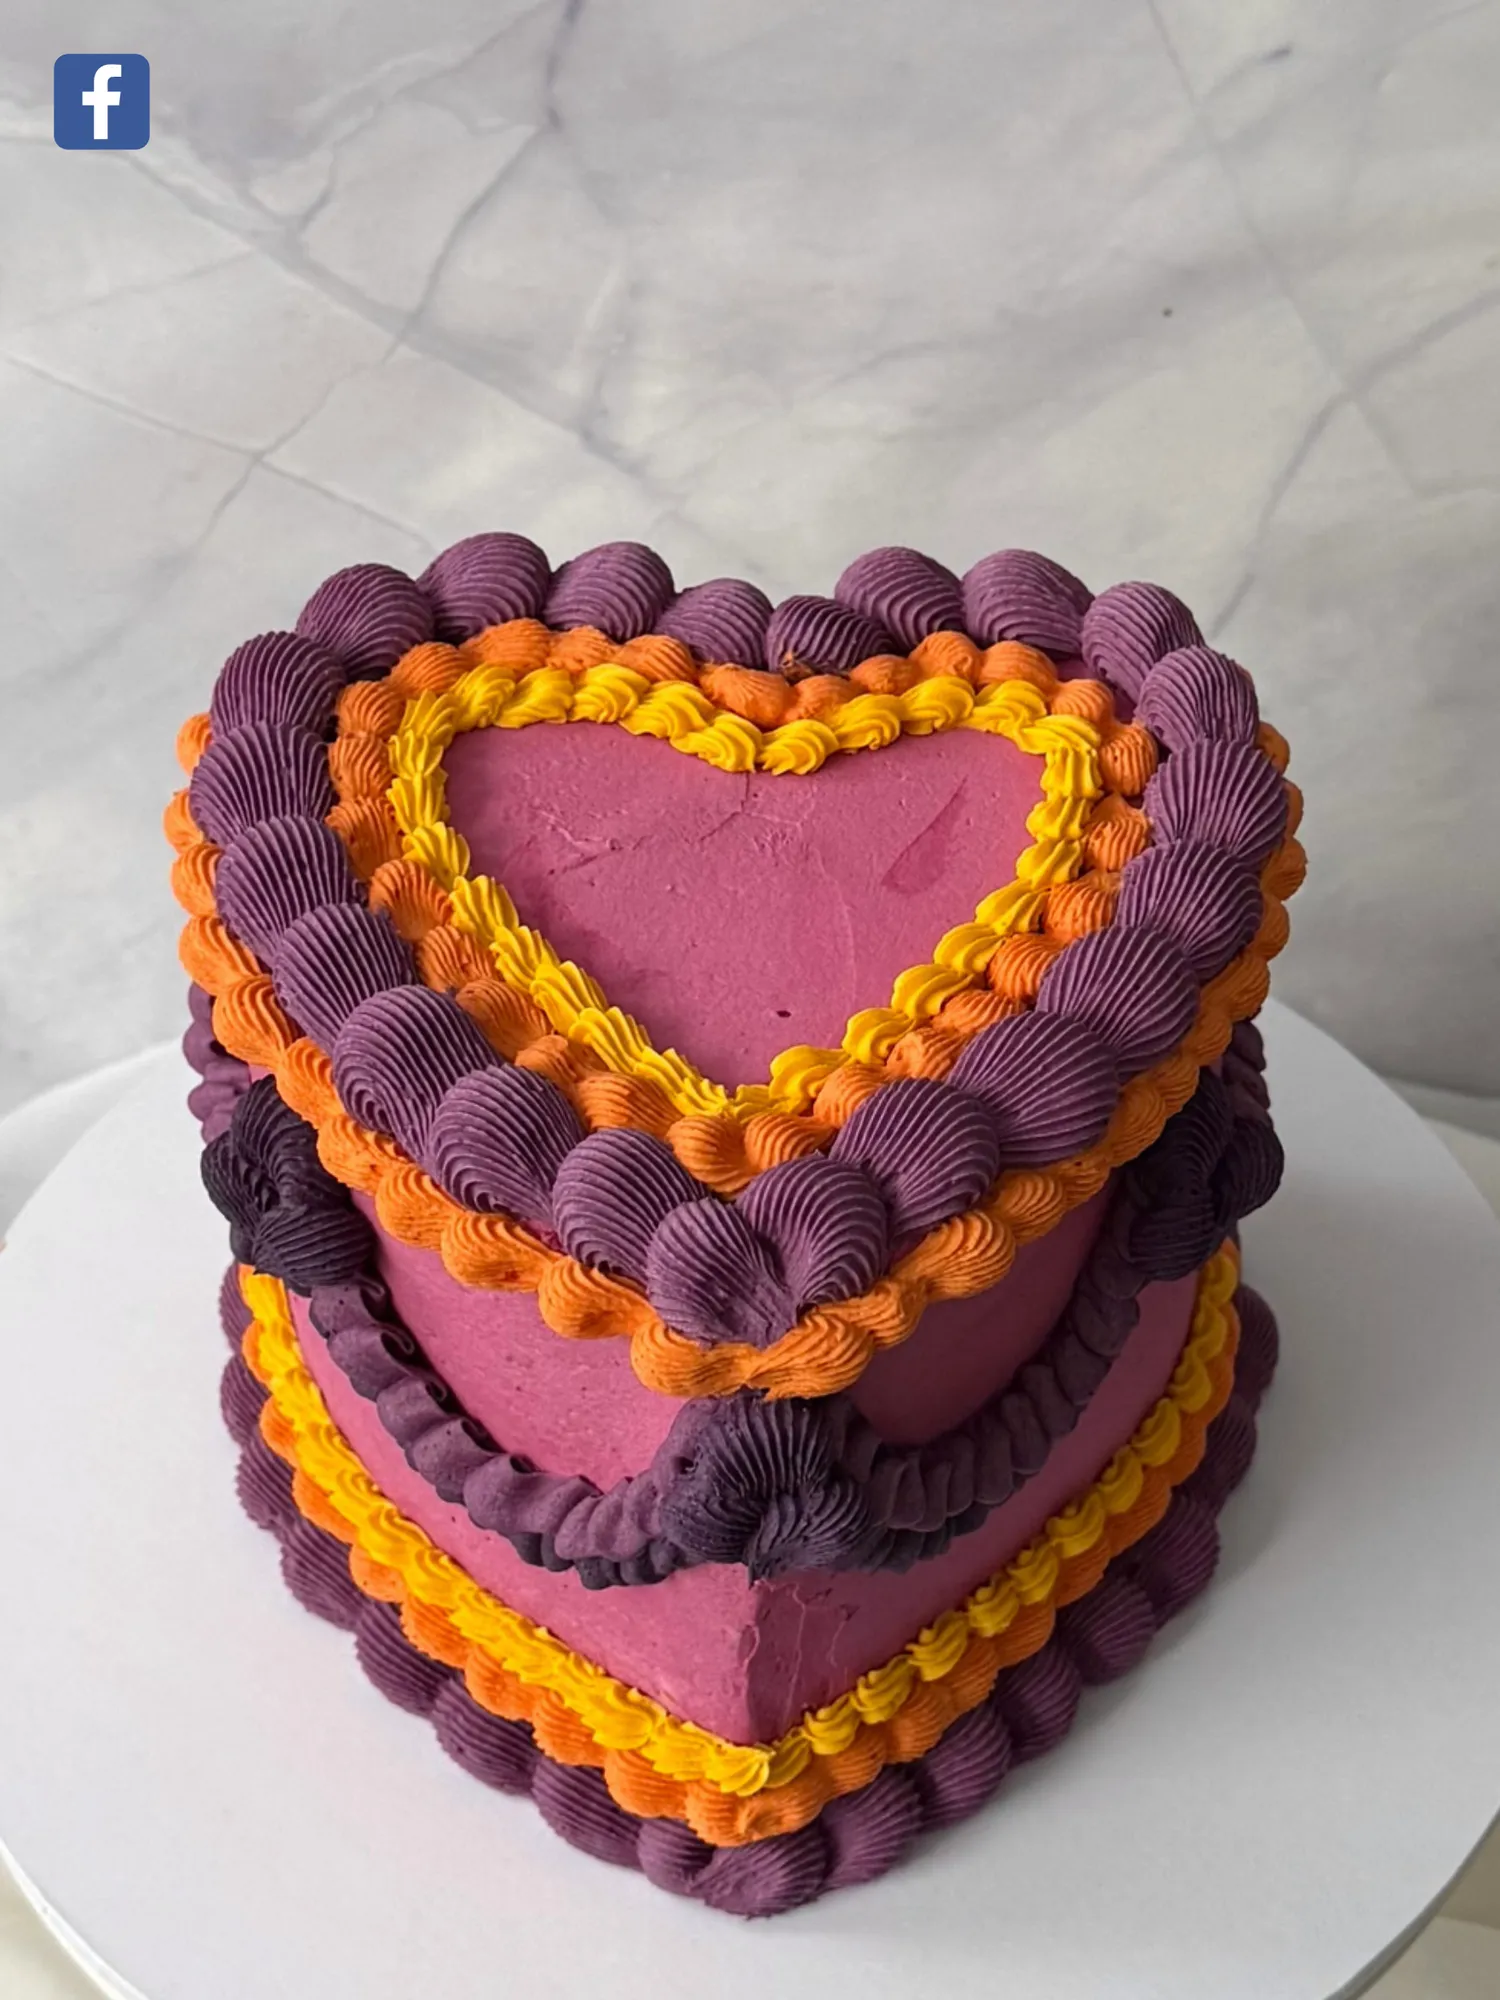
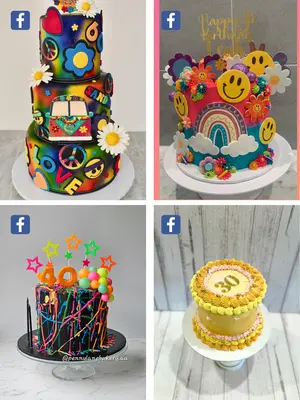
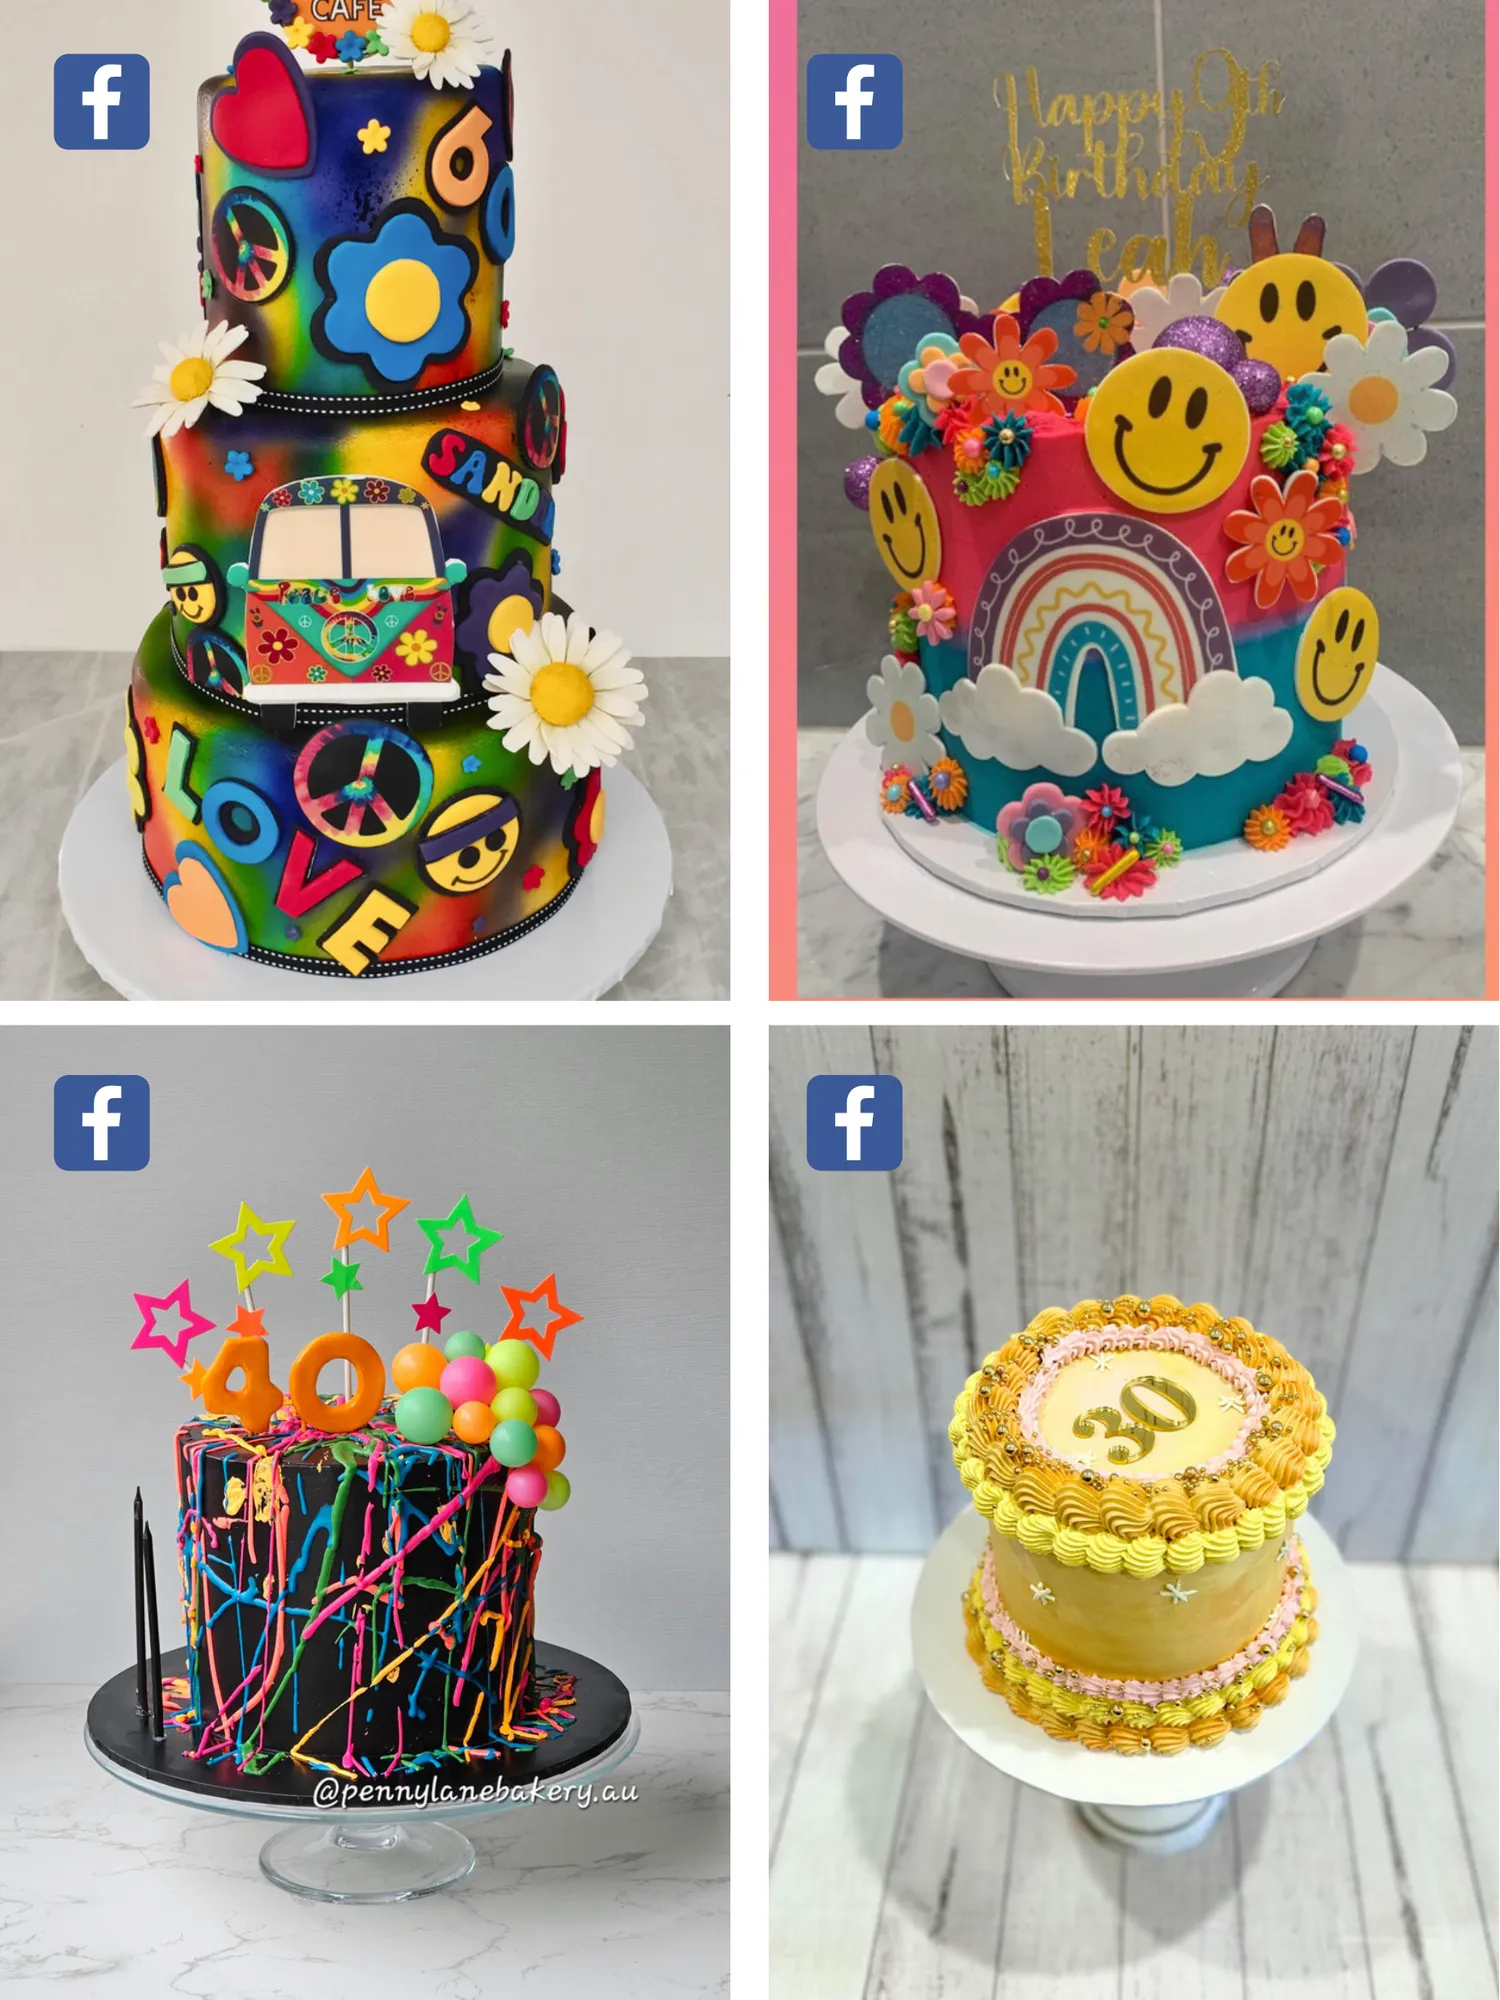
ACDN MEMBER GALLERY
Page 67 text
2 0 2 6 P R E F E R R E D S U P P L I E R S M E M B E R D I S C O U N T S Become a member of the Australian Cake Decorating Network and SAVE with great DISCOUNTS from our Preferred Suppliers Join us here!



Page 70 text
THANK YOU FOR READING ANOTHER ISSUE OF